DIY - 993 coils into 964
#76
Kinda like how mine is.
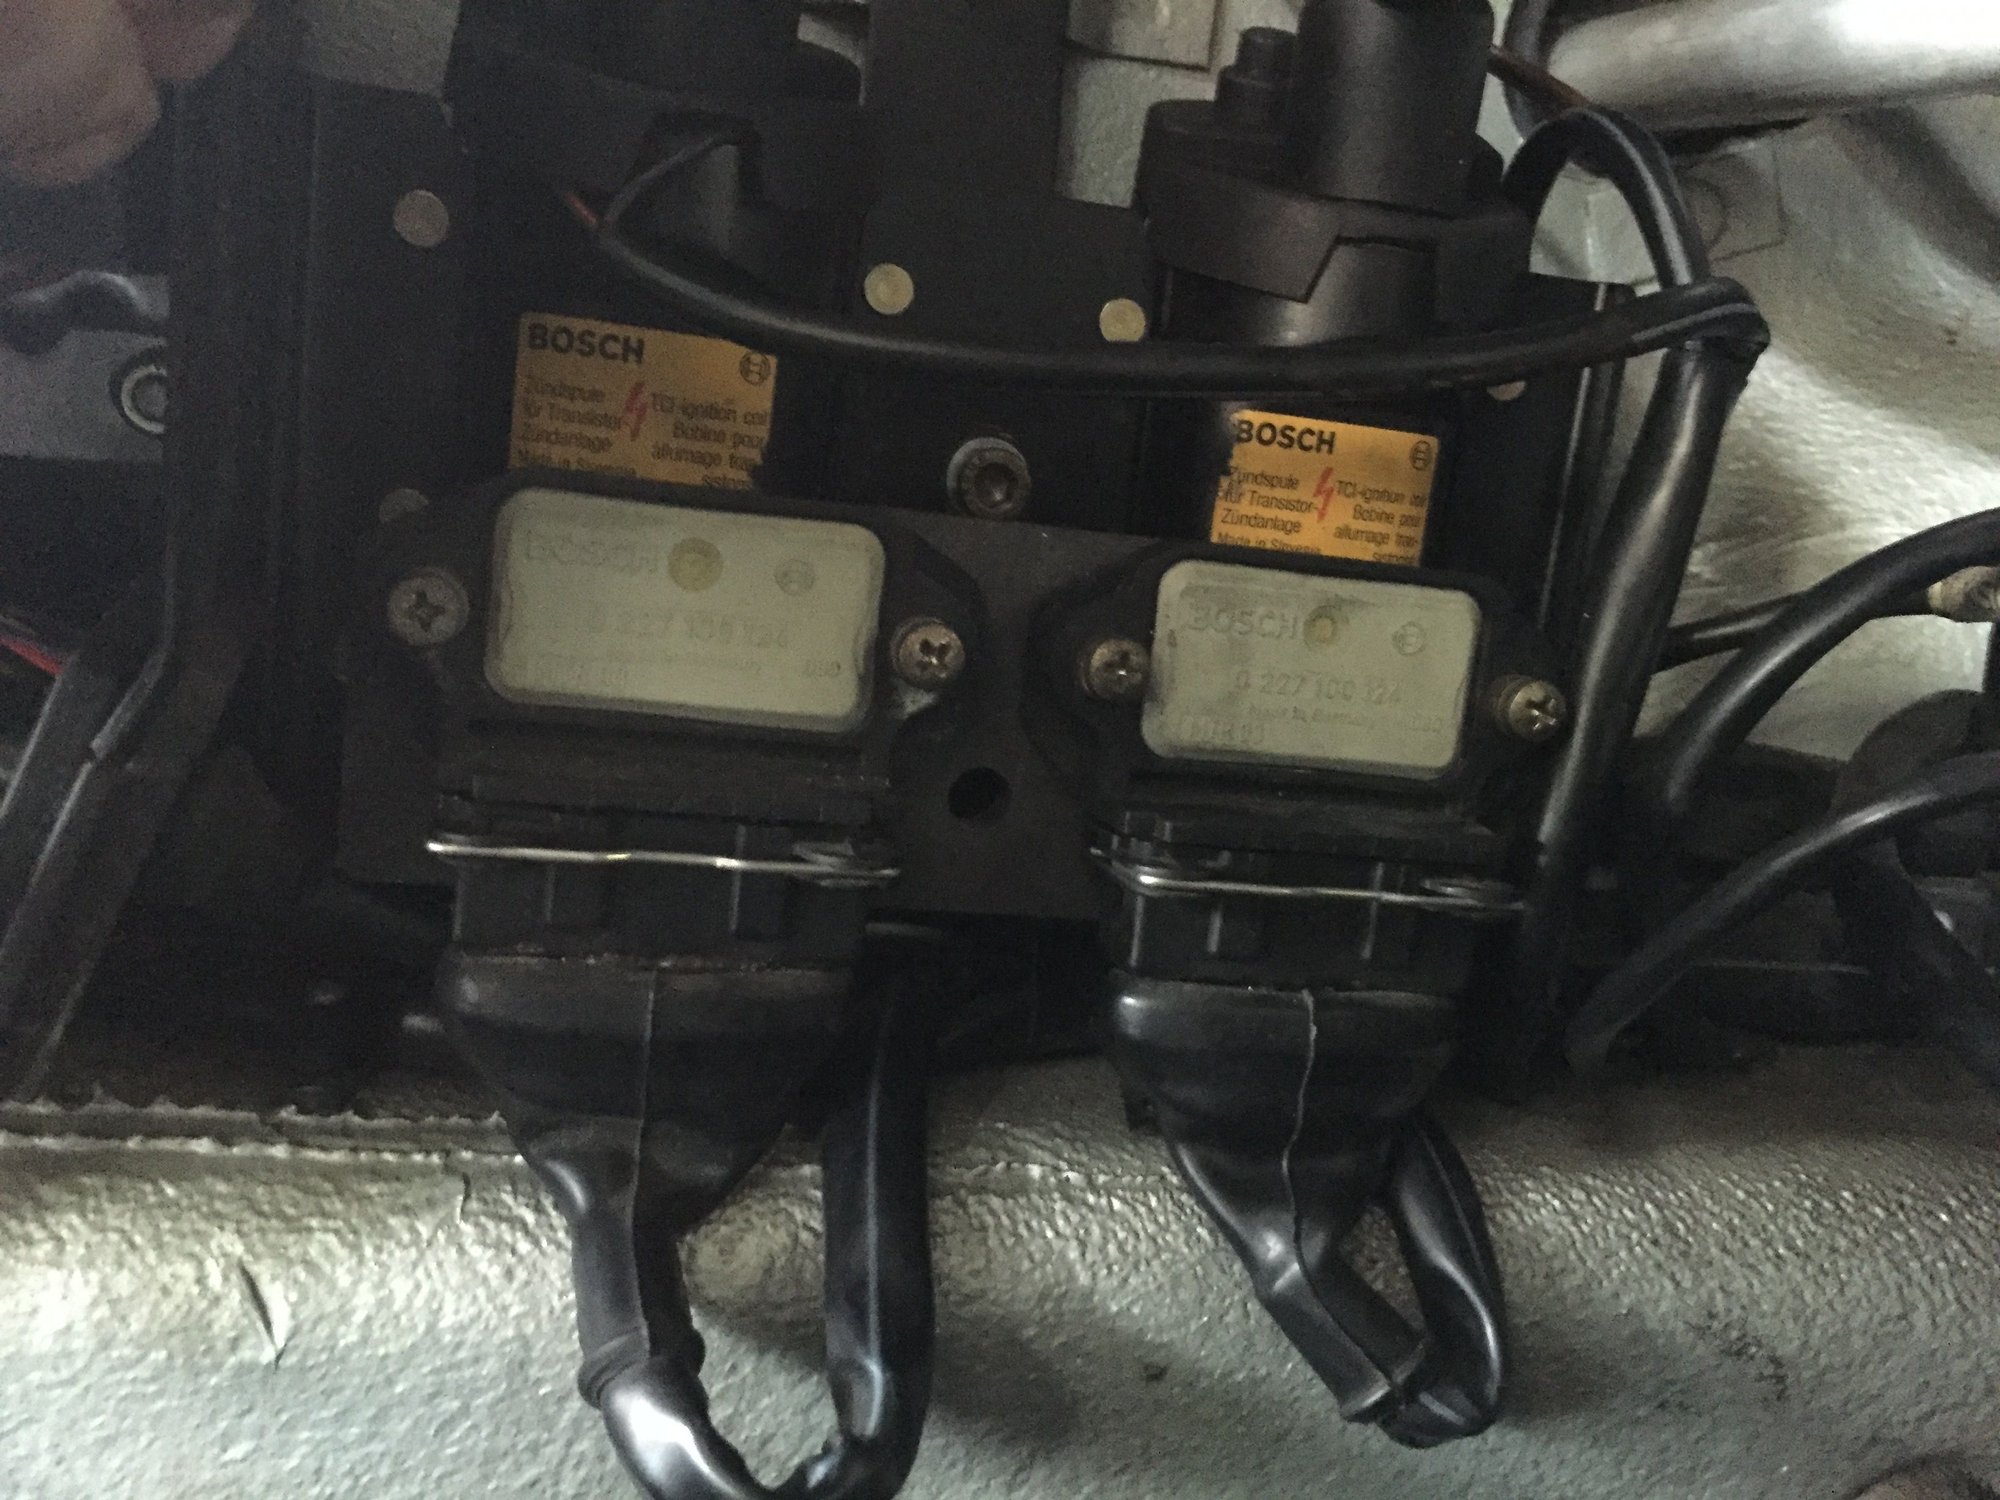
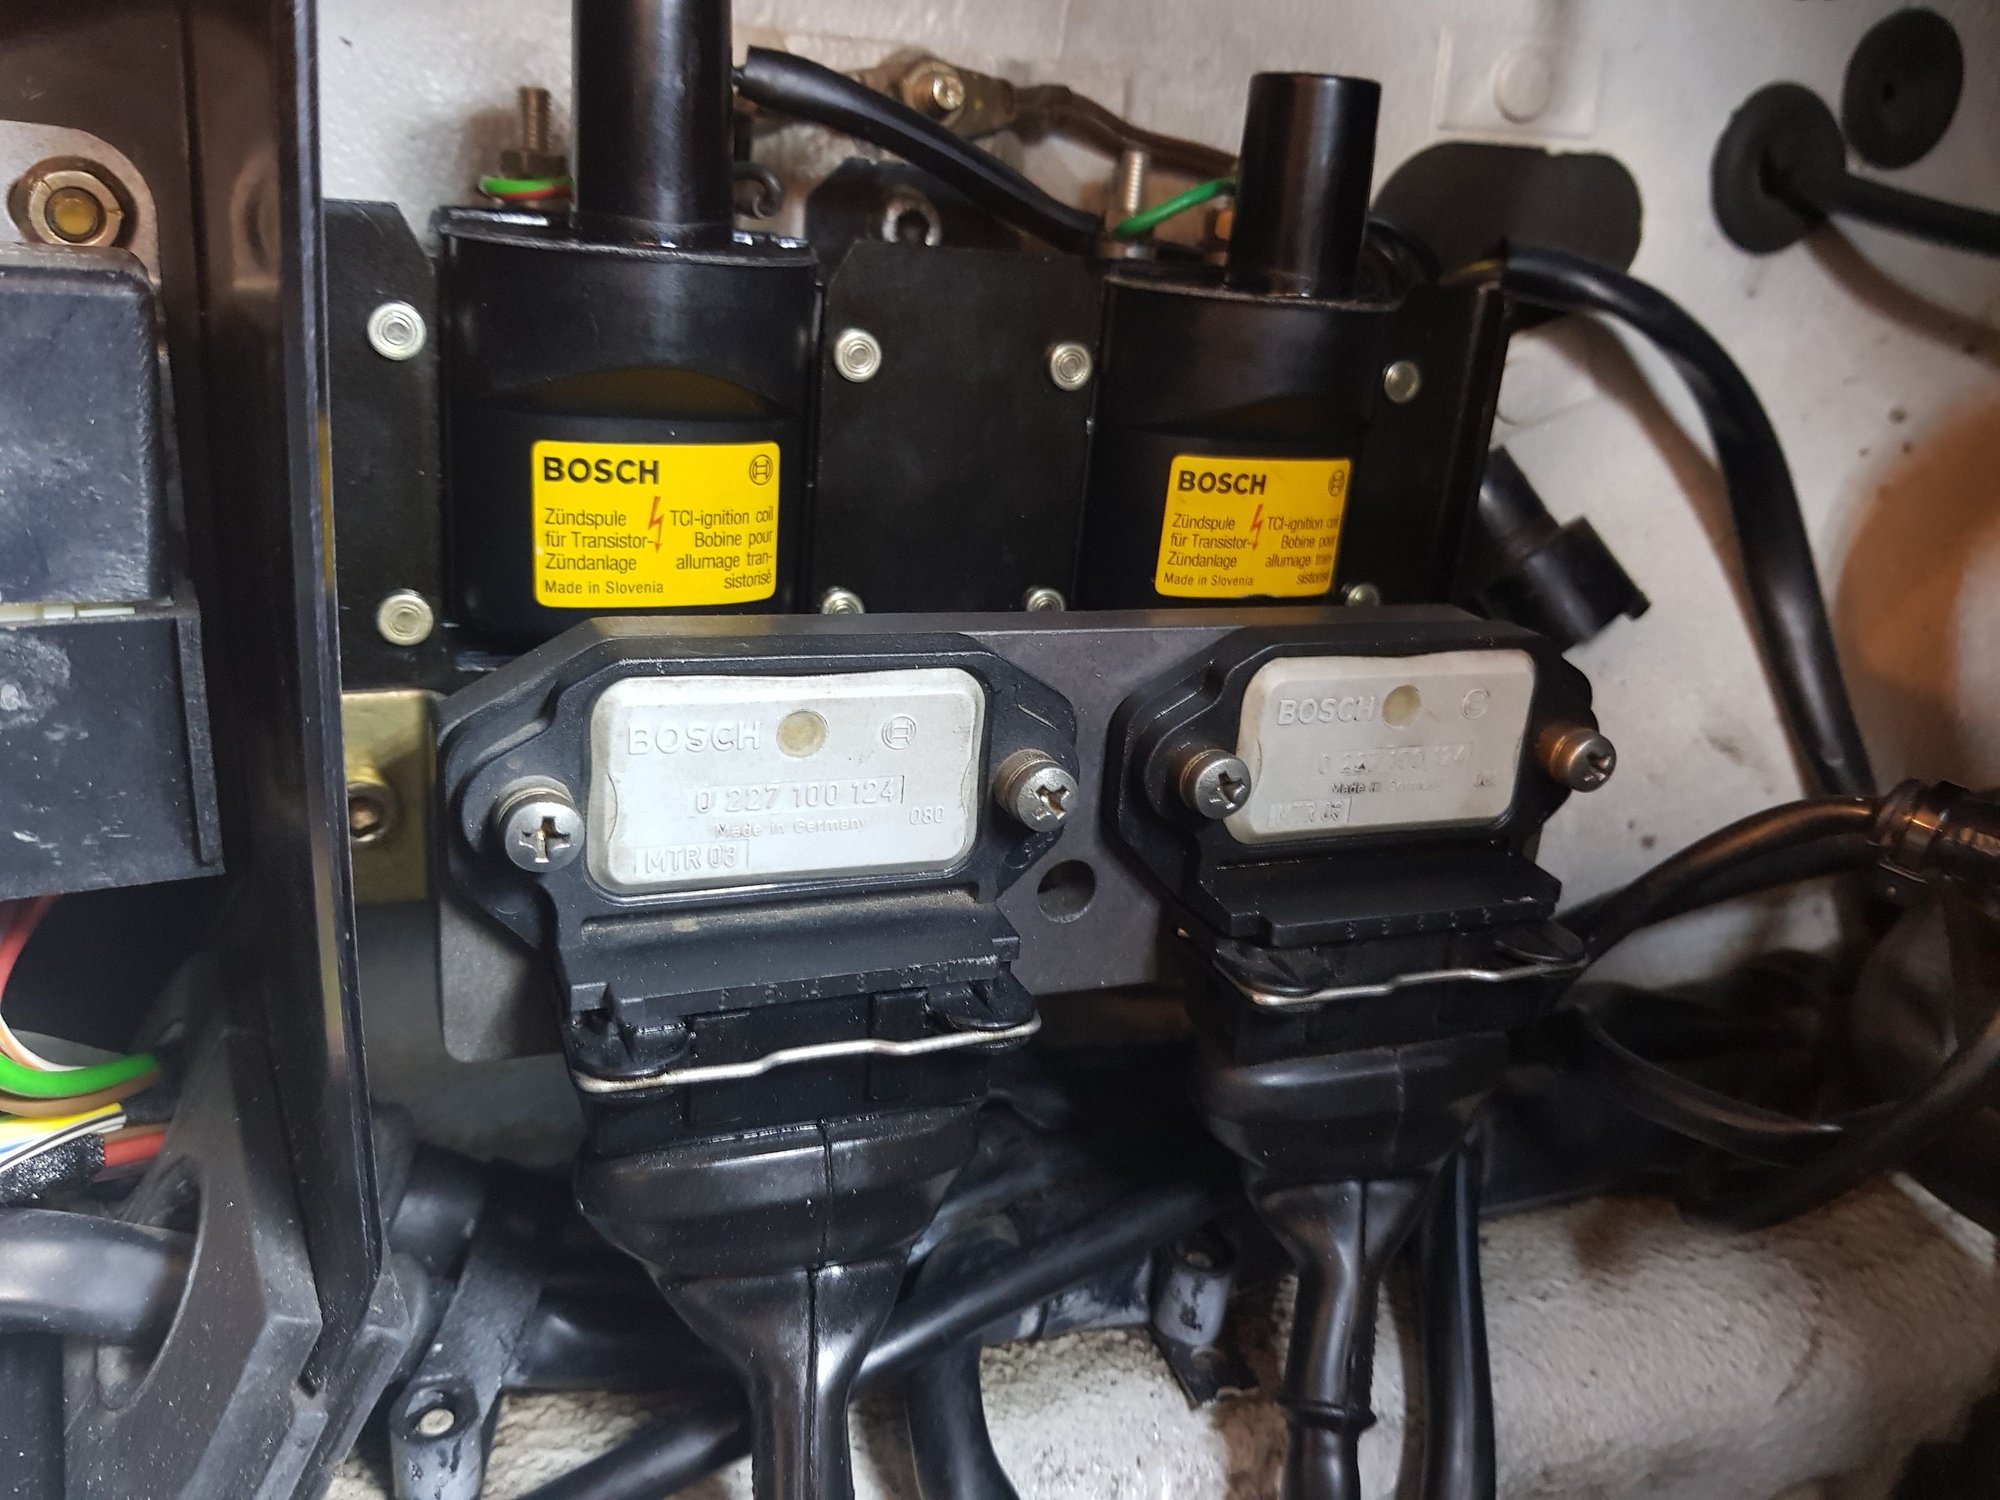
On mine you drill a high hole to mount the coils to the car on the top hole. Then drill a low hole on the coils, install a set screw and mount the switches to it.
I think I'm going to add a spacer between the switches and coils though just so they don't sit directly on the coils. Not sure how hot that heat sink gets, but I don't want to damage the coils.
#77
Rennlist Member
That heat sink gets pretty hot.
#79
Rennlist Member
yeah, probably a good idea. i never really looked closely at mine to see how my tech installed them....
i know they get hot as i visited the shop after tech was swapping a set of those things due to a start issue on a 964 they were building and grabbed one, while hot, and had blister to show for it. ouch.
i know they get hot as i visited the shop after tech was swapping a set of those things due to a start issue on a 964 they were building and grabbed one, while hot, and had blister to show for it. ouch.
#82
Rennlist Member
Assuming it matters, and I assume it does, does the right coil connect to the higher distributor and the left coil connect to the lower distributor, as in the original coil configuration?
#83
Rennlist Member
Yes - this also makes it easier in terms of wire length. I wrote up my coil upgrade with pictures here:
https://rennlist.com/forums/964-foru...l#post13191856
https://rennlist.com/forums/964-foru...l#post13191856
#84
Rennlist Member
Yes - this also makes it easier in terms of wire length. I wrote up my coil upgrade with pictures here:
https://rennlist.com/forums/964-foru...l#post13191856
https://rennlist.com/forums/964-foru...l#post13191856
Thanks. Since I didn't make a custom bracket, wondering if my wires will be damaged by heat sink contact?
#85
I wouldn't let them touch it, it gets hot. Also you'll want a little space between the sink and the coils. I can a spacer between mine and bolted them to that. Kinda, like how the original coils and sink are mounted.
Last edited by DobermanDad; 05-04-2016 at 07:52 AM.
#86
Drifting
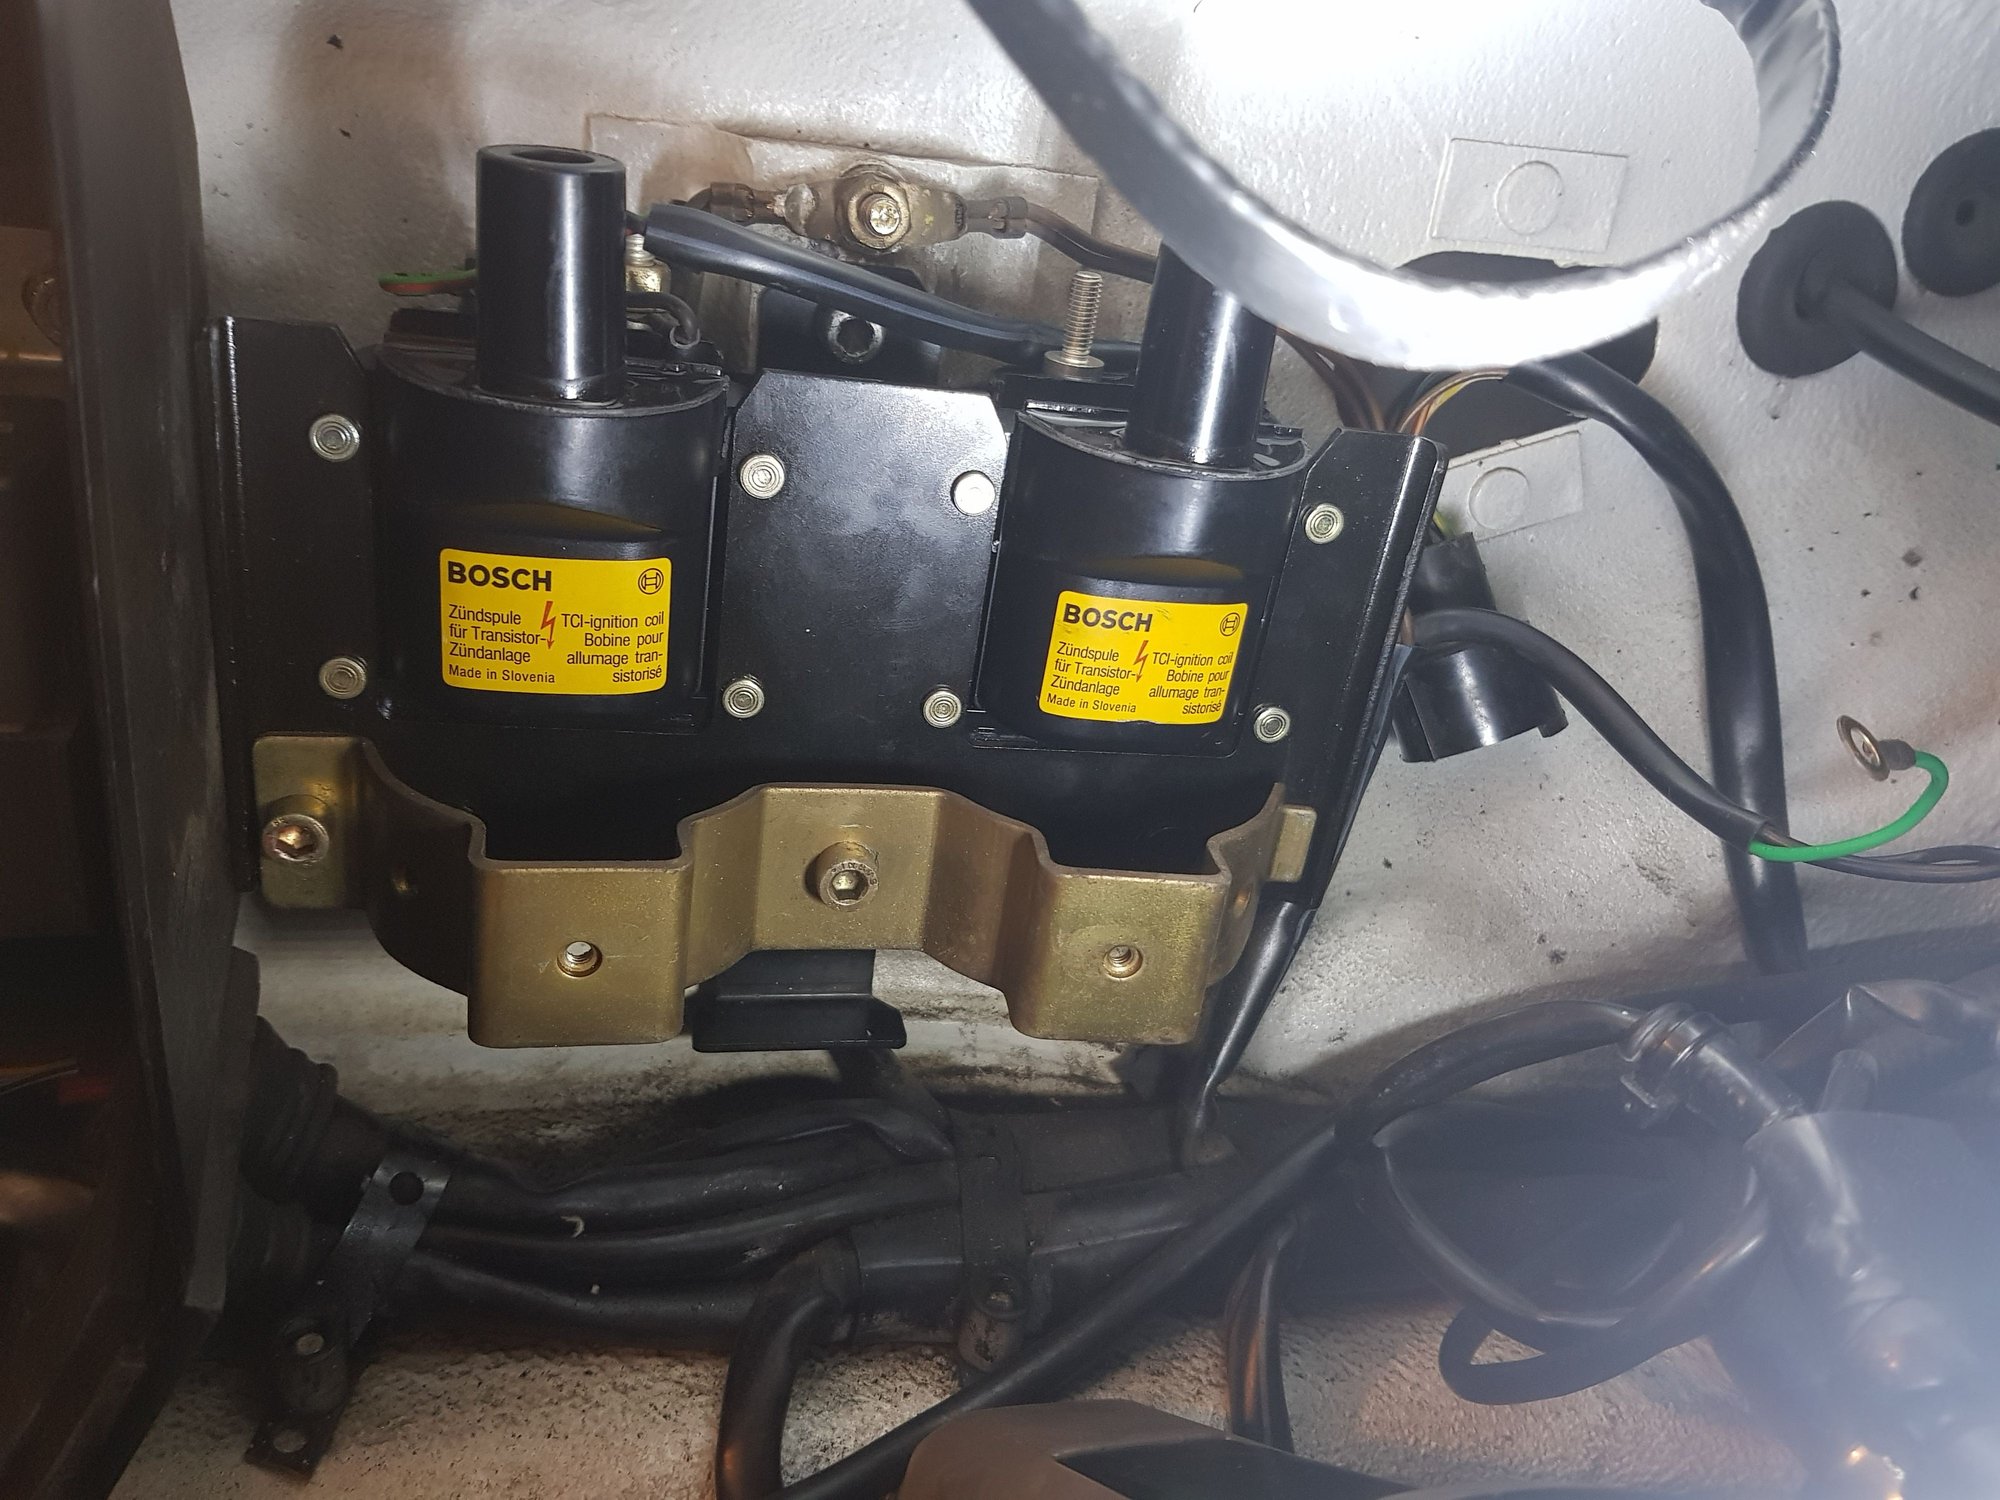
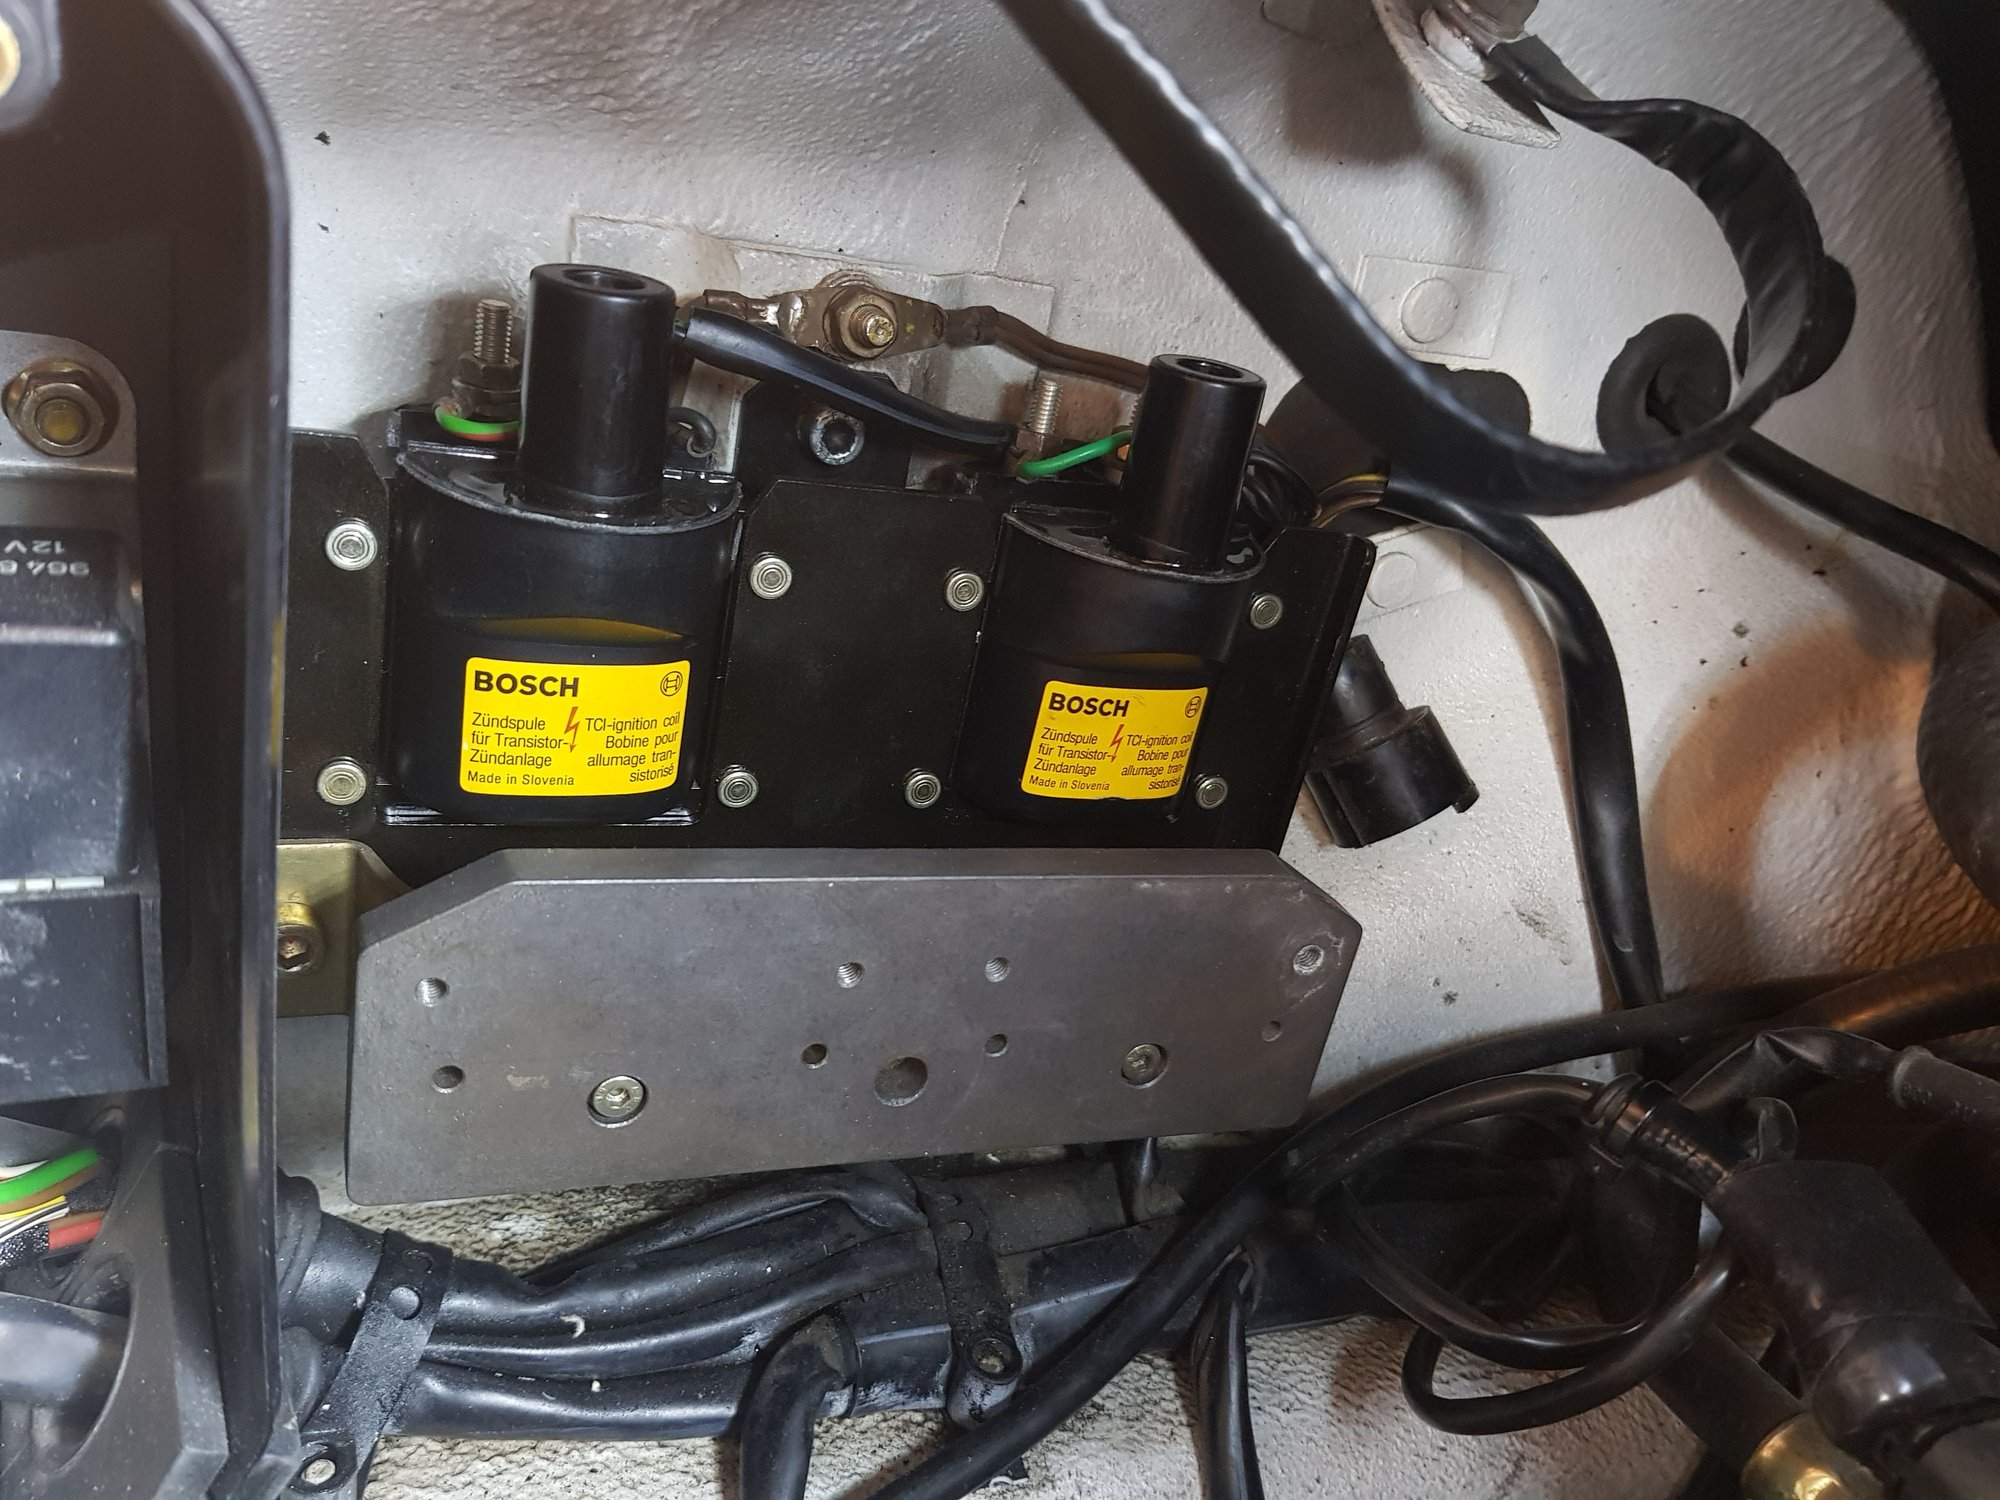
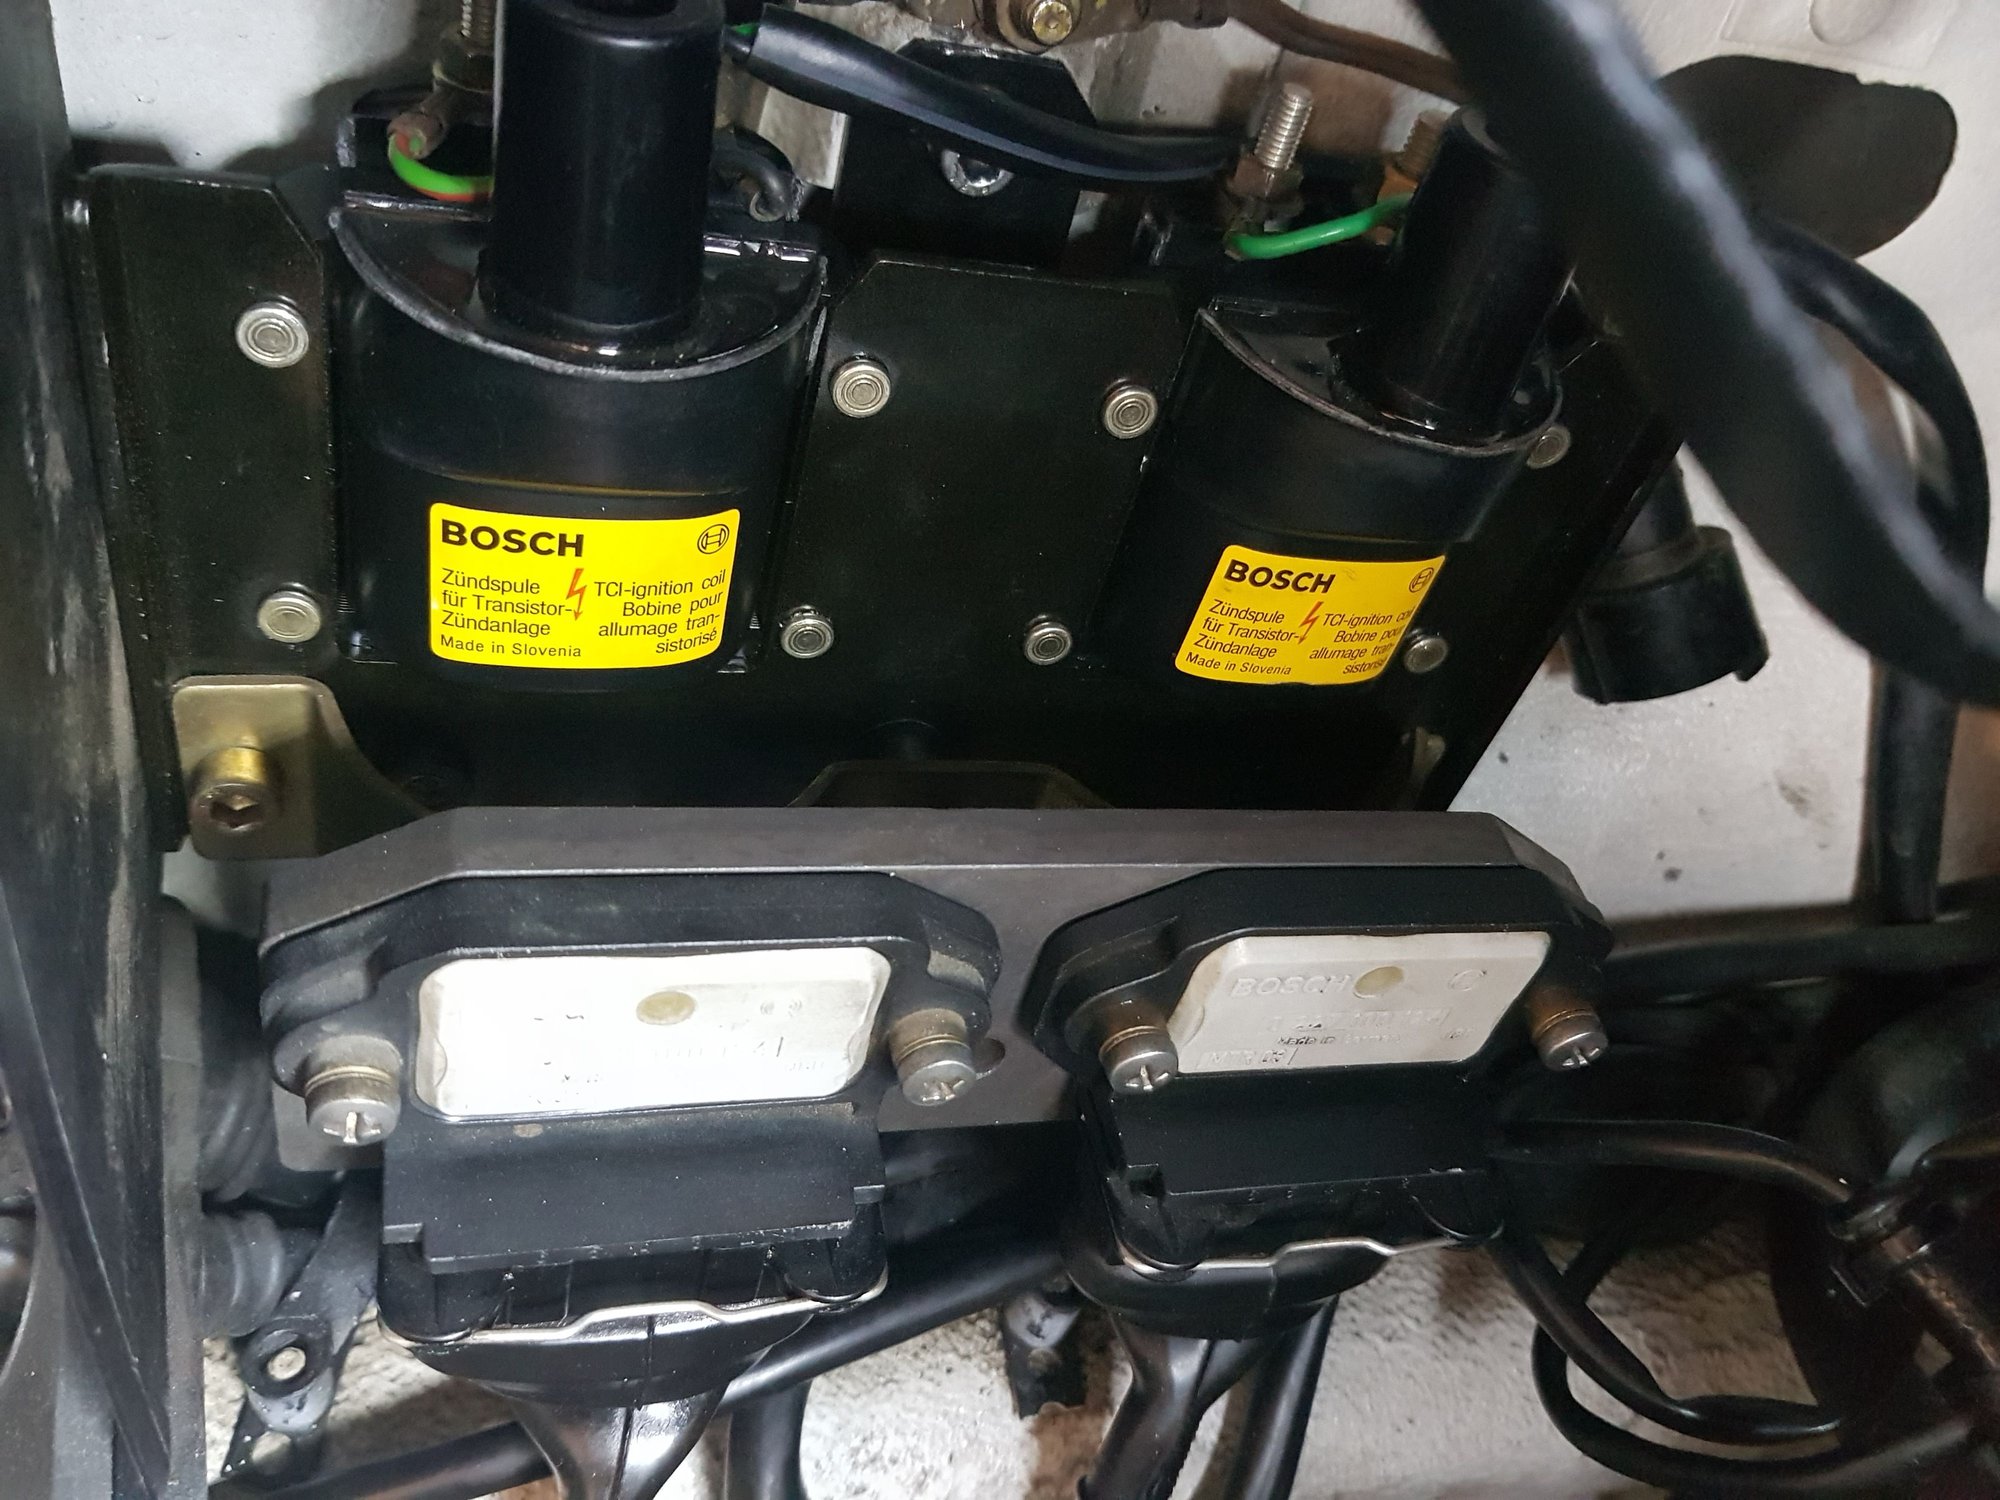
After two trackdays and some few miles on the street with the new coils I may be wrong. But the engine feels even smoother on low revs and notch stronger at the tourque top. There was no wrong with the old coils but they were 24 years old. So there could be a real difference. Never the less, happy with this upgrade!
#87
Rennlist Member
You can't tell in the picture, but I've got the sink separated from the coils with a 3/4" aluminum spacer. Just having a tough time figuring how to mount so that the wires don't touch the sink at all.
#88
Advanced
Join Date: Jan 2003
Location: Ft. Lauderdale
Posts: 53
Likes: 0
Received 0 Likes
on
0 Posts
Can someone confirm the 993 ends part # 928 602 557 00 are 1k ohm suppression? Are there any made that do not have the resistor?
And for those of you that replaced the entire cable, part #993.602.060.07 (.08), are they marked as 1K ohm?
Thanks,
Thomas
And for those of you that replaced the entire cable, part #993.602.060.07 (.08), are they marked as 1K ohm?
Thanks,
Thomas
#89
Do the 993 coil wires fit the 964 distributor, or do you need to swap the ends from the old wires to the new?
My 964 has had one coil replaced, and I think the other is dying too, so I'm looking at this upgrade.
Here's a parts list I've come up with, feel free to correct/amend
Coil wires, 1 each (if replacing):
964 602 060 07
964 602 060 08
Coil wire connector at coil pack qty 2:
928 602 557 00
Beru# 0 300 513 124 / 1 kOhm
replacement brass ignition wire conectors (for DIY coil wires):
???
993 dual coil pack:
993 602 071 00
993 coil pack covers:
993 602 801 00
#90
Race Car
After two trackdays and some few miles on the street with the new coils I may be wrong. But the engine feels even smoother on low revs and notch stronger at the tourque top. There was no wrong with the old coils but they were 24 years old. So there could be a real difference. Never the less, happy with this upgrade!
The following users liked this post:
cbracerx (03-30-2022)

