When you click on links to various merchants on this site and make a purchase, this can result in this site earning a commission. Affiliate programs and affiliations include, but are not limited to, the eBay Partner Network.
Dporto, Home Depot sells nice little spacer bushings that you can use to properly space out the heat shields. Cruise in their fastener aisle they have bins with a wide selection of sizes.
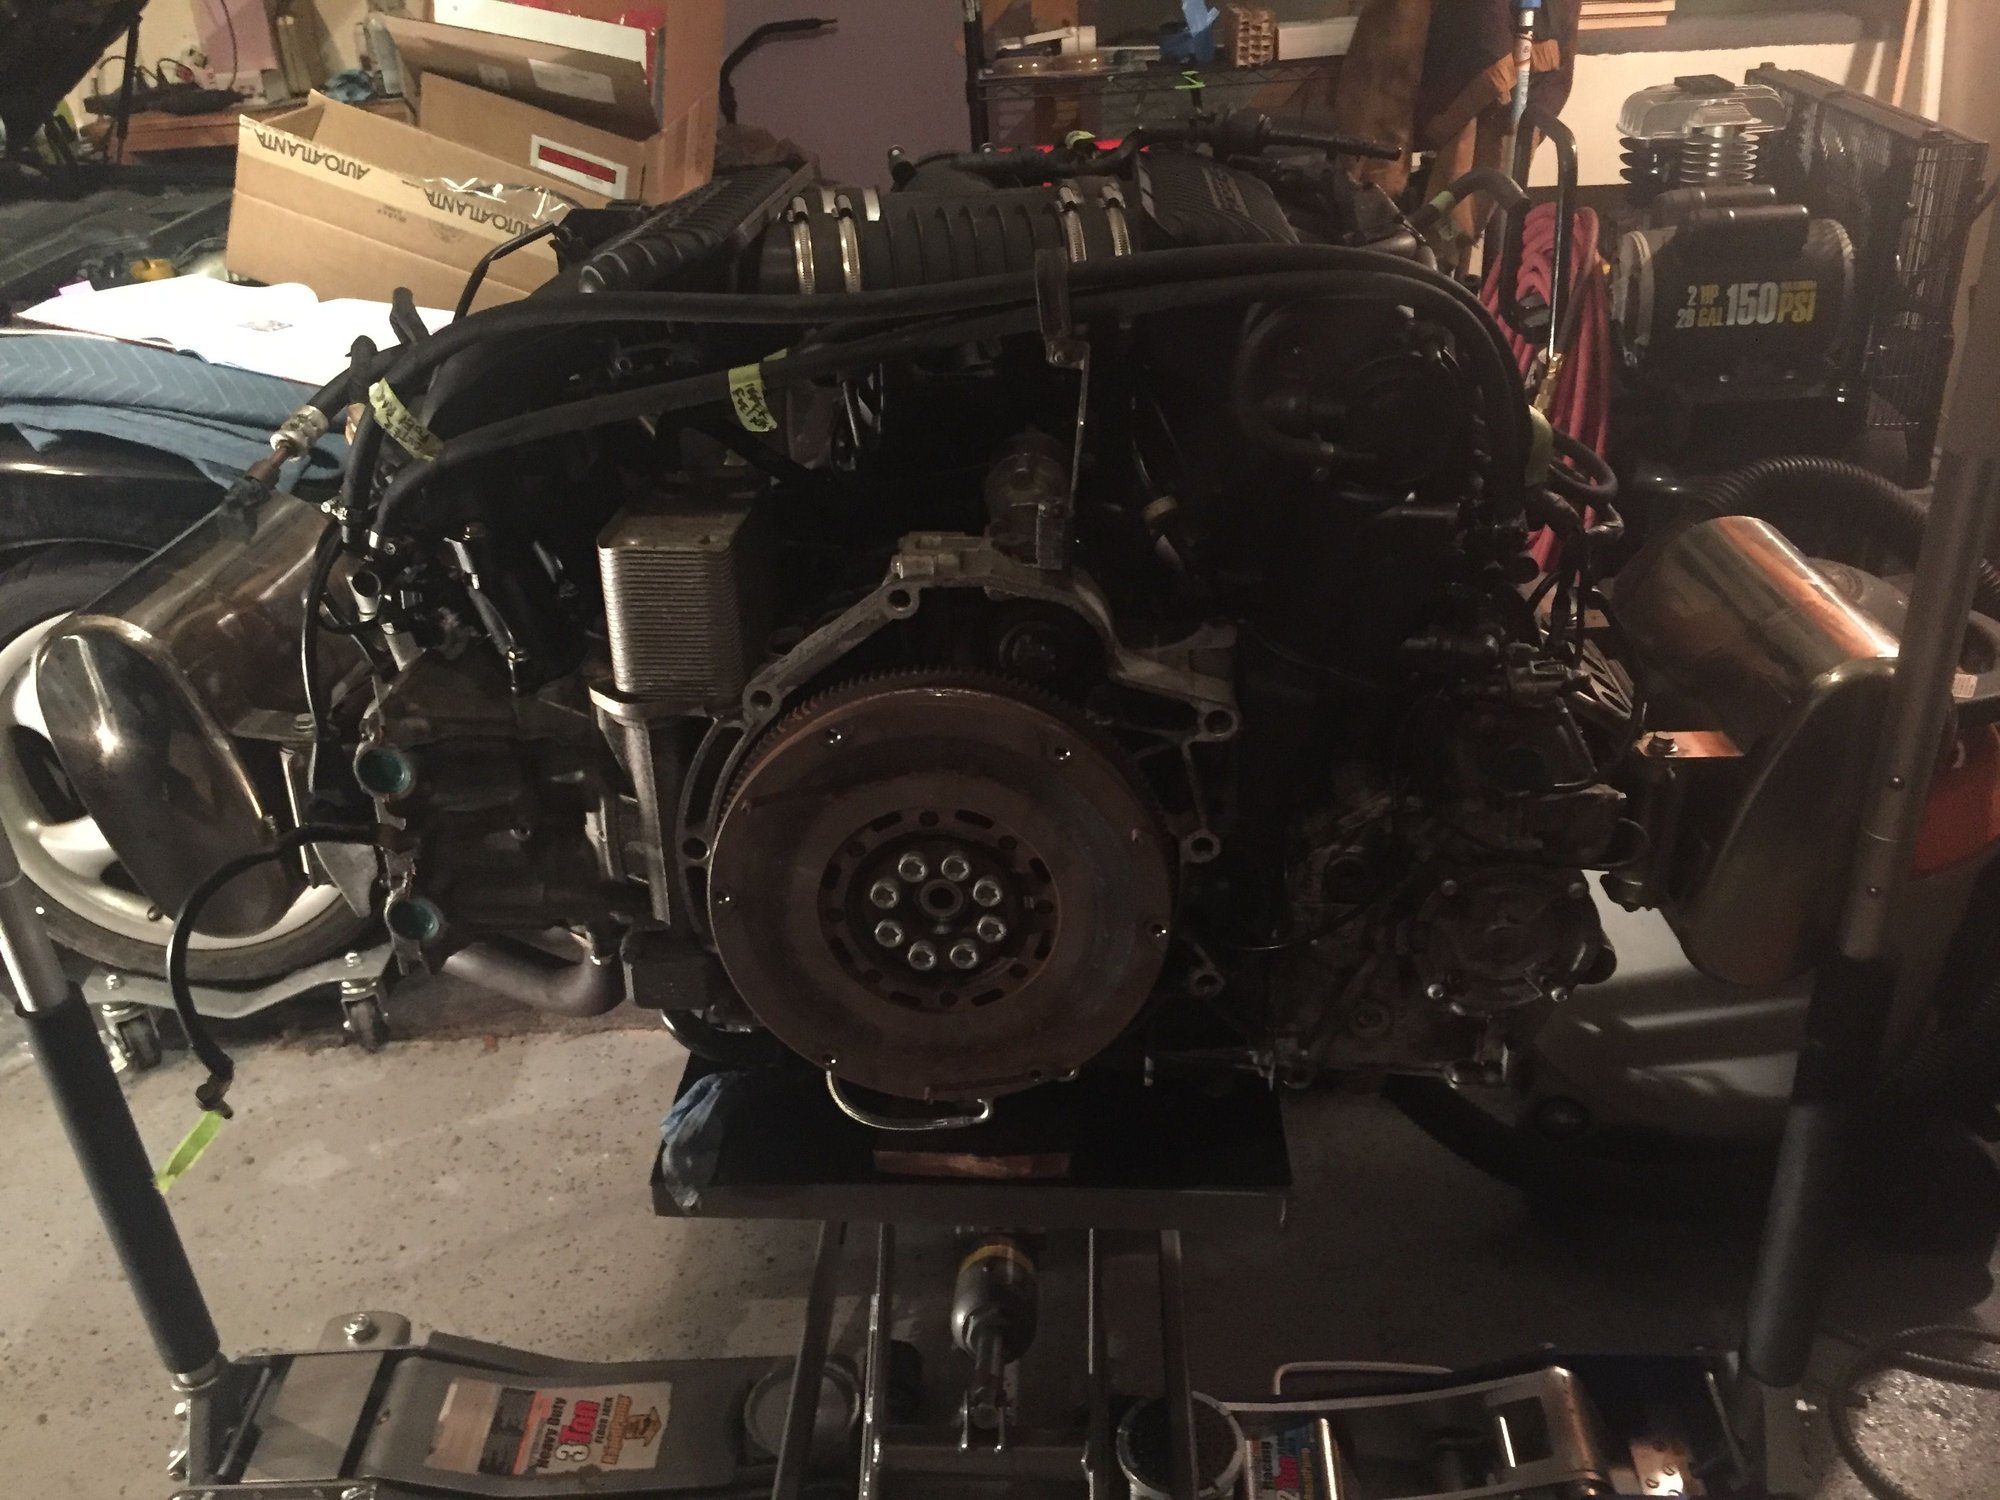
Ah, thanks - I actually had some at home that I saved a few years ago - always knew I'd use them some day Last night I cleaned up the shop, reorganized all my tools, prepped the path to move the engine back to the rear of the car where I'll mount up the transmission. At that point, I transffered the engine from the engine stand back onto the hydraulic table - about two hours all told including clean-up. At that point I started to install the Flywheel/Clutch. I didn't get very far as the pilot bearing was a super tight fit and it didn't want to start very straight. Instead of trying to mash it in there, I decided to back off, throw the bearing in the freezer and come back the next time I get a little time to work (who knows when, with the holiday coming up...).
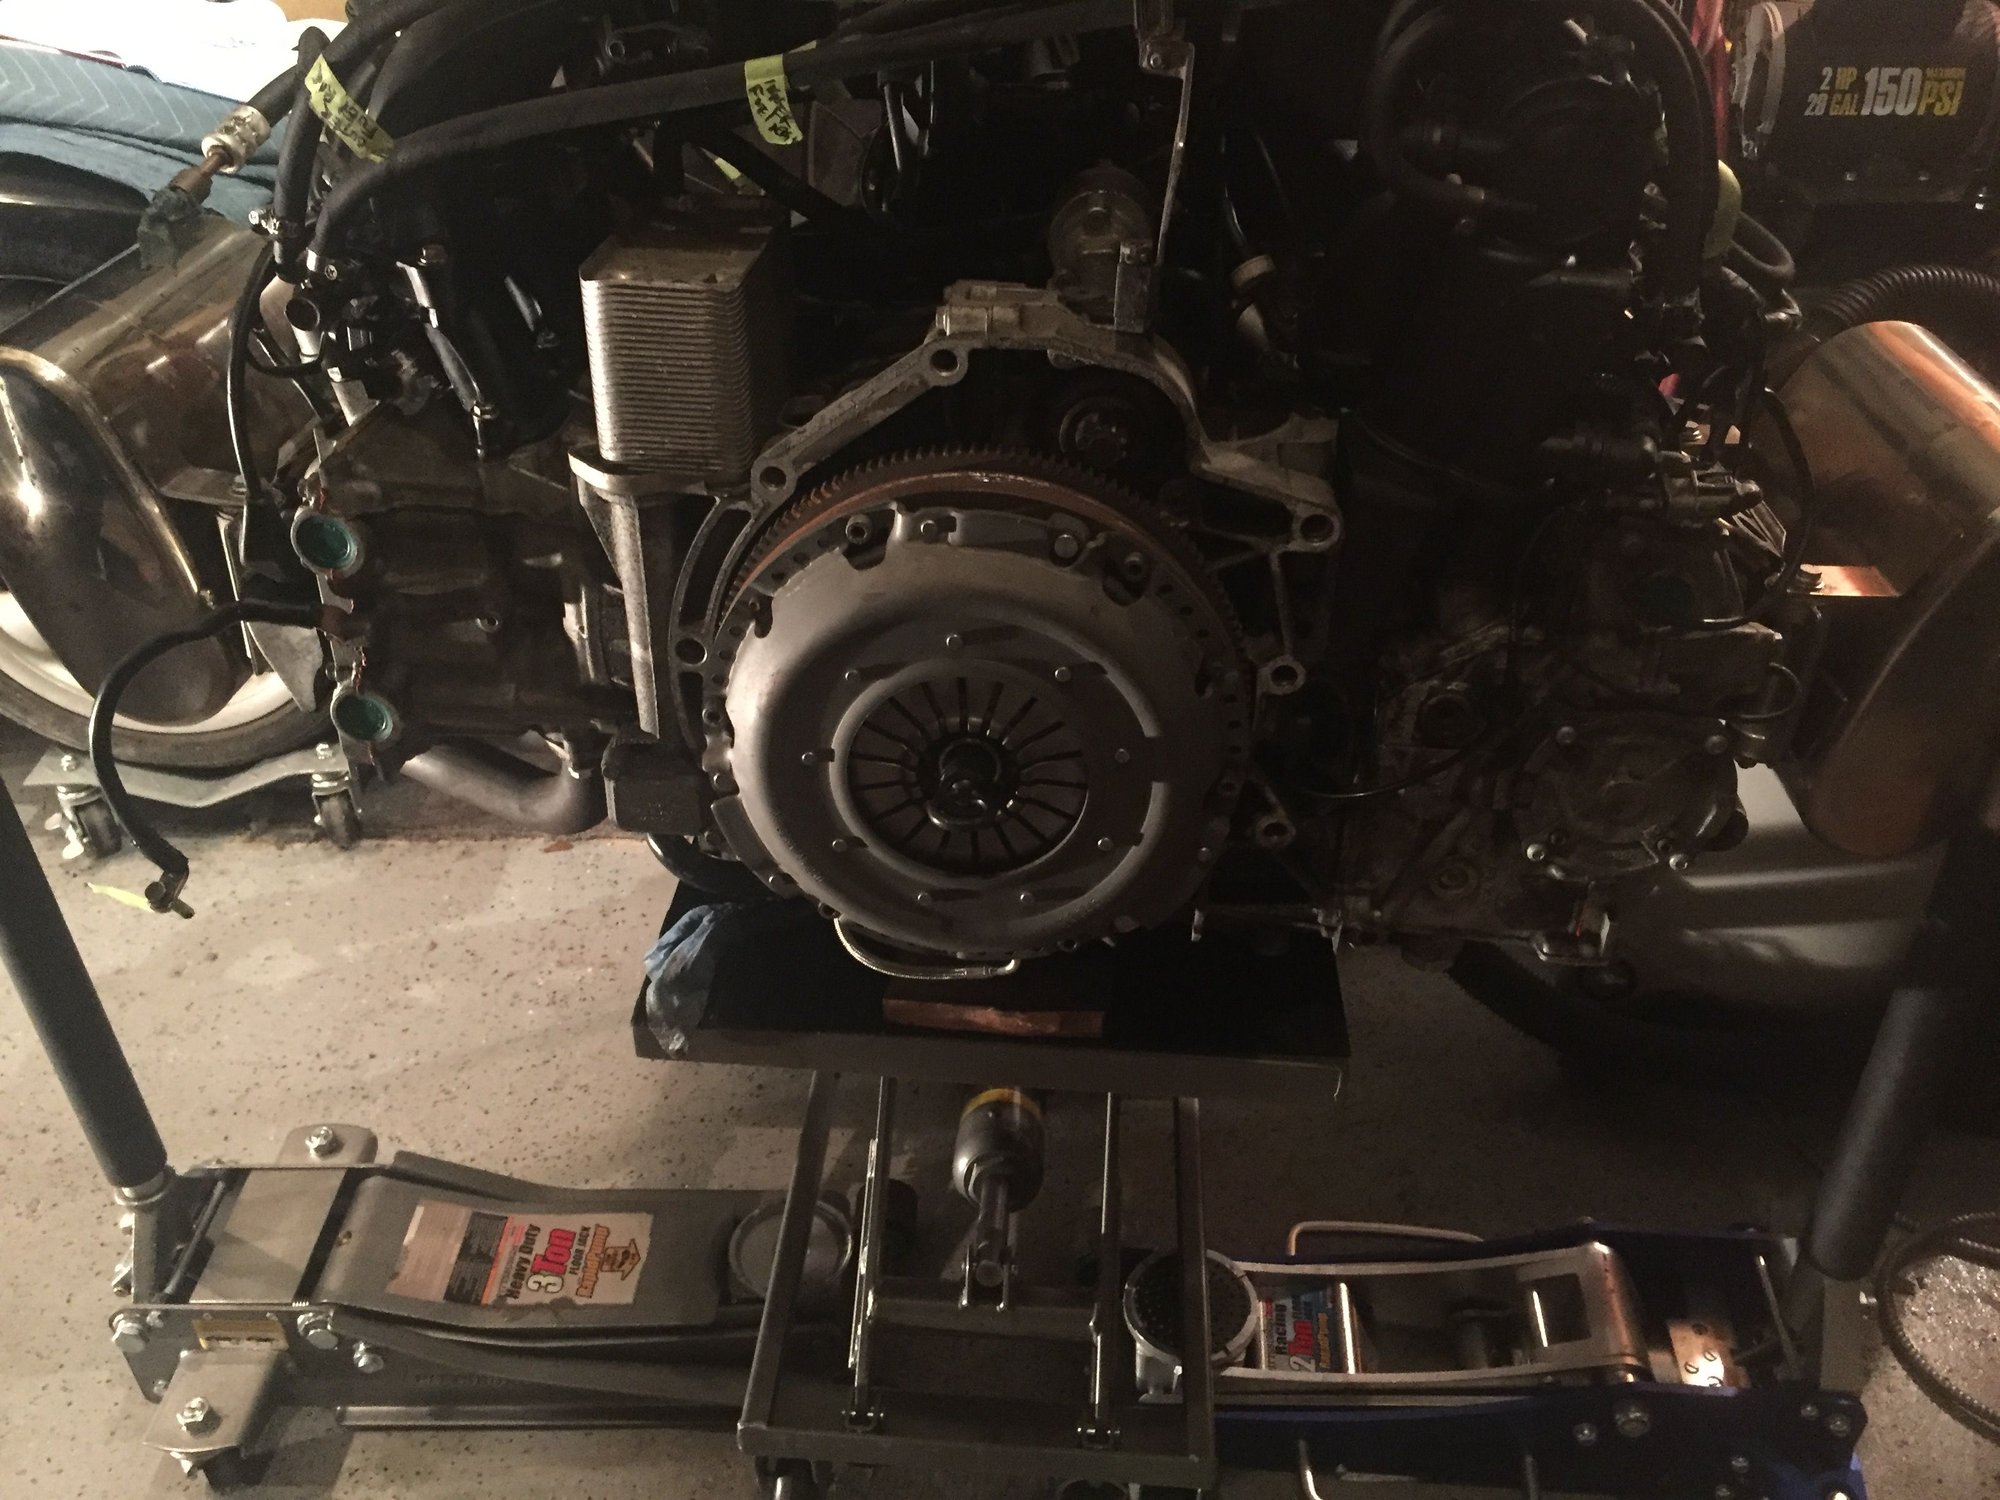
I got 2 hrs. In this afternoon. Installed the flywheel, clutch disk & pressure plate. I then mounted the transmission to the engine...
Flywheel on- new bolts, torqued to 19ft lbs + 90 degrees... New clutch disk and pressure plate (Sachs) Transmission lined up and ready to go All bolted up and torqued. Will start to reinstall tomorrow
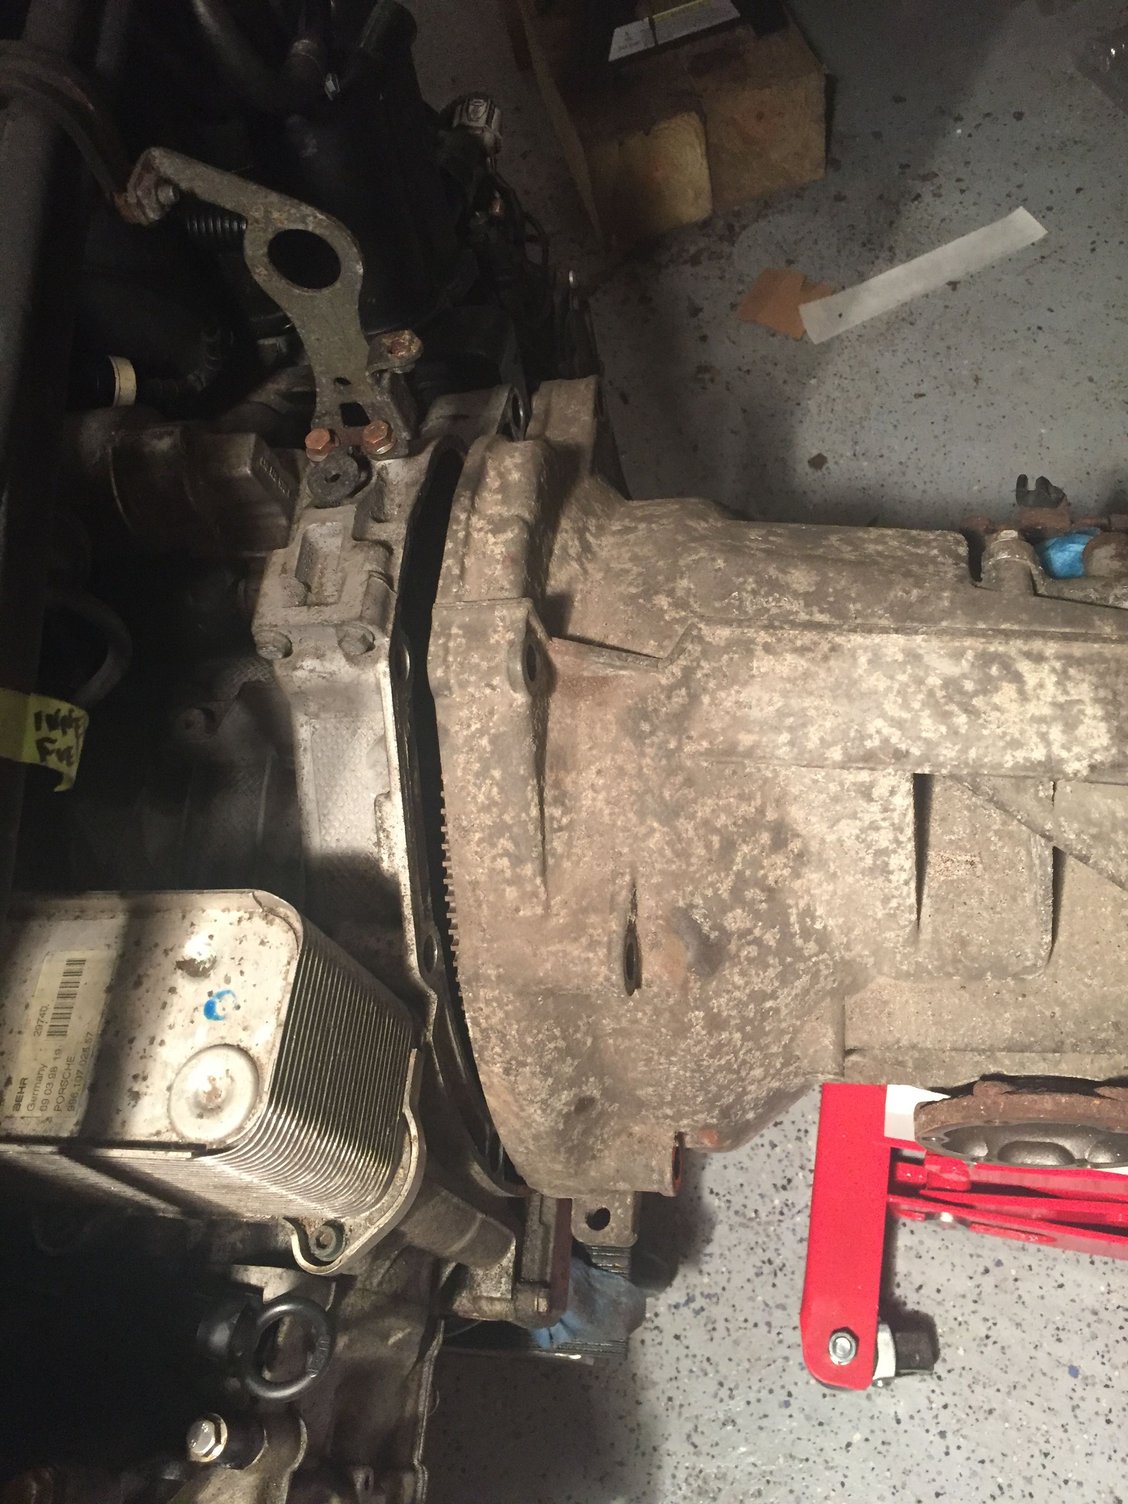
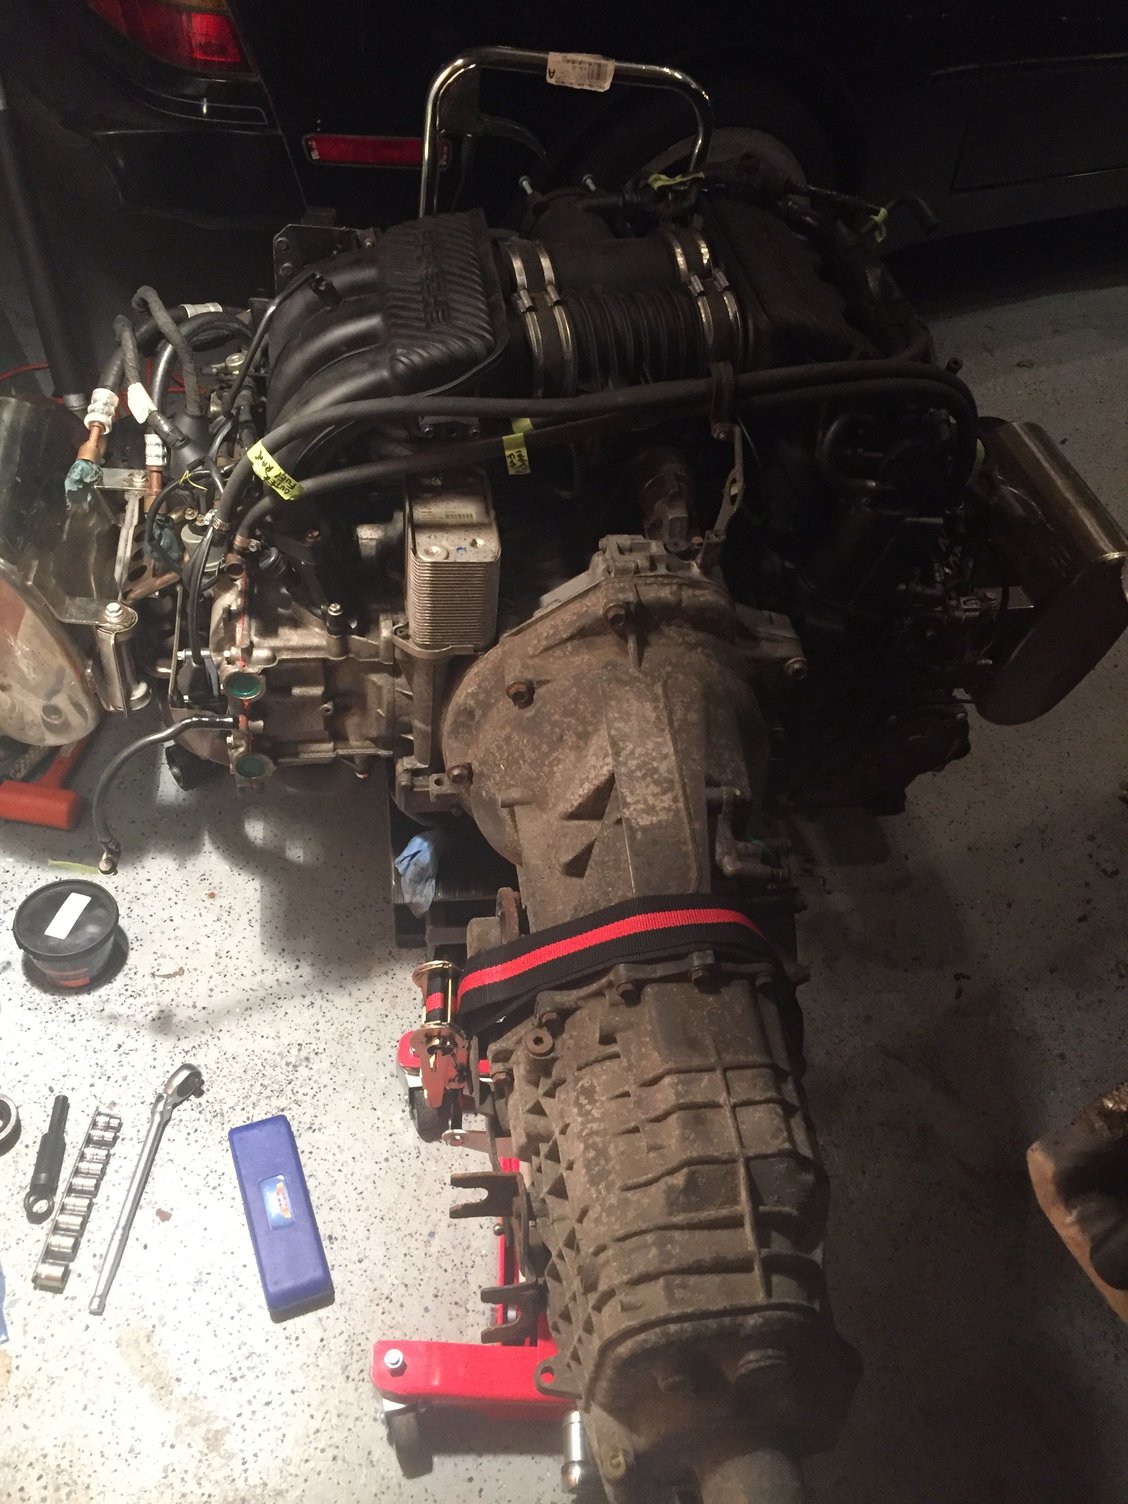
All lined up and ready to go Up it goes... Almost there And it's in
Got the engine back in this morning. Everything went extremely smoothly albeit slow and a little fiddly... The hydraulic table I'm using is only rated at 500 lbs. so it won't lift the engine from its fully lowered position. I have to position floor jacks on either side and lift the top part of the table with the jacks, then pump up the cylinder. Once it's about halfway up, the hydraulics have enough oomph that lift it the rest of the way...
Hmmm, got what seemed like only a little done today, especially as I had a second pair of hands (and a good brain) working with me - my son! I knew I'd need him since we couldn't find the pressurized bleeder (for the clutch slave cylinder). I didn't take the slave cylinder off the transmission when I removed it (it seemed like lots of people have trouble with exploding slave cylinders)- I just removed the hydraulic line. Fortunately I hadn't secured the transmission yet (it was still sitting on the jack) so I was able to lower it enough to where I could thread the flare nut into the slave cylinder - it wasn't easy, as the nut kept binding on the line, but eventually after what seemed like a thousand 1/8 to 1/4 turns I was able to cinch it up.
Then came the bleeding of the line...It seemed to take forever - thank god my son was there to open and close the bleeder screw as I worked the clutch pedal. It must have taken 40 - 60 open/push/close/pull pedal up/ repeat cycles (including checking/topping up fluid) and a quart of ATE fluid before I got the pedal where it should be. At the halfway point, I was really starting to wonder whether something was wrong...Pressurized bleeder highly recommended...After that, I was able to get the transmission carriers mounted and the tranny all bolted up and properly torqued. The Knowledge Gruppe torque book has been an absolute godsend! If I had to look through the Bentley Book for all the t values, I would have spent at least a couple extra hours so far. No photos tonight, as it's all straight forward stuff and I was pressed for time...
Today (After work - almost 3 hrs.) I got the transmission cables hooked up and zip tied into the brackets - also used plenty of anti-seize between the cable body and bracket to keep it from fusing together again... Transmission shifts like it should. Reconnected rear CV joints to transaxle and installed the rear crossmember. Reconnected all coolant hoses, throttle body, Power steering reservoir (also filled with fluid - for now), airbox/maf sensor. Getting closer...
Today (After work - almost 3 hrs.) I got the transmission cables hooked up and zip tied into the brackets - also used plenty of anti-seize between the cable body and bracket to keep it from fusing together again... Transmission shifts like it should. Reconnected rear CV joints to transaxle and installed the rear crossmember. Reconnected all coolant hoses, throttle body, Power steering reservoir (also filled with fluid - for now), airbox/maf sensor. Getting closer...
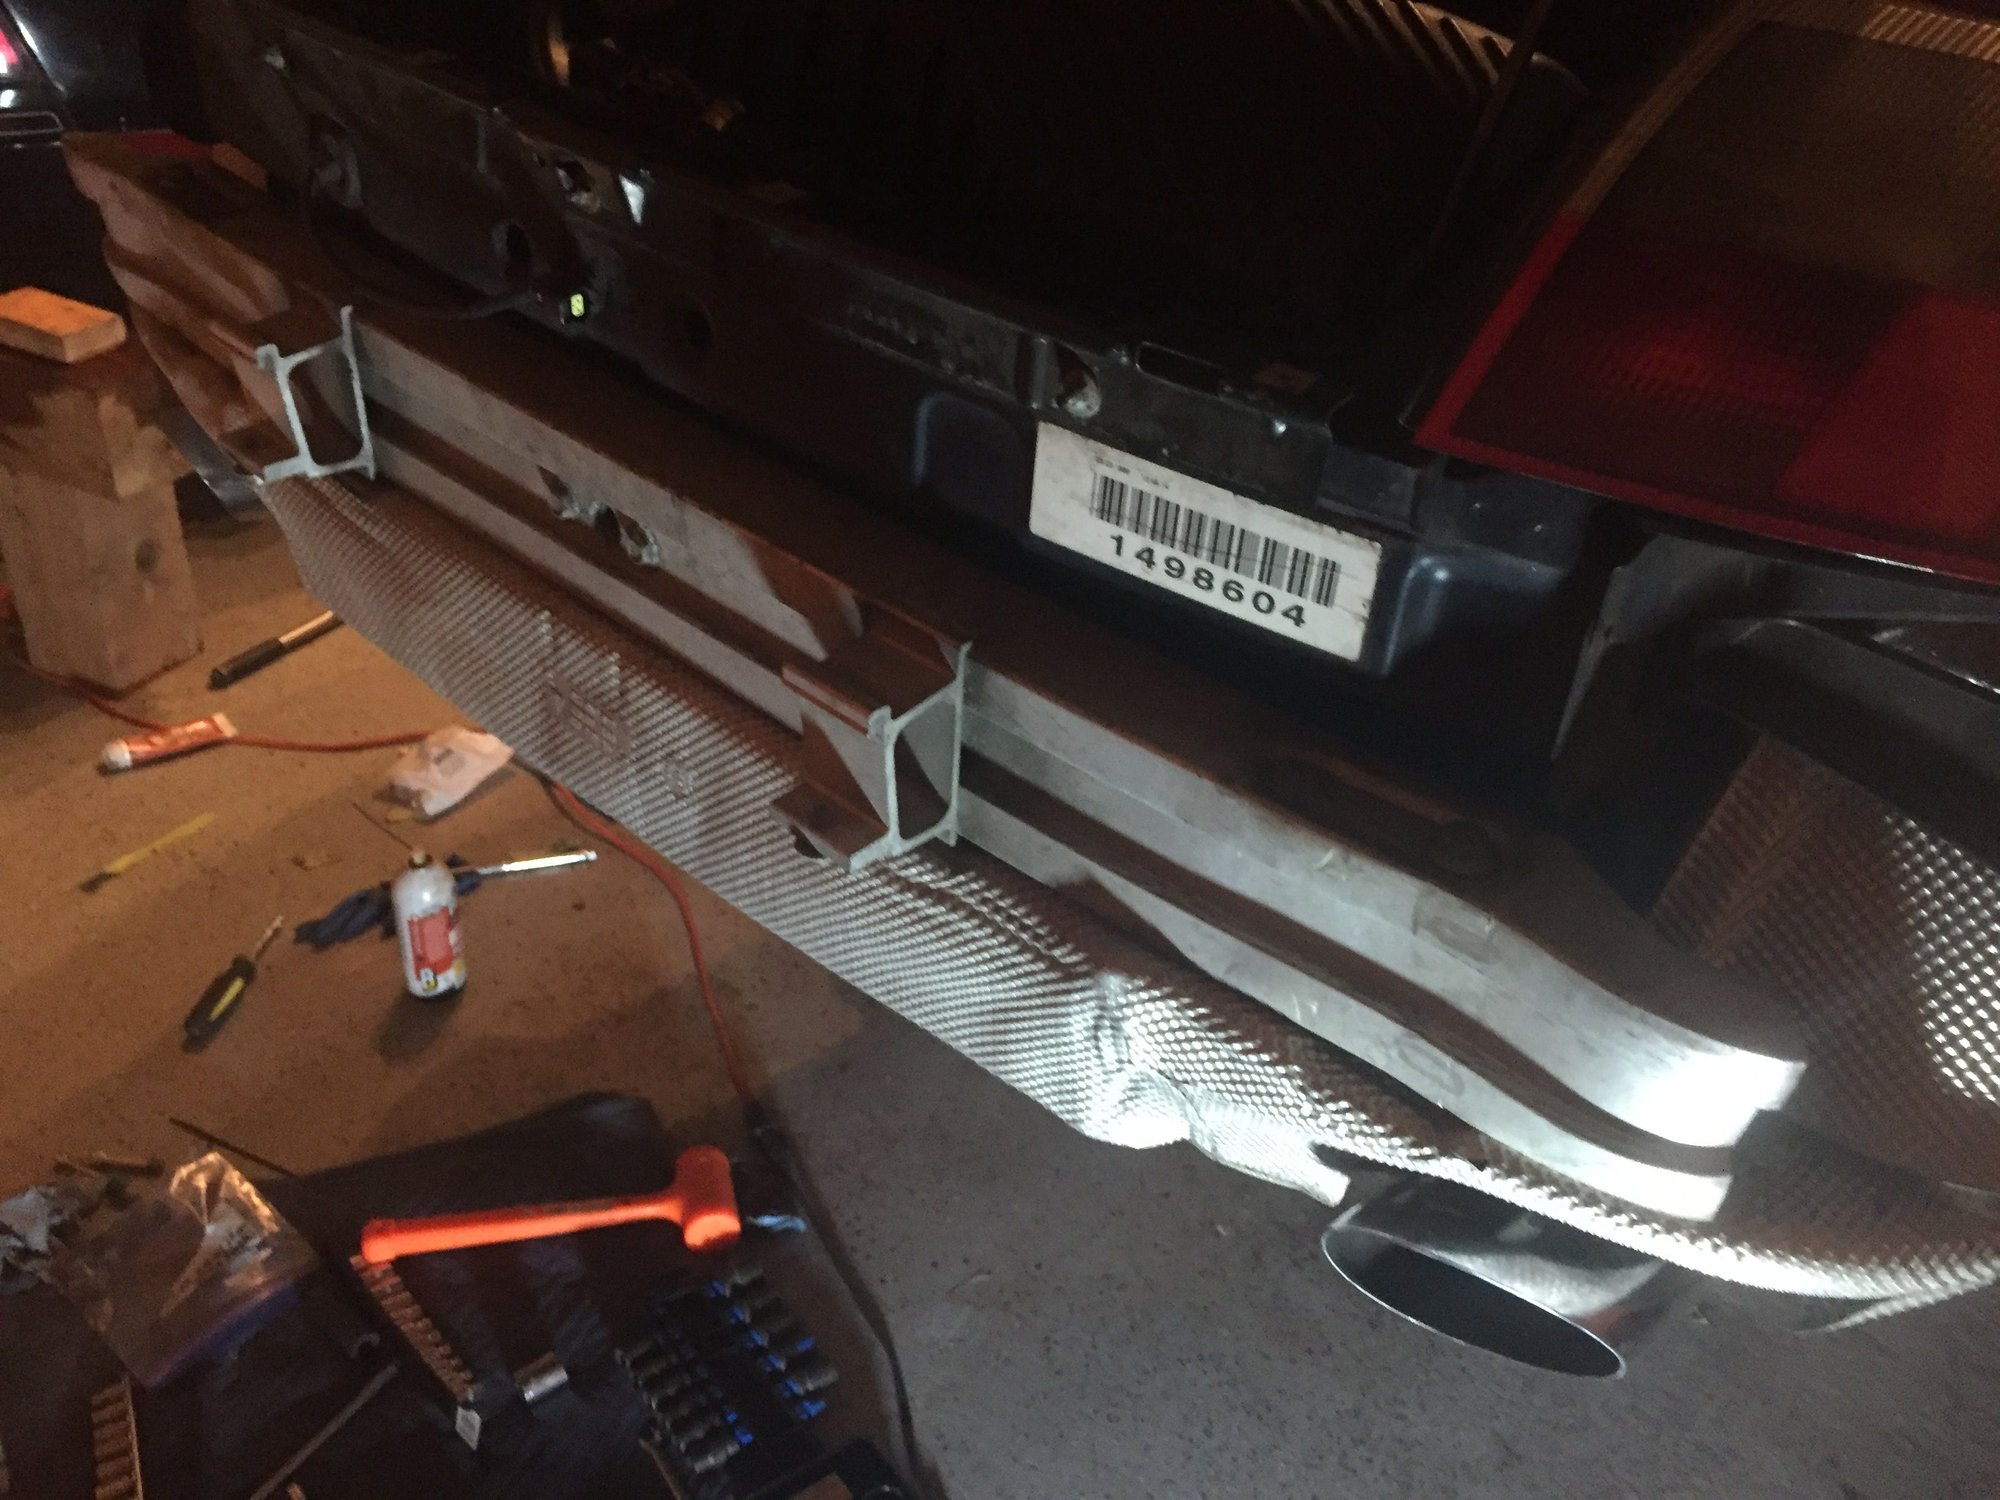
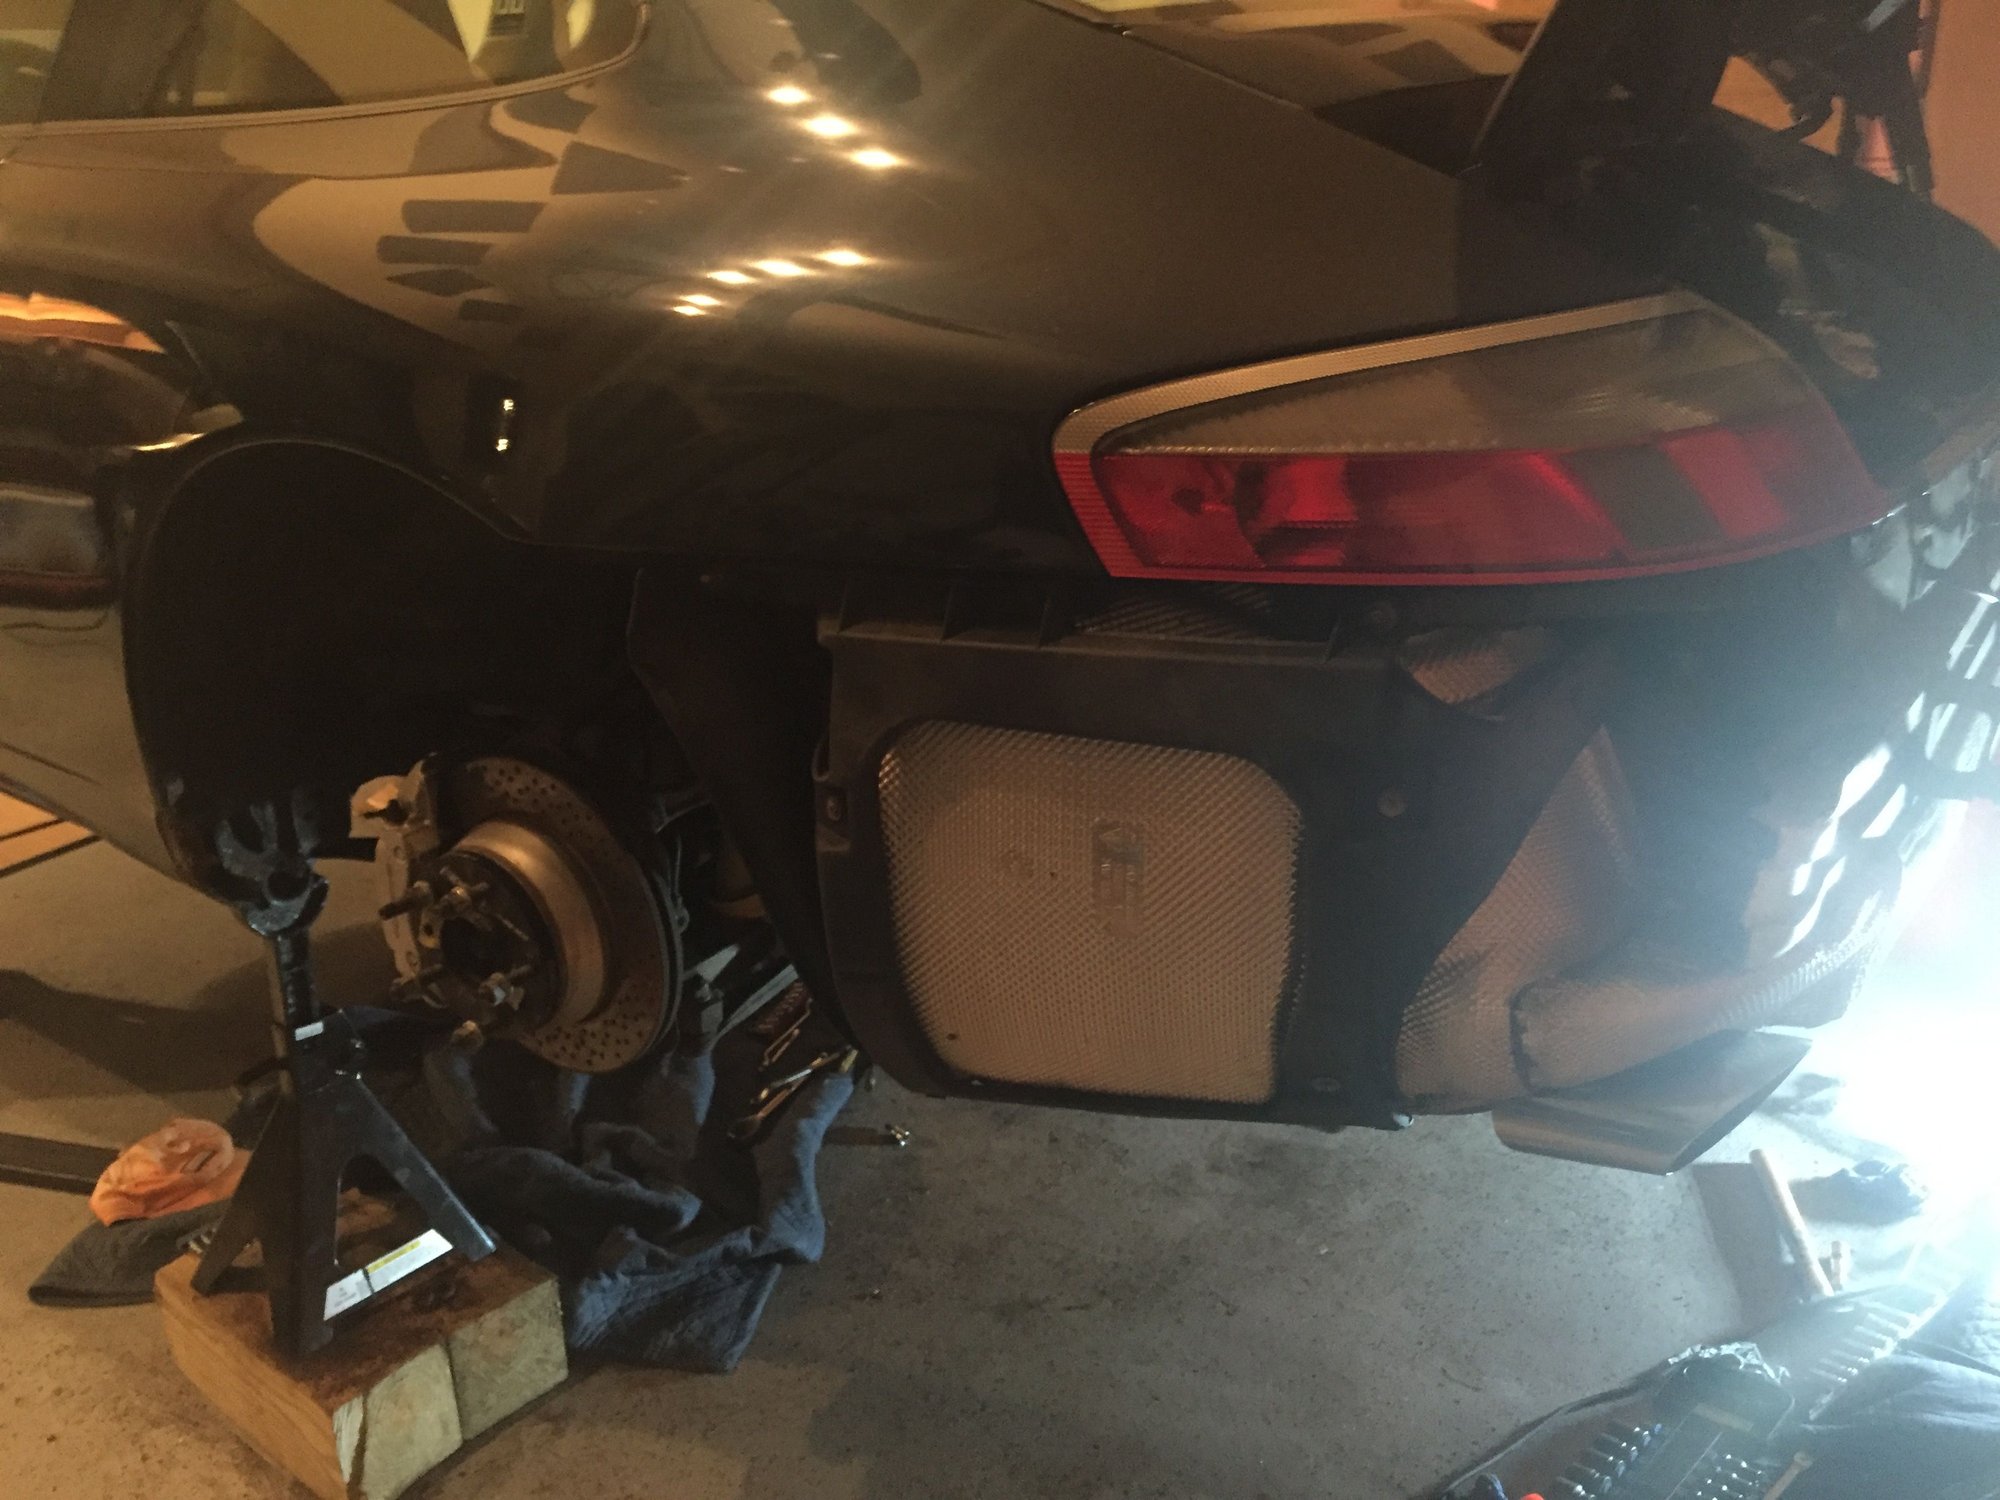
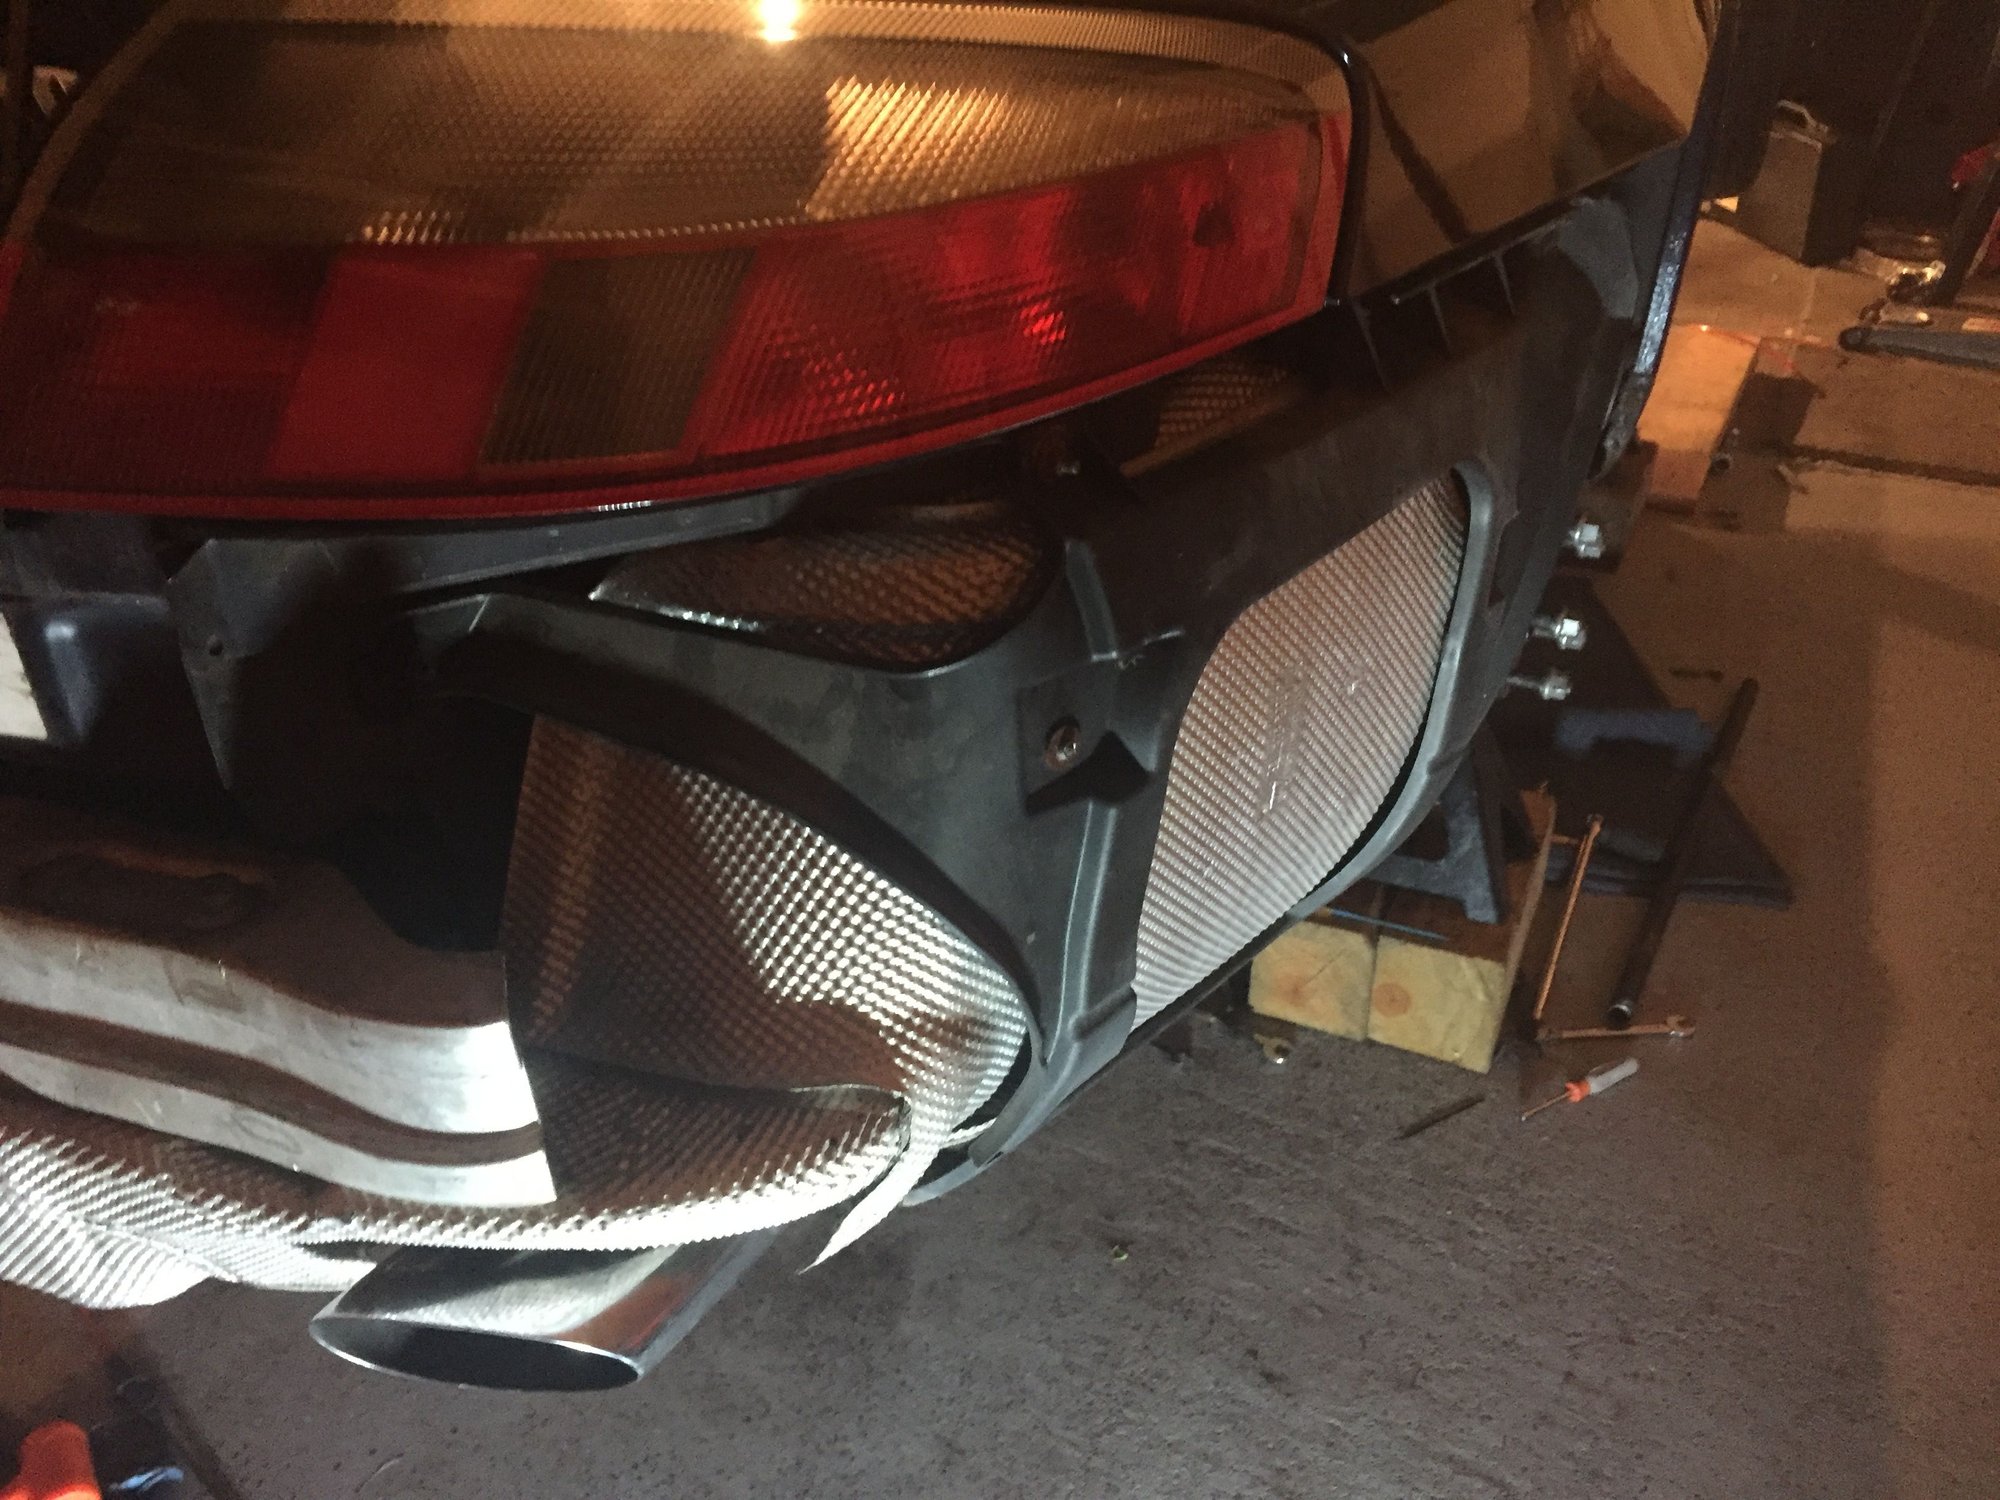
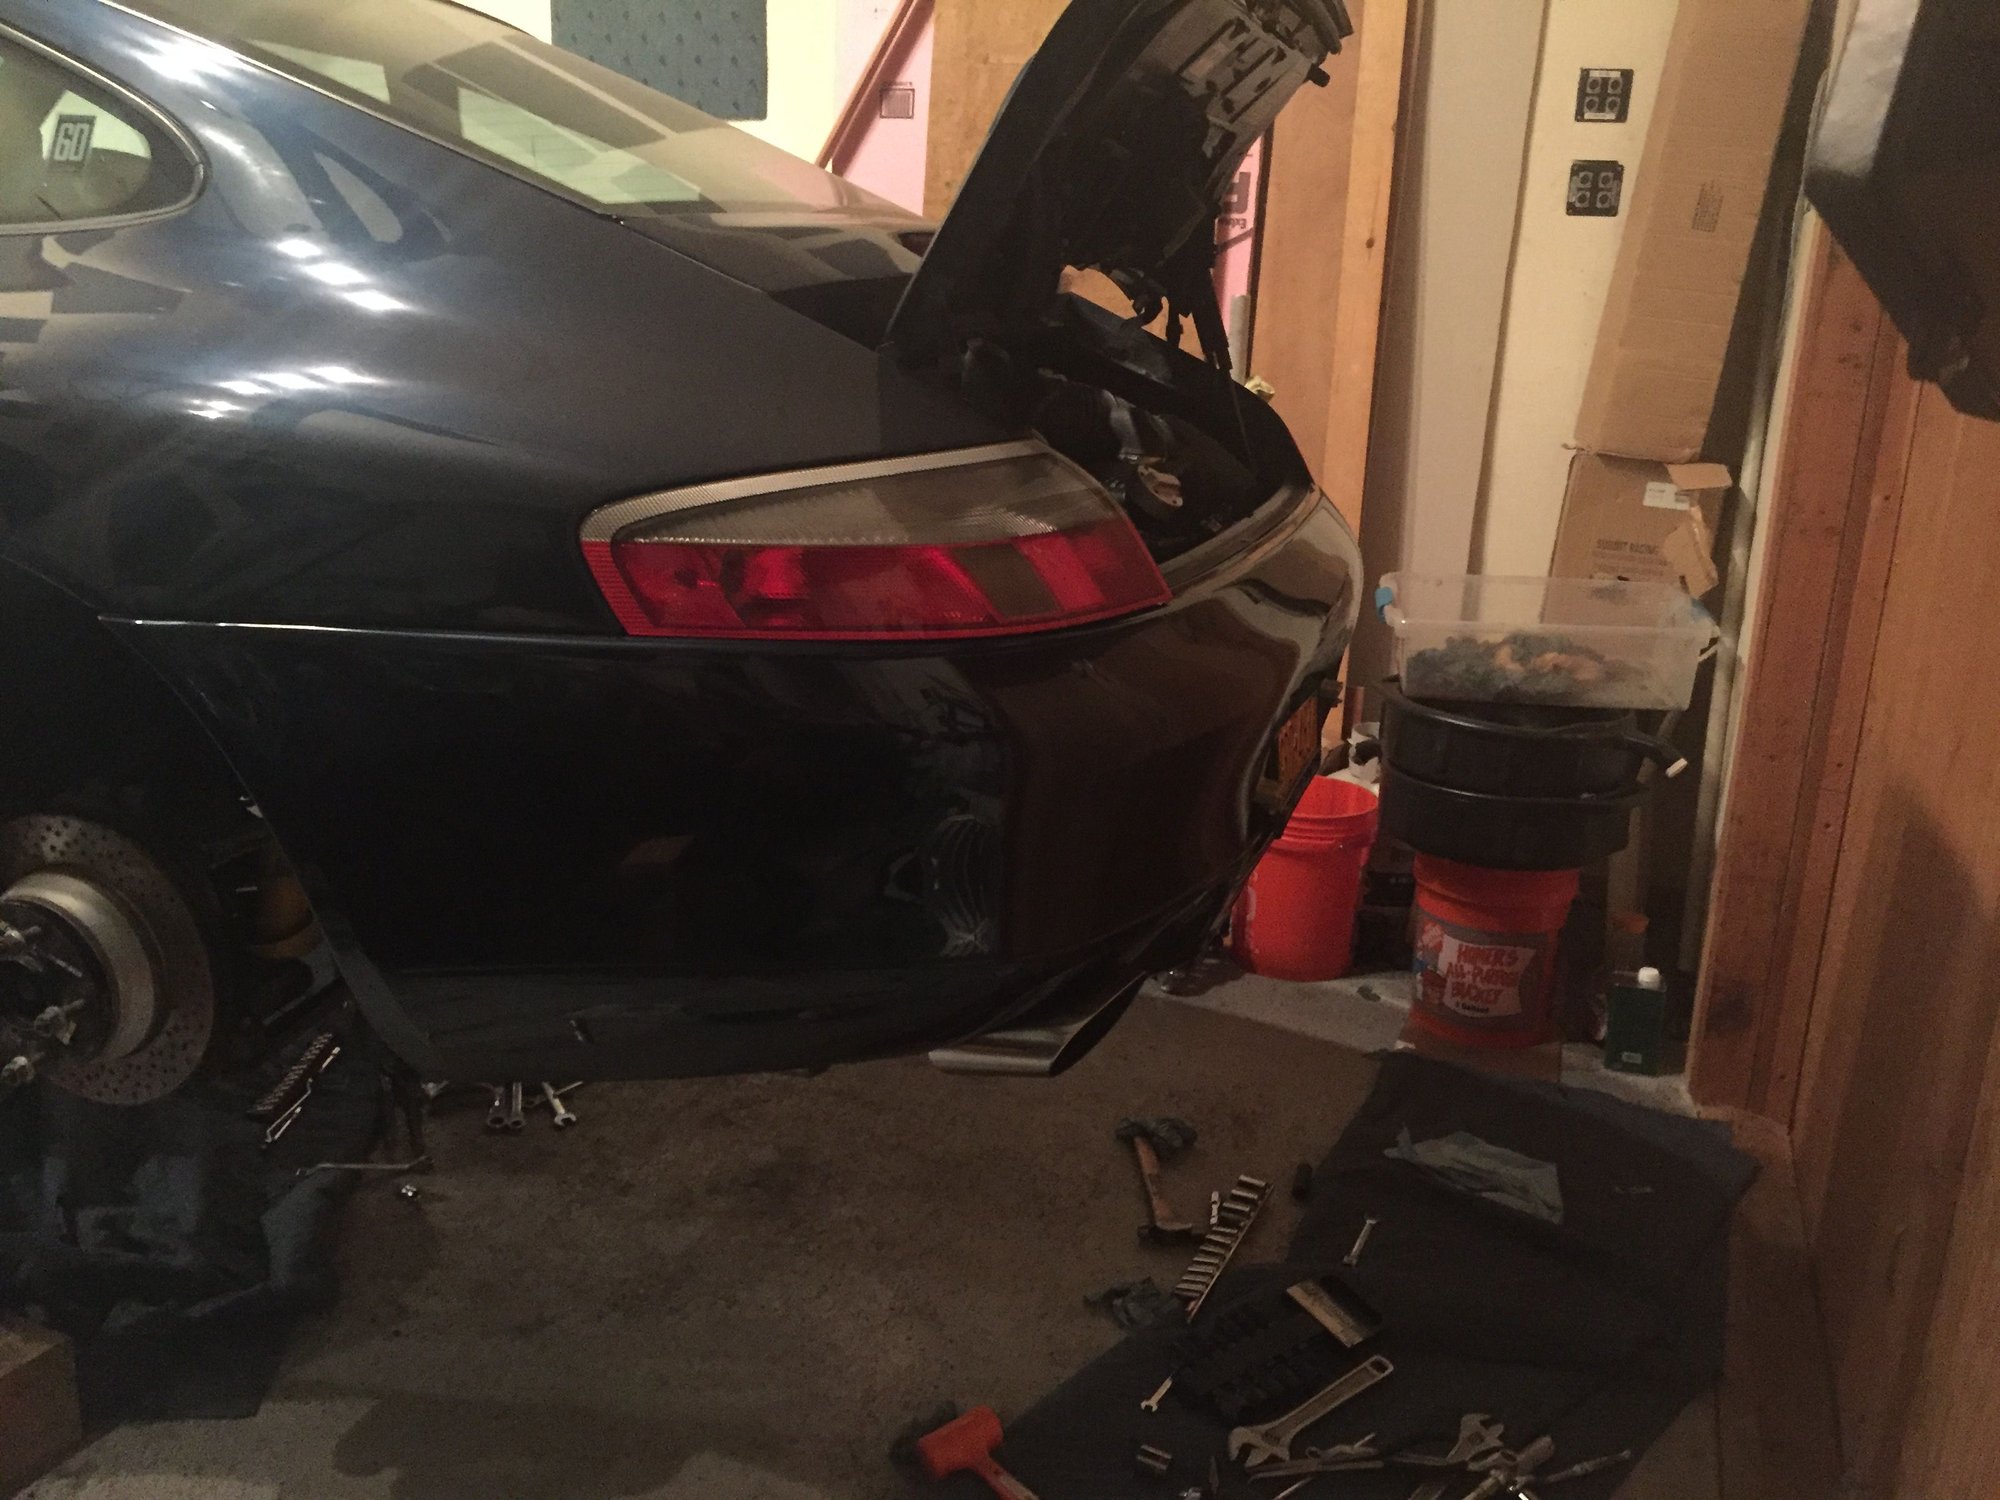
I got all the rest of the fiddly bits on last night, all bolts/nuts torqued to spec. I started by torquing all CV joint bolts. Installed rear cross-member supports, rear sway bar - confirmed no interference with the new "Solution" oil feed line (So, happy! as this had me worried since I have the heavy duty H&R adjustable sways). Installed rear bumper, exhaust heat shields, and rear bumper cover (I recommend 2 people for rear bumper cover - major pain doing it alone).
rear bumper
heat shields
Bumper cover
All I've got left:
1 - Drivers side wheel-well liner
2 - Underbody plastics
3- Bumperettes
4 - Fill oil
5 - Fill coolant
6 - Zip tie clutch lockout switch...(it never ends )
 06-29-2017, 02:31 PM

 Last night I cleaned up the shop, reorganized all my tools, prepped the path to move the engine back to the rear of the car where I'll mount up the transmission. At that point, I transffered the engine from the engine stand back onto the hydraulic table - about two hours all told including clean-up. At that point I started to install the Flywheel/Clutch. I didn't get very far as the pilot bearing was a super tight fit and it didn't want to start very straight. Instead of trying to mash it in there, I decided to back off, throw the bearing in the freezer and come back the next time I get a little time to work (who knows when, with the holiday coming up...).


 )
)


