When you click on links to various merchants on this site and make a purchase, this can result in this site earning a commission. Affiliate programs and affiliations include, but are not limited to, the eBay Partner Network.
Well seeing as your engine is a 3 chain version, the tensioners may be slightly different. The parts breakdown on Autoatlanta showed these two tensioners as the same number (#35 on the parts diagram). Granted, the actual part #'s are different, but I assumed this was due to revisions/updates - I also assumed that they were interchangeable since they were listed as the same # on the diagram... I was wrong ... Whether you should change them out or not? In my case, I had a fault code related to cam deviations - which ultimately could be related to the chain tensioners (in theory at least). I figured that $3-400 wasn't too much to spend to rule out the possibility of a faulty tensioner. I don't know if there's a way you can test yours to see if they're ok before replacing them. Good luck with your project
Thanks for the response. I was sort of along the same mindset regardless...the cost versus going back...and dealing with the A/C compressor made sense!
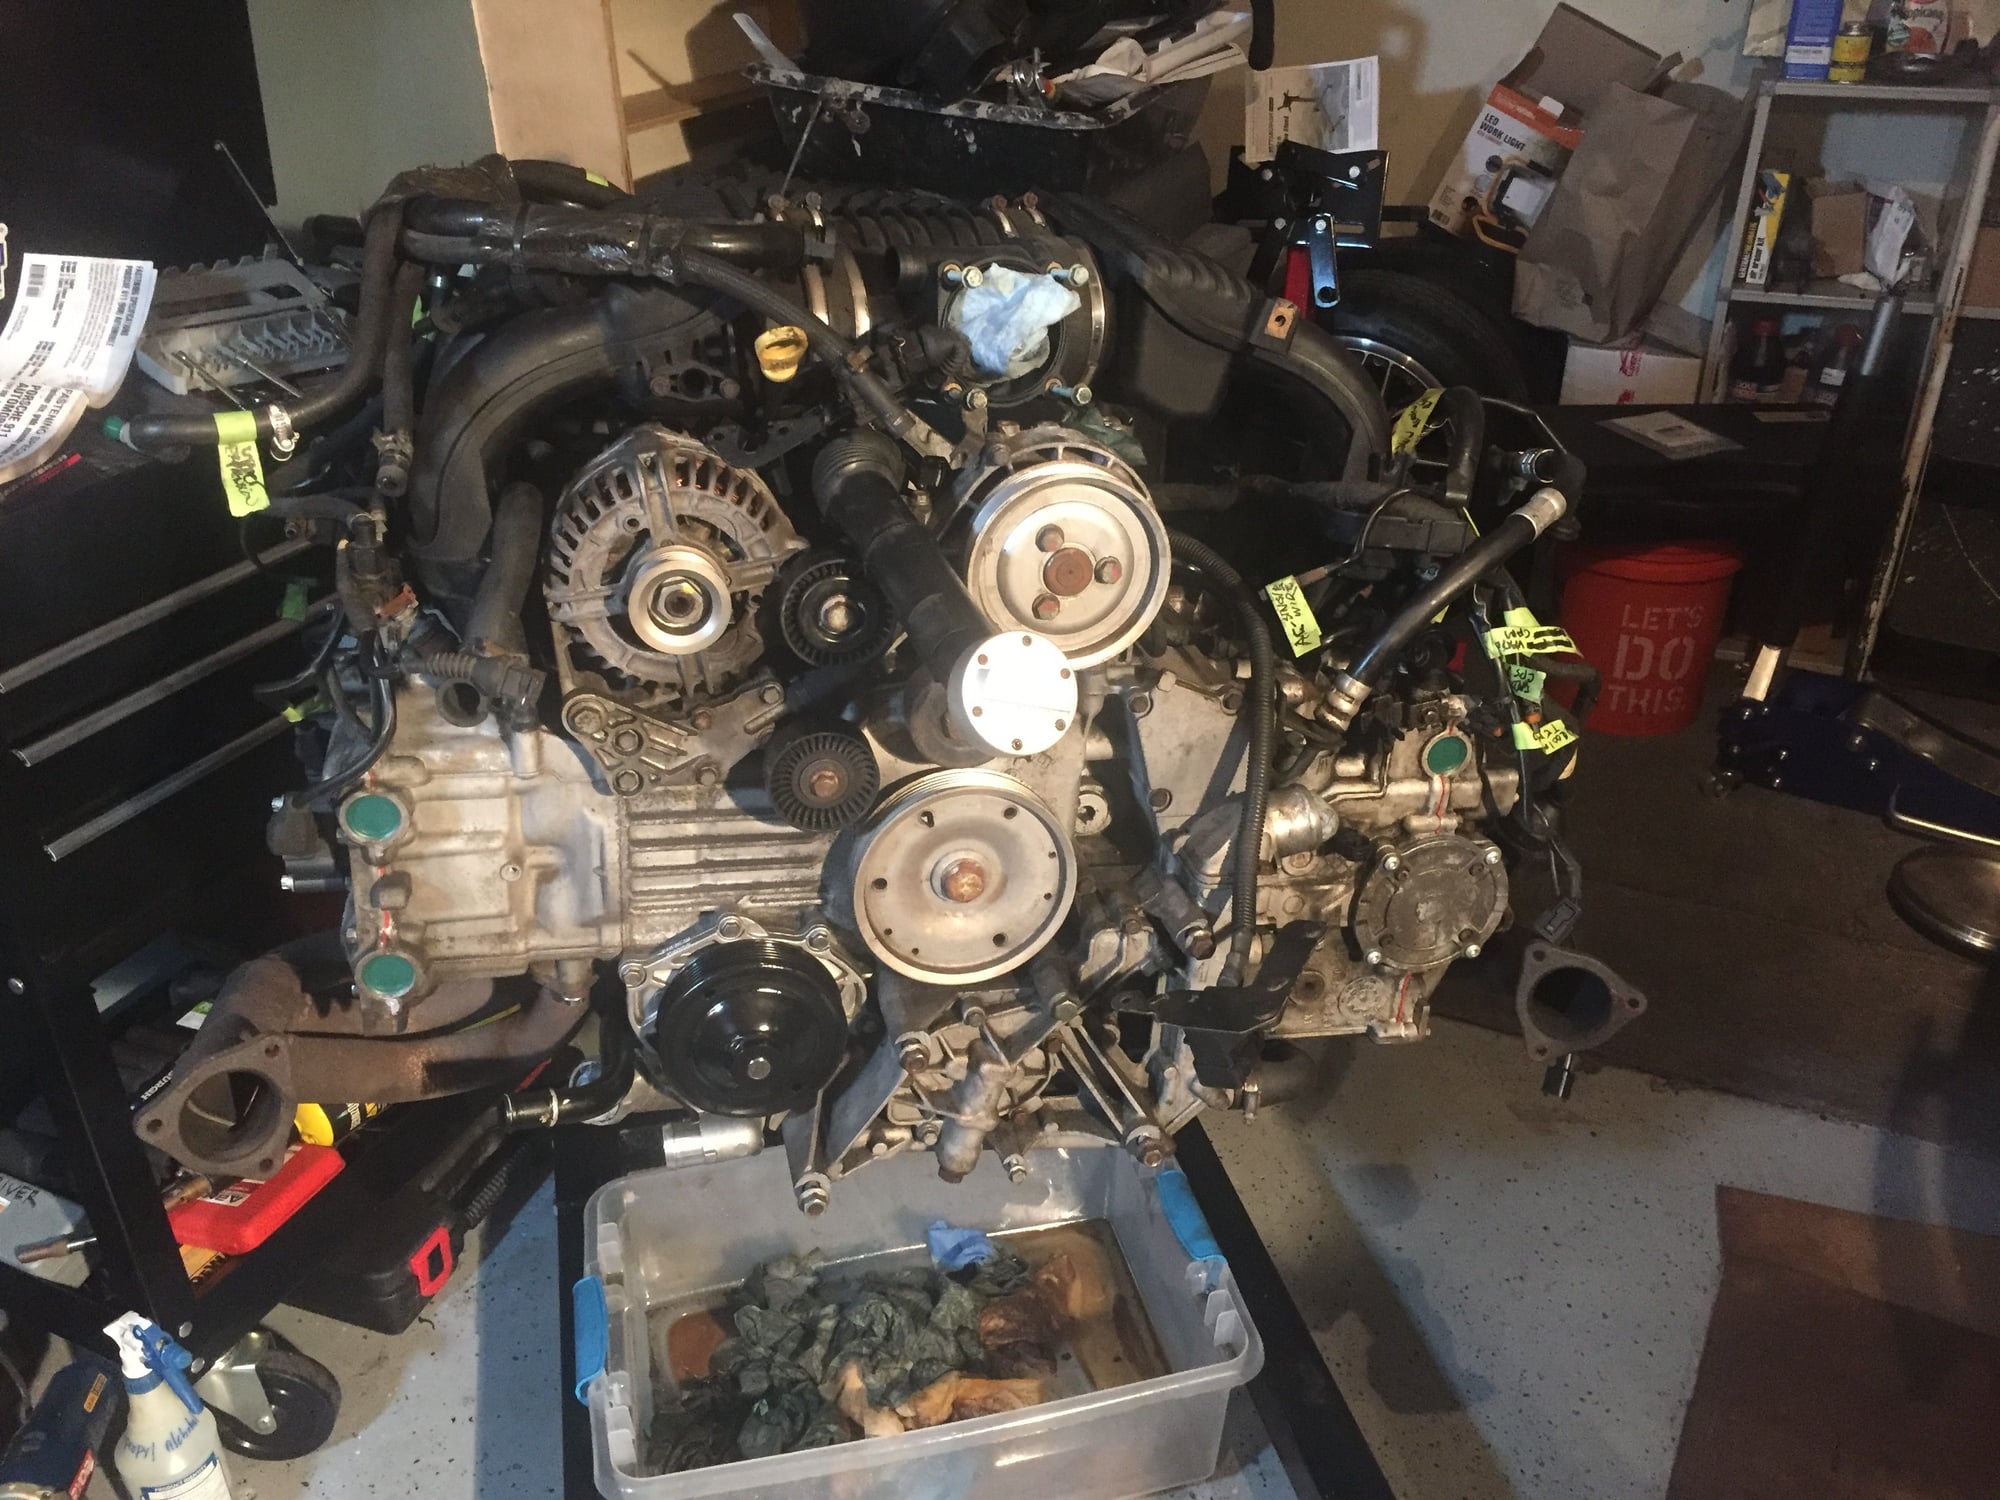
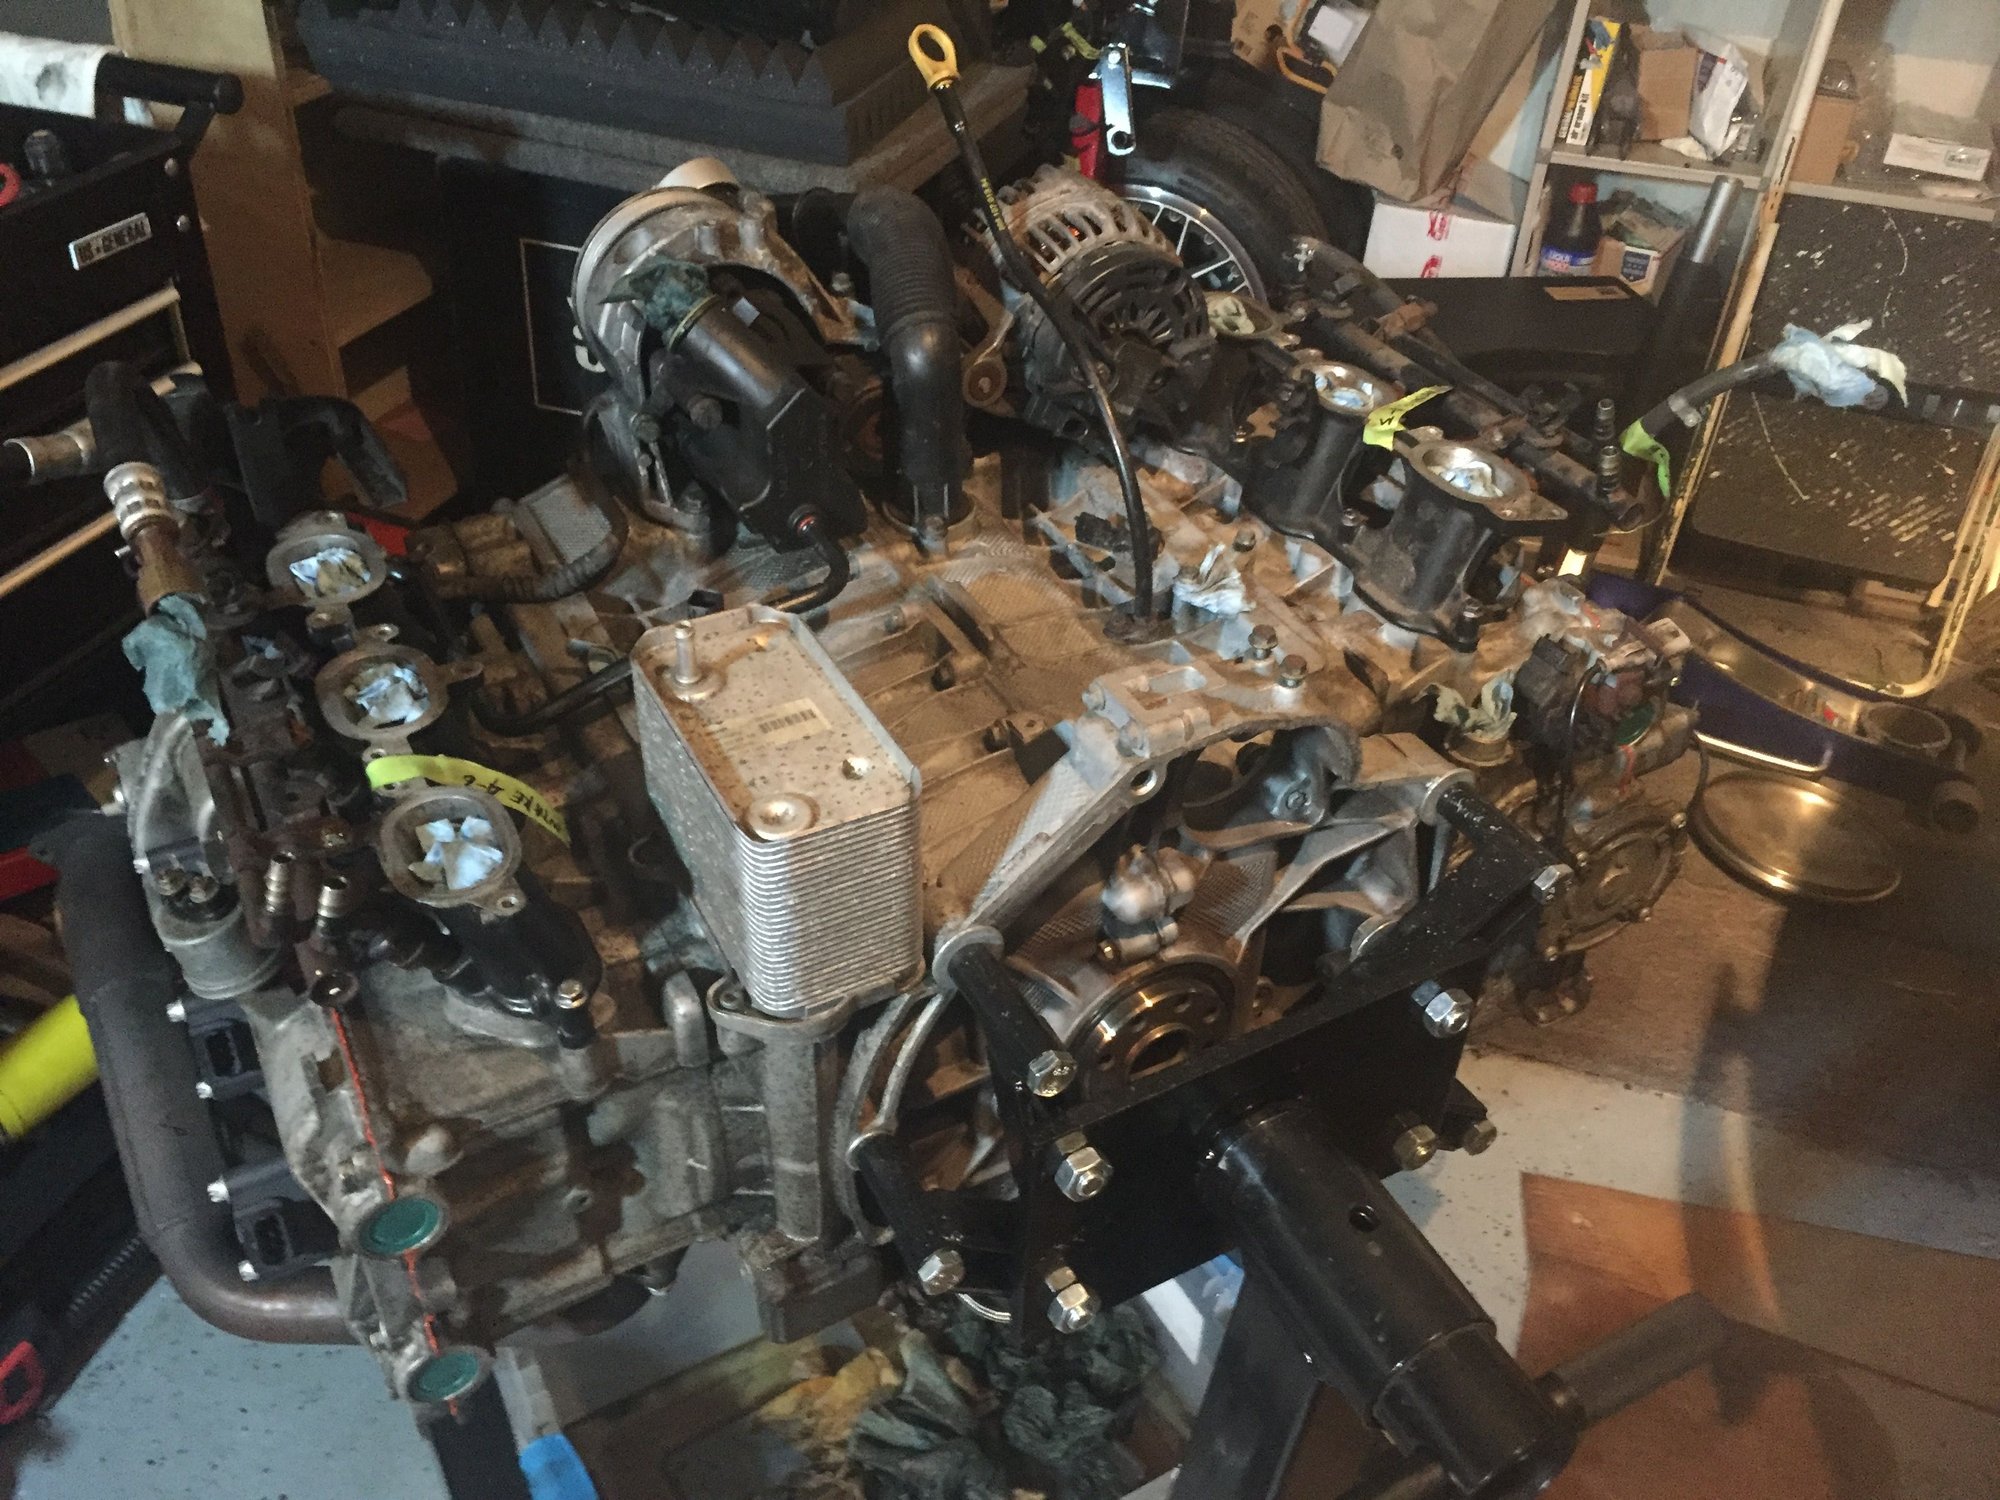
I got the exhaust manifolds and the intake runners on last night. It doesn't seem like whole lot, but attention to detail takes time. Overall it wound up taking me about 2.5 hrs. Of course it took 30 minutes just to clean up the work area to where I wasn't tripping over tools, shop towels, puddles of oil etc...Anyway, even though these are basically simple tasks, all the mating surfaces had to be scraped and cleaned before bolting everything together. And...a couple photo's...
Exhaust manifolds reinstalled with new gaskets and bolts (along with high temp copper anti-seize
Intake runners all cleaned up with new gaskets
I also got the new AOS installed - I can't imagine having to do it with the engine in the car...
Tonight I'm hoping to get all crankcase emissions tubes/lines, vacuum lines and wiring harness reconnected. I was pretty careful to label everything as I was disassembling it, so it shouldn't be too difficult... We'll see
I sure as hell hope so! The pads weren't badly worn, so maybe the timing was a bit off to start with. I've re-timed both banks and installed new chain tensioners. Unfortunately, I won't know 'til I put everything back together and reinstall the engine in the car... I'm not sure what I'll do if I haven't resolved the code...Perhaps drop to my knees and cry ?
d: Also given that the cam advance actuators/solenoids etc tested ok couldn't be much else other than timing, right? Fingers crossed, but my guess is you got it fixed!
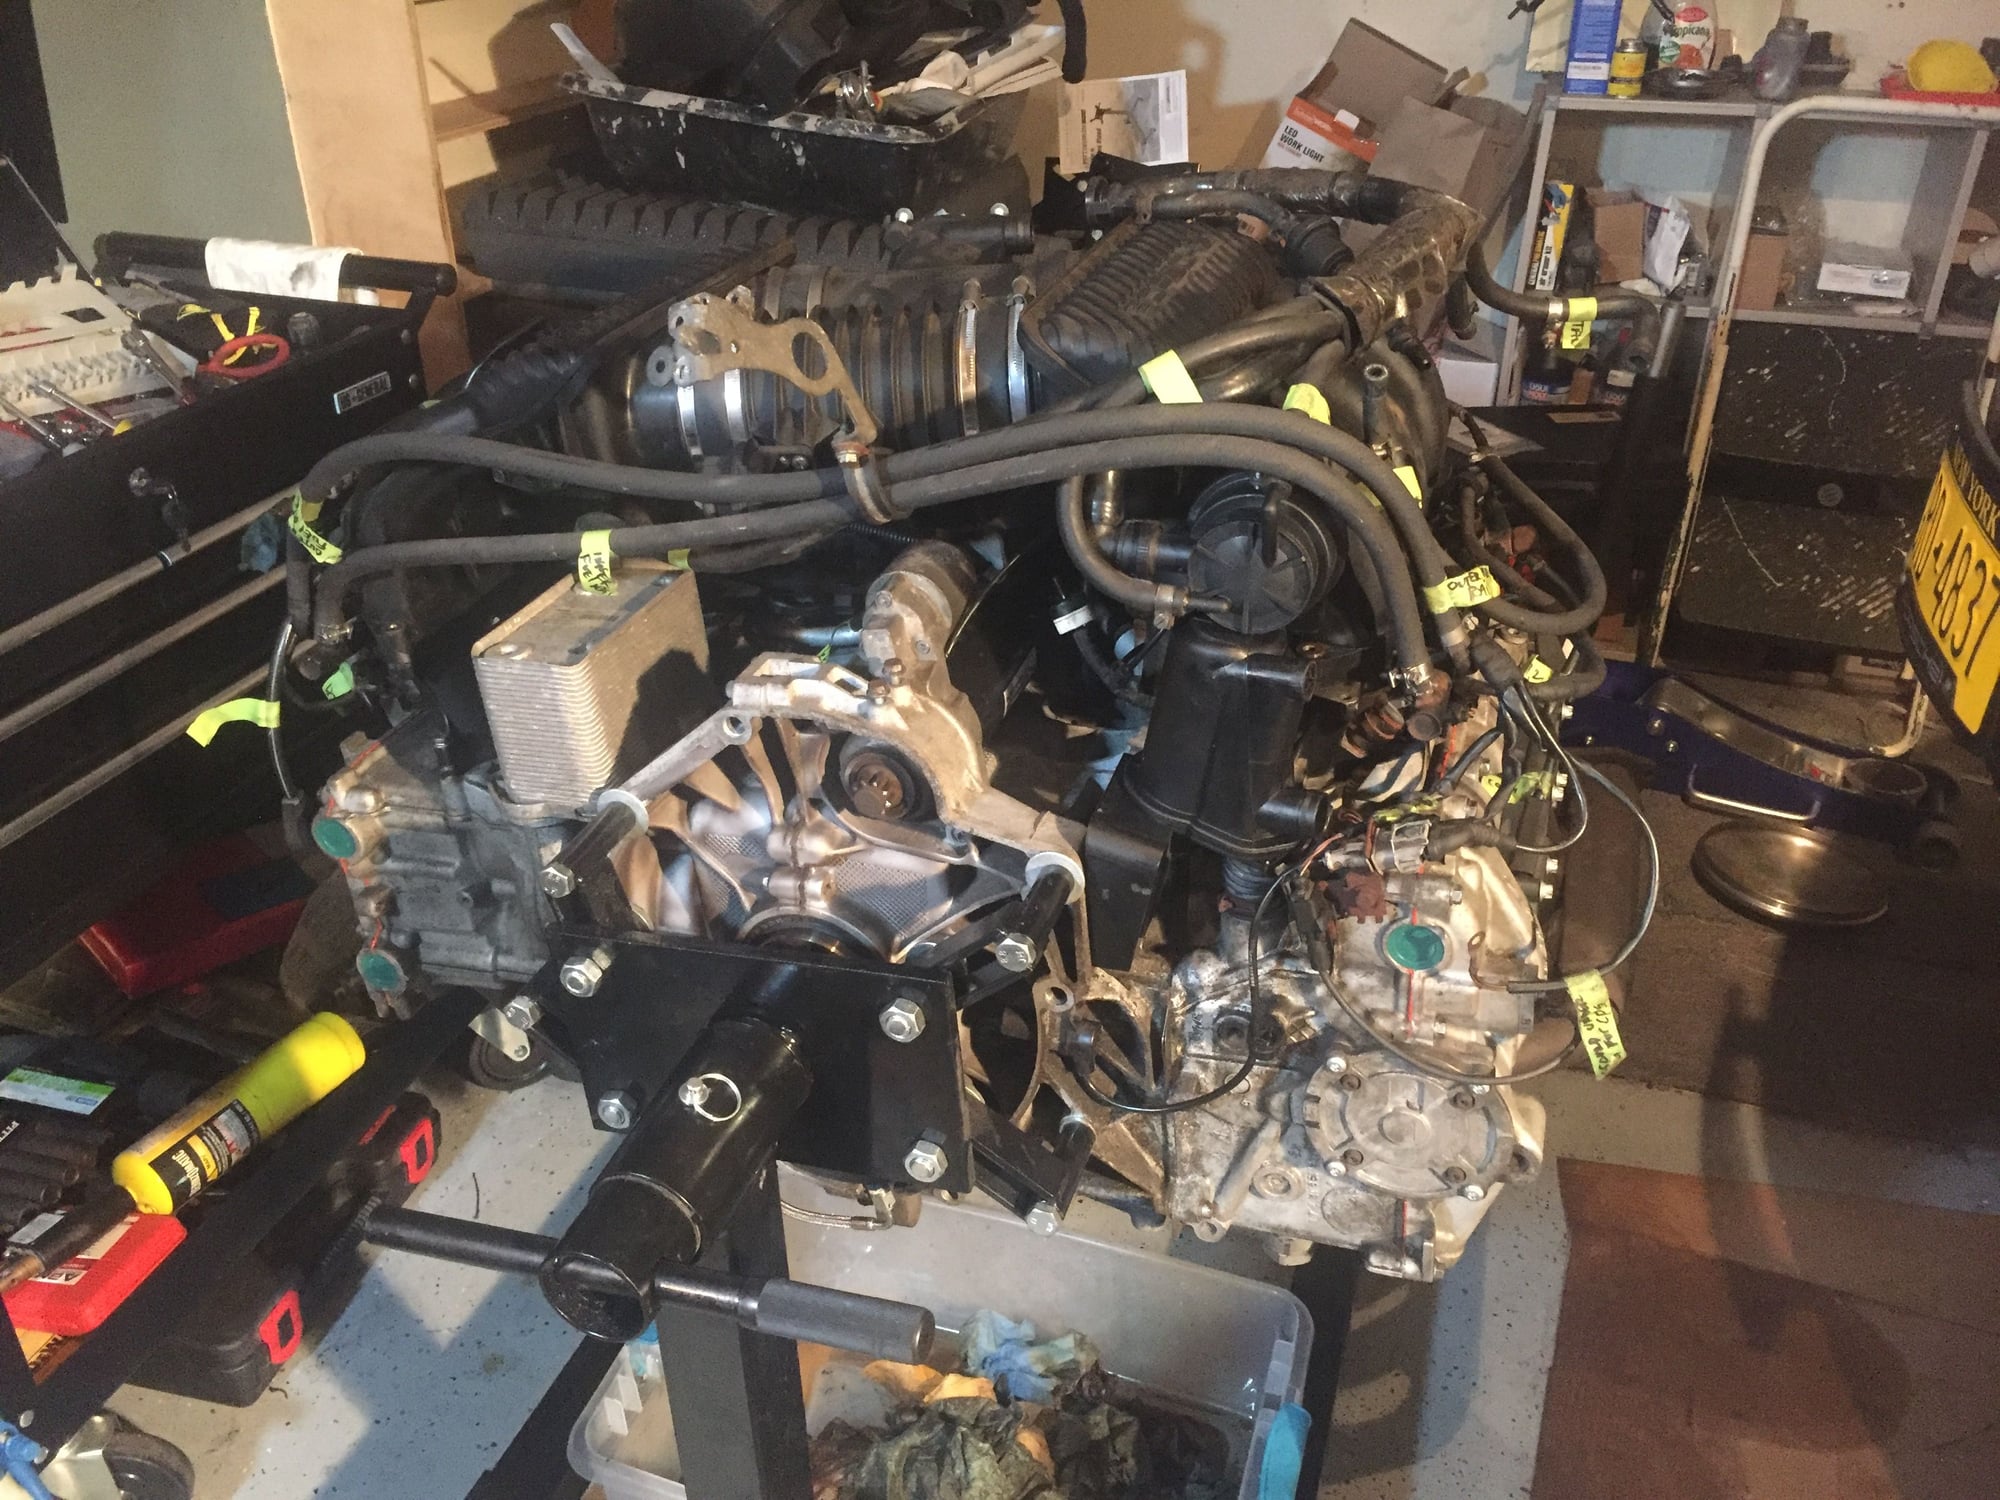
Last night I got quite a bit done. One little bump was not remembering exactly what order I took everything apart. The way I had things piled/laid out helped to some extent, but I wasn't super careful about it. For instance, I should have put the starter back in right after the vacuum reservoir air valve combo... Not a big deal, just a bit of a pain. Everything else seemed to go really well - the wiring harness was very straight forward since I was pretty careful with the labeling (as you can see in the photo's). I won't get back to it 'til Tuesday eve. I'm hoping to get the exhaust system back on next week.
It's coming together...
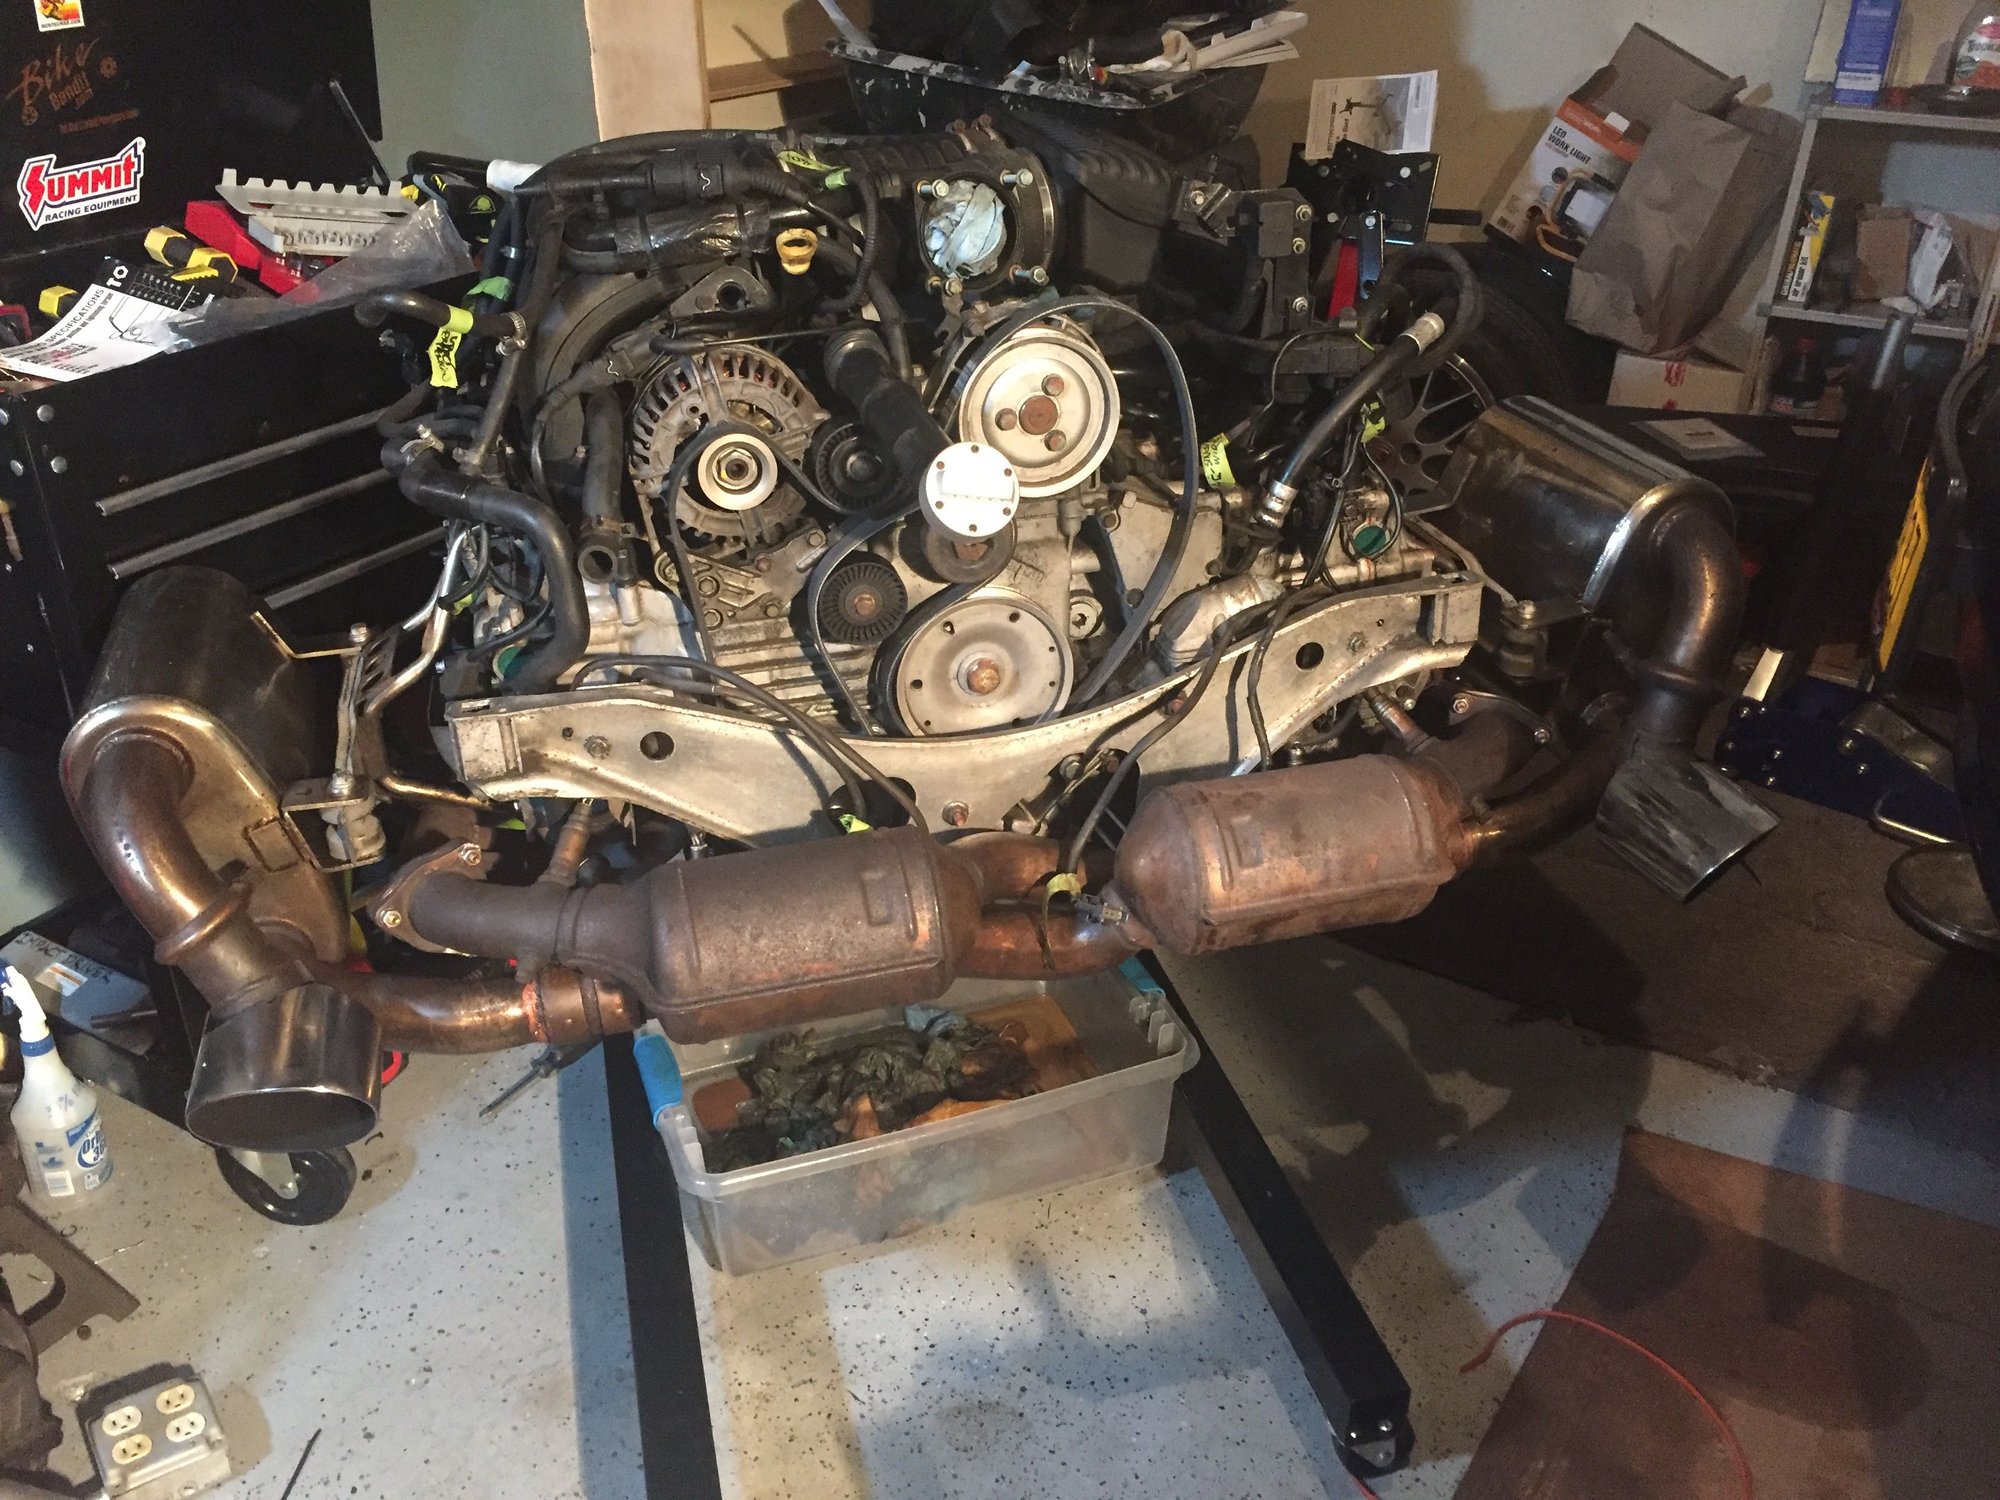
I haven't re-attached the intake plenum yet as there are a few wire and vacuum line routing's that I want to be totally sure about before locking everything down.
I got just about everything back on the top of the engine last night. I wasted about an hour and a half when I noticed that I had left off the pipe that runs from the AOS across the top but under the intake plenum (and the wiring harness etc...) to the passenger side of the engine. Unfortunately, you can't just snake it through due to all the bends in the pipe. It was annoying, but I just had to bite the bullet... Just a few more little connections before I get the rest of the exhaust components back on, then move on to the clutch.
^Indeed!^ One thing I forgot to mention earlier. I've read lots of other posts where people referred to the "new style/upgraded coils with longer bolts", but there was no mention of the use of standoffs for the heat shields. I wound up using a stack of washers (5 - 6mm flat) on mine, but a nice 10-12 mm SS standoff would be more elegant...
 06-20-2017, 02:02 PM
 ... Whether you should change them out or not? In my case, I had a fault code related to cam deviations - which ultimately could be related to the chain tensioners (in theory at least). I figured that $3-400 wasn't too much to spend to rule out the possibility of a faulty tensioner. I don't know if there's a way you can test yours to see if they're ok before replacing them. Good luck with your project


 I'm not sure what I'll do if I haven't resolved the code...Perhaps drop to my knees and cry ?