When you click on links to various merchants on this site and make a purchase, this can result in this site earning a commission. Affiliate programs and affiliations include, but are not limited to, the eBay Partner Network.
I genuinely appreciate you taking the time to document this whole process. Although I am a "car guy," documentation and photographs like this make it MUCH more encouraging to do this kind of work myself on a platform I am unfamiliar with. Great Job!
When I purchased my car I was told it had the GT2 Slave/Master but... after laying under the car and checking the frunk... I have a feeling Ill be using your thread for help when I do it myself lol
Drove up to the Porsche warehouse today and picked up the two little hoses to connect the engine to the transmission pipes, got back and started to work on the front end again. I think I would rather drop the engine and remove everything again rather than work on the front. While not as bad as working upside down in the driver's foot well, it's a close second working on the front of the car.
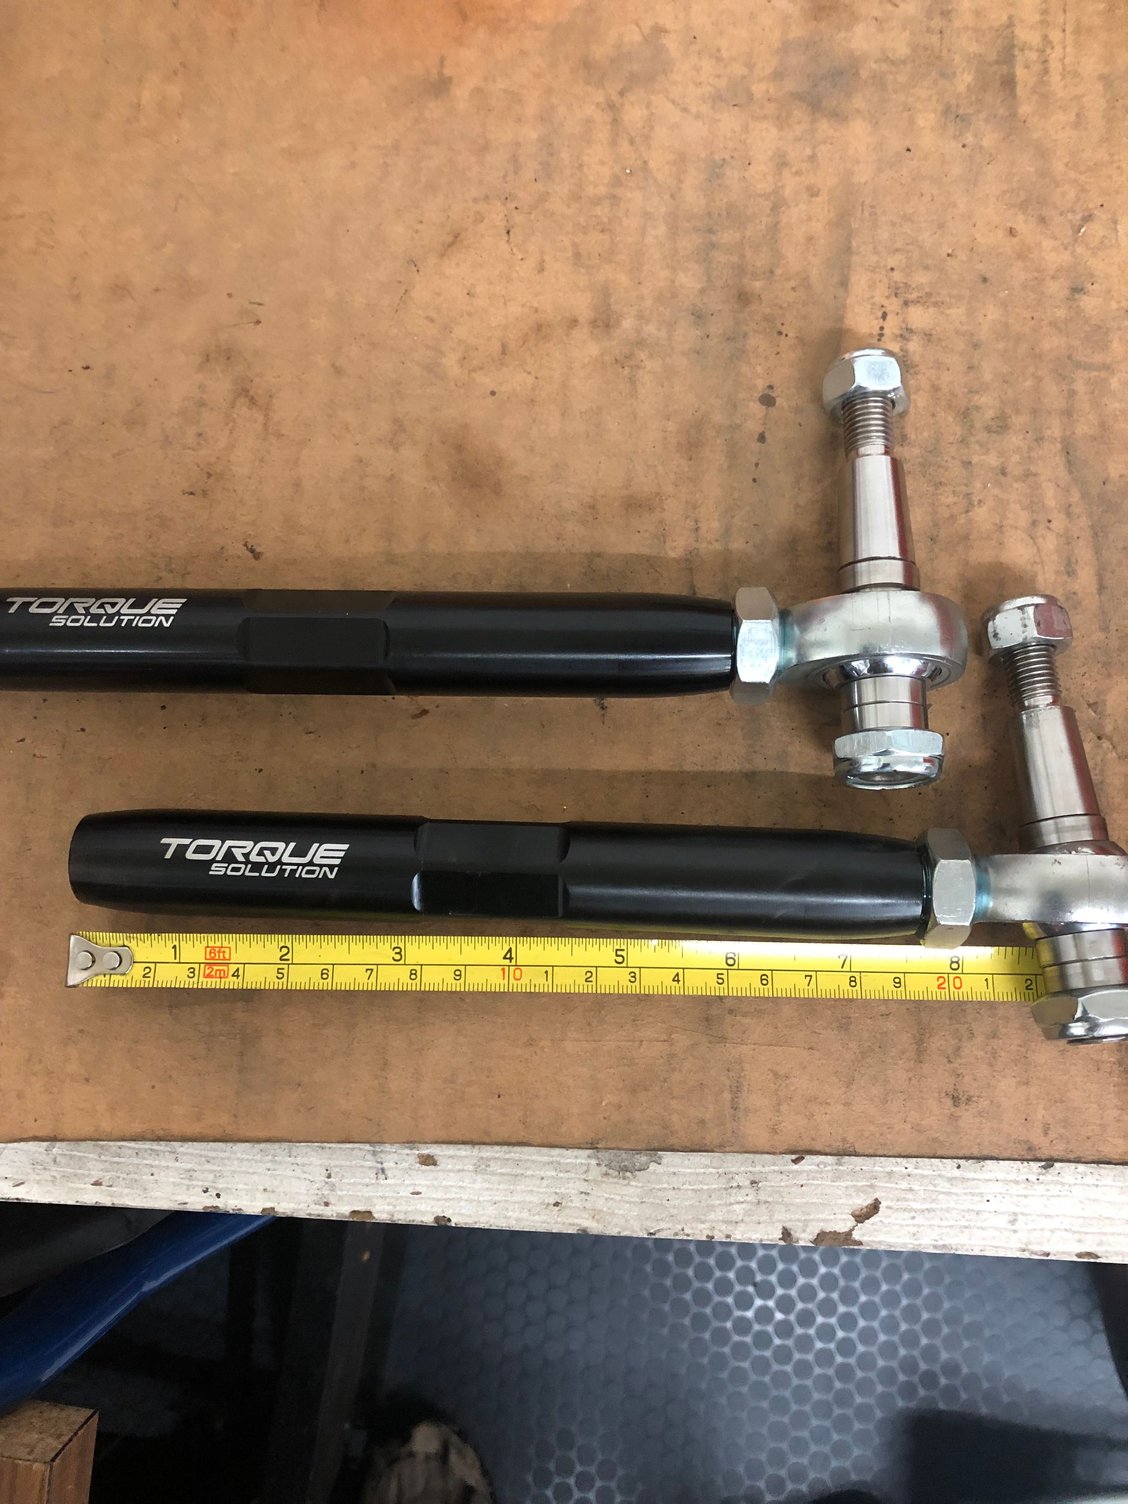
First, some disappointing news. When I was in the Army, we had a phrase, "attention to detail". Back then it was to keep you alive, now it just means getting it done right. Well the guys at Torque Solutions weren't adhering to that maxim when they shipped out my bump steer kit. As I was getting the measurements from the current inner tie rod to hub end connection, I noticed that the new tie rods were maxed out and still almost beyond the measurements. A quick call to Torque confirmed these were the wrong billet adjusters. The 997's should be 6.5 ", these were 7.5". They asked me to email them with my contact details and they would get me what I needed. In that email I asked them to try and get it to me as quickly as they could. Well, they don't have any more and it will be two weeks before they do. So, if I do get it started and it runs well, I will be getting the alignment done with the old tie rods and then again with the new bump steer kit (whenever I decide to install it - which may be over the winter). They didn't seem concerned they just cost me an additional $300 or so for an alignment I wouldn't have needed if they had done the right thing to begin with. So forewarned is forearmed, check the measurements if you order these.
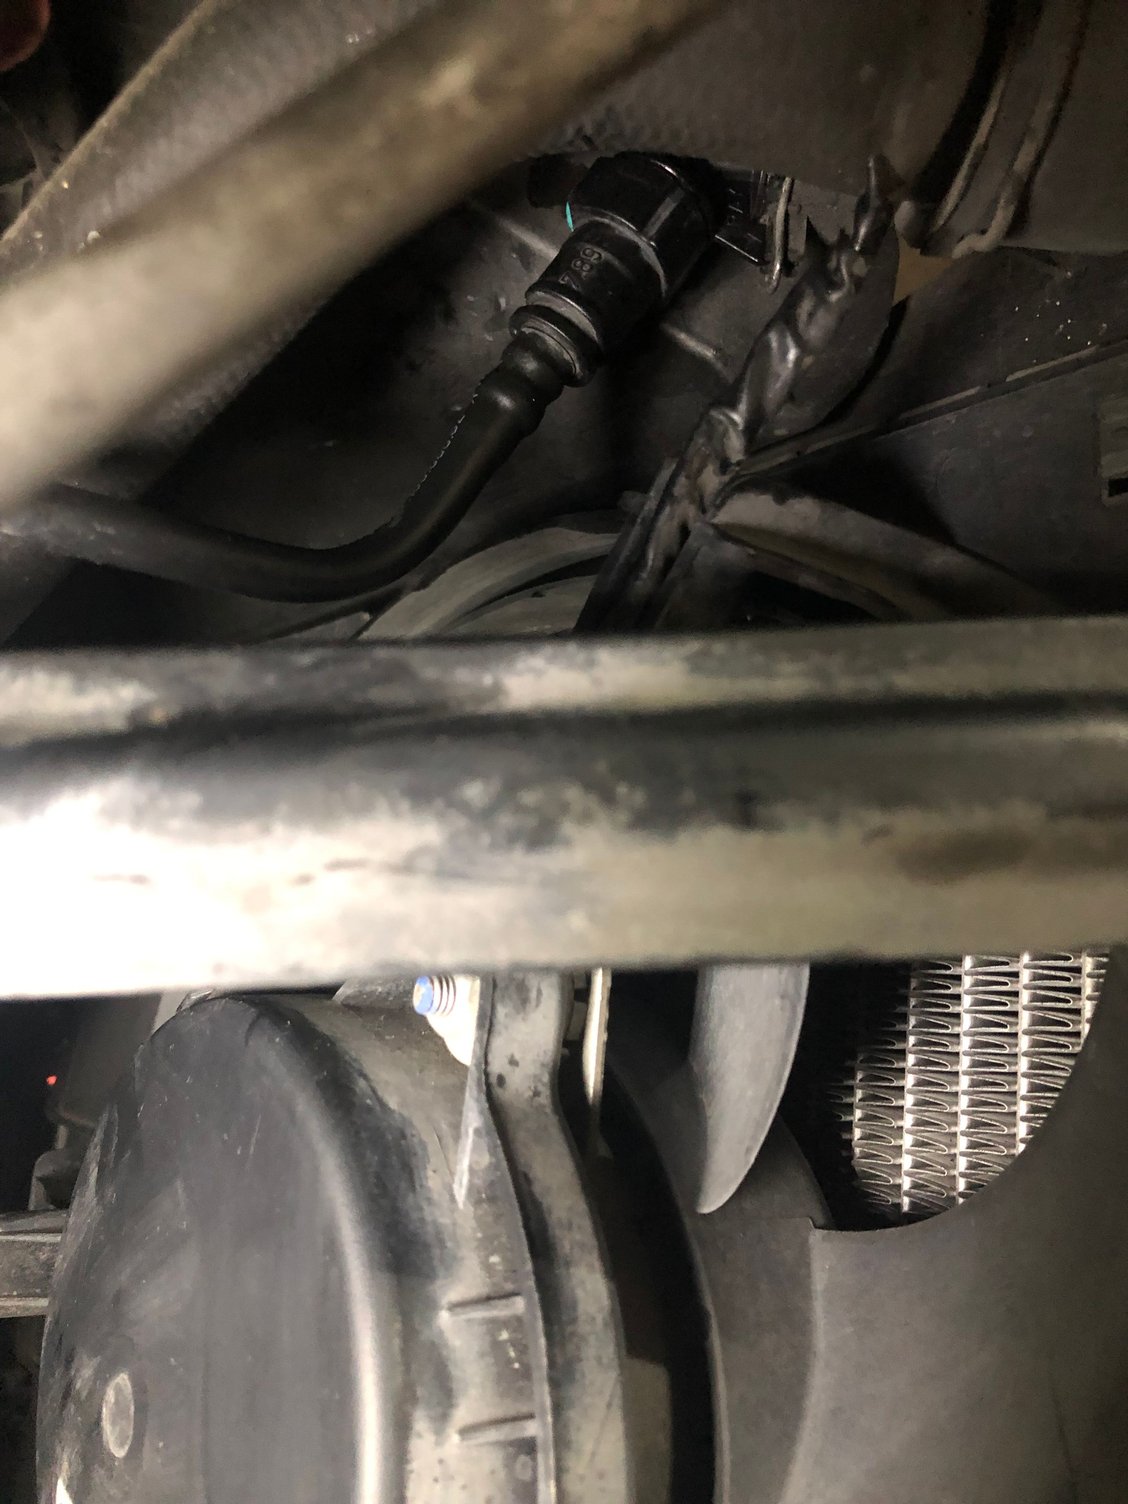
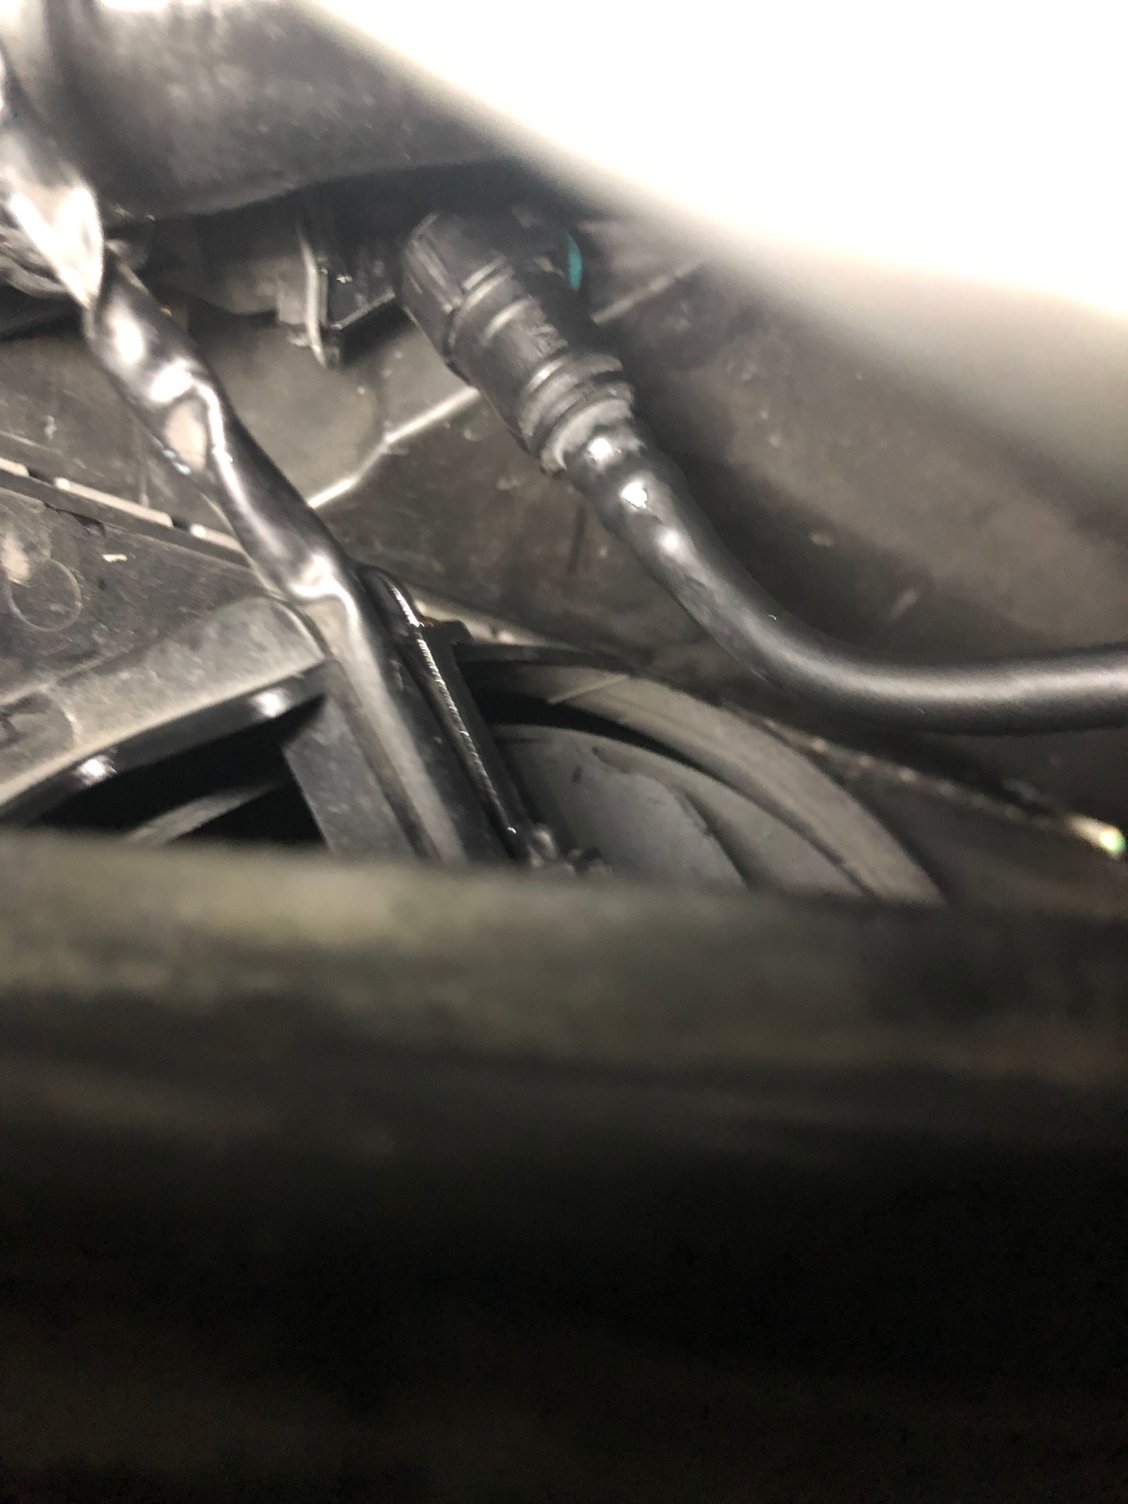
Man those little fittings at the top of the left/right radiators were a pain to get to. Nestled up high and behind the top hoses, they are held in by a similar spring clip that many of the hoses use (where did this type of connection come from?) and they were difficult to get to and release. But with Atc's warning, I was not going to bypass doing them. While I was there I also replaced the 3 of the 8 hoses up front (again not sure what I was thinking when I ordered them) as well as 2 sets of O rings on 2 hoses I did not replace. Of course the car still wanted to puke coolant, and even though I thought about it before I started, I wound up pulling the first hose without having the pan ready. Cripes. Small fittings:
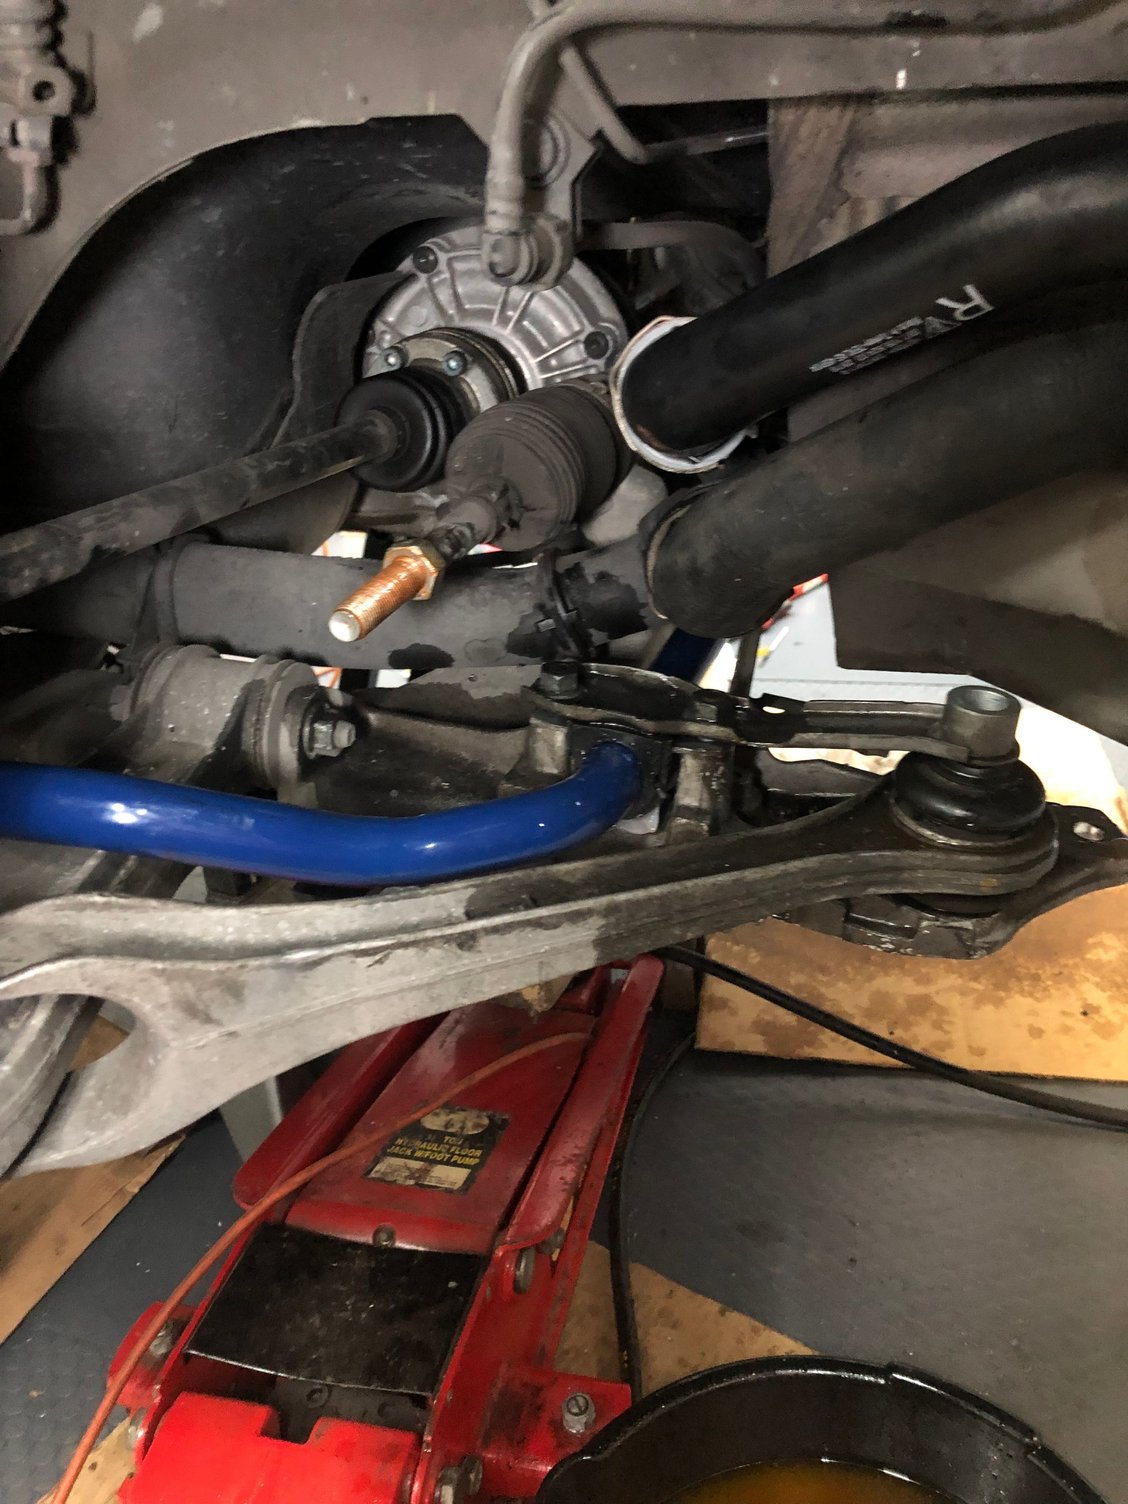
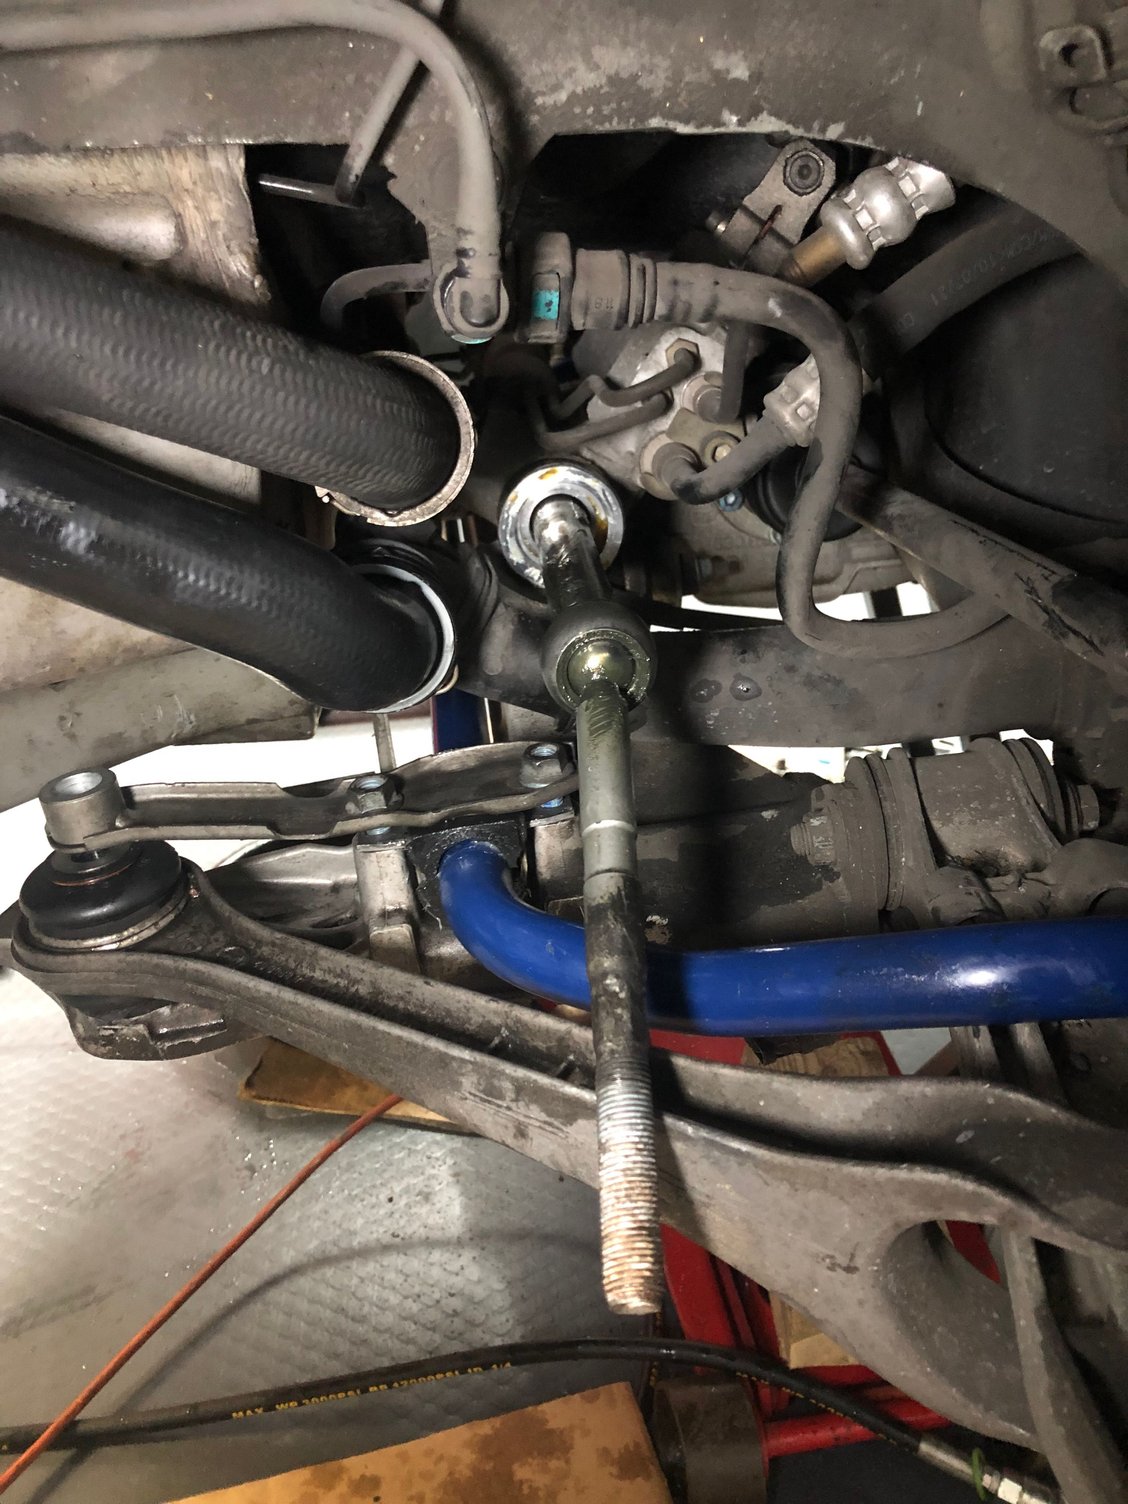
They are tucked way the heck up there. Next was supposed to be the inner tie rods, but after I got the boot off the first one, I realized that loosening the power steering rack mount made it impossible to unscrew the inner tie rod, so I switched gears to the GMG sway bar. That thing fought me all the way into position. I don't know if it was the added thickness, the fact that I was already hot and bothered by all the coolant and those tiny fittings or I hadn't had enough beer yet, but man oh man, that was a bigger pain than the tiny fittings on the radiators. I eventually figured out how to pry down on the sub frame while holding the A-arms down and at the same time pull the sway bar in. I think a circus contortionist would have been better suited for this task.
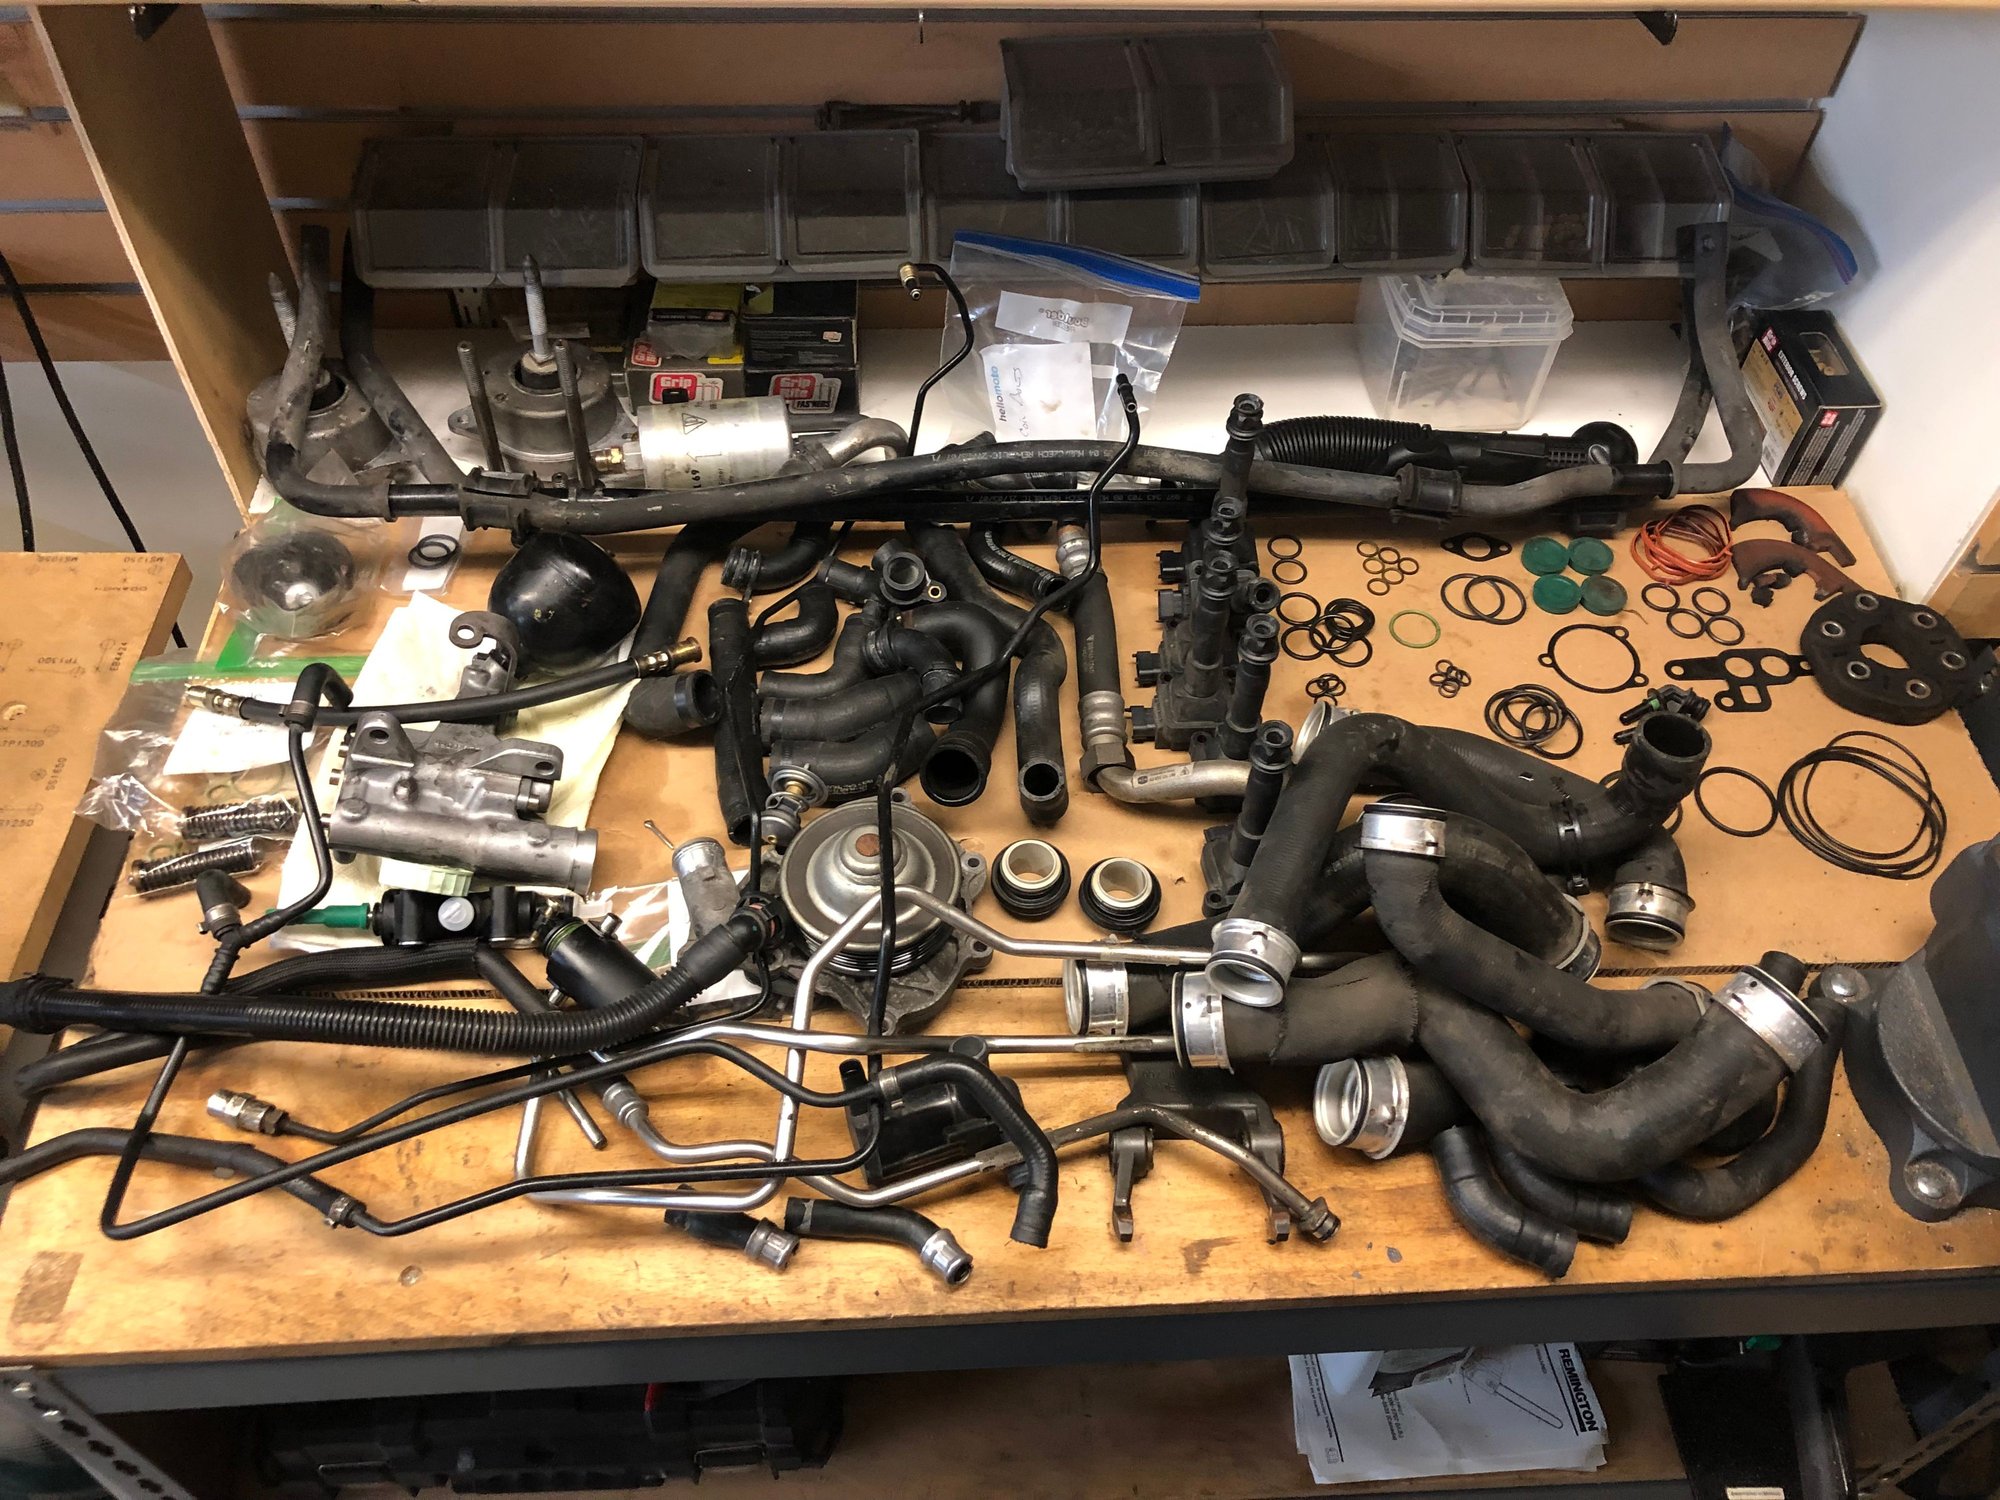
You can also see the inner tie rod ready for removal in the last picture. I took a break to get some dinner and recharge my physical and mental state before I head back and secure the sub frame back in position and get the inner tie rods off. As you can see in the shot above, this one is hanging down and is noticeably loose. The passenger side is better, but I will be doing both. At this point there are only a very few pieces left to put back on and almost everything that is being replaced has been replaced. The table with all the parts removed from the car, has everything except for the stock exhaust sitting on it and the amount of items is indeed mind blowing.
While the plugs arrived today, I am one M12x1 short. I thought as an alternative I might just hook up the short line from the rear of the pump (which has had the coupler removed and won't be creating any pressure) back where it belongs, thereby plugging 1 M12 and the M10 opening and then use the one M12 to plug the other opening on the top of the reservoir. I asked Deckman if he had any more of the M12's, but I feel like a mooch already, so unless someone sees a problem with my approach I may do this just so I can get the thing started this weekend. If I get another M12, I can rip out that short piece and plug them up later.
I am heading back out to finish up the front, put the two hoses I picked up on and get the rear structural pieces, including the GMG sway in place, After that I will have the PS Pump and the TB/Air Pipes etc to get back on the car and it will be ready to fill with oil and how much coolant? 35 gallons? I''l have to look that one up because it felt like 35 gallons spilled out of the thing over the past 2 months. I will probably wait on the under body panels, the rear bumper and heat shields until i get a successful start and good run on the engine just in case I have to drop it again and re-time it.
Oh, I started a document to put a summary of all this stuff together. My intent is to write from memory and the pictures, then pour back over the posts and add all the hints and tips and issues I ran into. While it won't be a step by step for each task, it should be a nice summary easier to read than this novel I have been posting.
Them suckers mist coolant. Remember they return coolant to the reservoirs highest point. The bleeders is what I call them, they stink it up in your front wheel wells. Also remember to replace the O rings that attach with the same connectors to the radiators, top and bottom. You�ll be coolant smell free until 2027.
Sway bar/sub frame is torqued back down, the inner tie rods have been changed (these are always a pain on any German car, I should just break down and get the proper tool), any hose I could reach has new O rings and the new heater hoses are in place near the transmission. I still have to torque down the rear drive shafts and then install the rest of the rear structure, including the new sway as well as put the crash bar back in place. I chose the 2nd hole for the front sway for now. I think I will choose the middle one for the rear, still reading up on that.
In all the monkeying around with the incorrect tie rods, I lost the measurements I was using for the toe, forgetting to remeasure before I replaced the inner tie rods. I remember seeing something on line about doing it manually, so while I get some chow I will research how to do that. I just don't wan't to destroy the tires on the 30 mile drive to Porsche to get it aligned.
My wife invited some friends over this afternoon for a while and my son asked me to help him set up his off campus apartment tonight (he goes to Temple), so after dinner I will be doing that. Fortunately my daughter's roommate will have a car so I don't have to fly out to California to help her move back into her dorm. Oh, and if anyone has any spare cash laying around, let me know, there are two colleges who want every penny I have and then some (now you know another reason why I do all my own mech work).
It looks like tomorrow will be startup day, so Sunday will be busy.
Not much headway. kid's apartment help took longer, and some hockey and other distractions got in the way.
I buttoned up the front end, installed the last couple of O rings (coolant drains, oil tank and crankcase plugs). moved the PS pump/res in position being prepared to use the short stock line to plug the holes along with the other plugs I had or made. This would let me to start the engine up if I got that far. Once I get there I bought myself another task, manually setting the toe.
I am going to leave the frame pieces off for now in case the engine runs like crap and I have to drop it. Whenever I worked on servers (when we use to build them back in the day) I never screwed anything in until it booted up. I am thinking this same approach on the car would be good mojo for a successful test fire.
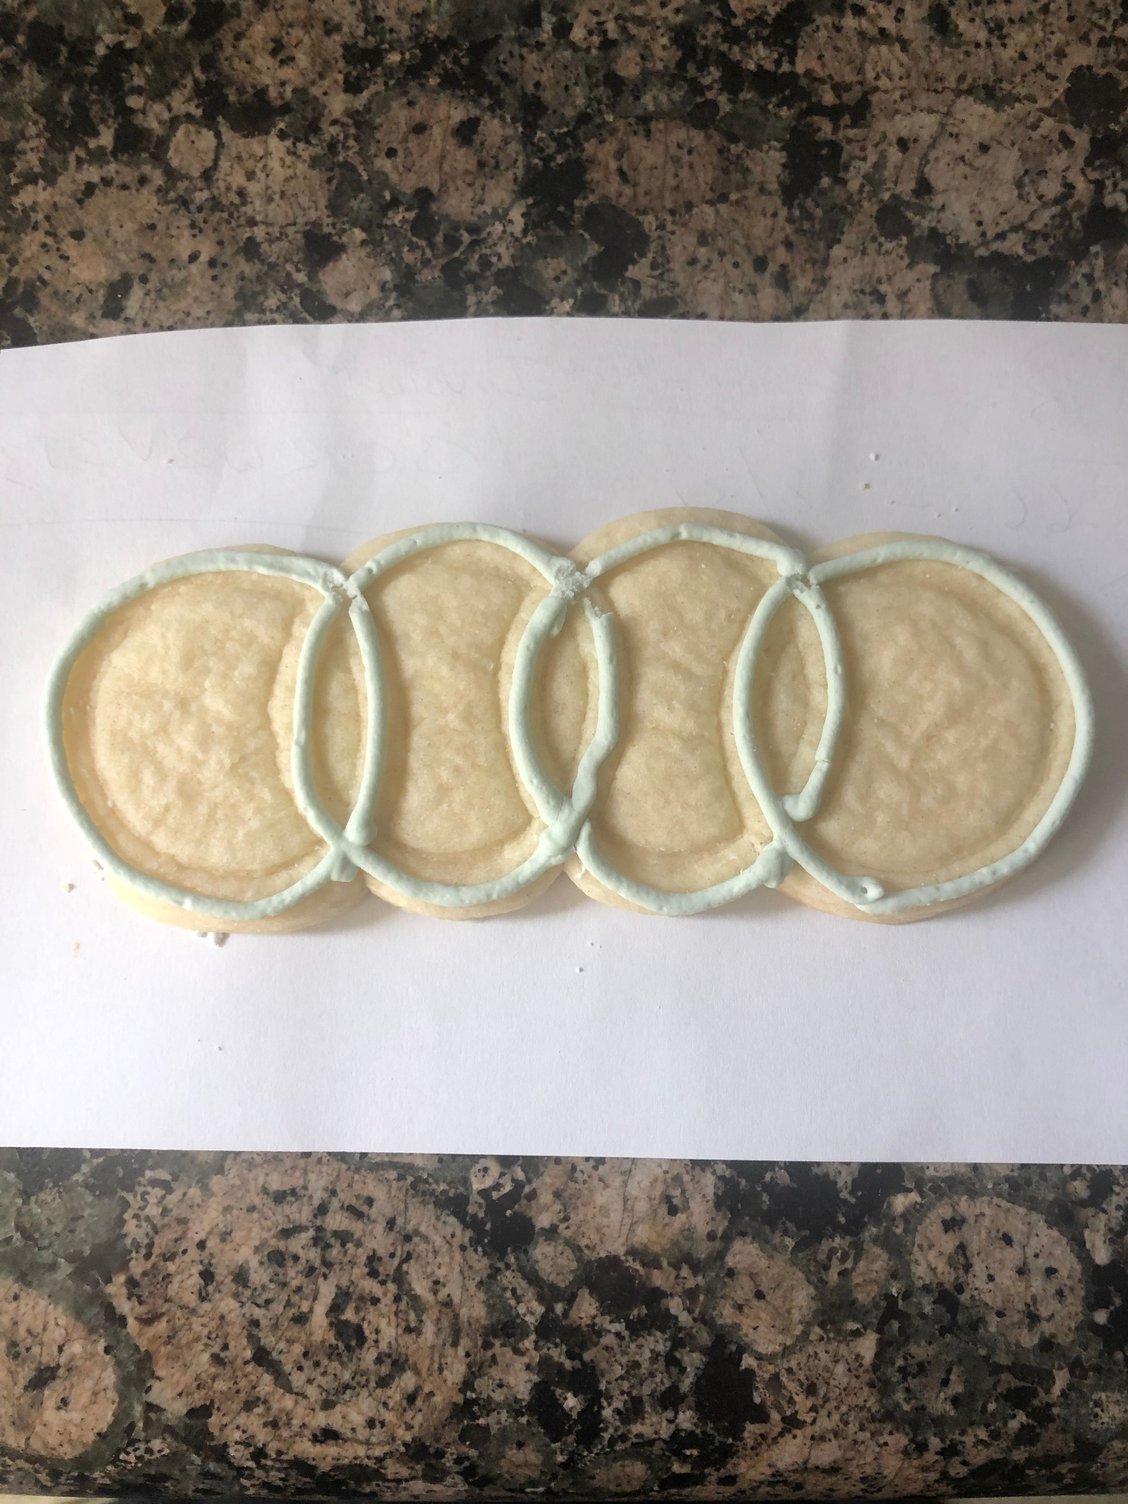
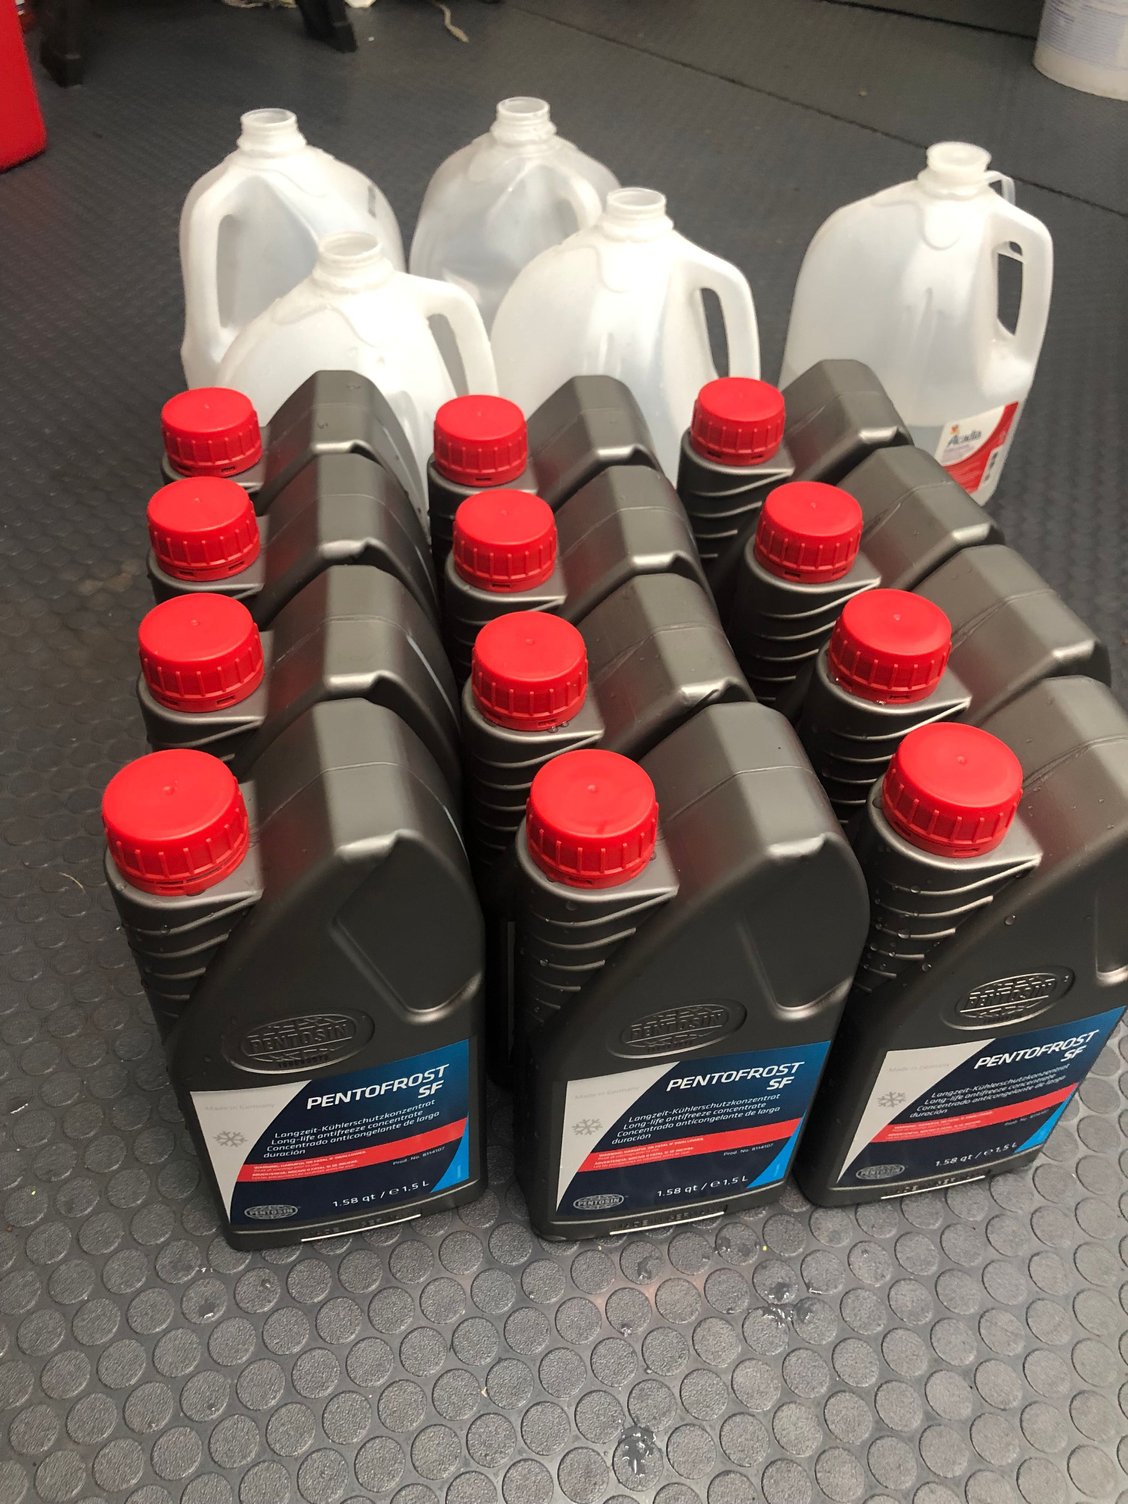
Soooo... I got my fancy schmancy coolant vacuum cleaner, did a test and saw it creating negative pressure. Went to my shelf with all the coolant on it, and immediately remembered I used a some of it on my kid's girlfriend's car, so I have to get out tomorrow and get enough to be 2 liters more than the 8.5 gallons the system can hold of 50/50 coolant. I am so close I can taste it. She's a good kid, made me these cookies for my birthday, and every time I work on her car, she wants to see and do whatever she can:
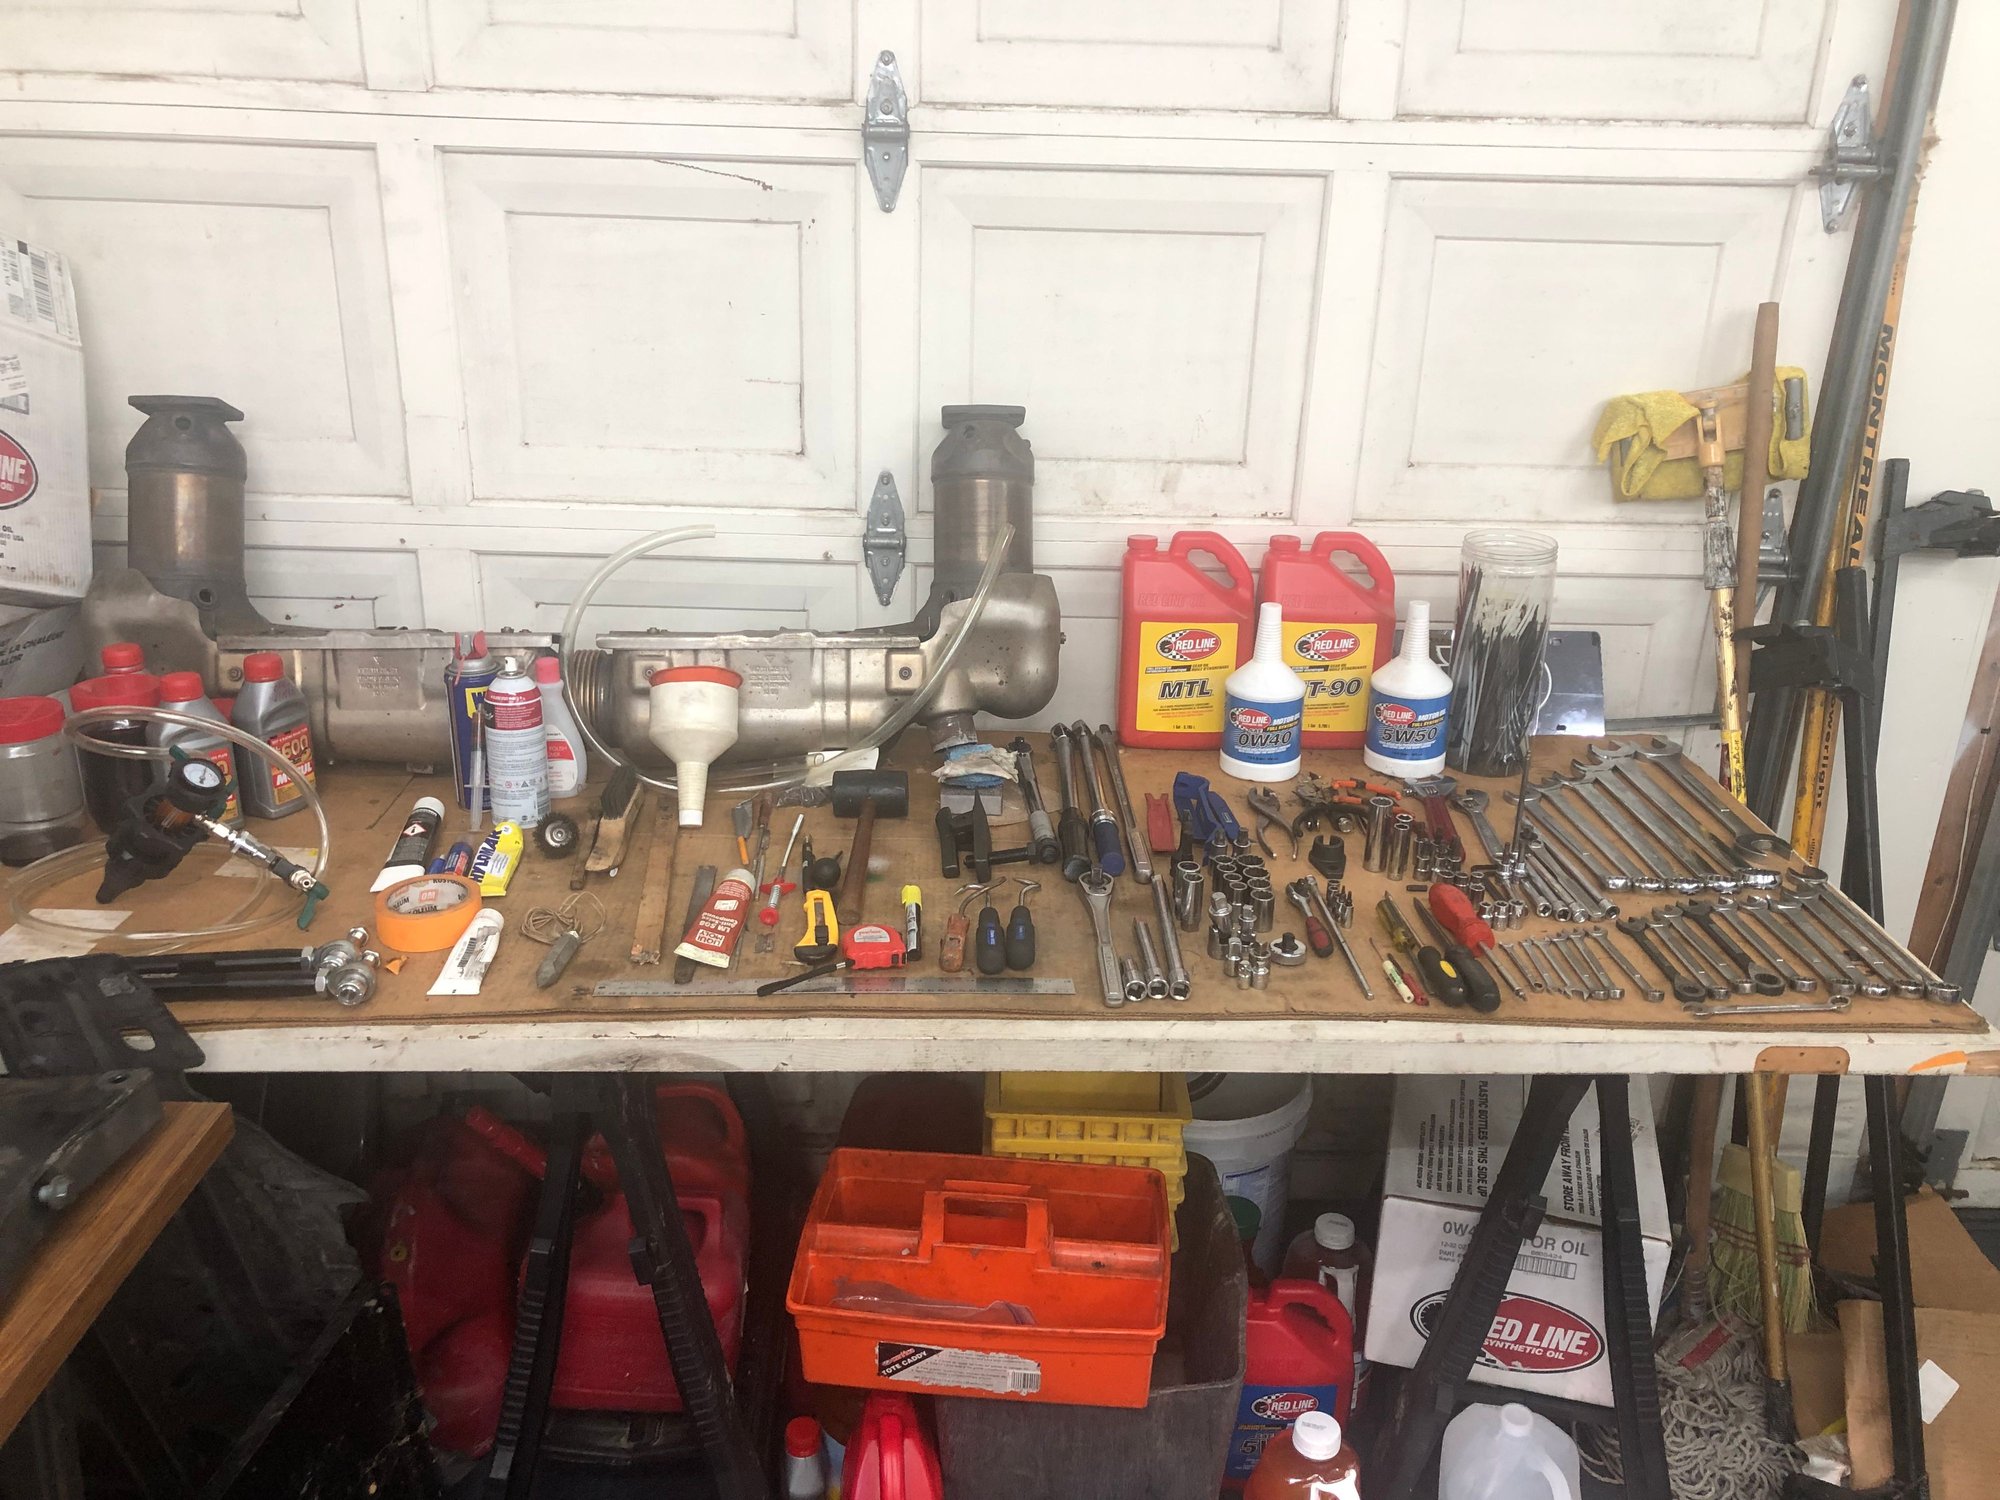
In the meantime, if any of you are thinking about going on this month's long odyssey to repair every major known fault of the M97.70 engine, this is (almost) all the tools you would need to accomplish the 14 or so tasks performed:
The tapping tools aren't there, and I may have grabbed an extra pair of pliers, but that table above pretty much covers everything you will need.
Noah is shipping me the second M12 I need to not have to have the stock pipe on the PS setup, so I may wait until the 21st to actually try the start. I really don't like Pentosin (who does) and to get to the M12 I would be plugging requires pulling the pump forward (disconnecting it from the PS rack and emptying the fluid).
Hopefully I'll have good news in a couple of days.
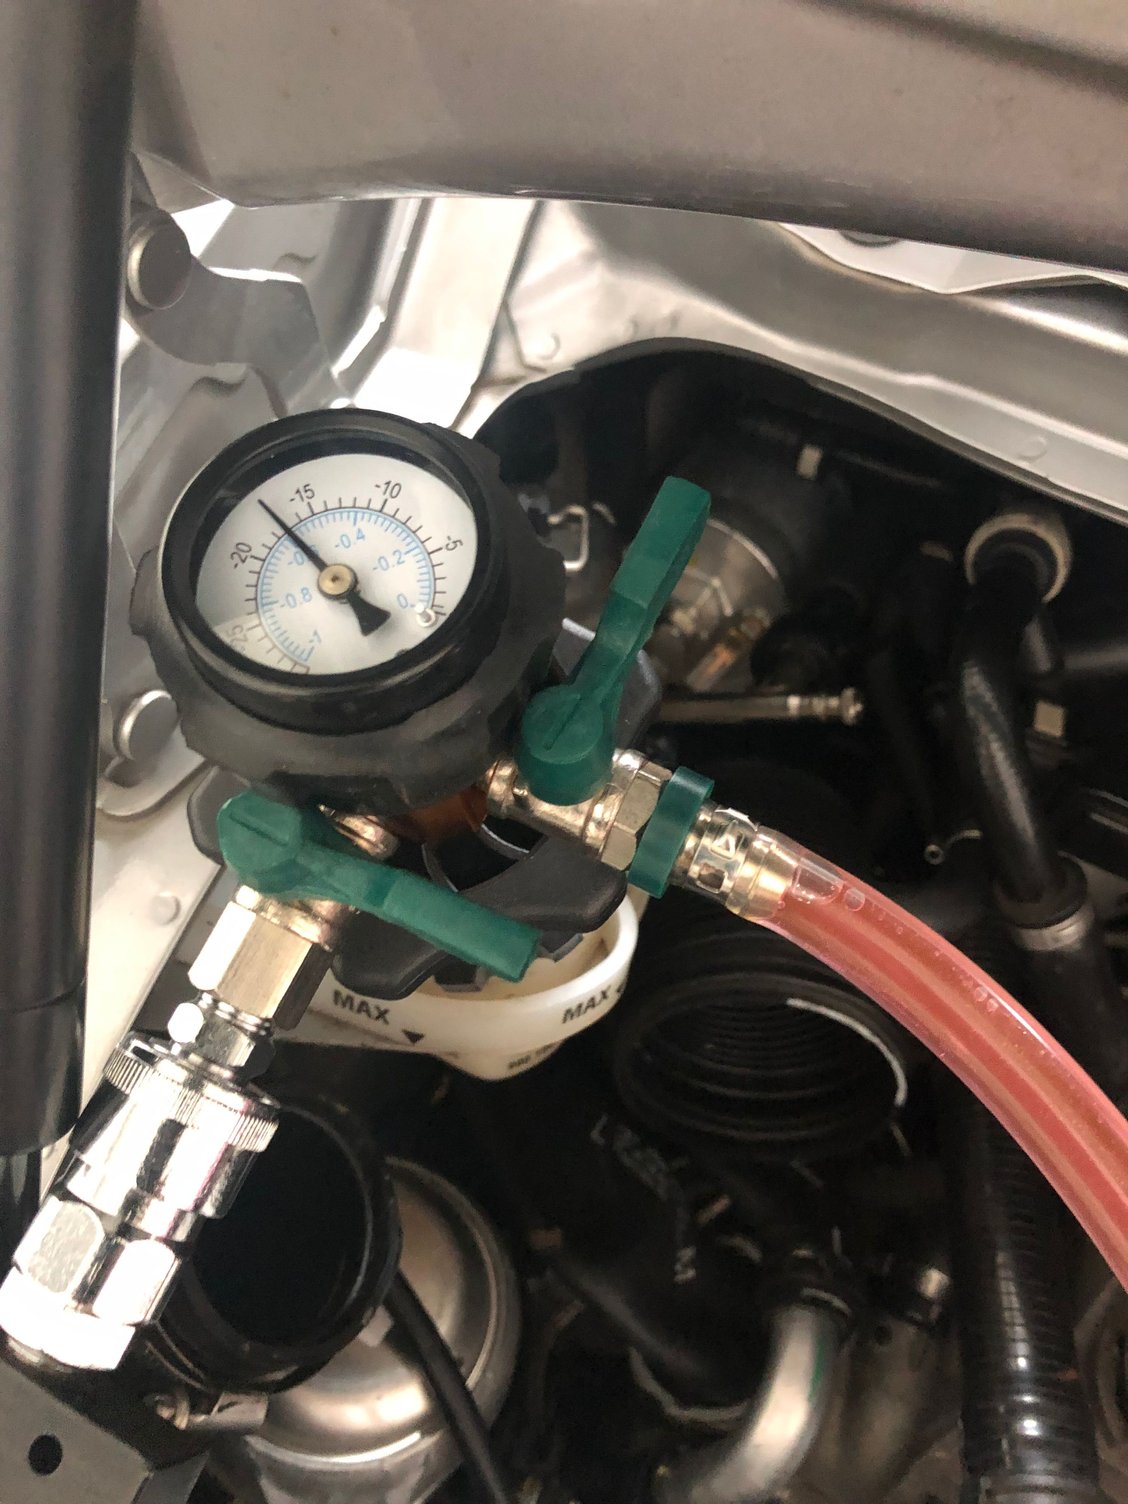
Progress looks good Ed. With the vacuum fill tool, put the system under vacuum for 10 minutes and check to see if there is a drop in pressure. Slowly filling also works very well at ensuring no air pockets.
I wanted to wait until the last plug for the PS Pump arrived. I worked on the car tonight but I ran out of steam, I am so close. With Noah's last plug in, so I was gung ho to get the rest of the engine top parts installed as well as filling the fluids.
One really rewarding moment was using the Scwabben coolant fill tool, creating a vacuum and watching it hold it confirming I completed 1 task successfully, namely keeping the integrity of the cooling system after replacing it's many parts.
Sometimes you can just be too smart for your own good (or dumb). I looked around a bit to find the capacity for coolant, and created my 50/50 mix in excess of that capacity without ever thinking to look at what I collected out of the engine. While it felt like I took out 35 gallons, only about 5 or so exited. I was so concerned about not running out of coolant as it was sucked out of the bucket. Thankfully every car I own uses this stuff, so when I redo the coolant in the future I am good to go. Coolant I thought I needed:
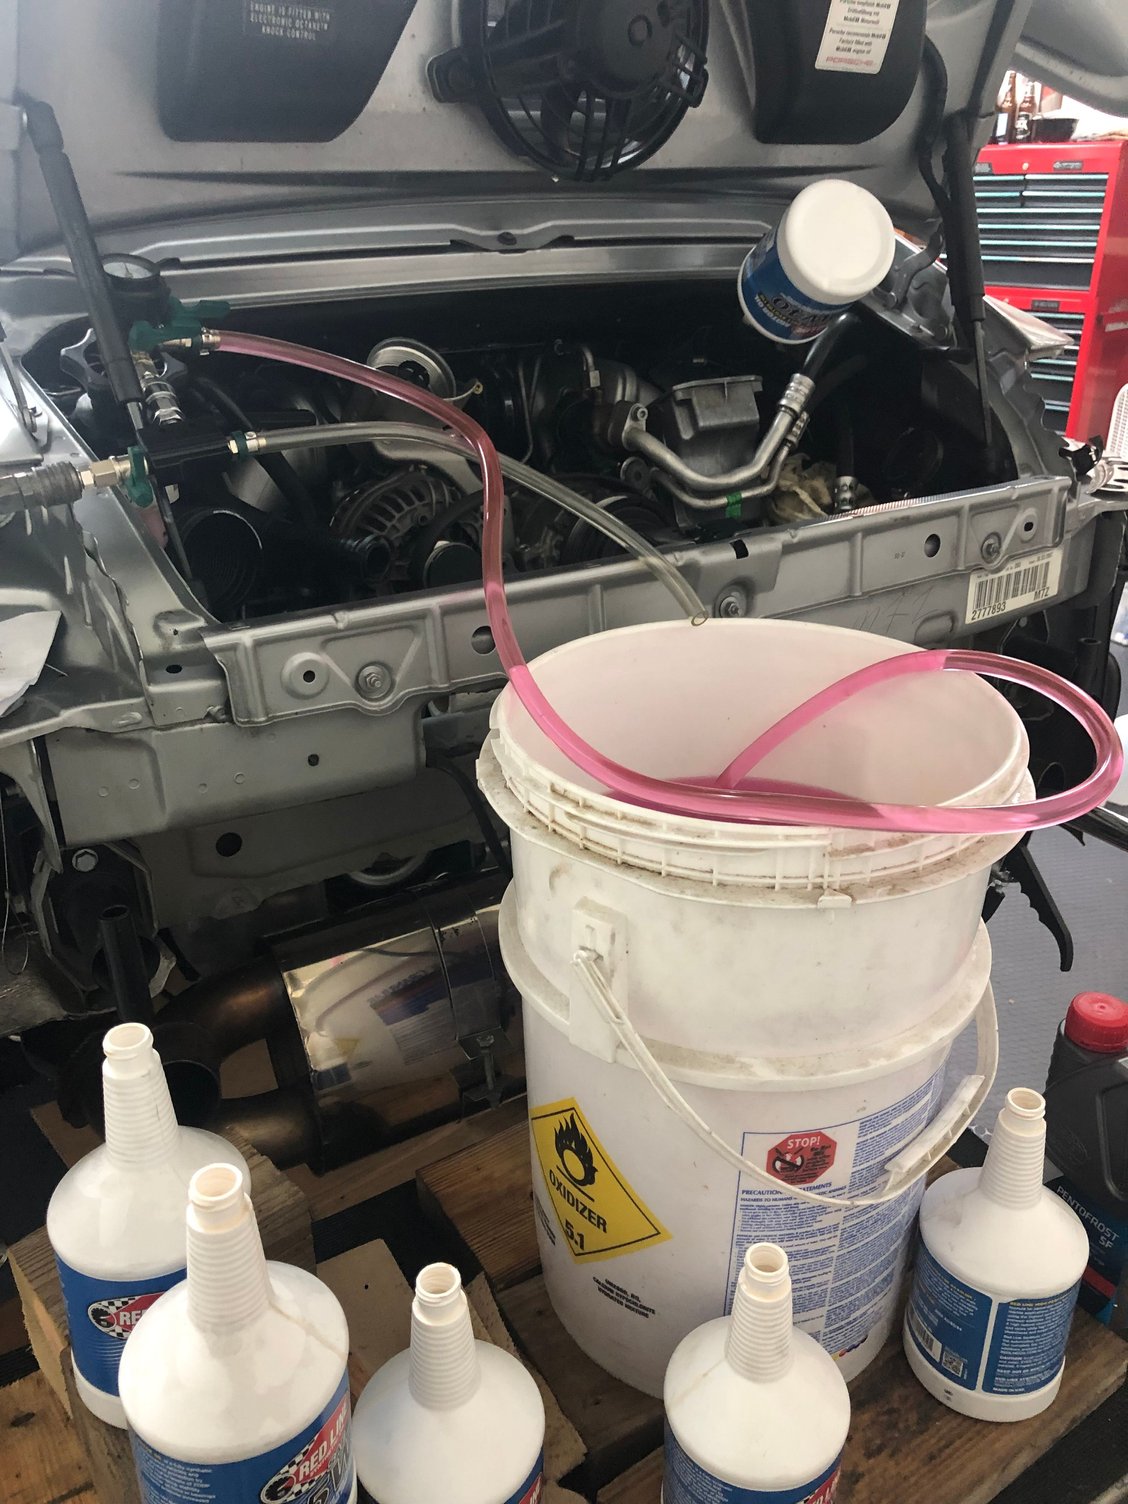
And the same going into the refreshed cooling system (along with the oil):
As Kevin has suggested in thread about oil changes, I used a mix of 4 quarts 0-40 and 5 quarts of 5-50. I also found a reference, but did not note where it came from 2 dump 2 quarts of 0-40 right down the oil filter housing. The post said:
"When refilling I pour two quarts down the oil filter canister reservoir of 0W40... This goes in two places.. One right over your oil pump sump intake and two>>prelubes the turbocharger and camhousing valvetrain."
I hate not being able to credit who posted the above, but it makes perfect sense. Once I got almost all 9 quarts in, i was able to use my dipstick to know my oil level was within limits. I may need another 1/2 to full quart but I will wait until I pull the fuel pump fuses and build pressure before I add any more. After adding the picture I realized the focus was off, I will get a better one and edit the post later.
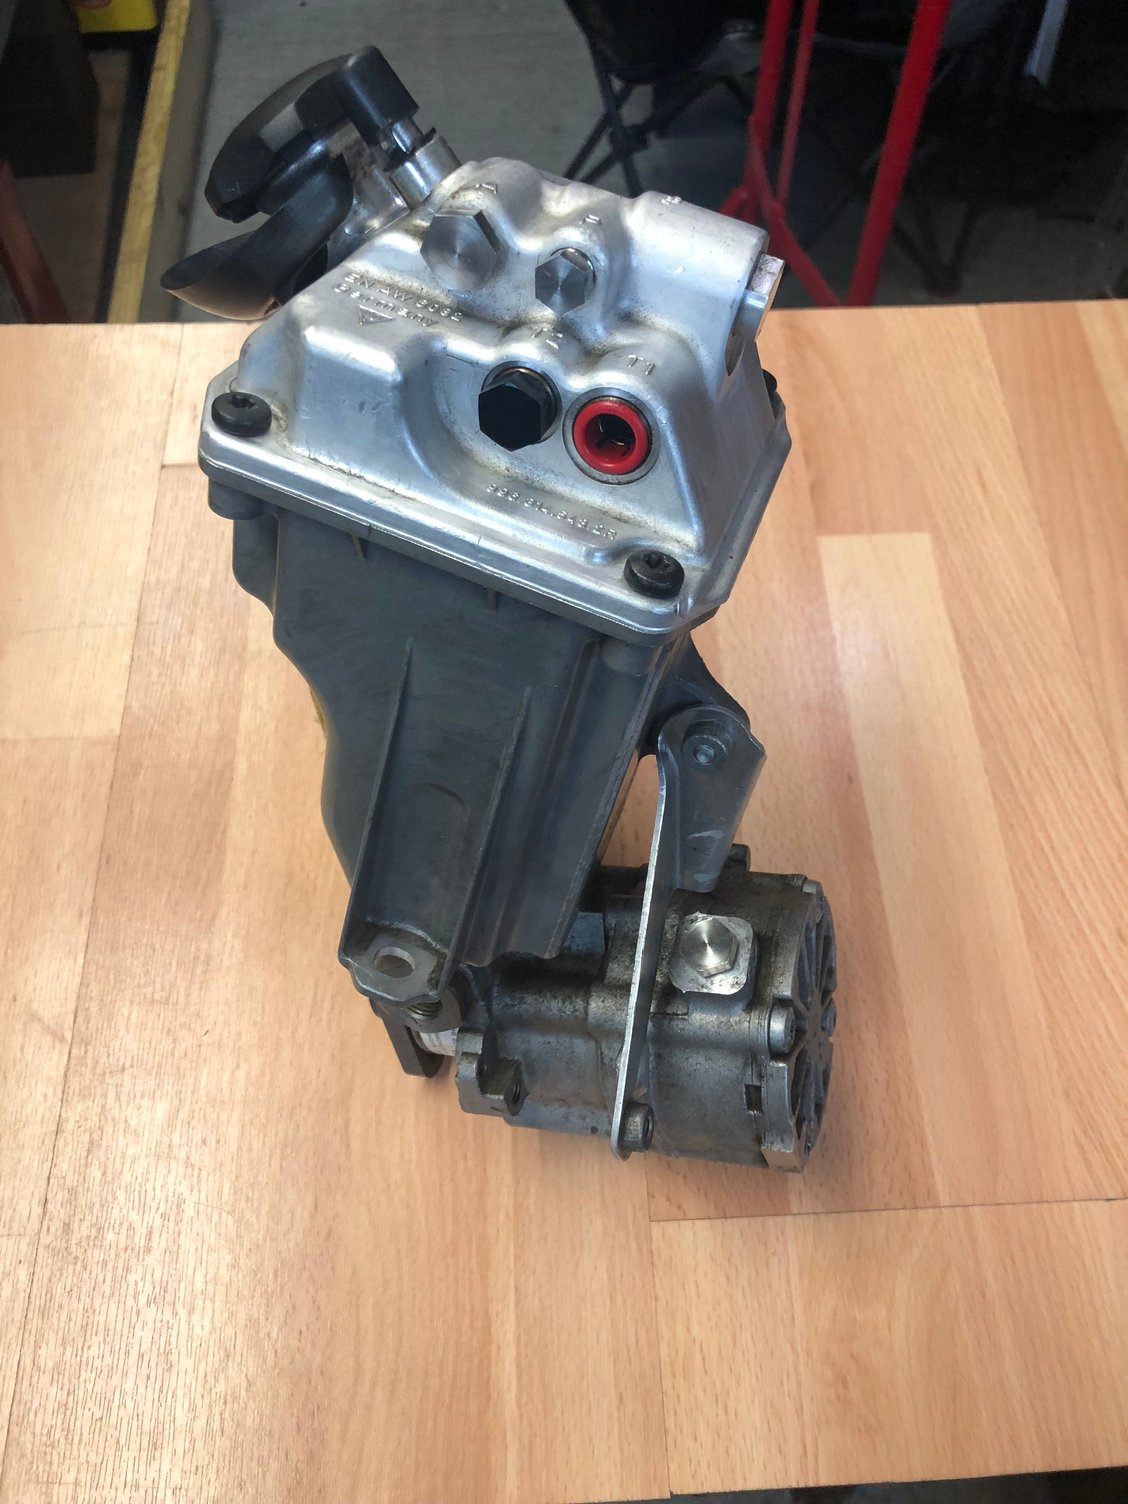
With Noah's plugs here, before installing them, I checked quickly about using Teflon tape and immediately saw advice against that. So Noah's (silver) and the one I tapped (black) went in without any, eliminating the piping that used to go back to the clutch slave. One of my follow ups will be to make sure there are no leaks in any area I messed with. That includes separating the pump to remove the coupler, removing the tank, plugging the unused ports and reattaching the lines to the steering rack. Now I have to check on the fill/bleed procedure so I can get the last fluid needed back in the PS system.
PS Pump is secure in it's home, the compressor is about to be secured, I'll have the pentosin in tomorrow. TB and other items will be on tomorrow as well. For some reason the PS pump really fights me going in, as well as the compressor. I need to jostle both of them to get them both to slide into position.
For the test start, I need to pickup a battery starter pack, all I have is a trickle charger and I don't want to kill the battery
One final gut check, I have left all the structural pieces off the rear of the car and intend to try and start it. The engine/trans is held by 4 points that are not connected to the pieces I am leaving off, so I think I am safe.
As you all know I have been creeping along this past week or so, but I was determined to get everything in line for a test fire today.
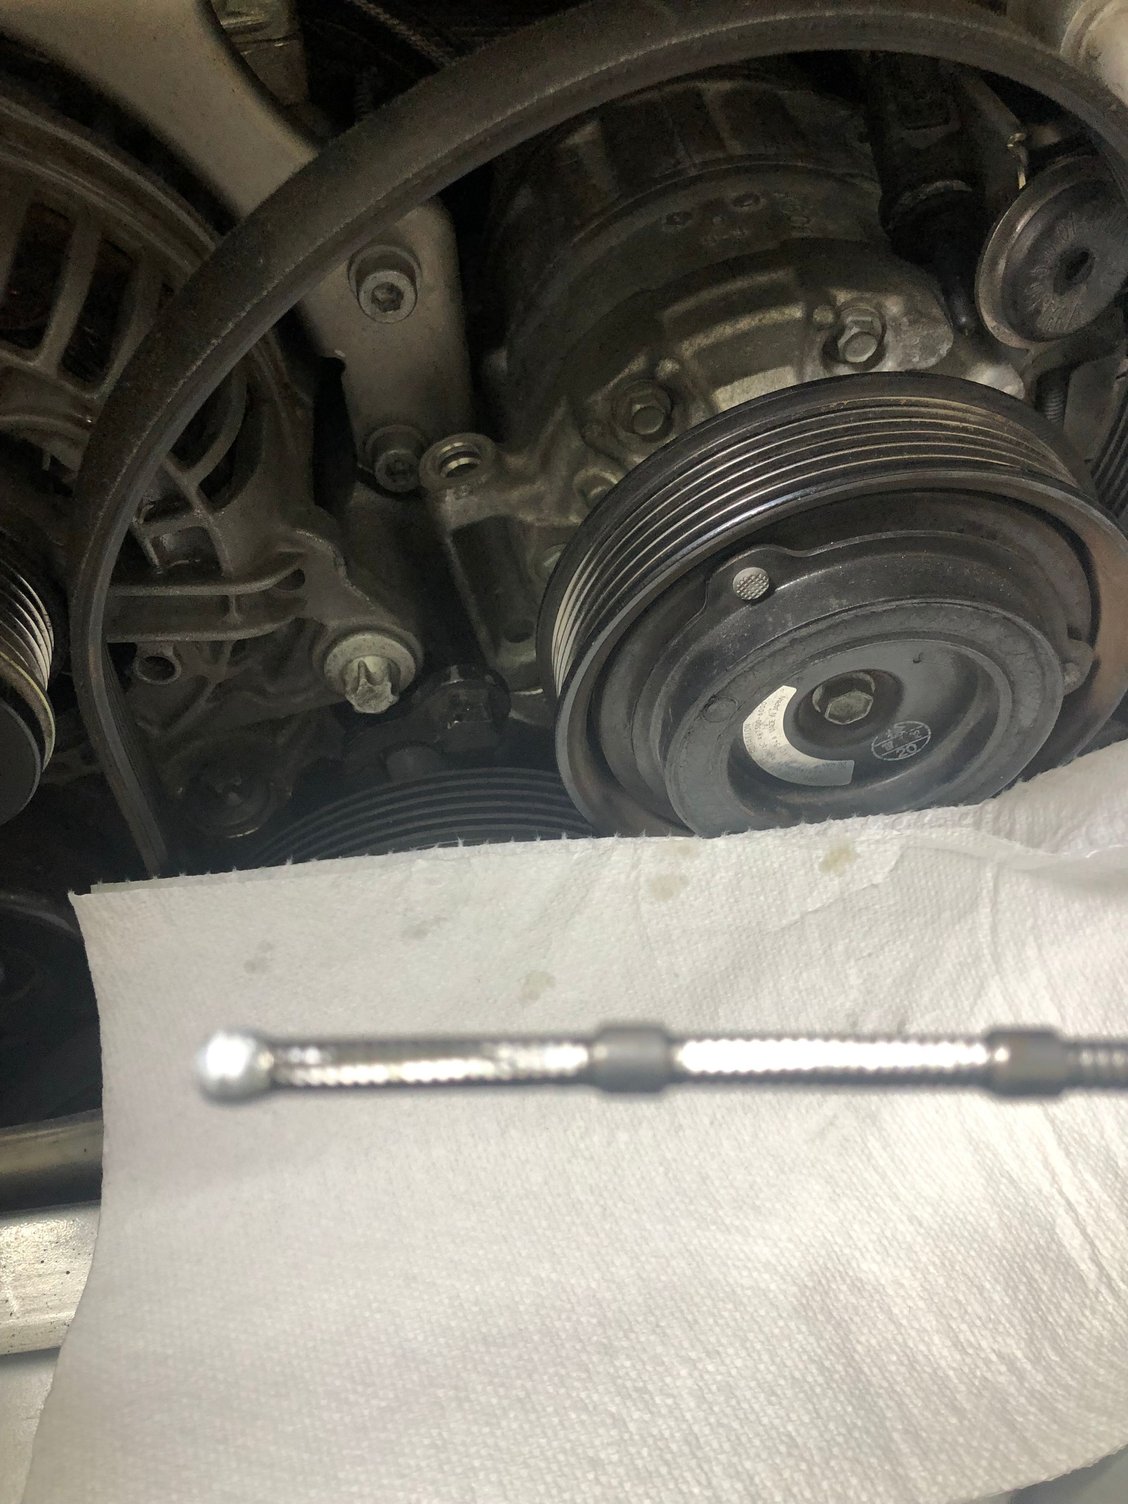
Got the drive belt on, filled the PS Pump Reservoir, installed the rest of the stuff up front, headlights, reinstalled the Frunk stuff, including hooking up the battery, put the head lights in, and then.. realized I let the front parking lights DISCONNECTED - ugh! I'll do that tomorrow.
Checked the fluid levels, topped off the coolant, made sure everything was secure (I need to tie wrap the wiring harness on the right side of the engine bay) and started to feel my heart in my chest.
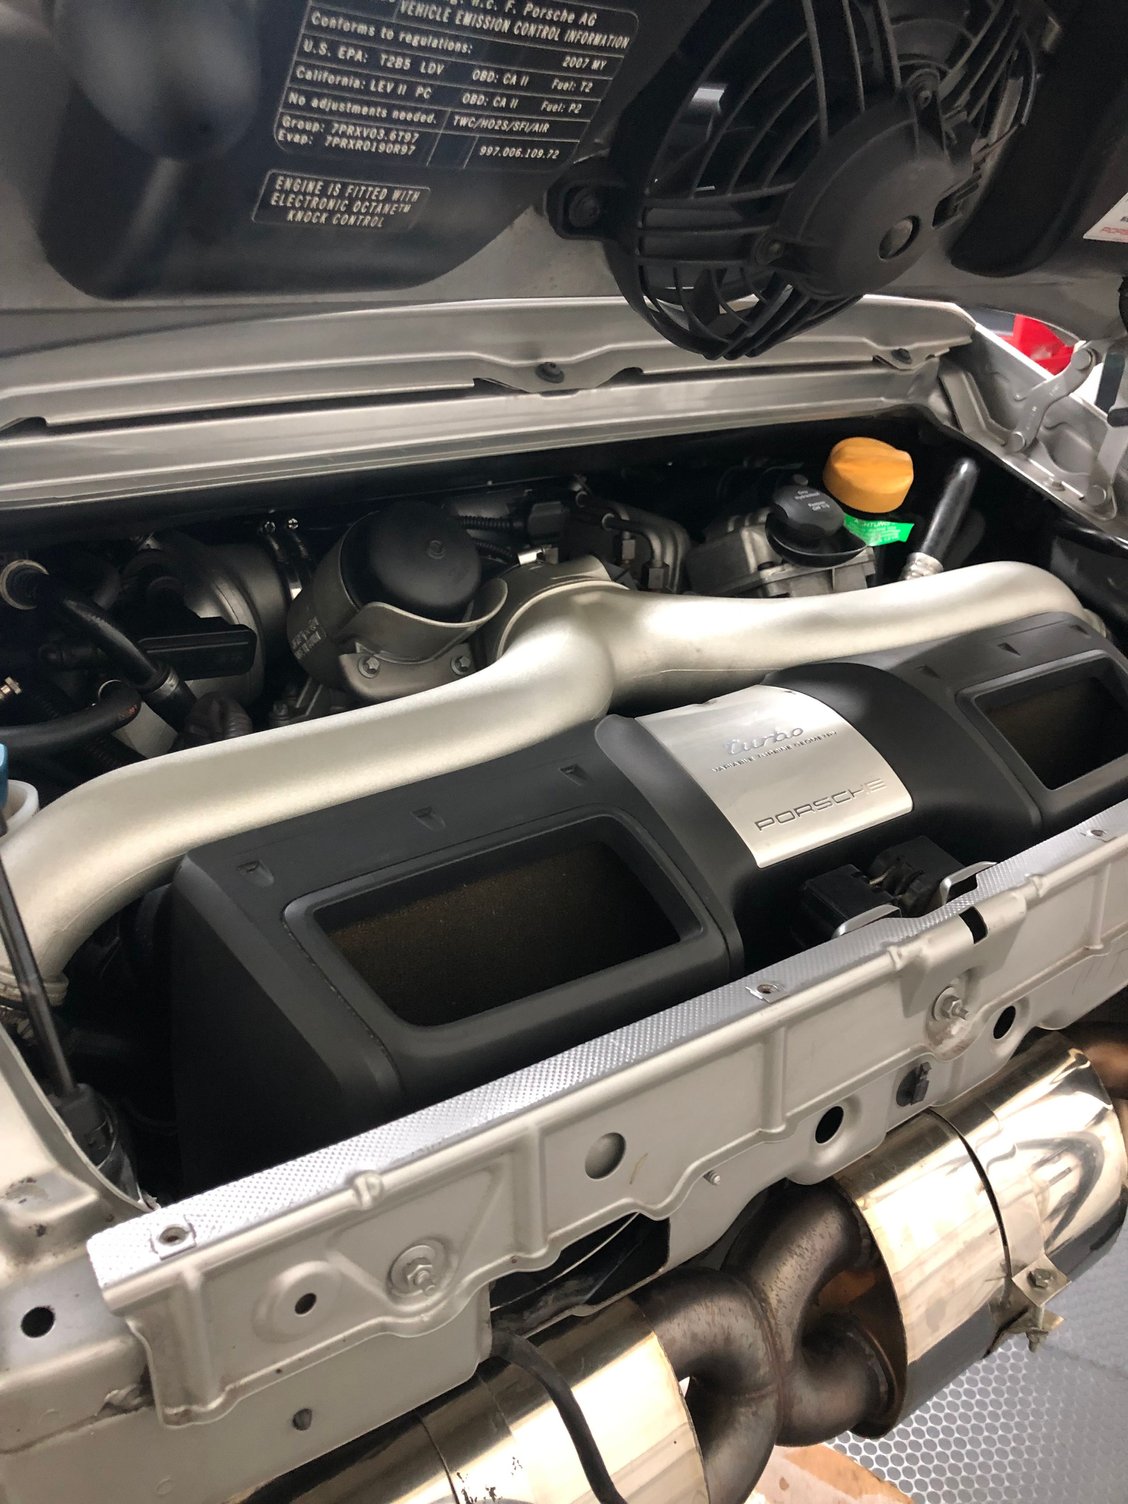
Engine waiting and ready:
I crawled up into the cockpit, removed the fuses for the fuel pumps, pressed the clutch (which still needs to be bled) and cranked the thing. I was so hyped up I completely forgot about the start booster I bought. As it's cranking, everything sounds OK, no clanking or other metallic noises, but no pressure after about 15 seconds. Shut it down, re-keyed the ignition it, and saw pressure beginning to build. Got it to a little above 2, shut it down, pulled the key (worried about inserting fuses) inserted the two fuses, and in the words of that famous spy, "Yeah Baby!" she fires up, sounds sweet and going through it's warm up cycle like normal, only with the Kline sounding much nicer. I hear a little bit of a valve tap, but the engine sounded pretty damn smooth. I let it run a couple of minutes, pulled the video and I could hear the tone change as the engine was getting a bit warmer and shut it down.
I am trying to add a Iphone video, not sure how that will work. So if you can't here it, I apologize, I forgot to look at the FAQ and see how to attach a video, but all I can tell you is that it was music to my ears.
Have to go ref, I will be buttoning it up over the next couple of days, giving it a manual toe alignment, getting the clutch hydraulics working and then seeing my Porsche guys for an inspection and corner balanced alignment.
I still have to be sure there are no leaks or other issues, oh and the plug for the transmission I received after the engine was back in, and I can't reach the spot without popping the starter out. I''l wait for the winter for that task, along with the bump steer kit a couple of other small tasks.
So, holy crap I may have actually pulled this one off. Maybe when I get tired of IT I'll become a mechanic (just kidding - I don't think I would be skilled enough to handle all the things that can happen).
Yesssss, that's fantastic! Congrats on a job well done. This will be a huge help to anyone wanting to take on an engine drop/coolant fix/motor reseal on their own. And without a lift! Super impressed. You really did a tremendous job.

 08-16-2019, 10:08 PM