When you click on links to various merchants on this site and make a purchase, this can result in this site earning a commission. Affiliate programs and affiliations include, but are not limited to, the eBay Partner Network.
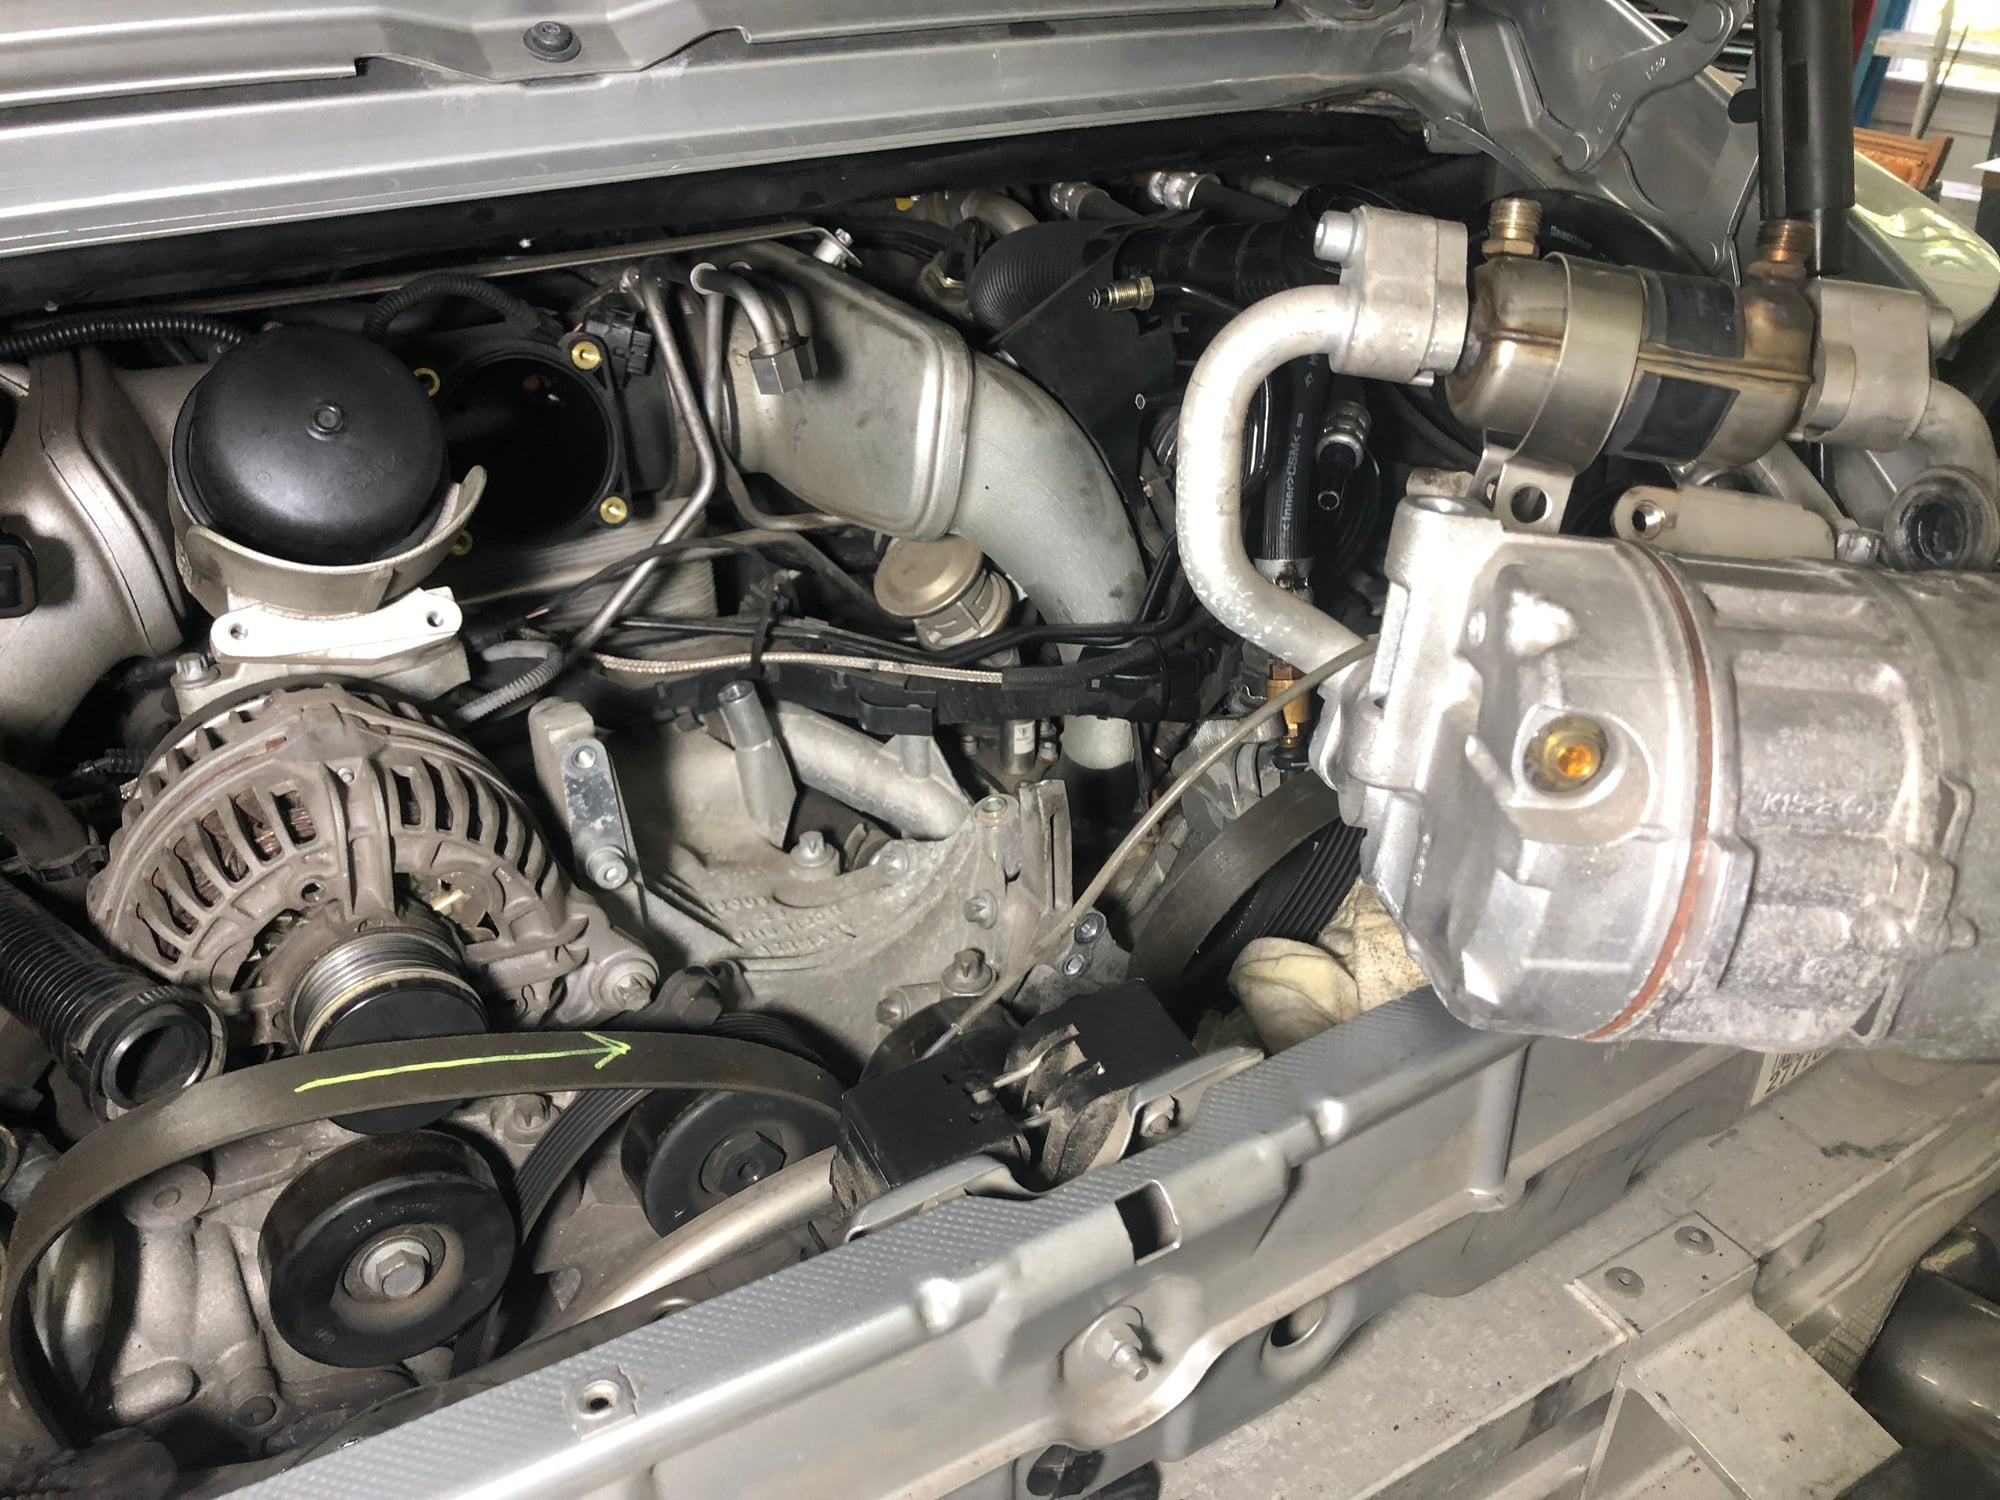
Car is up on the Quickjack. Working through the WM but I am stuck with the AC Compressor. All bolts are loose (including the Fuel Cooler) but no matter what I do the compressor hangs up on the bracket to the left (driver side) or on the PS Pump on the right (passenger side).
I need to keep the lines intact so I do not screw with the AC circuit. It looks like I have to remove the PS Pump and the AC Compressor in convert with each other.
I've done some searching (and will continue to) but I thought I would ask for any BTDT's.
Am I correct? Remove the PS Pump and the AC at the same time?
TIA for any guidance.
Ed
PS: Man this thing just pukes out the coolant when you're draining, holy cow.
For those interested, you must get the PS Pump ready to remove in order to pull the AC Compressor. I found a one liner reference in a post about something else that confirmed my suspicions.
For anyone interested, these are the tasks I am going to accomplish with the engine out:
1. Cooling
Sharkwerks Elbows (the reason for the drop) & any rubber O-ring, gasket or hose that would be a pain to get to with the engine in
Pin fittings (stainless steel button screws (allen key)
2. Suspension
GMG Sway bars (F&R)
Torque Solutions bump steer tie rods
Inner Tie rods
Powergrid Sway Links
Anything else I think is ready to be R&R'd
3. GT2 Clutch Slave conversion including fork (moving to the GT side)
4. Engine/Trans Mounts (function first inserts, engine mounts
5. Spark Plugs/Fuel Filter (coils?)
6. Spoiler - diagnose and make a plan to deal with whatever I find - came to me not working)
7. Pin Cams
8. VTG actuator clean/grease
9. Install Kline exhaust
10. Fix Blower warning (15 amp fuse)
Anything else I happen to run into.
This all should have happened over the winter, but I had an issue with the garage that kept it unavailable until yesterday. Good thing is it no longer looks like the garage in Texas Chain Saw Massacre (still have some organizing to do, but the tool access/organization is good).
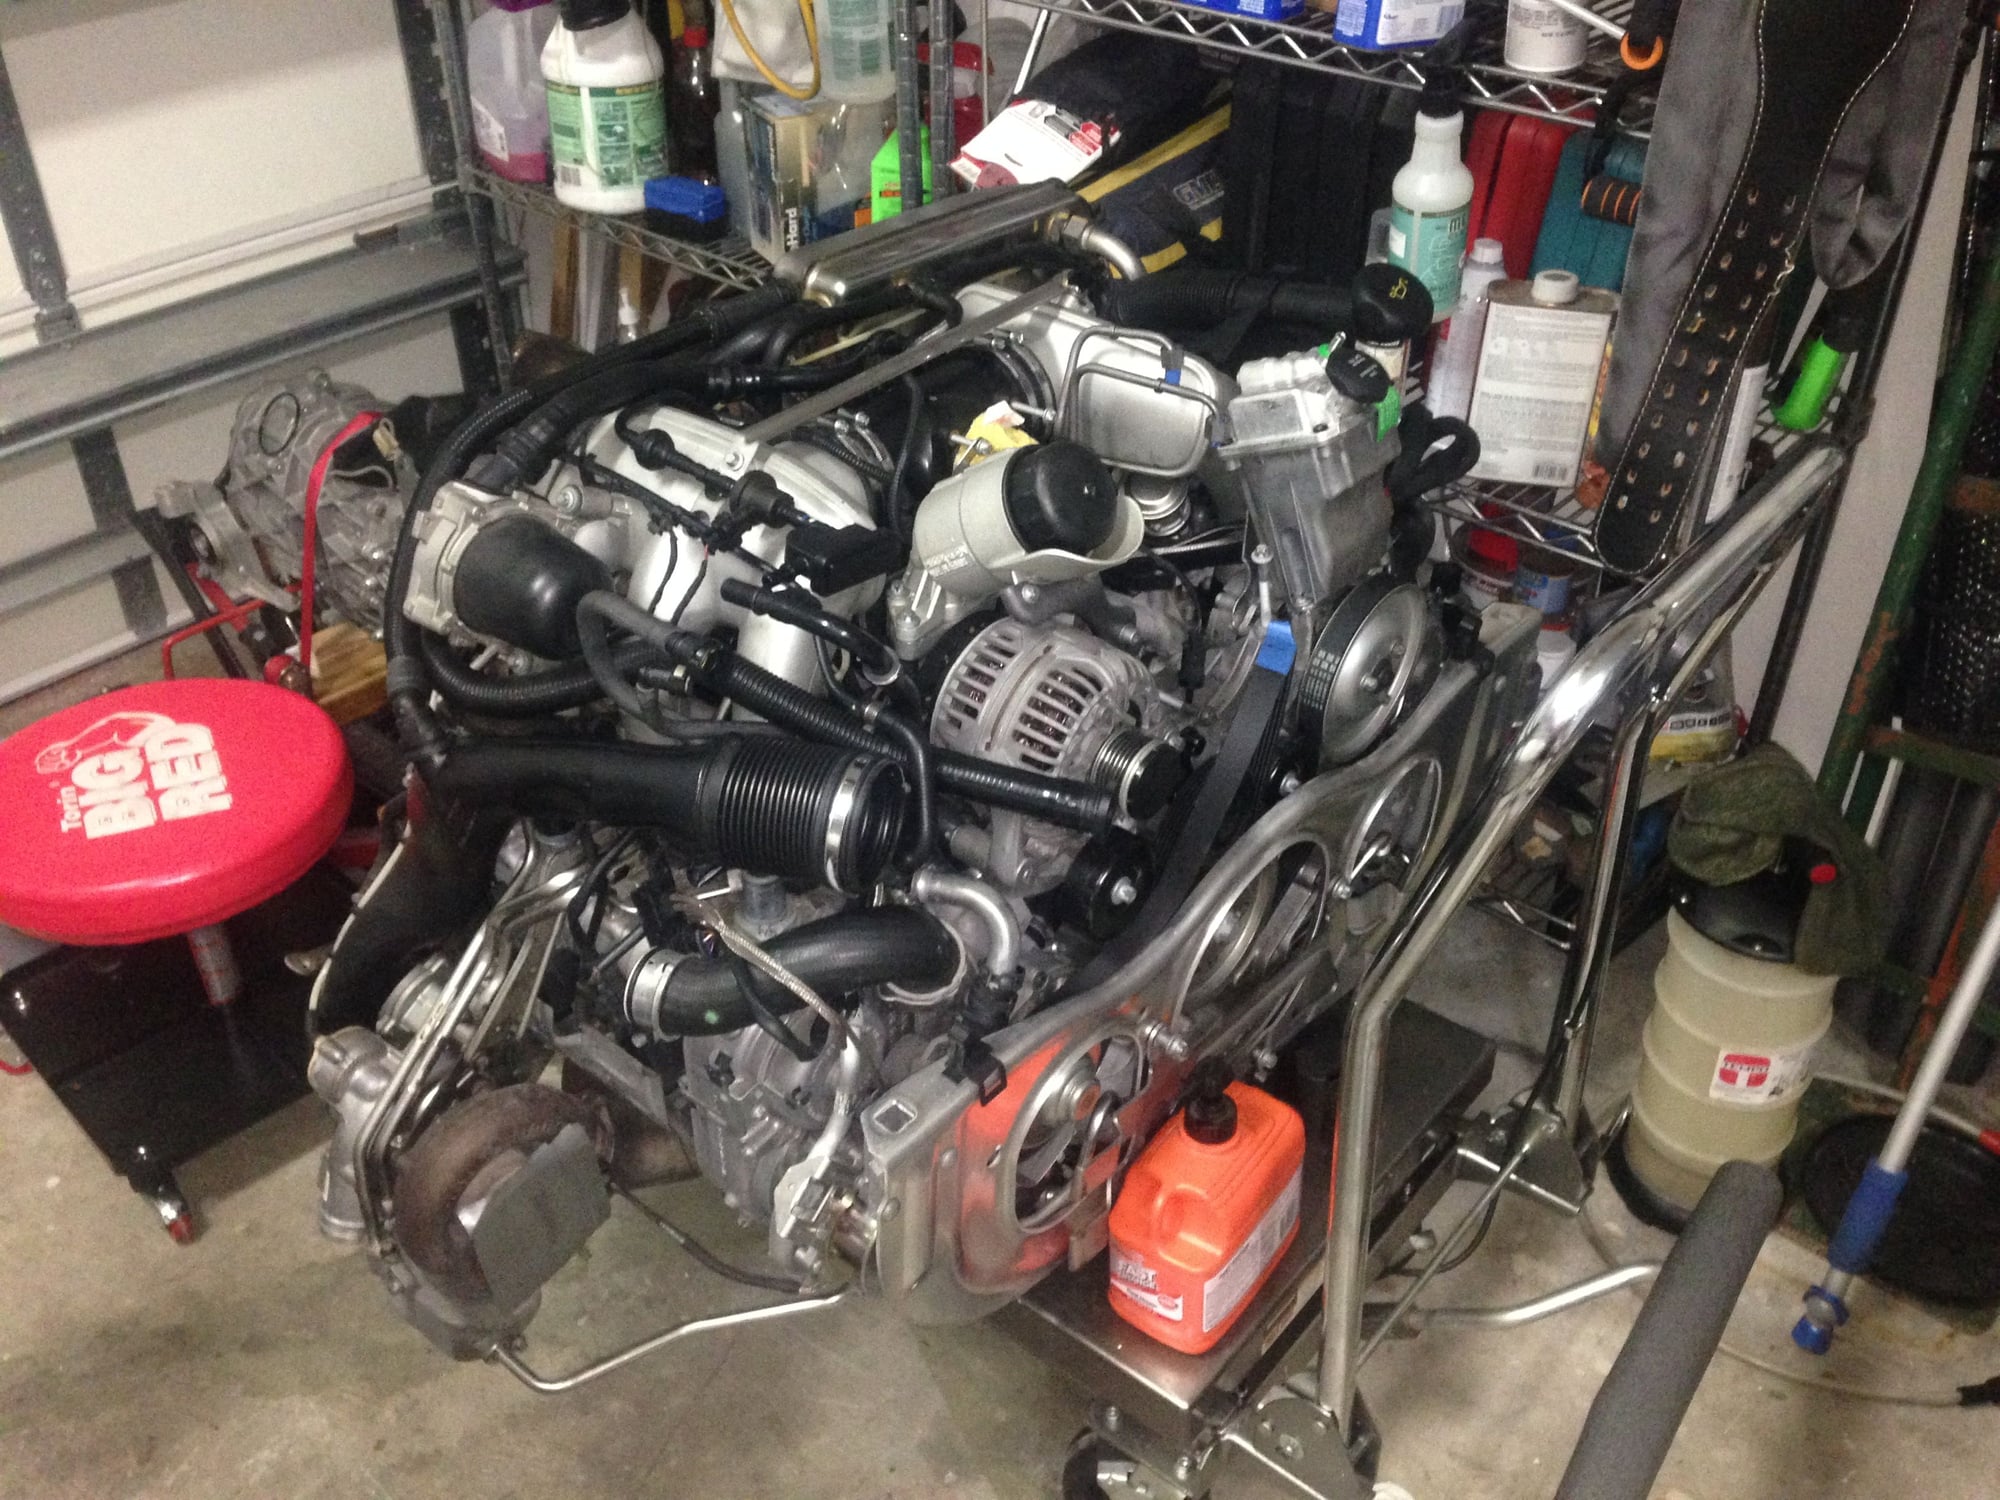
If I run into anything interesting, I will post more.
I bought the SUV adapters, "supposedly" that's enough. I will let you know. Looks like about 24" to the lowest point near the rotors.
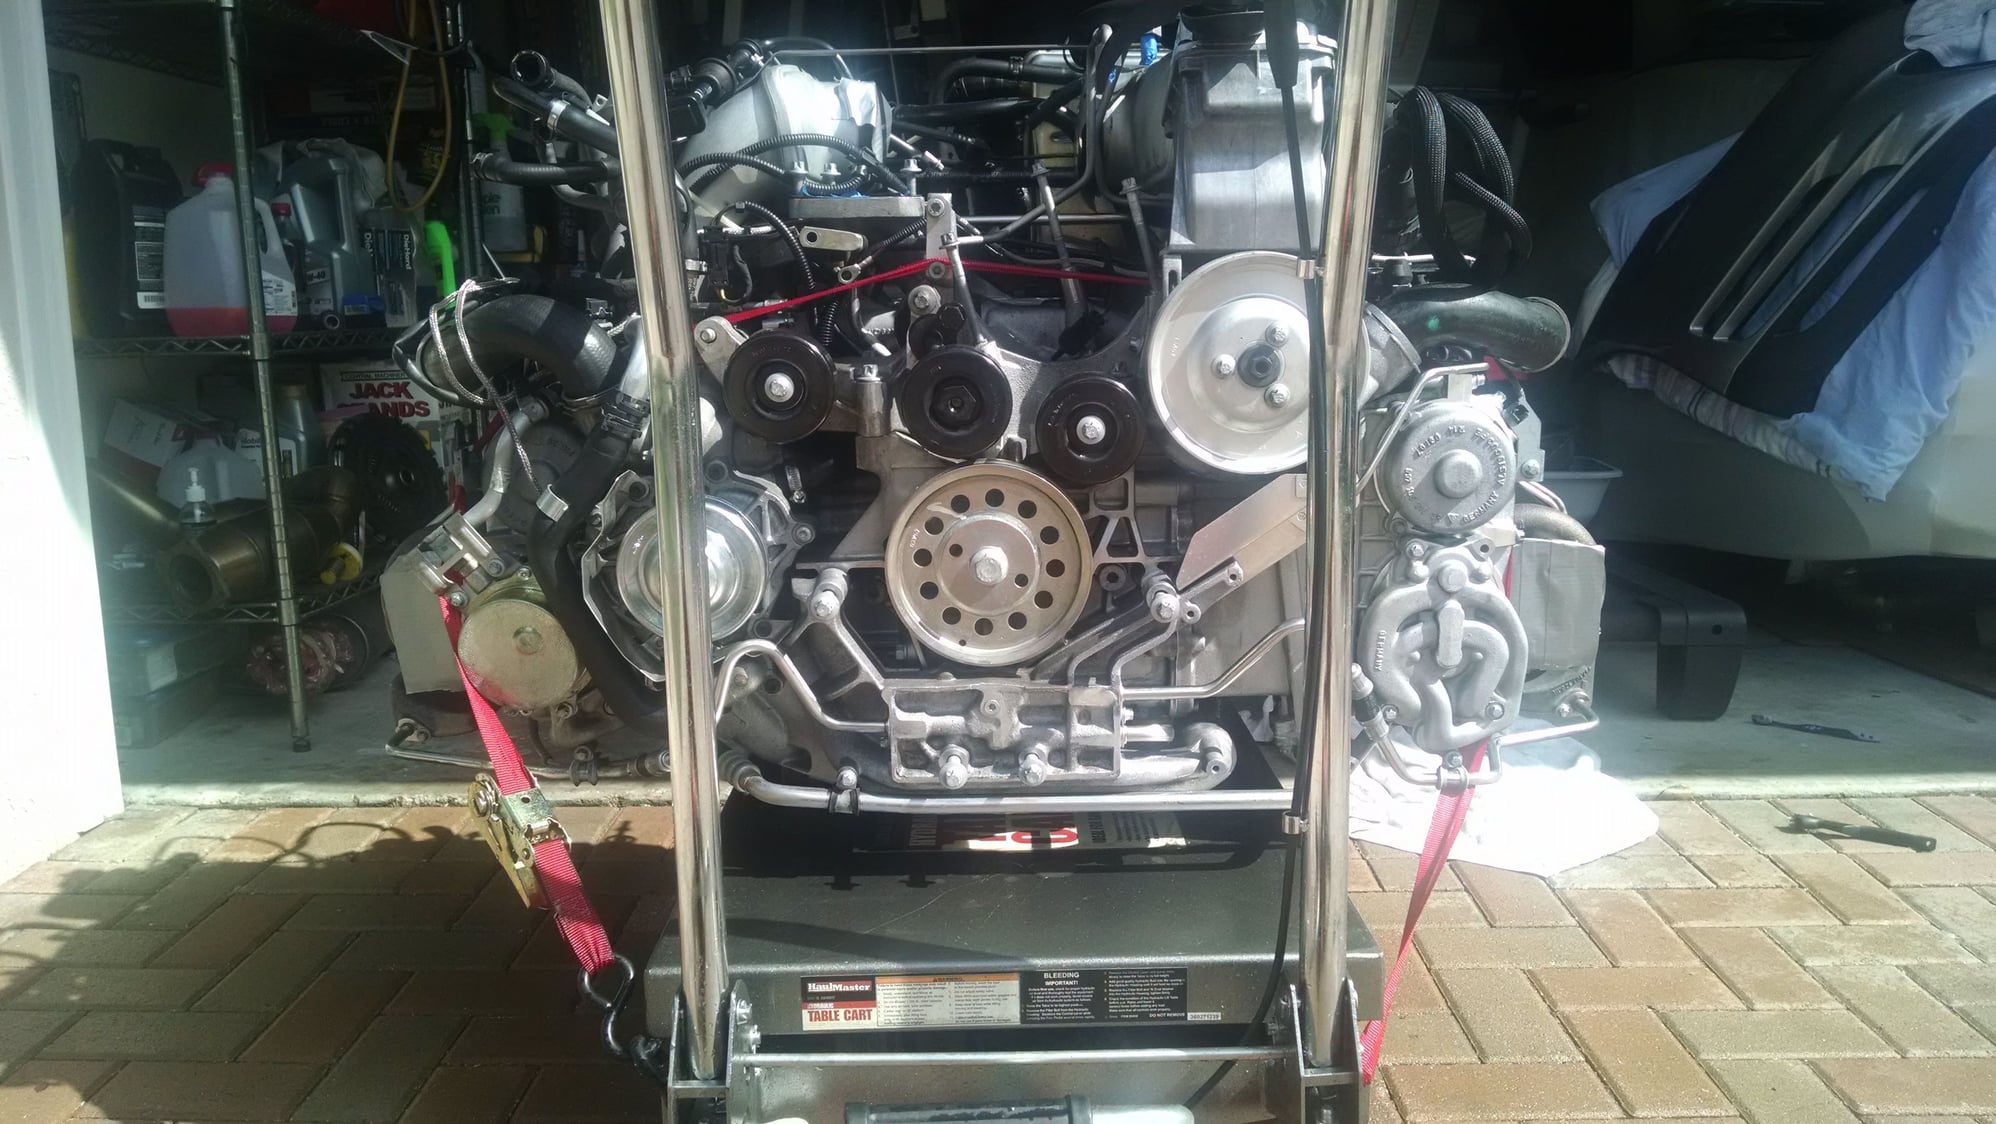
My picture taking has been more for "yeah, that's how that was put there" more than a story. So far no surprises, just pulled the rear drive shafts off the trans.
Have to go ref a couple of hockey games. Will pick it back up later tonight.
I used my MaxJax no trouble at all. Hope you have a lift table. If not good luck and use all precautions. Mine is from harbor freight but completely modified before use with American made piston seals, hydraulic fluid etc. 1000lbs stock modified for 1700lbs.
I found your block post, now it would be great to know how you flipped the handle around.
Ed
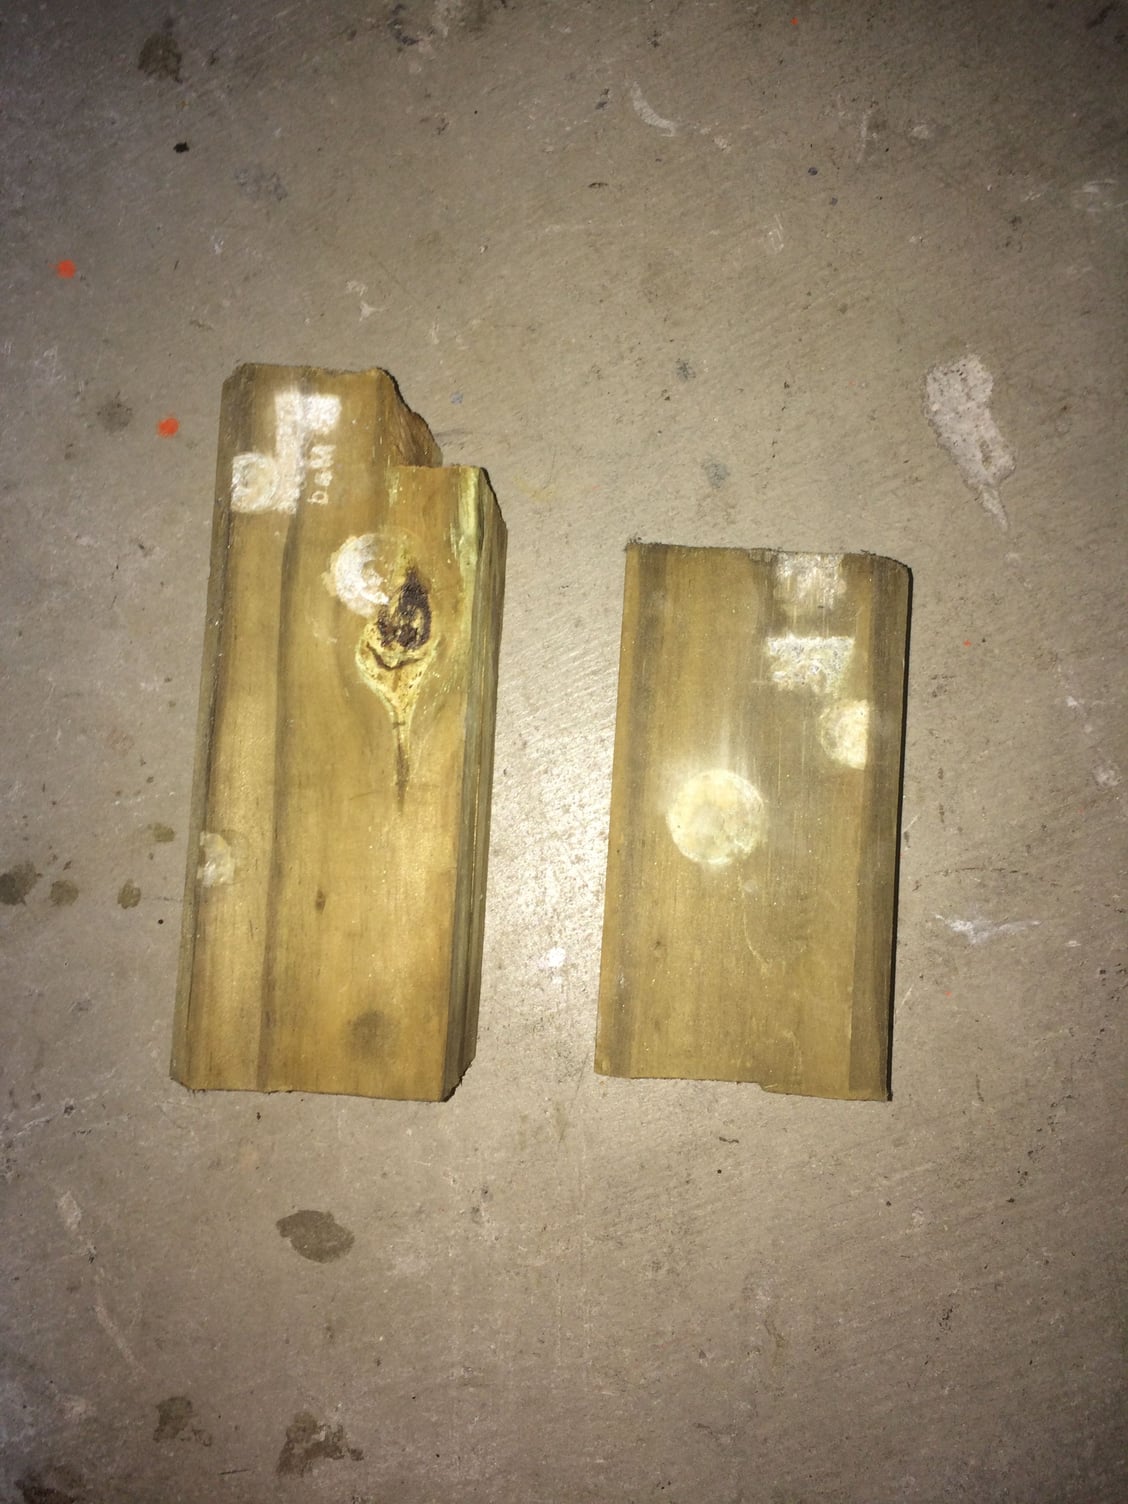
Here it is:
The long 4x4 on left is 8.75 long with a notch removed at right 1 inch x 1 inch. This one is placed on the left side between the headers. The notch is self explanatory when placed below engine. Right 6.25 long fits on right side. You place these on table and lift table to engine. Adjust fitment and you are good to go.
Is this what you did? Found it on a Pinball Machine service site of all places.
Ed
Post:
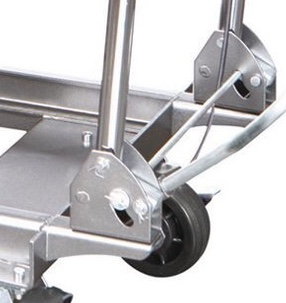
1000 Lb Harbor Freight Model
Lift the cart a bit so that you can access the nut on the back side and remove the handle and put it on top of the platform for now. remove the brackets turn them around and reattach:
After ... the handle will fold down the opposite way now. Note that once it gets past this point in the pic, the handle will basically free fall down, so other methods have the advantage of locking it into a position
That�s it! I thought I had, my bad. Yes you need to reverse the attachment so that you can slide it under. Doing this will allow you to maneuver the cart beneath the engine. Here is a picture.
remove and rearrange backwards then remove handle and rearrange it as well. Optional is drain the fluid and remove the hydraulic piston seal. Replace it with an equal one made in the USA. $7. I went to a local hydraulic shop.
I ran into an issue that required a 2nd engine out maintenance for me passing this on so you can be sure to check for it as well. The lug that the positive battery cables connect to on the transmission seems to have the recall issue that the non turbos have. The cables shorted or the connection was so bad that it increased the resistance to where it melted the looming and it ended up being that I was losing 2 volts from alt to batt. You have to lower the engine to get the rearmost cable installed AND the replacement cable is thicker in diameter than the OE cable and so you cannot re-use the runner that routes the cable to the alternator. The car had a whole host of issues electrically speaking that were sporadic in nature and was a giant pain in the **** to troubleshoot. Check your cables!!
"... & any rubber O-ring, gasket or hose that would be a pain to get to with the engine in"
I also forgot I have cup cables to slip on, a fuel filter and will probably do the WP , aux pump during the engine/trans's absence. Someone suggested the expansion tank, but that looks pretty good.

 06-09-2019, 12:39 AM


 passing this on so you can be sure to check for it as well. The lug that the positive battery cables connect to on the transmission seems to have the recall issue that the non turbos have. The cables shorted or the connection was so bad that it increased the resistance to where it melted the looming and it ended up being that I was losing 2 volts from alt to batt. You have to lower the engine to get the rearmost cable installed AND the replacement cable is thicker in diameter than the OE cable and so you cannot re-use the runner that routes the cable to the alternator. The car had a whole host of issues electrically speaking that were sporadic in nature and was a giant pain in the **** to troubleshoot. Check your cables!!