When you click on links to various merchants on this site and make a purchase, this can result in this site earning a commission. Affiliate programs and affiliations include, but are not limited to, the eBay Partner Network.
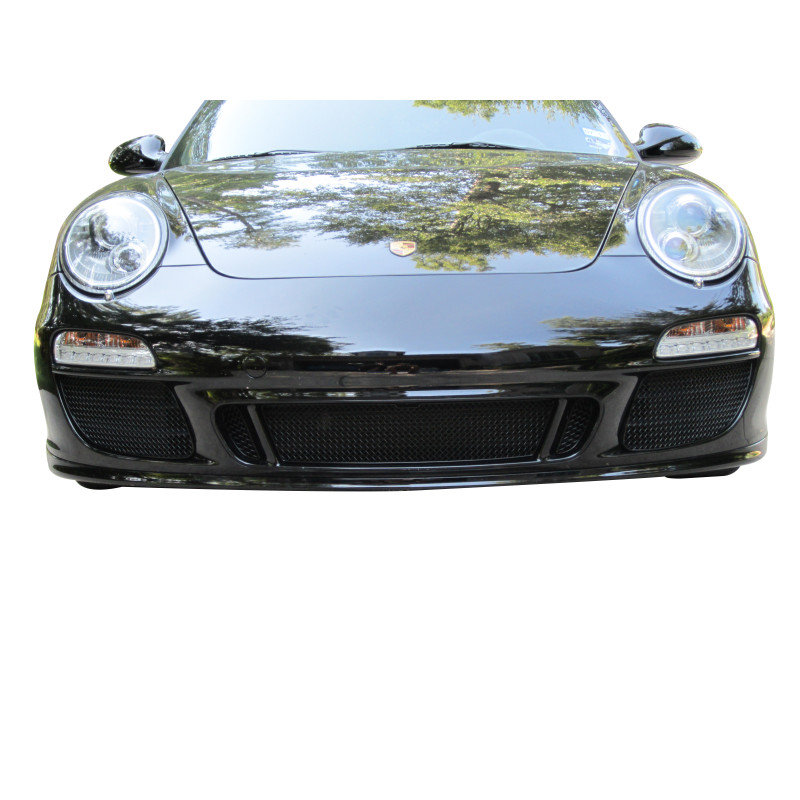
Thanks for another great post. You obviously think things through before doing a mod. How did you decide to go with the Rennline grills? I installed the Zunsport grills on my 997 GTS. (See below.)
They slide in from the front and use clips to retain- since they sit in front of the intake strakes, they aren't going anywhere. They install in about 10 minutes with a flashlight and a long screwdriver to line up the clips. Cost about the same as the Rennlines- but free shipping from the UK to your home.
They do hide the vent strakes, which might be a style factor, for some. Just curious on your thought process. I agreed that all H2O 911s should have this mod done- the damage to radiators is inevitable and avoidable. Why not prevent it for only 2-3 hundred bucks?
Thanks for another great post. You obviously think things through before doing a mod. How did you decide to go with the Rennline grills?
Thanks much. The Rennline grills were available to me for nearly free so I couldn't pass it up when I bought them a few years ago. In all honesty, if I had access to space where I could remove the front bumper and store it overnight (like any home garage), I'd have simply made screens myself from Home Depot gutter screen and clips from thin-sheet aluminum for only a couple bucks. Many have done that on this forum and that's the way I'd recommend everyone go. While it's fine for some I do not want zipties holding my parts on so i'd not opt for that method. And I also agree that these should have been standard from the factory.
Interesting tidbit on coils and plugs. Both Bosch and Beru have plants in Brazil and plants in Germany. When my race shop asked if I used OEM or Porsche parts from the dealer he told me why he asked.
He confirmed with other shops in the area that they had been having sporadic failures of both the OEM Bosch/Beru parts and the Porsche Bosch/Beru parts (the difference between Porsche and OEM being Porsche has higher tolerances for parts than OEM).
They found that the only failures were coming from parts manufactured in the Brazil plants and no failures in parts manufactured in Germany. So they collectively have notified their suppliers they would reject any orders originating from the Brazil plant and will only accept orders fulfilled from the German plants.
I confirmed this with a couple shops. Now this wasn't a scientific study of course and I don't think this represents a statistically significant sample size to go lawyering up but I wonder if other shops across the country have seen this trend and if there is some issue with QC out of Brazil.
I was at one of those Porsche "track test drive" deals at Autobahn back a few months ago, and recognized your car in the lot immediately. Looked awesome and would've loved to chat with you about it, but I think you were with the morning session (I was coming in for the afternoon).
I don't know about you, but my car has been hiding from the Chicago winter for only about a month now and I am already sufficiently depressed.
Hope to see more updates and continuing evolution with your car, and perhaps see you at the track someday!
On February 2nd, 2018 some ground rodent with the IQ of a bag of cooked quinoa saw his shadow and tyrannically asserted 42 more days of frozen Hell on Earth. Well I'm declaring he is NOT MY GROUNDHOG and, like many of us, am budding my own seeds early.
Awoken from his climate controlled 3 month solitude (I like to think he's on a spiritual journey), I stripped Ragnarok if his blanket and tore at his innards.
Listed here in order of appearance:
From the West, a Numeric Racing Short Shifter
From the South, an Ecliptech Shift P2
And from the East, a 991 Cup Car Steering Wheel and Switch Plate
The next few posts will be my brief tale of installing these three.
So far it's been a lot of planning and reading on the electrical systems of this car, but otherwise it's been pretty straightforward. I made some friends in the sim rig community. And, my knowledge of switch types, switch manufacturers, switch distributors, and switch conferences has grown exponentially. Protip: don't call them buttons.
It's nice to know I'll have an industry to fall back on should this whole internet thing turn out to be a fad.
First up, the Numeric Shifter.
What can I say that hasn't already been said about this? It's amazing.. a jewelry piece. One thing I can say is the installation instructions are long on removing the center console and short on installing the shifter itself. You need to use some intuition because after you have the center console out of the way the instructions are close to basically, "After you've removed the center console and OEM shifter, install the Numeric Shifter. Congrats!"
Also, I'm having a big problem getting the shift **** and boot to sit far enough down to rotate the shift boot cuff. Google says a few have experienced this before and the solution is to try harder. Okay then. Edit: Called Numeric and they said made it a bit harder than OEM to get the **** on after experiencing a few ***** slip off in their own testing. So I took a piece of wood, microfiber to protect the leather and a vibration free hammer and gave it a whack. It went on just fine. All good now!
As you can tell from previous pics in my journal, I'm working in the dark (also I'm sh*t at taking pictures) and these are none better, but here are a couple that prove I'm not making this up, mom.
And a 1 and a 2 and a...
Next up is the shift light which will be integrated into the steering wheel!
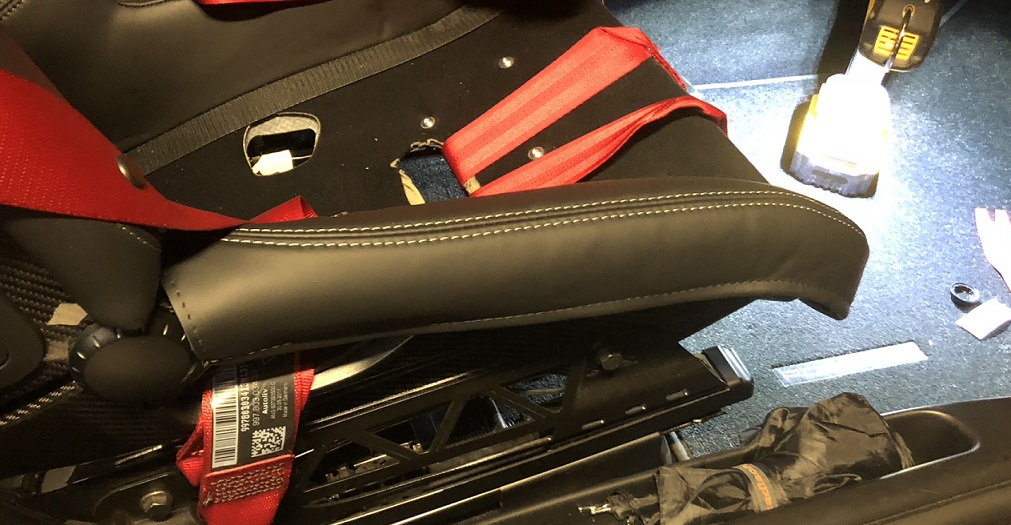
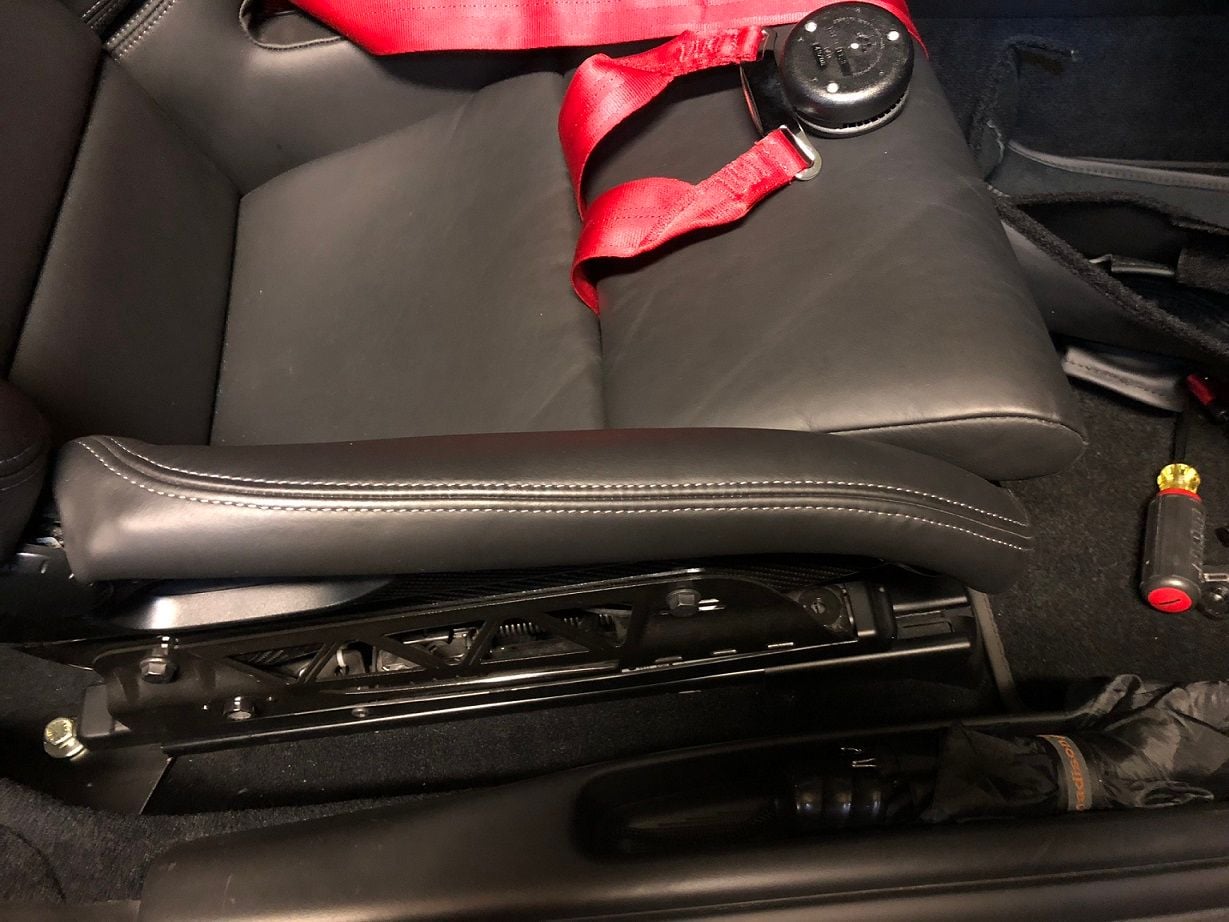
I installed Crazy Eddie's bolster covers for my GT2 seats tonight. These things are works of art. Unless you were really looking you'd never even know they were covers. I like them so much he and I are scoping another project for these seats that I really hope pans out. More on that to come.
Spring rolled off the couch yesterday so I took advantage of the 60 degree temps to wake the car and get it home.
The cover was stored and battery installed.
I like to pull the D1 fuse for the fuel pump and crank it for maybe five seconds to get the cylinder walls coated in oil. Doesn't take too long and can only help. She fired right up like it rolled from the factory line. I took the long way home and planned out the first weeks before track and C&C season.
There are a few projects lined up and a couple I need to finish documenting:
New steering wheel and switch plate with new, additional functions
Shift light (separate thread coming for doing this on 997.2 which has yet to be documented)
Interior update
Subtle, tasteful, custom updates of some interior materials you're all going to love
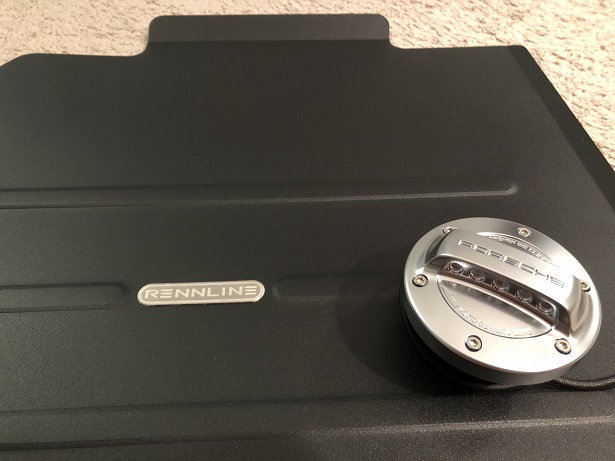
New track mats
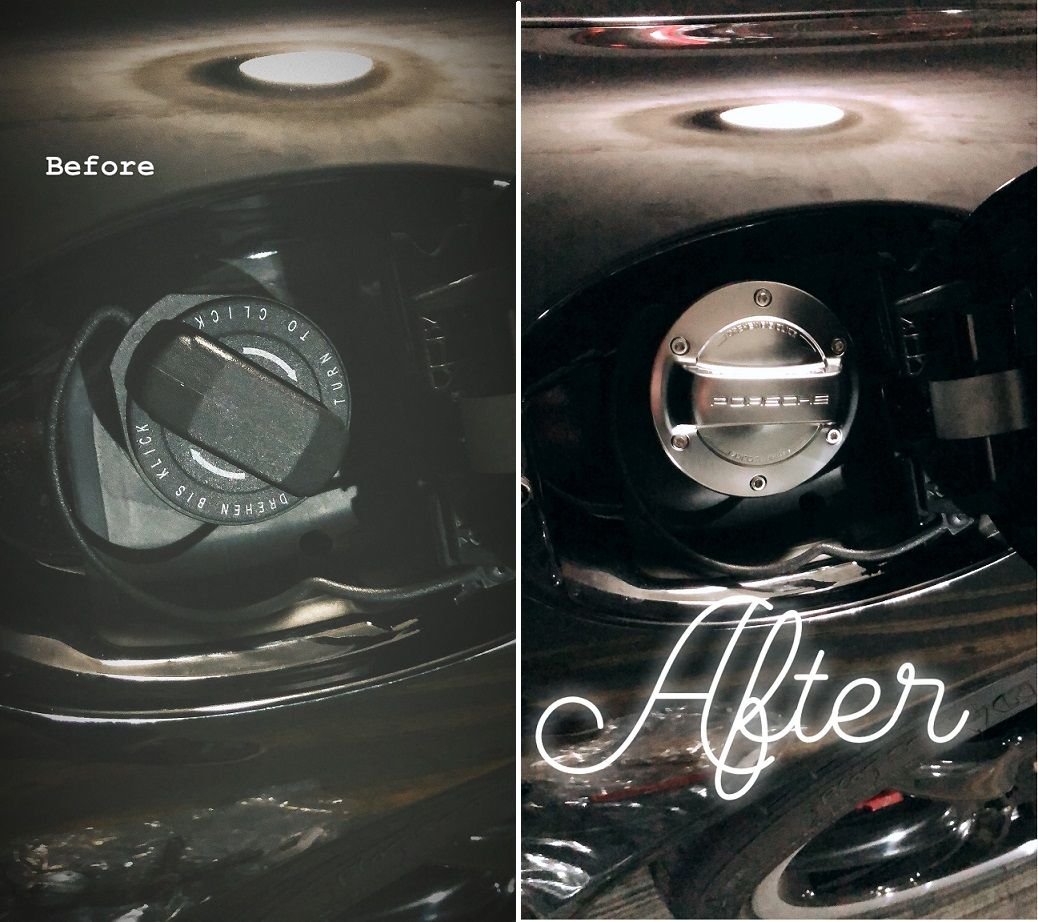
Gas cap to end all gas caps
Easy ones first:
This thing is very polarizing among enthusiasts. It's a cosmetic jewelry piece that no one sees AND it isn't even aluminum... it's alumalook. It deserves every criticism it gets but man does it look good once it's installed and I feel a little better knowing I got it half off retail from a fellow RLer.
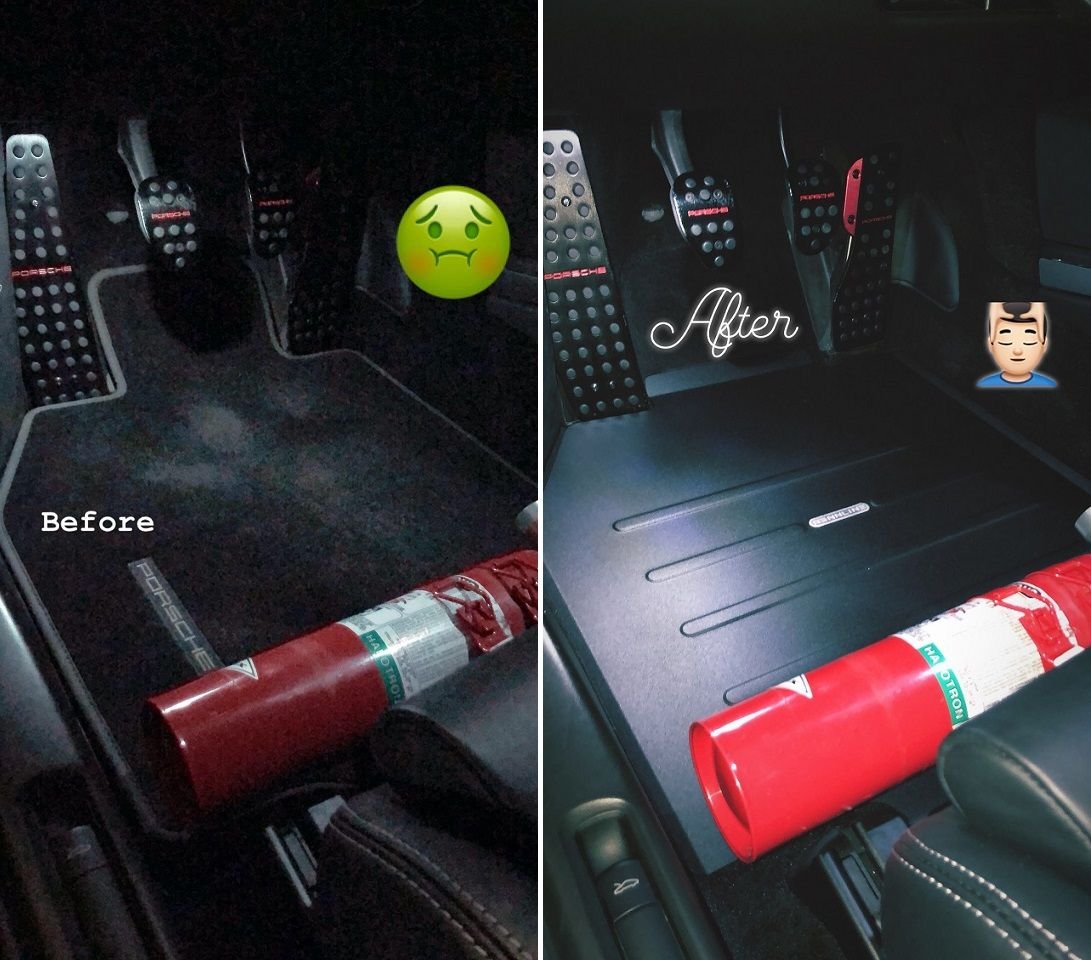
Changing the track mats was both for function reasons and cosmetic.
The interior needed some toning down of the red accents IMO and I wanted to be able to plop the OEM carpet mat on top of the track mat which could get a little slick in street shoes.
Here is a pic from another car of the mats identical to the ones installed previously (these are for sale by the way... free shipping... PM me)
And here now with the Rennline mat which I think looks the part much better.
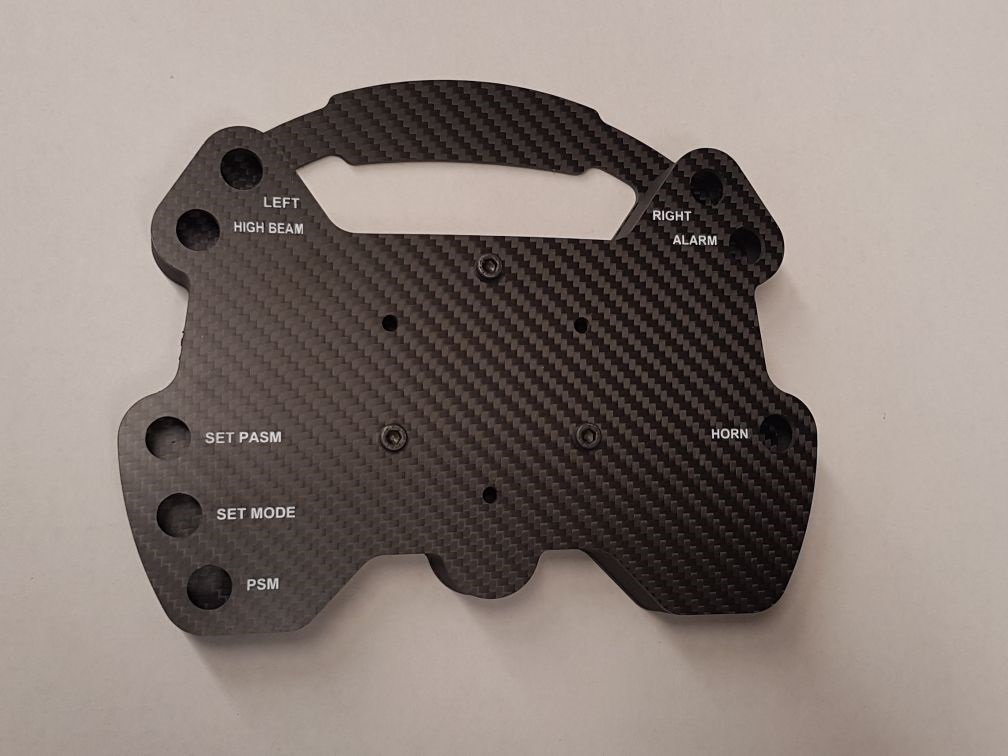
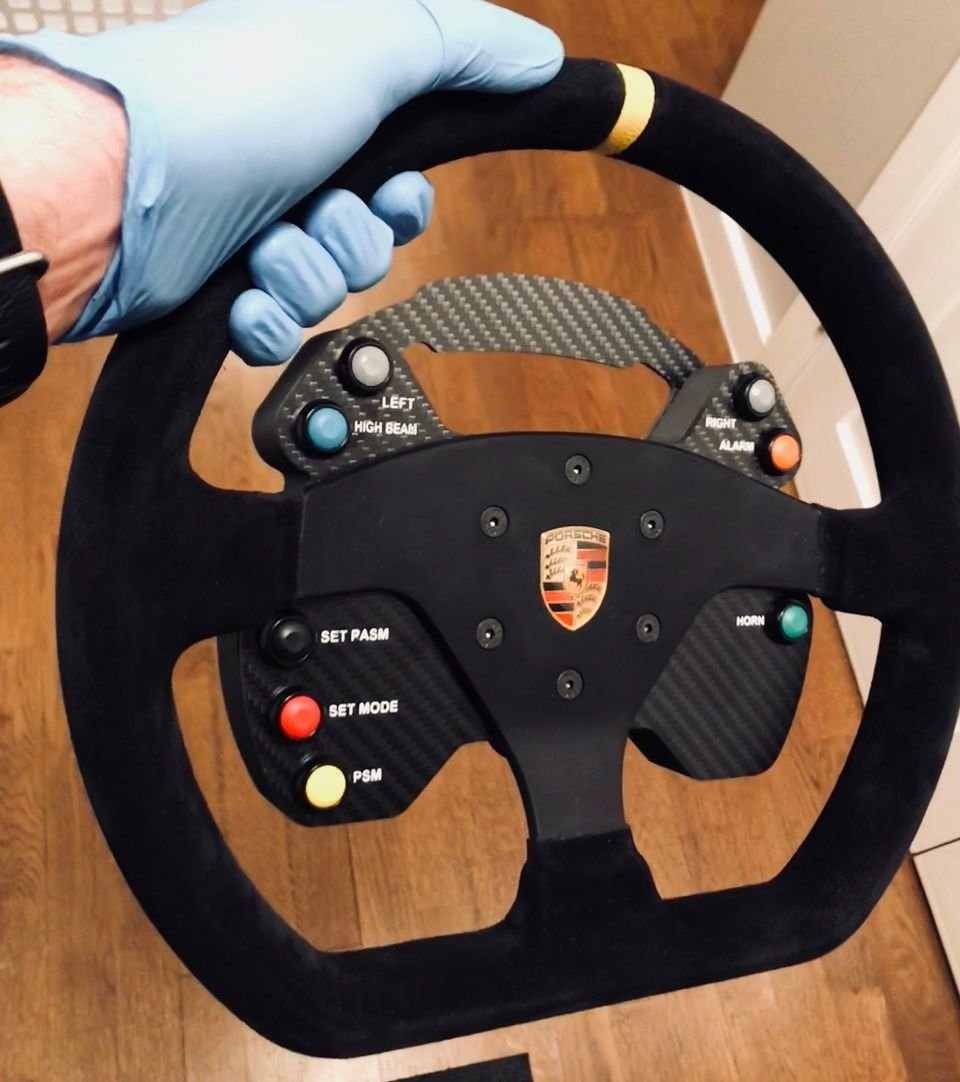
Finally, as a teaser, here is a quick pic of the steering wheel button plate and button box I had made that will be my next project completed hopefully before my first track day at Road America at the end of May.
More to come on the interior, new steering wheel and shift light!
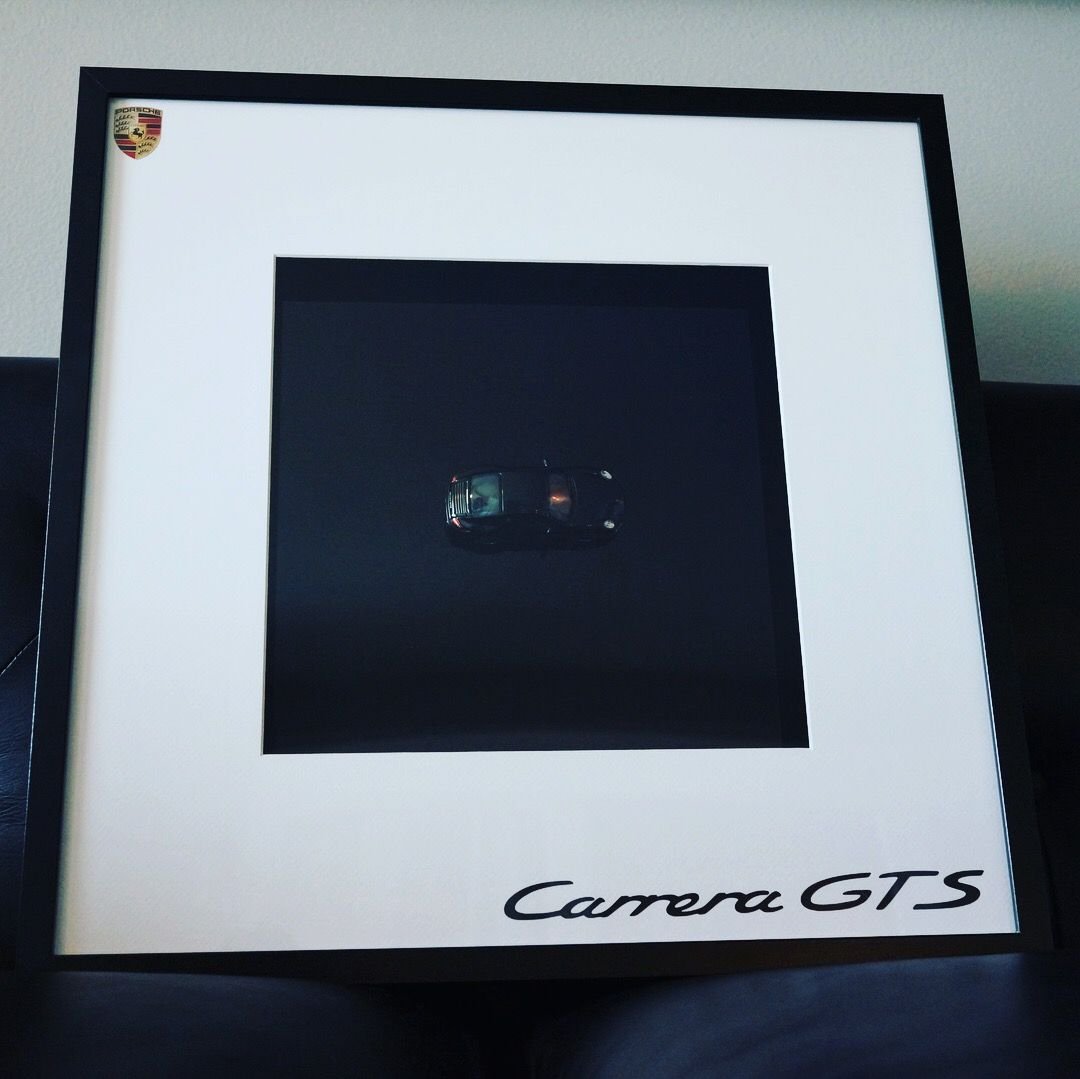
I saw something like this on the web somewhere and figured I'd try my hand at making it.
It's a box frame with an exact model of my GTS inside. The model itself was the hardest thing to find.
I thought about a CF background but ultimately chose a black A1 acrylic background to match the paint.
The shield I had from a batch I bought and I made the script myself with a vinyl printer.
And actually I have all of the parts necessary to make a second if anyone wants something similar for their model. As long as I can find a 1:43 of your car, I can make this and the background can be any color/material.
PM me.
The other shots were some I took to show a buddy a closer look and the clear acrylic gave some wild effects when photographed with a CPL lens filter.
And, of course, it's a manual.
......Rennlist is broken. Trying to fix image attaching
Mocked up the new wheel last night.
I'll finish this up over the coming weeks and follow with a DIY.
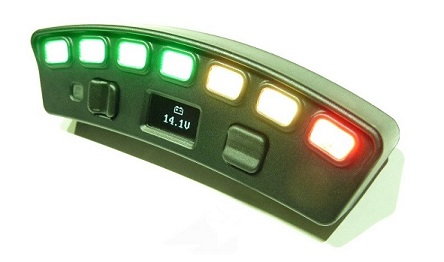
I'm very happy with how it turned out though one change I think I'd make is to swap 'SET MODE' for 'PARTY MODE' which I get a kick out of from following F1. FYI SET MODE on here will either be for the engine mapping setting on the COBB tuner or the shift light pattern setting on the Ecliptech P2.
Continuing from my previous thread, I'll now go into installing the Ecliptech P2+ shift light.
There are six wires to deal with.
Three of them are multi-function channels of which I'll be using one to switch between lighting profiles (street and track).
One Ground (wired on the steering wheel).
One 12V (wired on the steering wheel)
One RPM (wired from the ECU through the steering wheel)
I created a separate thread for installing the RPM wire to the ECU since that had not been done before, would be easier to find for others wanting to do this in the future and would be less cluttered than if I posted it all here. The link for that is here.
And here is an abridged version:
Diving in
Making a connection
Hiding the evidence
Next I'll show how I got the RPM signal to the shift light on the steering wheel.


 11-16-2017 | 06:16 PM