When you click on links to various merchants on this site and make a purchase, this can result in this site earning a commission. Affiliate programs and affiliations include, but are not limited to, the eBay Partner Network.
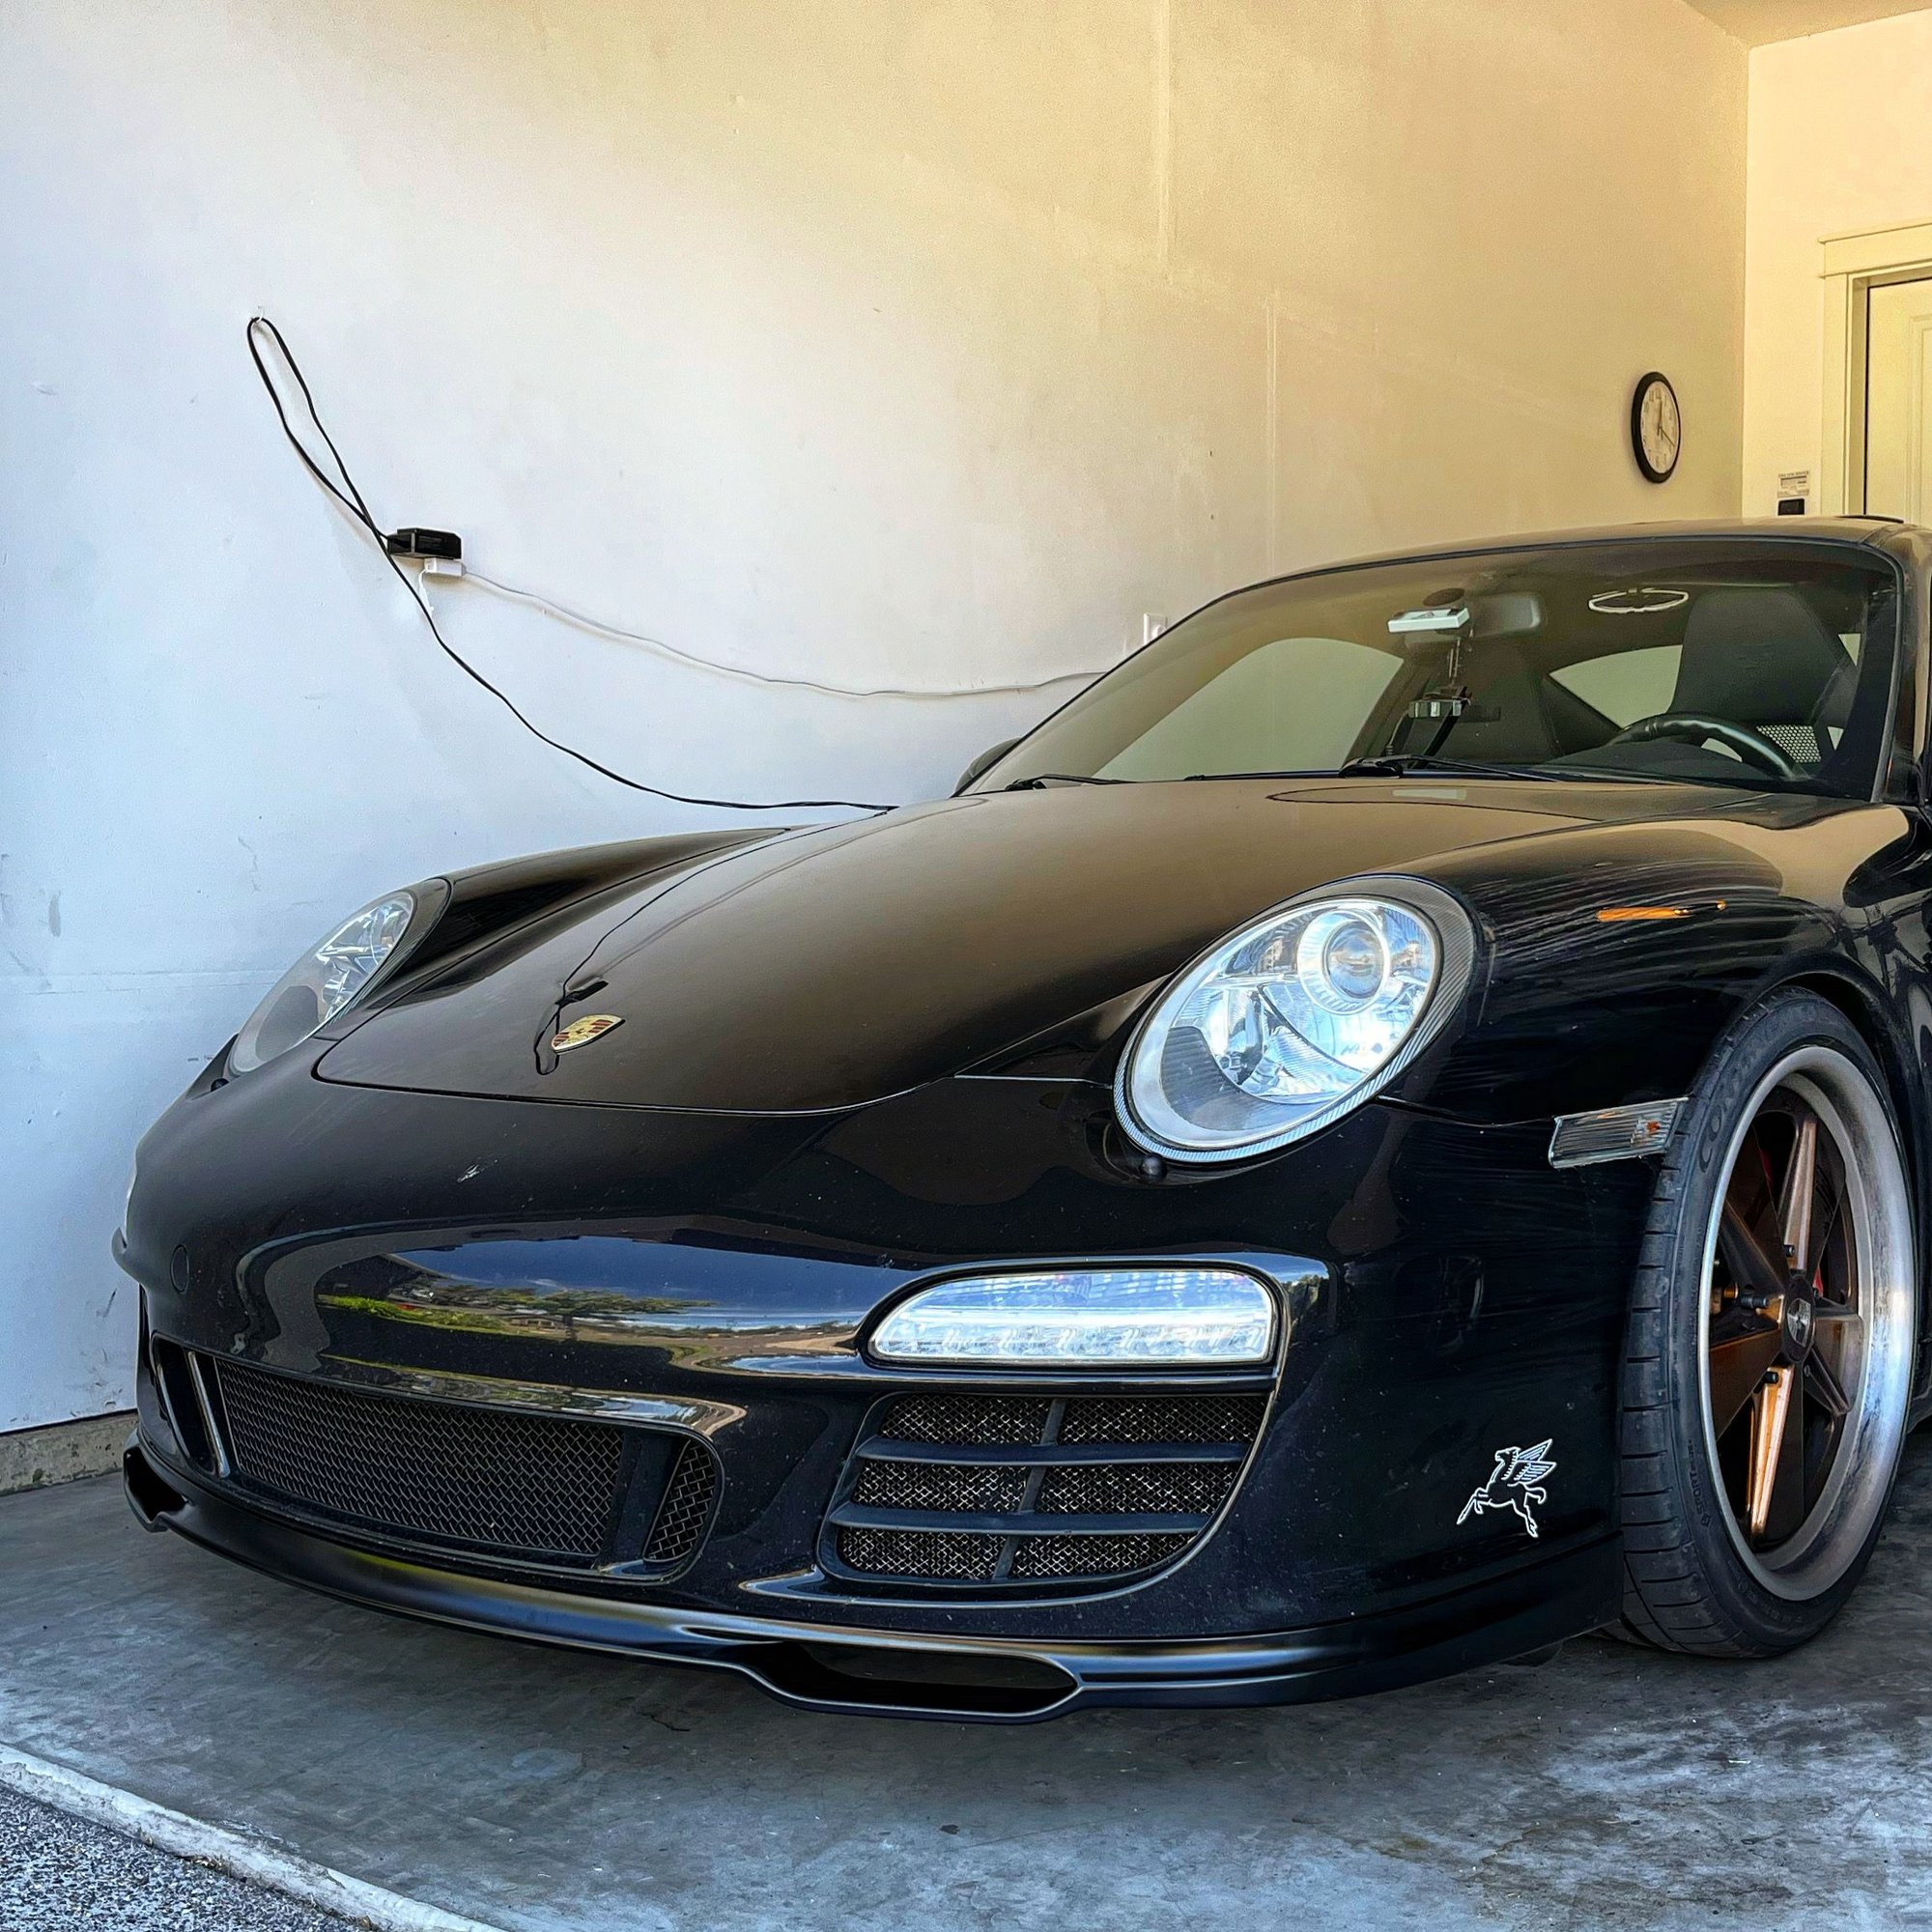
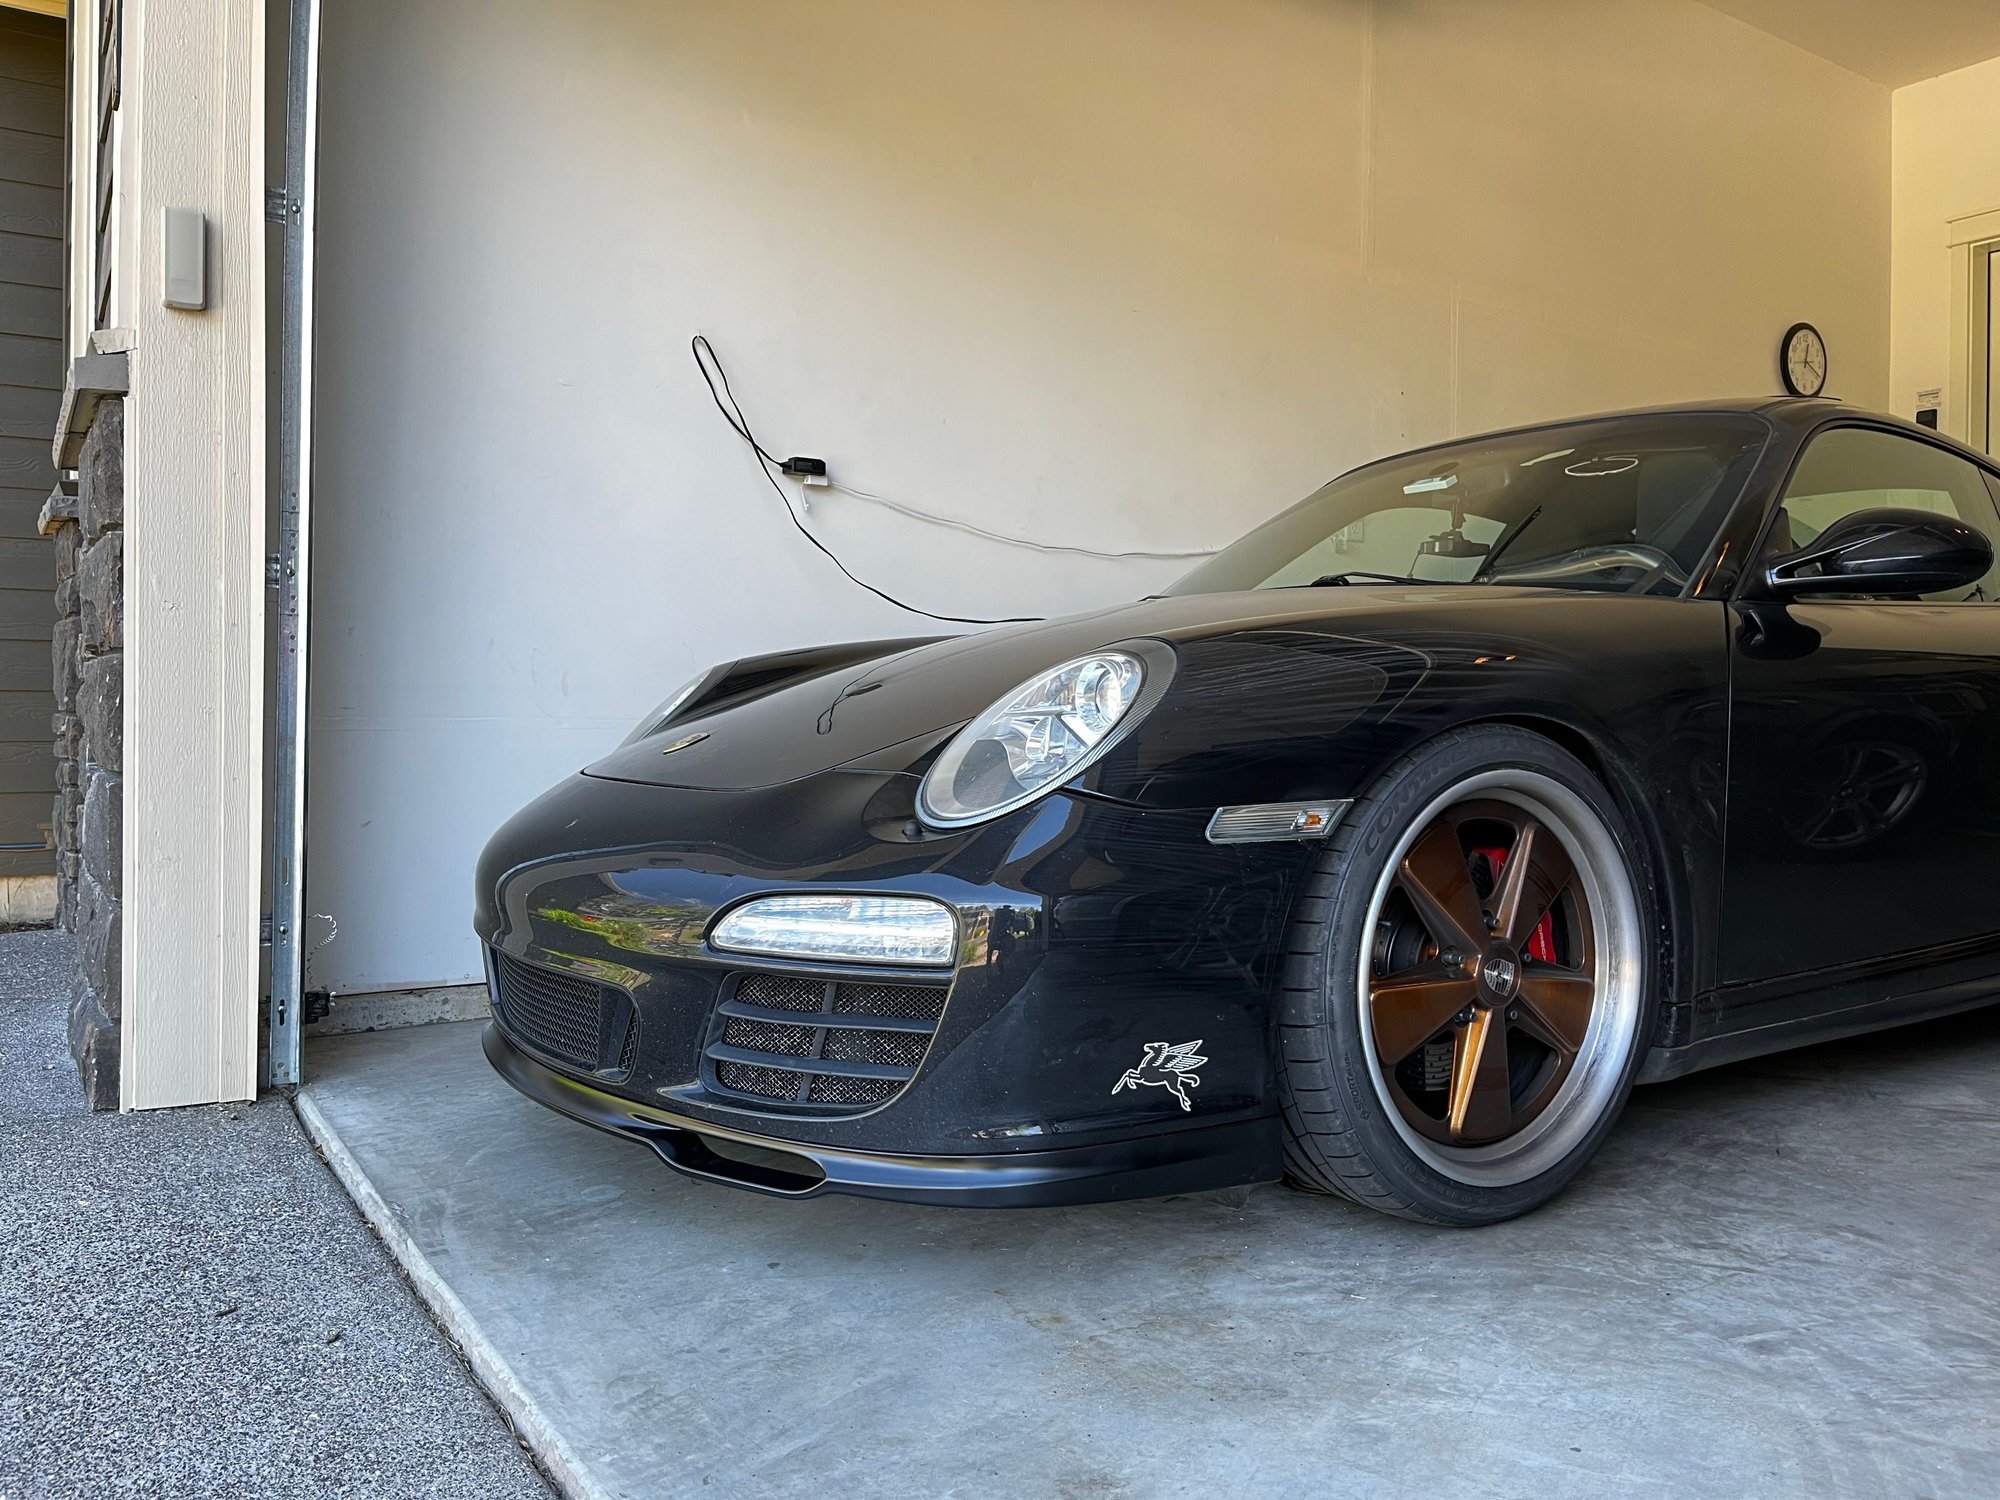
Some exciting news. My custom Augment wheels are inbound and should arrive in a week or so. I'll post more info, pics of them mounted, and some other updates then. In the meantime, here is a preview. They turned out looking pretty amazing. Happy Friday.
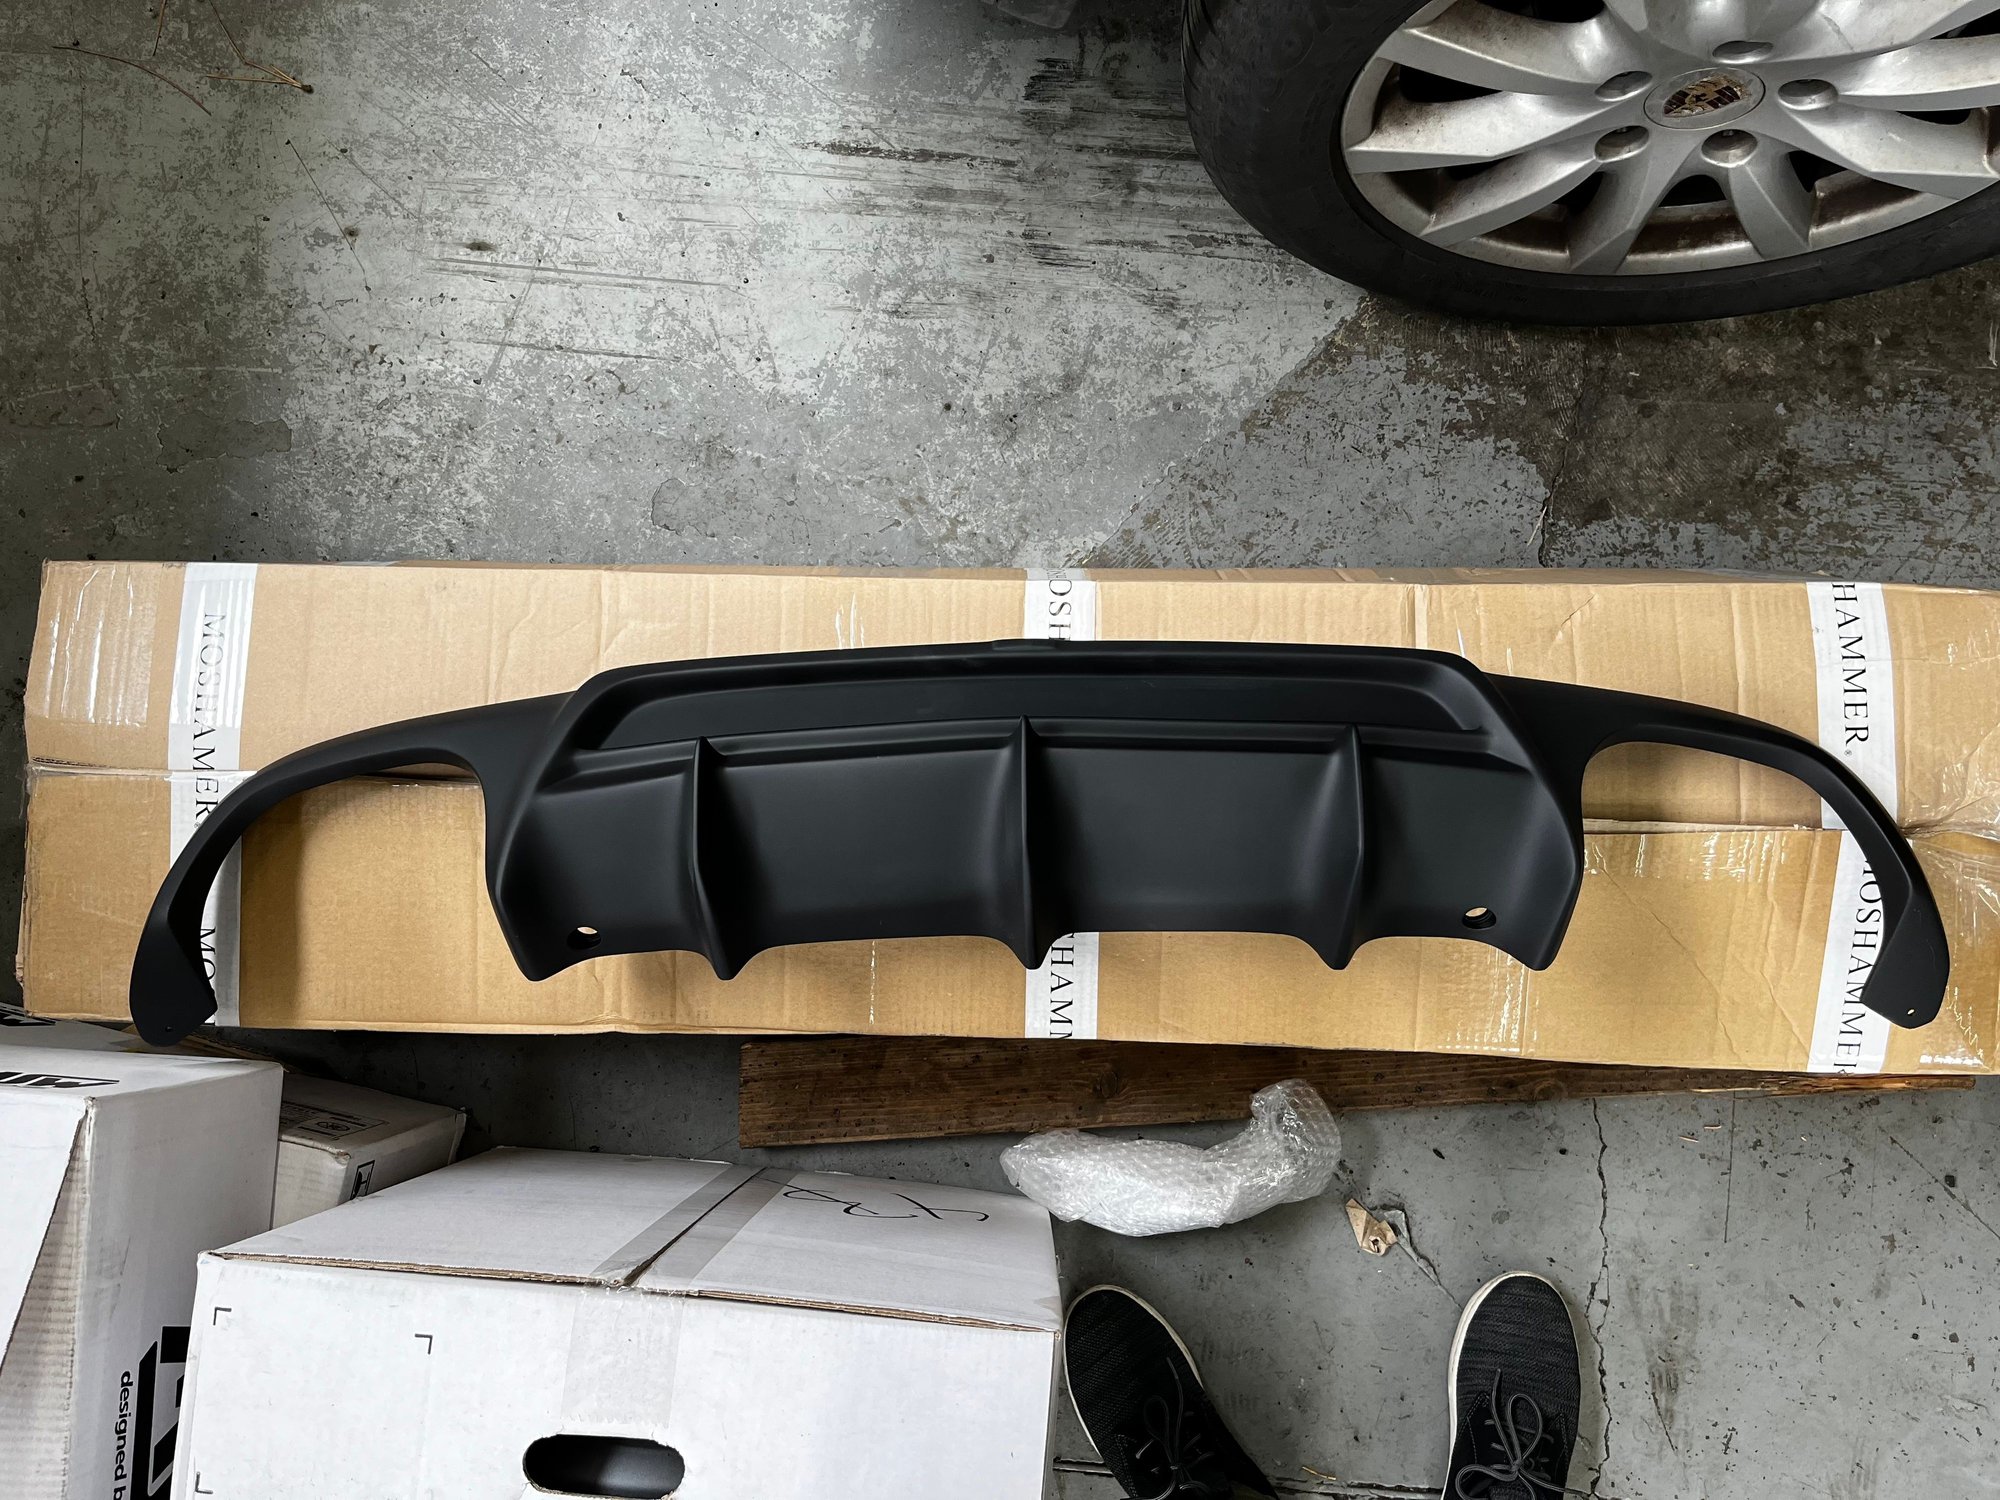
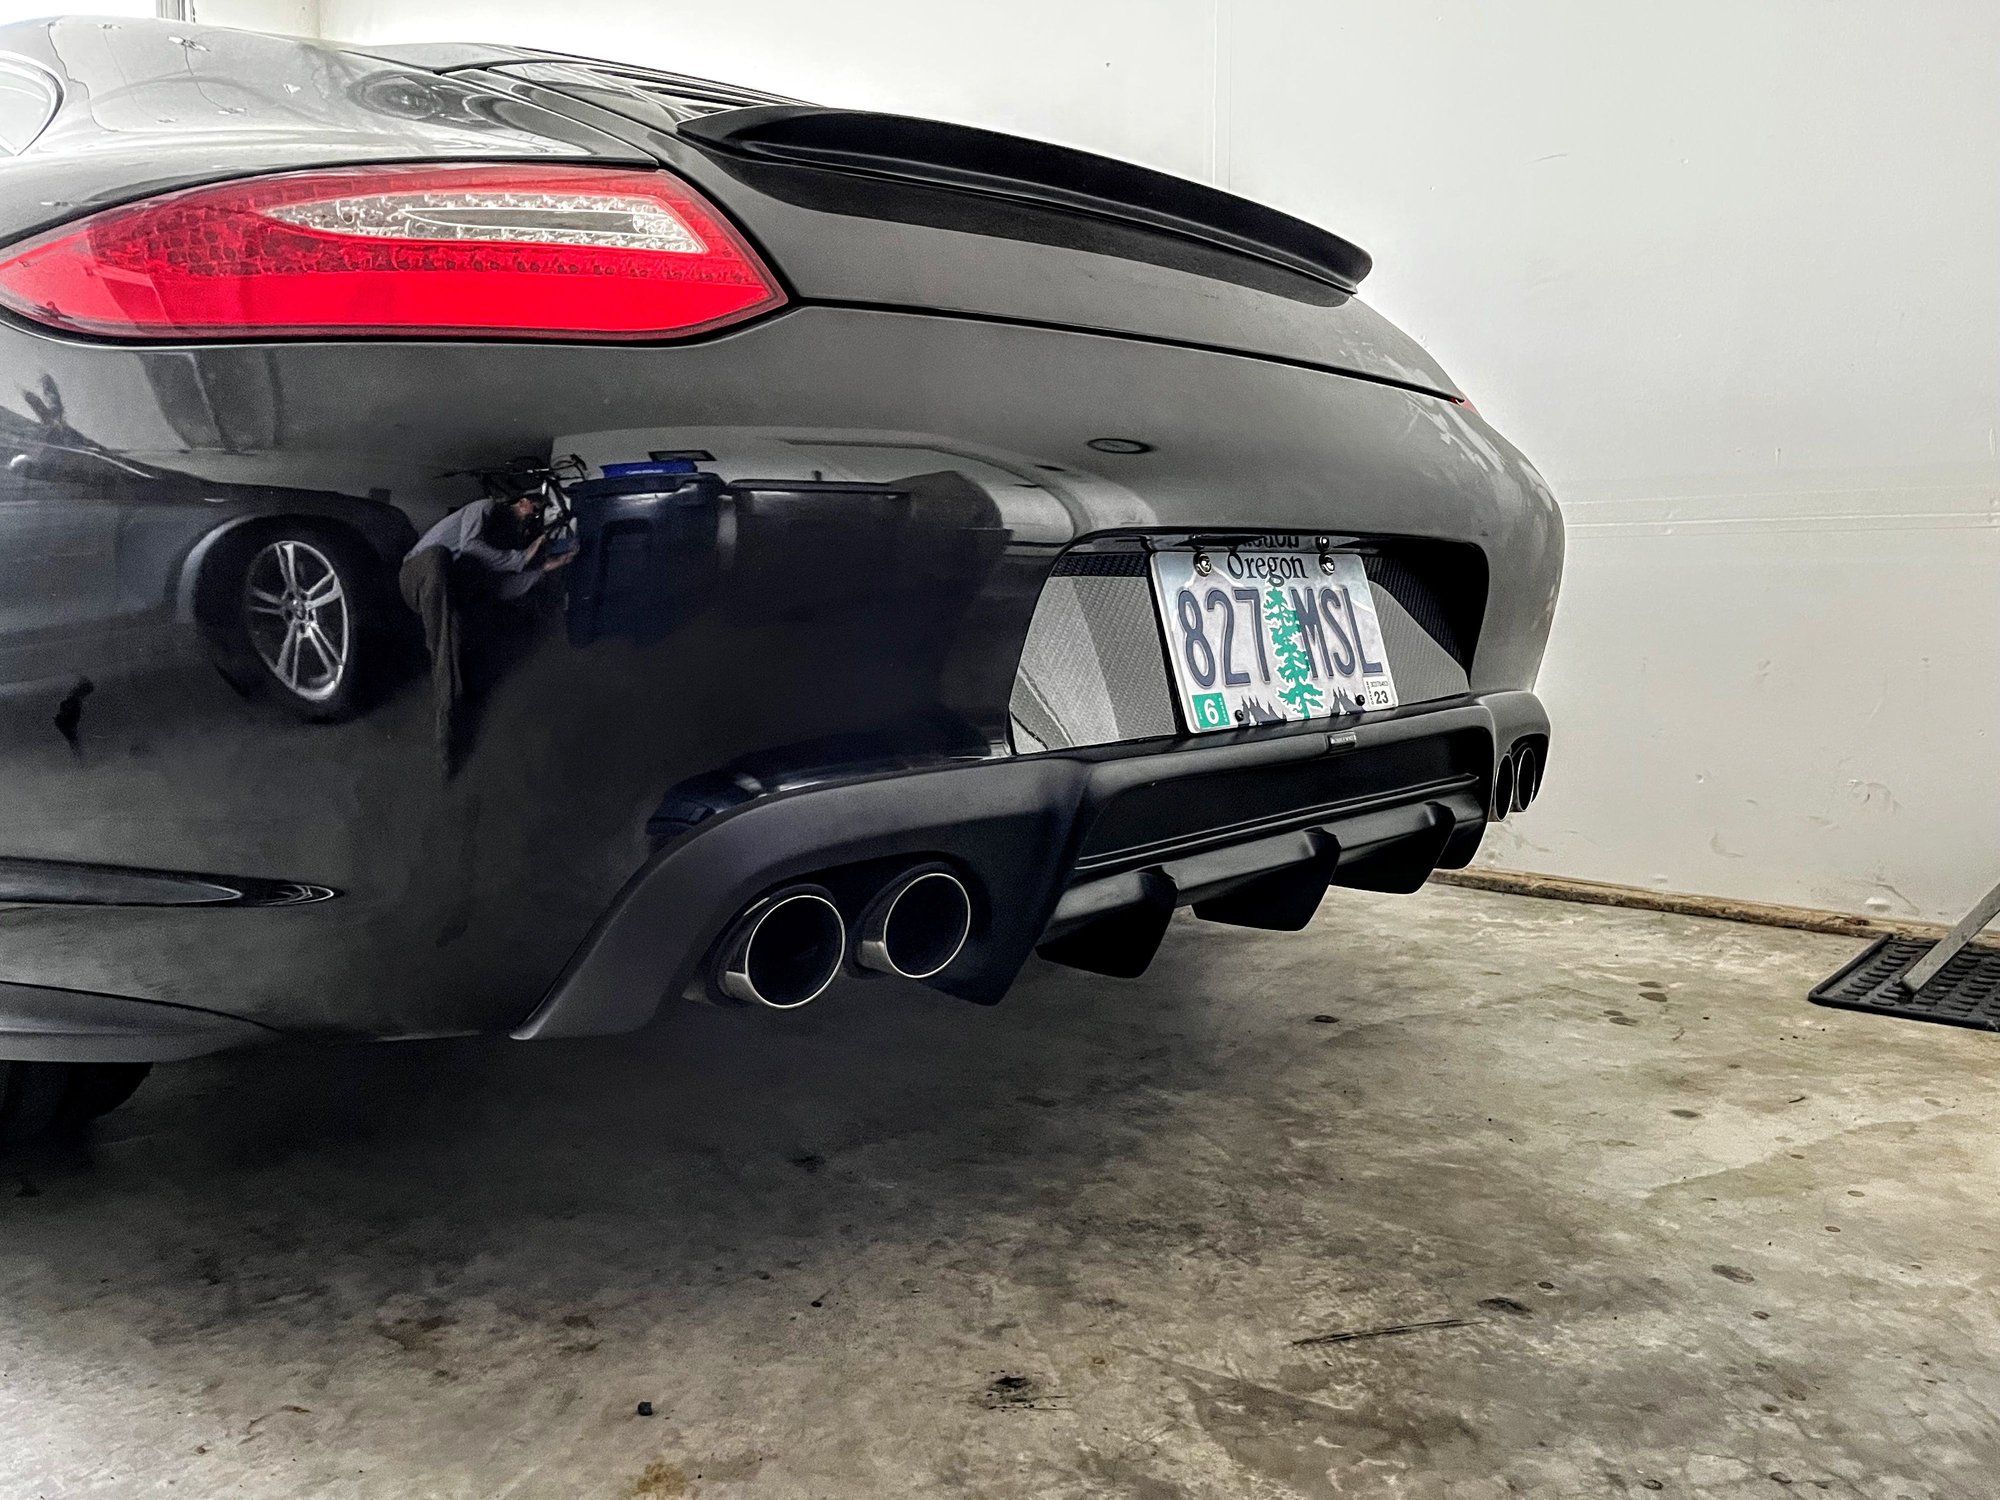
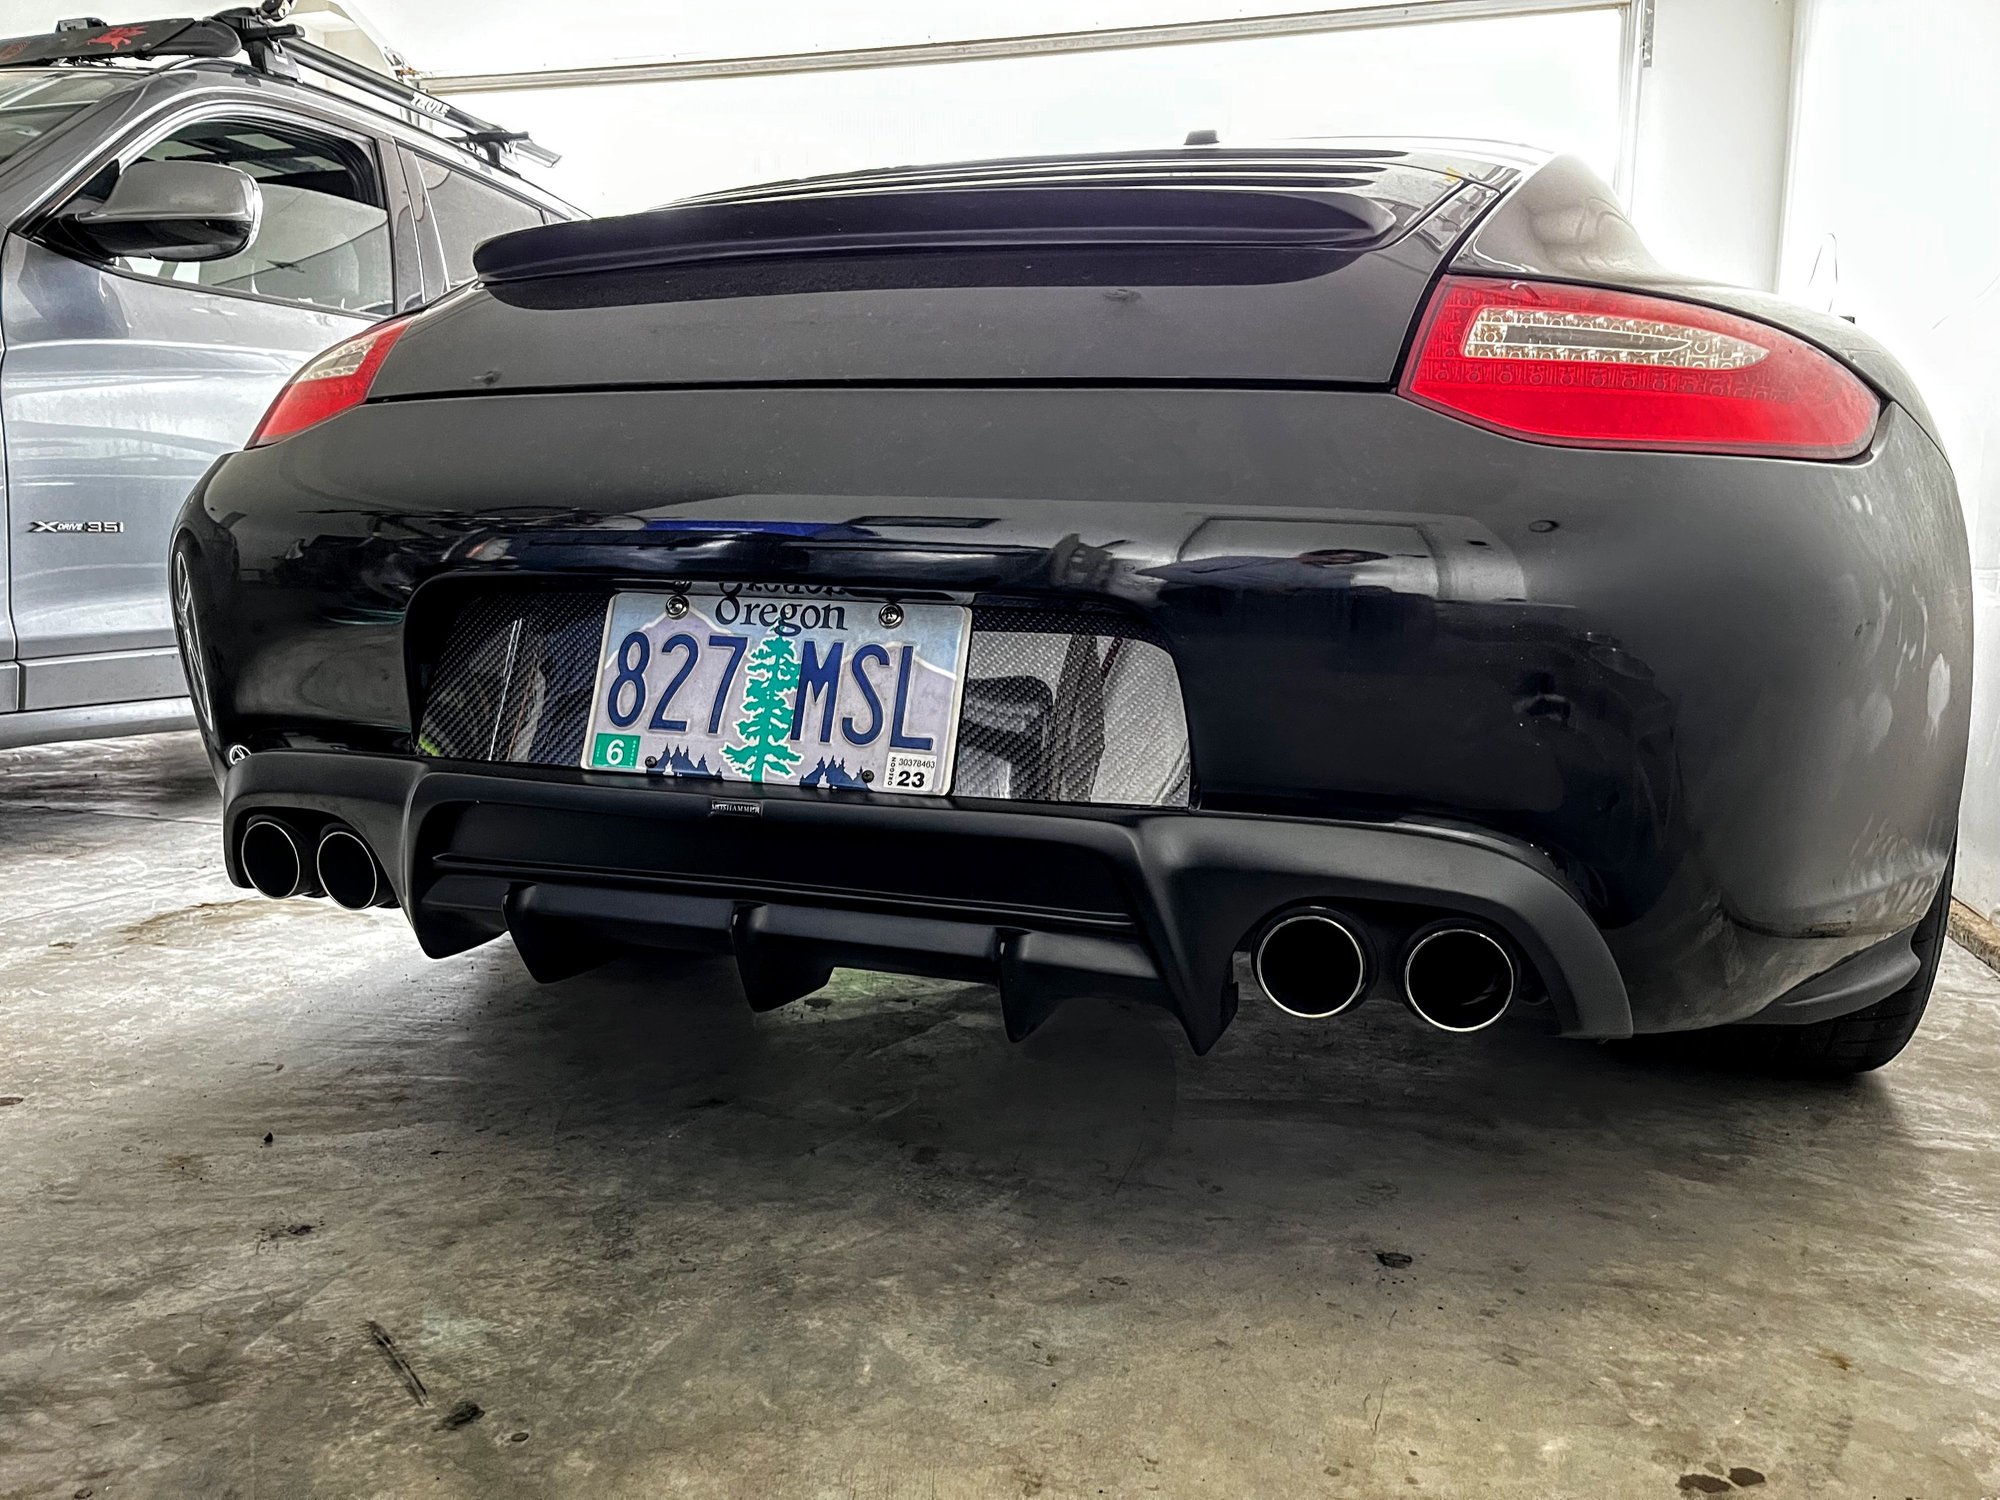
I wanted to beef up the rear end and installed a Moshammer rear diffuser and rear bumper splitters by EMC2 Design. First, the Moshammer diffuser. Moshammer had (still currently) a sale and lured me in. It is a quality part and was shipped fairly quickly. The key missing piece of info I was not aware of and didn't notice is that it is only for the European bumpers without bumperettes. Luckily I had been thinking of removing the bumperettes anyway. I had my local body shop paint the part satin black and do the install. A good friend fabbed CF blockoff plates to cover the holes left after removing the bumperettes. Install will require you trim the bottom edge of your license plate in order for it to fit. I recommend using a pro shop to do the install for this mod.
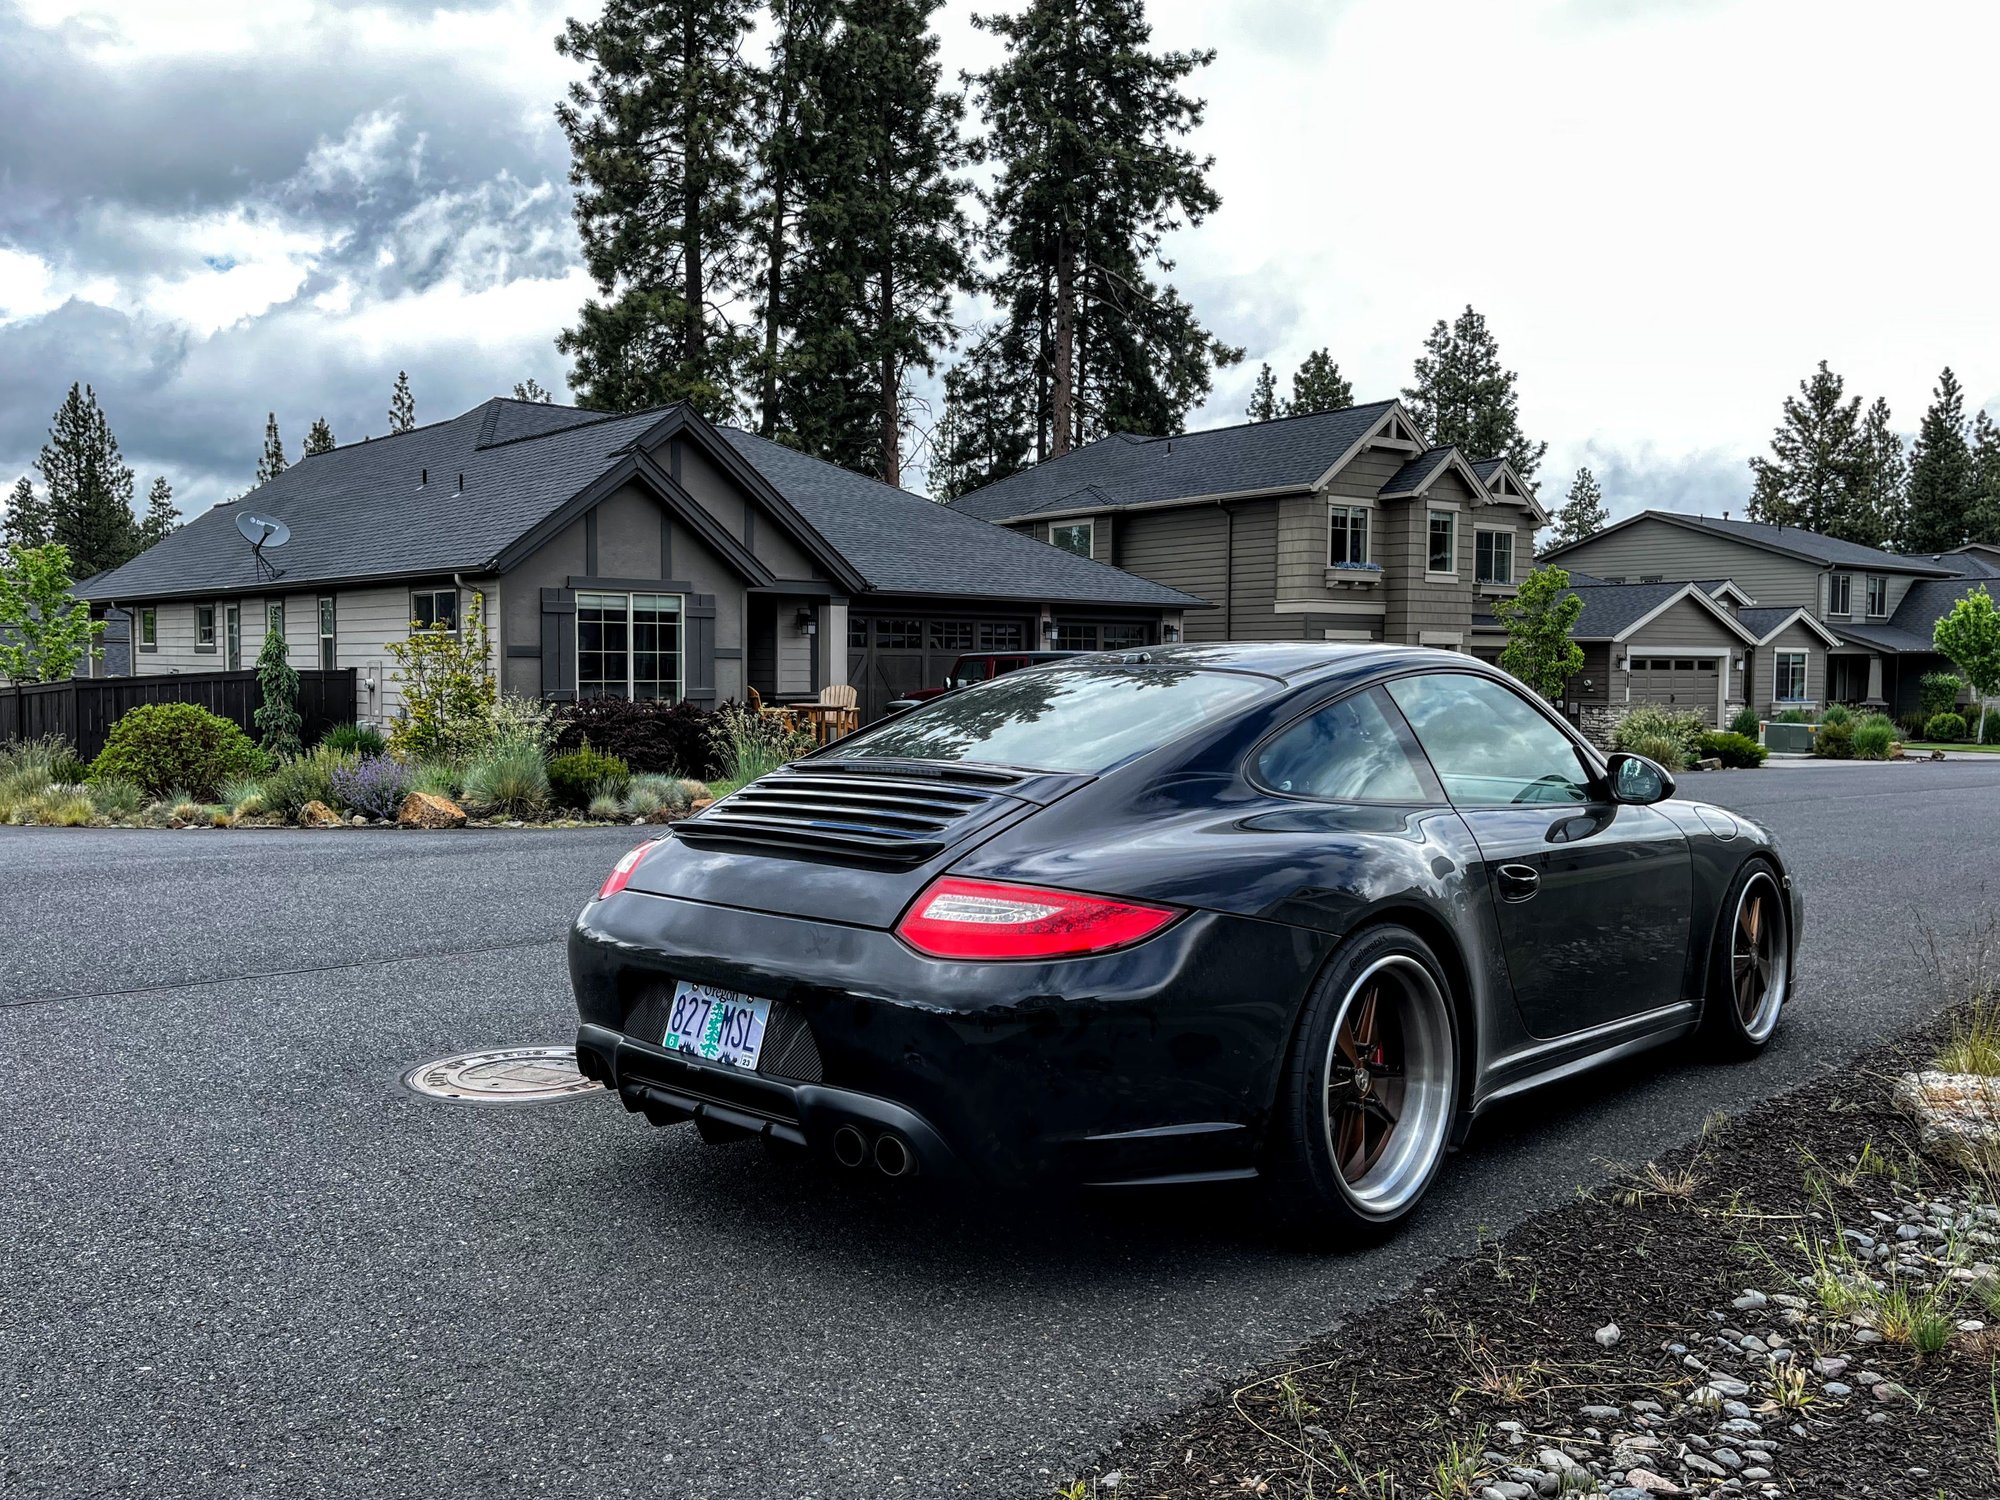
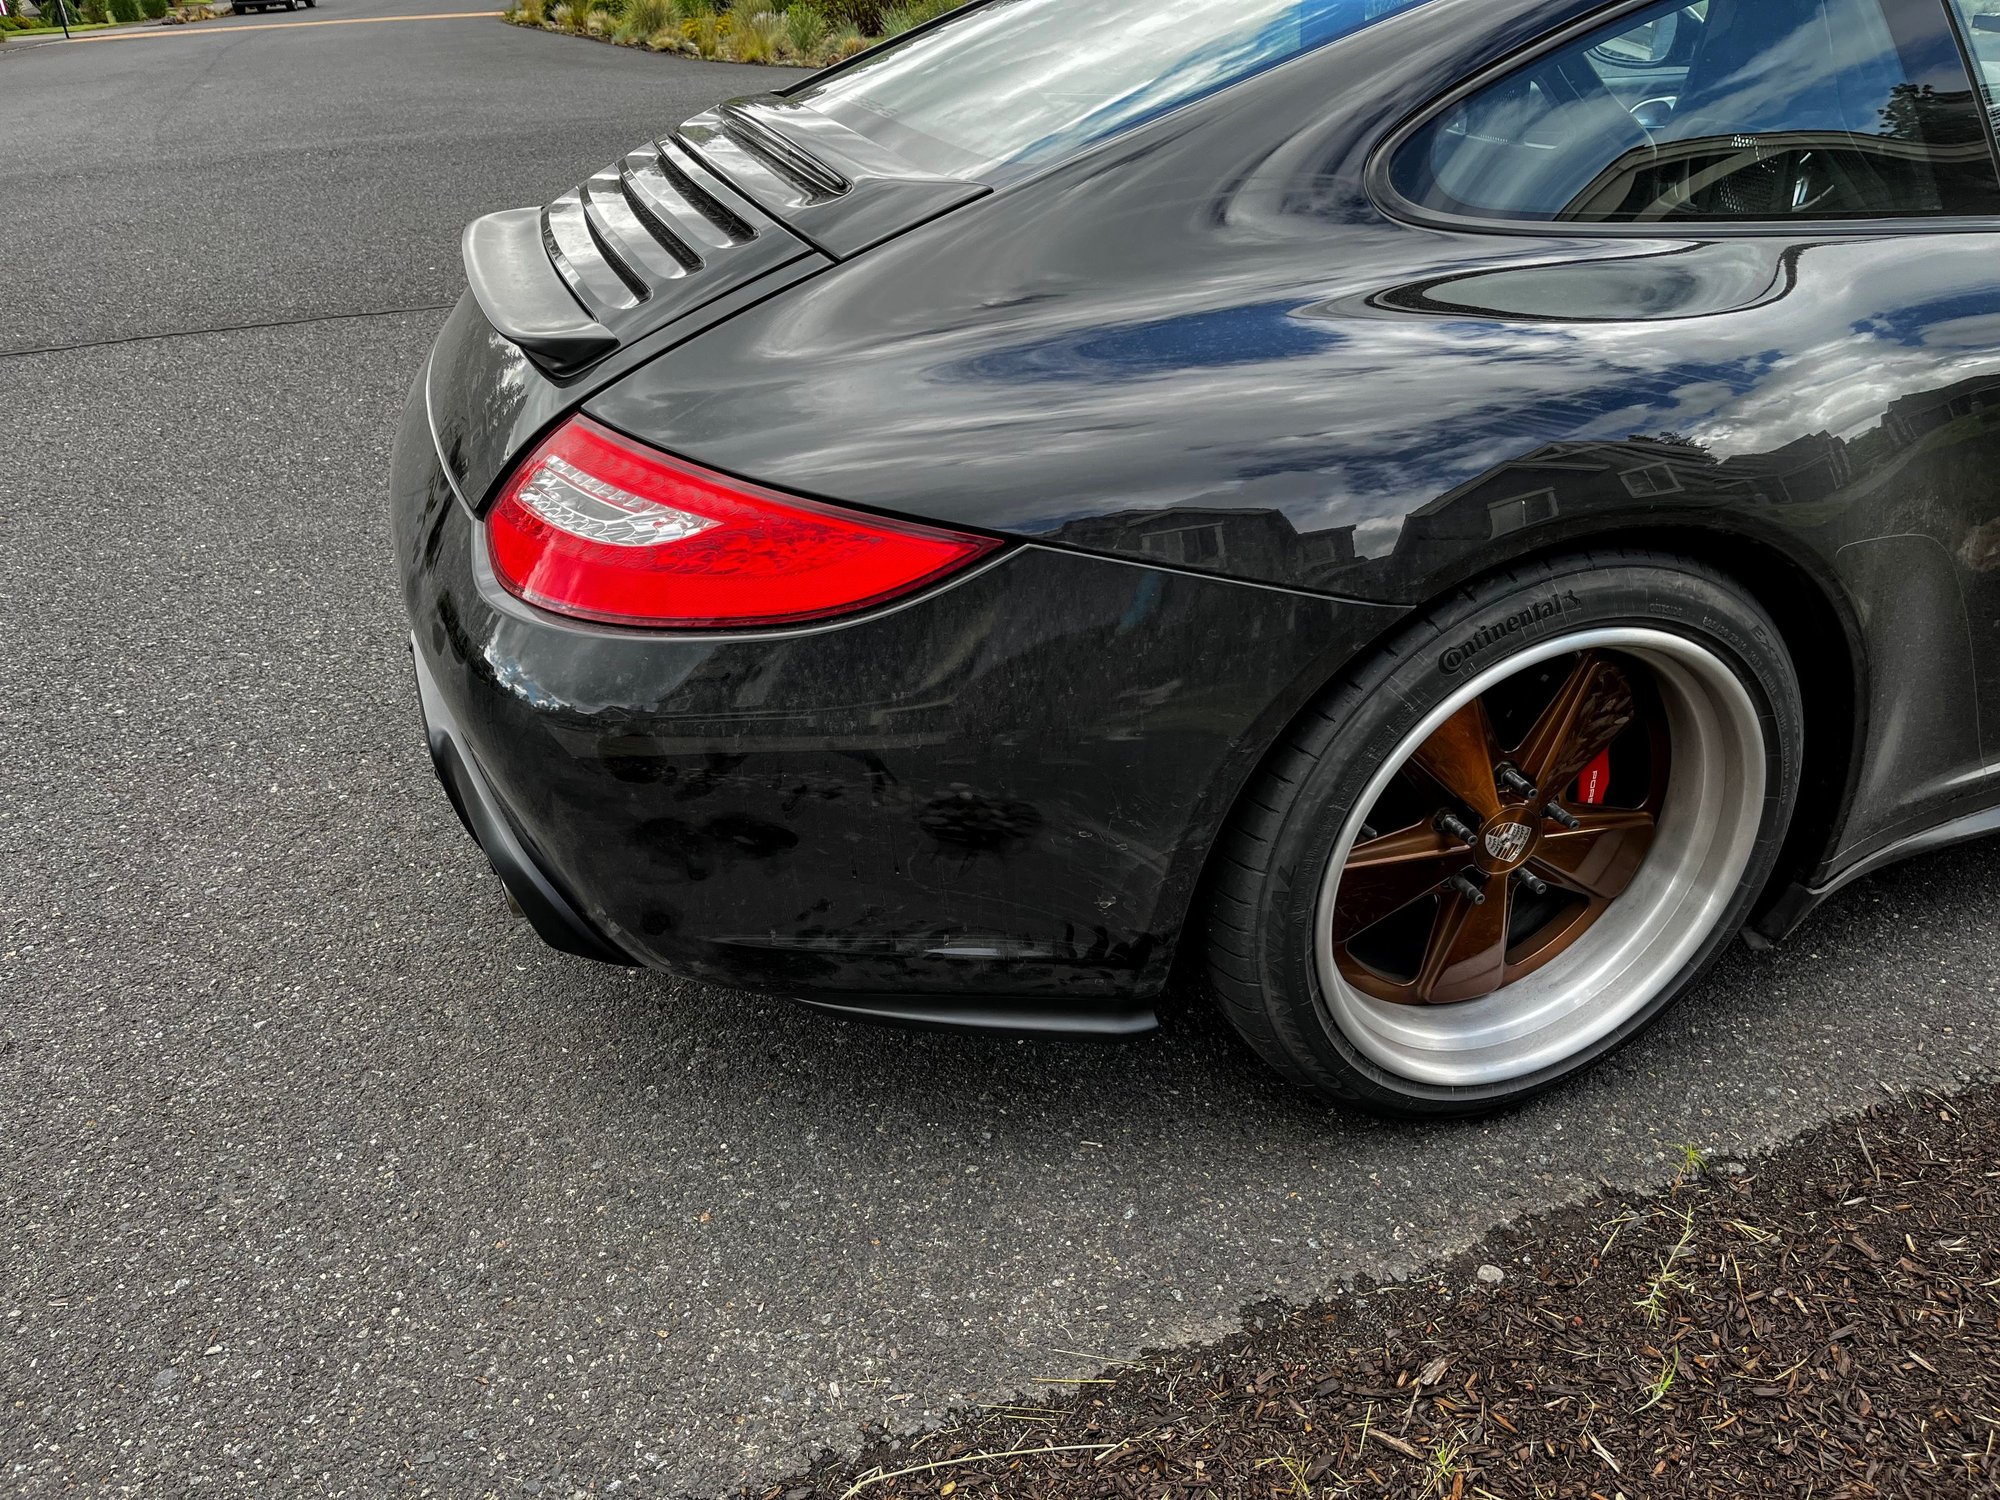
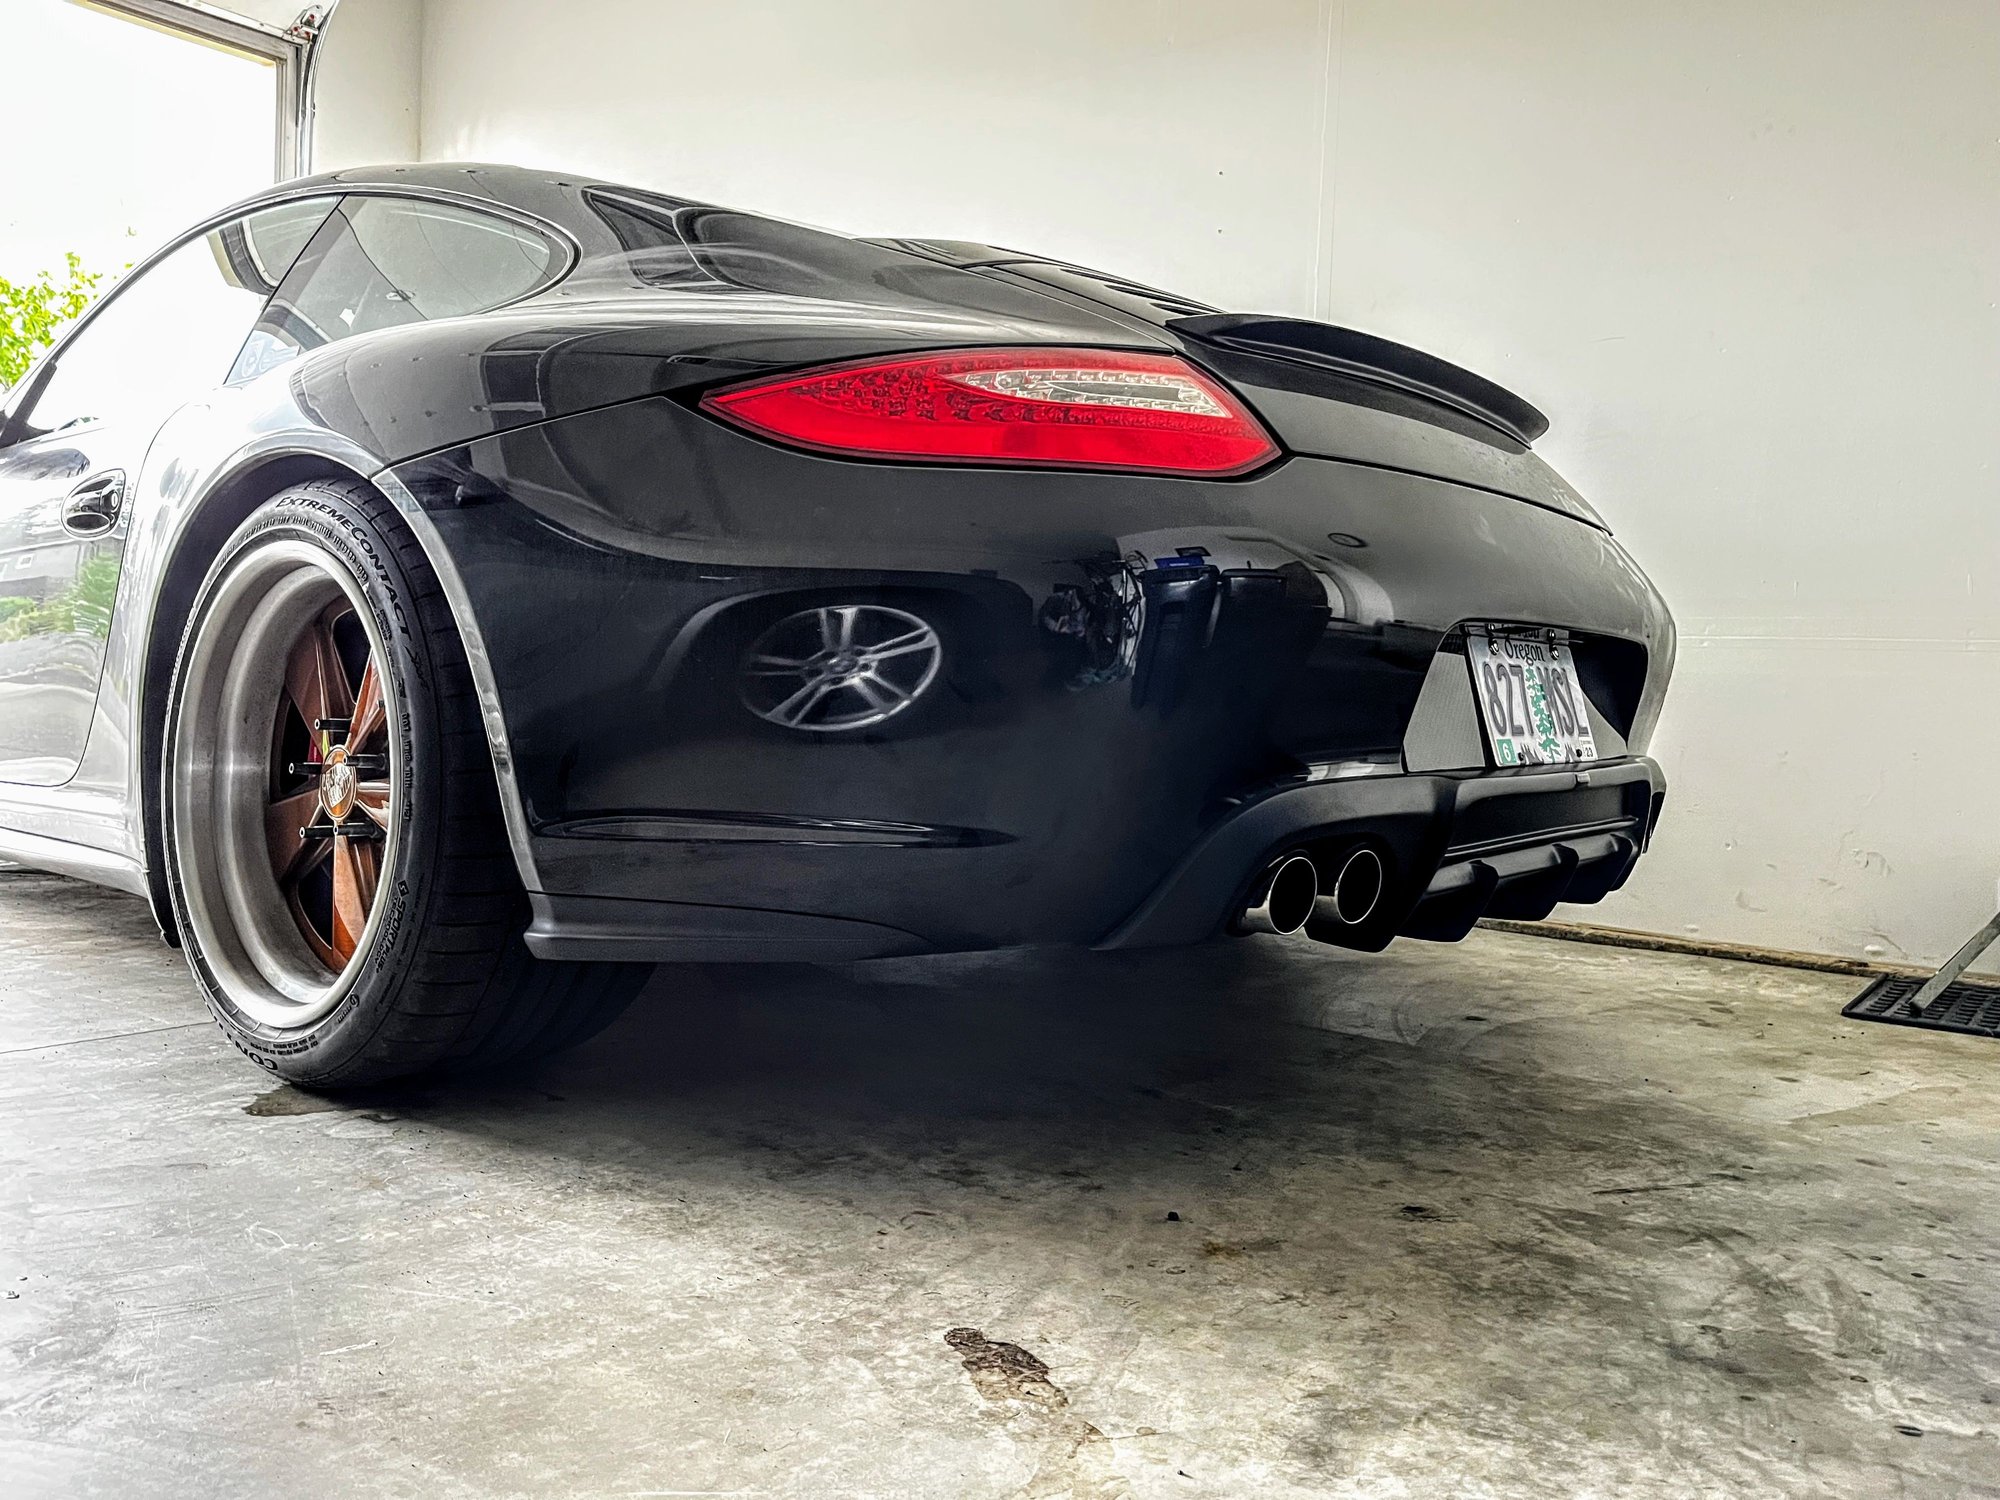
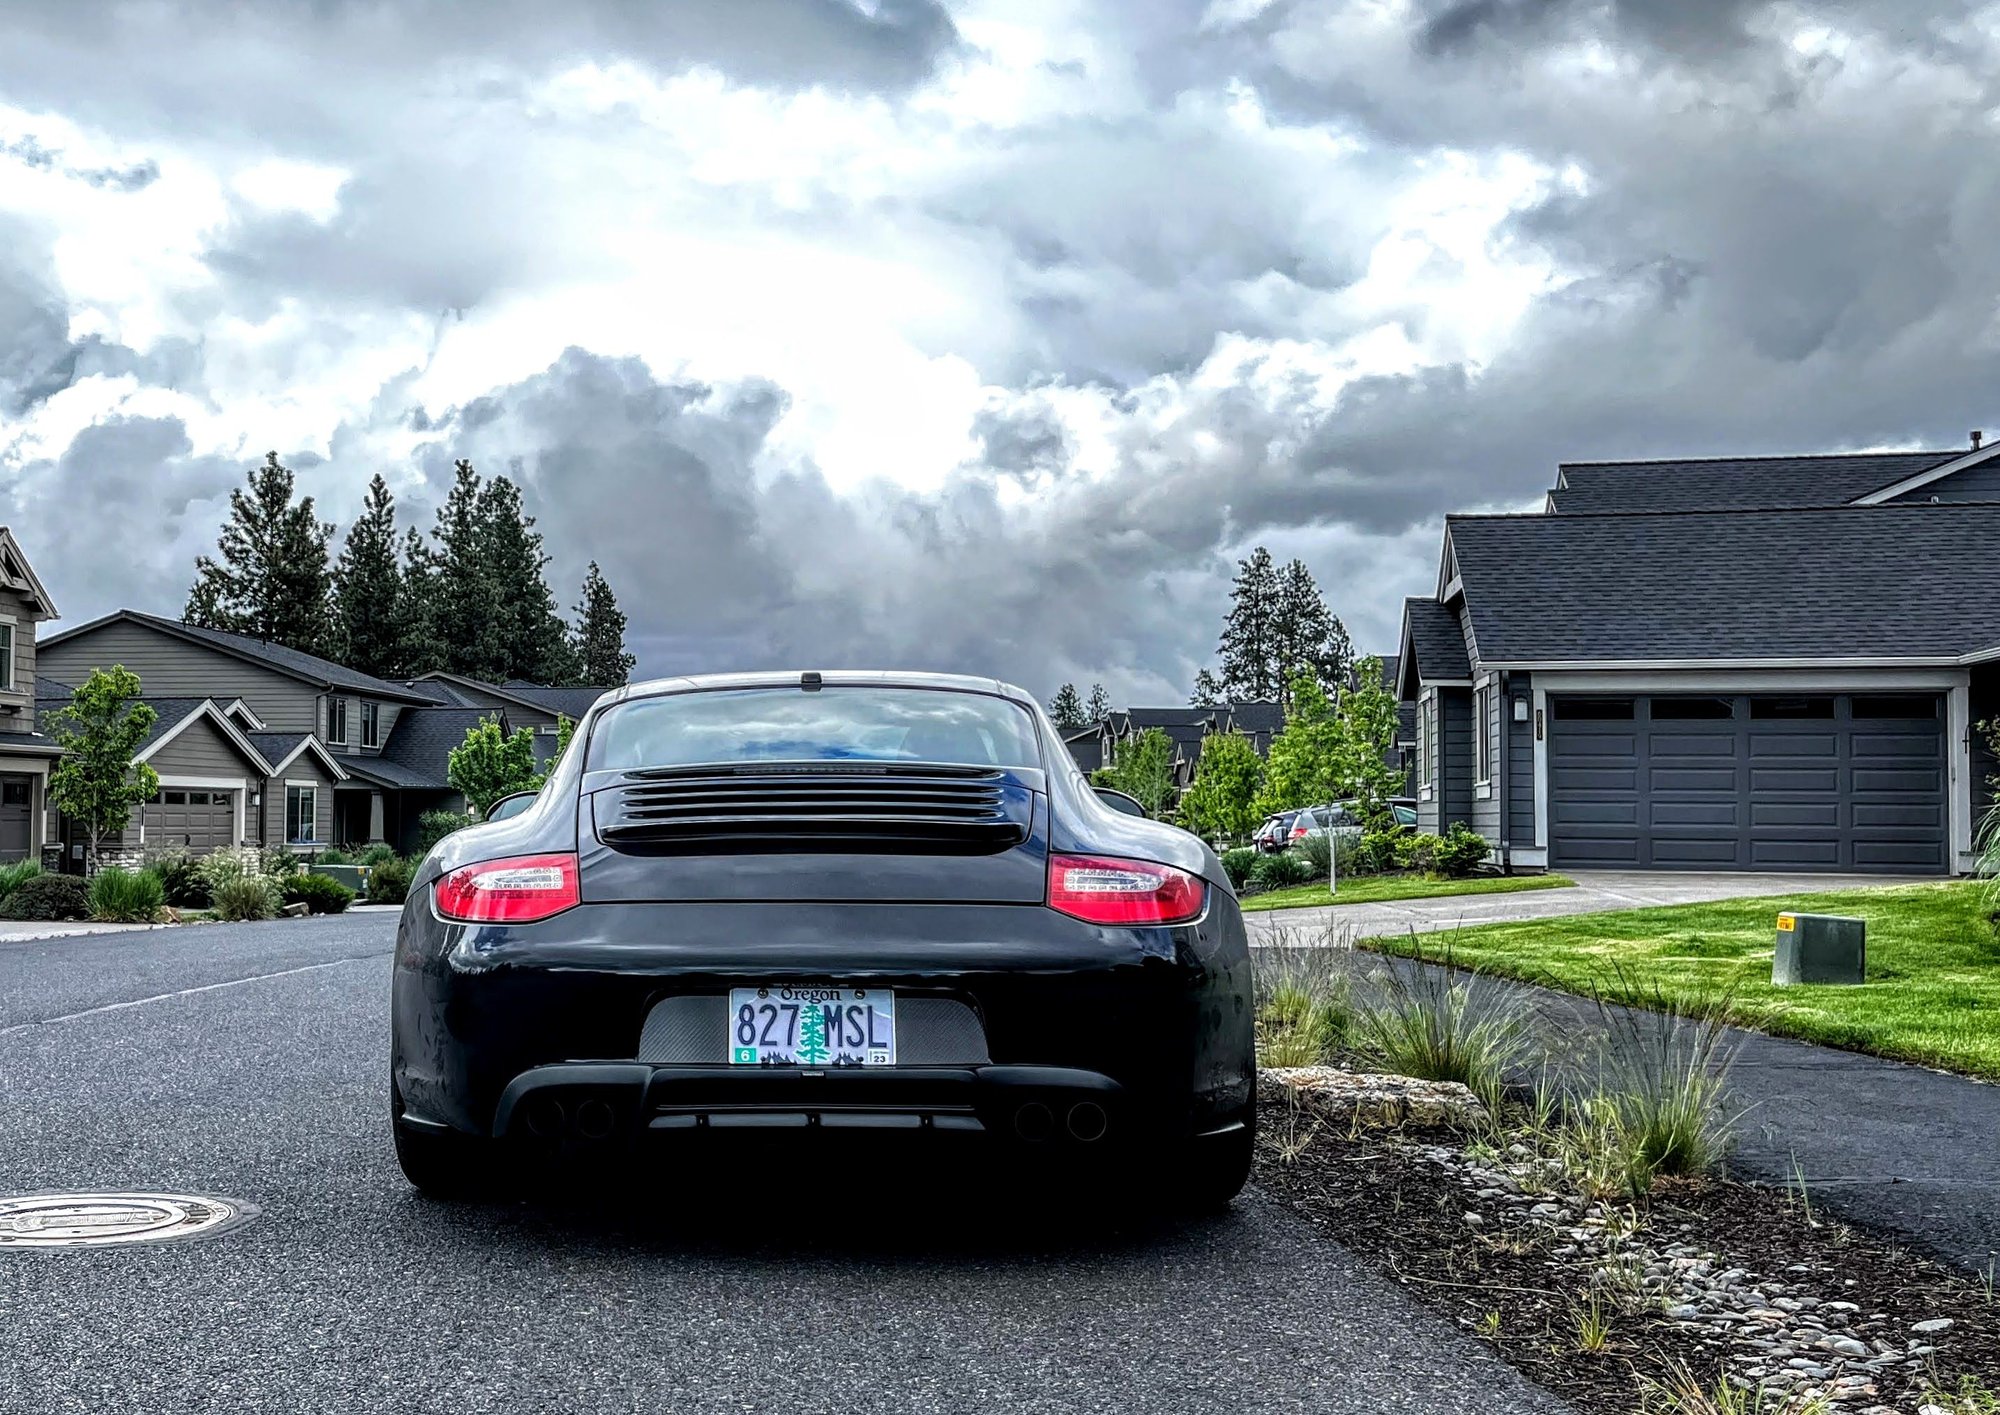
In addition, I got a set of rear bumper splitters from EMC2. These add some subtle flare to the rear bumper and match perfectly with the character lines from the side sills. They are quality parts and the finish matches factory. Install was a PITA! Highly recommend removing the rear bumper. Then you need to remove the heat shields to get to the tabs that release the stock parts. I installed with the bumper on and it was challenging due to limited space for my fingers to reach the tabs. Once the stock parts are off, install is less than a minute. It was an overcast day today so the pics are not the best. I will be getting a photoshoot of the rig soon and will post better shots. Overall, I am pleased with how the rear end looks!
did you swap out the rear decklid to a c2s one to remove the red bar?
car looks great.
Originally Posted by Busta Rib
I wanted to beef up the rear end and installed a Moshammer rear diffuser and rear bumper splitters by EMC2 Design. First, the Moshammer diffuser. They were (still currently) having a sale and lured me in. It is a quality part and was shipped fairly quickly. The key missing piece of info I was not aware or and didn't notice is that it is only for the European bumpers without bumperettes. Luckily I had been thinking of removing the bumperettes anyway. I had my local body shop paint the part satin black and do the install. A good friend fabbed CF blockoff plates to cover the holes left after removing the bumperettes. Install will require you trim the bottom edge of your license plate in order for it to fit. I recommend using a pro shop to do this mod.
In addition, I go a set of rear bumper splitters from EMC2. These add some subtle flare to the rear bumper and match perfectly with the character lines from the side sills. They are quality parts and the finish matches factory. Install was a PITA! Highly recommend removing the rear bumper. Then you need to remove the heat shields to get to the tabs that release the stock parts. I installed with the bumper on and it was challenging due to limited space for my fingers to reach the tabs. Once the stock parts are off, install is less than a minute. It was an overcast day today so the pics are not the best. I will be getting a photoshoot of the rig soon and will post better shots. Overall, I am pleased with how the rear end looks!
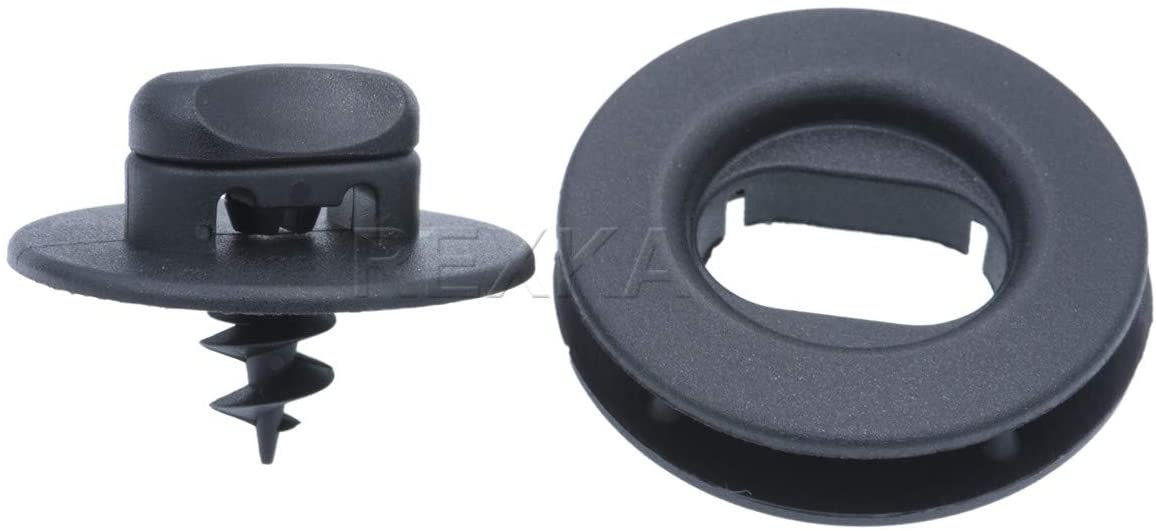
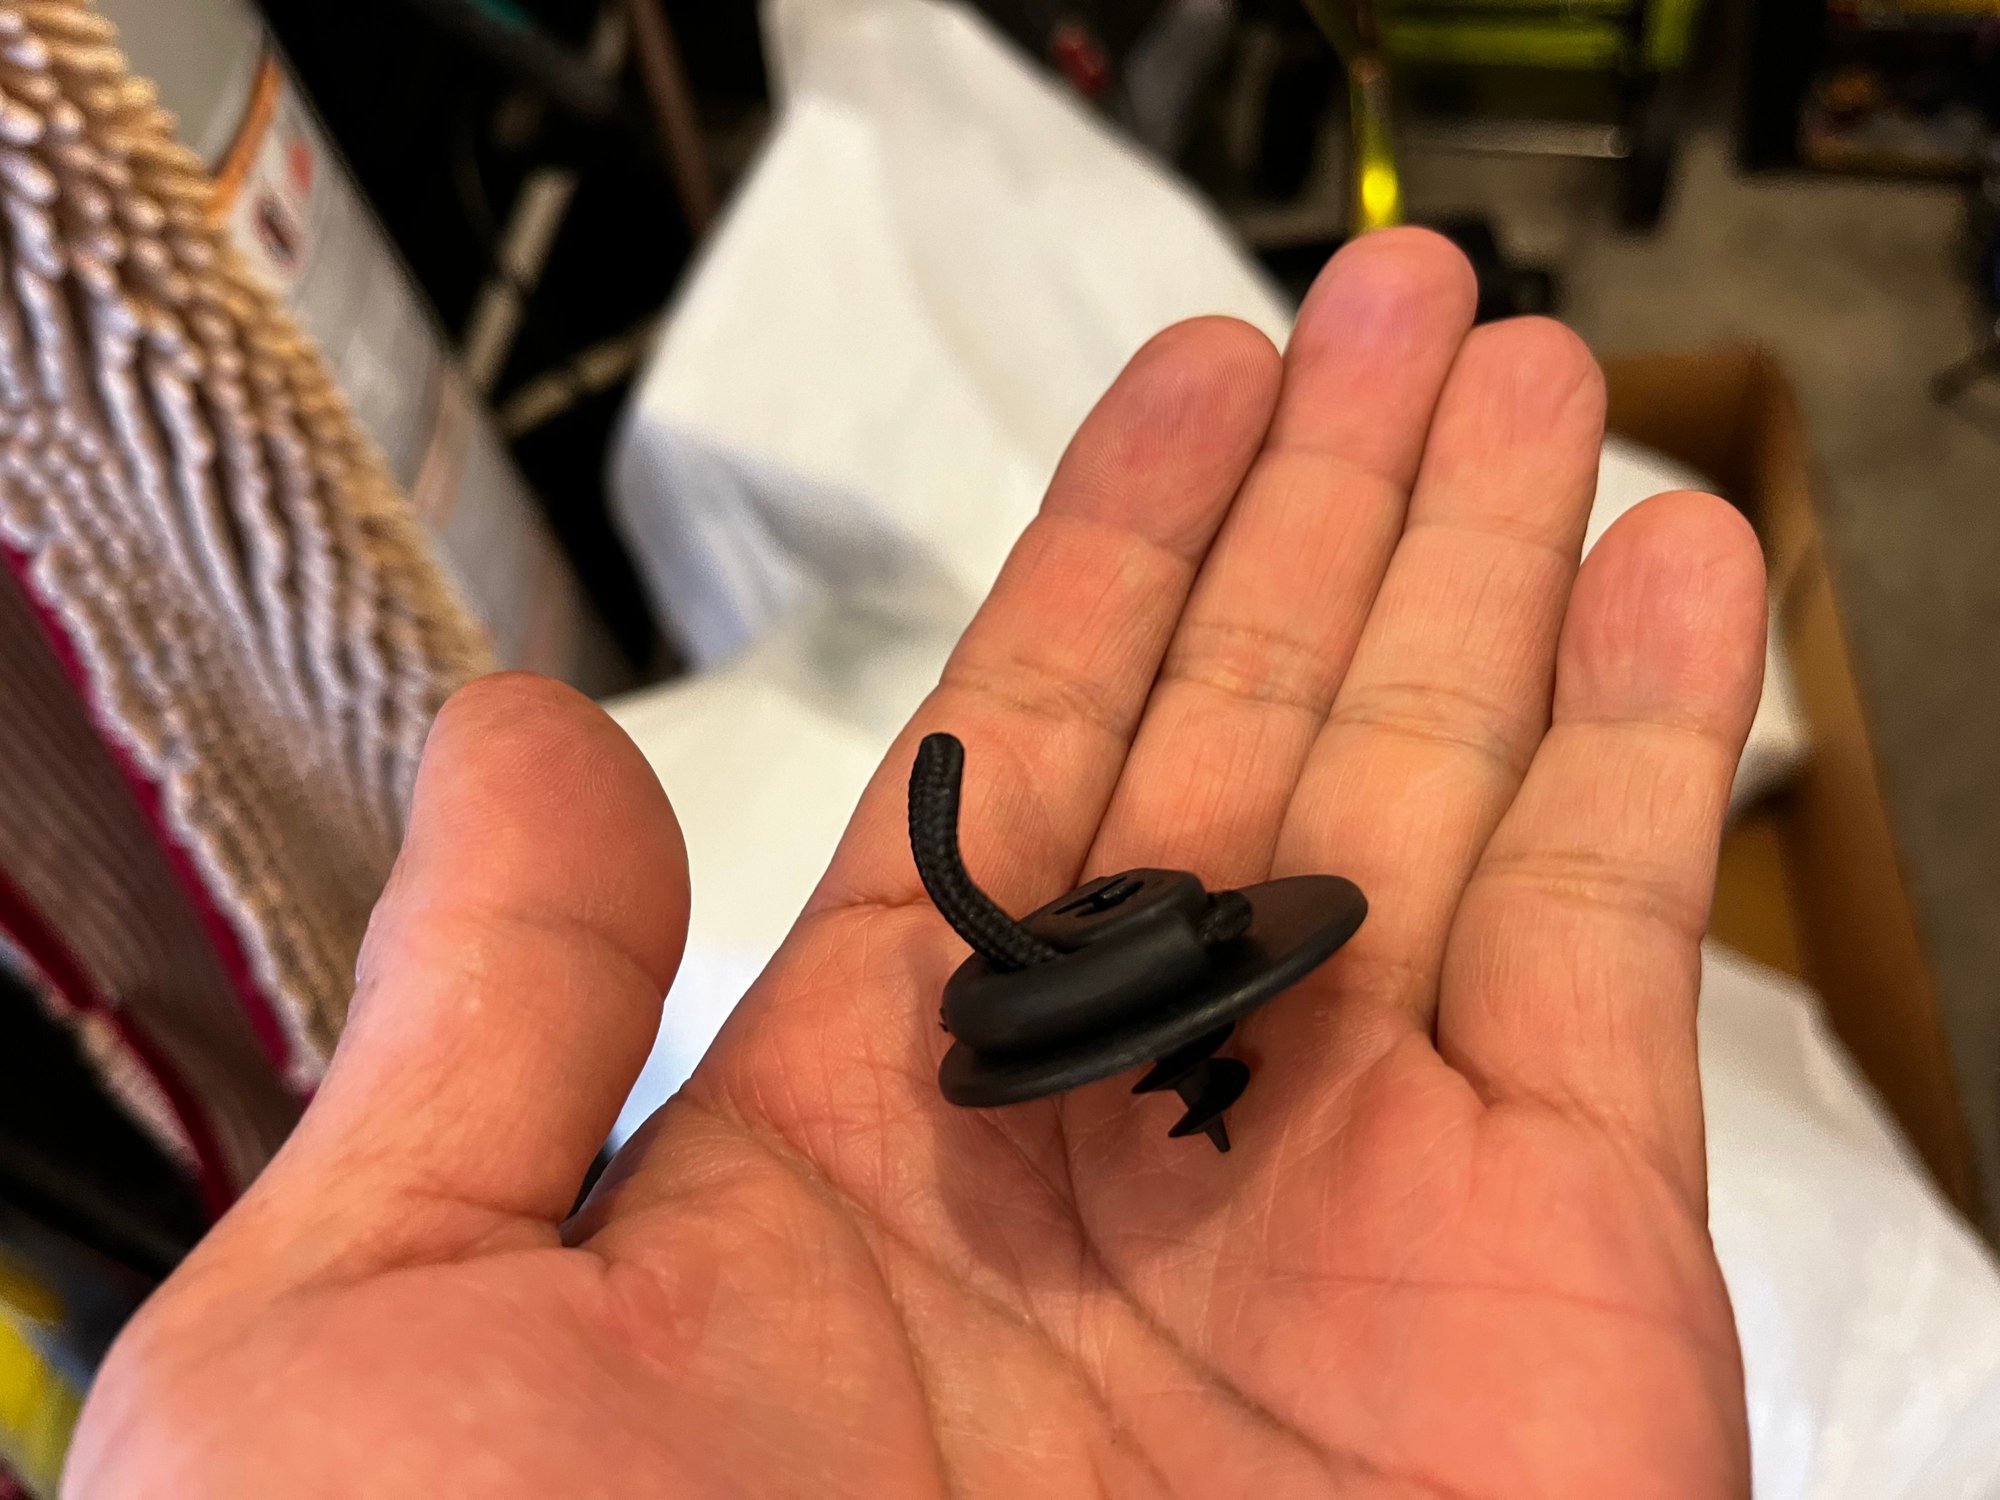
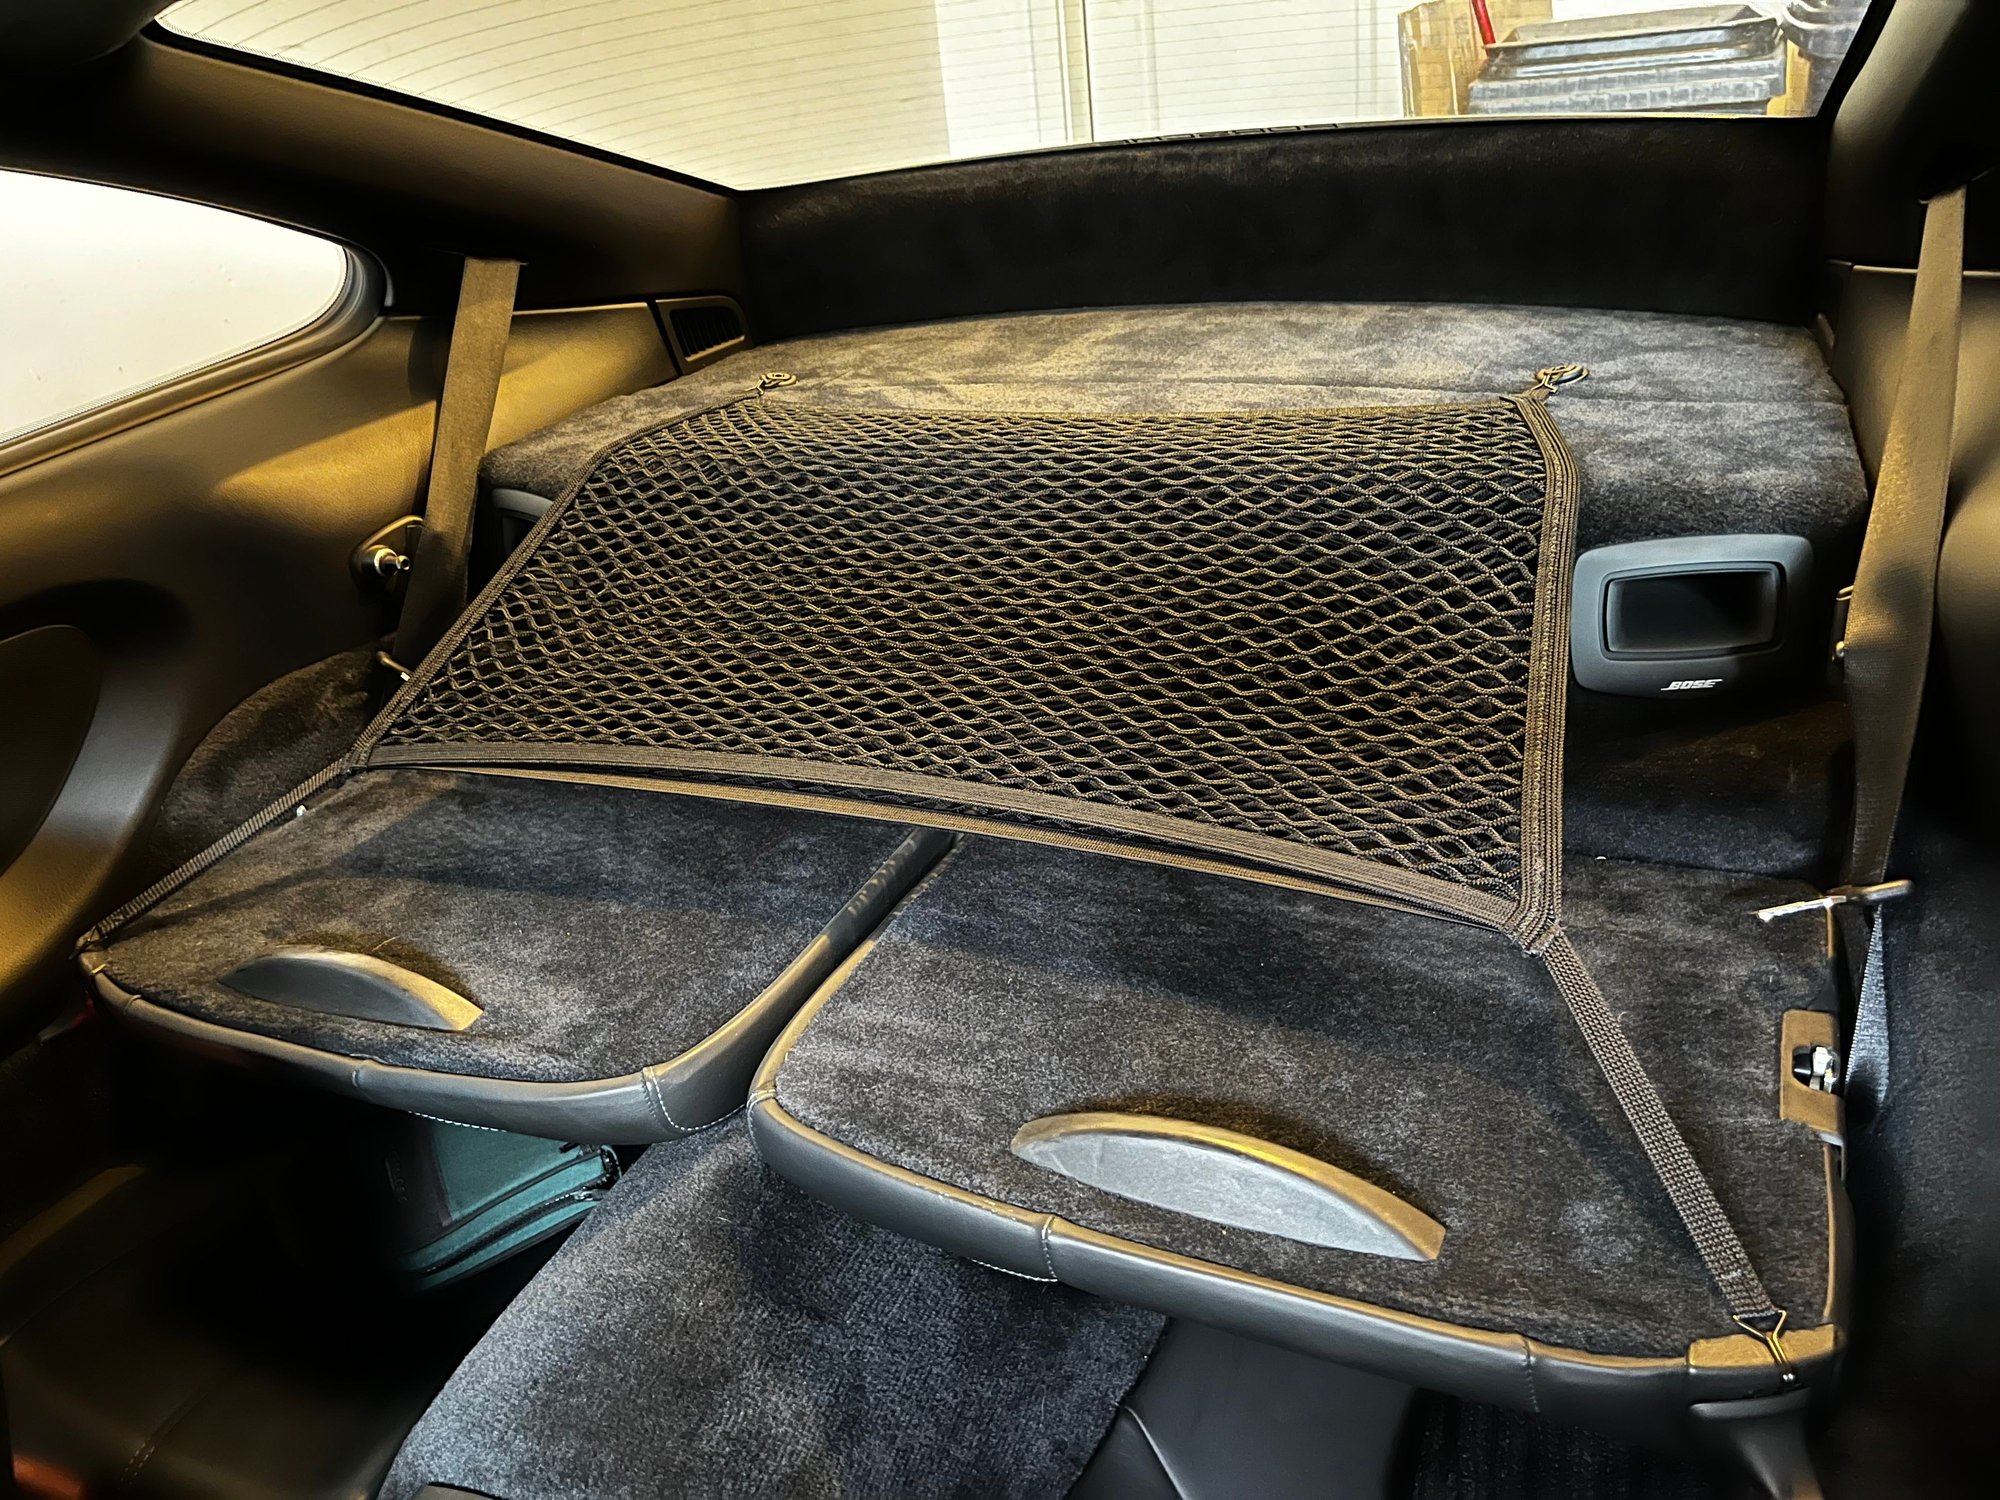
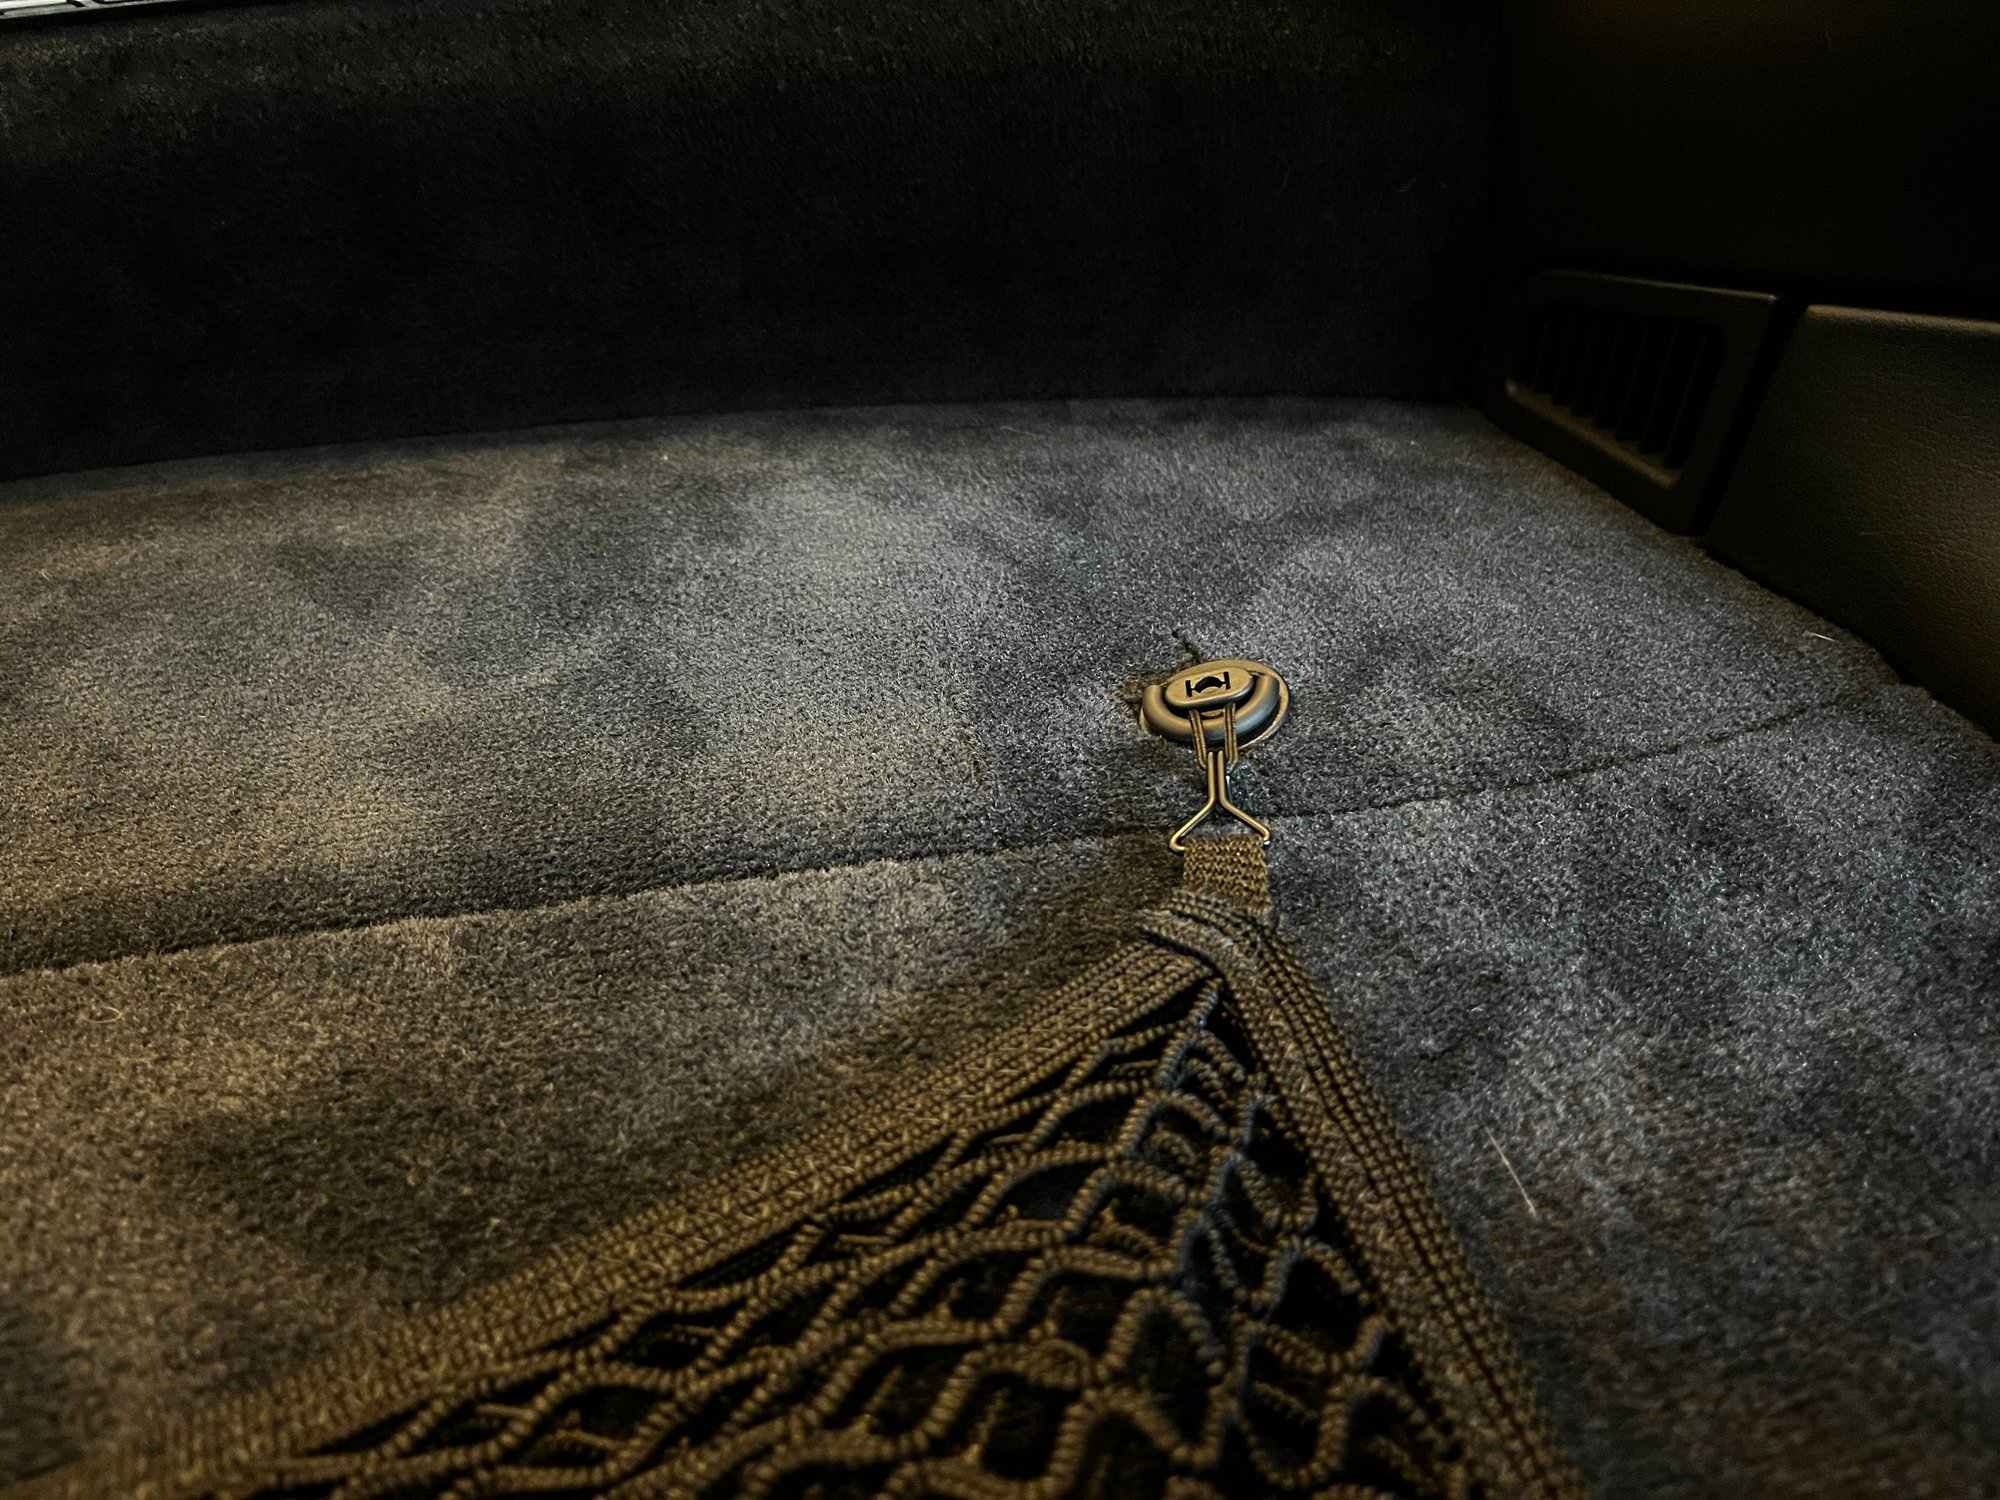
I do a lot of road trips in my 911 and one of the annoying aspects of traveling was securing my carry-on luggage in the rear area. I keep my rear seats folded down all the time and my luggage would slide back and forth along the shelf, especially during spirited driving, unless I packed a lot of gear in the back. So I decided to come up with a solution by repurposing a storage cargo net that came with my X3. It stretches and has hooks at each corner. I sourced some floor mat clips on Amazon (
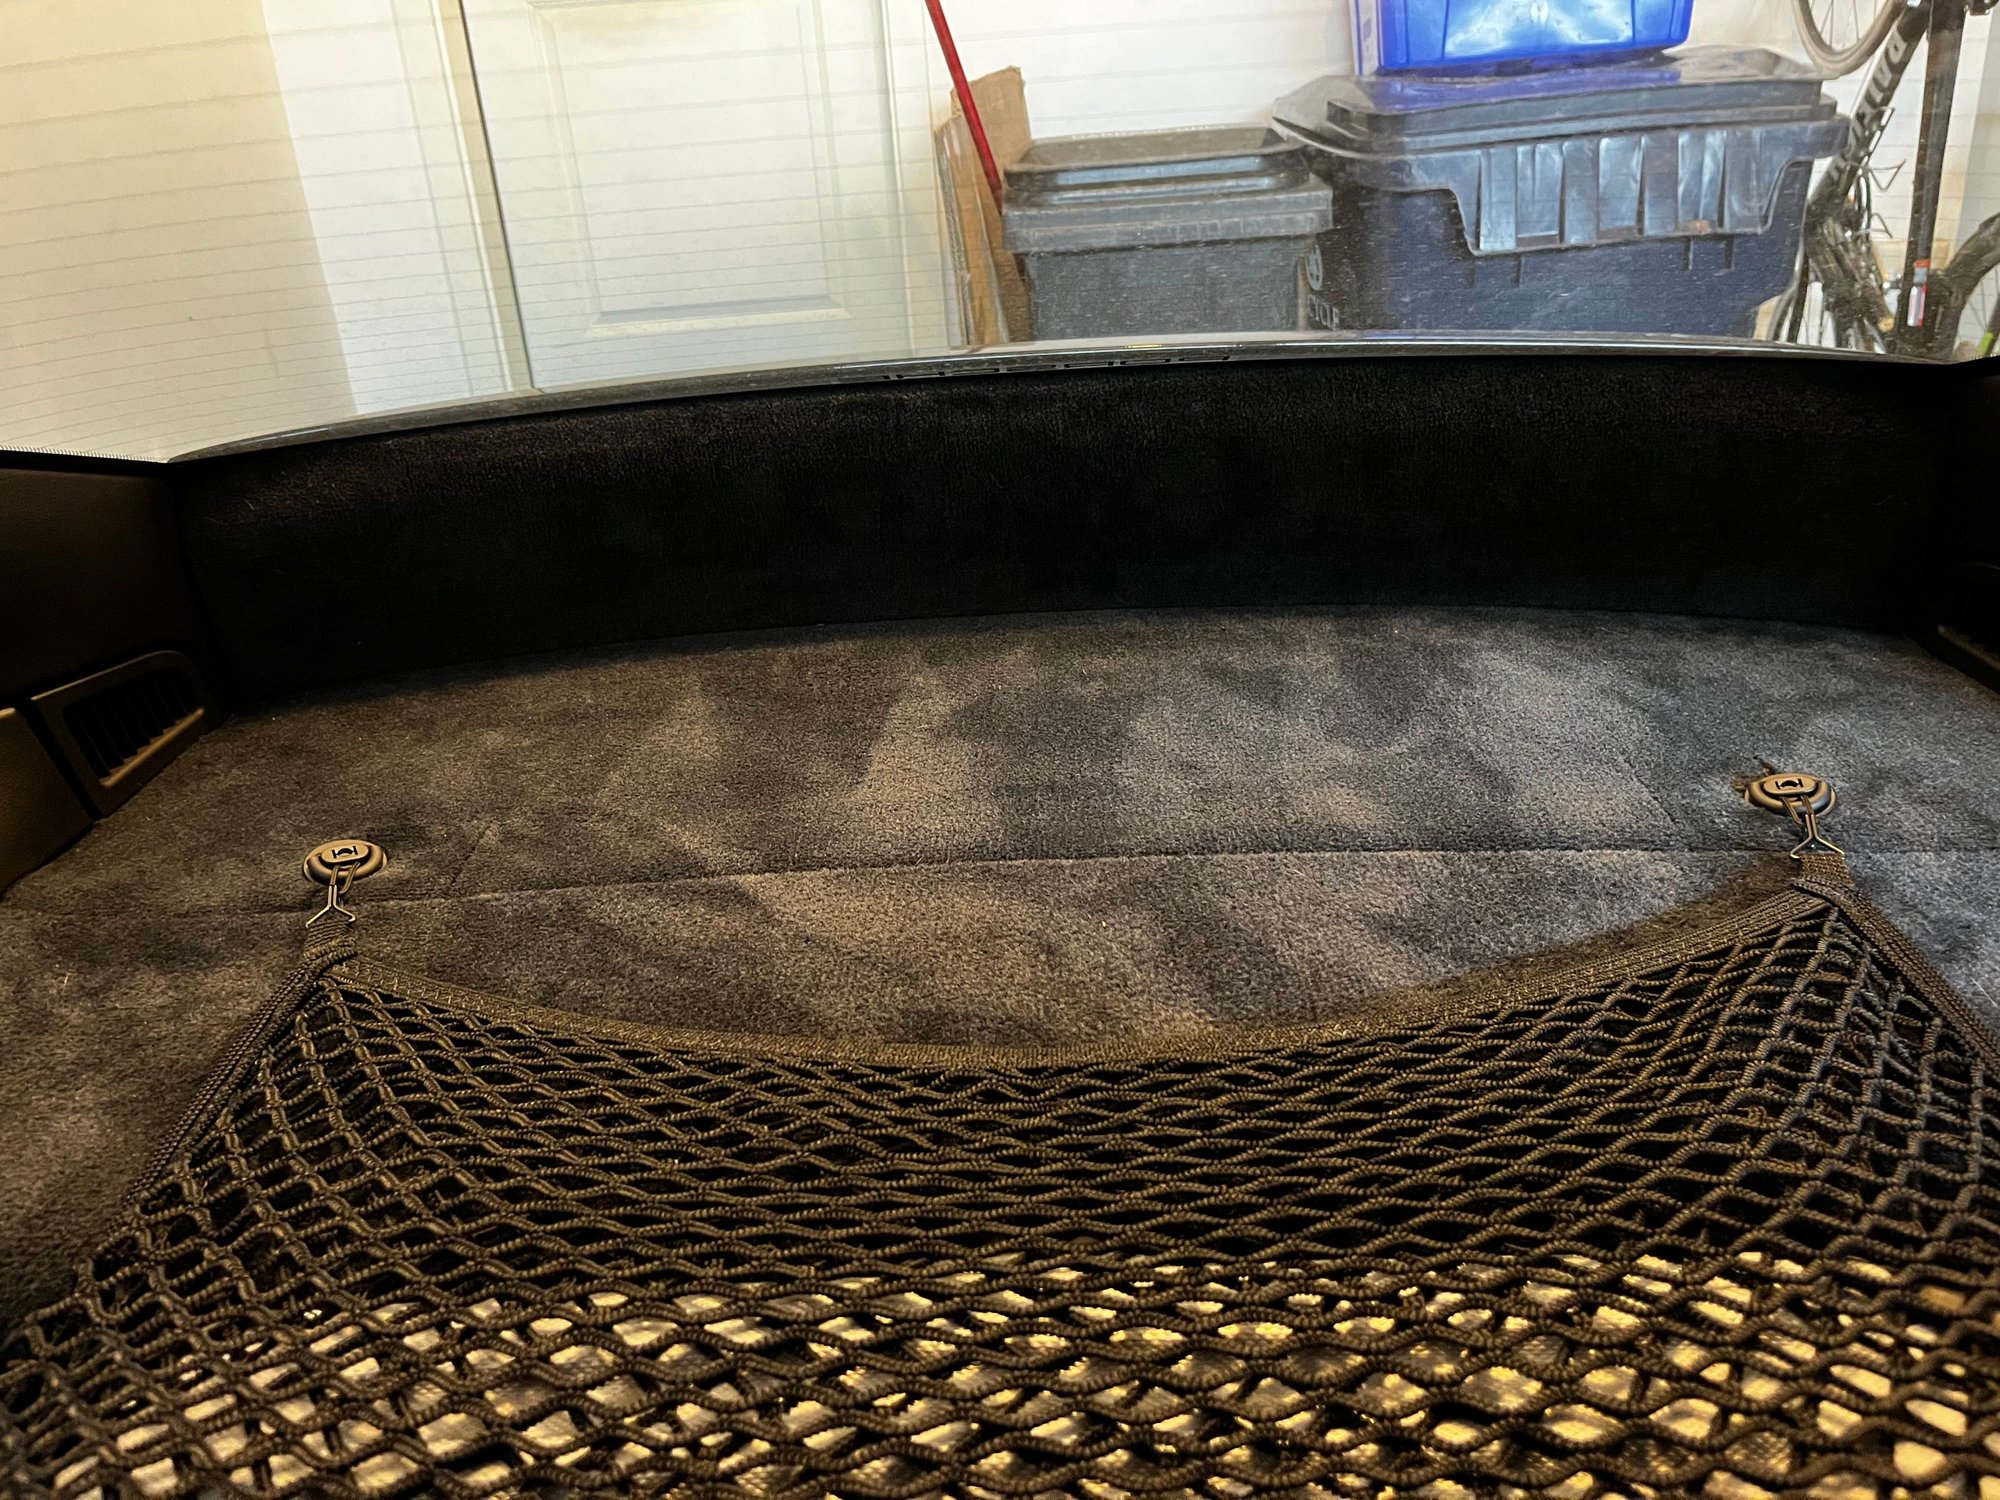
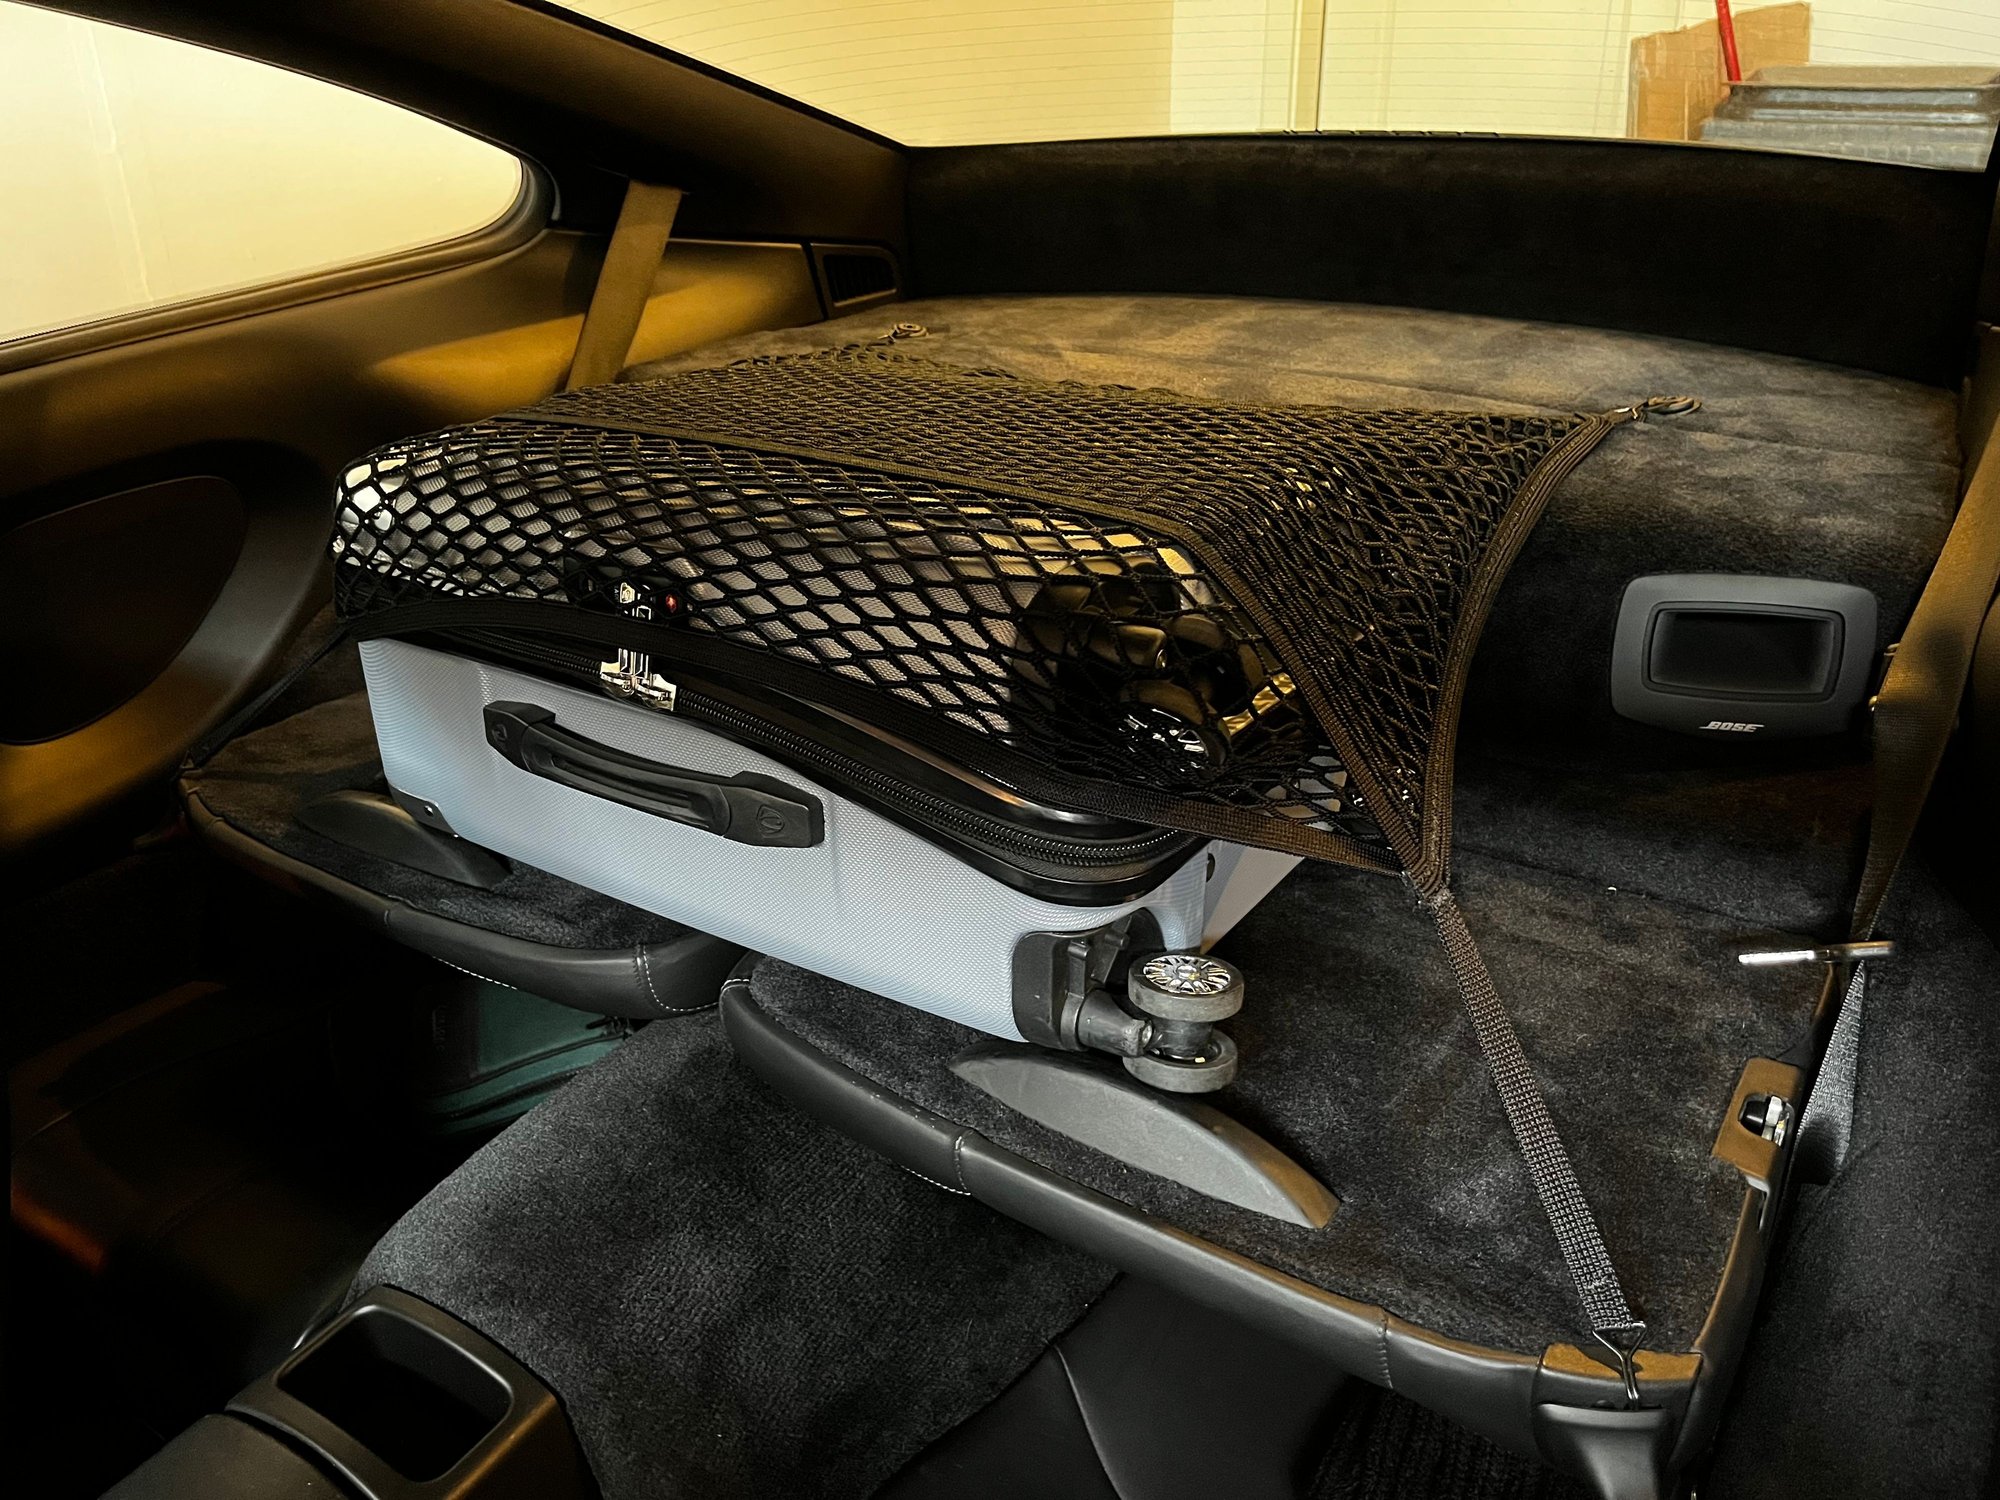
) and bought a set of zipper pulls to use as anchor points. I screwed in two of these anchors into the carpeted rear shelf. The forward hooks of the cargo net hook into the seat folding lever in the tops of the rear seat backs. I think it turned out pretty well and should keep my luggage from sliding around.
That cargo net idea is... interesting. Cleary works though it limits how much you can put back there. What I do is use a pair bungee cord with each end hooked to the metal loops that the seat backs latch into.
One cord over the top to hold it down and the other cord around the front (and through the handles) to secure it from moving laterally or forward.
Two bungees worked well for me with a hard frame roll aboard bag that lots of airline pilots favor. When I quit flying for money, I swapped over to soft duffle bag luggage.
A single one stands in a 911 rear seat with the seatbelt across it. I�m 6�4�, so the front seats are way back, which minimizes open spaces.
Two duffles fit laterally side by side and fill the rear shelf�and don�t shift.
Or they can each be belted in a rear seat. They stand up behind the front seats and don�t block rear view.
If I have lots of stuff, like backpacks or a soft cooler- I mix and match items to fill the back seat area with seats up (or down) and the balance goes in the frunk.
I�d be hesitant to install a net anyways, unlike Busta, and you Nate, who are fearless mod dudes. Much respect.
I wanted to beef up the rear end and installed a Moshammer rear diffuser and rear bumper splitters by EMC2 Design. First, the Moshammer diffuser. Moshammer had (still currently) a sale and lured me in. It is a quality part and was shipped fairly quickly. The key missing piece of info I was not aware of and didn't notice is that it is only for the European bumpers without bumperettes. Luckily I had been thinking of removing the bumperettes anyway. I had my local body shop paint the part satin black and do the install. A good friend fabbed CF blockoff plates to cover the holes left after removing the bumperettes. Install will require you trim the bottom edge of your license plate in order for it to fit. I recommend using a pro shop to do the install for this mod.
In addition, I got a set of rear bumper splitters from EMC2. These add some subtle flare to the rear bumper and match perfectly with the character lines from the side sills. They are quality parts and the finish matches factory. Install was a PITA! Highly recommend removing the rear bumper. Then you need to remove the heat shields to get to the tabs that release the stock parts. I installed with the bumper on and it was challenging due to limited space for my fingers to reach the tabs. Once the stock parts are off, install is less than a minute. It was an overcast day today so the pics are not the best. I will be getting a photoshoot of the rig soon and will post better shots. Overall, I am pleased with how the rear end looks!
For shorter trips, I have a soft bag that does the trick but sometimes the carry-on is the way to go. Everything is reversible and no worse for the wear. There are numerous solutions to the cargo problem. Just sharing one idea.
Originally Posted by nwGTS
That cargo net idea is... interesting. Cleary works though it limits how much you can put back there. What I do is use a pair bungee cord with each end hooked to the metal loops that the seat backs latch into.
One cord over the top to hold it down and the other cord around the front (and through the handles) to secure it from moving laterally or forward.
Originally Posted by Liste-Renn
Two bungees worked well for me with a hard frame roll aboard bag that lots of airline pilots favor. When I quit flying for money, I swapped over to soft duffle bag luggage.
A single one stands in a 911 rear seat with the seatbelt across it. I�m 6�4�, so the front seats are way back, which minimizes open spaces.
Two duffles fit laterally side by side and fill the rear shelf�and don�t shift.
Or they can each be belted in a rear seat. They stand up behind the front seats and don�t block rear view.
If I have lots of stuff, like backpacks or a soft cooler- I mix and match items to fill the back seat area with seats up (or down) and the balance goes in the frunk.
I�d be hesitant to install a net anyways, unlike Busta, and you Nate, who are fearless mod dudes. Much respect.
For shorter trips, I have a soft bag that does the trick but sometimes the carry-on is the way to go. Everything is reversible and no worse for the wear. There are numerous solutions to the cargo problem. Just sharing one idea.
If the carpet screws are reversible then props for trying something new. Certainly looks more tidy than bungees.
I got my Sport Classic front lip painted and installed. Should have done this a long time ago. Lowest price I could find was from Sunset Porsche for $544, including shipping.

 06-05-2022, 03:18 AM