When you click on links to various merchants on this site and make a purchase, this can result in this site earning a commission. Affiliate programs and affiliations include, but are not limited to, the eBay Partner Network.
World's Largest Retailer/Distributor of BBS Motorsport & Street Wheels from 2015-2023
Huge Inventory: BBS, Kline, Brembo, Soul, Recaro, KW, Akrapovic & 200+ brands. Installation available ** Retail & Wholesale ** Global Delivery ** We match/beat any authorized dealer's price **
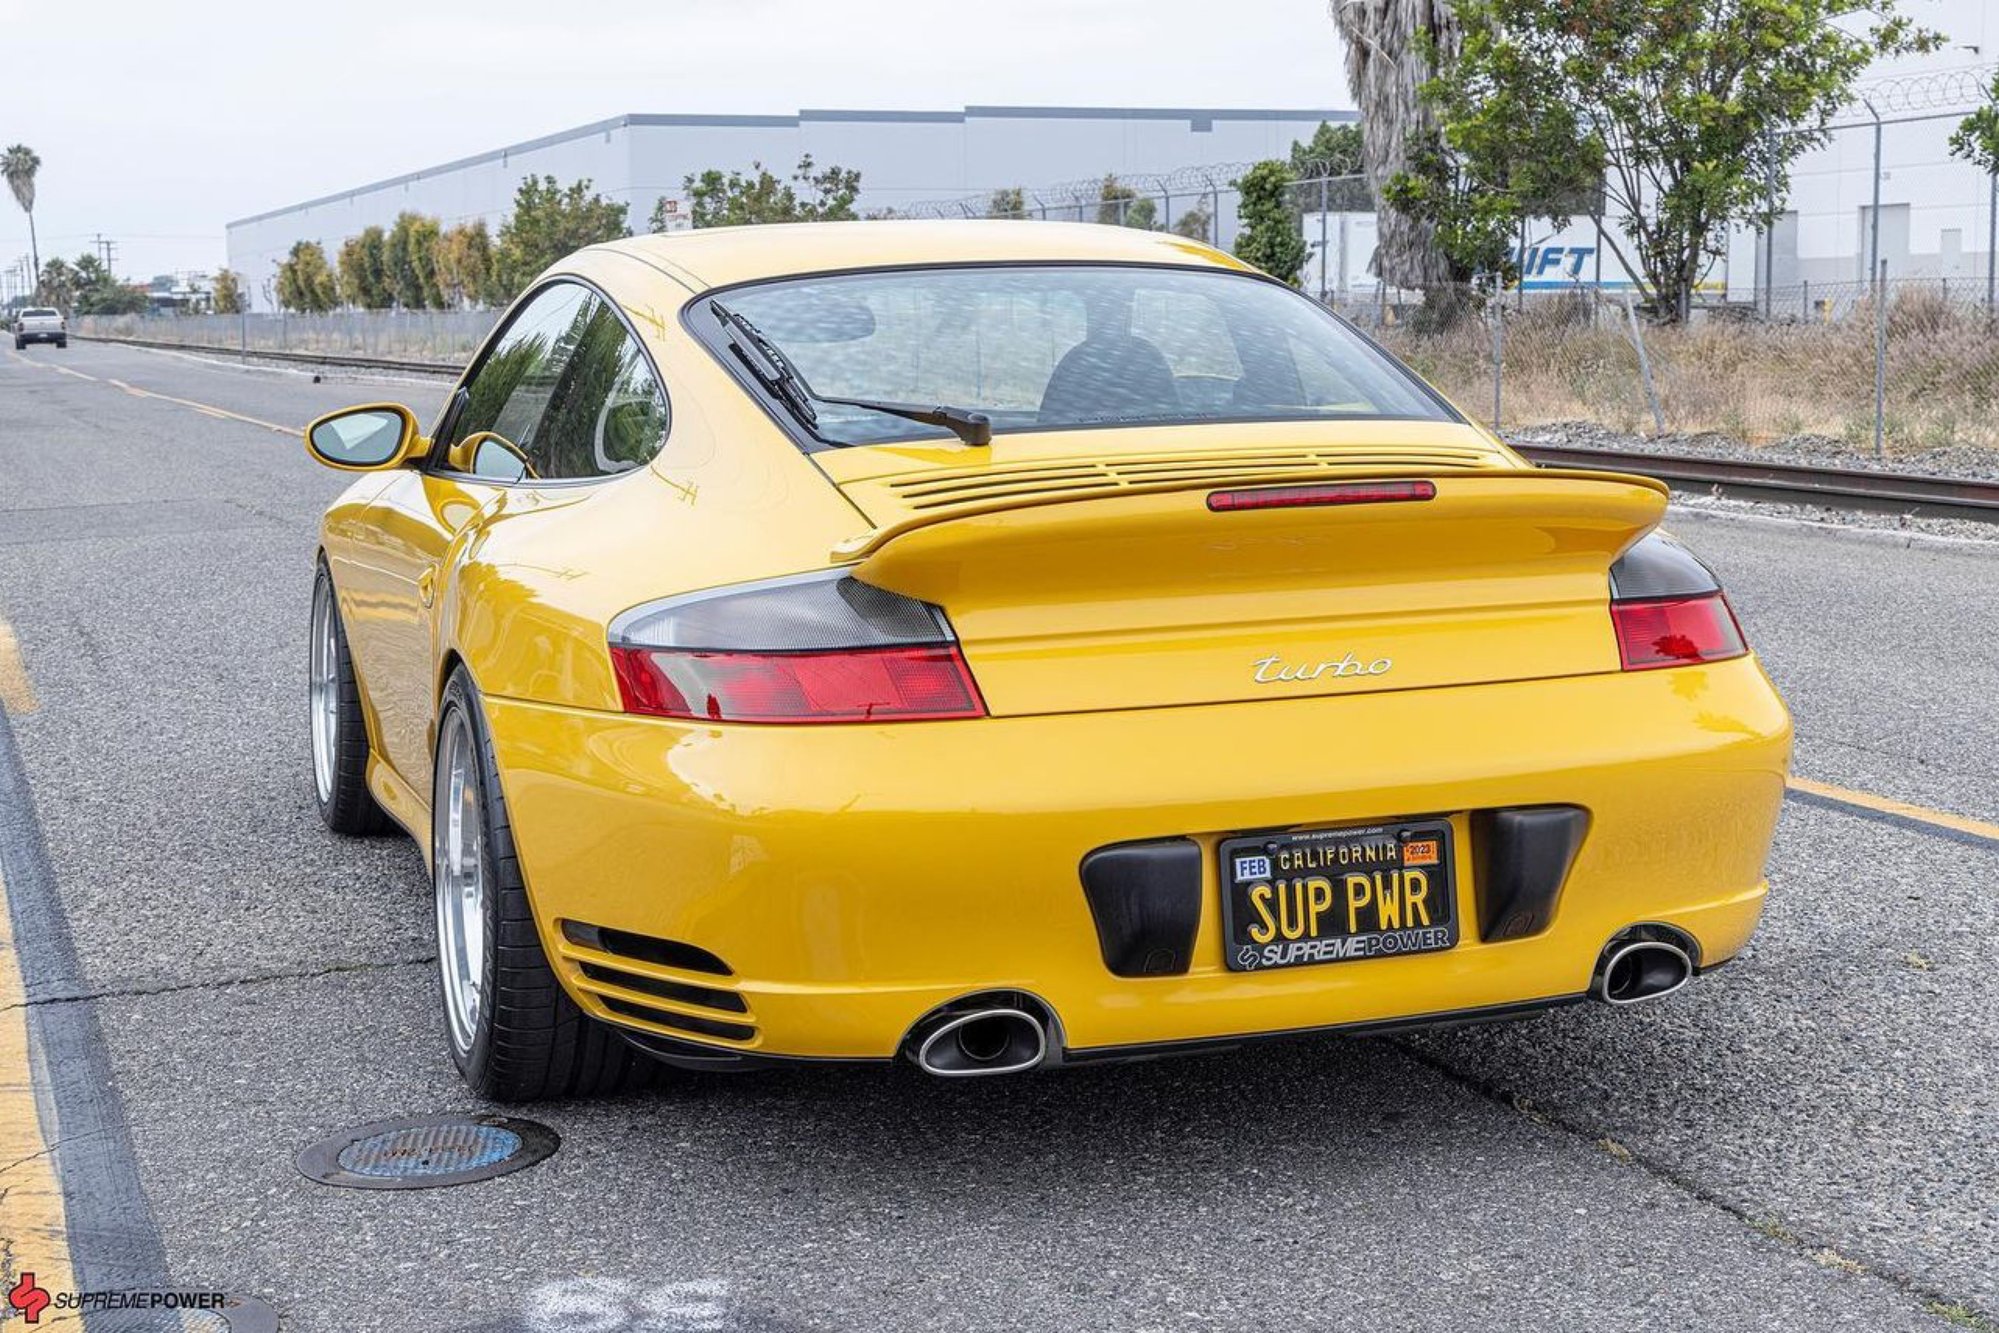
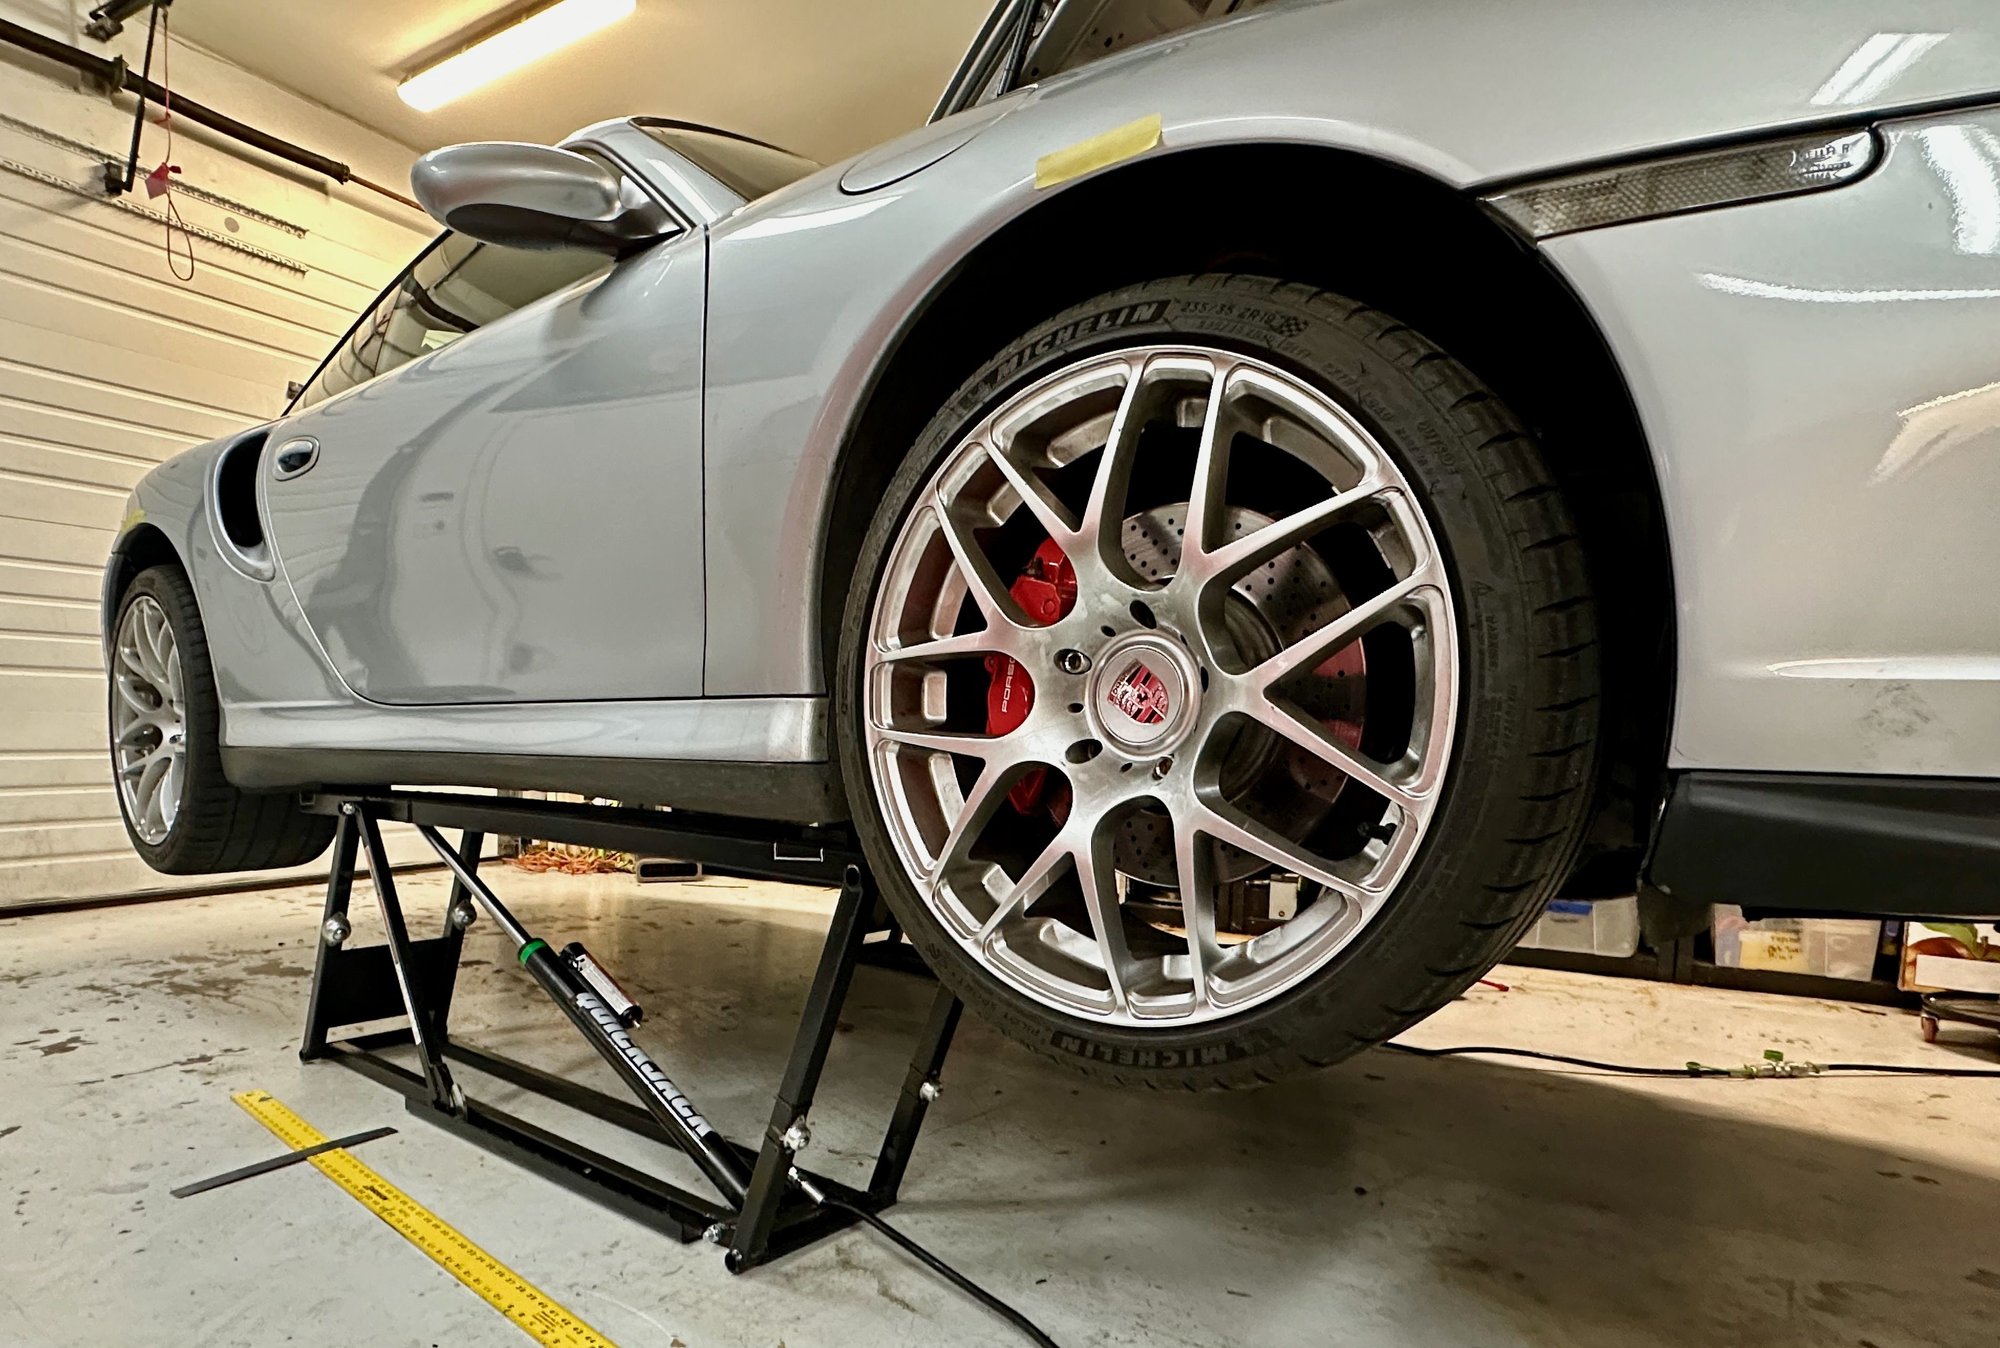
Love Polar Silver, car looks great! Quick question on the QuickJack, do you use a puck or spacer between the car and jack?
On one of my 996 Turbos I have permanently installed lift pads, on my other 996 Turbo and for the 991 Turbo, I use the twist-in style. The twist-in style are great, you just have to remember to remove them when you are done!
Either style makes it much easier to position the quickjack pads in the right place, though it certainly can be done with just hockey pucks or something.
The car that is the biggest pain in the *** to lift is the 911. All air cooled 911s for that matter. They don't really have precise lift points and there are lots of oil lines and AC lines running near the seams you are supposed to lift by. Many just lift by the floor plans, but you really aren't supposed to and causes the floor pans to dent inwards.
I know it's tedious and can certainly feel like the biggest PITA to jack up onto jackstands but I find it one of the easiest and the difficulty is due to being tedious but in 15mins I can have it on jack stands and my car is significantly lowered.
I use a low profile jack, I drive the car up on a few pieces of plywood 1-1.5" thickness is enough and only for one rear wheel but I do it for both rear wheels. I get the jack on the cross brace in the rear at the very middle. I have cut a piece of 2x4 to place on my jack so not to scuff the metal and I raise it up till I can put the jack stands on either side on the rear.
Then I pick one side on the front end and raise the car, the entire front end comes up almost even. If I lift the front from the driver side I'll put a jack stand on the passenger side and then I can remove my jack so I can lift the front from the middle to place the 4th jack stand.
At this stage the last step is to place the 4th jack stand on the front on the side I put my jack on.
But before this last step I should point out that the car is not too far off the ground and for most tasks it will be enough. For tasks like removing the gearbox or others where more clearance is needed the process I described simply needs to be repeated.
Last step of placing the 4th jack stand I achieve by placing my jack through the front of the car directly in the middle to the spot where the two cross braces meet in V. The 2x4 I use spans across the two braces and can easily be located by the two metal clips holding the plastic under body panel to the braces. After lifting from here I can place the 4th stand and done.
If I am removing the Gbox I simply get the front end much higher at this stage and if the front wheels don't need to come off I even place 2 suv/truck rhino ramps under the front wheels instead of the stands. Then move to the back only a 2nd time to get the back higher.
The entire process as I mentioned before only takes 15mins working at ease. Hope my method is useful to others.
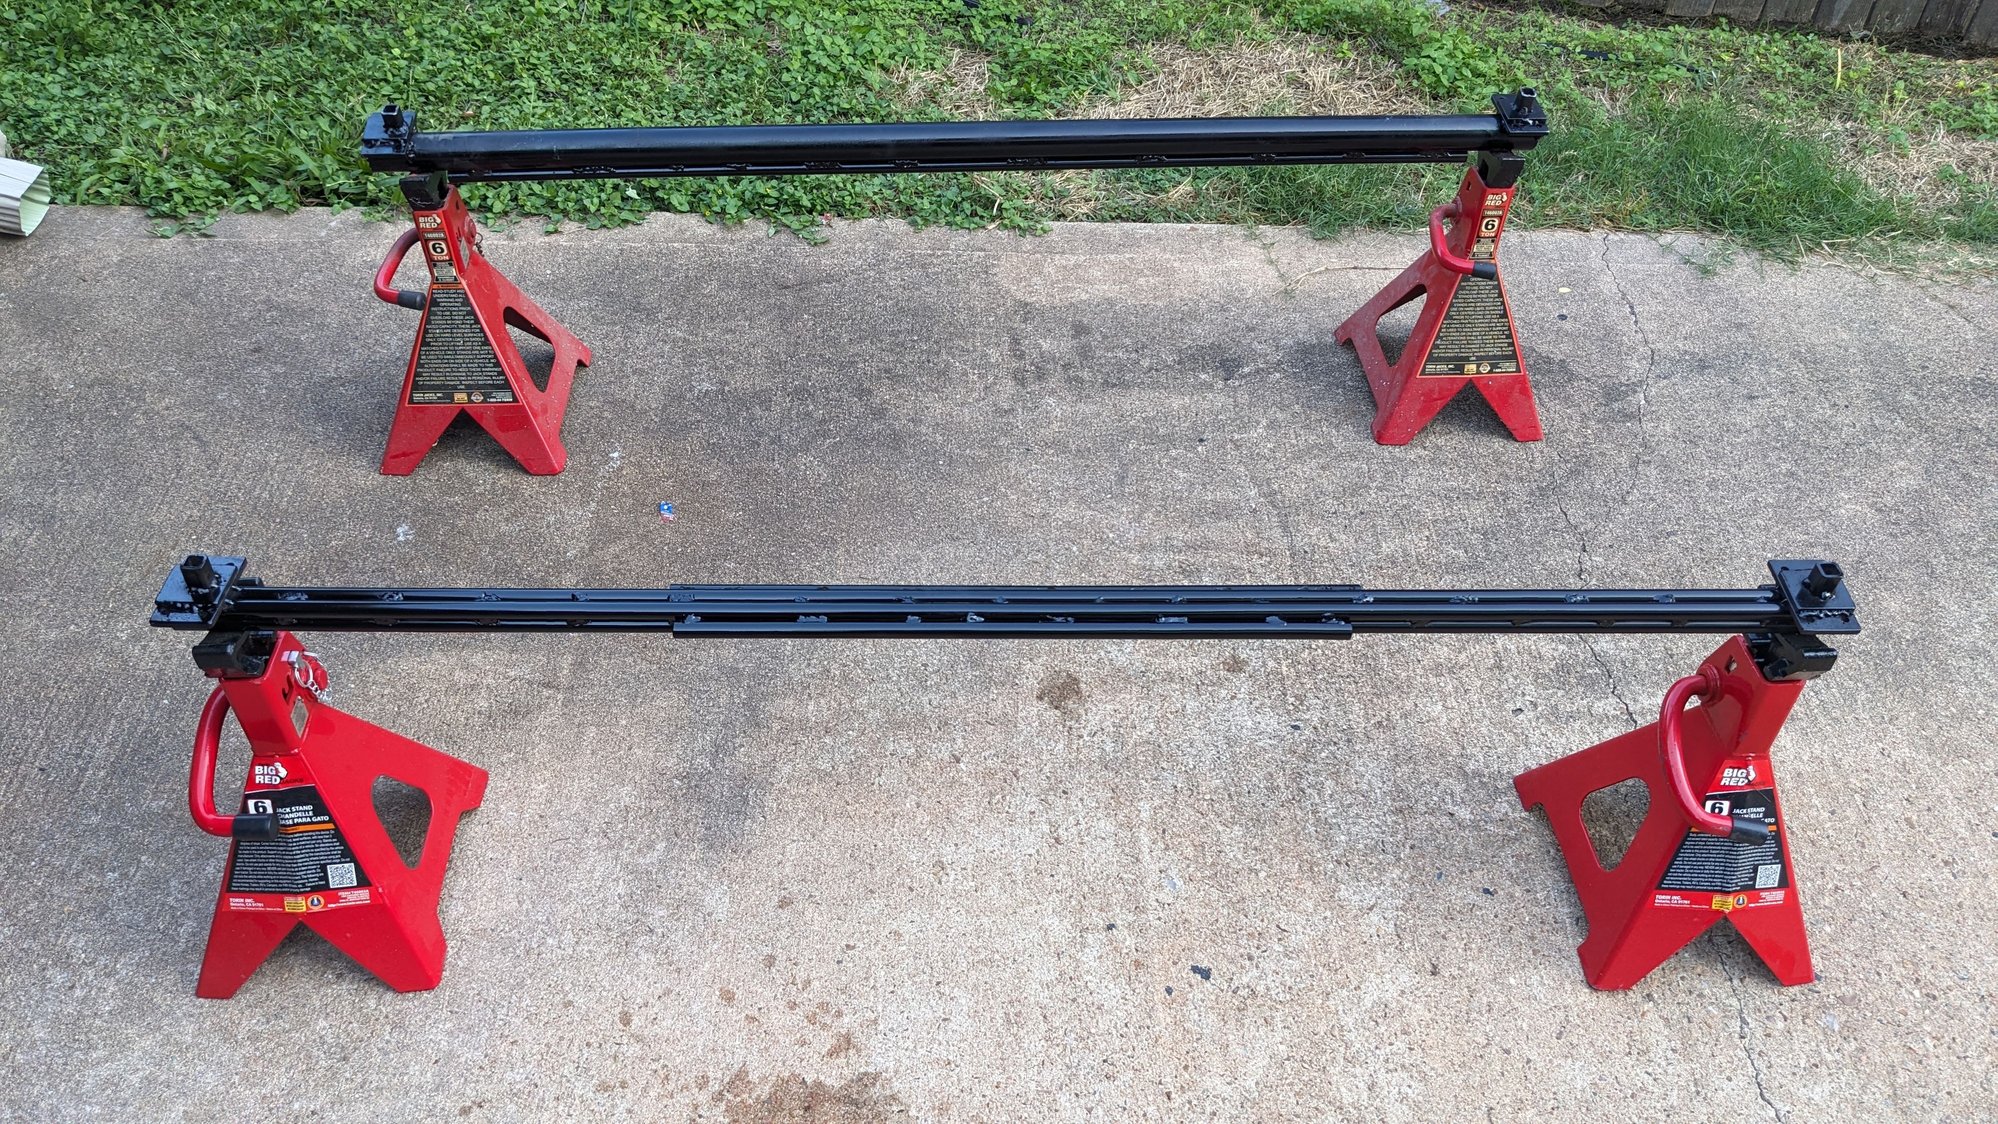
I fabbed my own lift bars but I would recommend buying them from liftbars.com. I was apprehensive about lifting the right side of my car with such a significant lean even with short stands but I did not hear any odd noises and the bars never slipped on the jack stands.
As far as lifting by the center of the rear suspension brace, that is not the strongest area as it is mid-span. The ends of the cross brace where the a-arm mounts is pretty stout and directly below a body mount.
At the risk of derailing this thread I totally agree 100% that the end of the suspension brace is a better spot, if you could get the jack on it. I can't get mine on the spot.
However I did think about this a lot before doing it for my own car, the shape of that brace is pretty complex and seems very strong. Not to mention that with it all connected and bolted the car goes through a lot even when not driven aggressively.
So IMO it's totally fine to lift one axle especially with a 2x4 to spread the weight.
We can start another side thread as we are off topic here now.

 11-24-2023, 02:25 PM


 I totally agree 100% that the end of the suspension brace is a better spot, if you could get the jack on it. I can't get mine on the spot.