When you click on links to various merchants on this site and make a purchase, this can result in this site earning a commission. Affiliate programs and affiliations include, but are not limited to, the eBay Partner Network.
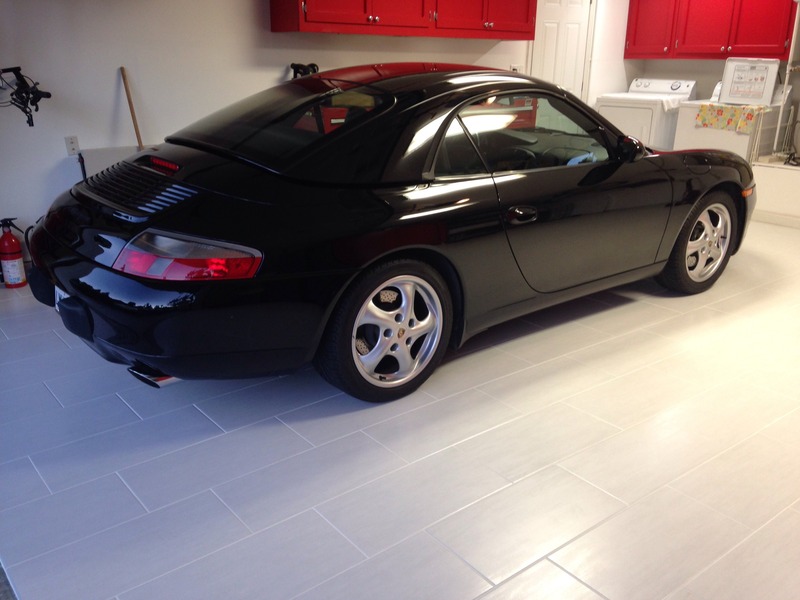
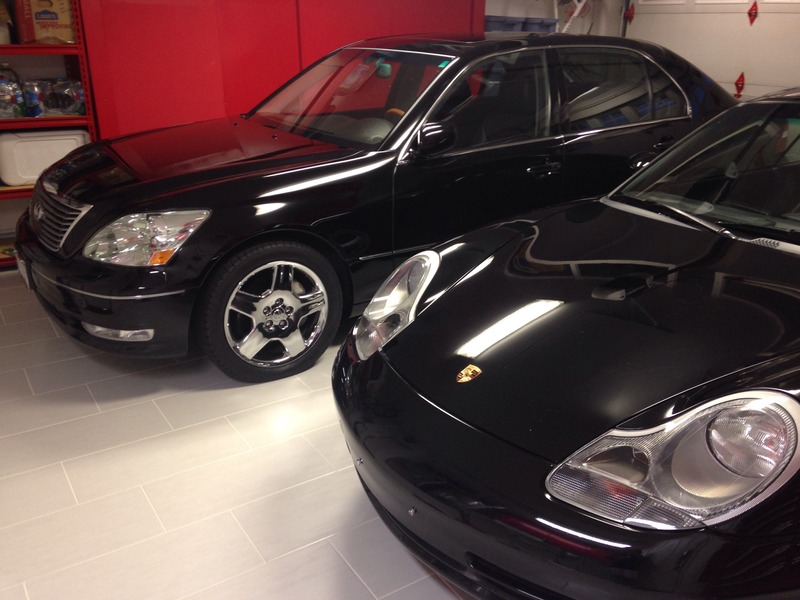
Here are a few shots of my recent garage makeover and 996 Cab.
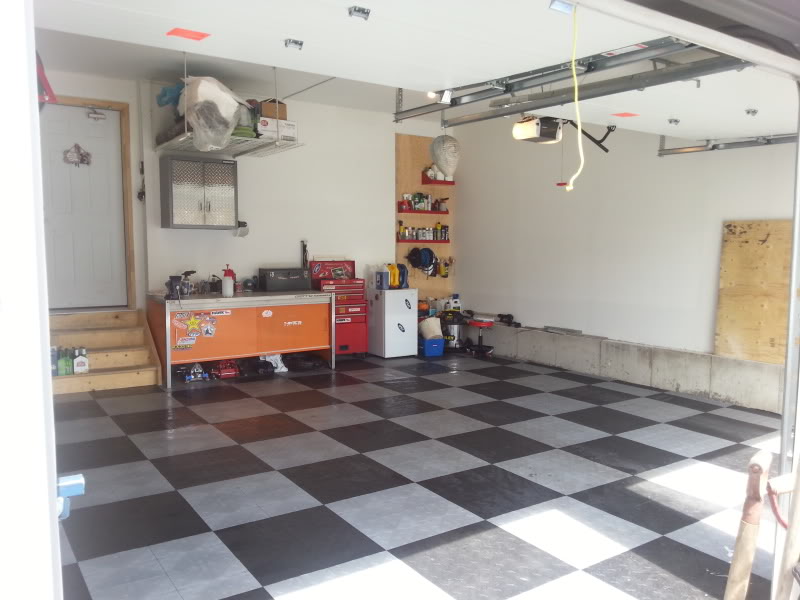
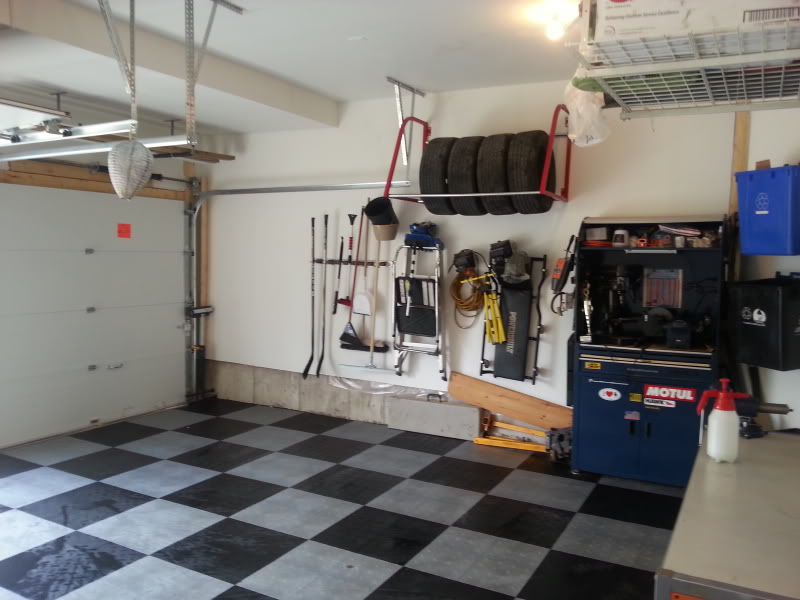
First I repainted the walls and had extra lighting installed. Then I had a professional tile guy come and do the floor using 12" x 24" light gray Italian porcelain tiles with a slight matte finish, (PEI is 5 with a high coefficient of friction), and sealed grout.
Yes - it bothers me that my storage tubs are not red - I had a long conversation with my wife on that topic.
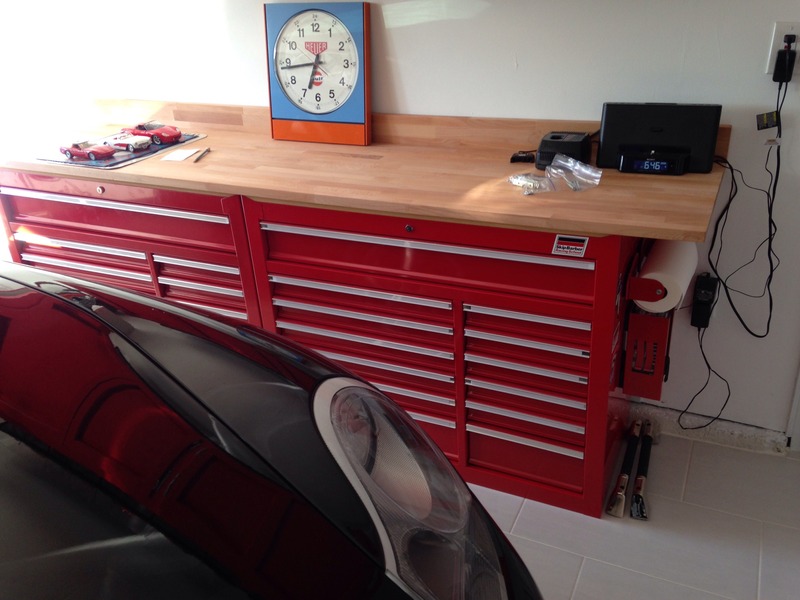
This pic shows the tool chest before I put the top on.
Speed Racer says hi.
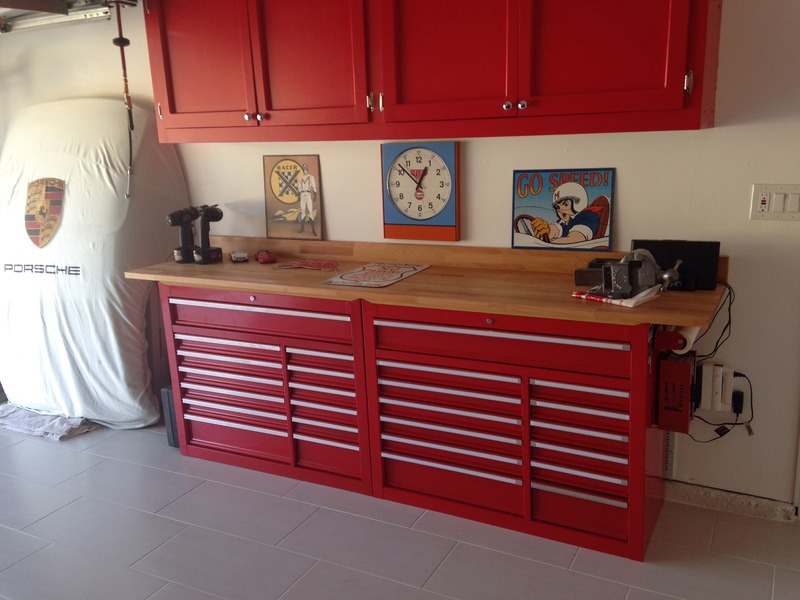
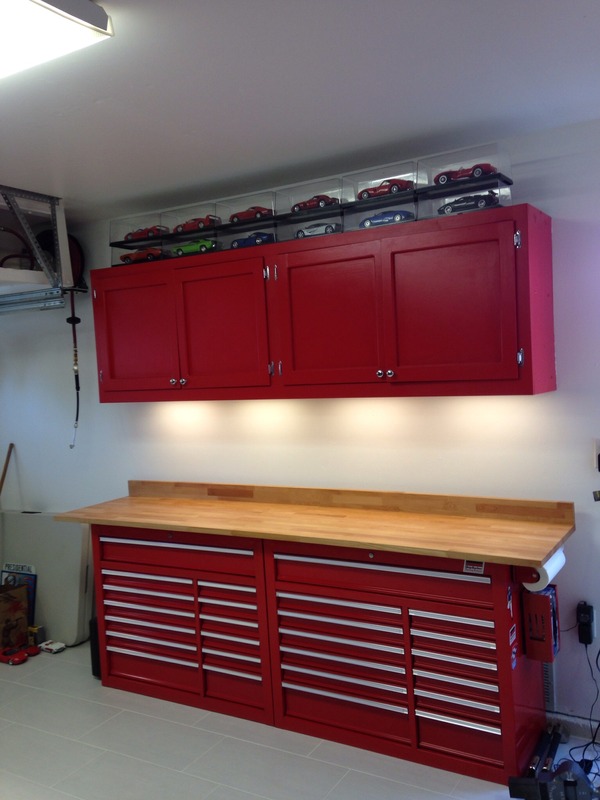
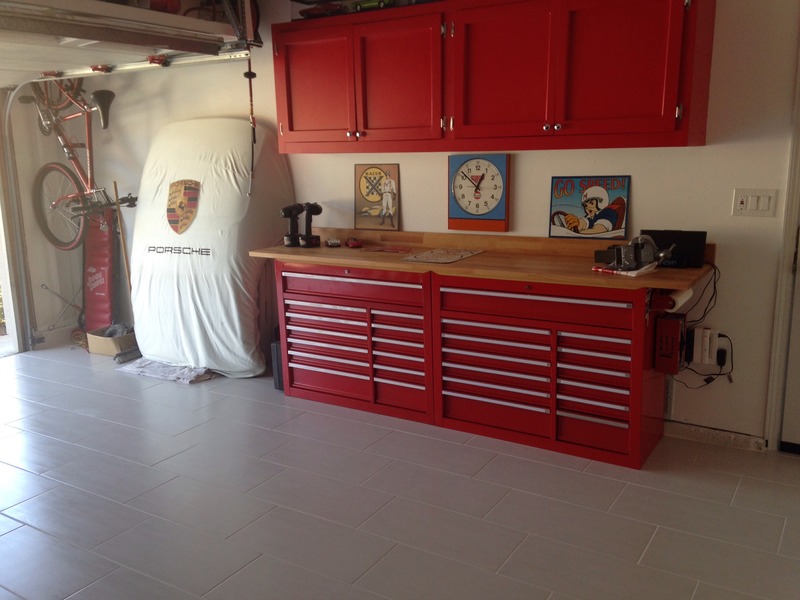
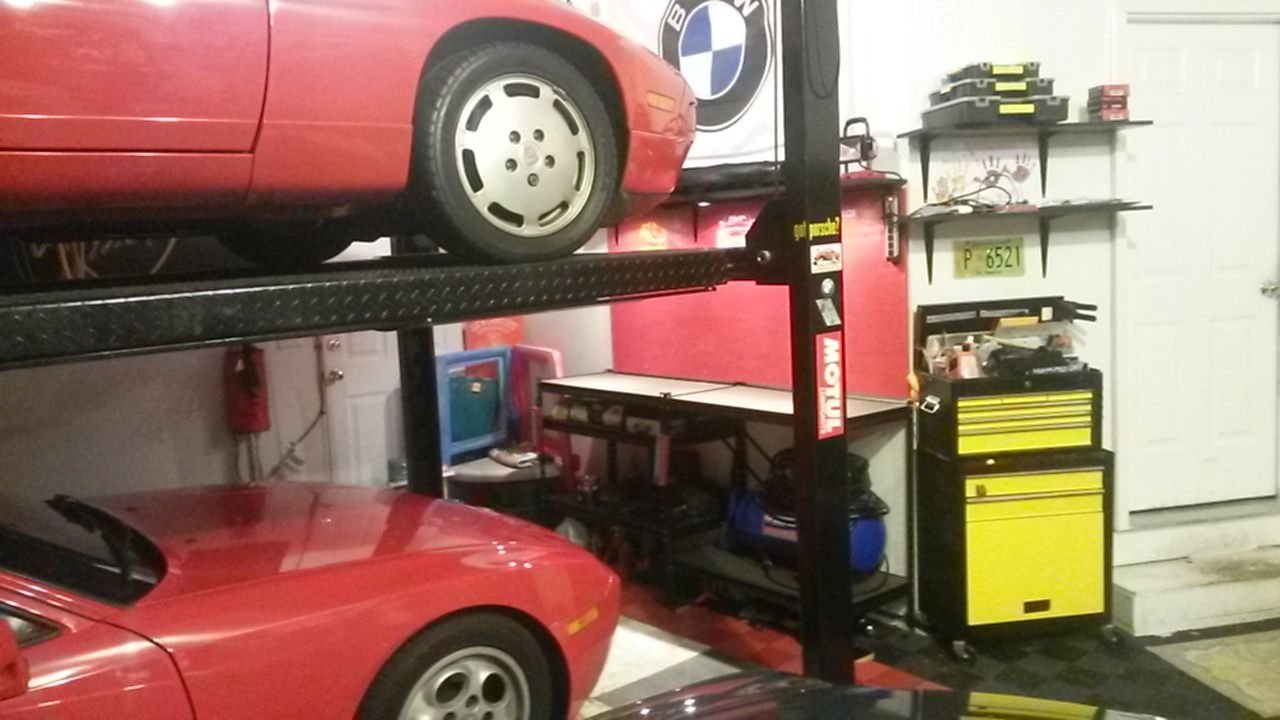
I left the existing upper wood cabinets, and painted them red. The tool chests are two Harbor Freight 44s with the wheels removed. The bench top is a 8" IKEA Beech 1 5/8" thick countertop with 3" cut length-wise and screwed on as a backsplash. Due to the tool chests having a 1/2" sheetmetal lip around three sides, I placed sections of MDF between the top of the tool chests and the countertop, and attached the countertop from the bottom with screws. I also restored an old '40's Rock Island vise, which is not mounted yet, but will go on the far right side of the workbench.
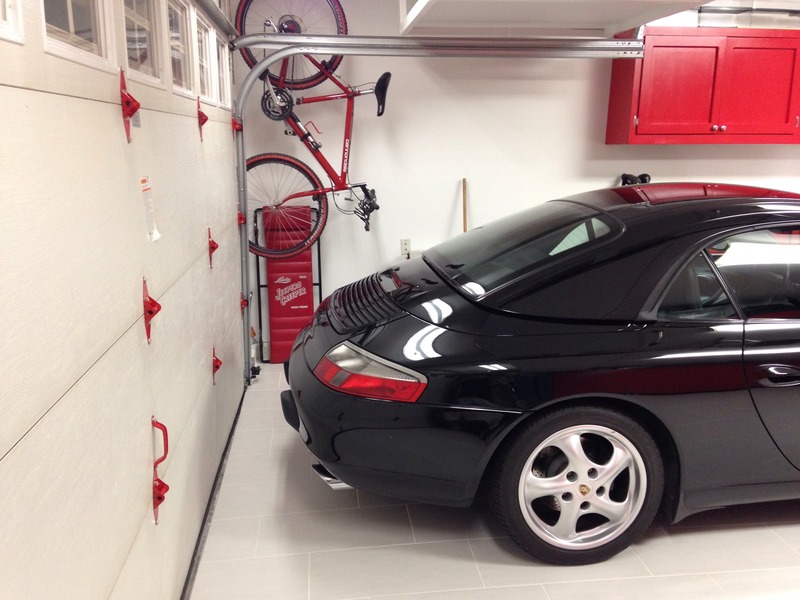
The 996 hardtop leaning against the wall like that is very stable. I plan to build a custom stand for it at some point.
I also removed and painted each one of my garage door hinges. If you do this, take off only one hinge at a time for safety reasons.
For you bike guys, thats a 1990 Cannonade M400.
Some of my 1/18th diecast car model collection. Under cabinet lights are controlled by a wall switch.
Last edited by Porscheby40; 11-17-2015 at 11:37 PM.
The large sliding door cabinet on the far side was there already, so I just painted it. The sliding doors are key because there is only about 1 foot of clearance between the cabinet and the car.
The metal shelving on the far left was painted to match the cabinets.
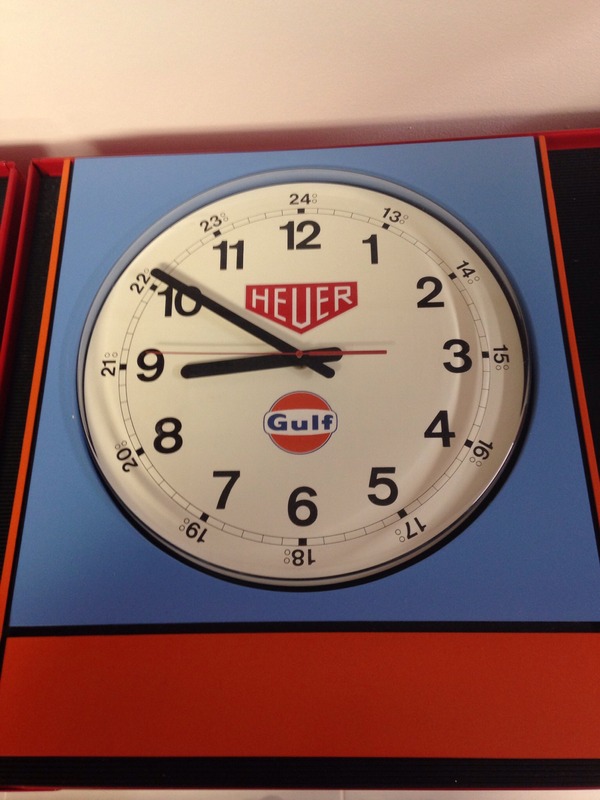
Modified Clock - decals and stickers from eBay, custom paint job.
The top decal as purchased said TAG Heuer, so I cut the TAG part off to give it the 70's look.
There is a hidden Harbor Freight pancake air compressor mounted on a horizontal shelf that supplies air via a mounted hose reel. Very stealthy. I still need to figure out a way to hide the electrical cords on the right side of the workbench.
To the right of the workbench - I previously had only a single light switch for the exterior lights, so I had the Electrician add a GFI outlet and another light switch which controls the lights beneath the upper cabinets.
Last edited by Porscheby40; 11-18-2015 at 12:09 AM.
Wow very nicely done. If and when I can ever afford a house, this kind of upgrade will be high on my priority list for projects. Did you do everything yourself?
Things I did: Paint walls and ceiling, pick up HF tool chests & remove wheels, mount countertop, sort tools and decide what goes where, etc..
Things I farmed out: Floor prep and tile installation, new light fixtures, wall switches and plugs. A friend with woodworking skills cut the countertop with his table saw and glued and screwed on the backsplash.
I still need to build a small closet door to hide the furnace and water heater, and I'm going to get a dedicated wall mounted garage vacuum.
Nice - thanks for sharing!
I installed a workbench over the summer and used a similar red motif. (yes, I said "motif"). I used a scrap piece of plywood that I was going to throw out as the back. I set it up horizontally on a couple of 5 gallon buckets, gave my 7 yr old daughter a paint brush and a quart of paint and let her go at it. No greater joy for a kid than to slop paint all over something with no adult supervision. I had some old decals in my tool chest. Bought a cheap shelving unit from Home Depot that could be split in half. Bought a black shelf and a cheap LED under cabinet lighting kit.
Last edited by FRUNKenstein; 11-18-2015 at 12:22 AM.
Porscheby40, you have a disease.
A beautiful, enviable obsessive compulsive disease.
I'm planning a garage/shop addition on my house for the Porsche, the workbench, and the gun safe (that's totally empty of firearms that I've never owned so don't come and look for them...).
I now have a standard against which to judge my efforts.
Challenge accepted!
I am very jealous for both of your garages. I have 4 car garage that i turned into a man cave. My boat is blocking my garage door so when i get rid of it for something bigger that i can park in the marina then my garage is getting converted back. I miss having a nice work area.
Very Nice Job indeed!!! I propose you have a custom neon sign made that says "OCD GARAGE"... as a matter of fact, if there are any TV/Content producers here, there's a potential "Reality Series" contained in this thread!
Very nice show garage. You'll never find my garage that clean since I'm always working on something but doesn't mean I can't be envious of the ones that look really nice.
Nice garage! I'm in the process of making my garage into the garage that I want. I just had high lift garage doors installed with Lift Master 8500 jack shaft openers. I now have room for a lift. I also added a 50" flatscreen TV to the garage so I can have sports on while I work on the cars. It's getting there.
I'd love to do something with the floor, but my floor has some low spots and it needs to be leveled. For those of you who added floor tiles, did you need to use a leveling product first? I wonder if an epoxy floor coating would be a better choice....
I didn't use anything other than landscaping fabric to cut down on the noise. The OP's floor looks like actual tiles that were cemented/grouted to the floor. Mine are plastic type that click together. it took my father and I about 45 min to do the floor in my 20x20 garage.
my father's garage had epoxy, he was redoing the "high-use" spots every couple of years. epoxy have come a long way since though and are more durable.
 11-17-2015, 09:27 PM