When you click on links to various merchants on this site and make a purchase, this can result in this site earning a commission. Affiliate programs and affiliations include, but are not limited to, the eBay Partner Network.
<snip> I wonder if an epoxy floor coating would be a better choice....
We redid our garage in 2008. I was building a fullsized airplane in there at the time, and my wife said that "folks will be coming over to see your progress, so we need to do something!" Basically just painted the walls, but used the Quickcrete brand garage floor epoxy kit. I got more comments on the floor than I did on the airplane (well, maybe some exaggeration there...).
7 years later, I have about 4 square inches, all in one spot, that has peeled off. Most likely it was due to improper floor prep. I intend to just get some gray deck paint and touch it up. Pic below shows tan; I used the gray. Used the optional clearcoat with the anti-slip grit mixed in.
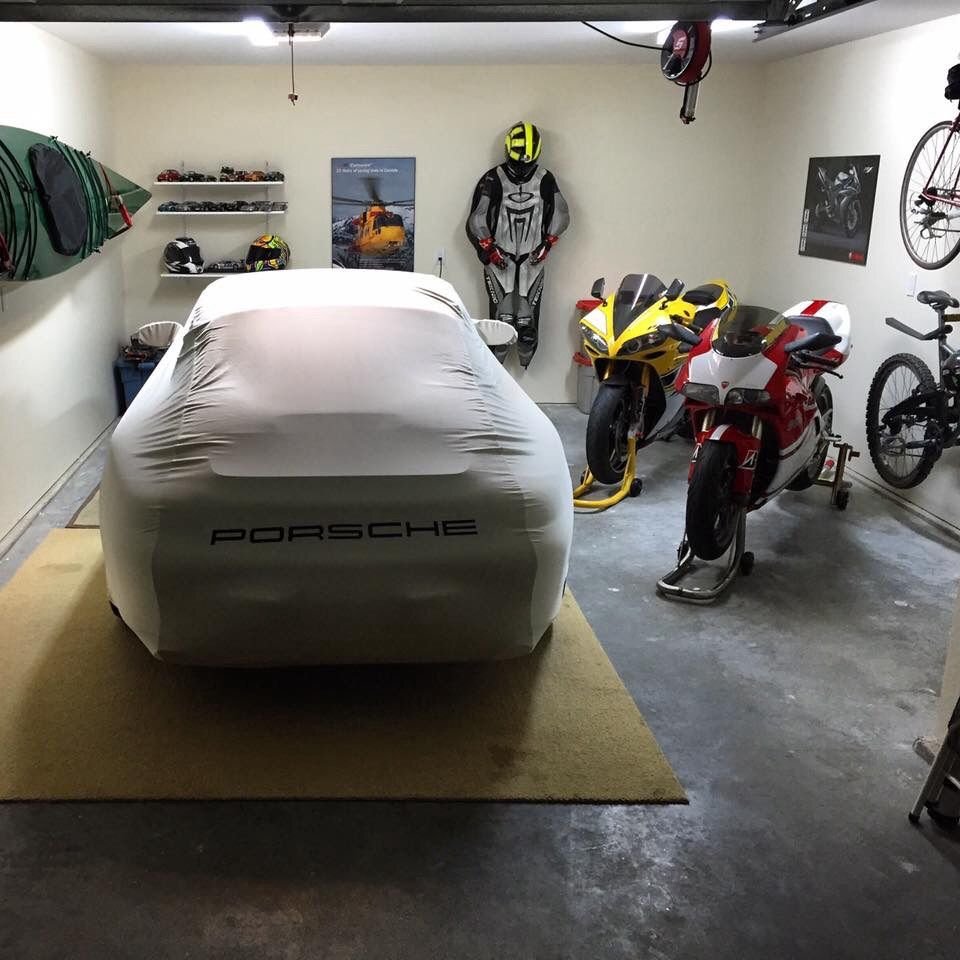
My garage has come a LONG way. 4 years ago when I bought my new house, the garage was very bare-bones, open studs, terrible garage door, no lights etc. It was just dark and dingy and the roof leaked! Updating started slow as money was tight when I first moved in, but over time all the walls got new studs, insulation and vapor barrier, the ceiling got insulated and proper venting went in. Man door, and new insulated garage door were installed, new roof with shingles, and temporary power run. Lots of lighting, and infrared heater top it all off. It has become a very nice place to keep my Porsche as well as detailing cars on the side!
Here are a few pics....
Completely bare inside, getting ready to start insulating.
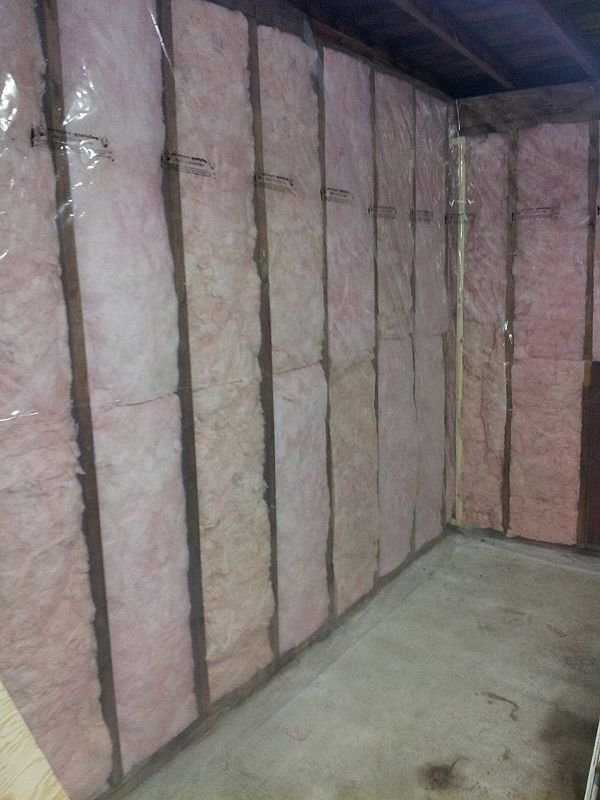
Coming along, vapor barrier is up
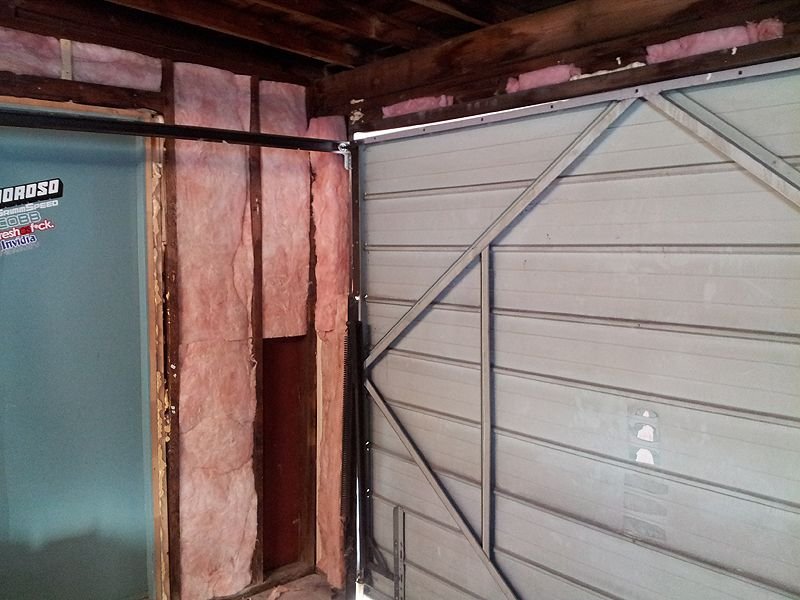
More insulation & new man door installed!
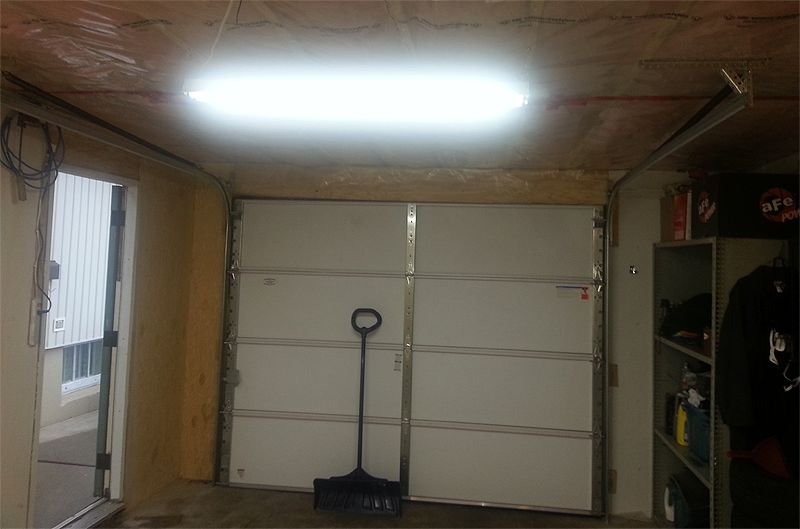
Interior walls are up and new insulated door installed
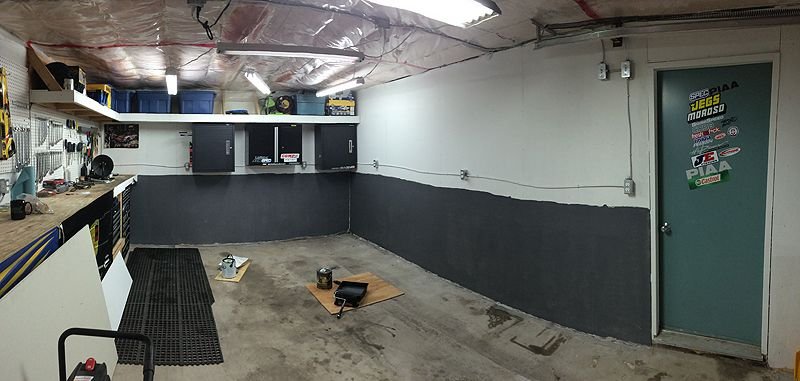
In the spring of this year, finally got to paint
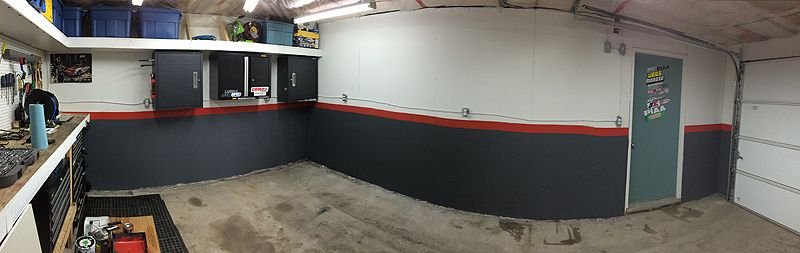
Painting complete, time for the floor
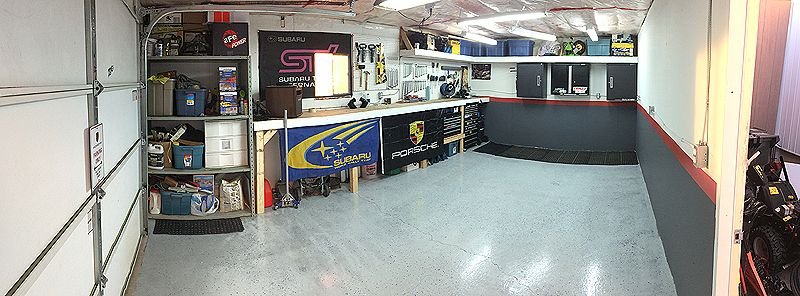
Floor epoxied with Rock Solid - As it stands today!
Very nice Scott. Your's has come a long way and was similiar to where I started too.
Originally Posted by AWDGuy
oh, mine gets used but I do try to keep it clean as possible, especially these days
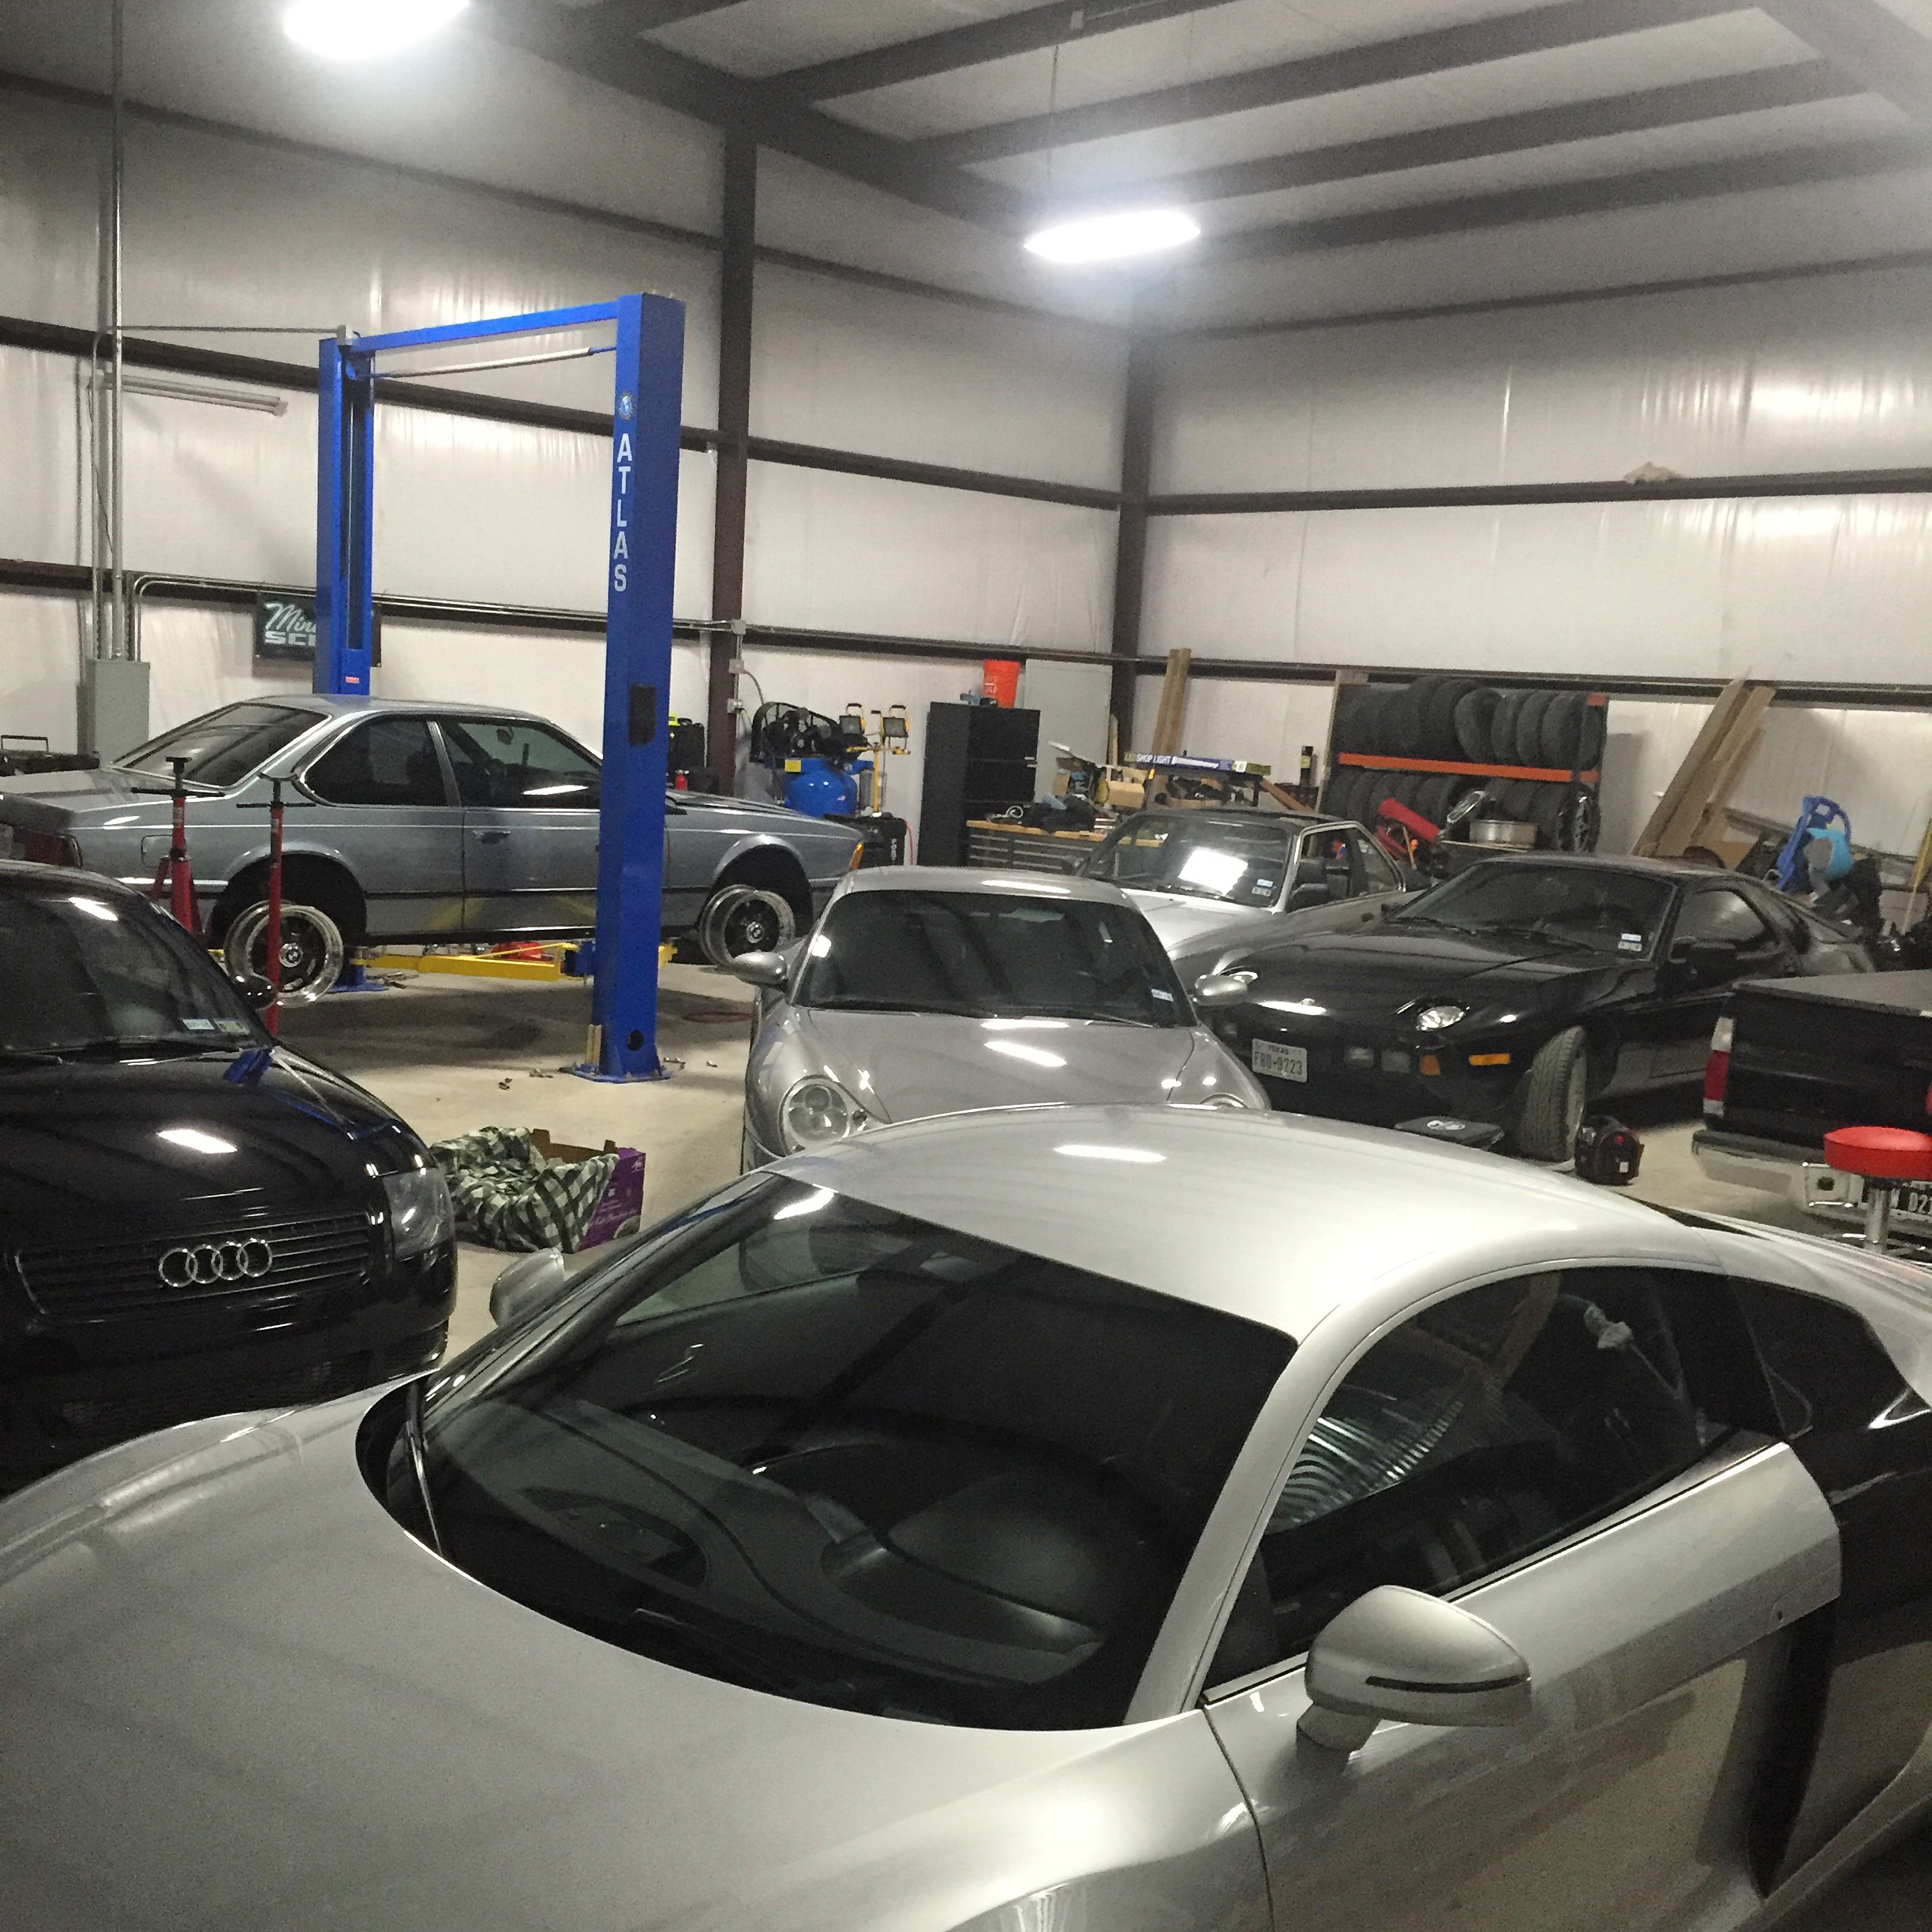
Was referring to OP. I could see you have a creeper, engine stand, and most importantly the Bee/Mosquito trapper so I know you definitely do work in your garage. LOL.
I used the snap-together tiles for mine, which eliminates any problem with your floor being uneven (although mine was fine). I installed them in 2008. I looked at all of the different brands. Ended up buying the cheap Chinese brand off ebay. I bought the slotted stuff so that snow and rain and sludge would drain away during the winter.
If I were doing it all over again:
1. Make sure you leave plenty of space for heat expansion around the edges. Then leave a little more.
2. If you have a 4-post lift, don't set the lift on top of the tiles because it makes the tiles buckle horribly when the sun hits them in the summer and they can't move around. I would leave 4 tiles out under each 4 post lift leg.
3. Not sure I'd get the drainage tiles again. The sand from the snow gets under the tile and is impossible to get out without completely removing the tiles, which is a huge PITA.
4. I can't speak as to value of the cheap stuff compared to the high-dollar stuff since I don't know how well the expensive stuff holds up. I think I paid about a buck a square foot and bought about 700 square of it for my 3 car garage. The RaceDeck was about $4 per square foot, so 400% more expensive at the time.
5. After 7 years, the flooring near the garage doors has not held up well and needs to be replaced - it was particularly susceptible to the sun making it buckle whenever I raised the garage doors on a sunny day, so it's not been "right" since day one. Had I installed it correctly (with extra space around the edges and not let the 4 post lifts set on top of the tile), it may have fared better. The stuff at the front of the garage is still in good shape and has held up well.
6. To me, the problematic part is cleaning out the crud that will accumulate underneath the tile, I think even if I had used solid versus slotted tiles. My guess is that even if I had installed it correctly, I might replace it every 7 or 8 years just so that I can clean under it. I am not convinced that, even without the 4 post lifts, you could easily dismantle and move the floor out for cleaning. I think the tabs on the tiles would get brittle with age and break off, even the high-dollar stuff. This would be much less of an issue for warm-weather areas as the main culprit is the crud in the snow attached to the car. A high-pressure power washer in the spring does help a little bit to clean up.
These are very inspiring! Having moved recently, my garage is still a blank slate. The floor was already three, though it needs a good cleaning. And there is a plumbed-in air compressor in a shed attached to the back wall.
Here are a few shots of my recent garage makeover and 996 Cab.
First I repainted the walls and had extra lighting installed. Then I had a professional tile guy come and do the floor using 12" x 24" light gray Italian porcelain tiles with a slight matte finish, (PEI is 5 with a high coefficient of friction), and sealed grout.
How long have you had the tiles? Just wondering how you like them and how they are holding up. I ma considering this for my new garage build in spring, but concerned about them being damaged by heavy items.
Everything put away for a a long winters nap... So on the island that'll be a few weeks!!!! Just moved into a much smaller house in town after 15 years in the country and am really enjoying having just a small garage with just my things after decades of kids toys, bikes and ride on mowers!! Need to install a folding workbench and tool storage, do the floor and add a wireless TV and maybe a few more Porsche pics on the walls!!
Very nice Scott. Your's has come a long way and was similiar to where I started too.
Was referring to OP. I could see you have a creeper, engine stand, and most importantly the Bee/Mosquito trapper so I know you definitely do work in your garage. LOL.
LOL. it's the only thing to work at keeping the wasps out. those recycling bins on the wall attract them like mad in the summer.
Congrats on the R8. Damn how'd you swing that one and not lose any of your other cars?
LOL thanks for the 'fix" and I did get rid of one... Our Suburban was traded in since my wife uses the Beetle I bought her and lets the burb just sit and collect dust. My Cayenne TT takes care of the "SUV" needs we have.
Not a makeover but a neat project if you want a lift yet cannot fit in a 4 or 2 post due to height restrictions:
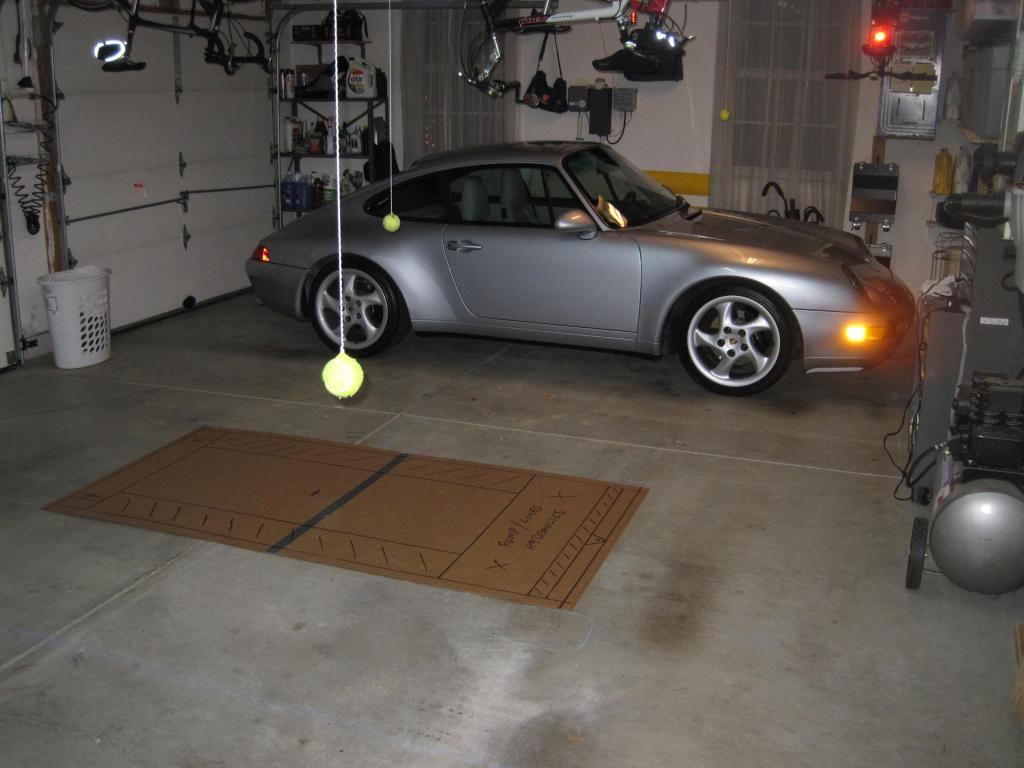
Ever thought about possibly buying a lift to help out with maintenance? Well, I had been wanting one for years but could not get a 2 or 4 post in my garage (looked into busting / popping the ceiling out, wasn't happening due to layout) so I compromised and decided upon a scissor lift. Not the best for many DIY jobs but my fun cars are Porsches (rear / mid-engine) so access to critical areas is fine. Here goes:
Laying it out and measuring where to place the hole
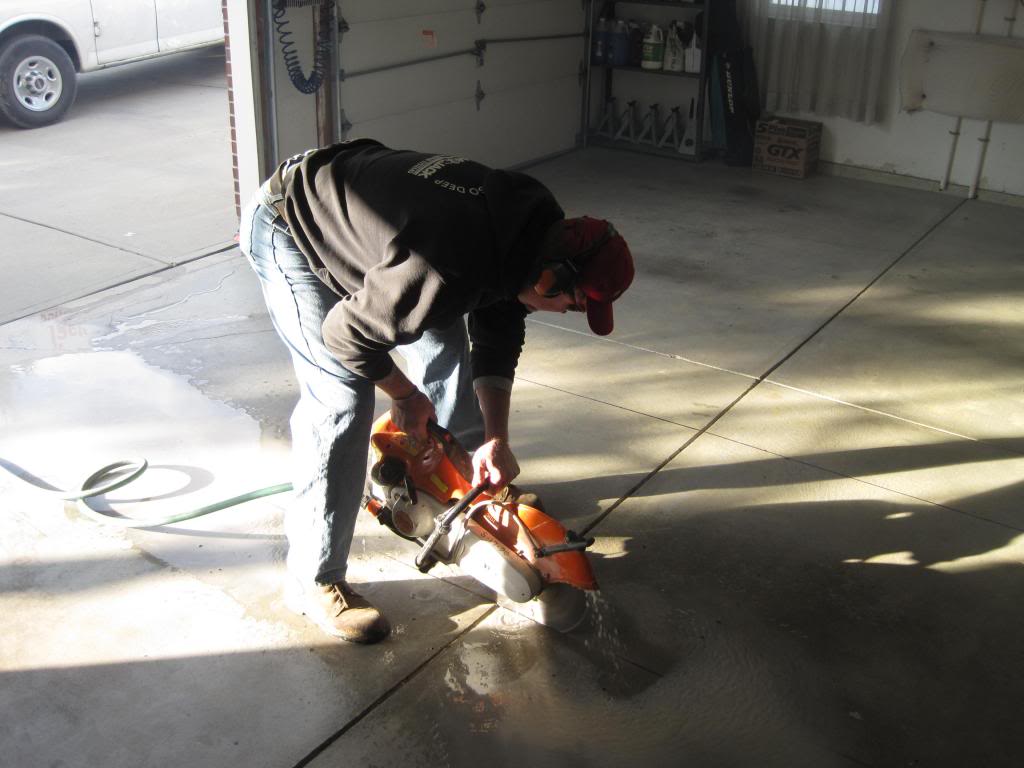
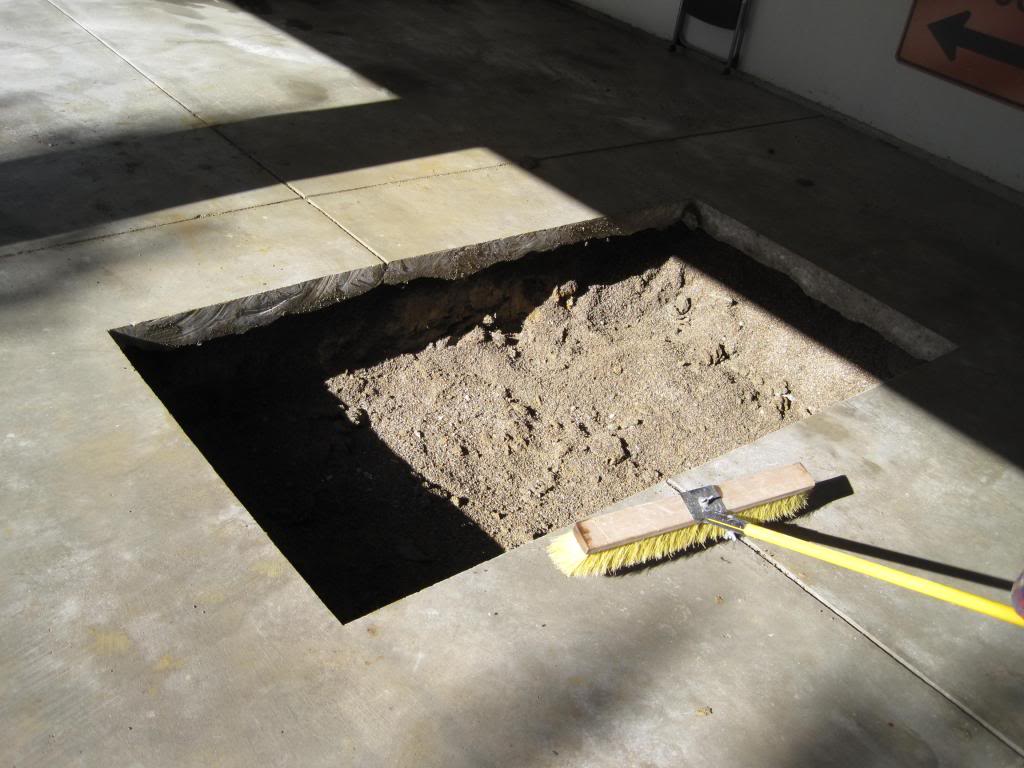
Cutting the hole
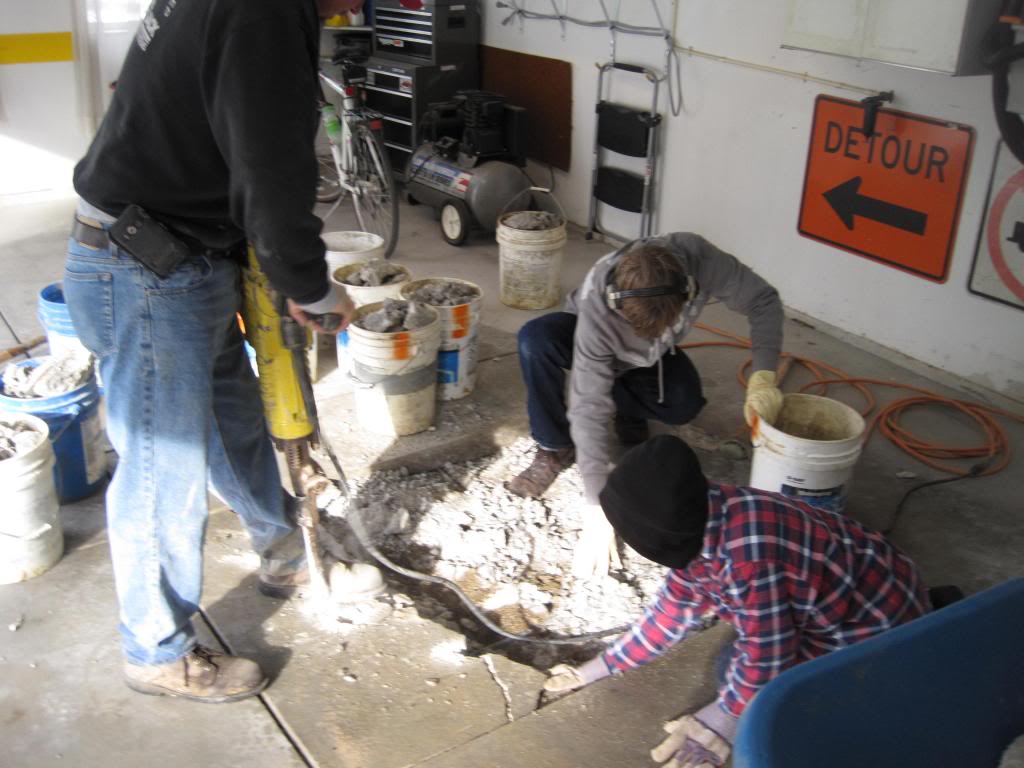
Jack Hammering out the old concrete
Digging down to accommodate pad and desired depth
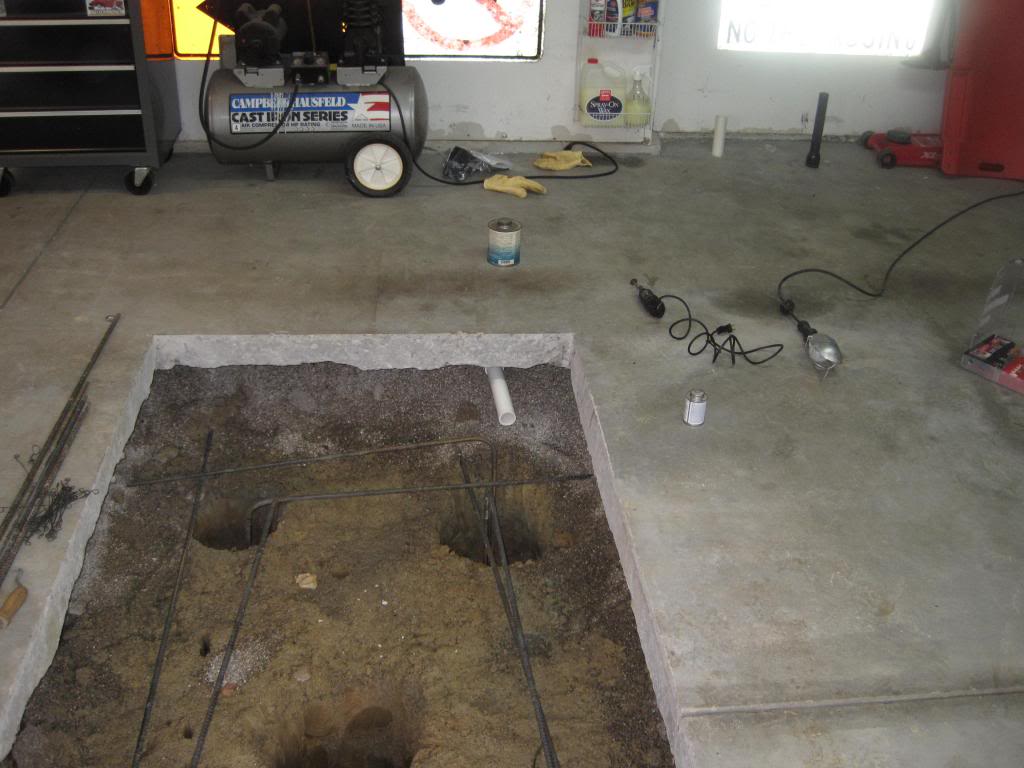
Digging 5 piers 12" by 36" and running / drilling floor for PVC to hold hydraulic lines
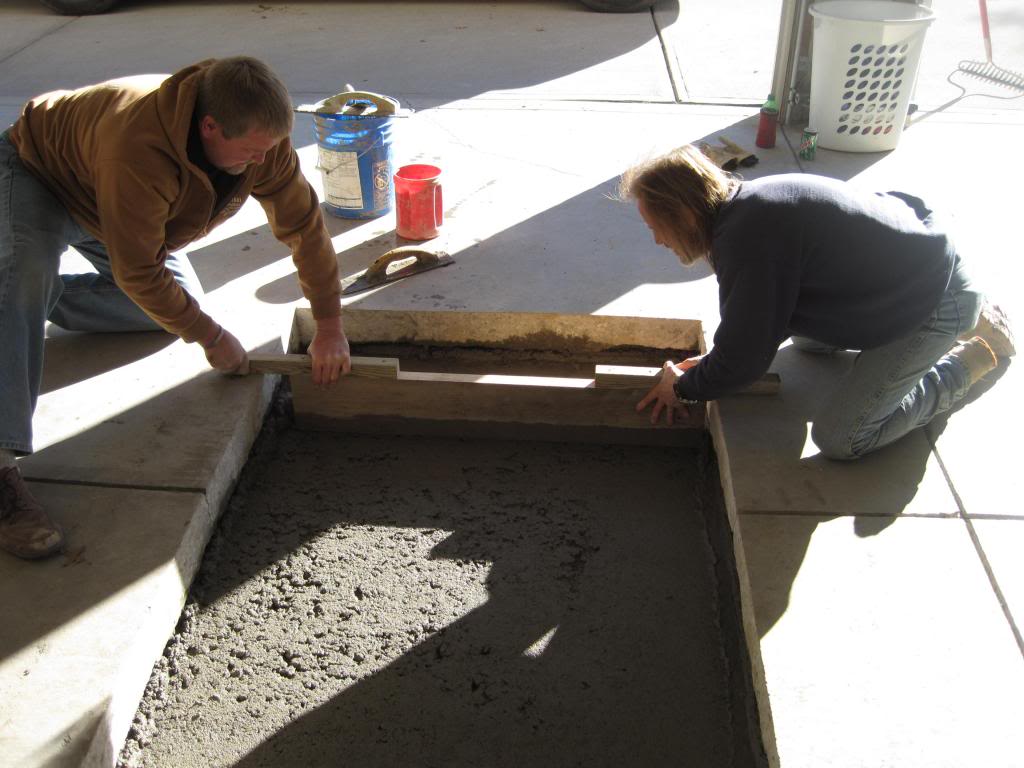
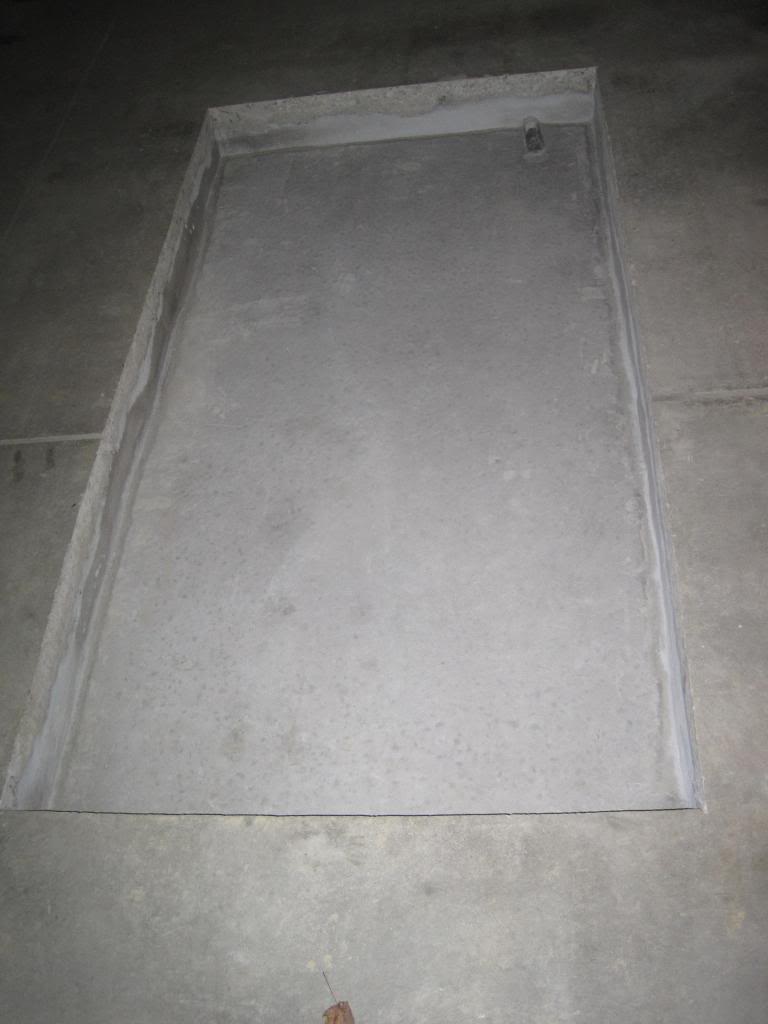
Pouring / screeding concrete for appropriate depth
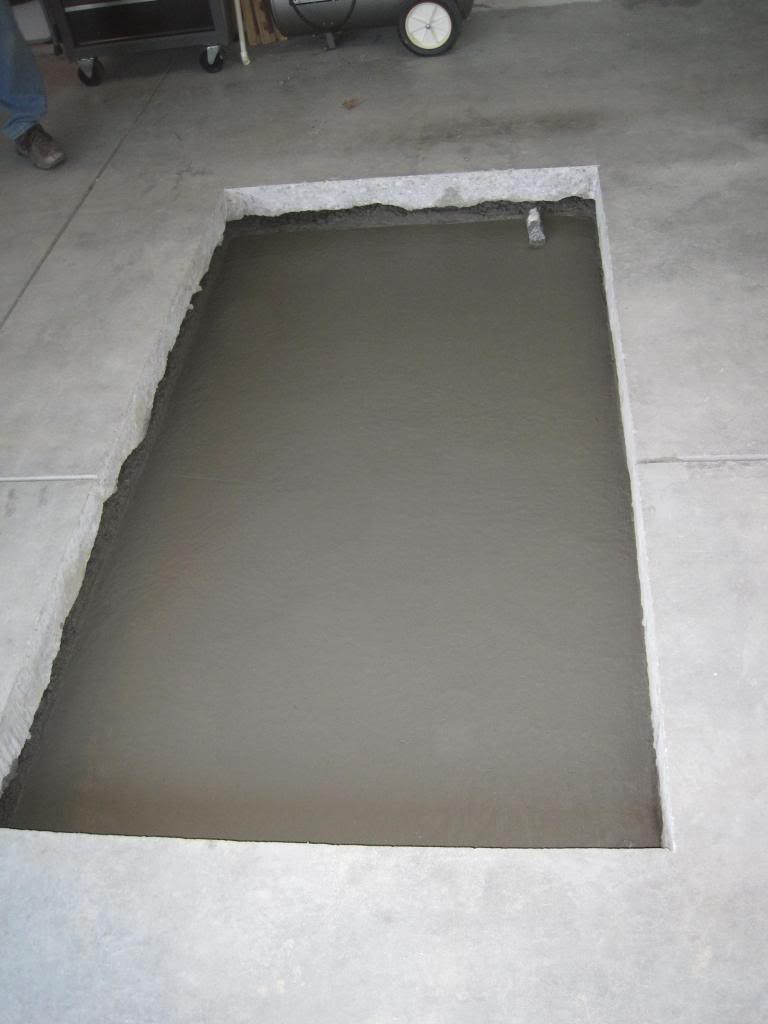
Freshly poured concrete
Finished out the upright sides
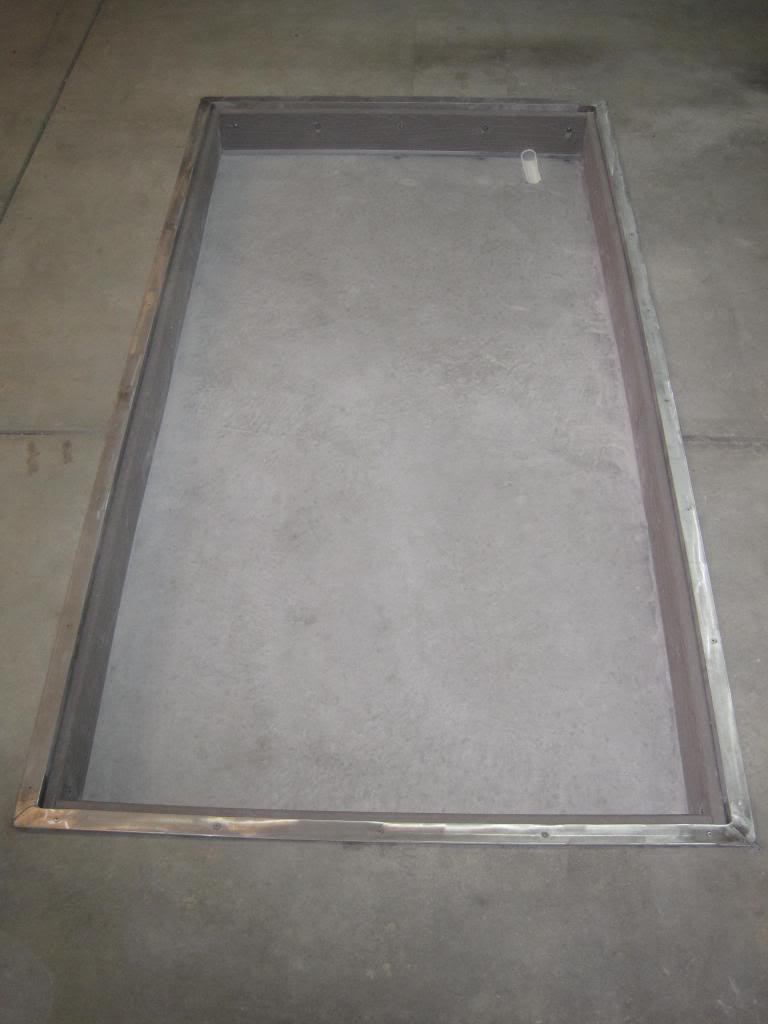
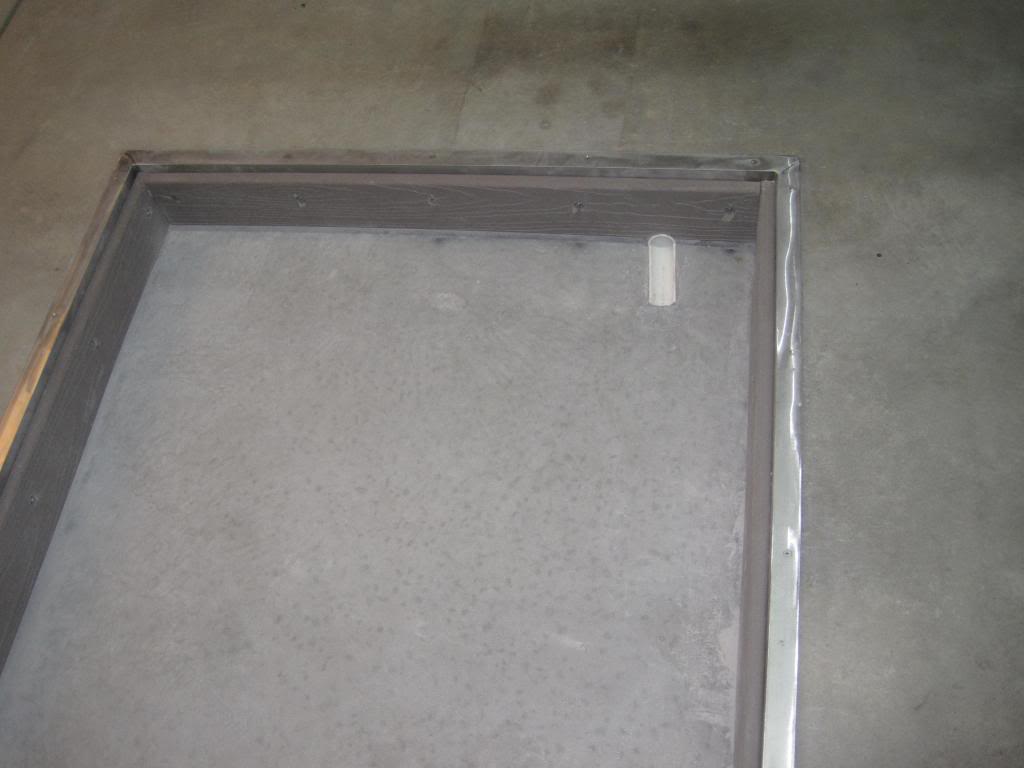
Cut, drilled, beveled, anchored and welded stainless angle that covers the concrete edge, then grounded screw heads flush and went over the whole thing with 60 grit flap wheel, cut and anchored in the composite material that the plywood will rest upon to cover the lift when not in use, also trimmed out the PVC pipes that are drains and under-the-floor passages for the hydraulic lines
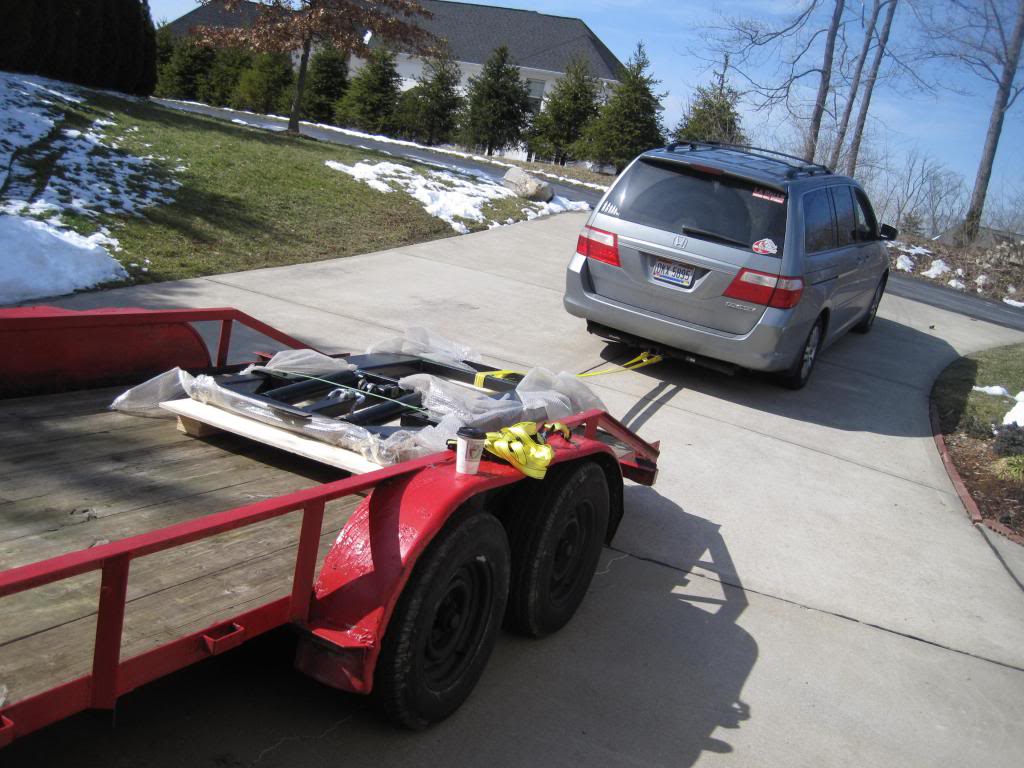
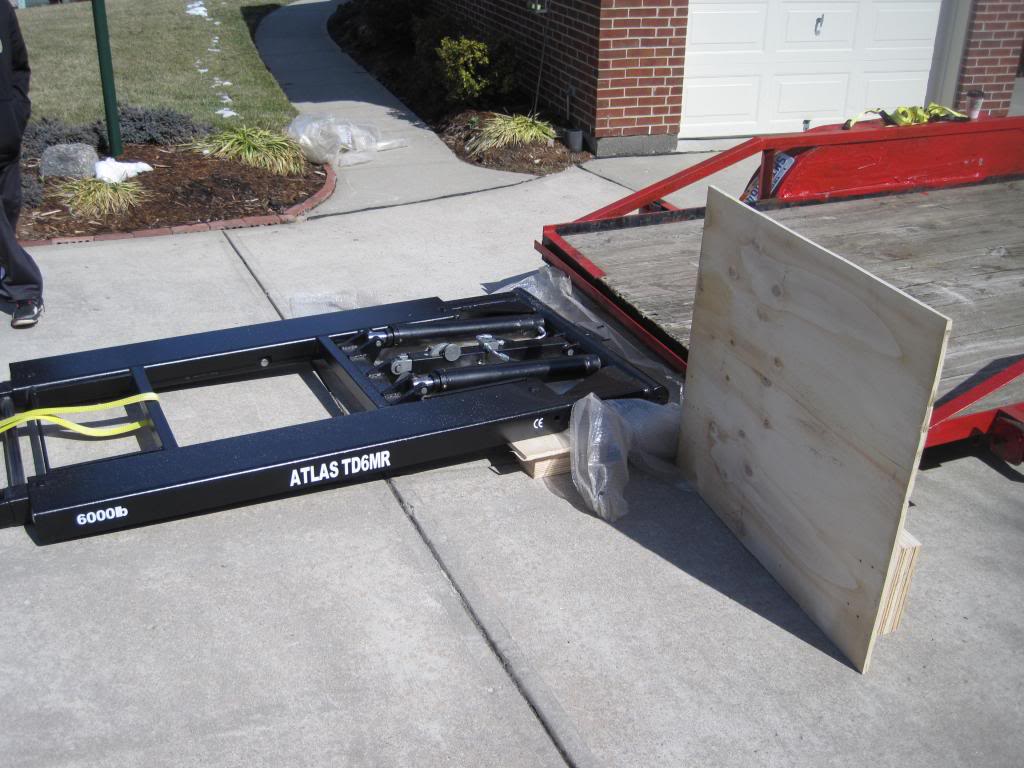
Brought home the lift, sucker is definitely heavy:
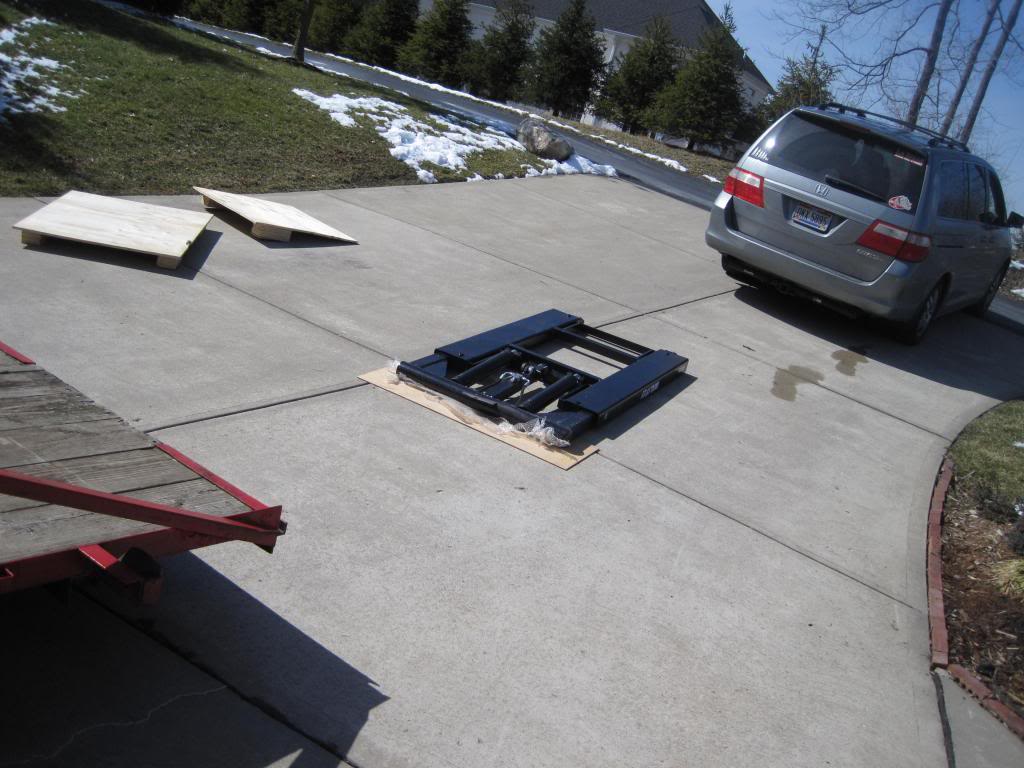
Drug it gently off the trailer with the wife's van:
Got the pivot base's wheels on the ground, cut the shipping pallet in half and placed it under the trailer on the driveway for a softer landing:
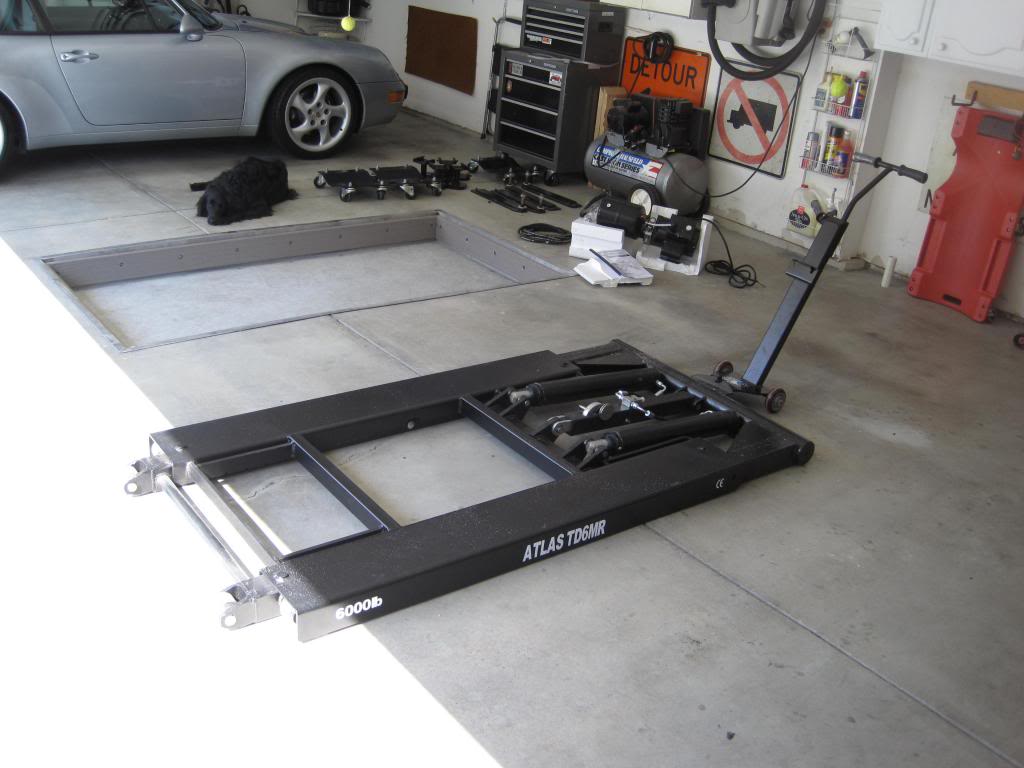
Then I pulled it off of the pallet onto an 1/8" thick plywood piece so I could get the transport dolly into the tongue and move it into the garage:
There it sits, got 3 sizable buddies coming over to help get it into the recess and plumb the lines:
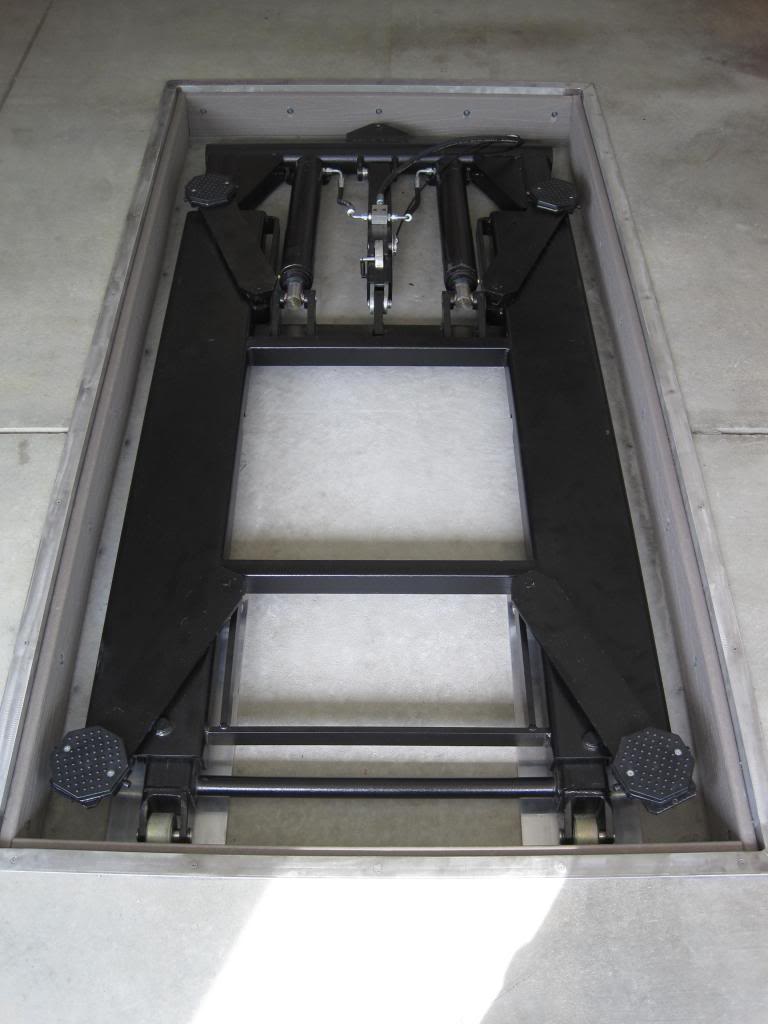
Have a little tweaking to do on safety release cable, otherwise it fits and works like a charm:
Somewhat of an FAQ for the project. What I did and worked well for me:
-Hole Size: 89 1/2" Length by 46 5/8" Wide (Remember that I used 1/8" thick angle stainless steel and 5/8" composite decking to trim out hole)
-Depth of Hole after digging it out: Minimum of 14"
-Expanded the Hole 12" to 18" under Existing Floor for Additional Support
-Thickness of Poured Concrete: Minimum of 7"
-5 Piers dug 12" in Diameter, Minimum of 36" Deep, tied together with rebar
-Depth of Finished Recess: 7" from Garage Floor to Recessed Floor
-Hydraulic Cement was used to Finish out the Hole Sides / Uprights
-I waited 30 days for all Concrete to Cure before Drilling / Anchoring Composite Sides
-Size of Aluminum Plates: 8" x 24" x 1/4" Sourced from Ebay
-PVC Pipe used to run lines through is 1 1/2", Coring Bit used to Drill Floor was 2"
-I did place a piece of 1 1/2" PVC Pipe into Concrete on Front Corner of Recess to act as a Drain just in case
-If you pursue my custom made release lever or find you need a longer cable (Bicycle brake cable), I had no luck sourcing one so I made my own: http://www.bikeforums.net/bicycle-me...l#post15421846
Lastly, When figuring out where to cut your hole, remember that you don't want to simply center it up since the lifting table is offset on the actual lift. If you go to the first page and look at the piece of corrugated I used please notice where I drew everything, the hydraulics are at one end and the lifting table is 20" offset to the other end. Contrary to what many would think, the table does not shift or move to the center of the hole or lift when raised, it pretty much remains in the same vertical plane when rising.
 11-18-2015, 11:40 AM