When you click on links to various merchants on this site and make a purchase, this can result in this site earning a commission. Affiliate programs and affiliations include, but are not limited to, the eBay Partner Network.
Amargari who are you using to do your work I�m trying to get some advice for the future
Mike
Mike,
I'll send you a PM with the information. The guy I'm using generally does work directly with shops. I was referred to him from a friend's shop. He had some really cool turbo engines in the shop he was working on.
I didn't add flex agent. For the most part modern urethane paint doesn't need a flex agent. The seats backs aren't that flexible that it would be an issue as well.
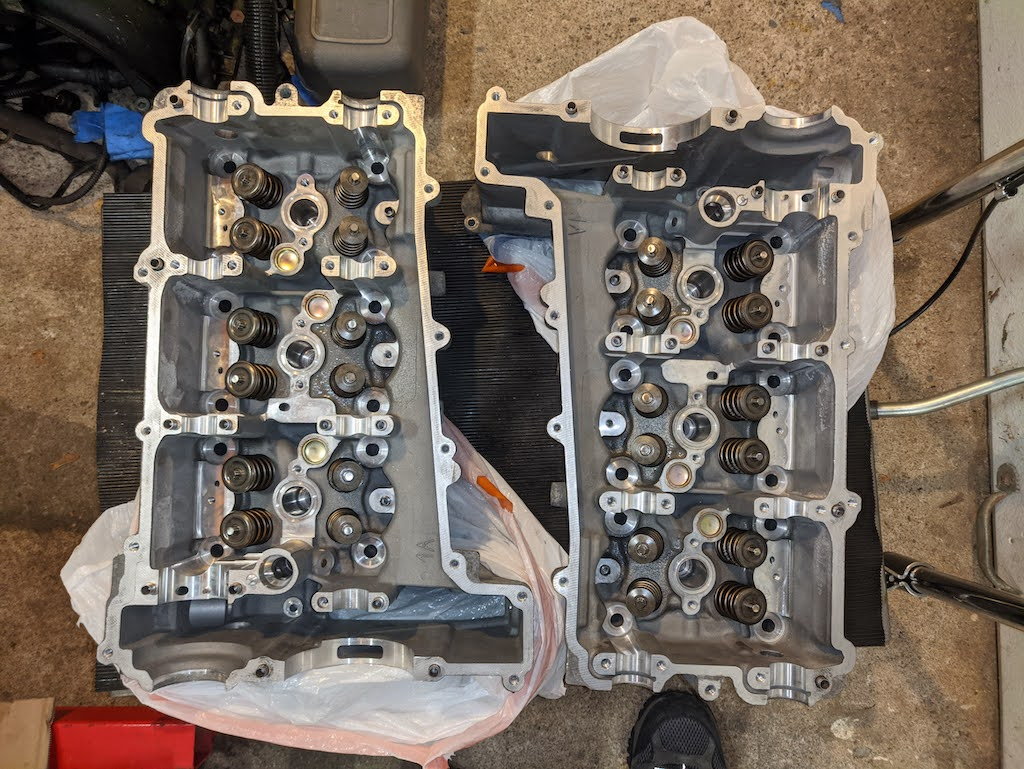
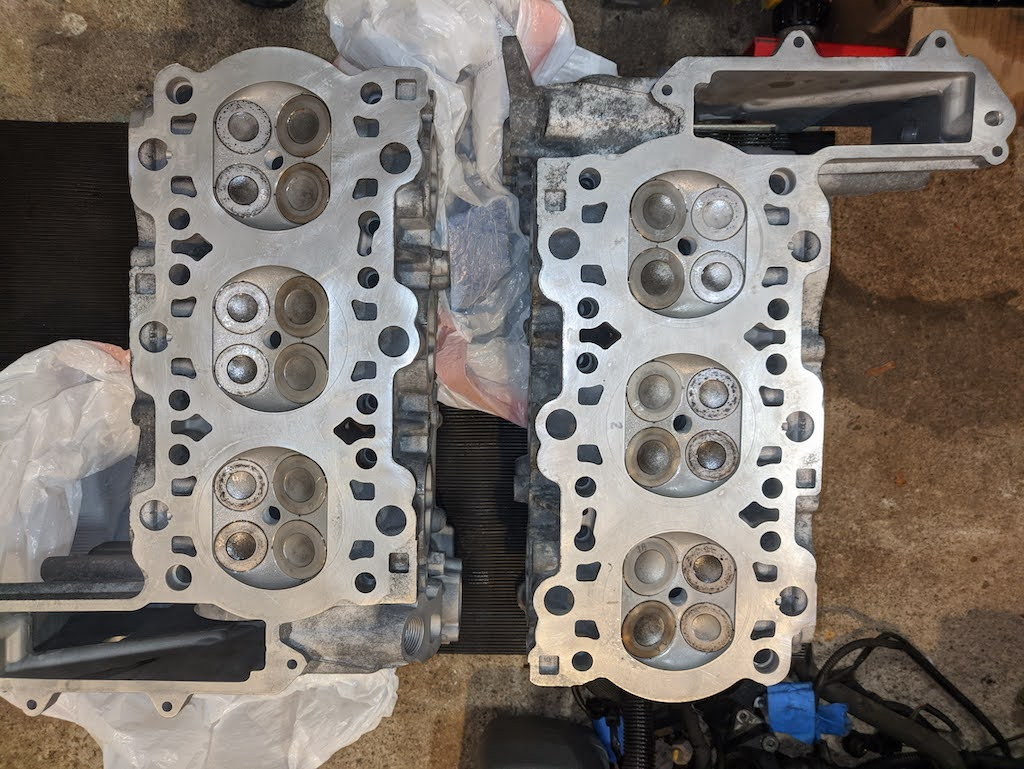
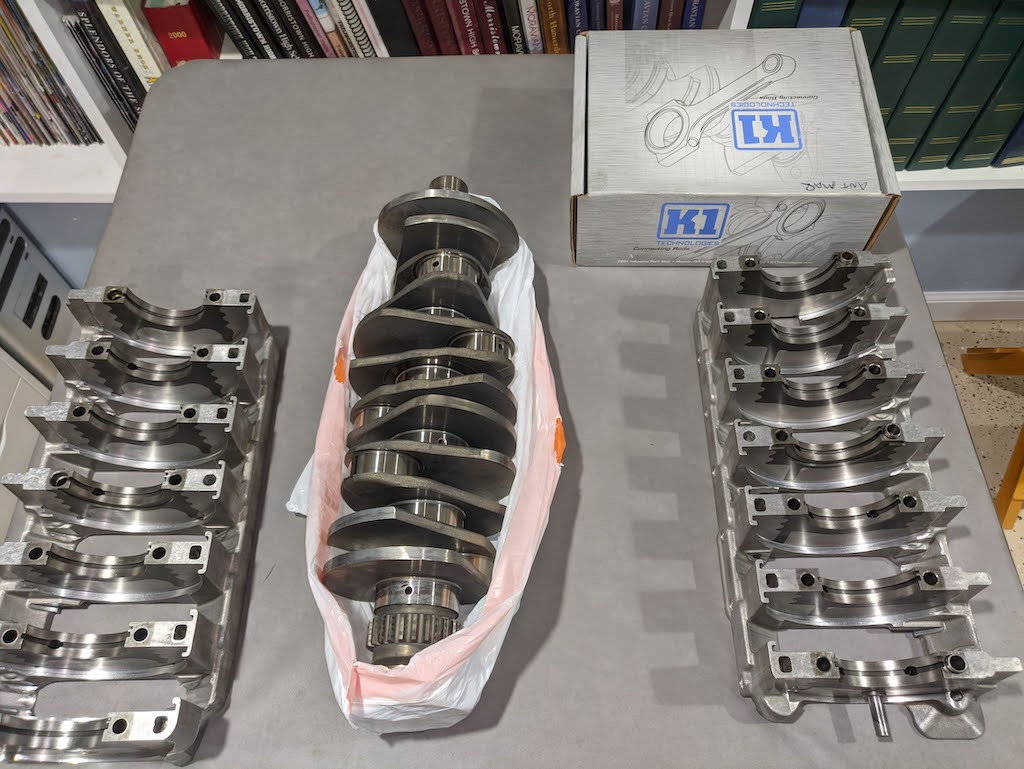
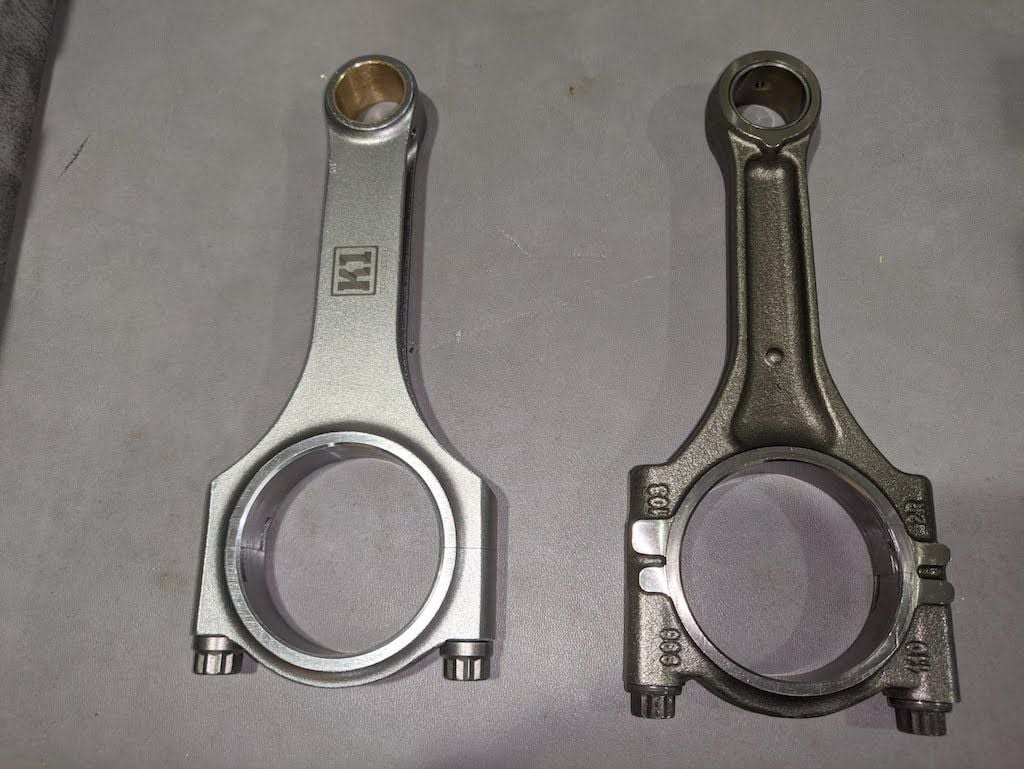
Picked up the parts from my machinist today. He rebuilt the heads and checked the clearances for me for my crank and new K1 rods. Everything checked out and is within spec.
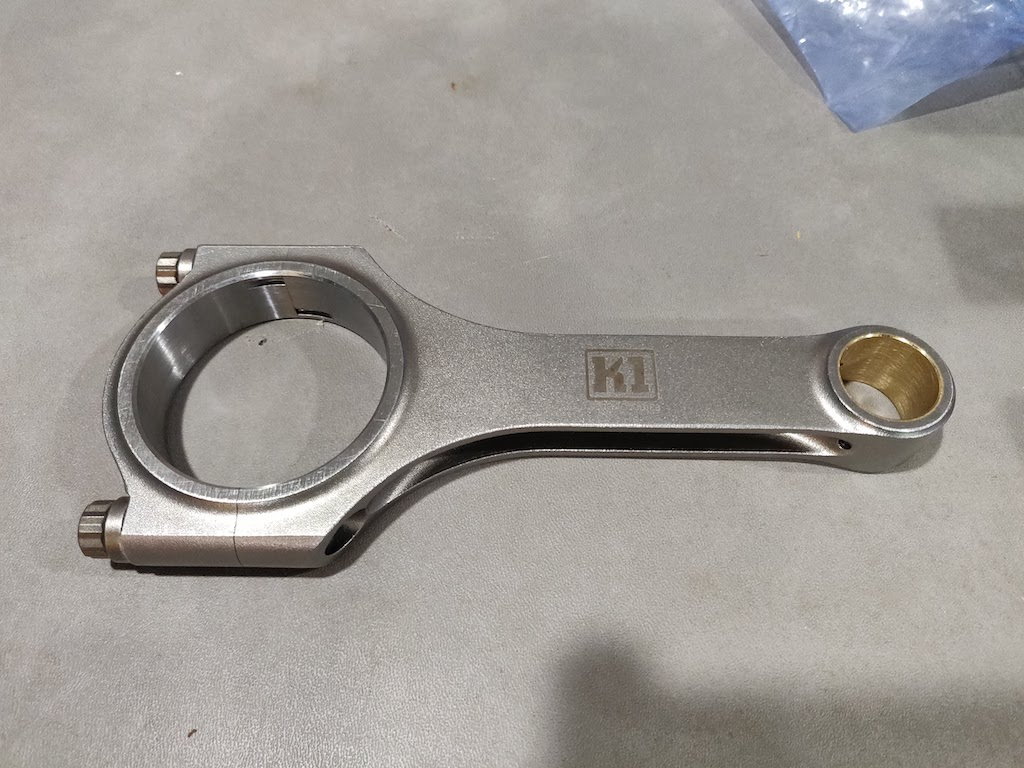
This was the first time I saw the K1 rods and they seem like good quality rods for the money. Definitely better than the stock rods and come with ARP bolts. Overall, they are about 60 grams lighter than the stock rods and are all within a gram of each other. 5 of the rods are 546g and 1 is 545g. By comparison, the stock rods are 606g to 607g.
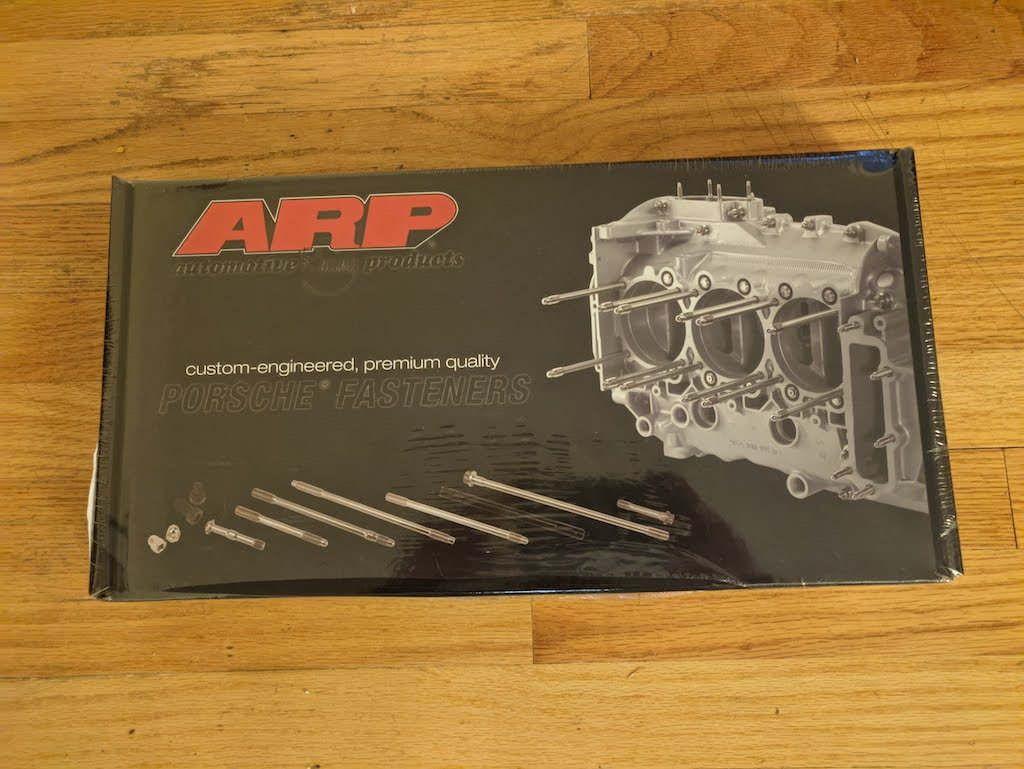
Another update is the ARP Carrier Through Bolt kit is back-ordered to January 21st and no one in North America had any left in stock which left me with a decision. 1) Pay almost double to get them from England. 2) Use factory Bolts. 3) Essentially wait until February to start my build. In summary, I went with option 1. Double was $120 and in the grand scheme of my build, that wasn't a significant increase in the build cost and I have been able to get deals on other parts to keep my overall cost down. You can read the details about my decision here (https://rennlist.com/forums/996-foru...-bolt-kit.html).
I am expecting the block should be back by the end of November and should have the ARP Carrier Through Bolts by then as well and can start putting it back together. I have all the other parts I need except for a few bolts that I am replacing due to rust.
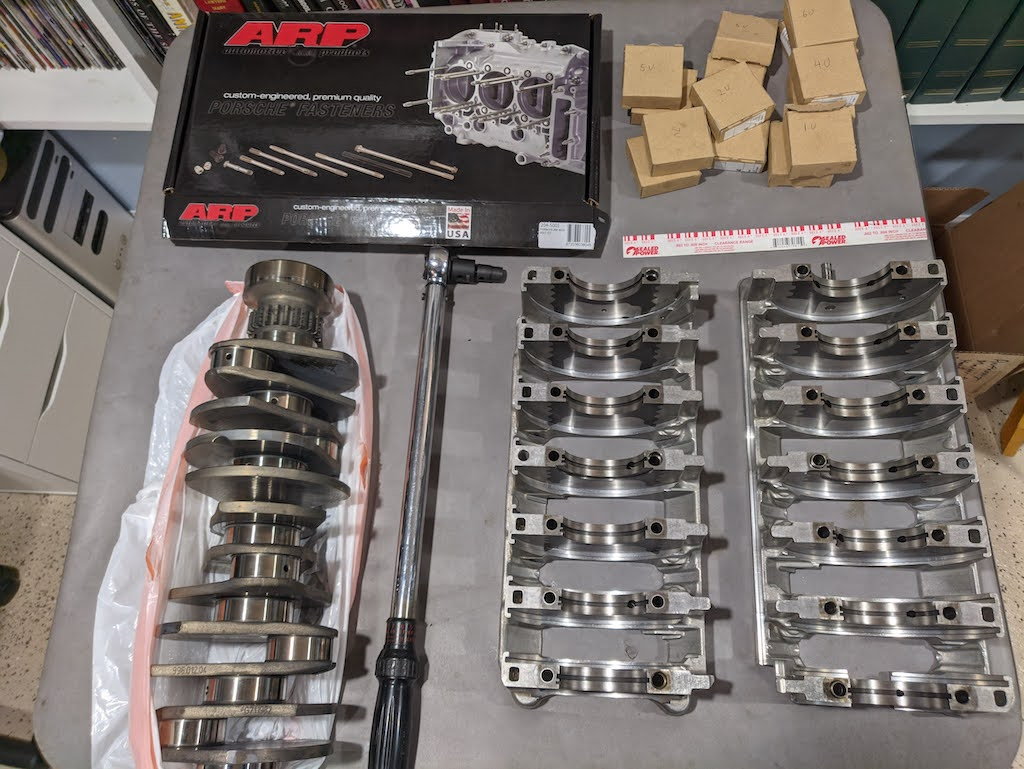
Here are some pictures of the parts I picked up today.
I get to start putting it back together. I don't have the block back, but I did get the carrier through bolts on Sunday. The ARP bolts arrived from England in 5 days, which is quicker than some items I order in the US. Oddly enough, the ARP bolts don't seem as thick as the factory botls, but are high quality.
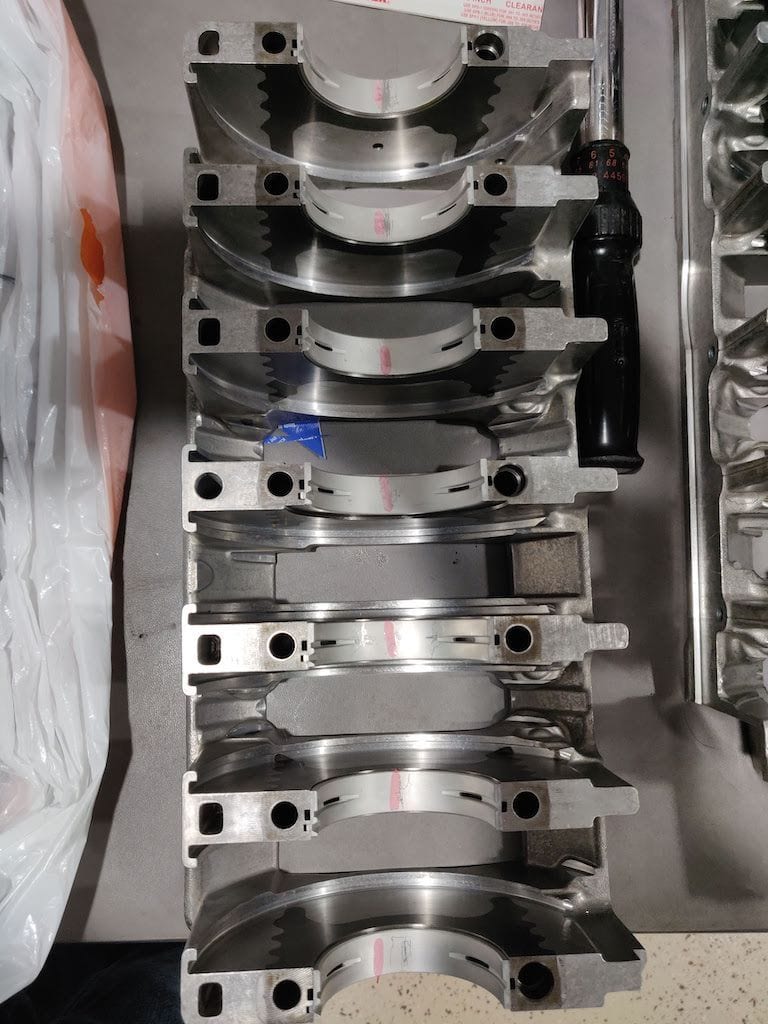
Today, I decided to verify the main clearances with Plastigauge. I used the Plastigauge to verify that the work from the machine shop was in the ballpark. All the main clearances were between .002 and .003 which is where they should be.
The next steps will be to clean everything one final time. Install the piston squirters. Install the bearings and crankshaft, Then torque the bearing carrier case together.
17789471]I get to start putting it back together. I don't have the block back, but I did get the carrier through bolts on Sunday. The ARP bolts arrived from England in 5 days, which is quicker than some items I order in the US. Oddly enough, the ARP bolts don't seem as thick as the factory botls, but are high quality.
Today, I decided to verify the main clearances with Plastigauge. I used the Plastigauge to verify that the work from the machine shop was in the ballpark. All the main clearances were between .002 and .003 which is where they should be.
The next steps will be to clean everything one final time. Install the piston squirters. Install the bearings and crankshaft, Then torque the bearing carrier case together.
Do you have a micrometer in addition to the Plaustigauge? I�ve heard Plastigauge is not the best to check for tolerances.
Last edited by Mike Murphy; 11-18-2021 at 07:56 AM.
Donyou have a micrometer in addition to the Plaustigauge? I�ve heard Plastigauge is not the best to check for tolerances.
I have the micrometer and bore gauges and have tried them, but I'm not great at using them or they are too cheap to be consistently accurate. That's why I had my machinist check them for me. I just used the Plastigauge to verify that everything is still in the ballpark.
Springs were verified and the guides were either checked or were replaced. I don't remember.
Usually the invoice states what was done. If the guides are the same and the springs are all the same then all this work could have been easily done by you at home. Just need a spring compressor and a vacumme hose with a drill, nothing more. I did this myself on my engine.
 11-01-2021, 07:21 PM