When you click on links to various merchants on this site and make a purchase, this can result in this site earning a commission. Affiliate programs and affiliations include, but are not limited to, the eBay Partner Network.
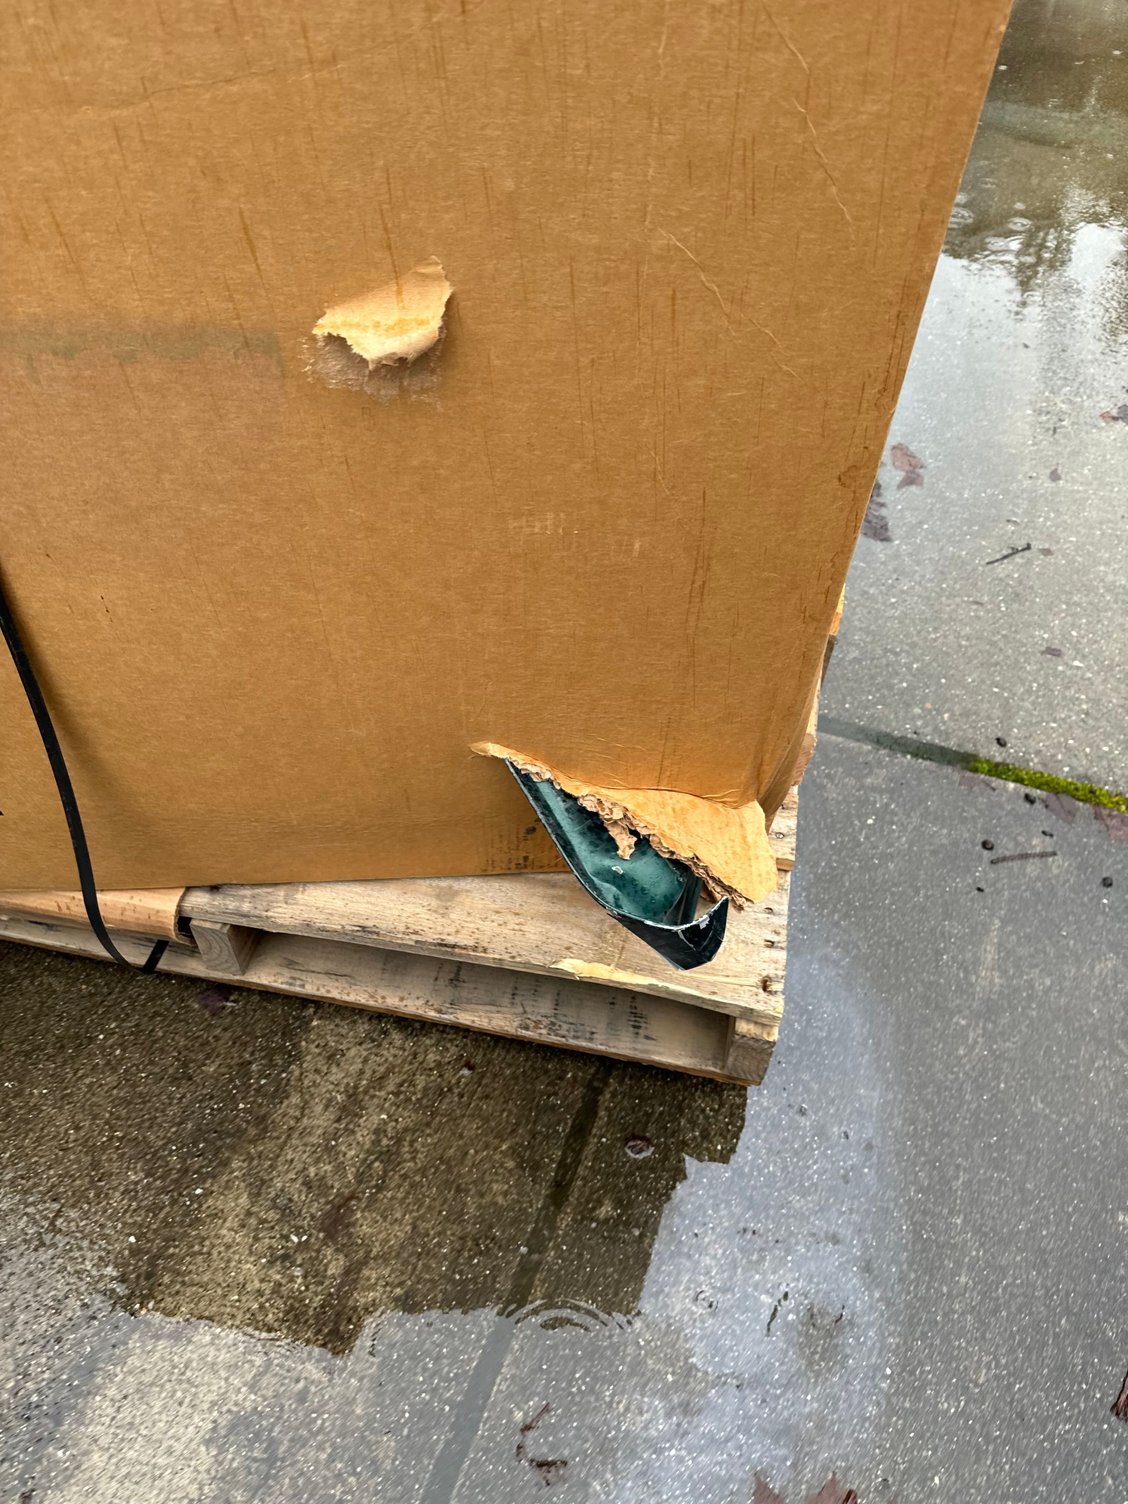
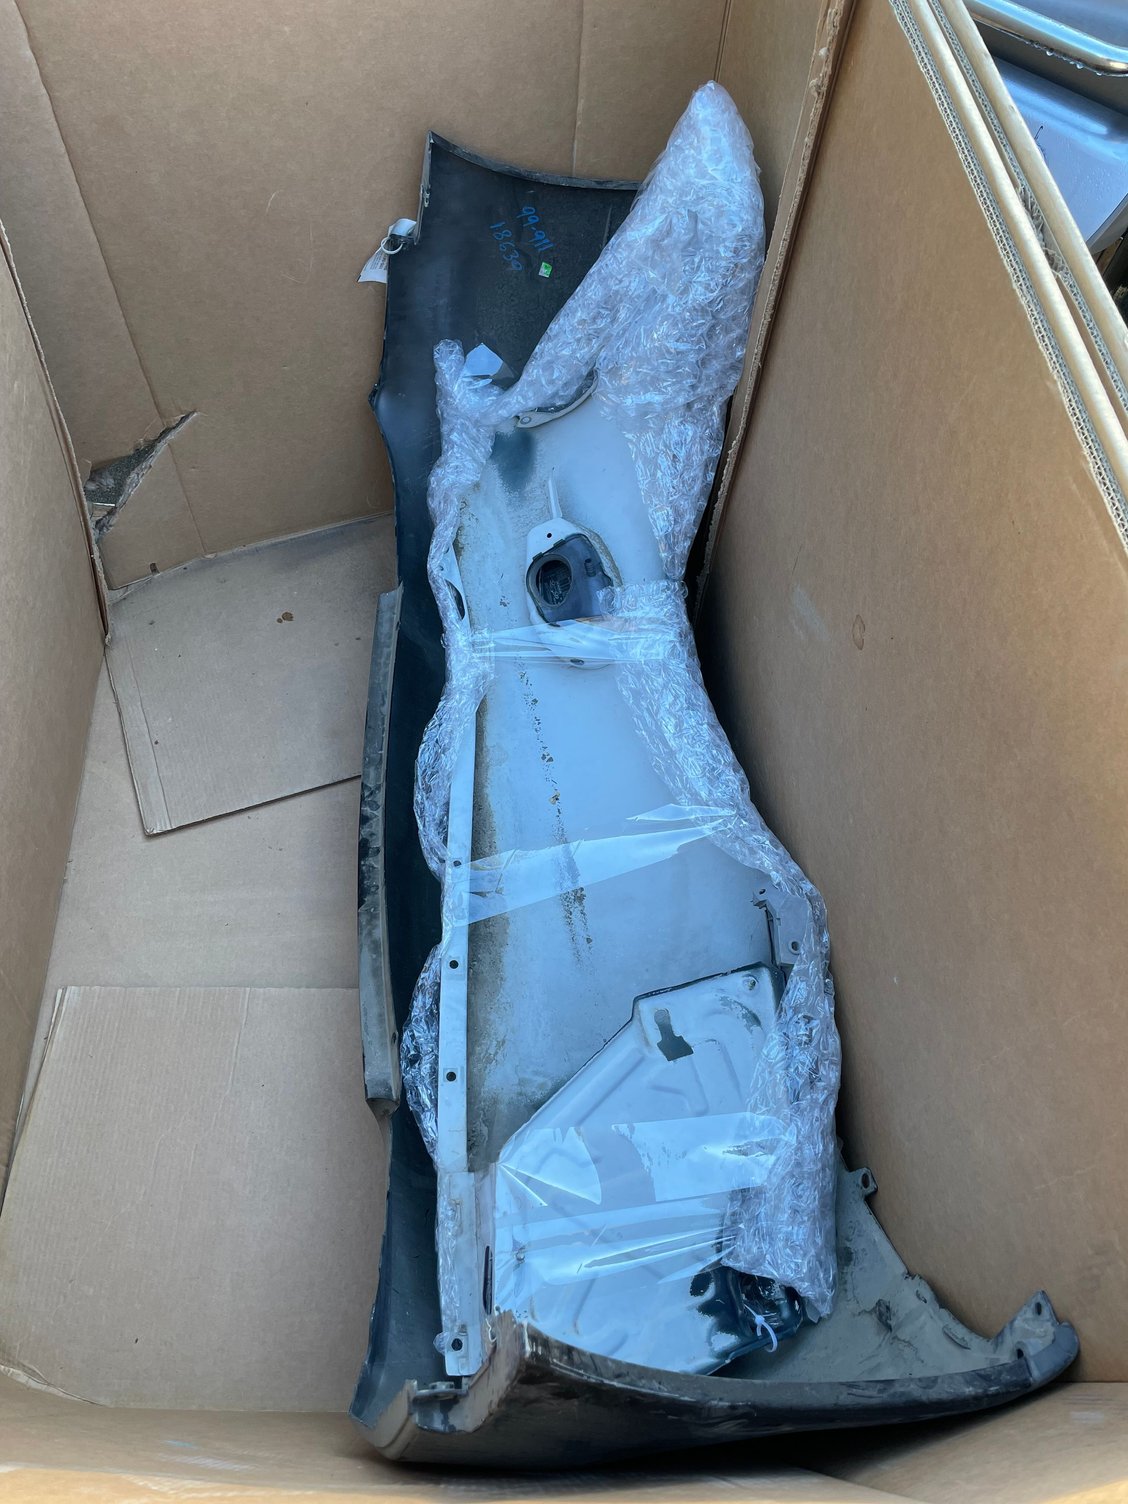
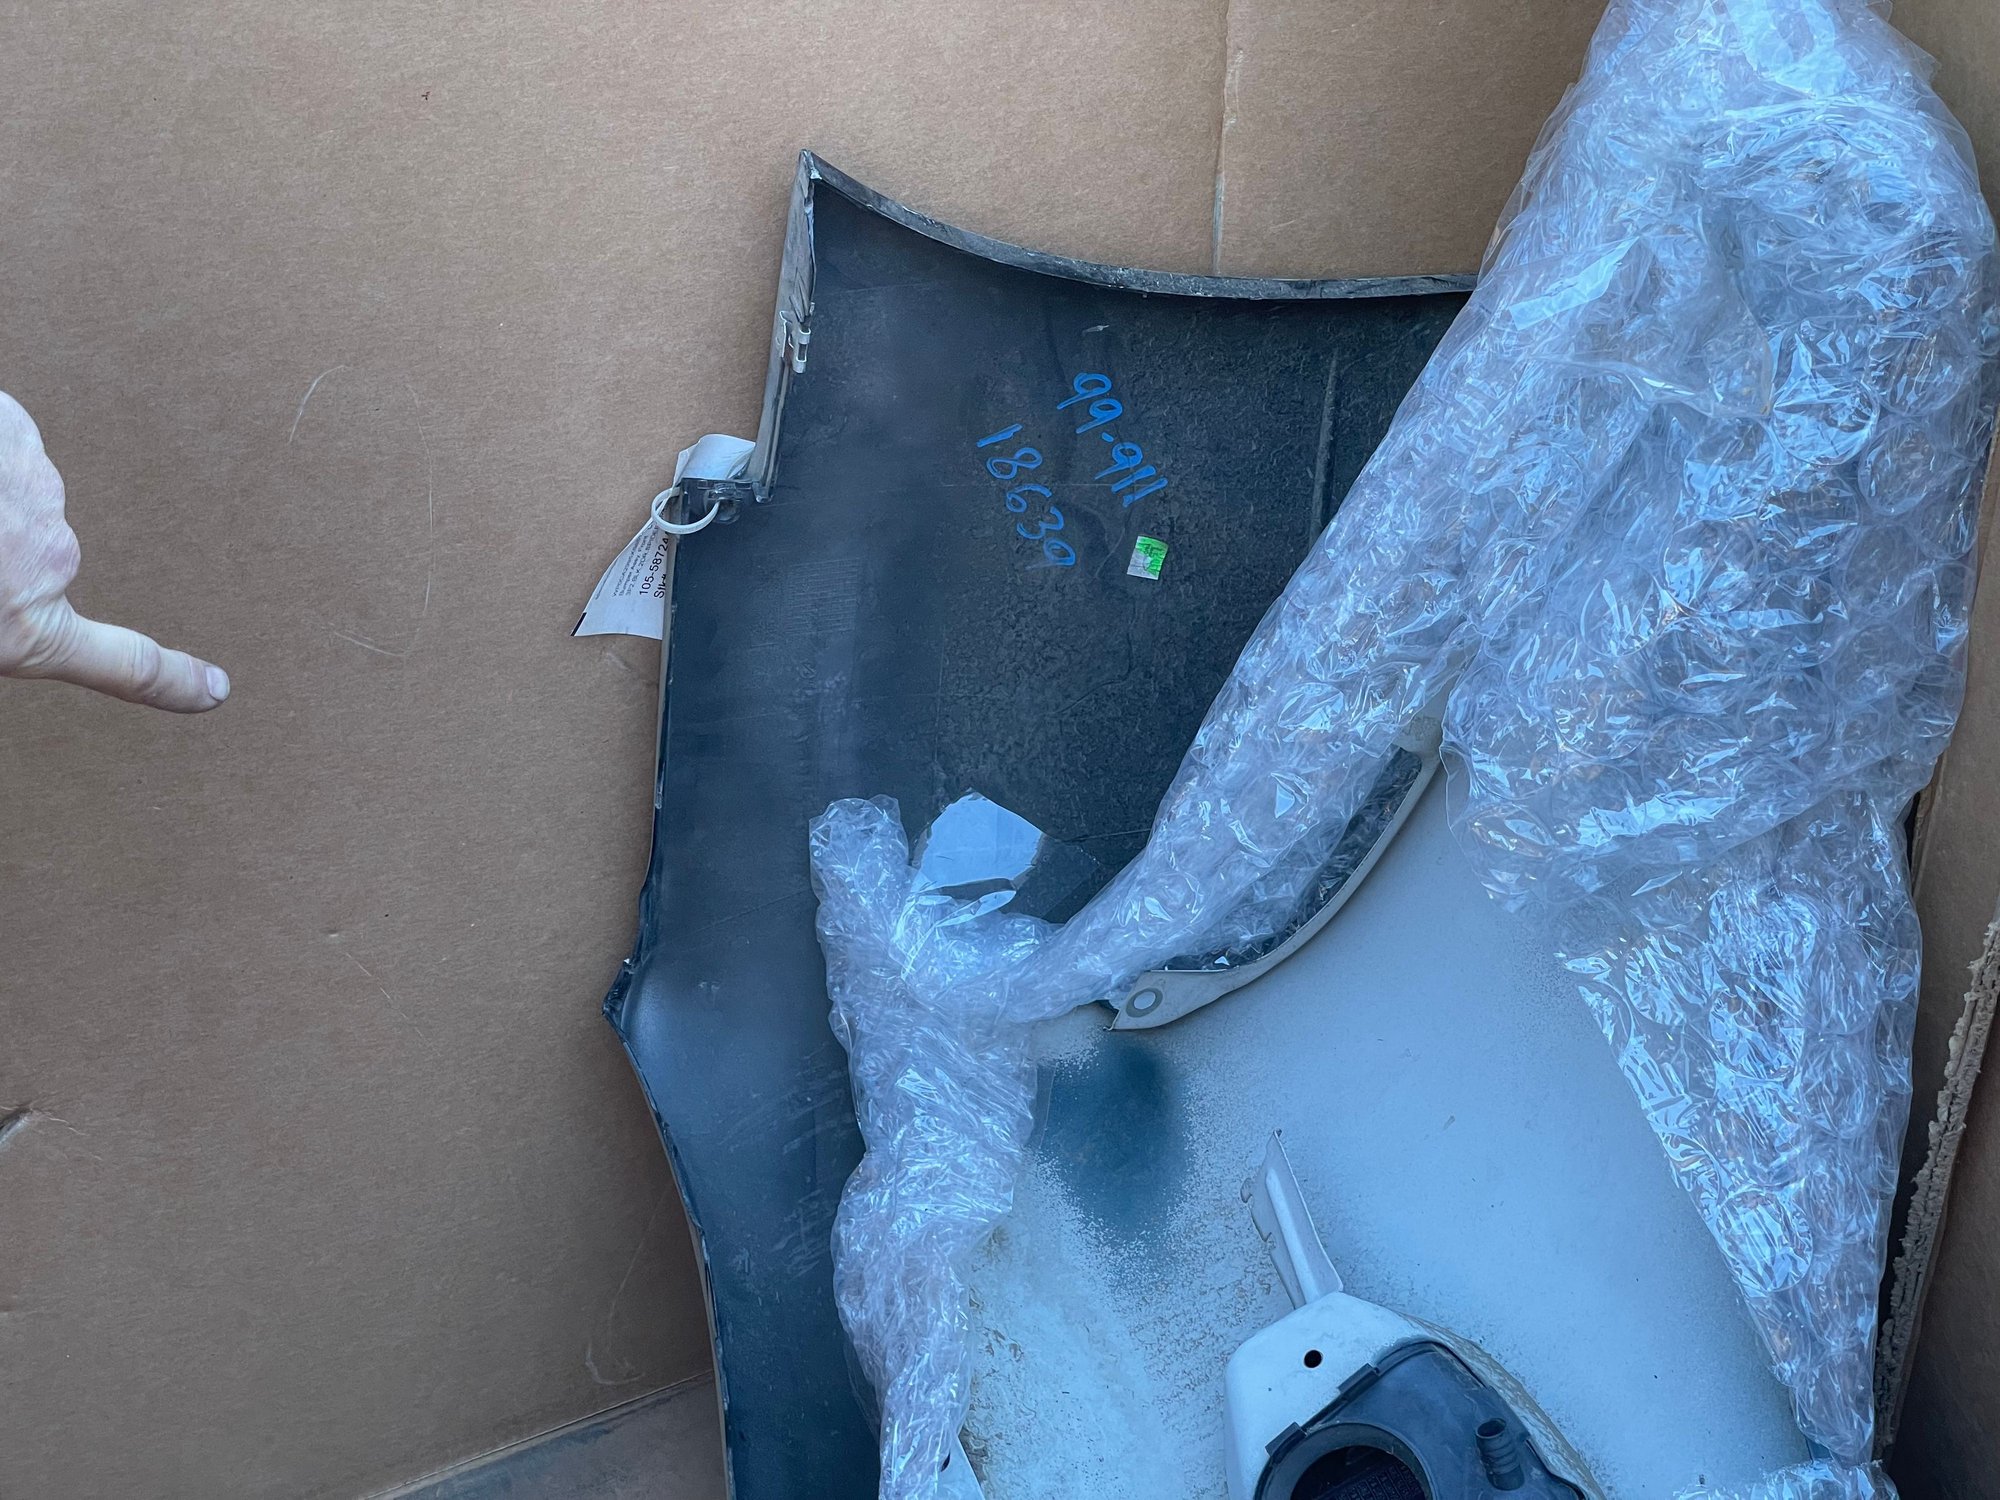
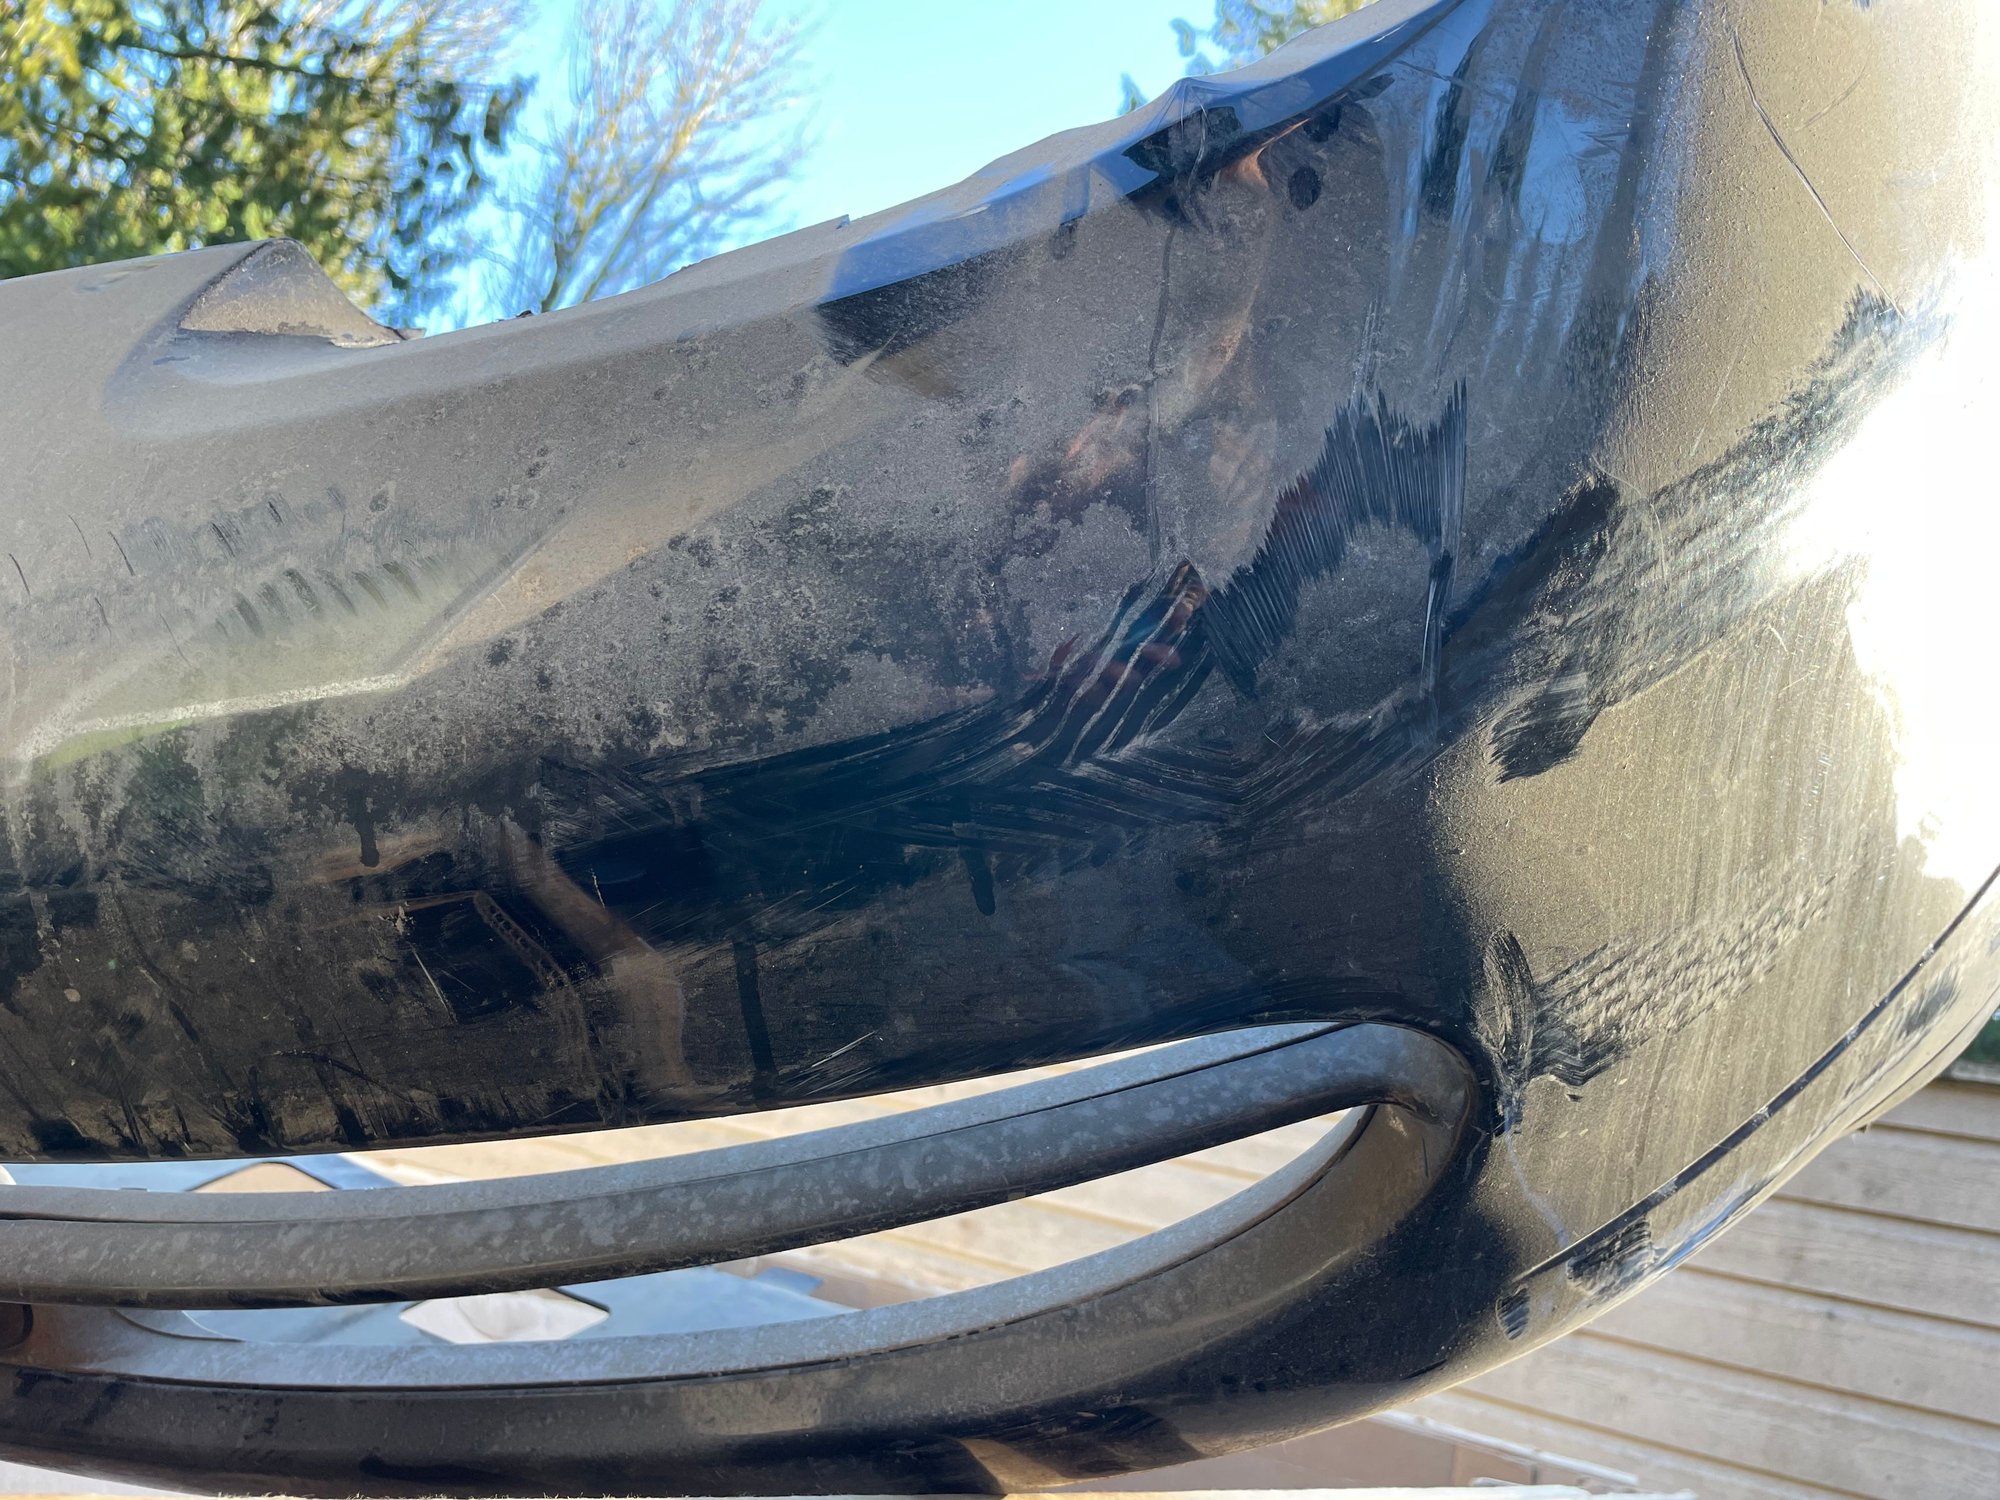
The new hood, fender, and front bumper arrived from Specialized German Recycling in CA and�.they�re trashed. Not only did it take an extra week to deliver them, SGR didn�t pack the box on the pallet very well. The bumper was just shoved in the box, creased on the two sides, and the fender placed on the inside of the bumper. The fender poked a few holes in the bumper and punctured a few spots. The bumper was a nice piece and it�s basically garbage now. The fender isn�t the right color and the clear coat is peeling. I was specific when I asked about condition and this is not the condition I was told these parts were in.
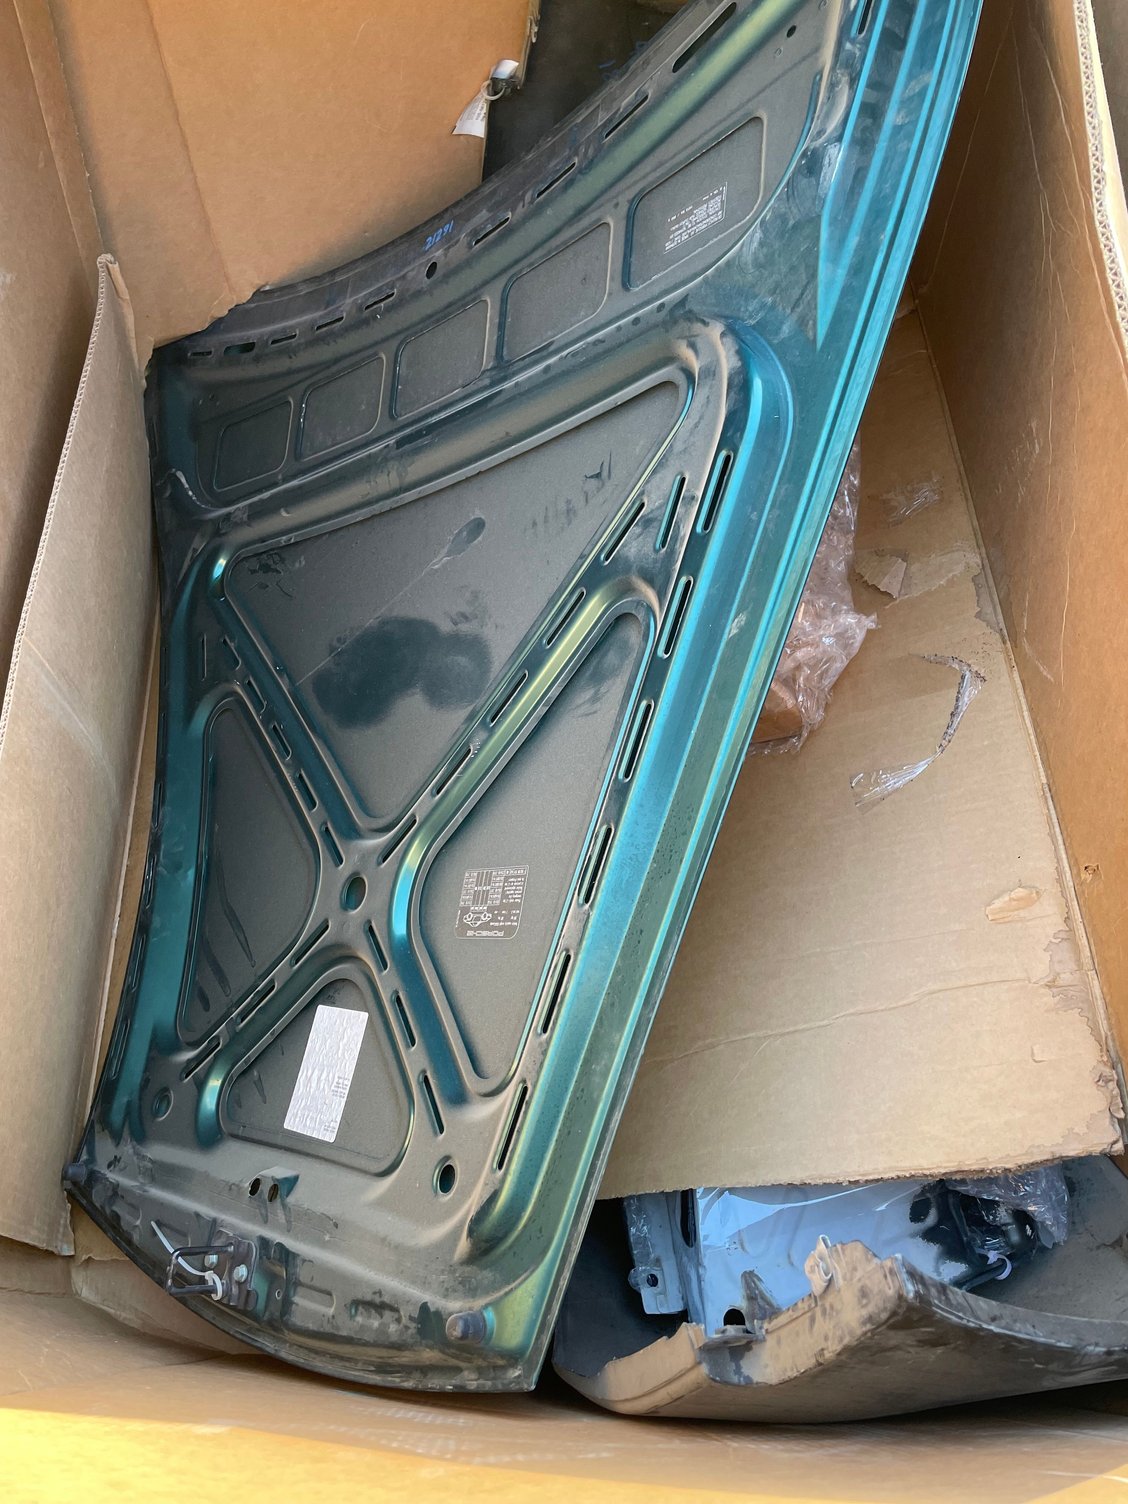
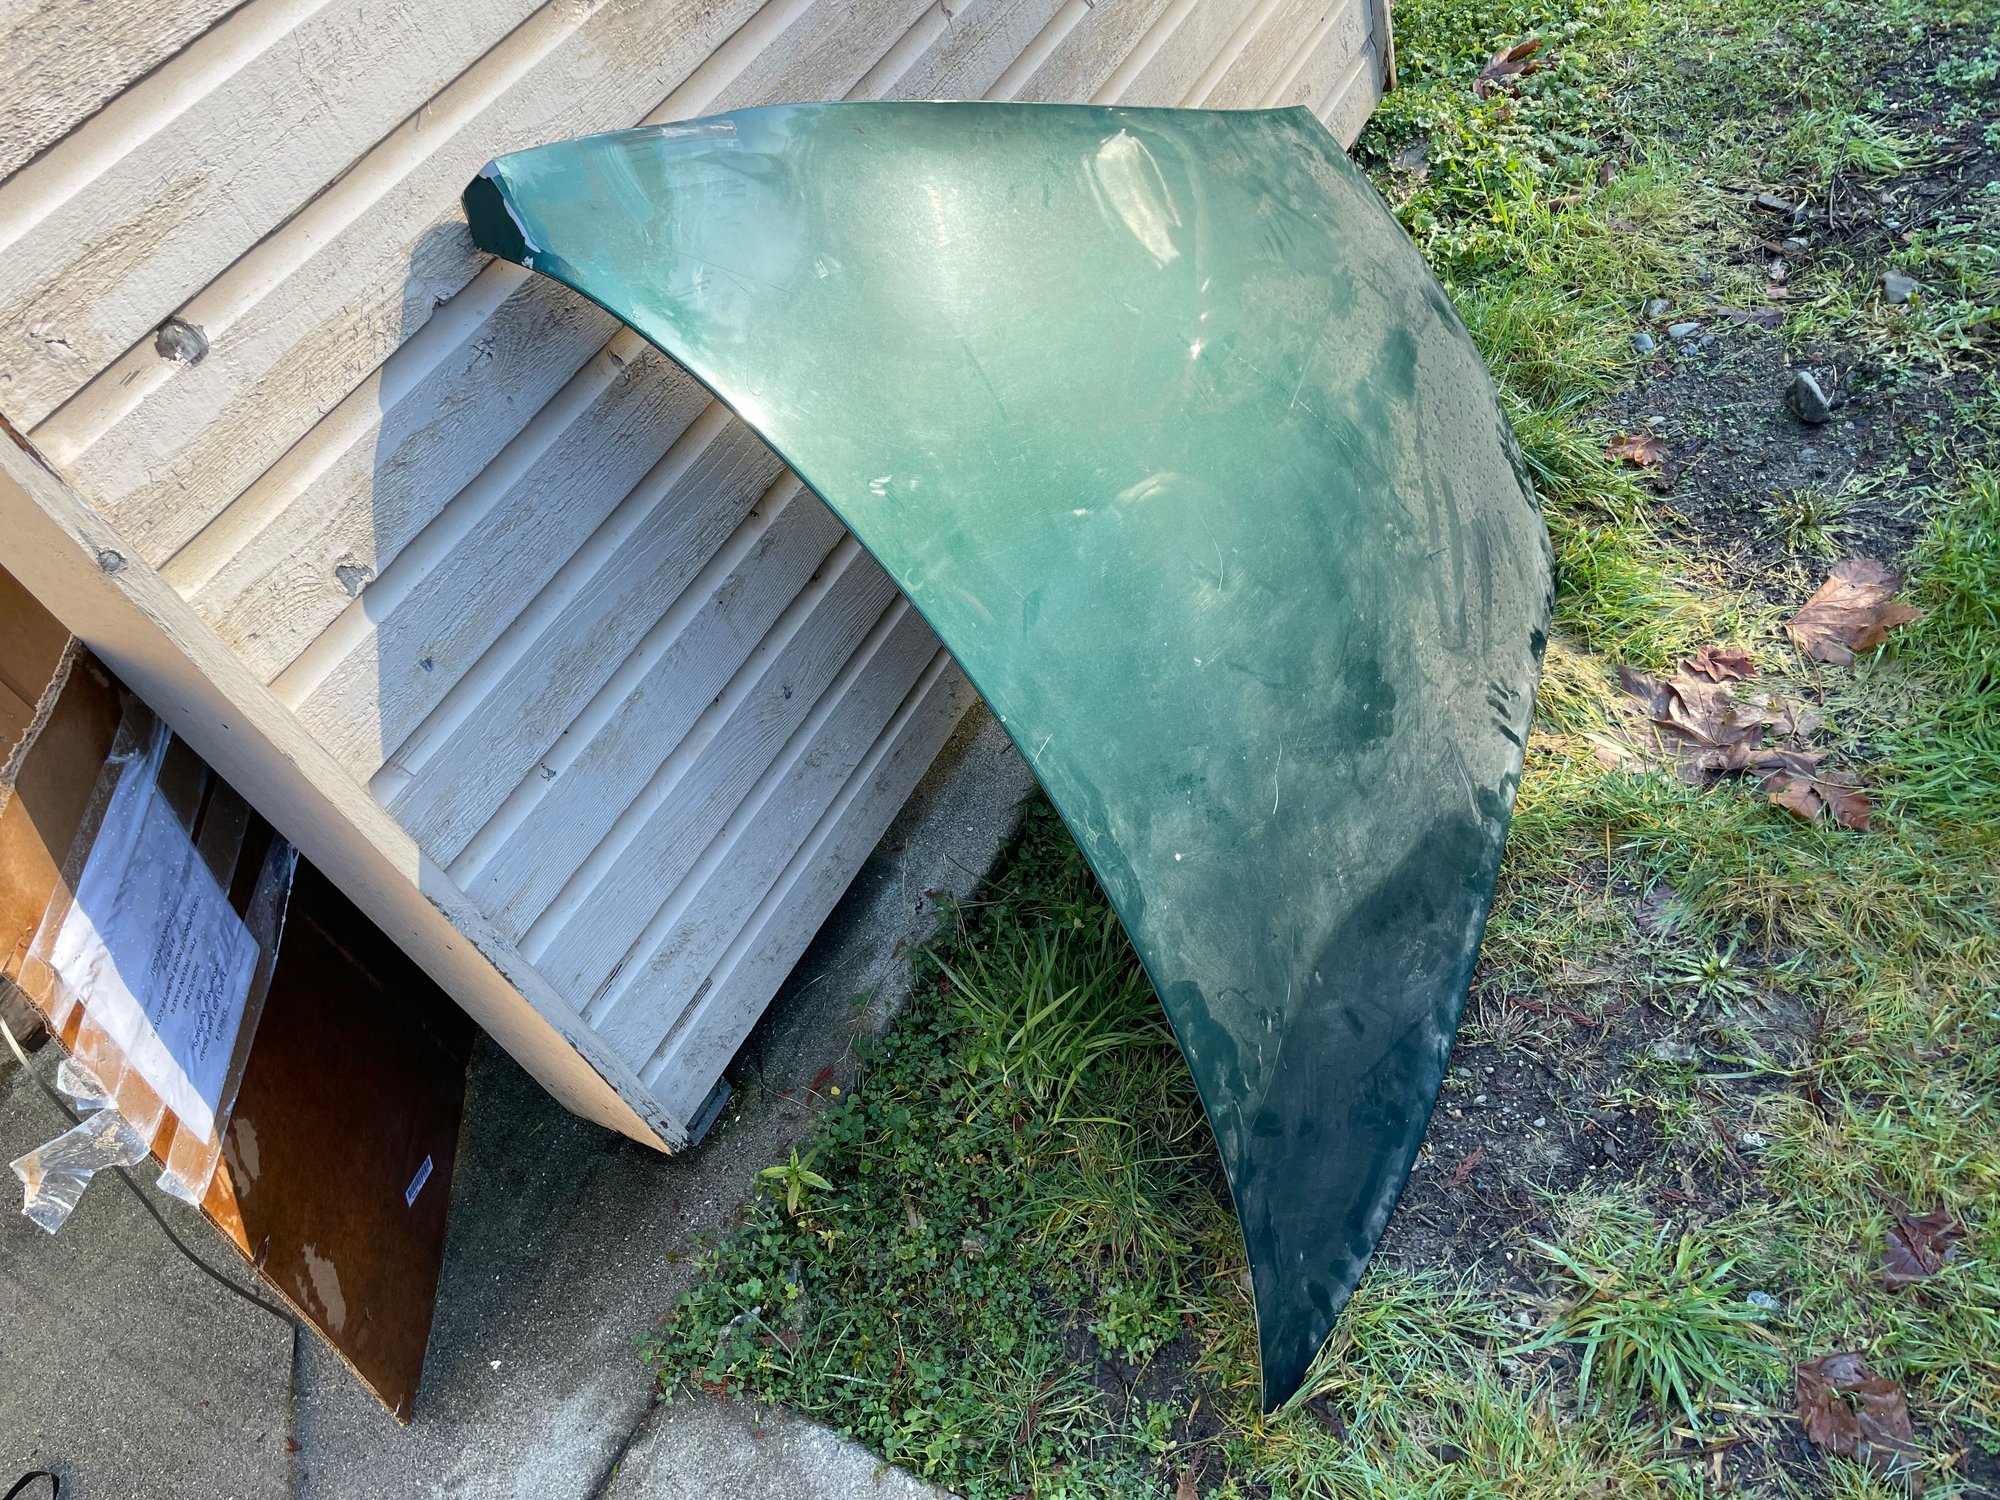
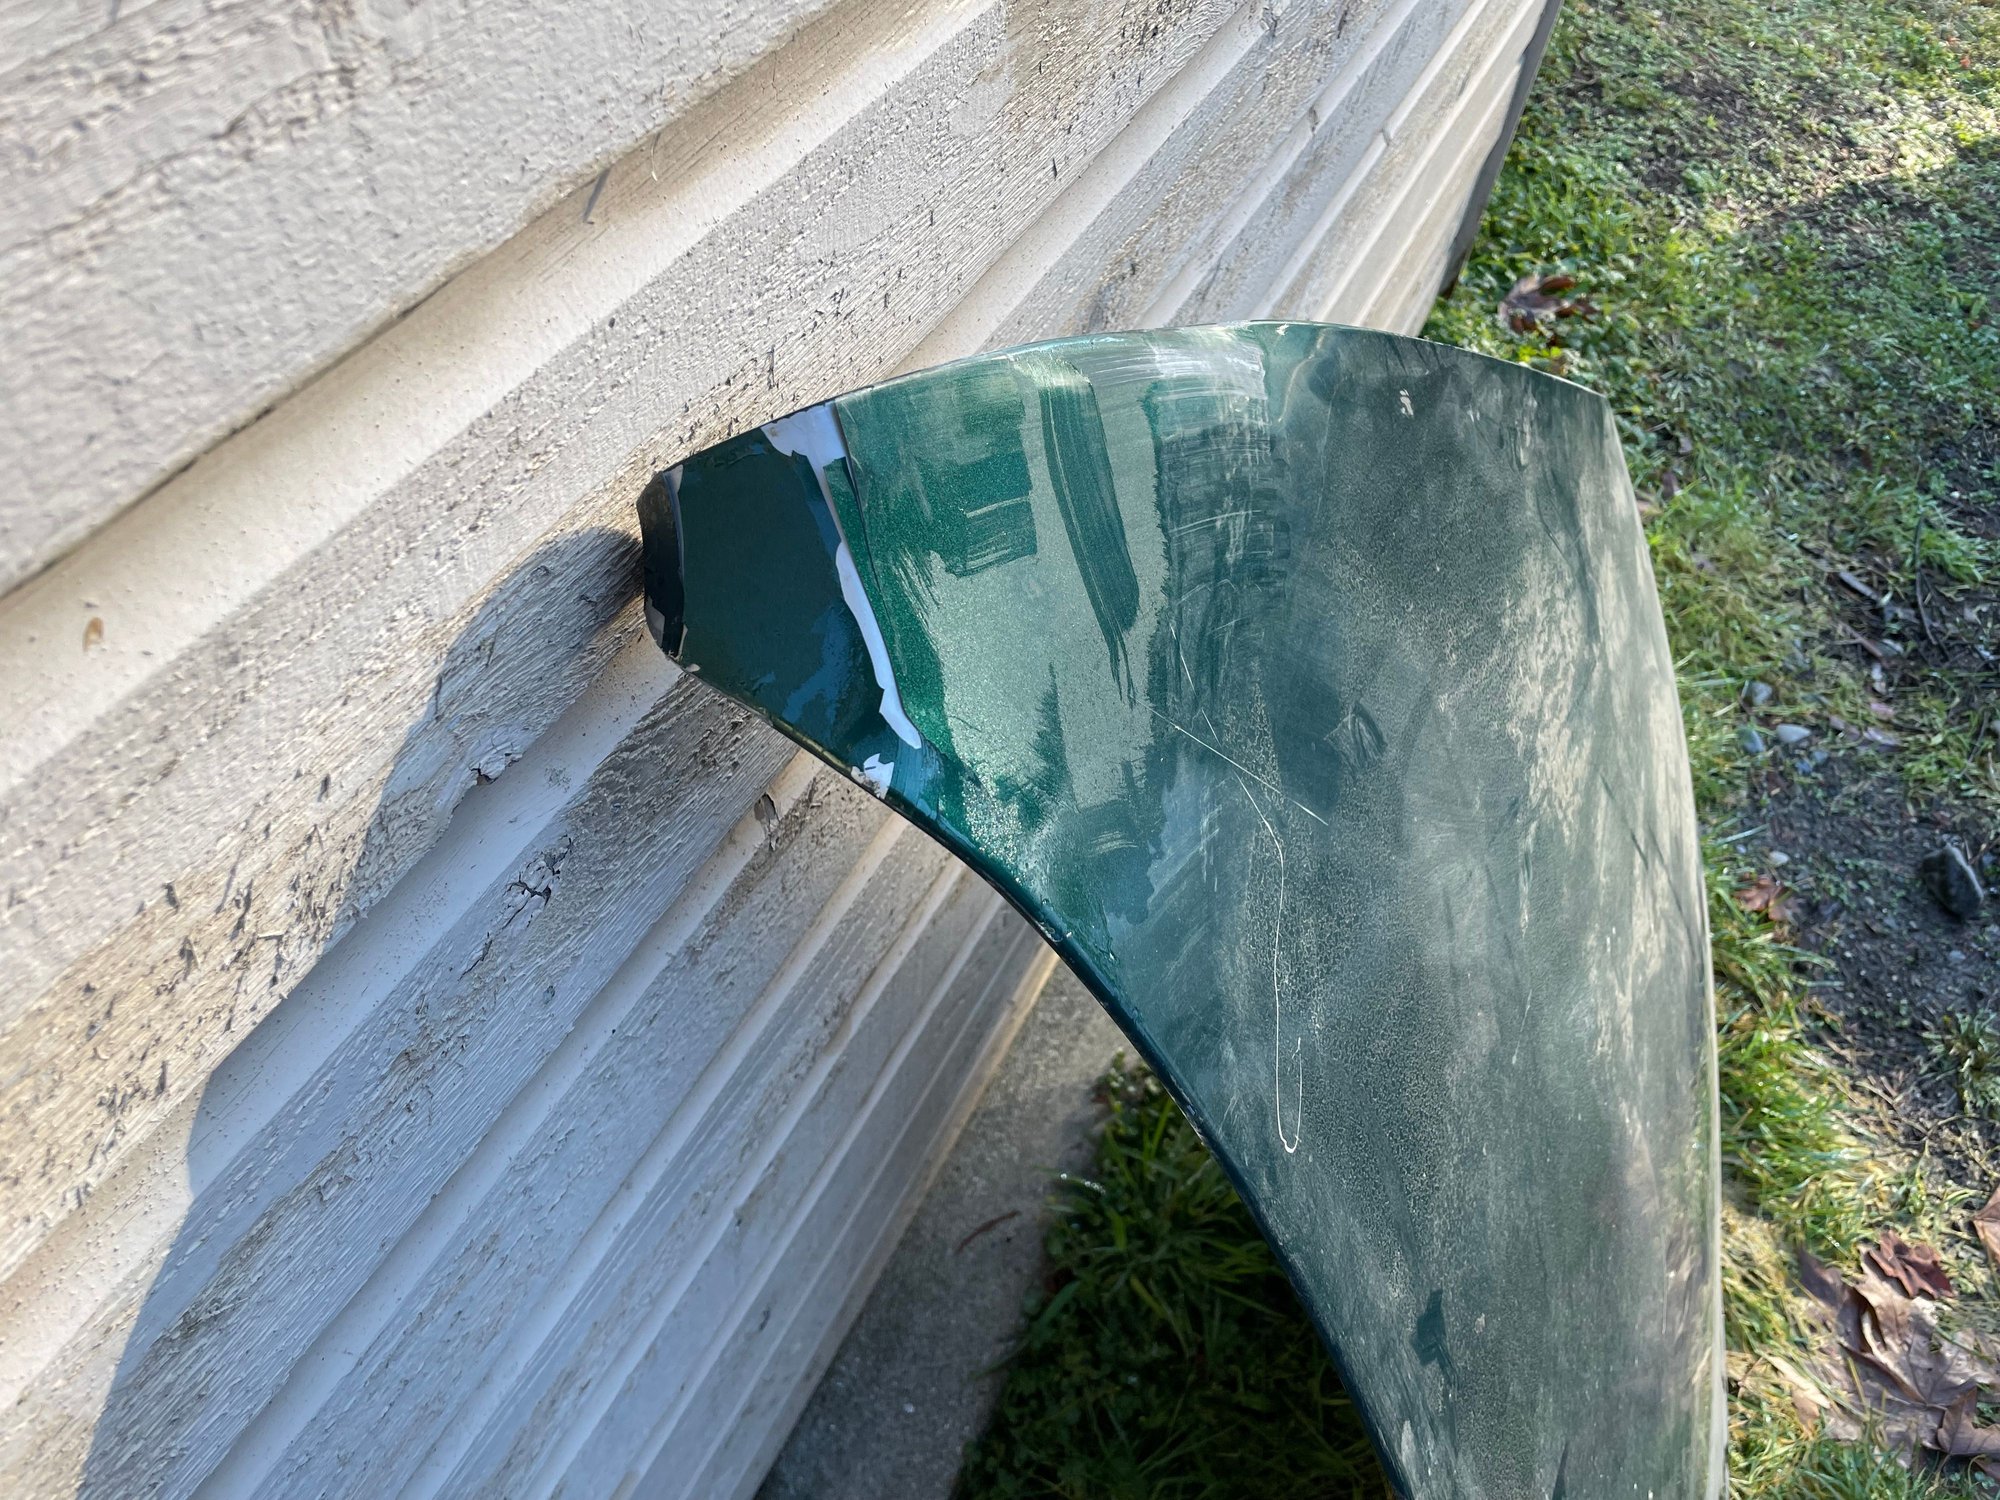
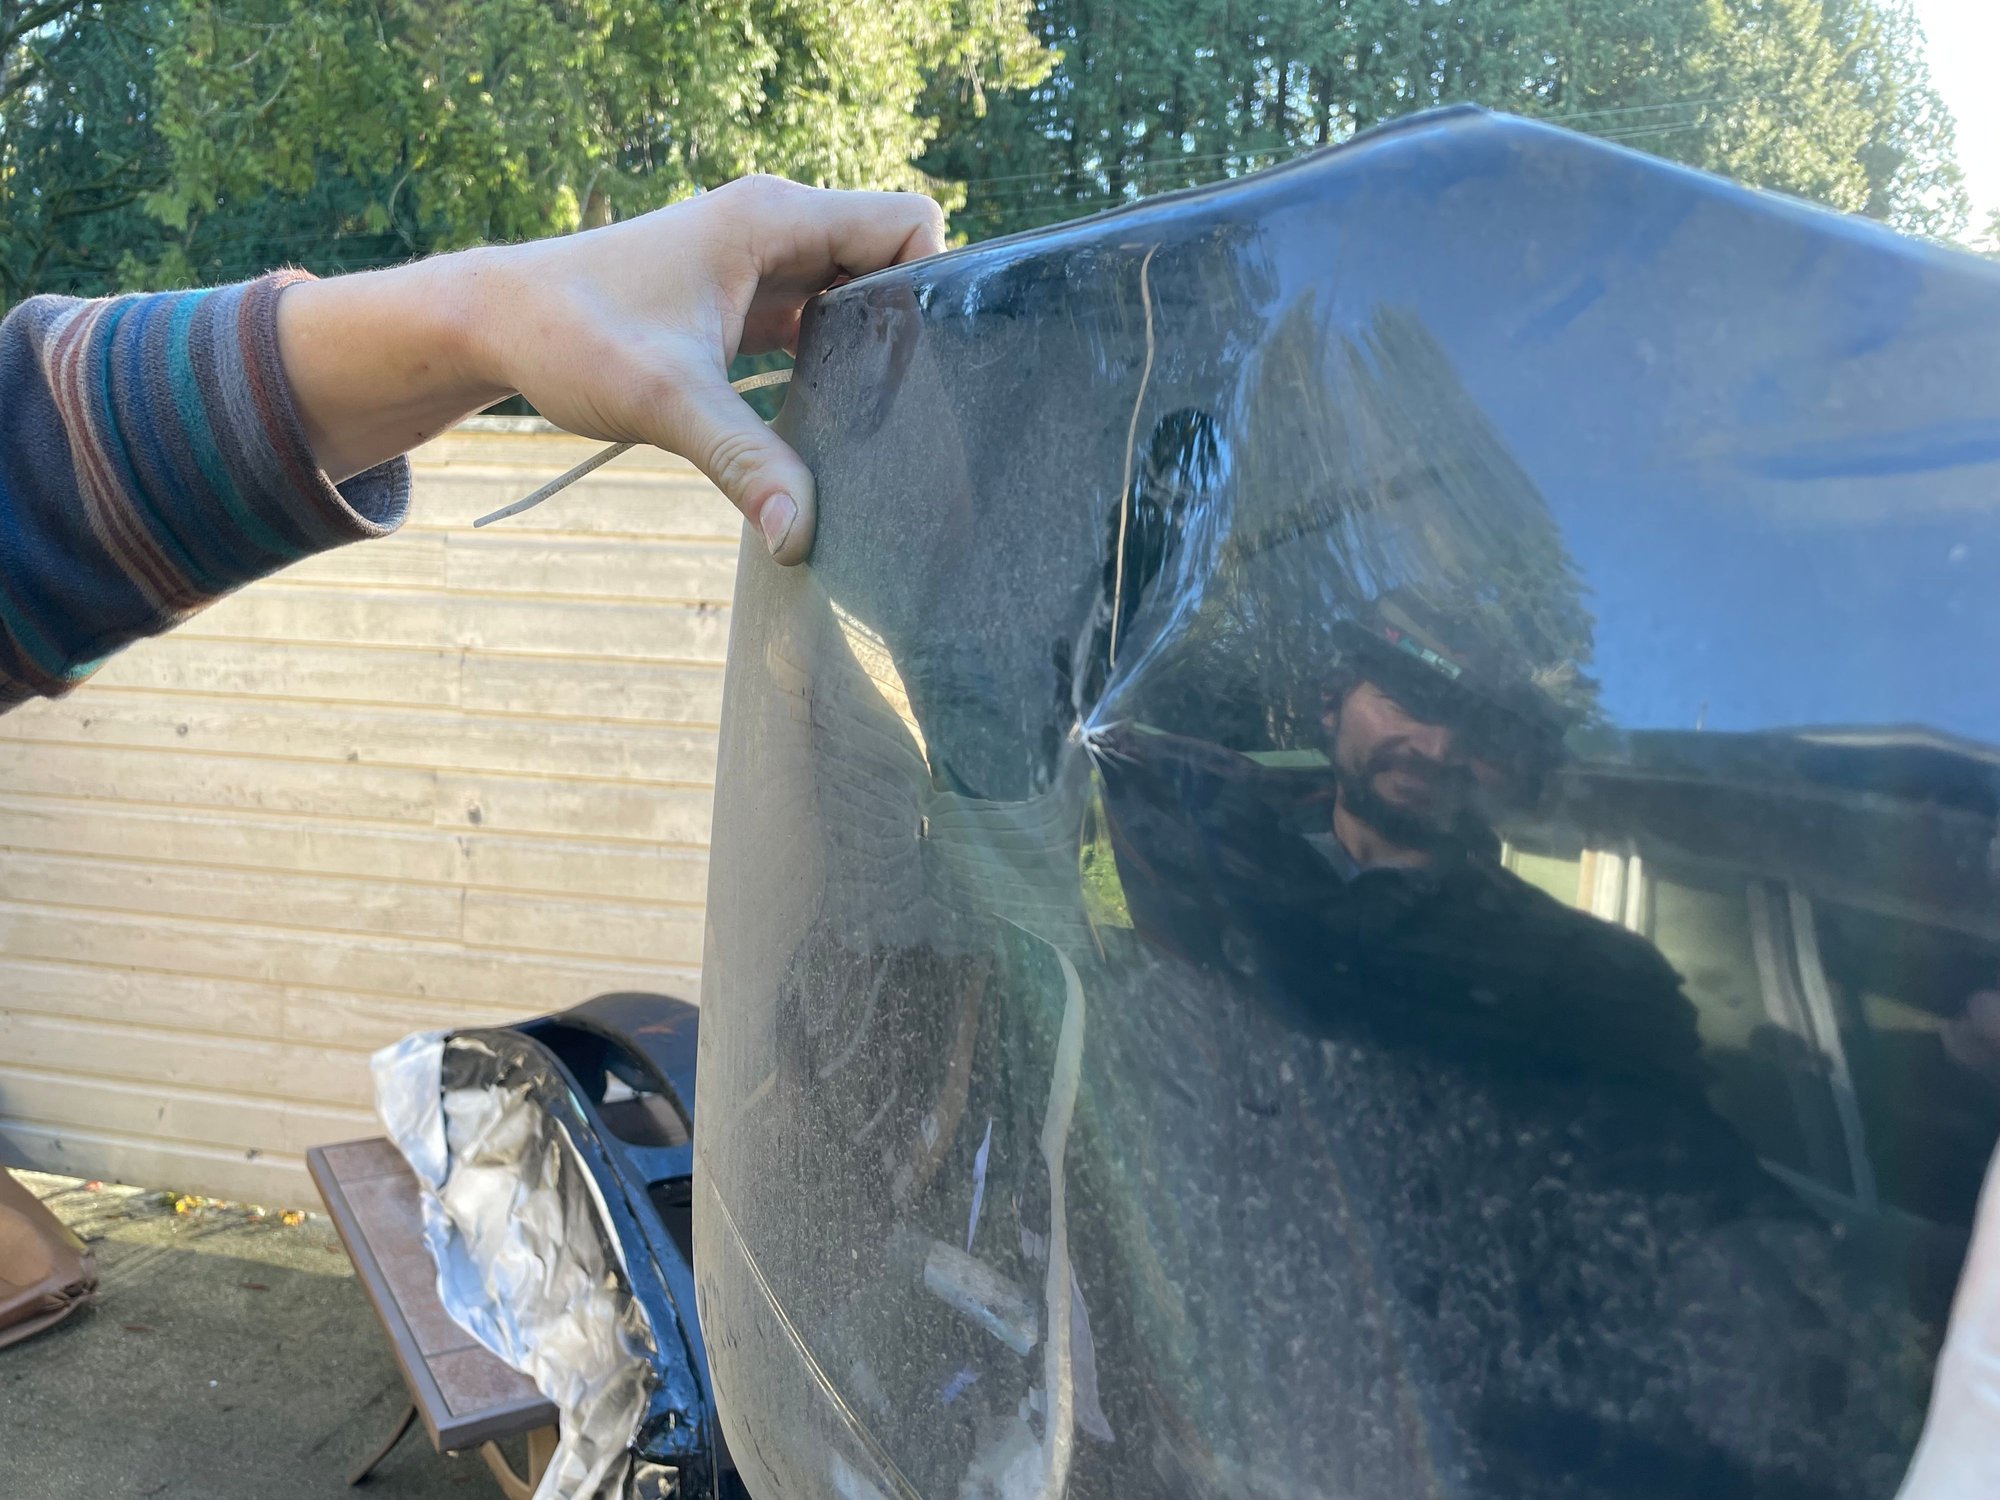
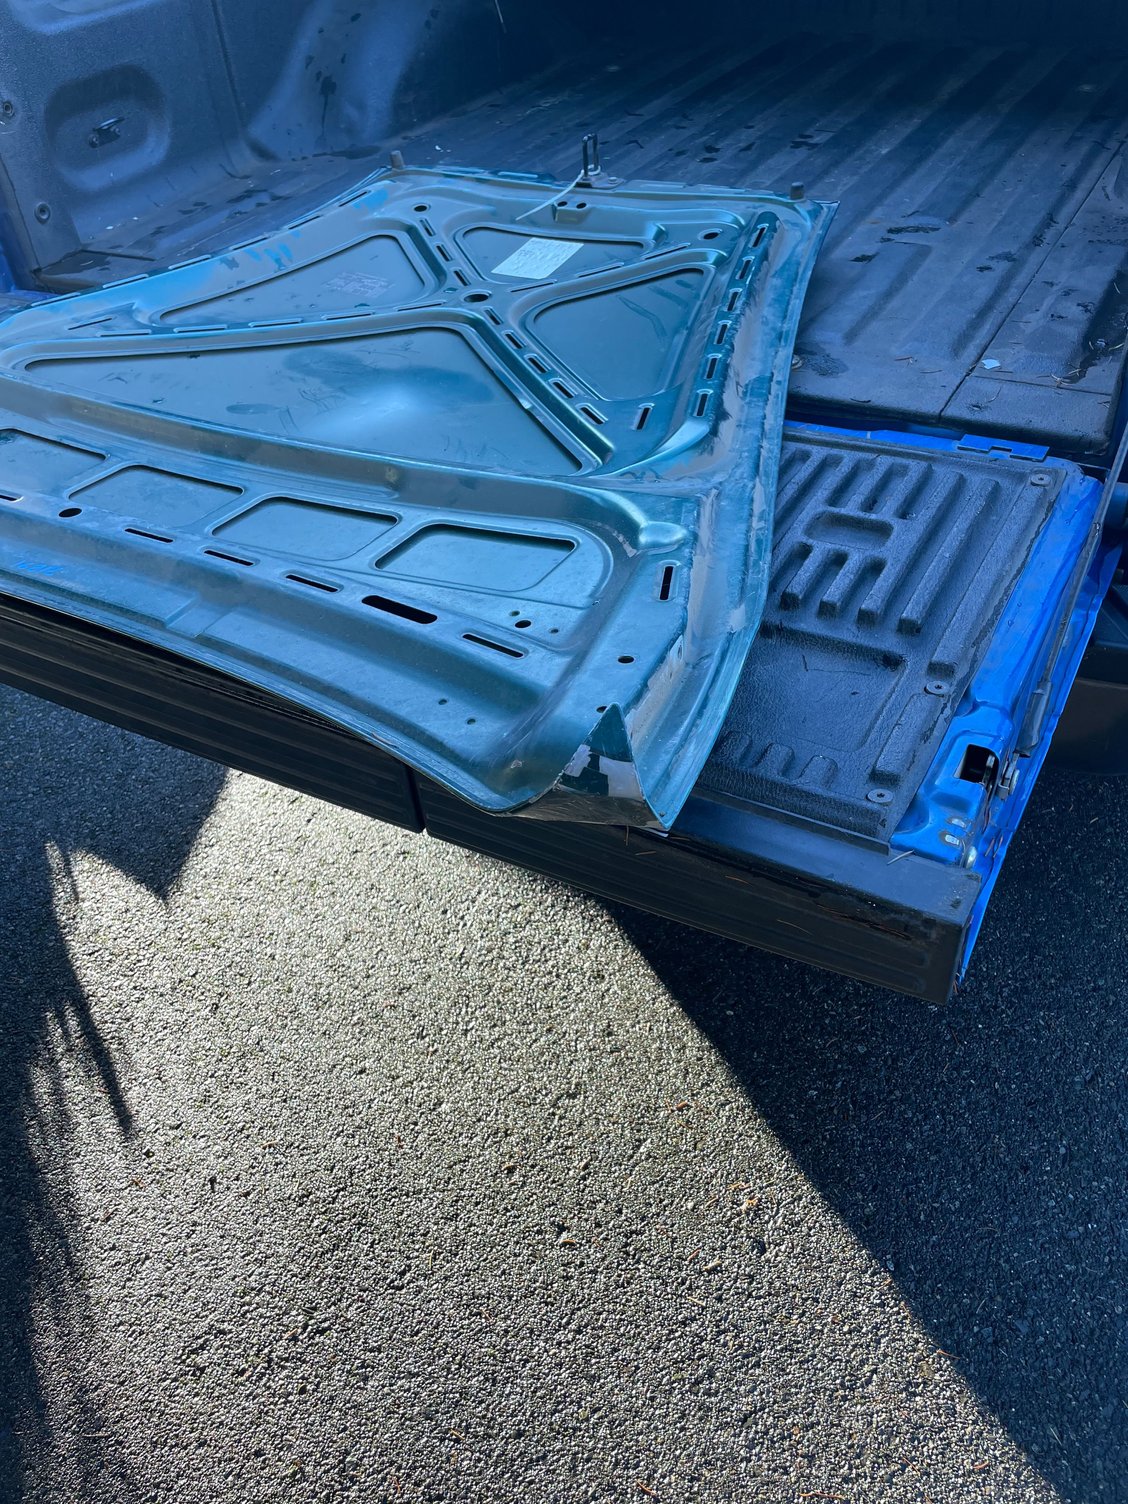
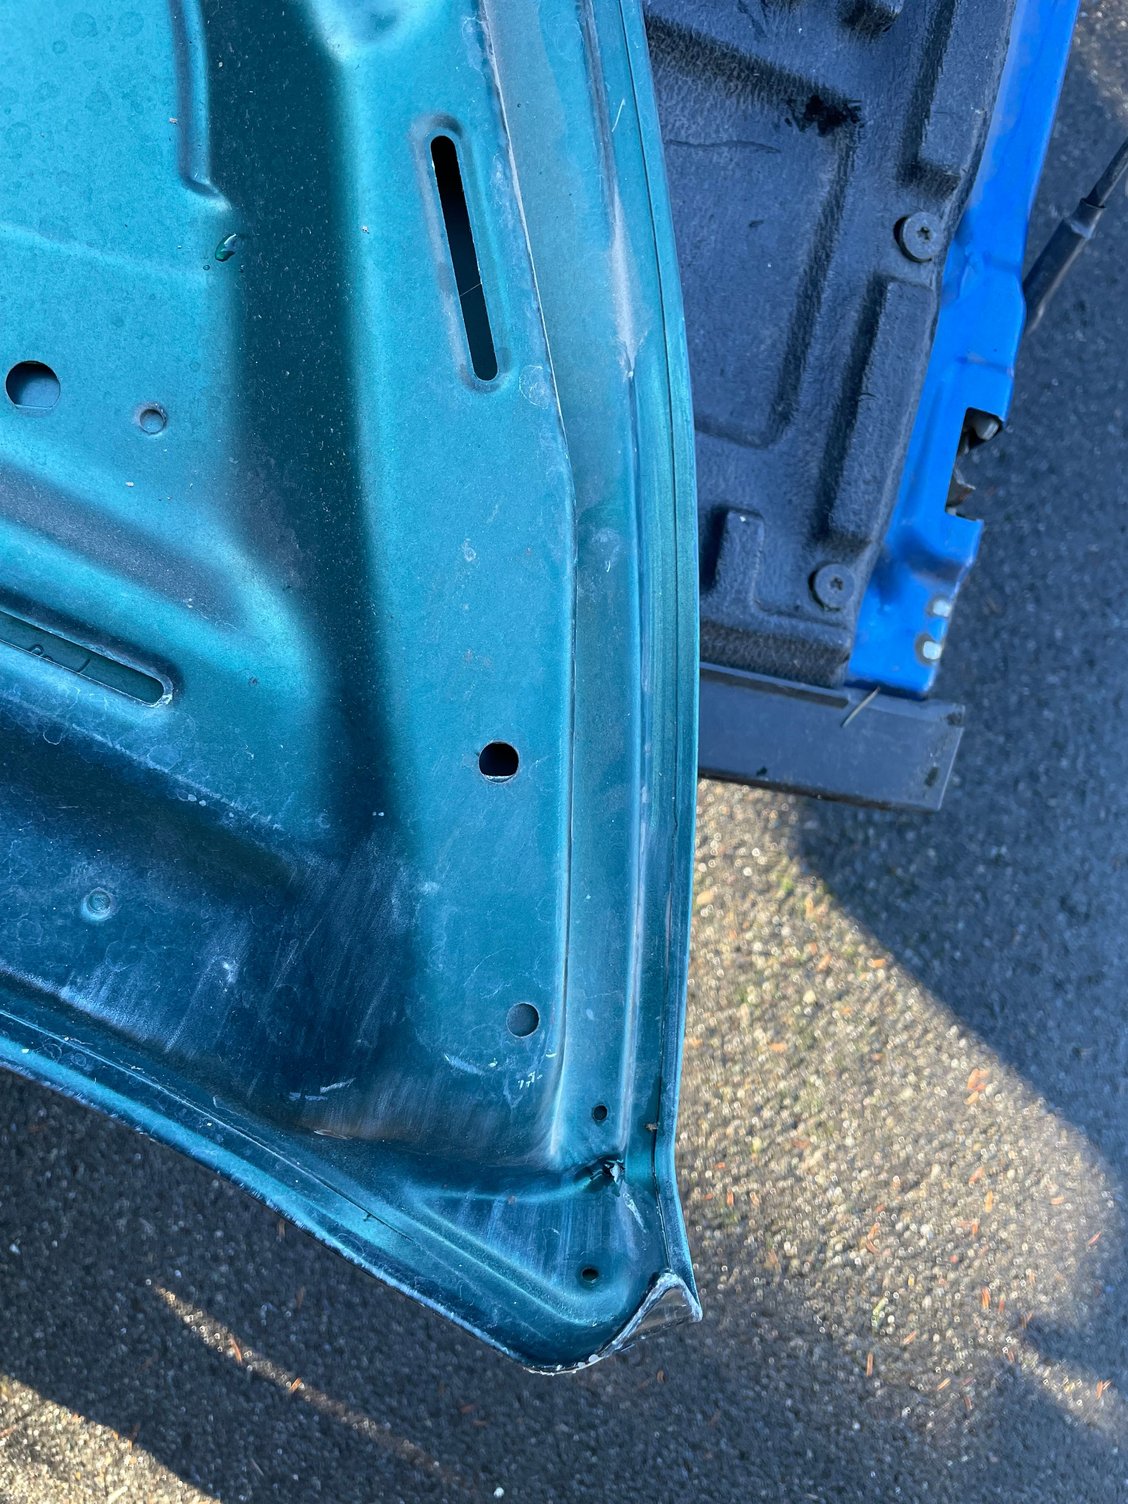
Finally, the hood. Ah, the hood. This hood was the last green hood on car-part.com that matched my car. The hood on my car, although green underneath the black, is warped near the fender line due to the previous owners collision. So I was solving two problems in one. 100% paint match and the hood line would be fixed. Nope. Not anymore, they just shoved the hood in the box. The hood pierced the box and was curled back from being bashed against the wall of the truck. This hood wasn�t perfect but it was good enough and now it�s garbage too.
Pics below. I�m being fully refunded but it�s a huge setback. I�ll just have to wrap my old body parts and keeping looking for new ones. Since this didn�t work out, and I�m getting my money back but don�t have a backup source for parts, I�ve decided to spend that coin on the suspension for the car. More on that later�I�m pretty excited about it though.
WOW worst case scenario, the hood is gnarly, sorry man. Who packs stuff like that!?!
Sacramento is a special place, I usually make the 2-3hr drive to go there in person to make sure the yard can't screw things up. I've been sent completely wrong/not what I ordered stuff before, let alone damaged.
@gtxracer I'm in San Jose, if you find a car you want parts pulled off of in the Bay Area, just ring me. I can store stuff in my side yard till you have time to come pick it up.
Remind me not to buy anything from specialized German until they figure out that it's a lot more profitable to package their products to survive transport and avoid refunds. Whichever guy boxed your stuff up definitely did not do anybody any favors. I don't suppose they're going to reimburse you for your time as well. Sorry to see that as I'm sure you were hoping those parts would solve some problems for you.
WOW worst case scenario, the hood is gnarly, sorry man. Who packs stuff like that!?!
Right?! It�s painfully obvious that this wouldn�t survive. Thanks for the kind words.
Originally Posted by zbomb
+1 Million !
Savages.
�and rare parts too. From a place that specializes in German cars. I�m still dumbfounded.
Originally Posted by TheChunkNorris
Where are you located? If you find stuff in S Florida, I�d be more than happy to check it out. I�ll be home in March.
I�m in Seattle area, have some family in S Florida too. Thank you for offering to help! If I find any I�ll send you a message. This community is awesome.
Originally Posted by circuit.heart
Sacramento is a special place, I usually make the 2-3hr drive to go there in person to make sure the yard can't screw things up. I've been sent completely wrong/not what I ordered stuff before, let alone damaged.
@gtxracer I'm in San Jose, if you find a car you want parts pulled off of in the Bay Area, just ring me. I can store stuff in my side yard till you have time to come pick it up.
Yeah 2-3 hours isn�t bad! Sac is 12 hours from me�I�ve made that drive quite a few times with my old Jeep in tow going down to KOH. Reading the reviews for SGR, it seems like I would�ve had to make the drive to ensure the parts were good, like you said.
And thank you! That�s really helpful and generous of you. I�ll keep that in mind. If a green 996 or 986 pops up, I�m all over it!
Originally Posted by c didy
Remind me not to buy anything from specialized German until they figure out that it's a lot more profitable to package their products to survive transport and avoid refunds. Whichever guy boxed your stuff up definitely did not do anybody any favors. I don't suppose they're going to reimburse you for your time as well. Sorry to see that as I'm sure you were hoping those parts would solve some problems for you.
Thank you, I appreciate it. Yeah�you�d think they would learn by now. Somehow they�re still in business and making money but I have to say�I�m worried they�re trashing just as many parts as they�re selling and essentially depleting the parts supply for our cars.
In other news�these showed up today! Big thanks to Barry at Series4 for ordering quickly and getting them here in a two days.
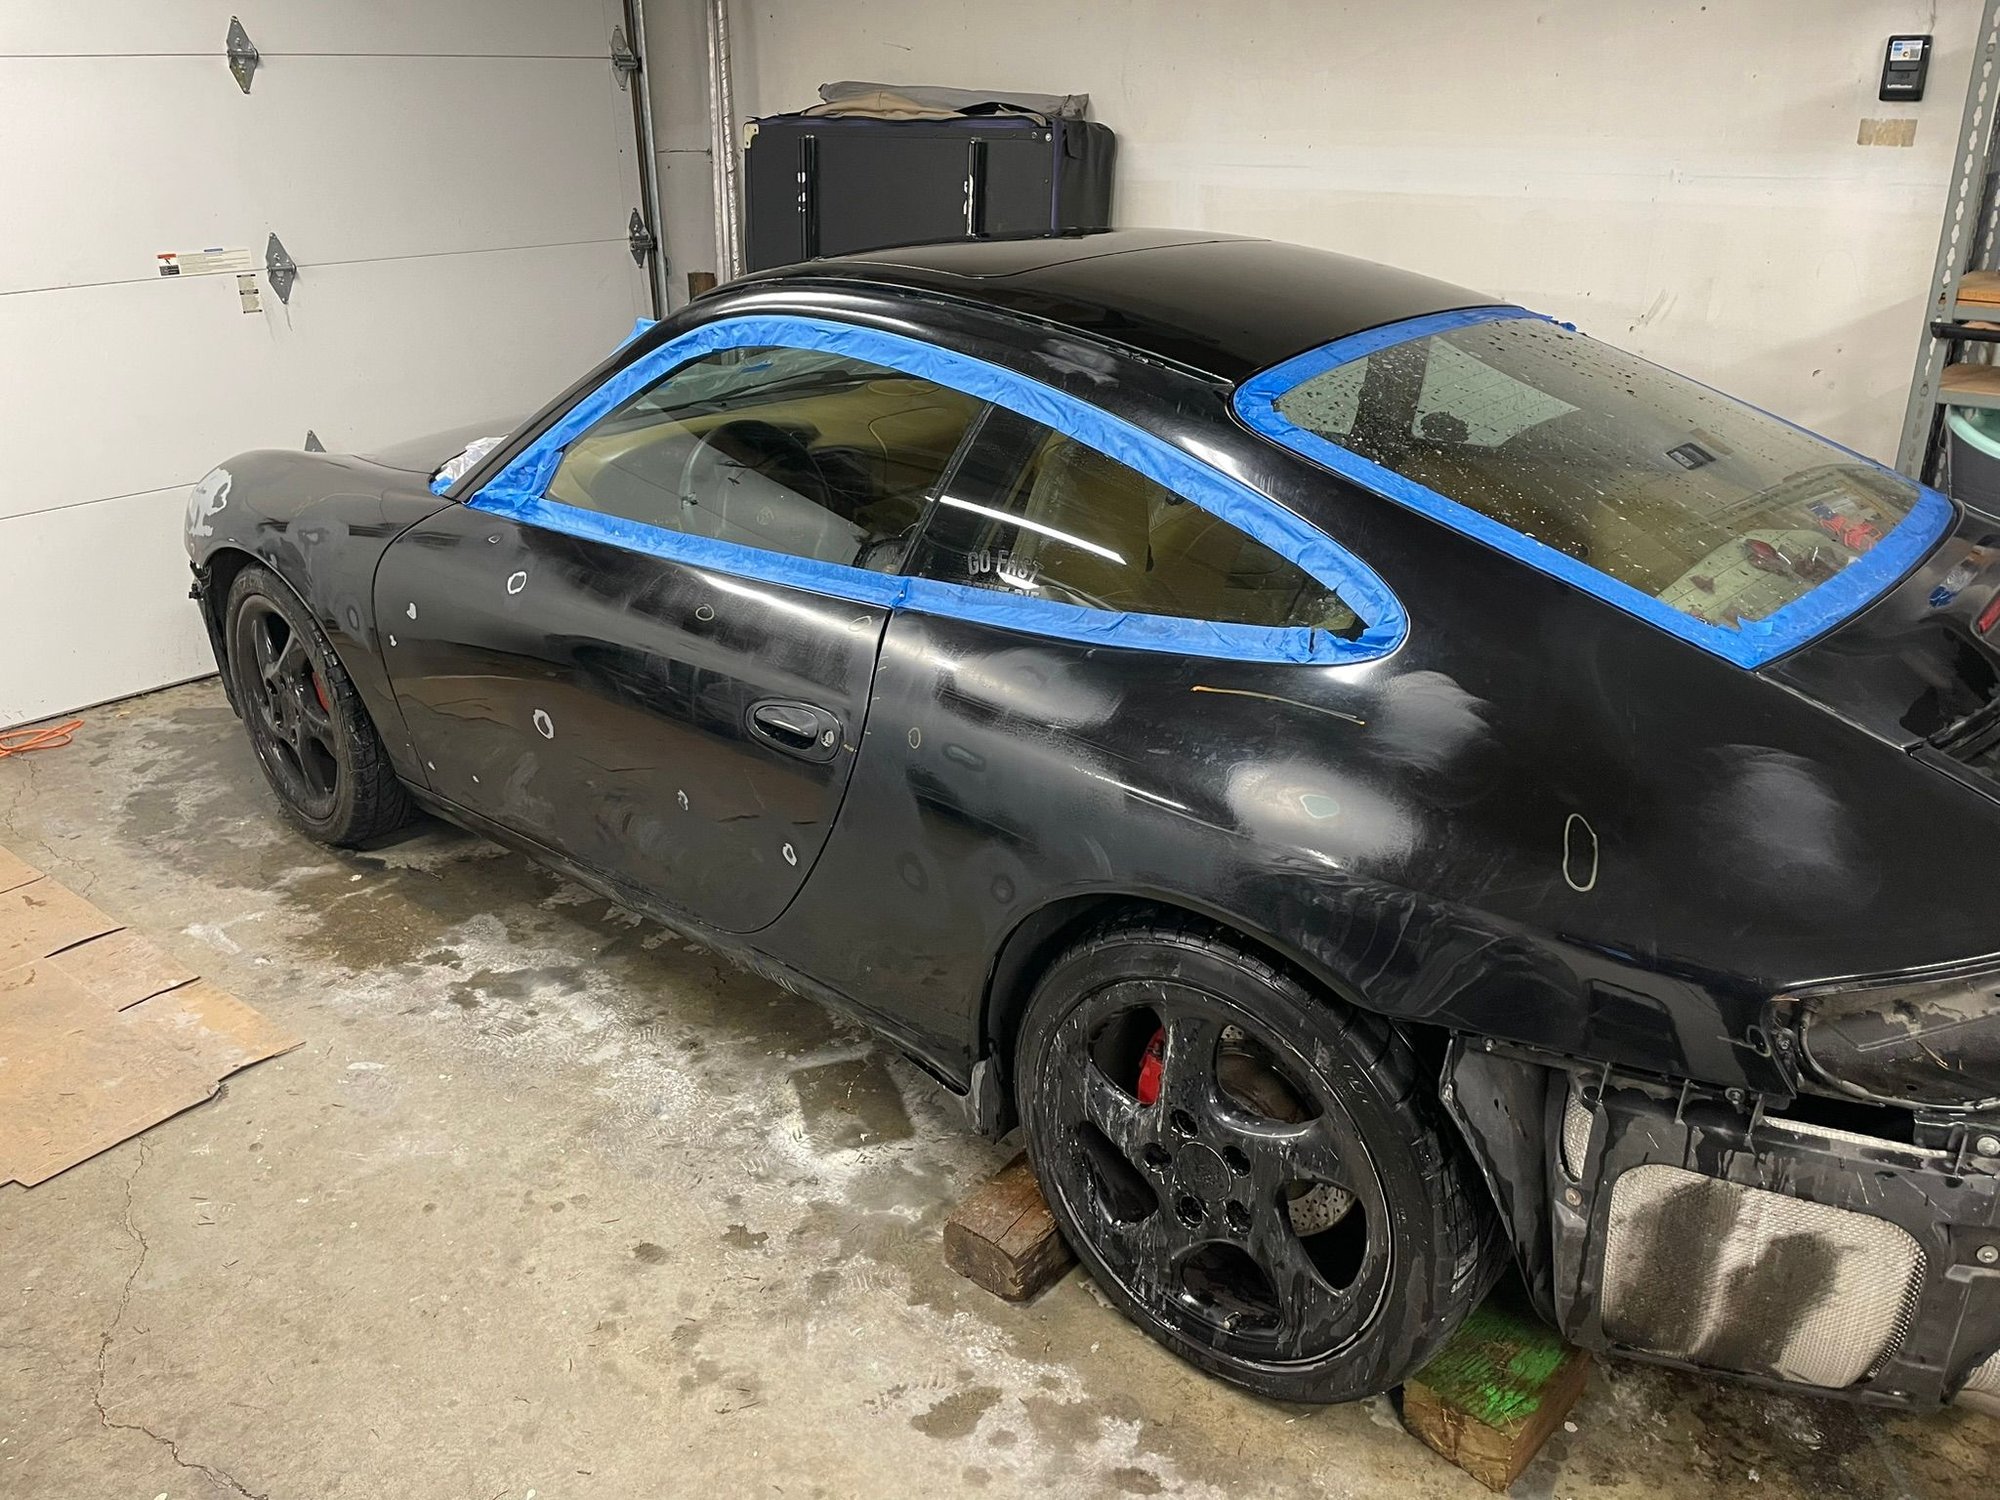
Prep has started on the paint and existing body panels. It�ll be a LOT more work thanks to the screw up by Specialized German Recycling�maybe if I procrastinate long enough I�ll find more green parts. lol
Lots of imperfections in the paint of these two panels. Would�ve been REALLY helpful to have new ones.
Specialize German Recycling is less than 4 miles from my house, personally some of the prices they have are to pricey, more than happy to check out anything anyone needs from there.
Tweaked my knee snowboarding and pretending I'm still 20. Been out of the shop for about a week but hobbling around again. I'm catching up on posts, so apologies if the timelines don't line up.
Originally Posted by JohnCA58
Specialize German Recycling is less than 4 miles from my house, personally some of the prices they have are to pricey, more than happy to check out anything anyone needs from there.
Thank you! I'll definitely keep this in mind once another green hood and fender show up!
I looked at designing my own alignment hub stands and it's not as cheap as I'd like, but stll considerable cost savings. It's about $650 for me to make a set, given I don't have my plasma CNC anymore and I'd be ordering hardware from McMaster. This DIY kit, however, is actually a good design and a pretty good deal from what I can see for about $850 all in:
I'll probably wait to make these until I'm tired of paying for alignments at the local shops. I'm going to attempt to negotiate an annual fee since I'll want to change alignment a few times a year based on street or track use. Unless I get lazy....which is very possible....and I decide to use a street setup on the track and avoid alignment changes altogether. Hah!
Anyway here's my design, a mix of others I saw. I'd probably make the bolt pattern plate a separate piece so I can swap it out for other vehicles easily. The bearings have a static load rating of 530 lbs each, there's 4 on each stand, so max load is 2120 lbs for each stand, 8480 lbs for total vehicle weight. Rolling load is quite a bit higher. I'll probably run these through FEA to see if they could actually withstand those loads, but for my little 3000 lb Porsche 911, these should work fine. Stand itself is 1/4" steel, laser cut and CNC bent, and the alignment plate itself is 3/16" aluminum for ease of use and storage. Alignment plate also has slots for tape measure, string cutouts, degree markings laser etched, and could be anodized for some bling.
If anyone is interested in a pair or set, let me know and I'd do a group buy and maybe we can bring down the cost. No profits, just straight cost for everything.
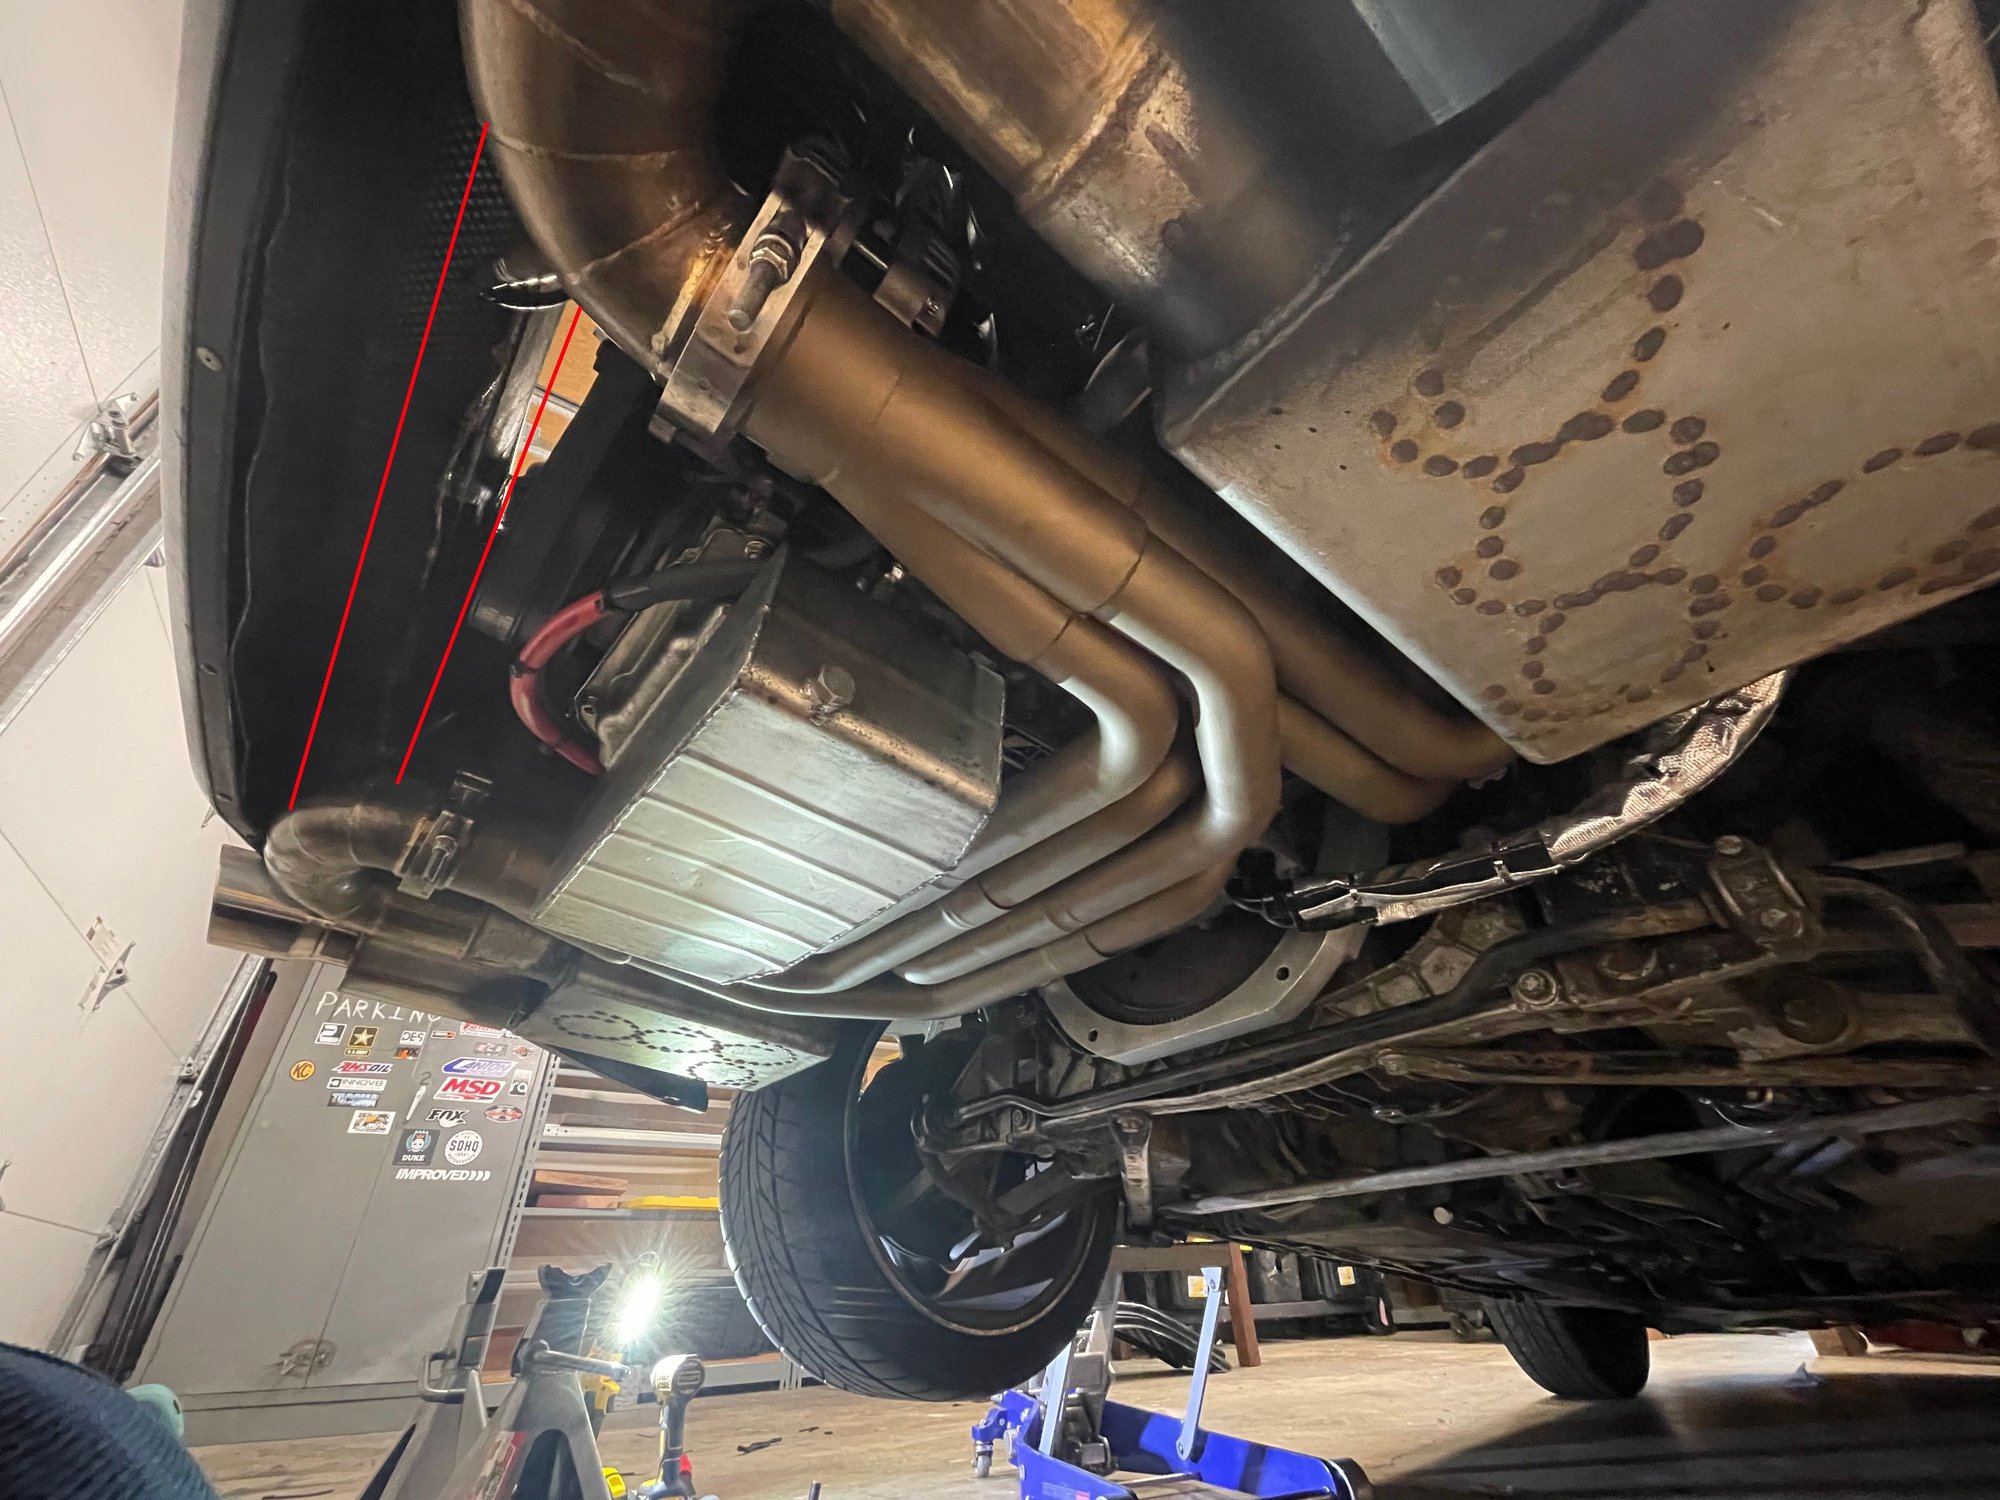
I've also been pondering how I can add a X or H pipe to the exhaust. I think an X pipe is out of the question due to space constraints. I'm sure I could do it, and even started it in CAD again, but an H pipe is much easier. I was considering a pipe across the back, with 2 more v band clamps. This should be pretty quick, and if I screw it up, it should be a quick fix. What's the thoughts on this? I've researched quite a bit, and looked through as many other 180 header builds as I could find and most experiment with X pipes and keep them, some don't.
Curious as to everyone's thoughts and experiences on H and X pipes. H pipes typically offer more lower end grunt noises and X pipes offer more high end zings. Since my setup is already somewhat high pitched and sounds like two 4 cylinders, I think an H pipe would give it a more robust tone with a more exotic sound that I've been chasing.
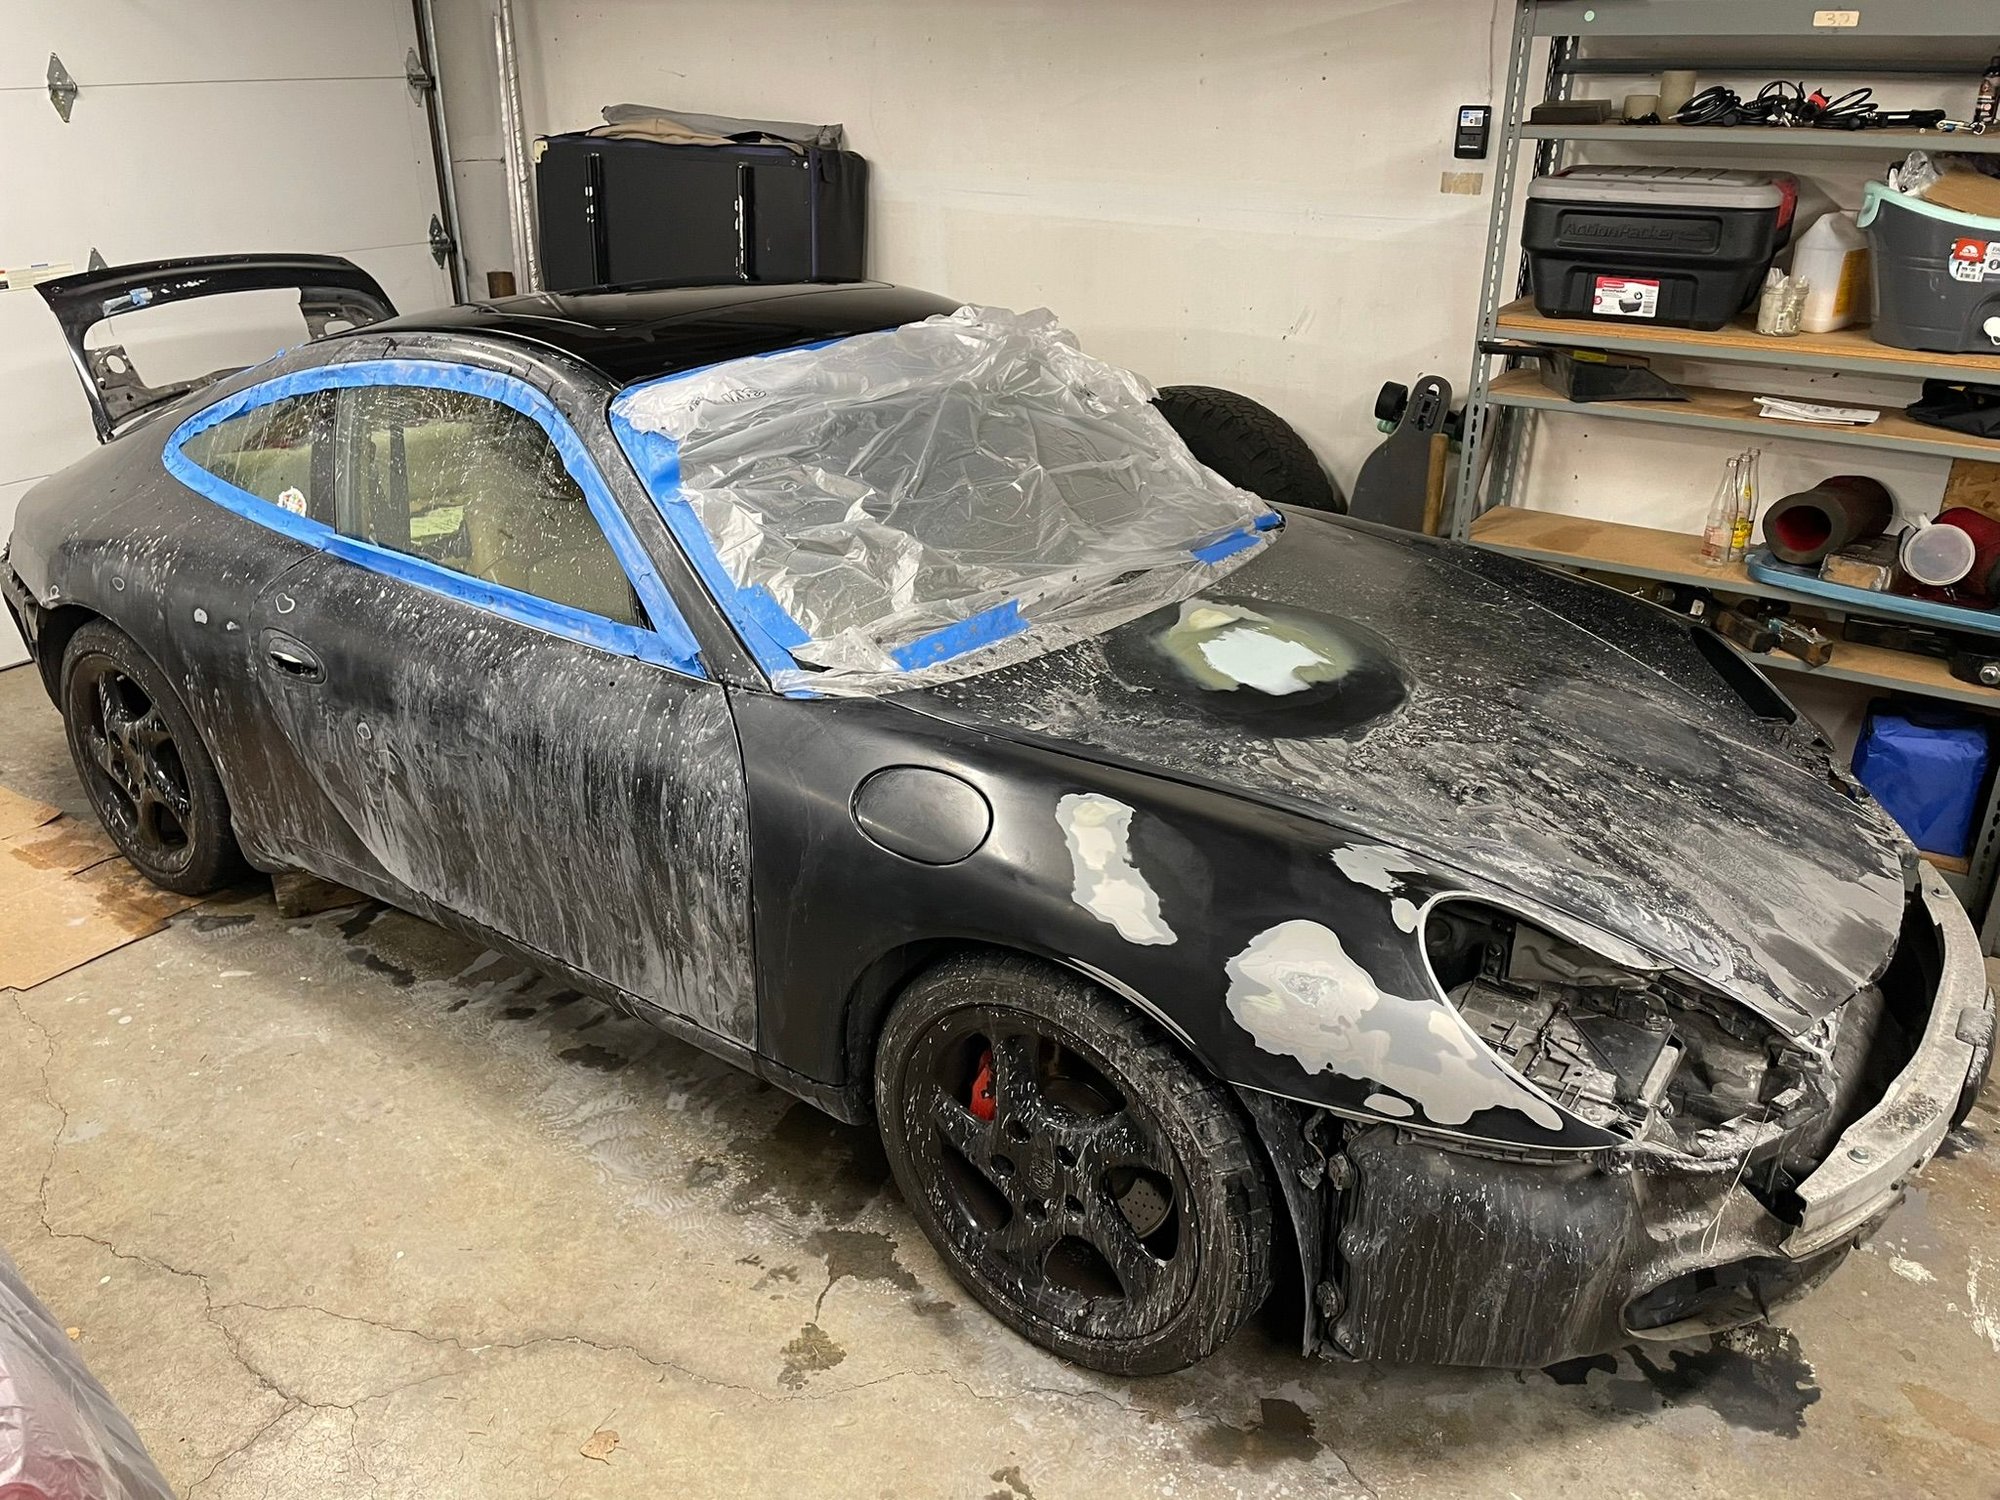
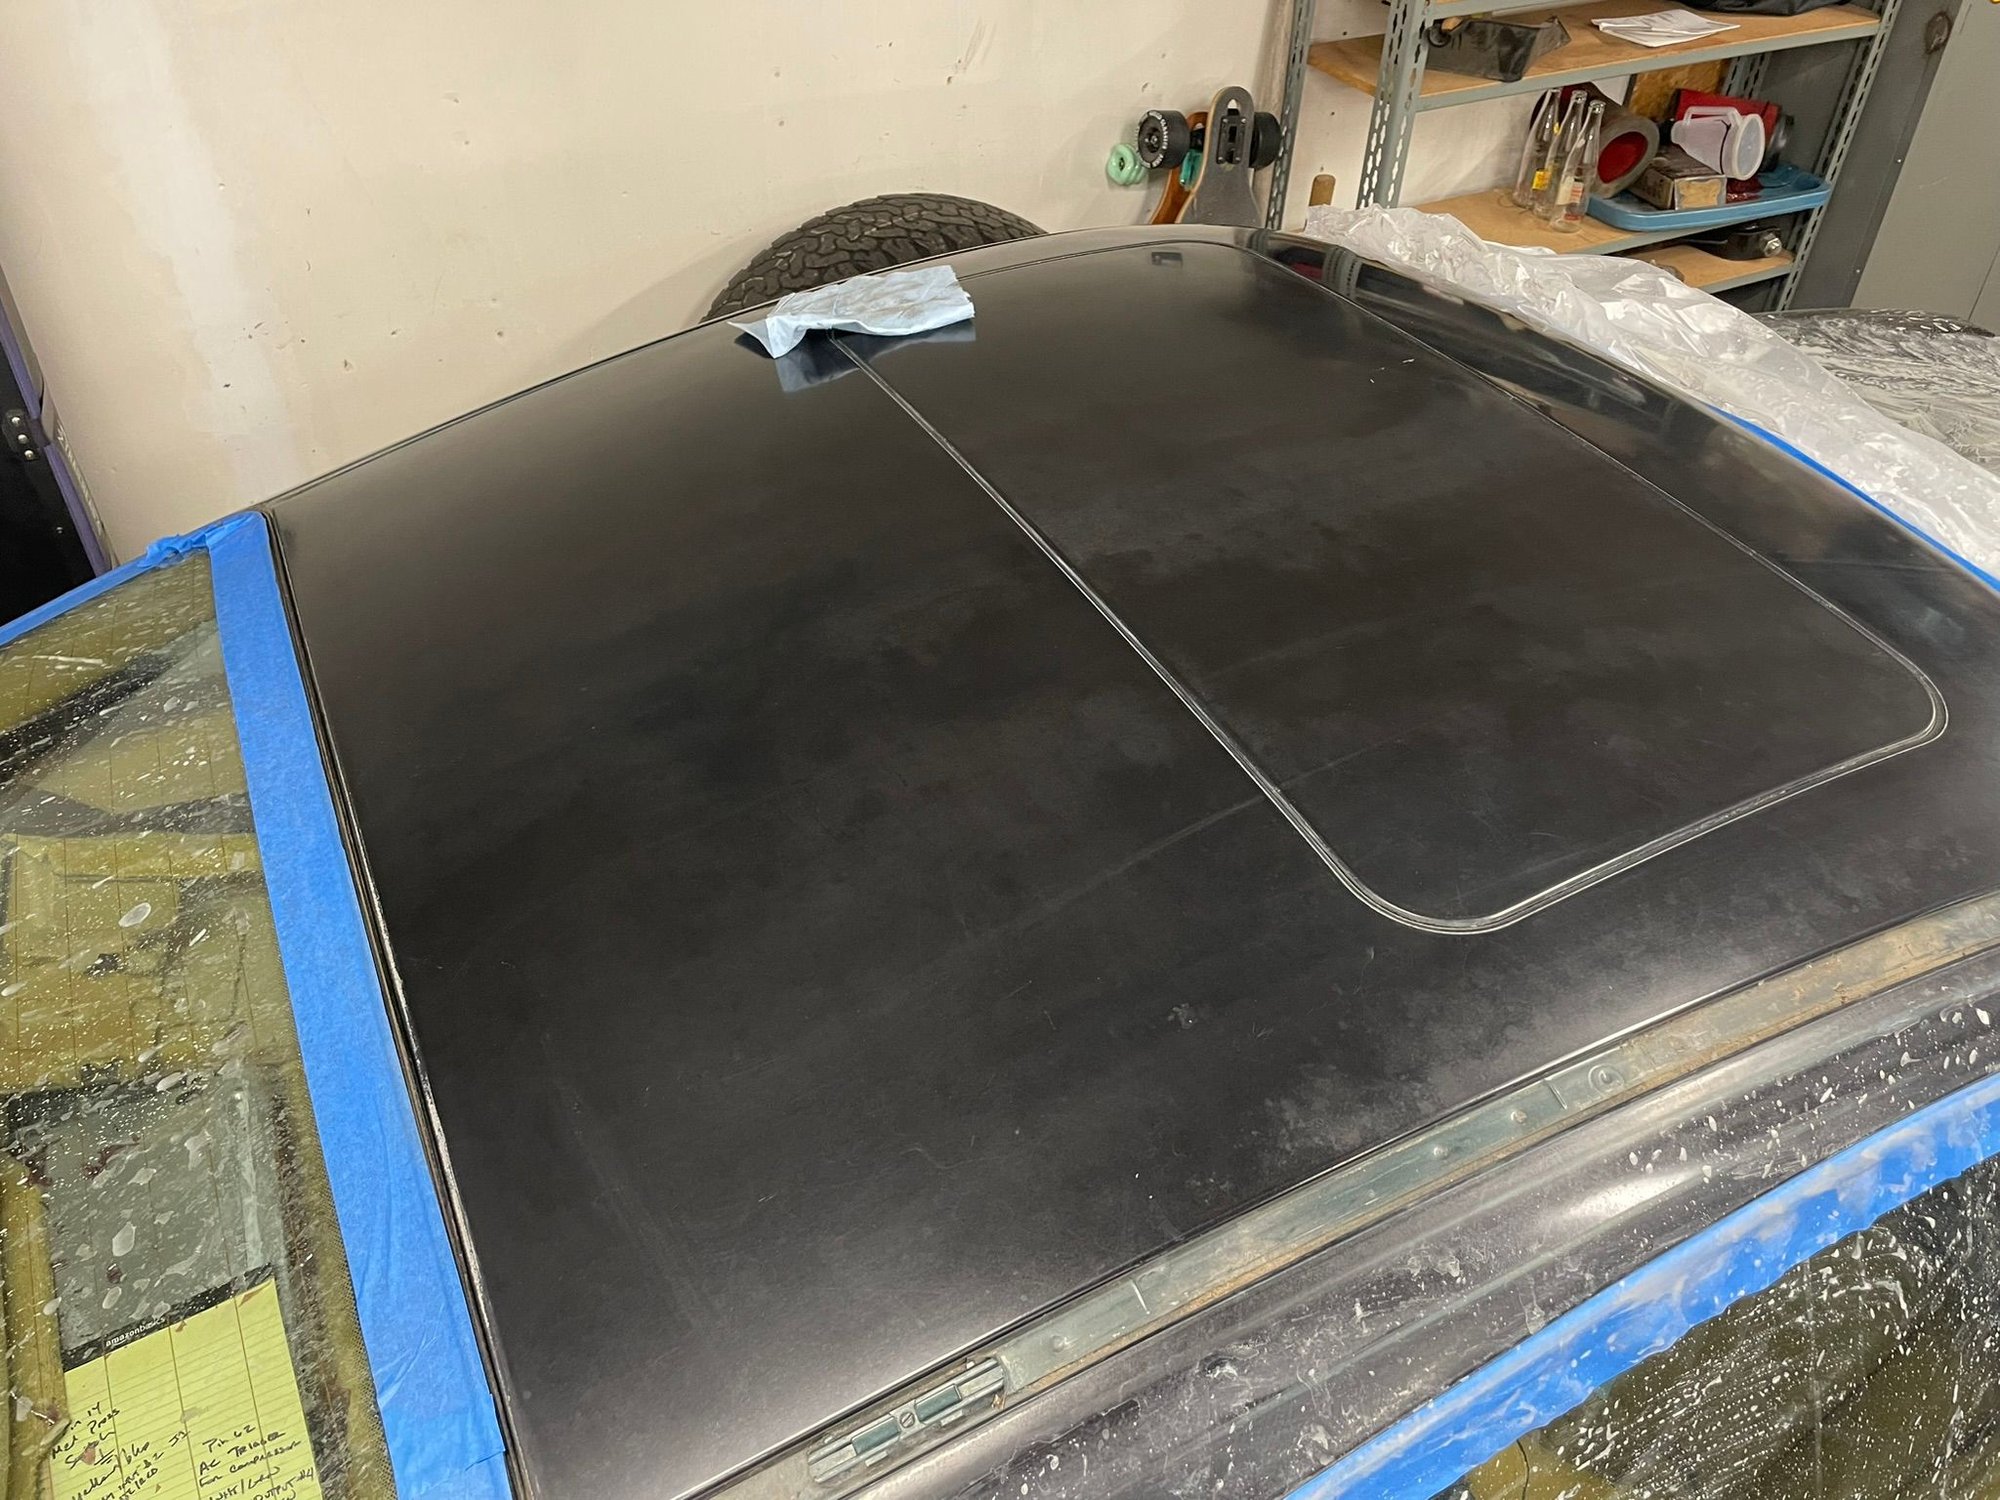
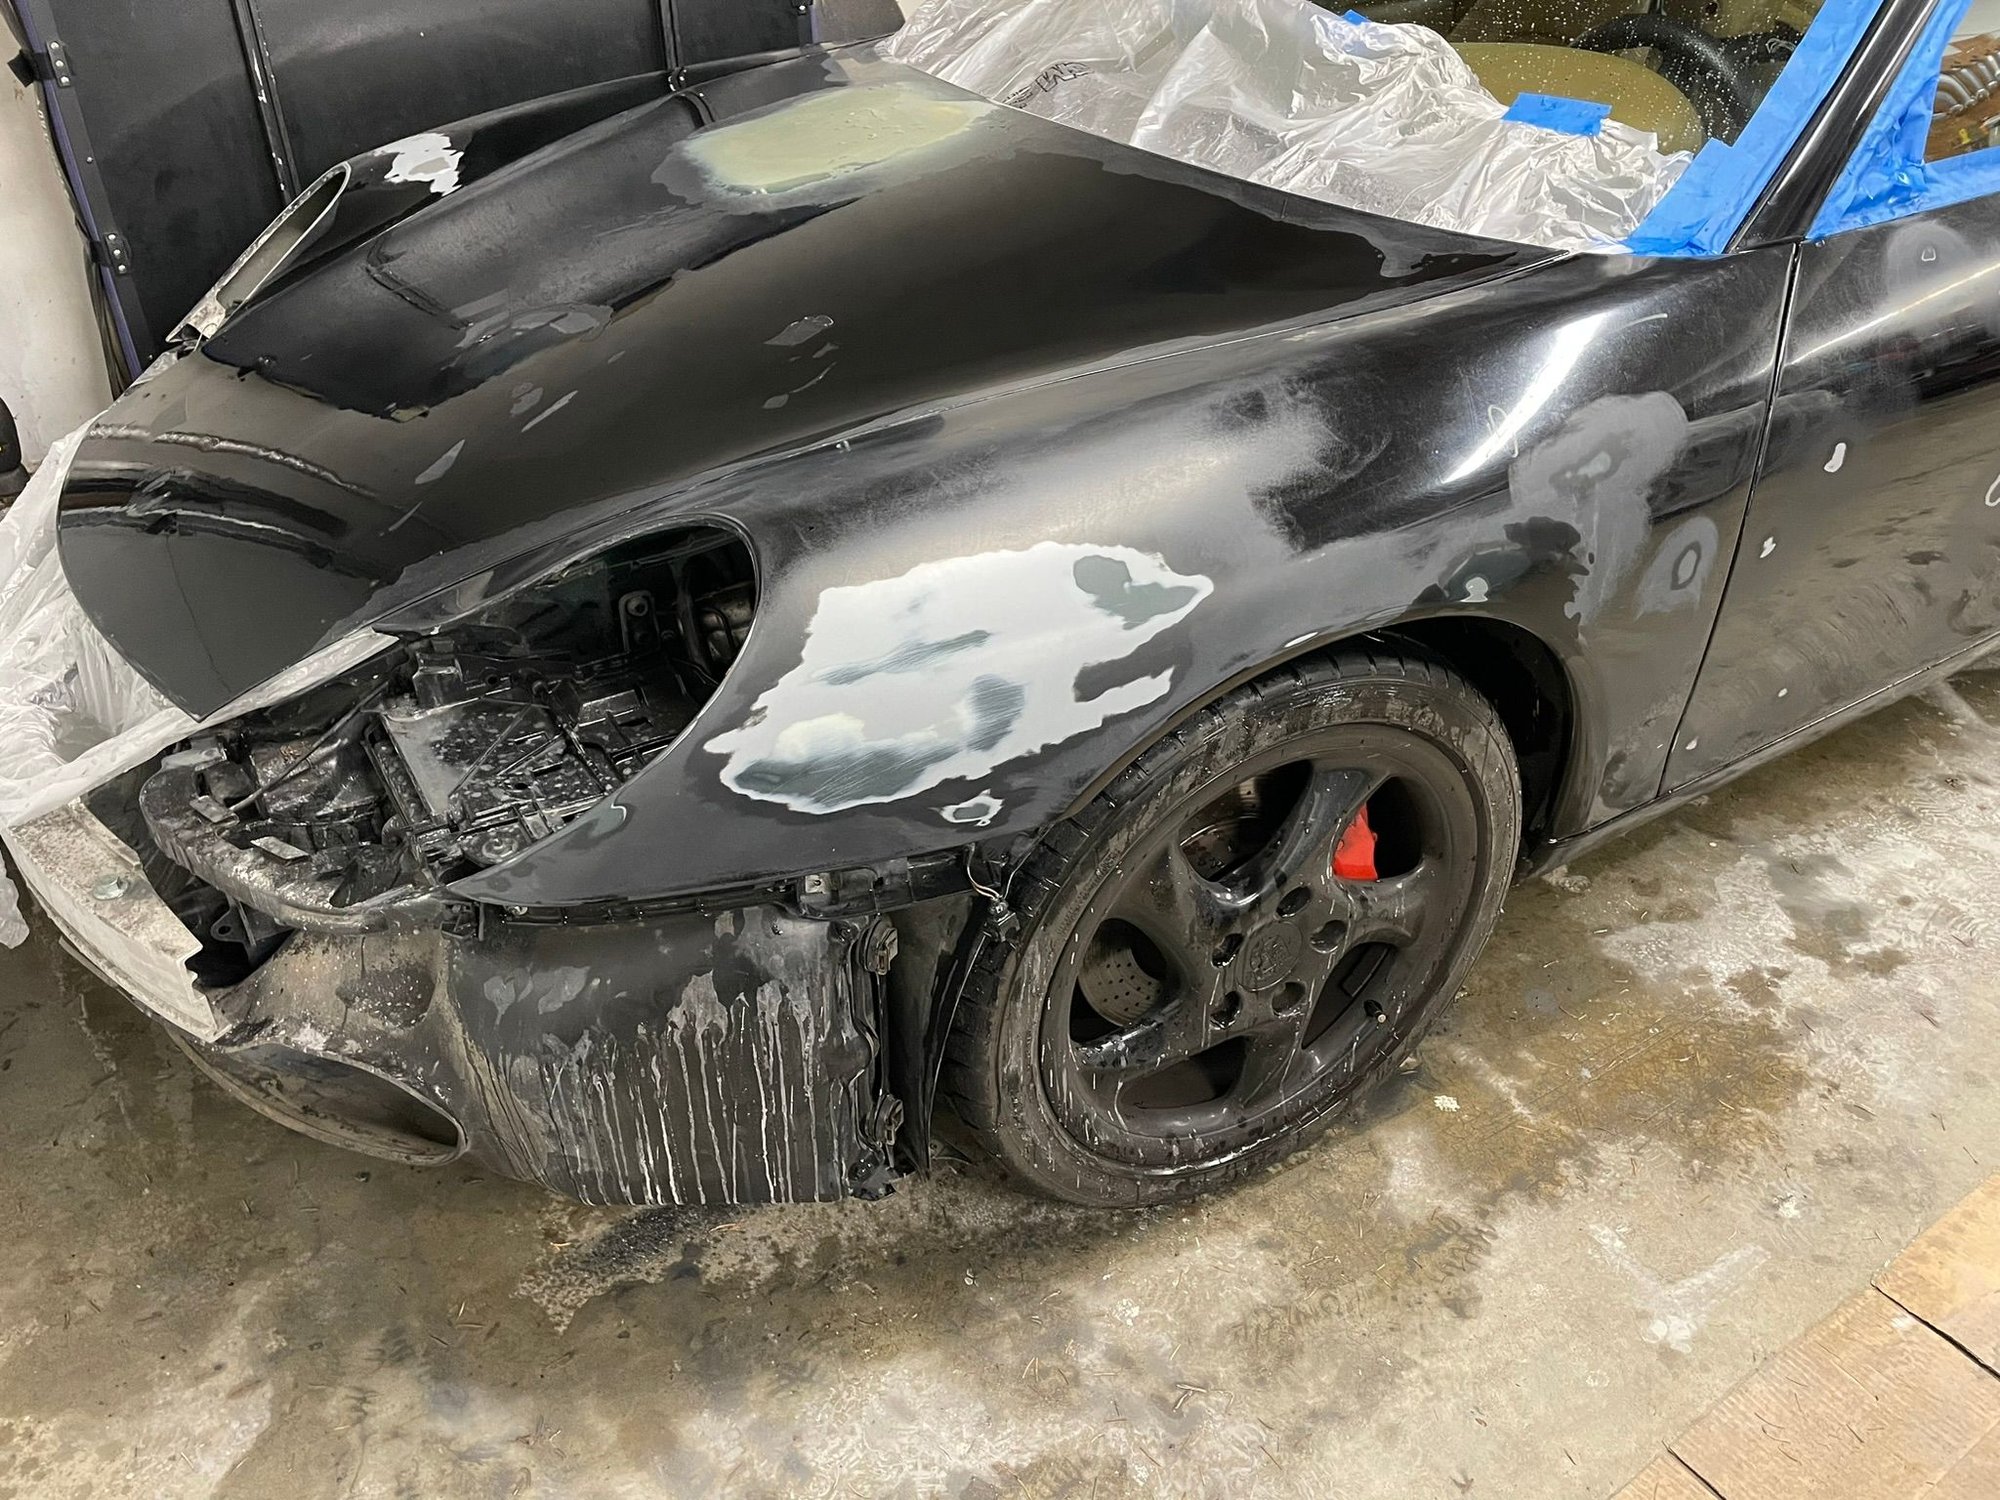
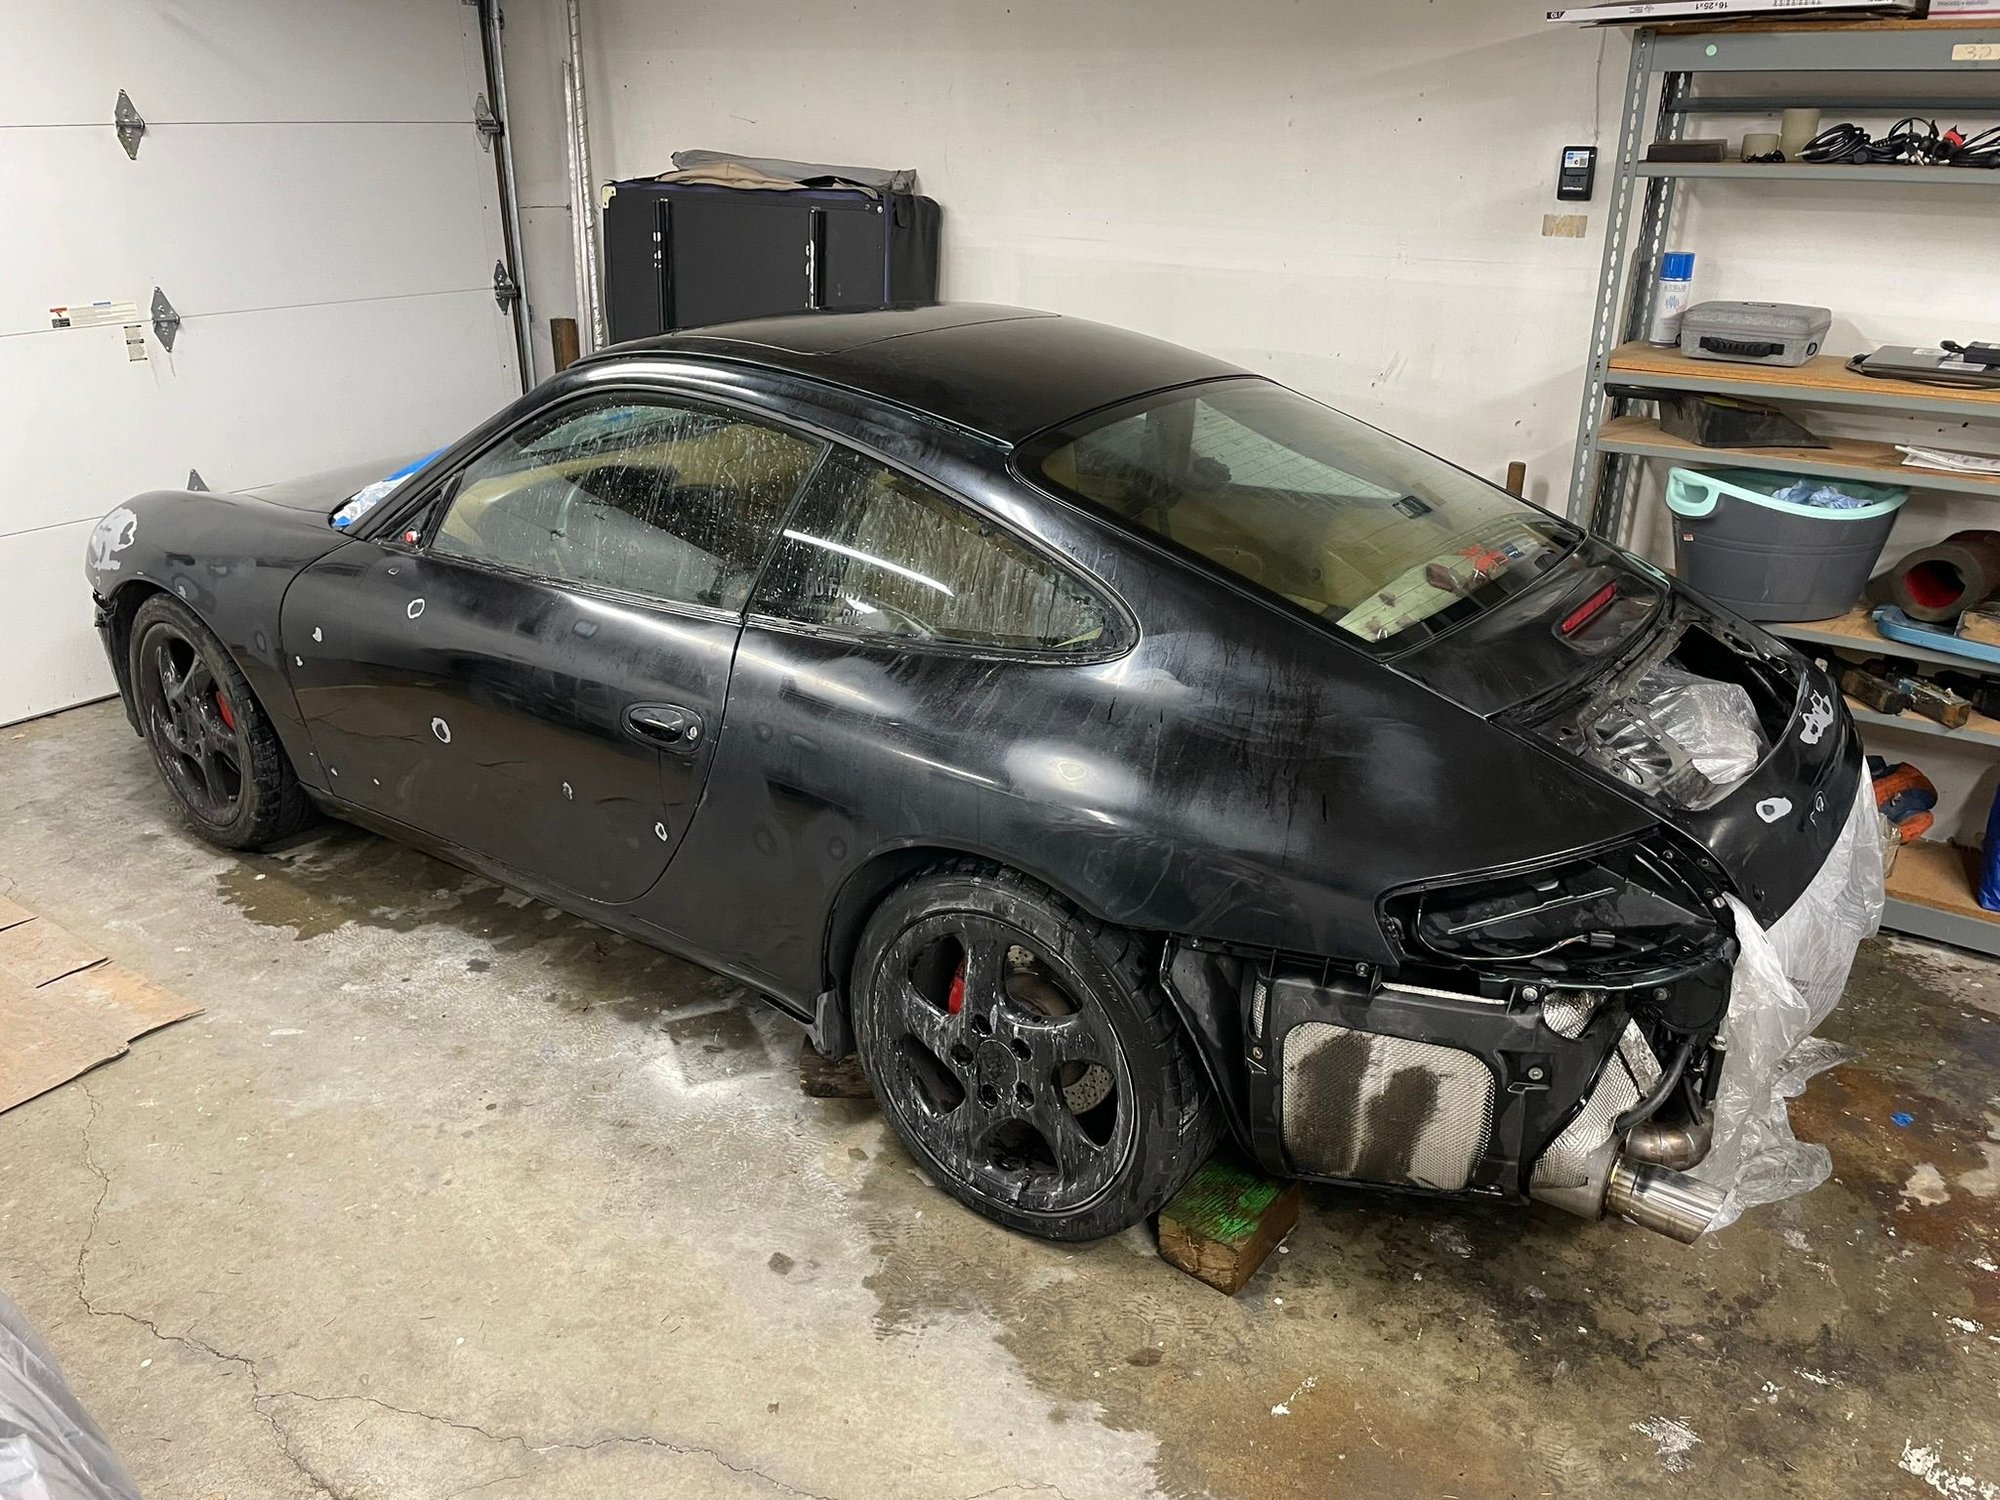
Finally had some time in the shop amidst my own injuries and caretaking others. Half of the main car structure is ready for wrap - hood, pass fender, pass door, pass quarter panel, and roof - are all sanded, smoothed, and checked for gouges. I think I could just paint the car at this point, but the main drawback being the bumpers aren't exactly easy to paint, especially for a beginner with paint and body like me. For now, onward with the wrap and prep.
I need to either A) find a shop to attempt to repair the front bumper or B) try to repair it myself. The creases worry me a bit more than the punctures. I might just get YouTube certified on plastic welding and DIY.
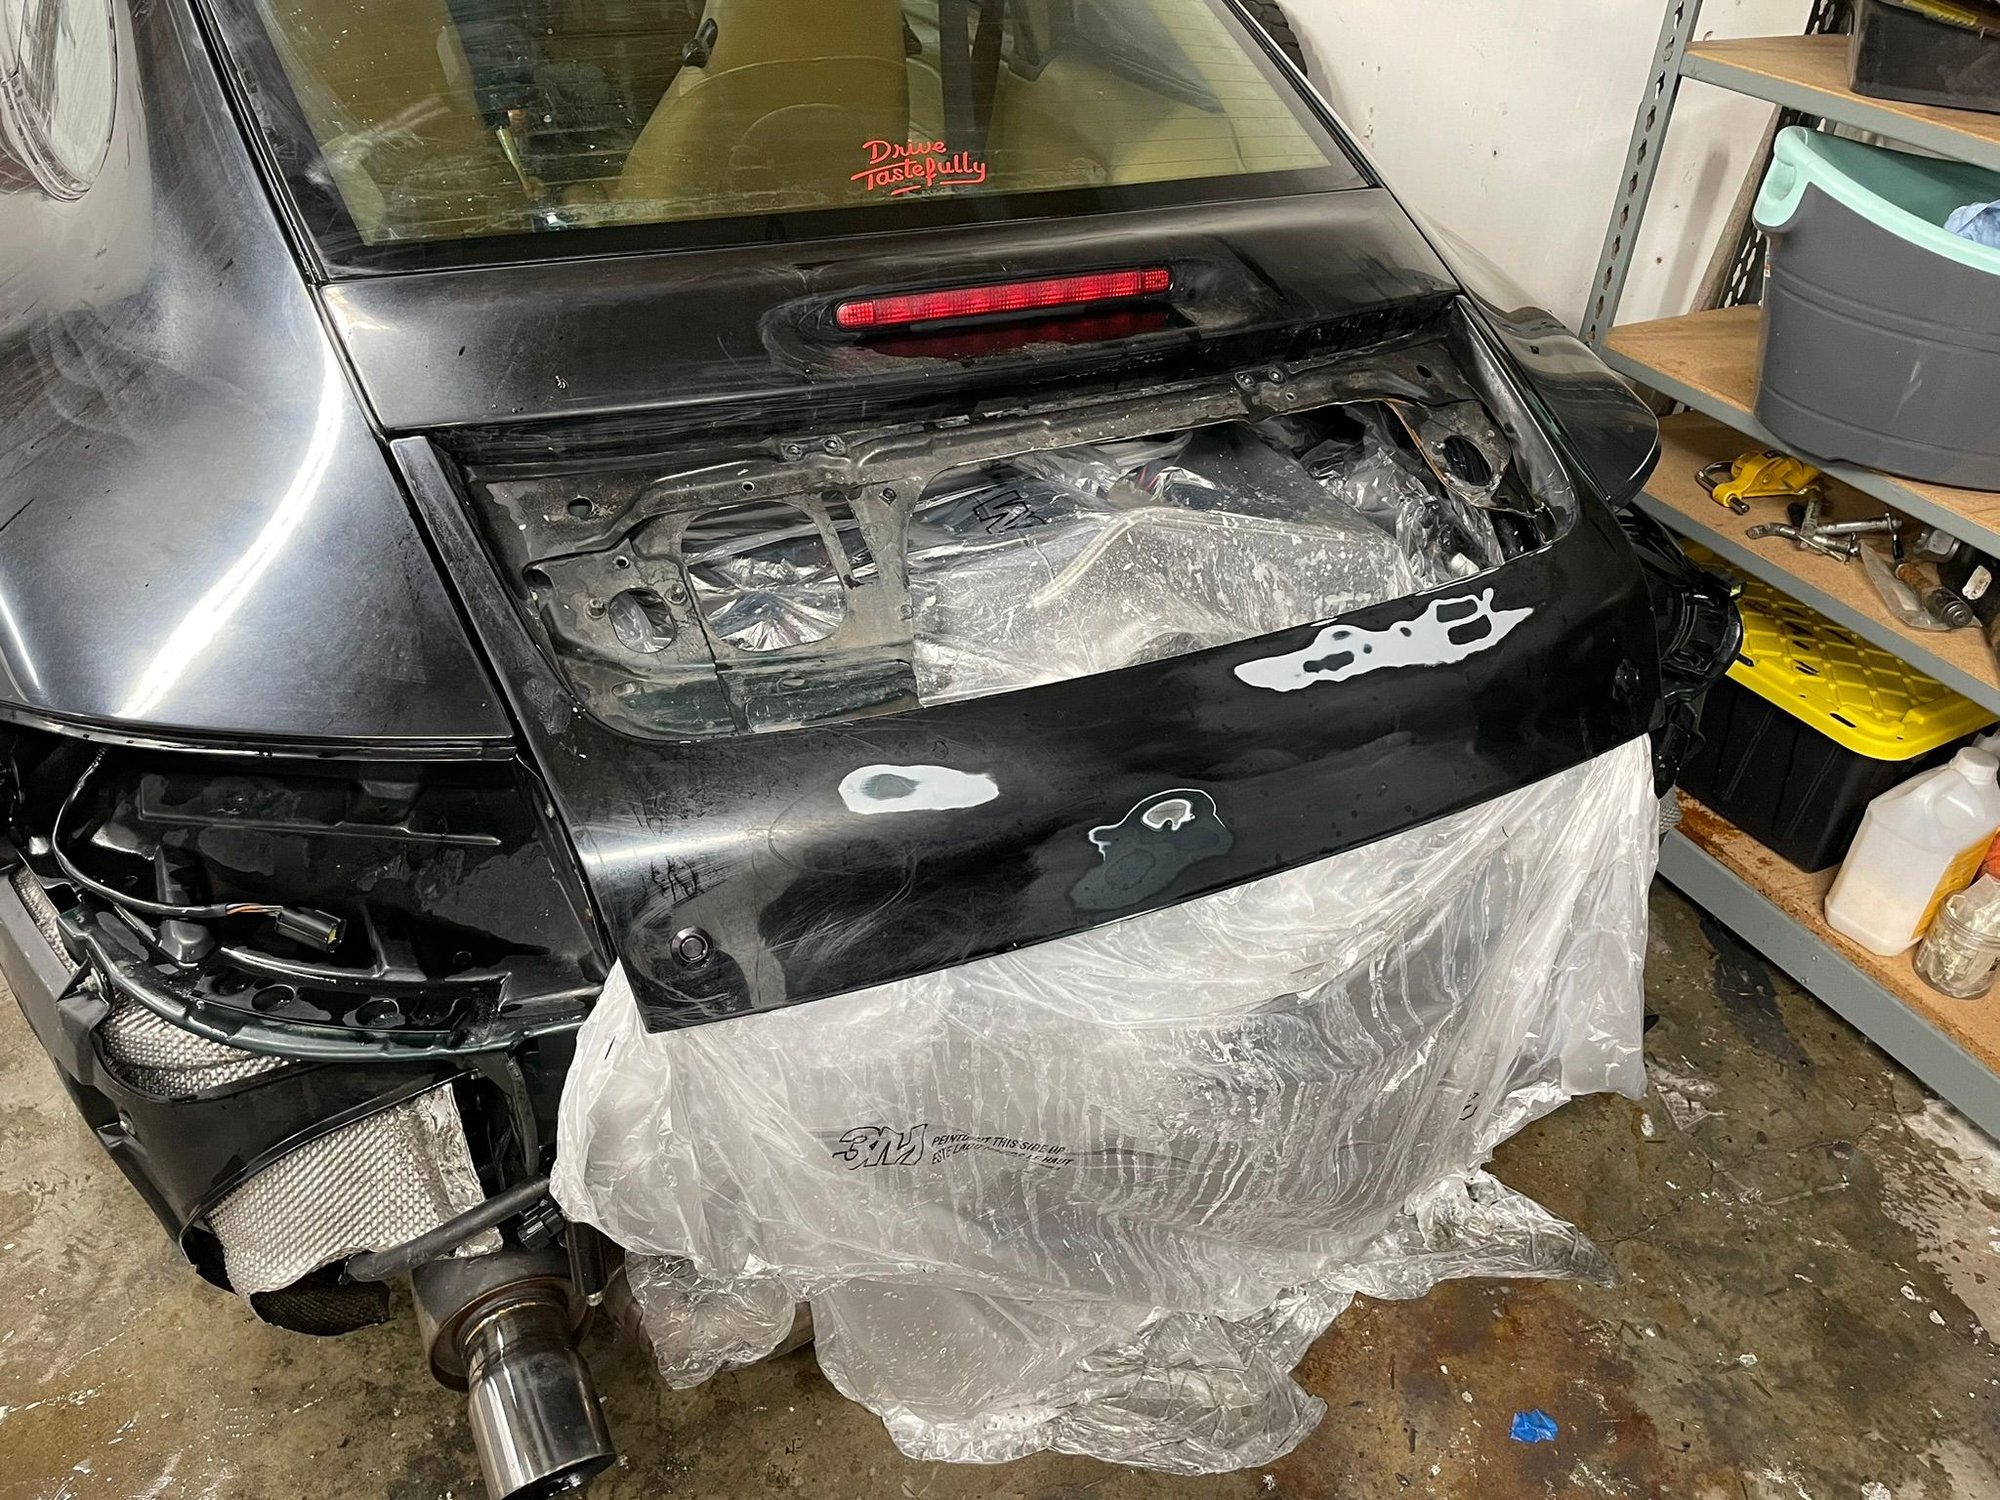
I'm hoping to finish the rest of the main body panels tomorrow and possibly tear down and prep the deck lid. I need to do some minor trimming behind the deck lid outer panel so I can access the nuts that hold the body pin buttons and clean up the rough cuts with a flap wheel. Once that's done I'll paint the edges so they're not bare.
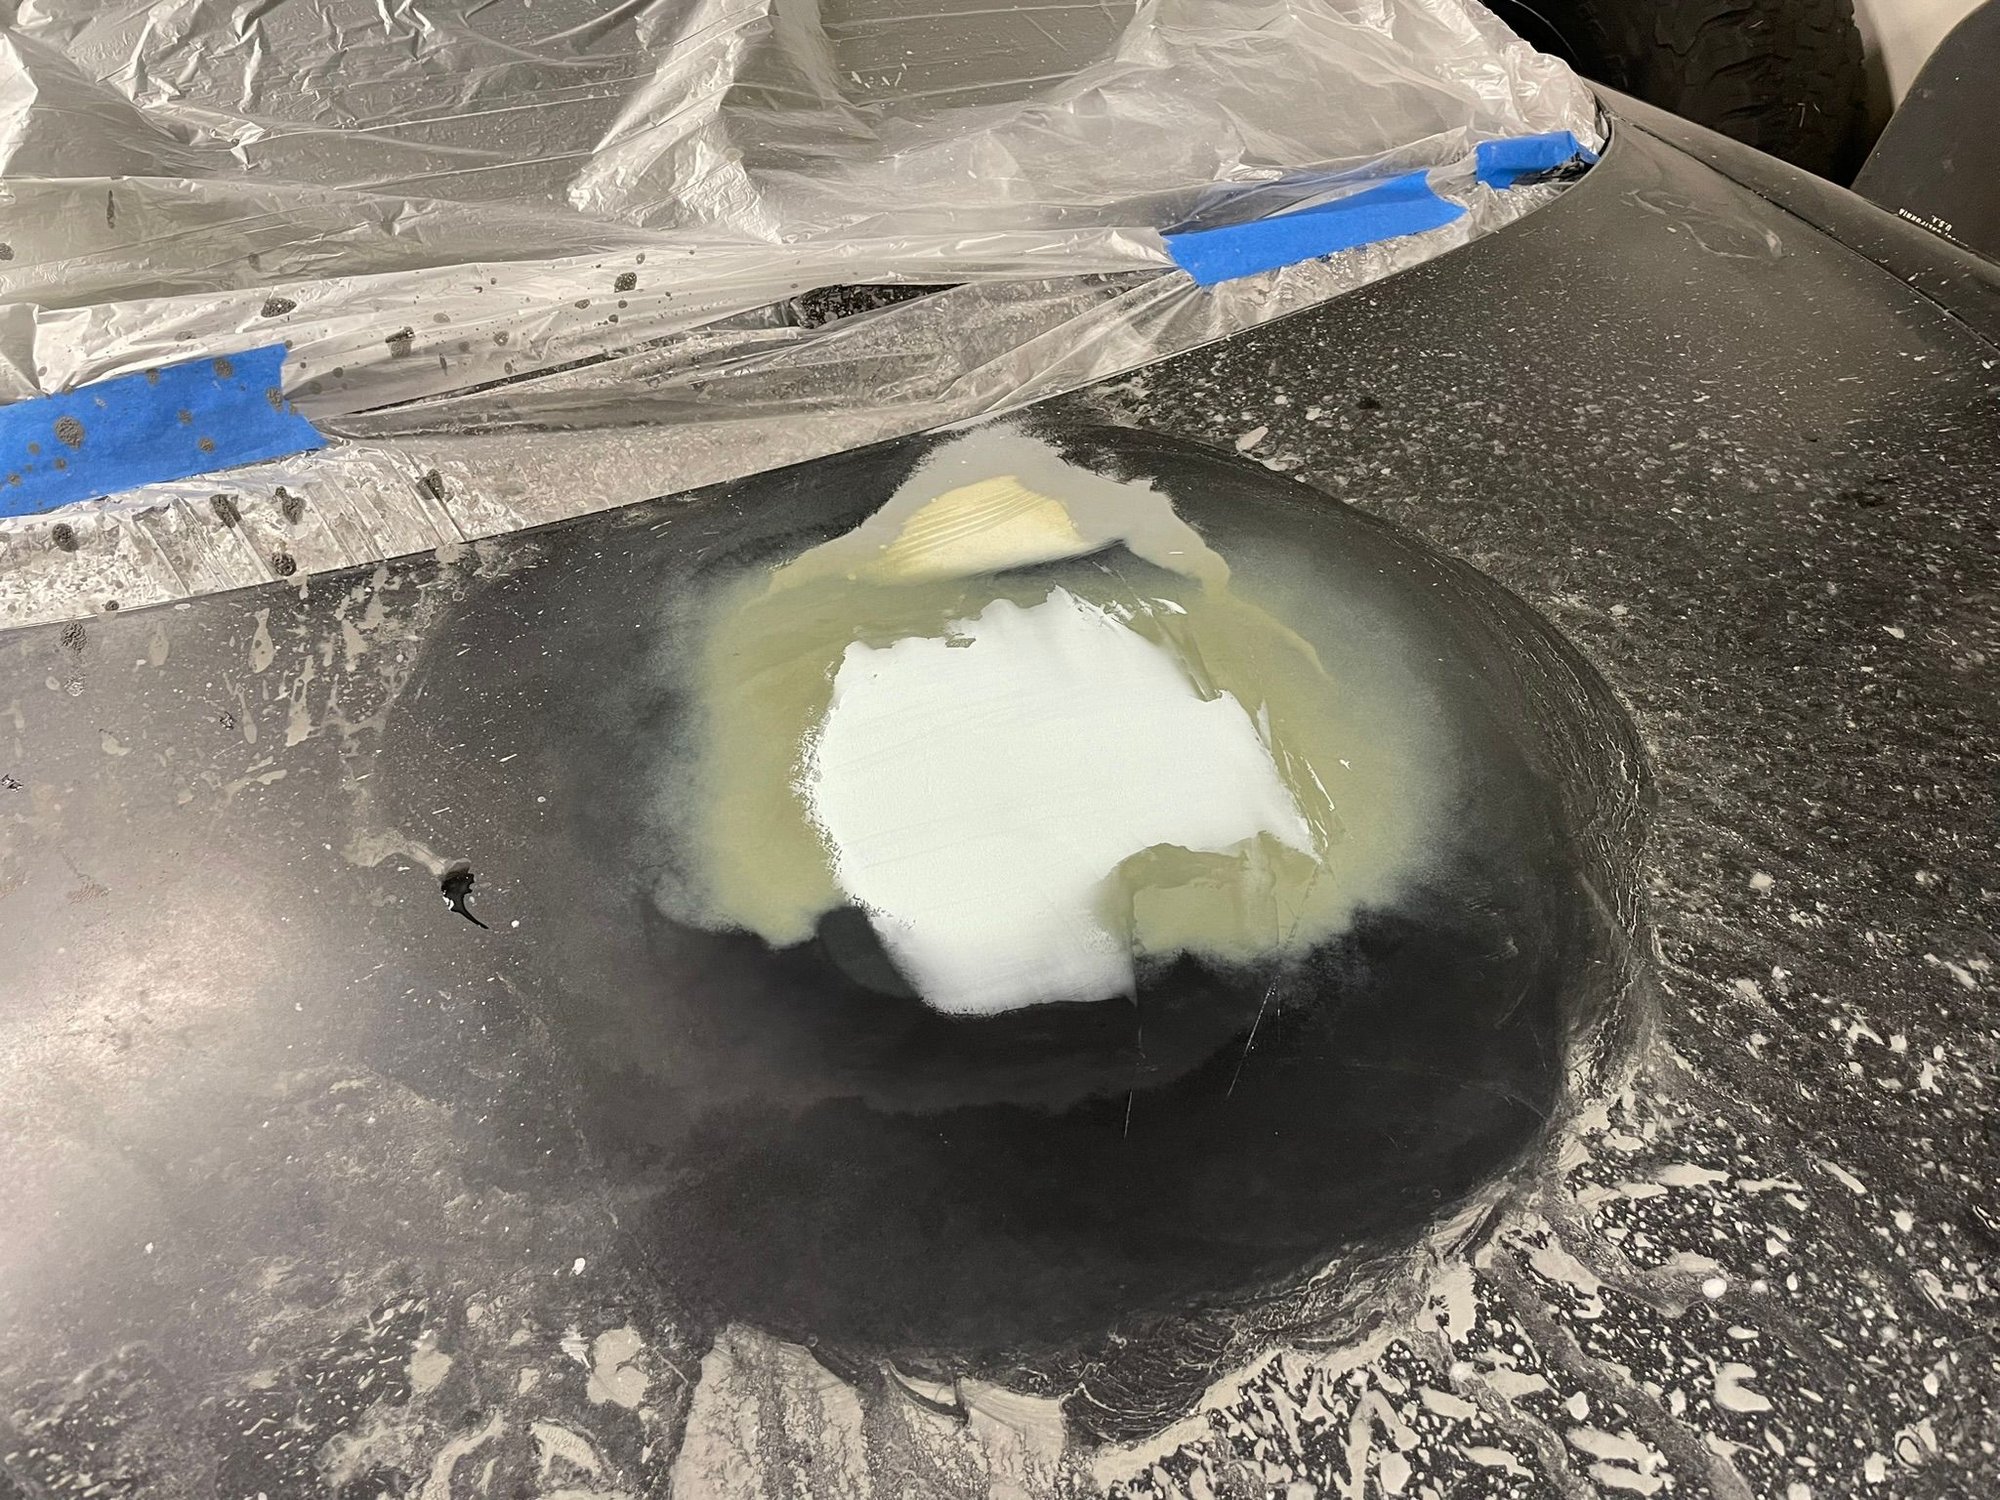
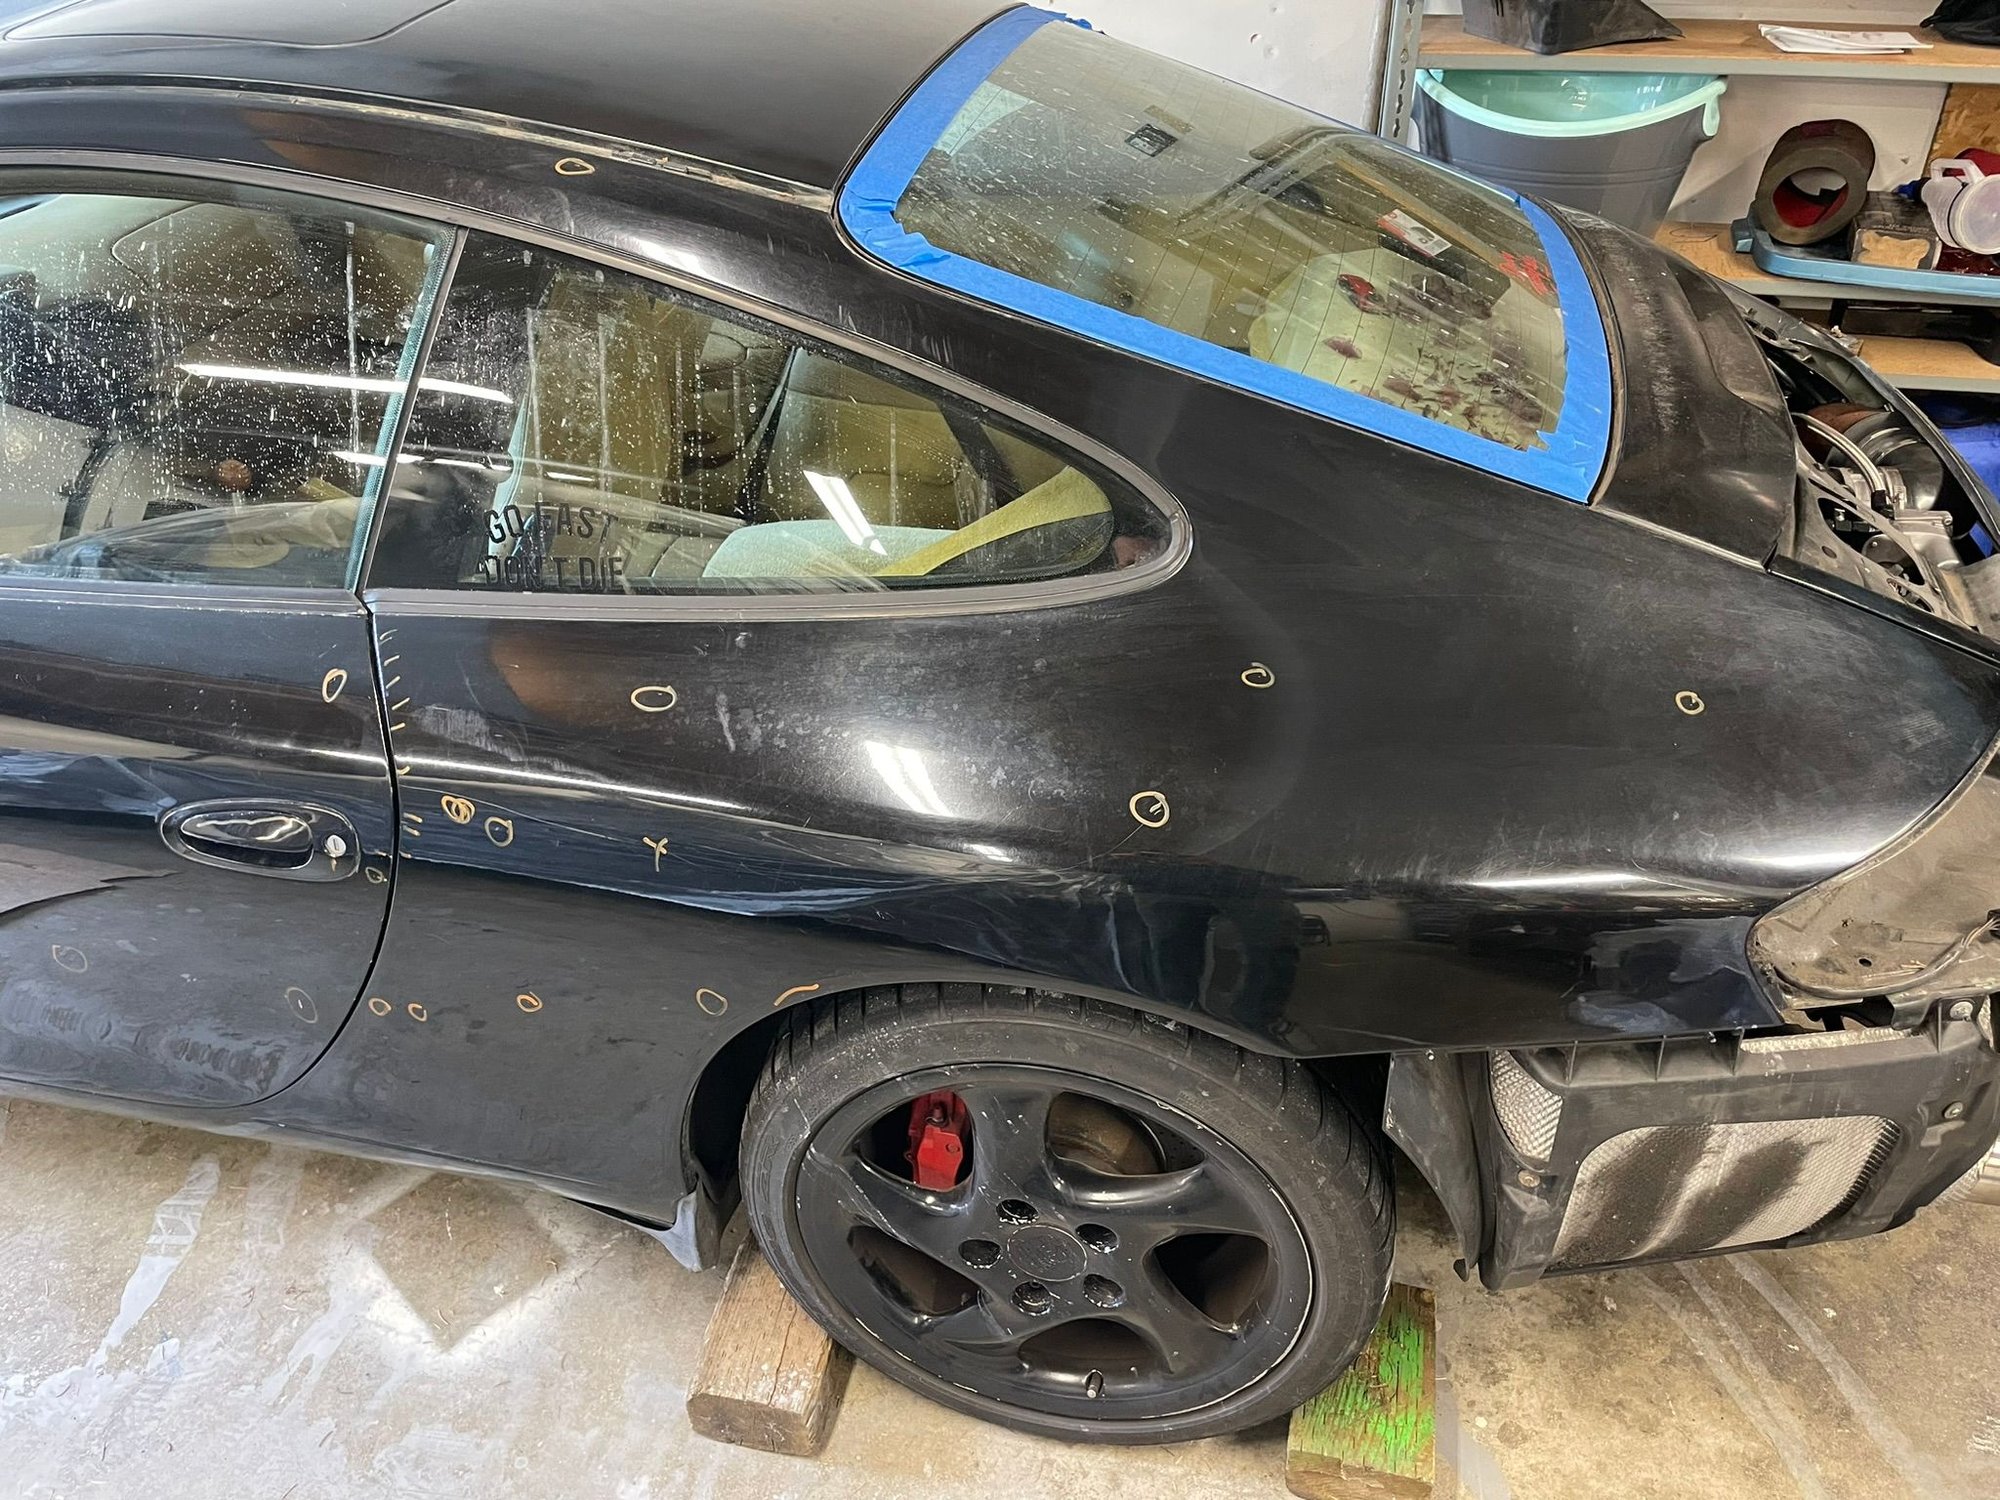
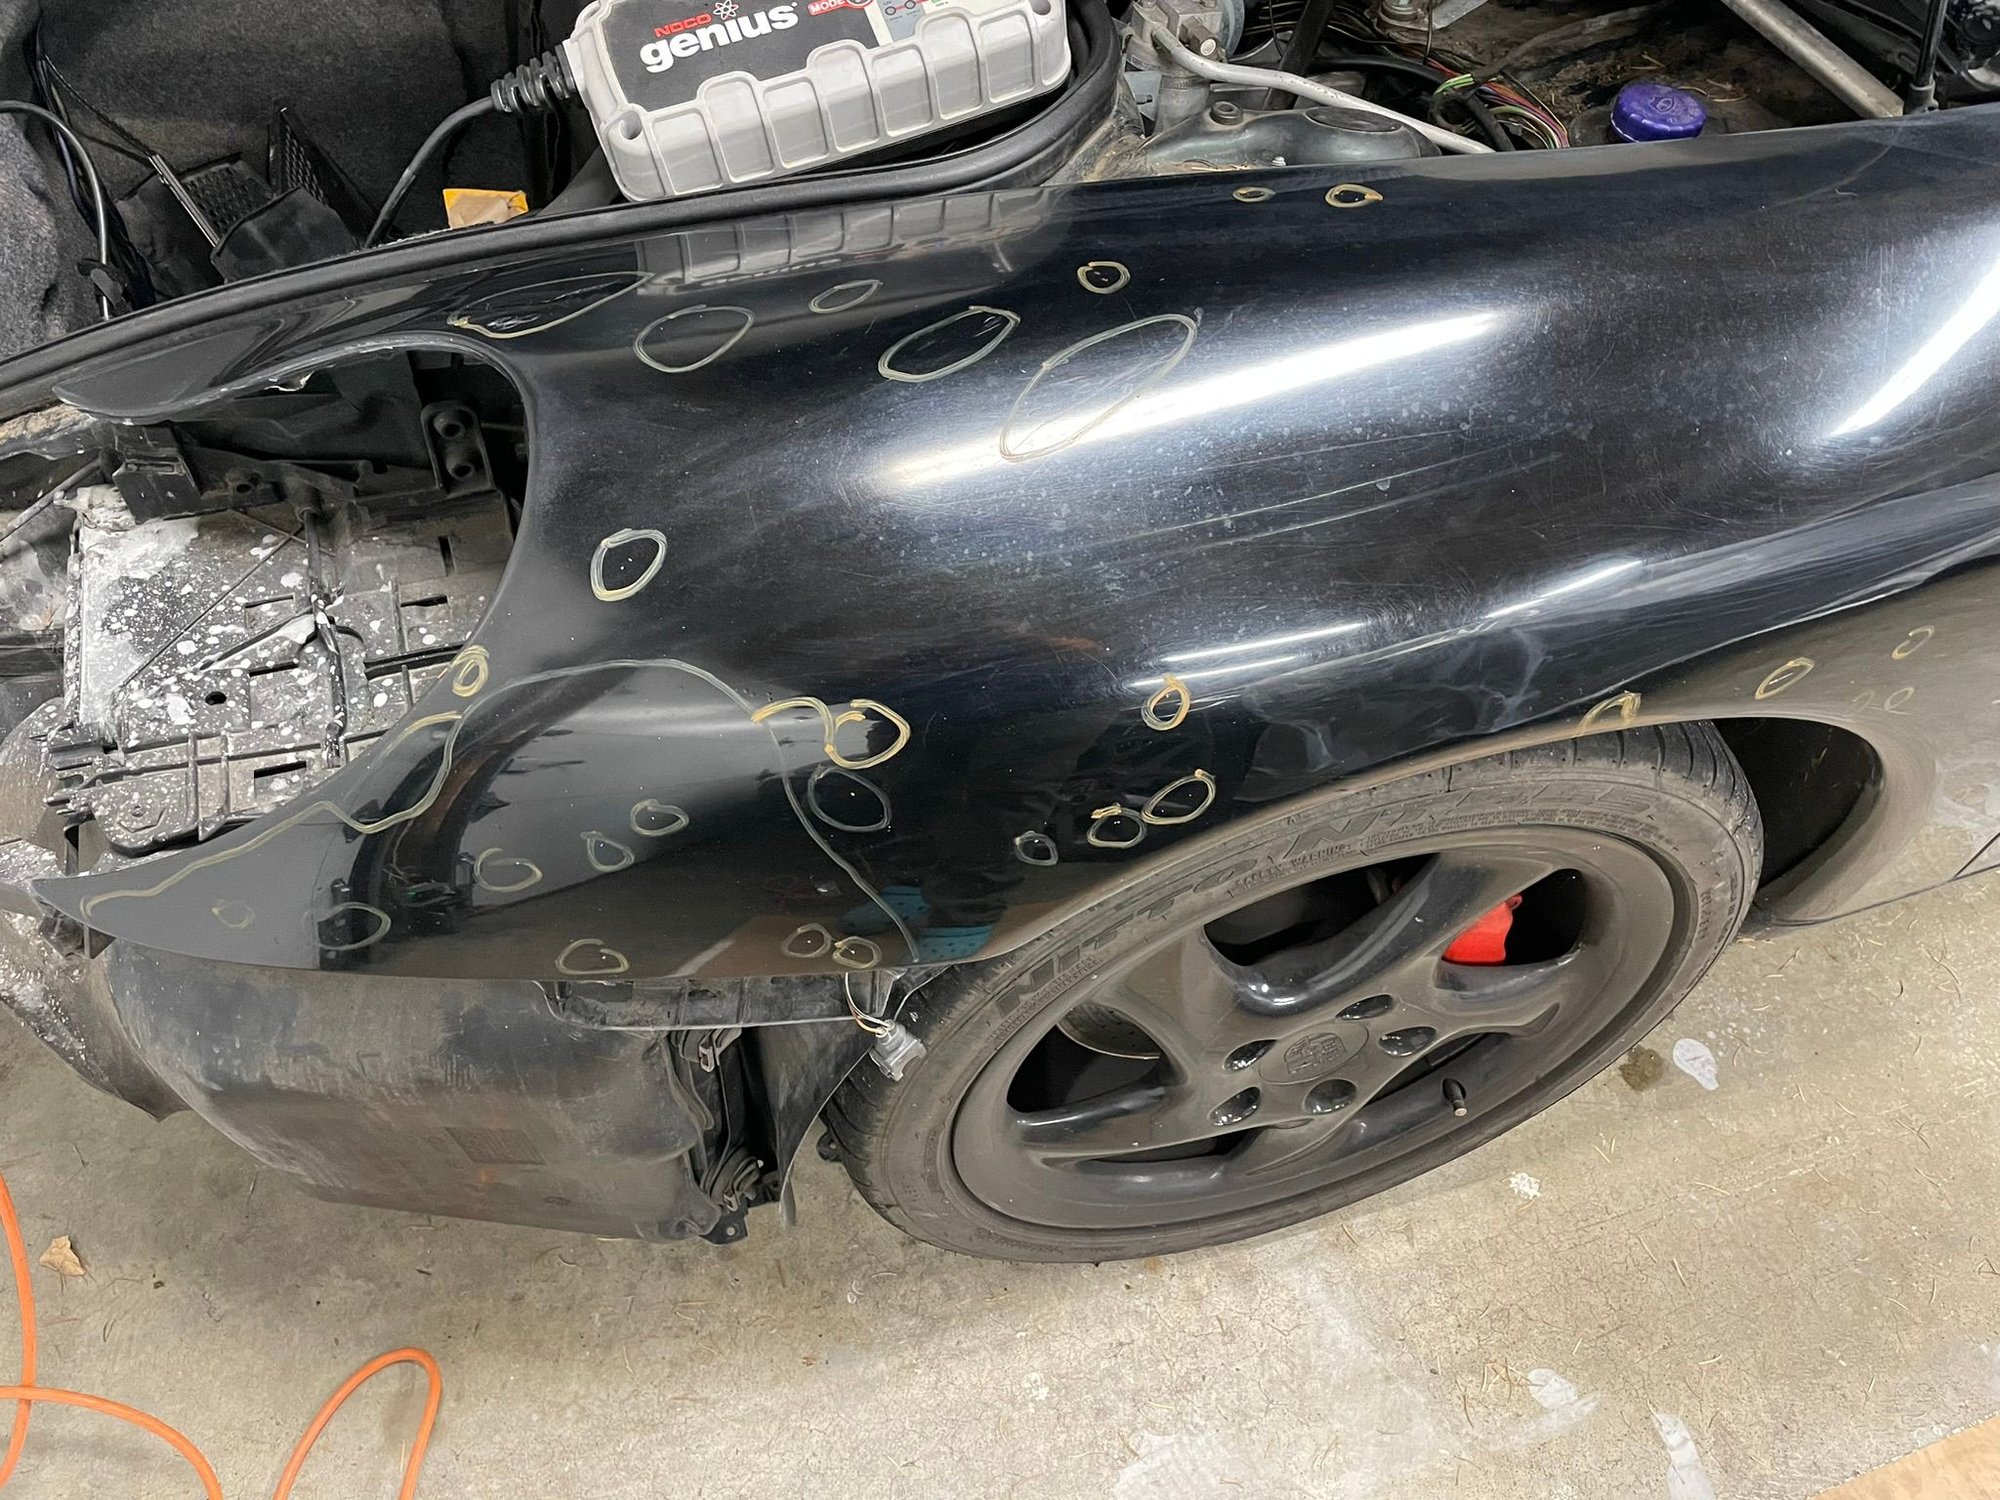
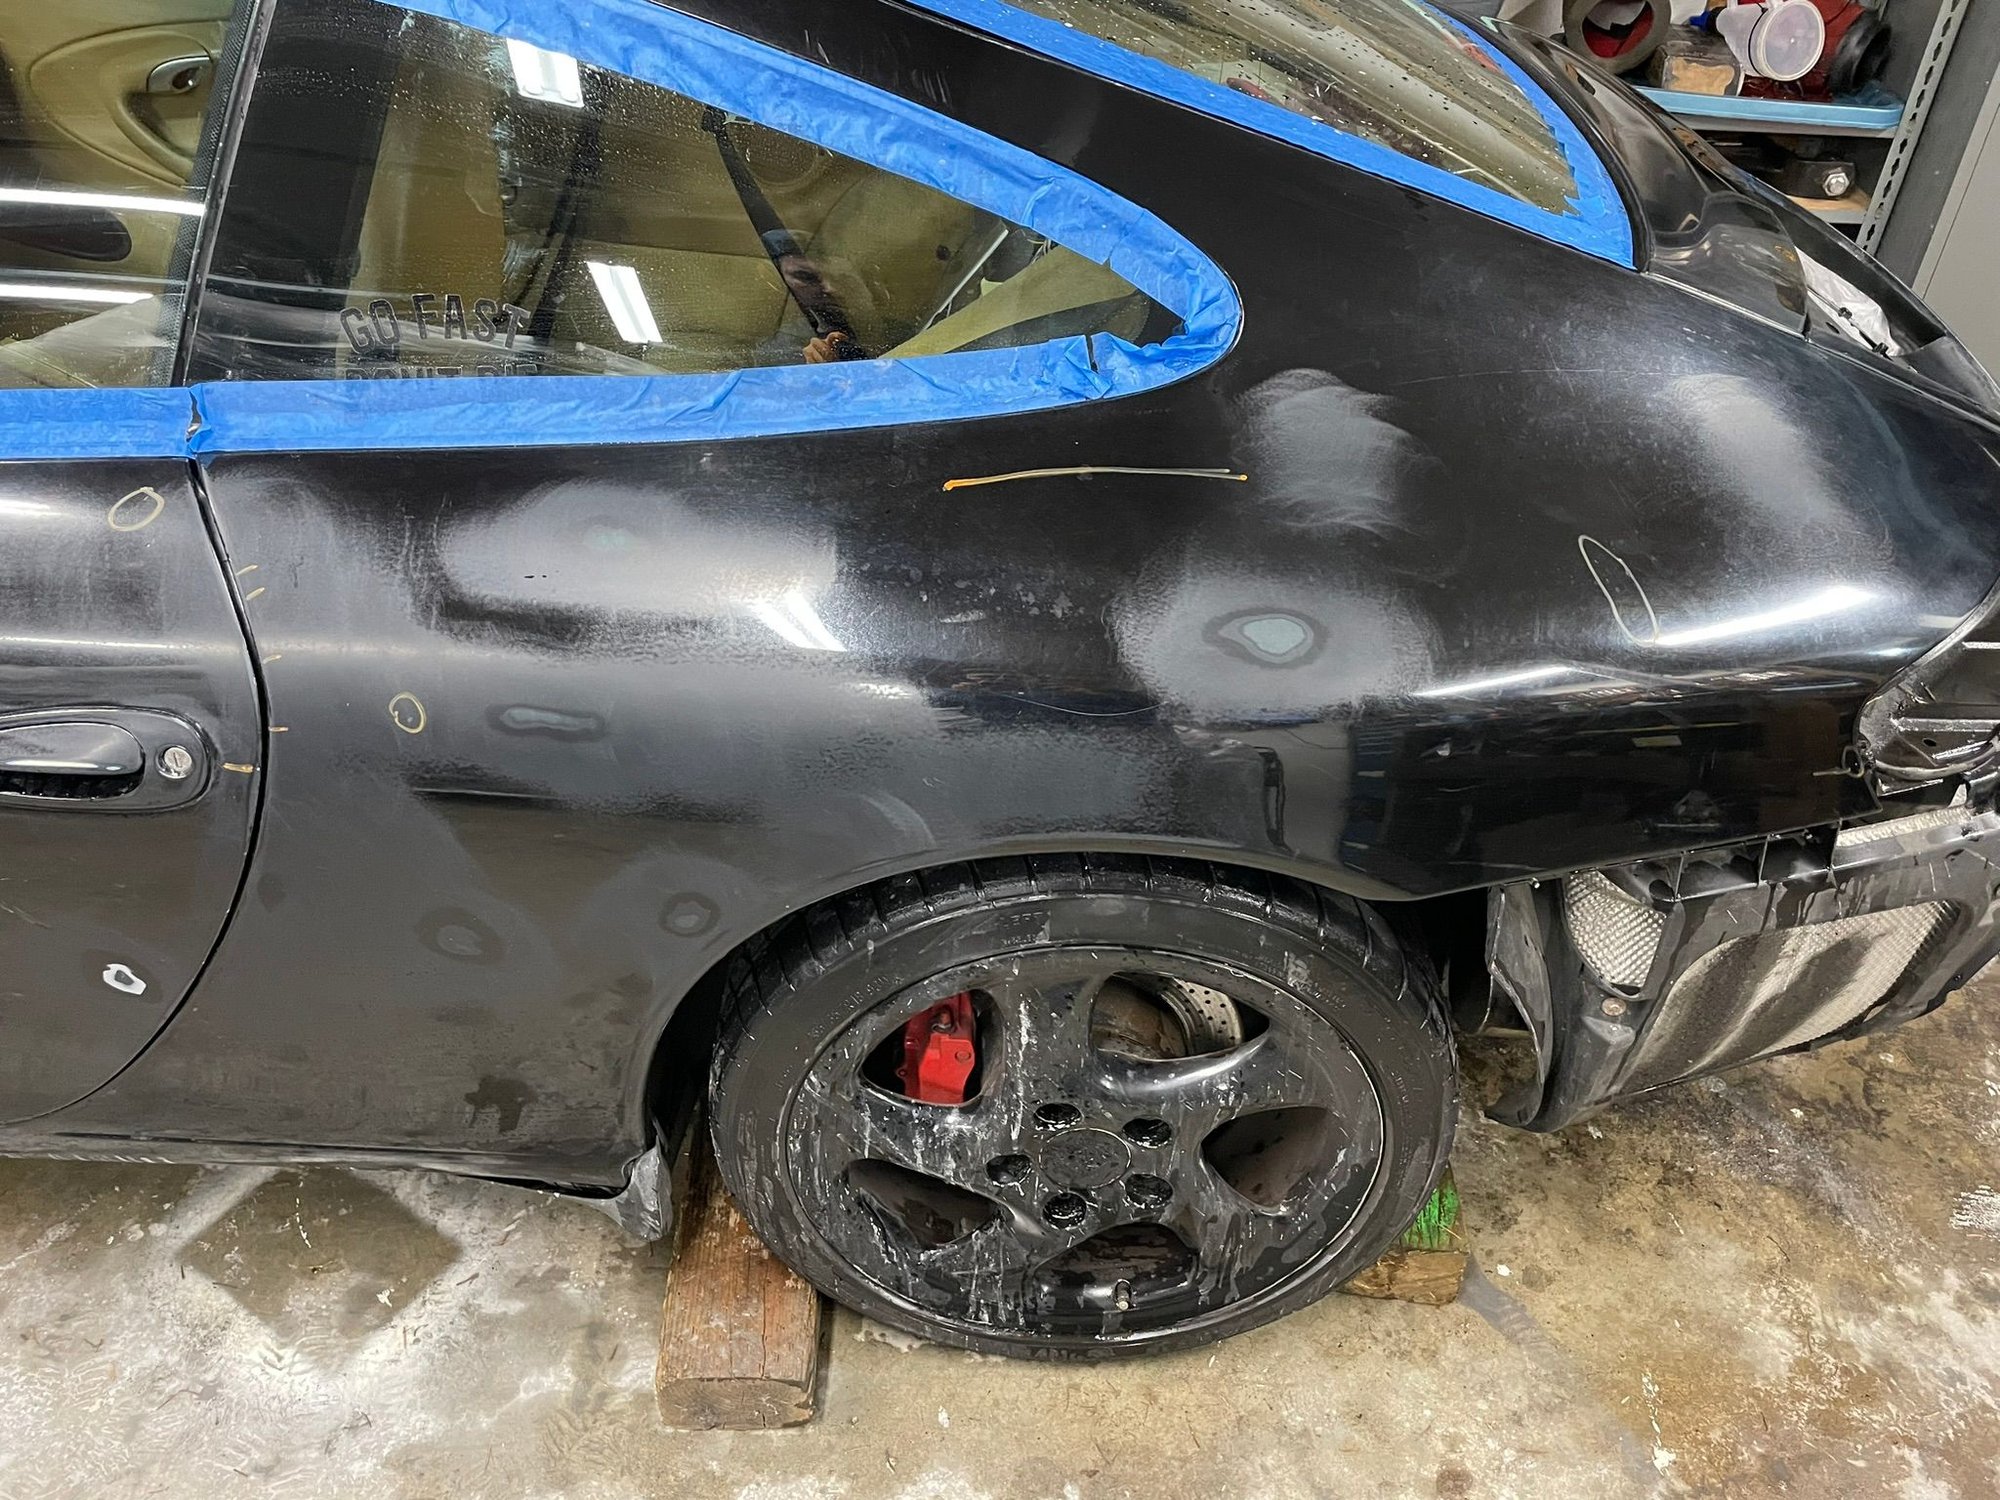
I took some bondo to the hood to fill in the very slight dent leftover from PDR. I didn't have to do this for the pass fender, thankfully. After a few rounds of sanding, and some primer to cover any exposed metal, I think the main dent and paint repair is done, at least for this side of the car. Drivers door looks terrible...hopefully they're just superficial scratches into the black paint and not into the green underneath.
Looks like crap but it's actually smooth and should take the wrap well. Anyway, here's photos of the current status of the car.
Don't worry, I smoothed it out after this.
As for the exhaust, I want to try to get that done while I continue work on the body. I designed what I wanted, and will be placing an order with Ace Race Parts since they're "local"-ish and I've stopped into their warehouse in the past.
Before anyone asks why 2 bend joints instead of 1 in the middle - each only gives 0.6 degrees of movement...not a lot. Aligning all these parts each time is going to be a pain without some tolerance built into the system, plus I want double the amount of available movement during heat cycling.
Another productive day in the shop. Exhaust parts are ordered, but I realized I need to do something about the O2 sensor. The H pipe will essentially delete the current bung. I'll have to figure this out before I start cutting metal.
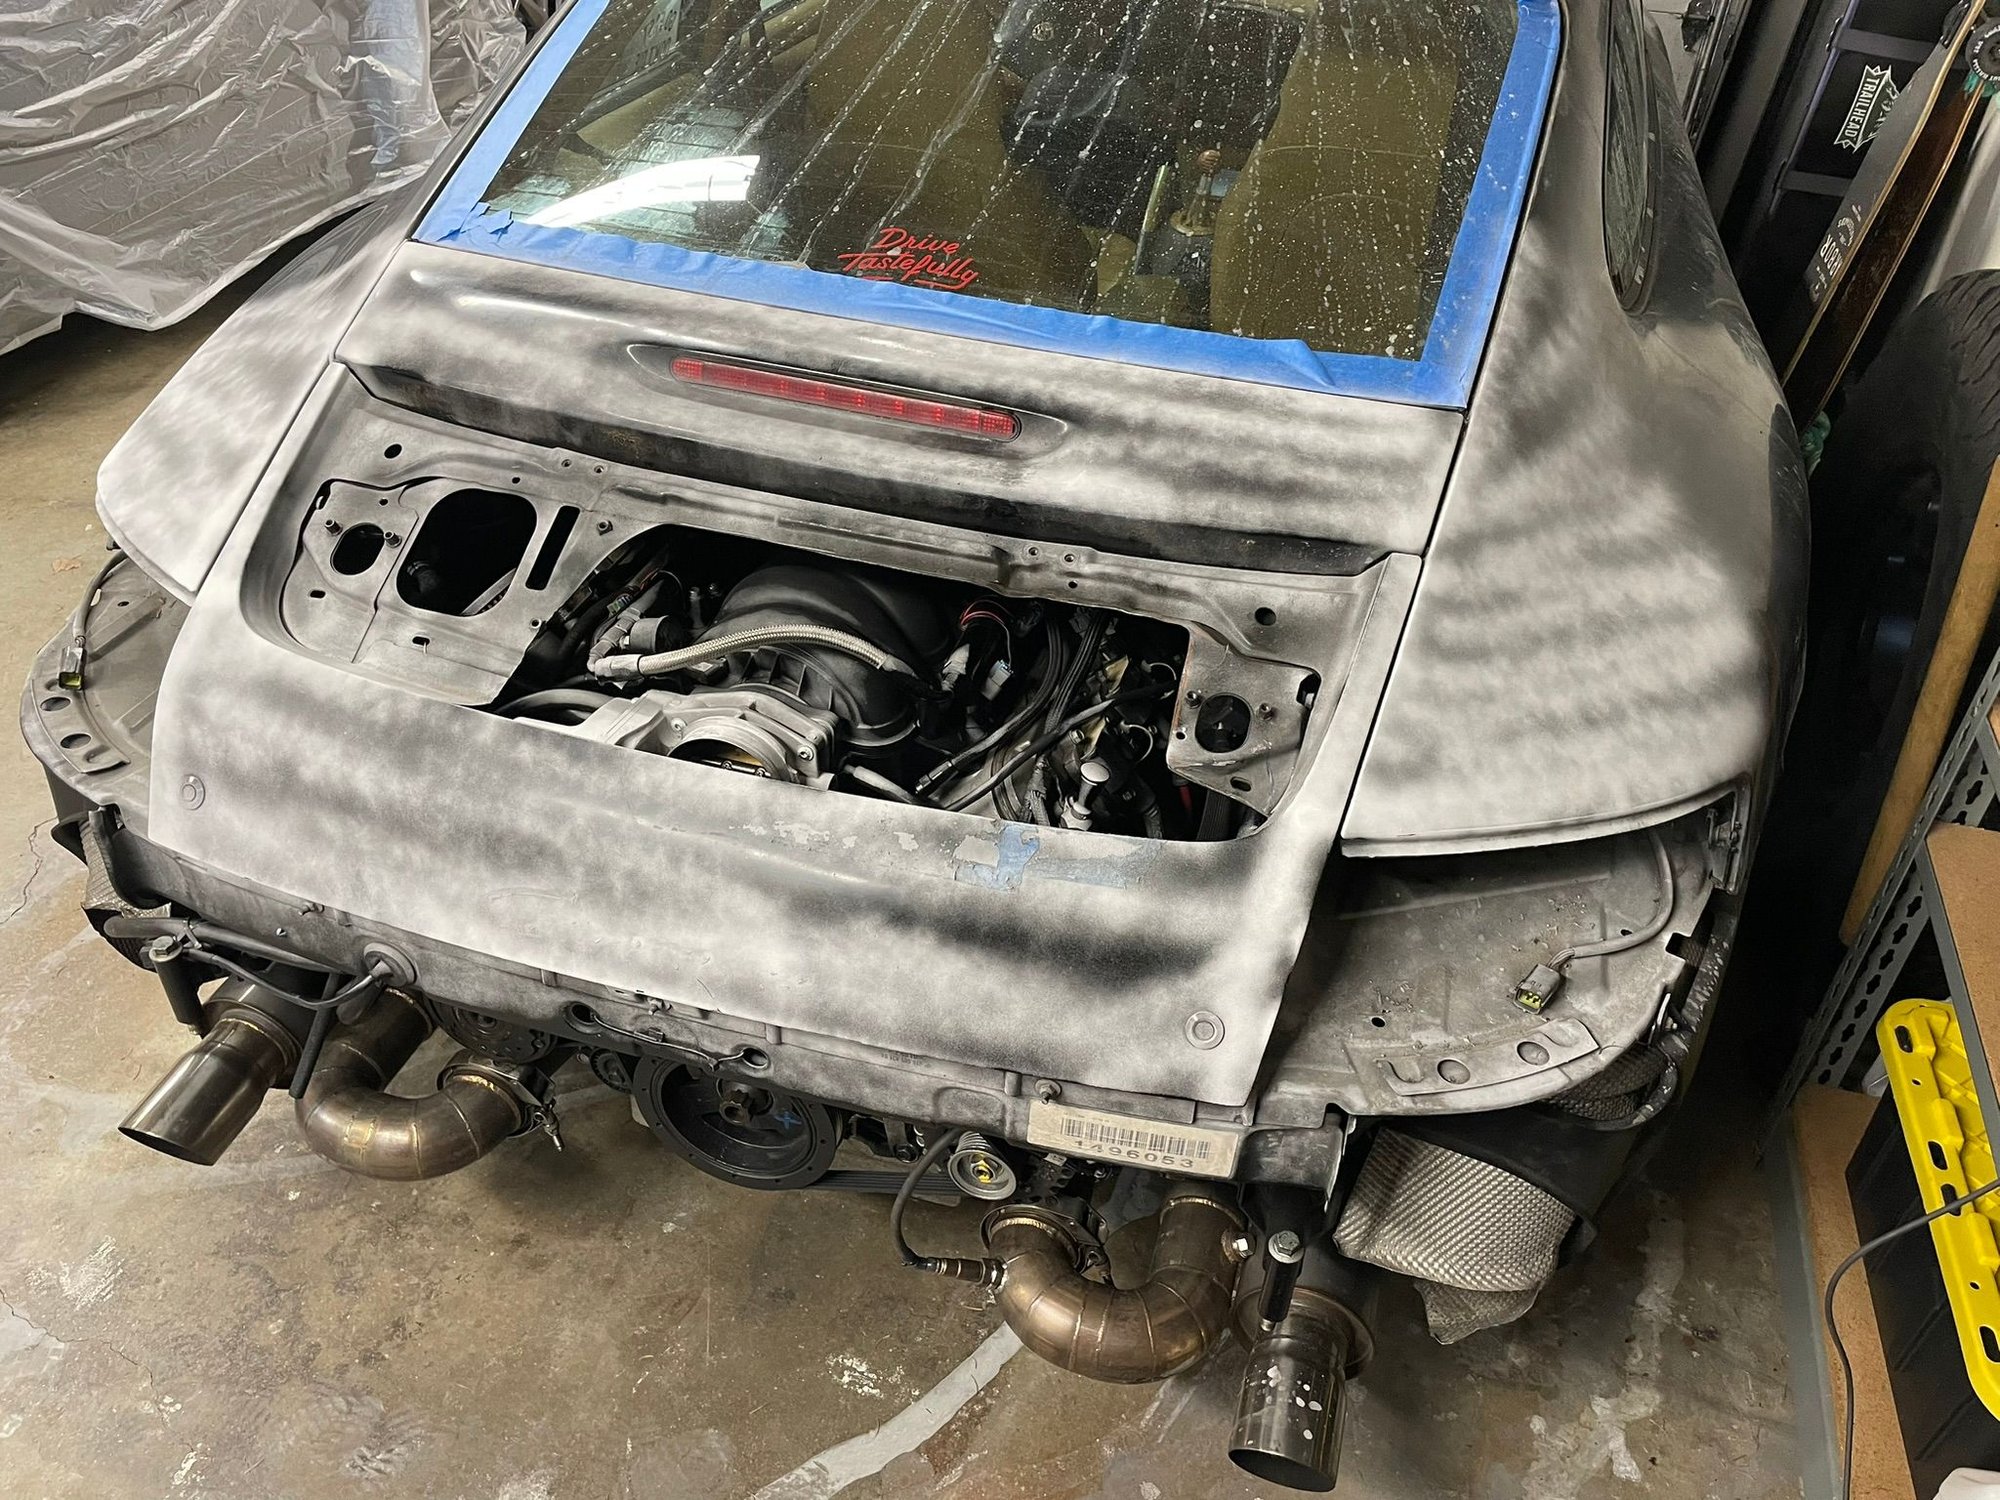
The main body is 100% prepped for the wrap. I still need to prep the bumpers and finish the rear deck lid prep, bondo, and sand. There's a small low spot after PDR on the deck lid that I want gone just in case I keep it forever. Rear bumper has spider cracks that I think are from using crap paint with crap prep. If I feel like another shop day tomorrow, I'll use a 220 grit pad and knock it down to the green layer. As for the front bumper, I think I can massage it back into place at the punctures, sand down the cracks to the bare plastic, and shoot some primer over those spots and wrap it.
I realized after posting yesterdays update that I didn't post the most up to date pics. Here's what the car looked like when I started today, end of yesterday:
Roof is the cleanest panel of them all as far as chip repair.
Today's work lined out, lots of chips to knock down so they don't show up in the wrap...and a head start for when I finally decide to paint the car
shop crocs baby!
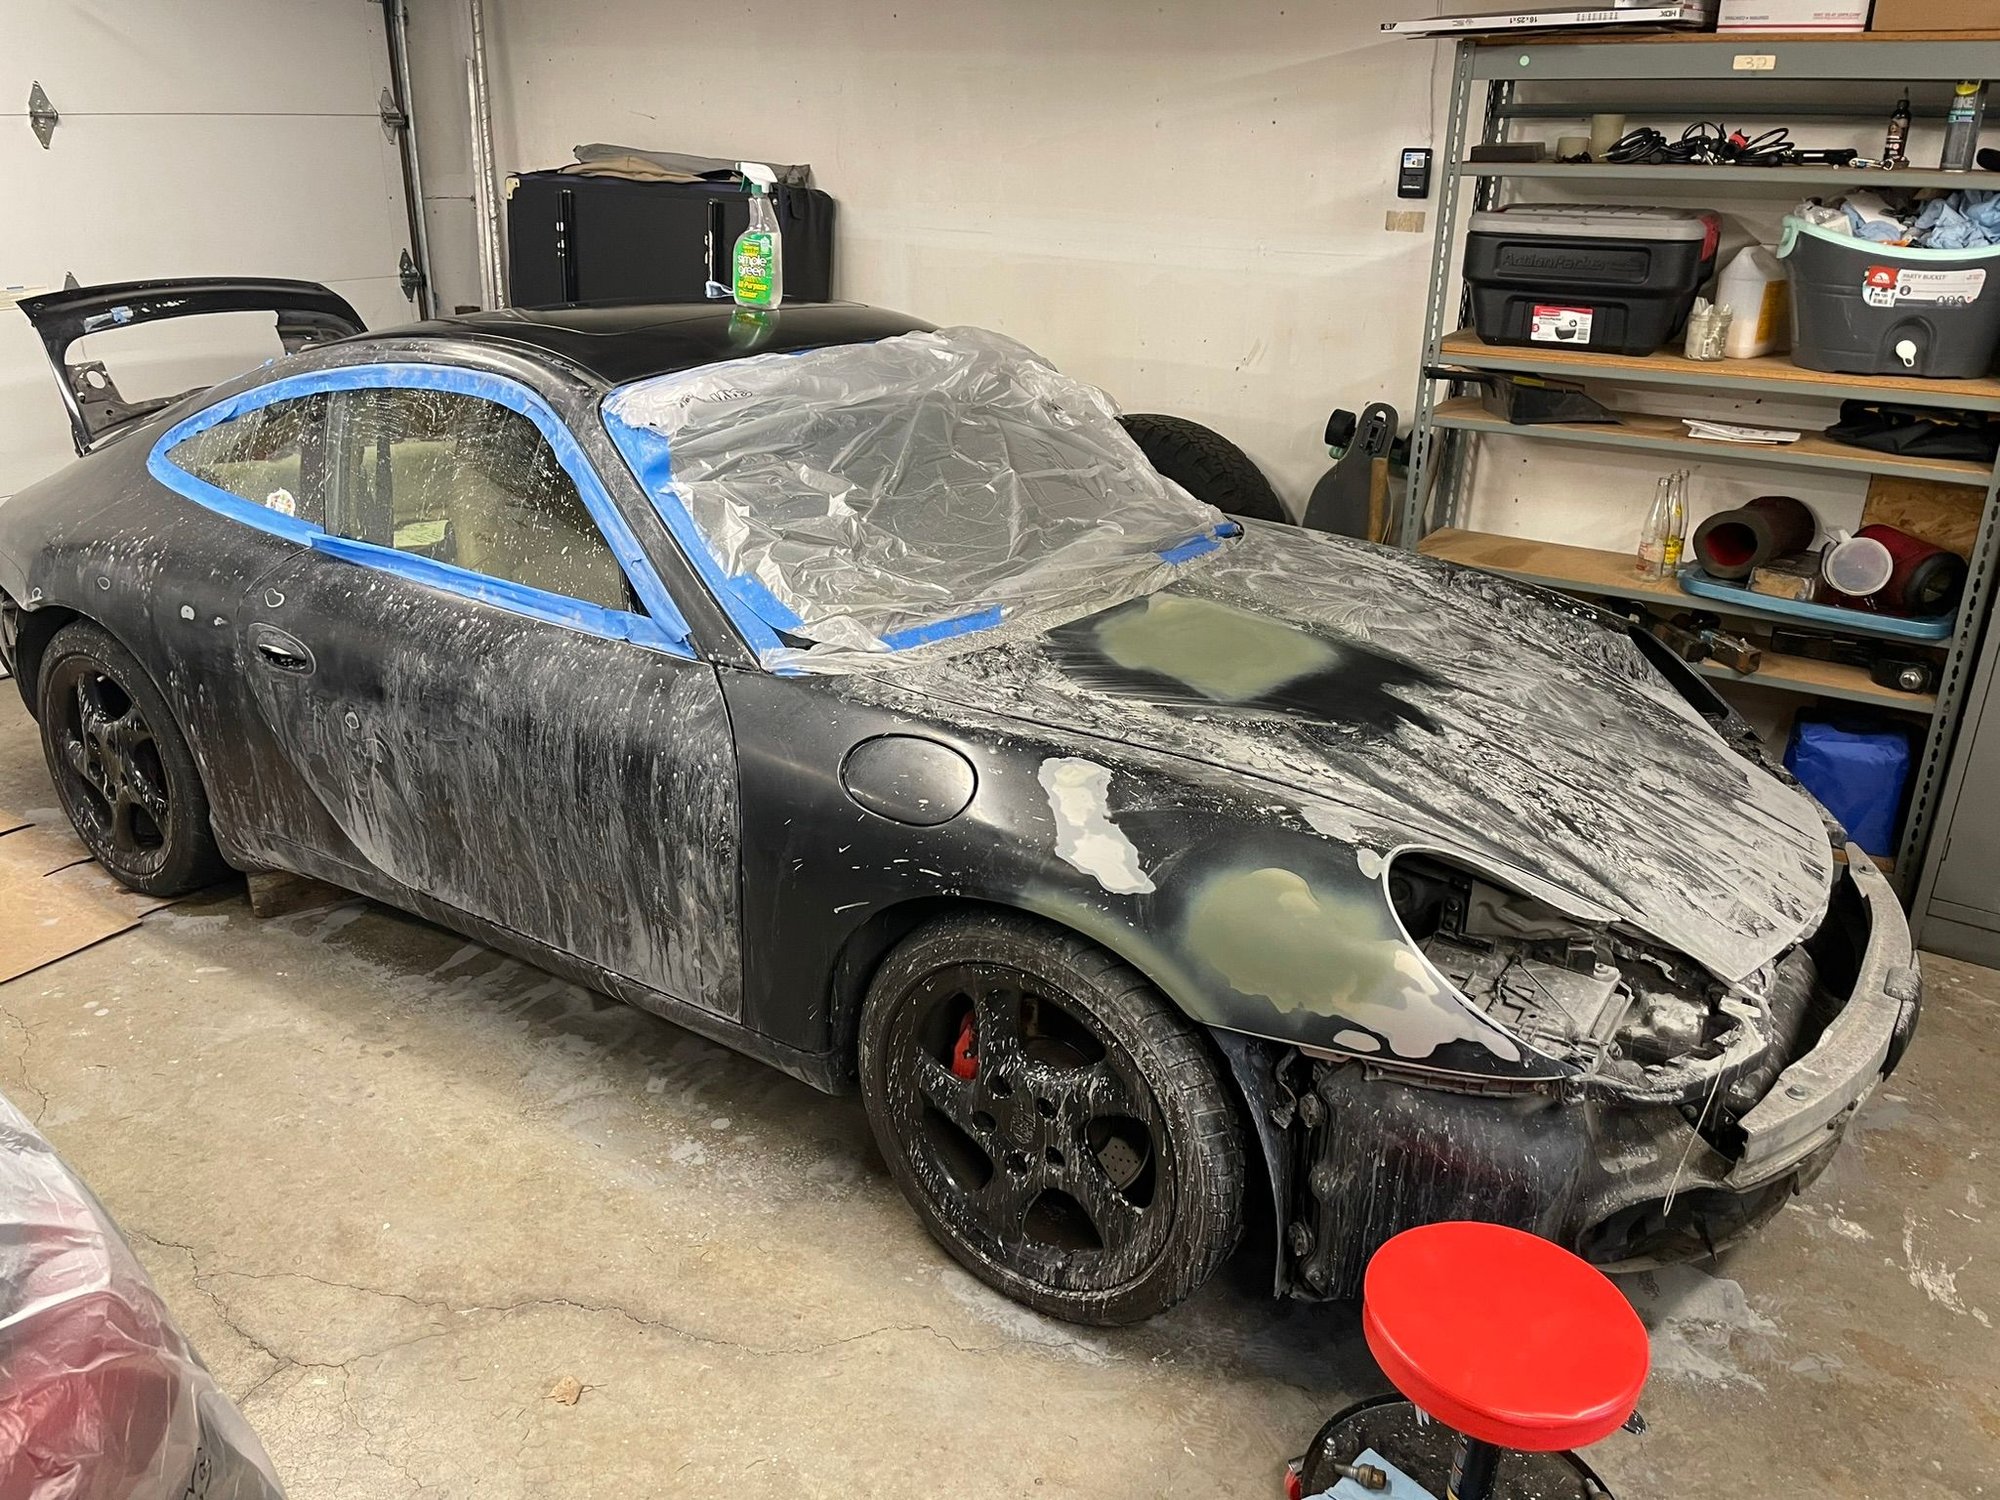
1st session went well, clean, rinse, mark remaining spots...slow work
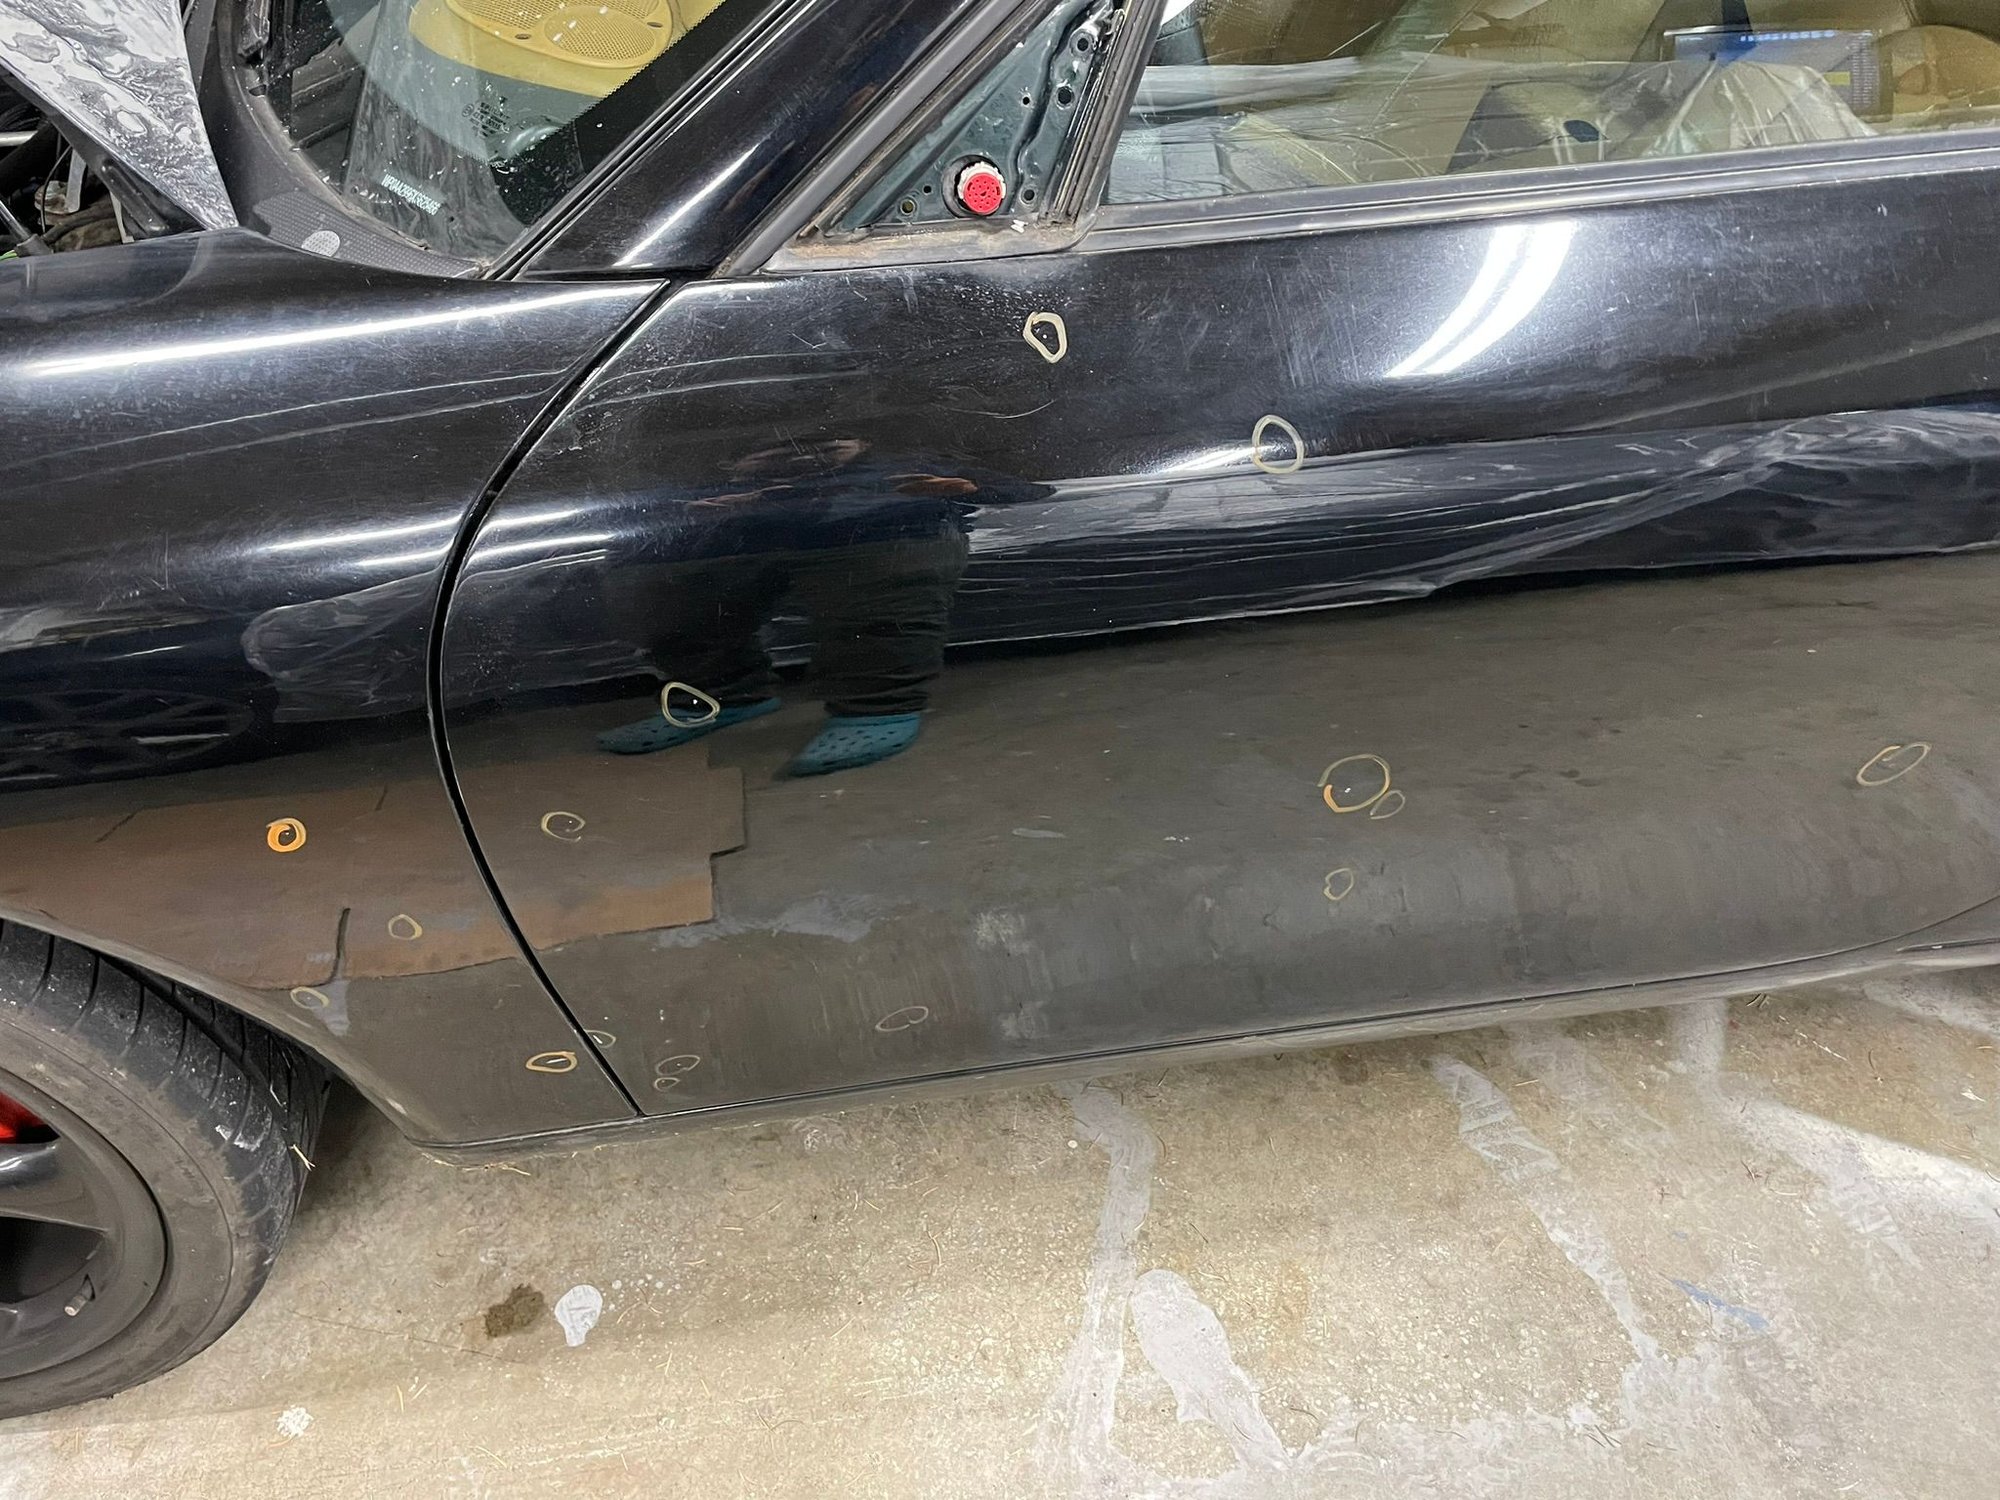
The fenders on these cars take the brunt of the rocks and road debris. Both sides were tore up. Luckily it was just the first layer of crap black paint. This car actually has very straight panels and I feel fortunate. I only found 1 or 2 spots that actually went through the original green paint and would need a touch up if the original paint was there.
Deck lid nearly complete. Two more small areas with chips and I need to bondo that bare area and knock down.
All finished with the body, just needs a proper wash.
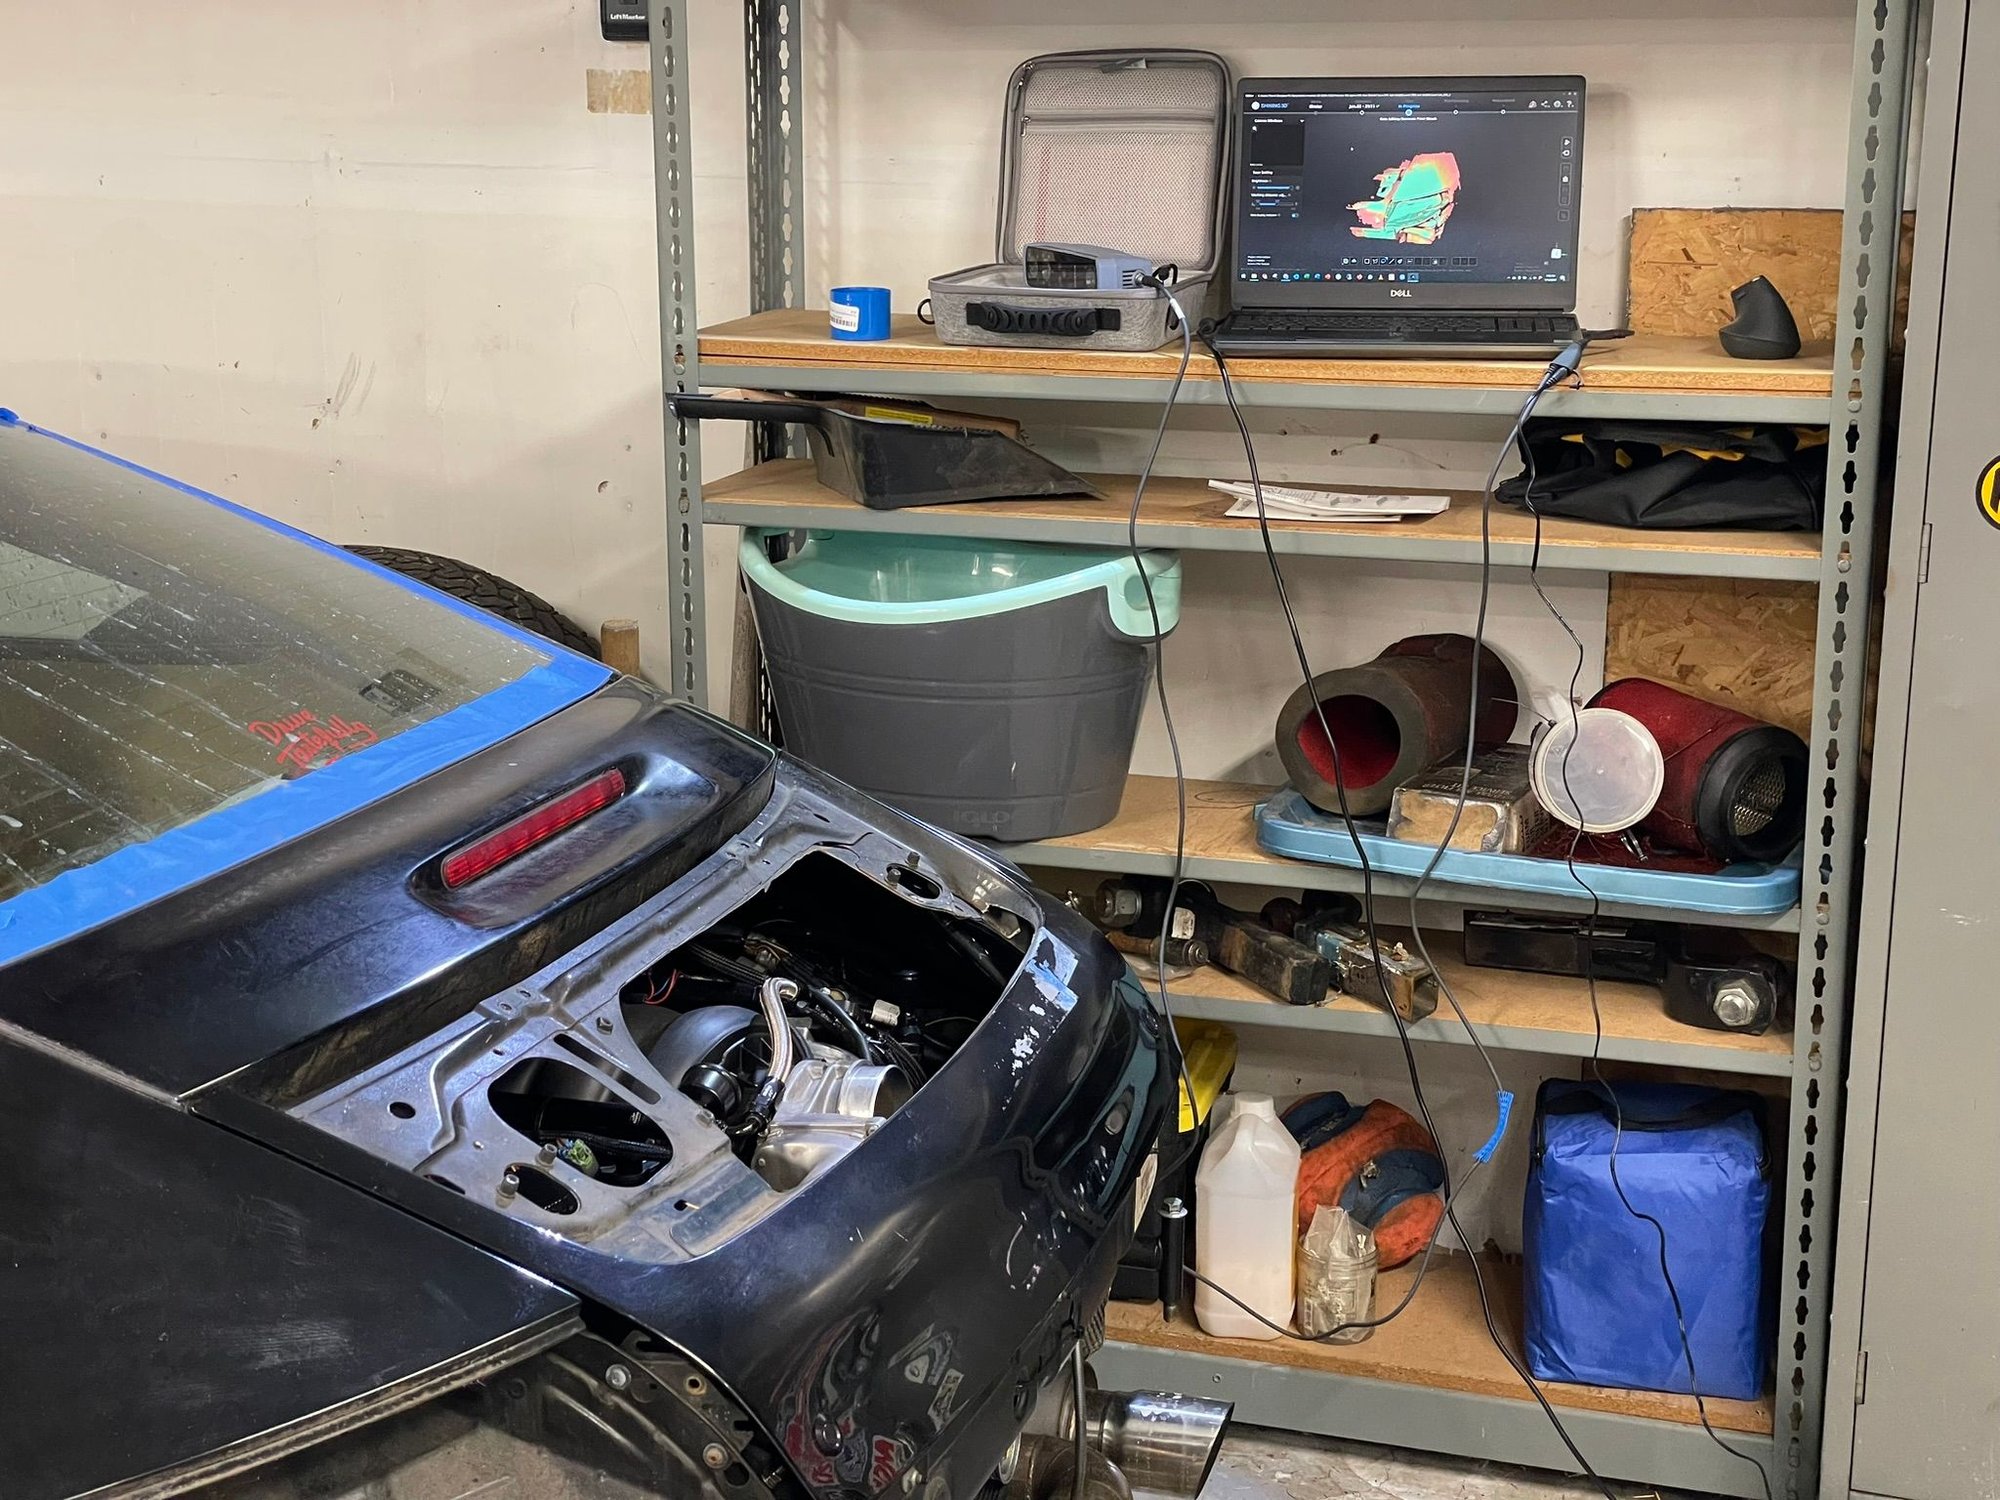
I'm doing my best to be as cool as @circuit.heart and @yaz996 with my Einstar 3D scanner
Since I had the rear of the car in the perfect spot, I decided to try again on 3D scanning. I tested the scanner last week, making a quick and dirty scan of one of the fenders. It turned out pretty good! I had to use some of the sanding residue to highlight the surfaces so the scanner would pick it up. The Einstar software is actually really well thought out and user friendly, so it took almost no time to learn it. I watched a couple YouTube vids to get certified and went to work on the passenger fender and wheel.
The scanner had a hard time with the flat panels and the dark paint, so I ordered some of
to help. Spendy, but damn it works good. No issues after laying down some of this! It evaporates within 4 hours too...ultimate lazy! I love it.
The setup, don't mind the clutter, I just wanted a nice shelf for the laptop and my garage isn't what it used to be. One day...it'll be my dream shop, but this is it for now.
Spraying down the scan area (body panels and a bit of the engine bay only)
Scan data took about 45 mins to acquire and another 20 to process
As you can see I grabbed some of the exhaust and quarter panel details in case I wanted it. The software is very cool, it will simplify the STL file to make the file size managable and this means I can either sacrifice quality or delete extra data and save as a duplicate file to retain all the precious scan data. I chose to knock down quality since I'm using the scan data as a reference and it's not as crucial to have smooth panels as it is to know where components are located so I can design an airbox.
The software also makes it easy to establish a coordinate system from the scan data. I'm very impressed with the Einstar software, it's so intuitive and easy to use. If I didn't know something, I just googled it and there it was - how to make a plane, line, and point on my scan data to make a coordinate system. Easy. Used the oil pan for plane and line, and used the center of the crank bolt for a point. Done.
It's actually quite accurate, check it out. Yes, quality is low, like I said, I did this quickly to check my data and I only spent about 20 mins fooling with the import. All of this means I can finally design my air box, possibly with a ram intake.
LS3 CAD laid in there as a comparison, gray is the scan-
Scan data even has the water pump and lines populated so I know what I can move around in the engine bay and what has to be worked around.
AC belt lines up nicely with the scan pulley location.
The Aesub spray makes a big difference. I've used both the blue and the orange.
Another complimentary (and free) software worth toying around with is Meshlab (https://www.meshlab.net/). I'll take scans of both individual components and the assemblies, then use Meshlab to combine/align everything. Nice thing is you can combine different resolutions, file types, etc. and output a very detailed/complete model. Also a good way to isolate sub-assemblies (i.e. exhaust only).
One of these days I'll wrap up (and share) some of the work I did with my car/engine last year.
Just saying if your airbox happened to fit my pile of junk� I�d be ok with it
If it works you'll be one of my testers
Originally Posted by yaz996
The Aesub spray makes a big difference. I've used both the blue and the orange.
Another complimentary (and free) software worth toying around with is Meshlab (https://www.meshlab.net/). I'll take scans of both individual components and the assemblies, then use Meshlab to combine/align everything. Nice thing is you can combine different resolutions, file types, etc. and output a very detailed/complete model. Also a good way to isolate sub-assemblies (i.e. exhaust only).
One of these days I'll wrap up (and share) some of the work I did with my car/engine last year.
I didn't know there was an orange version. I've used meshlab briefly, I'll download it again - thank you! I forgot about it and could really use the STL file management and reduction. I'd like to see more of your work, and really enjoy the hazard trim phone mount you made. A+!
 12-28-2023, 02:04 AM


 Big thanks to Barry at Series4 for ordering quickly and getting them here in a two days.