'04 Carrera C4S M96/03 DIY Engine Rebuild
#92
Finishing tasks
Almost done, few more assembly tasks before getting the engine back in.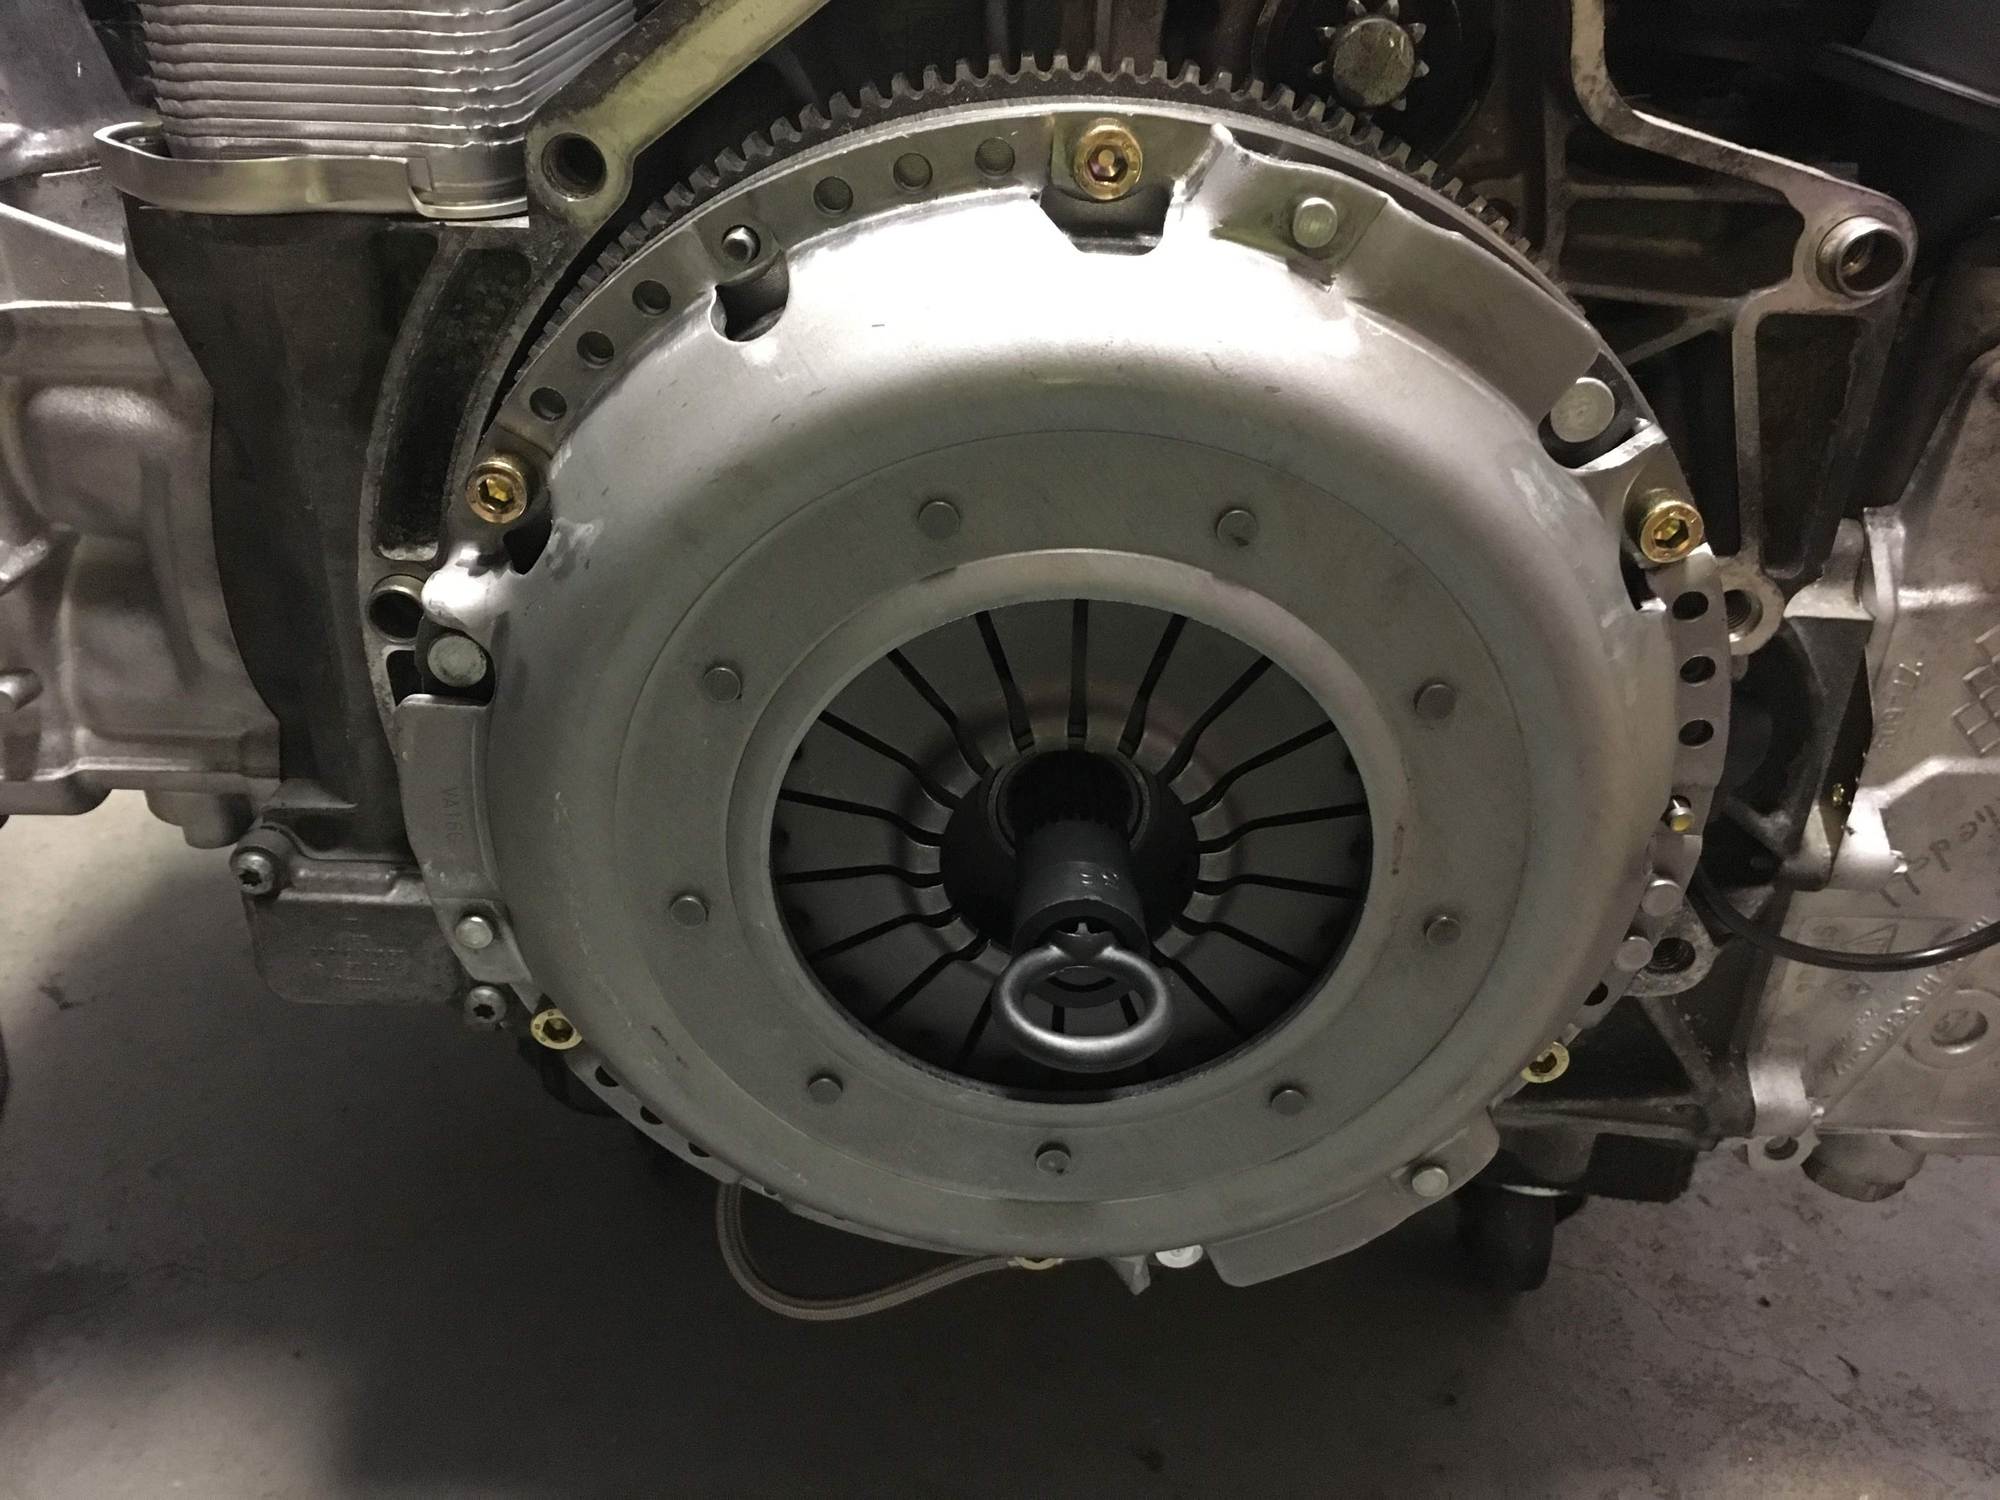
New Dual Mass Flywheel, clutch, pressure plate and throwout bearing. I thought I took a photo of the last 'special tool' but now can't find it. To torque up the flywheel to the crankshaft there is a Porsche special tool that holds the flywheel gears fixed. I didn't want to buy that tool so improvised by first threading some transmission bolts in and then threading some pressure plate bolts into the flywheel finger tight. I then got a piece of speaker wire and secured it to the pressure plate bolts and transmission bolts. Go around the flywheel and do this in several places (I used one continuous piece of wire) and it wont move, allowing the flywheel bolts to be torqued on.
I originally had hoped to re-use the clutch and flywheel because the clutch only has 20K miles on it and shows very little wear, and the DMF was also in fairly good shape with no play in it. But I decided in the end to just replace them all so I wouldn't have to do this again for a long time. At the same time I upgraded to an EPS clutch with 30% more surface area.
#93
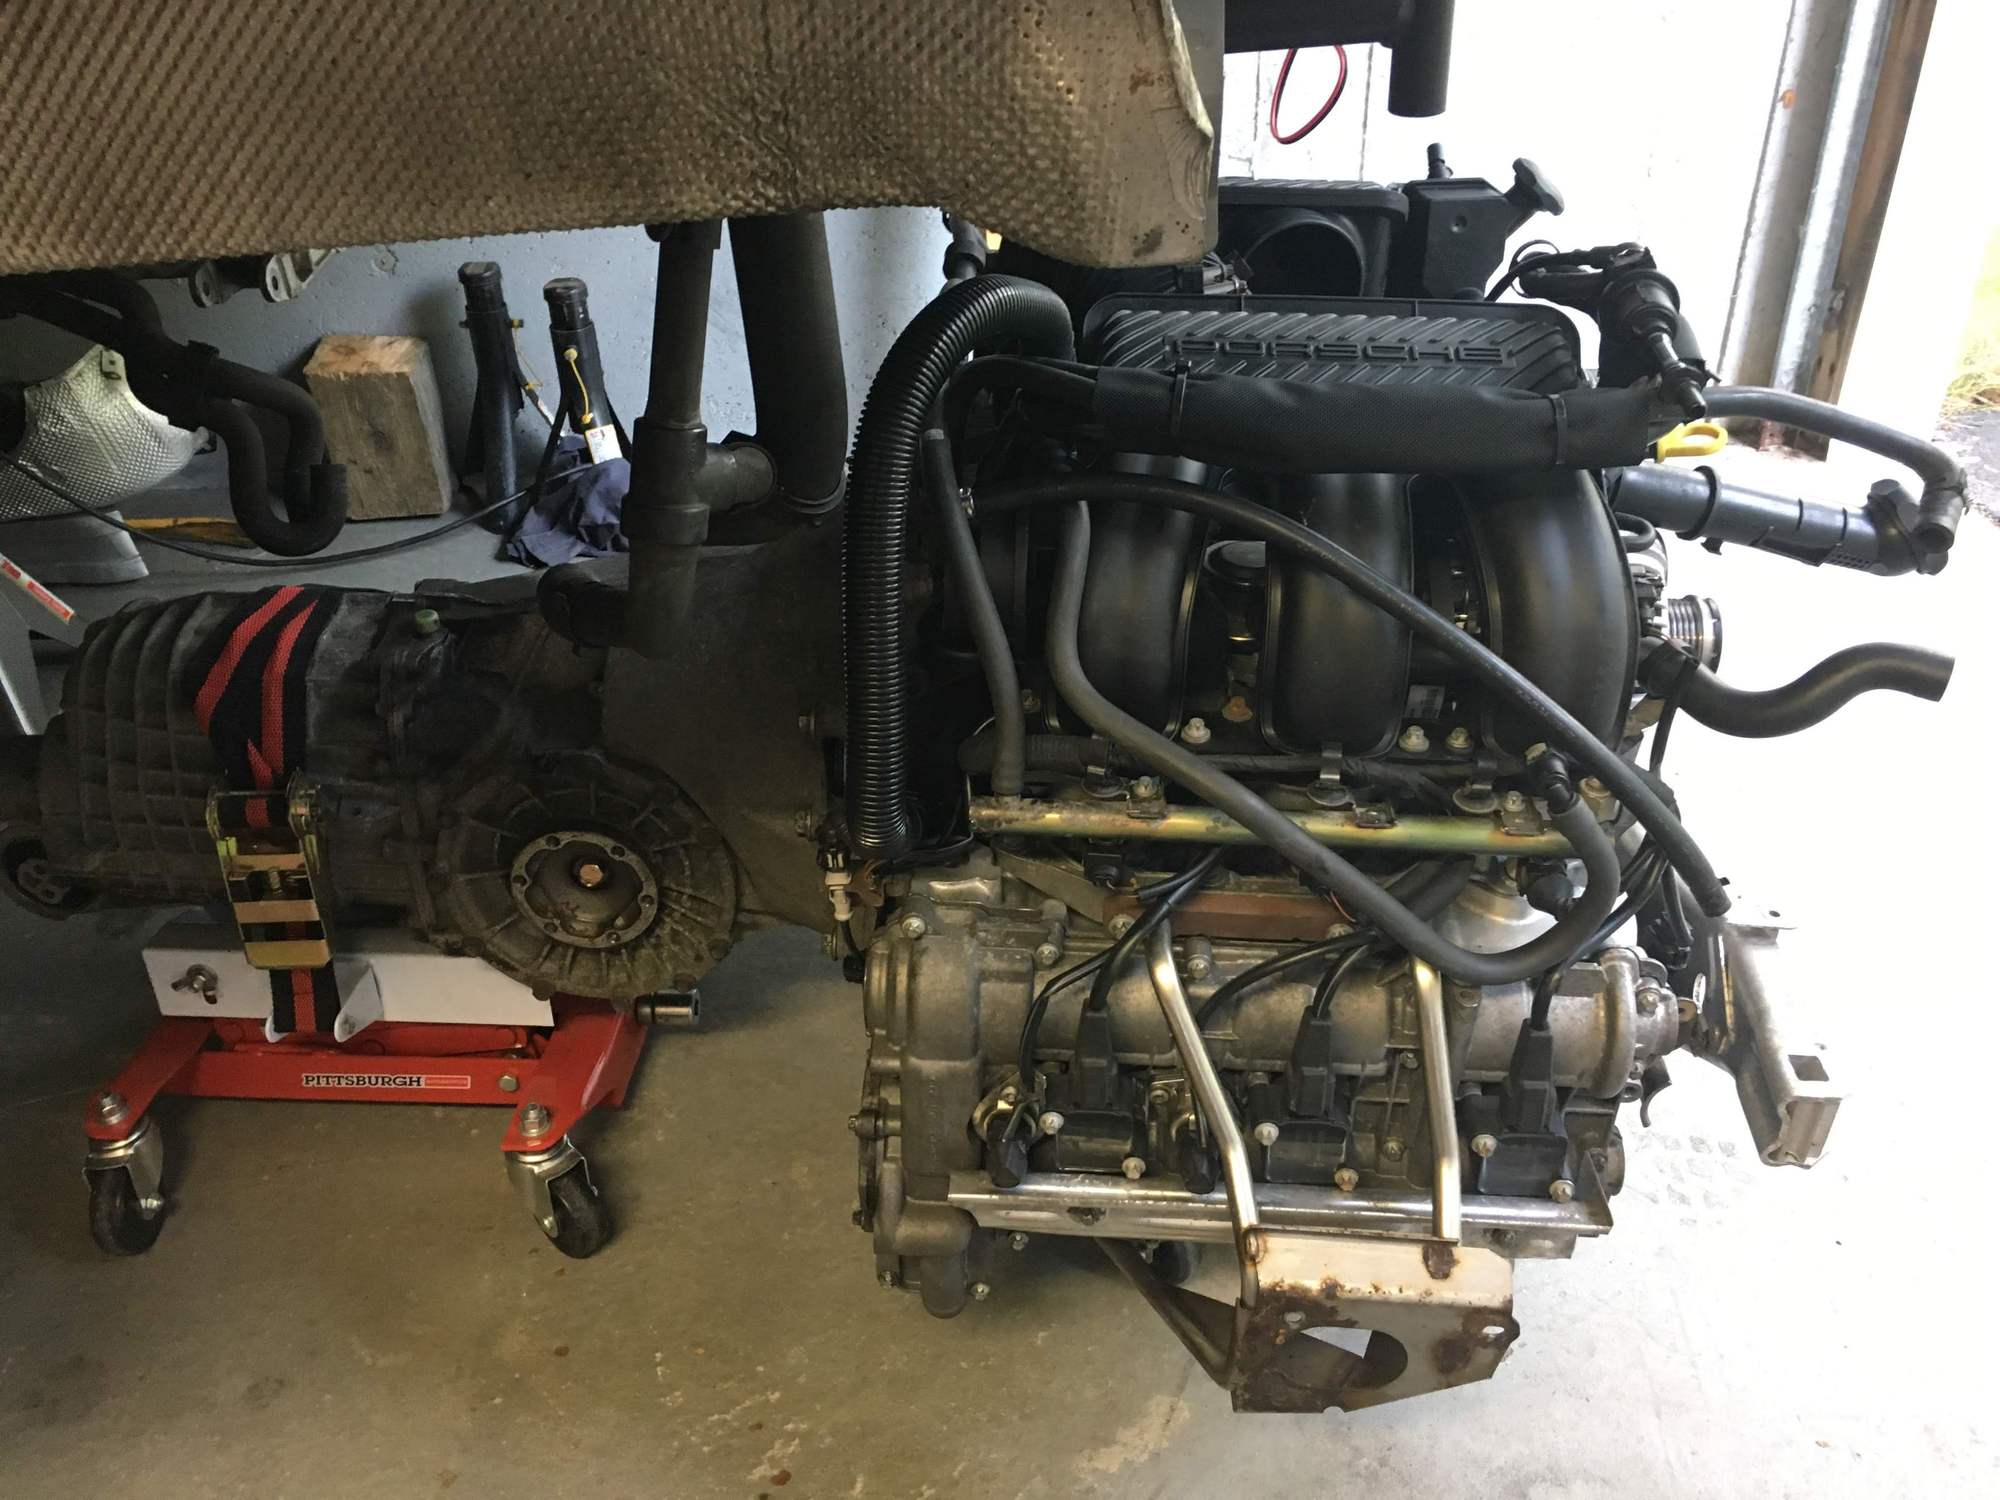
Last thing was to re-attach the transmission. You can see the transmission jack I used for the rear half, and the engine is sitting on a dolly.
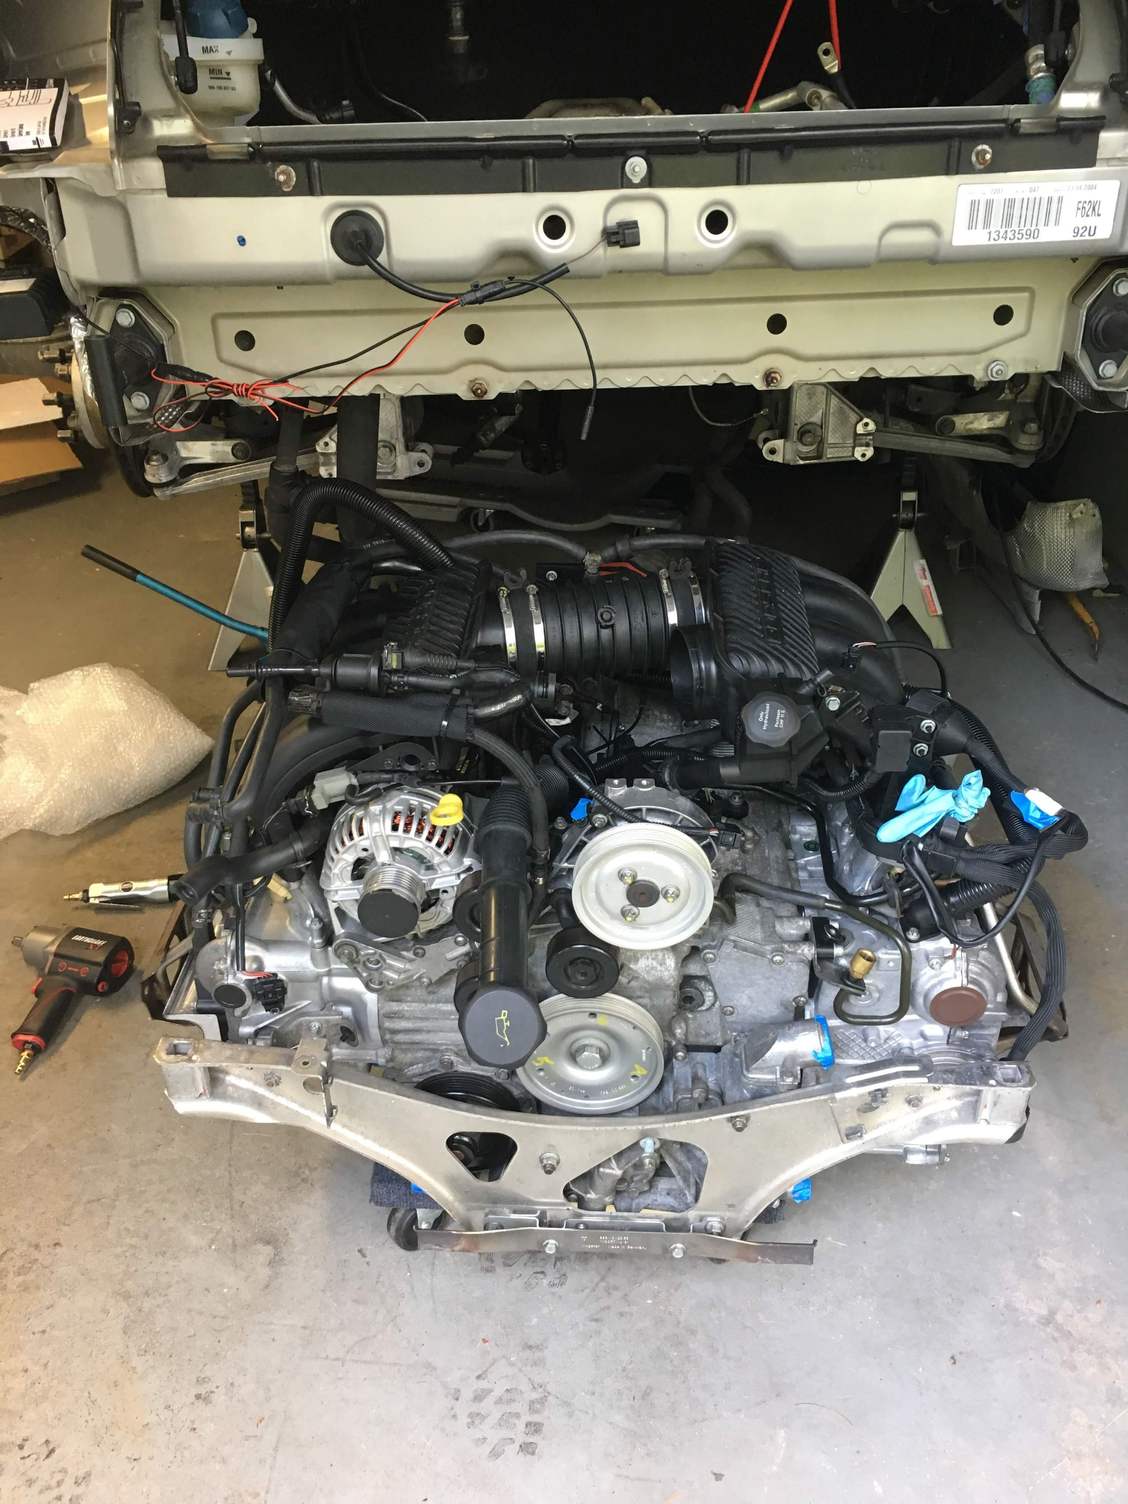
Time to dock that engine back home. I used a floor jack under the front, right under the engine mount bracket, and simultaneously raised the transmission jack.
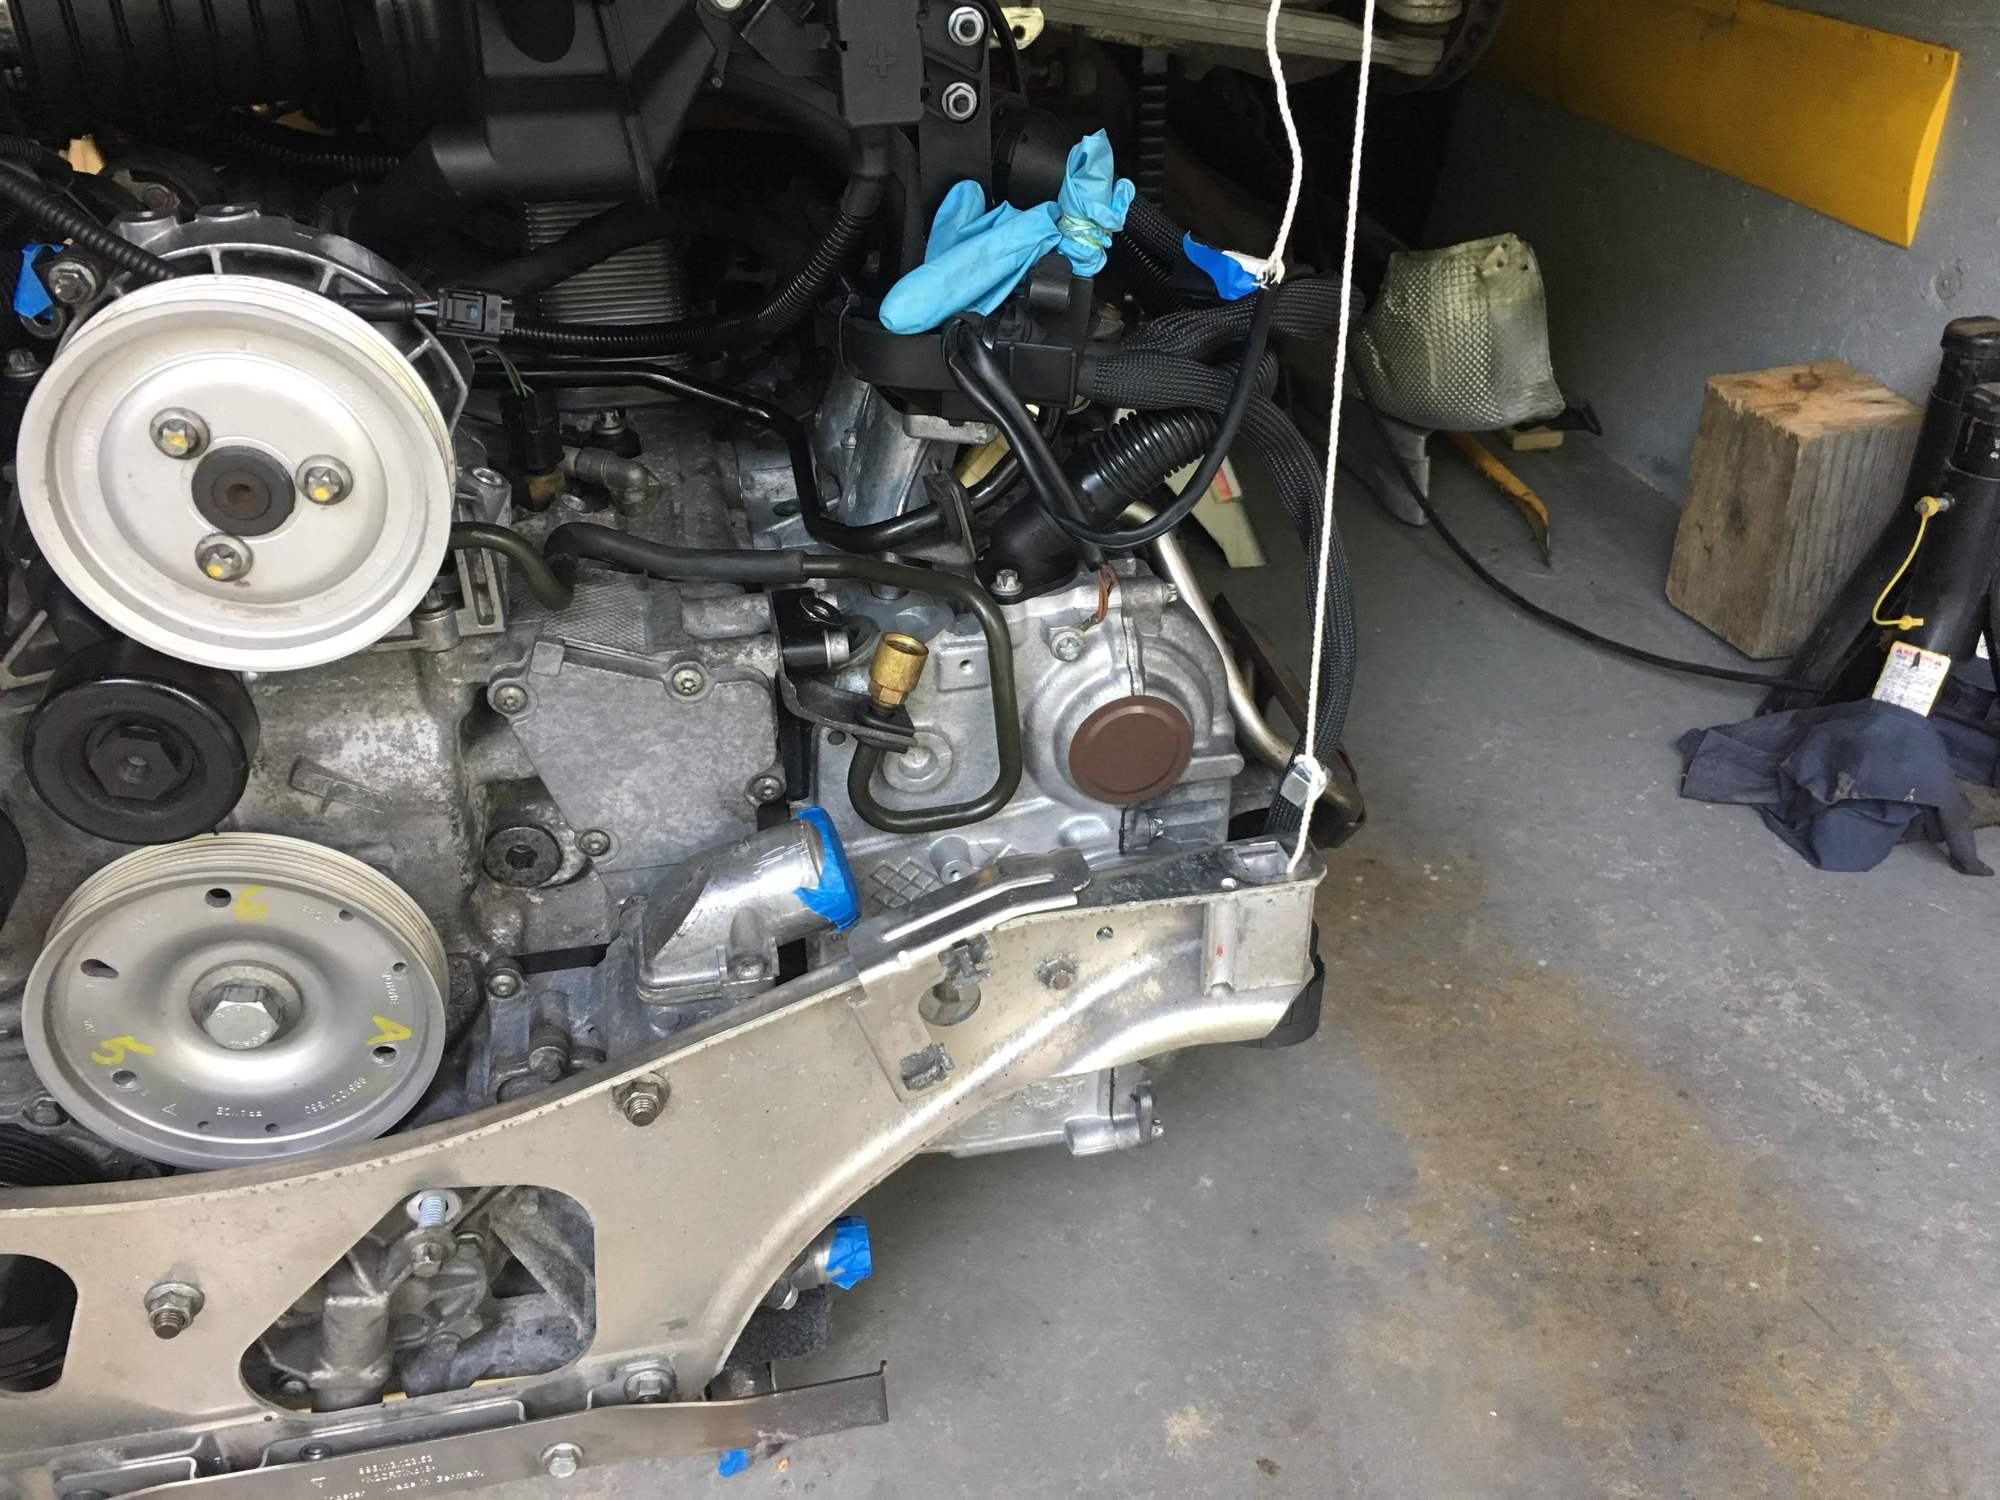
I made some plumb bobs with bolts and string to help me line up the engine mounts before raising the engine back in.
#95
Exhaust upgrade
My original cats needed to be replaced because on the 456 side the cat converter had separated inside and was rattling, plus it had gotten quite polluted with soot and oil from the scored cylinder. I really did not want to spend a fortune on replacing these so I first looked for some used ones. I finally decided to go with a new 200 cell SS X-Pipe on eBay and took a chance on it not causing CEL issues. At the same time I decided to replace my headers with some eBay SS headers. I know there is a lot of controversy over these but I kept my old ones just in case fitment or other issues came up. Lastly, to avoid any possibility of CELs due to the 200 cell cats I bought these mini cats.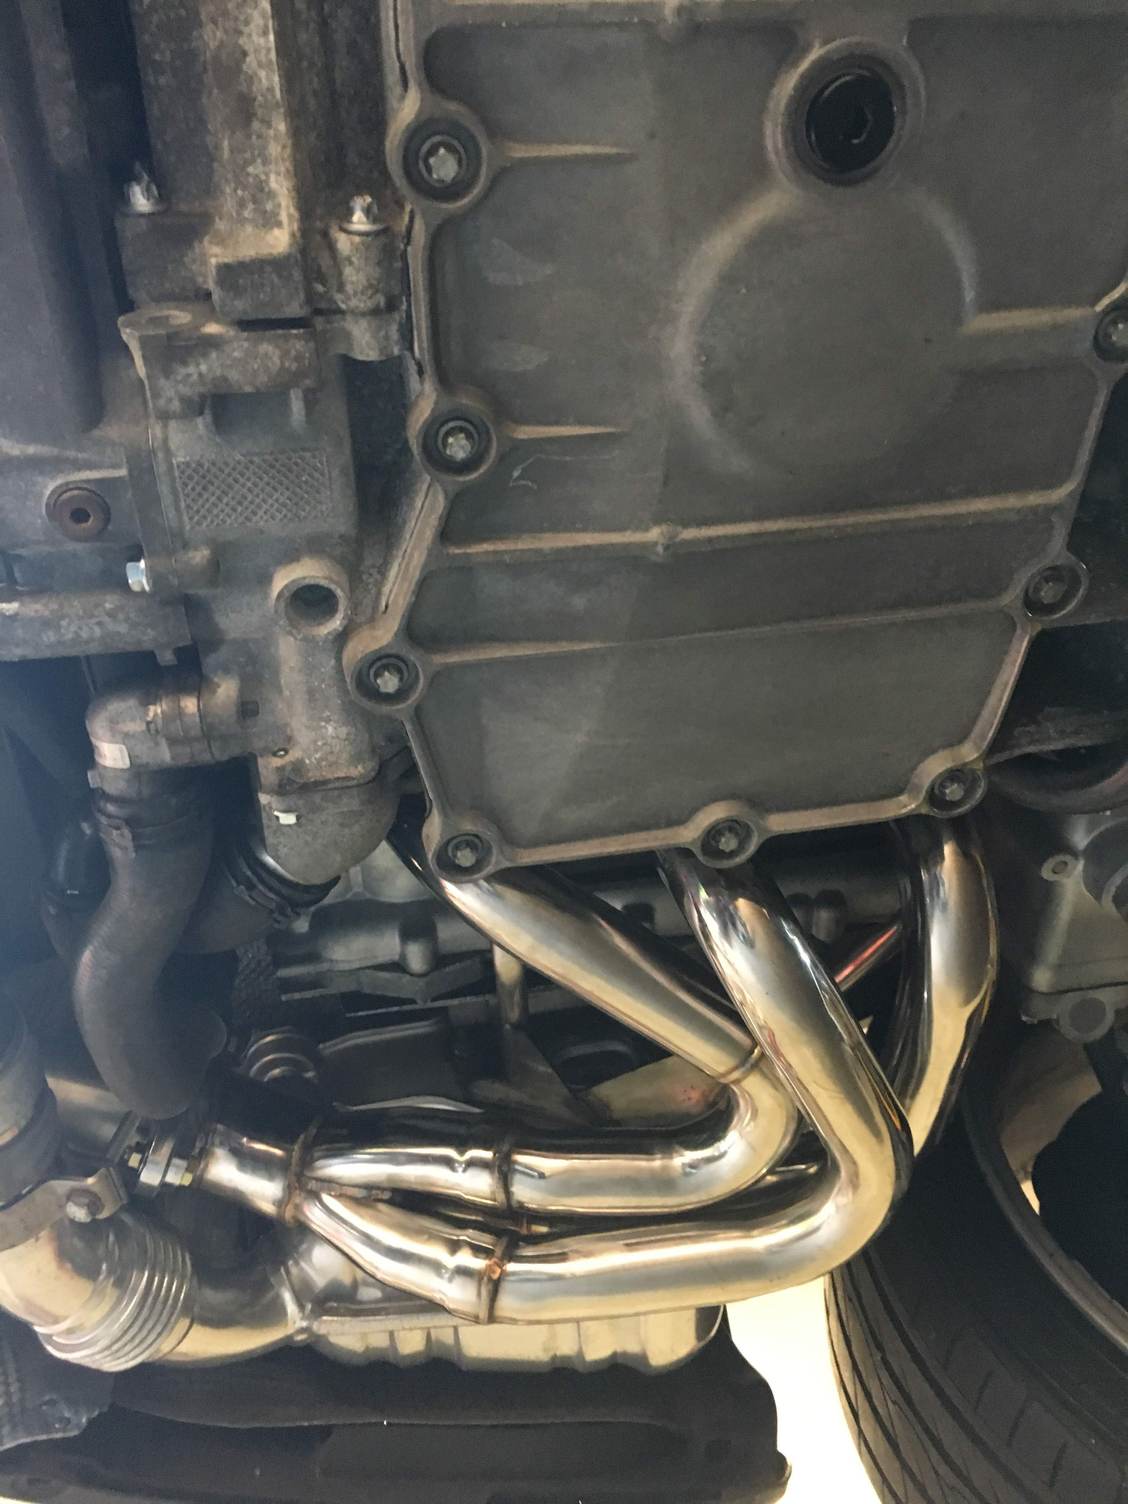
Sure looks pretty with those shiny exhaust pieces (I already had purchased the Fister Exhaust).
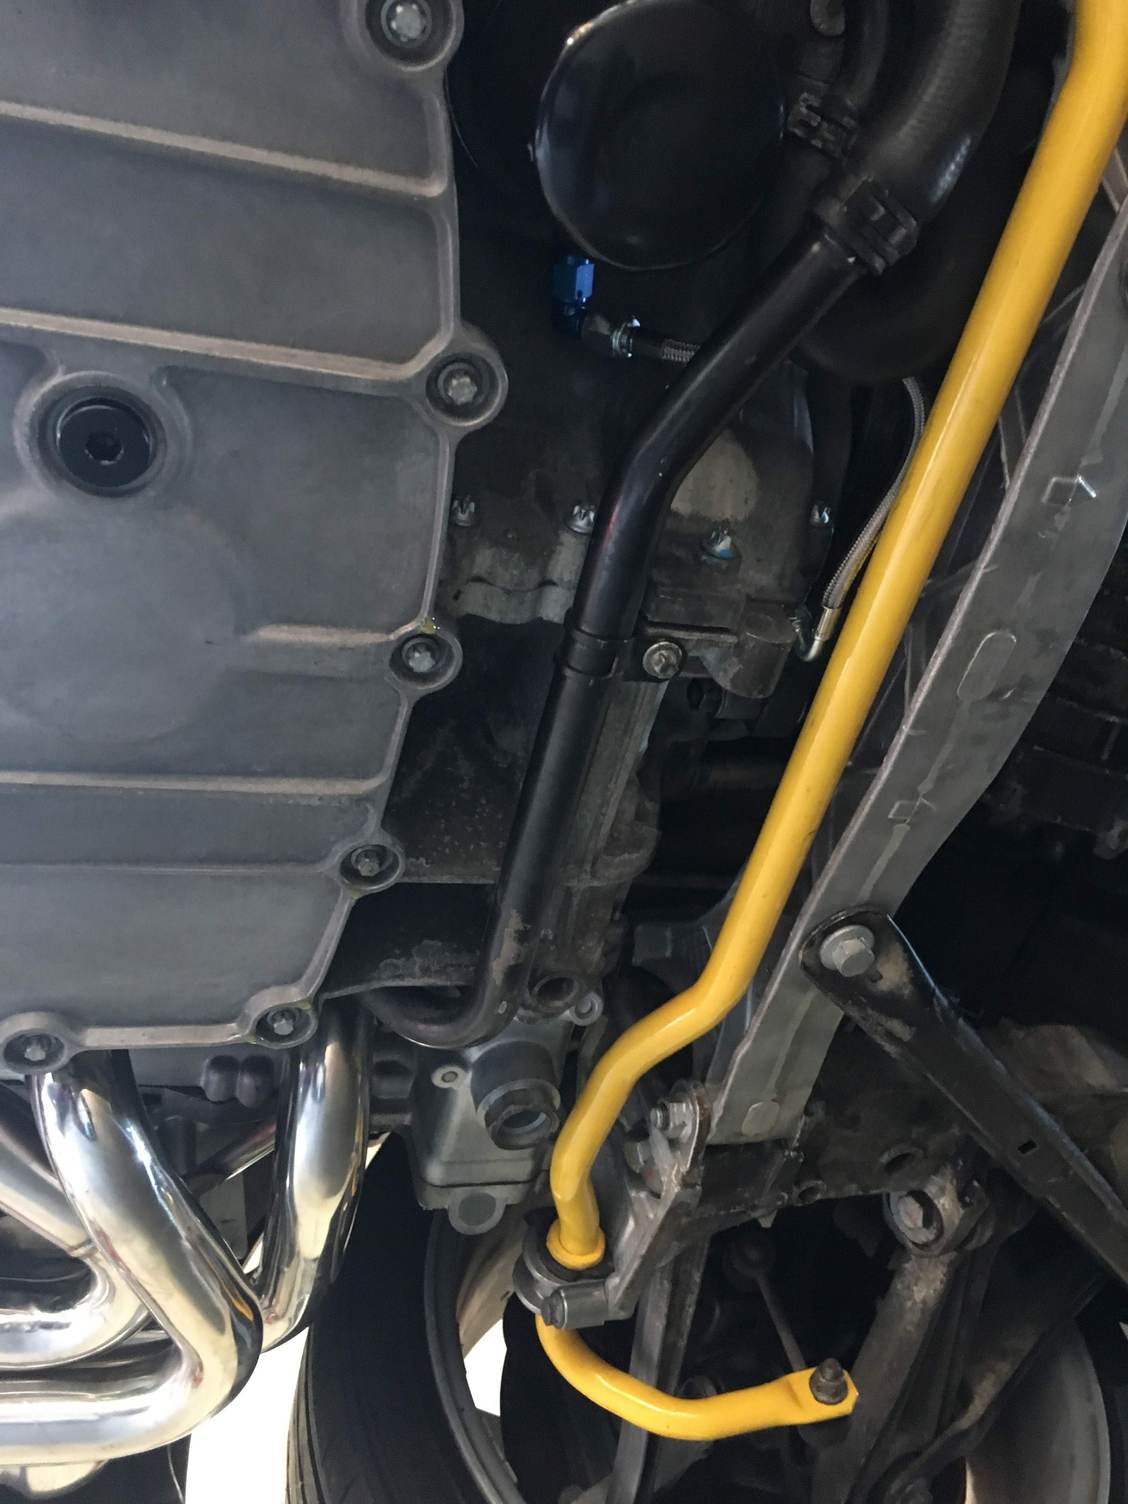
When I was waiting for all my parts to come back I painted the sway bar yellow for fun.
Fluid filling
After finally getting the engine back in the next thing was to fill all the fluids:A. Power steering fluid: Pentosin CHF-11
B. Gasoline. After disassembly I had drained out all the gas from the fuel tank as I knew it would be sitting for a long time. This is pretty easy to do. Just locate and remove the fuel pump relay in the panel under the drivers footwell and jumper pins 30 and 87 with a wire. First attach a hose to the fuel line in the engine bay and put it into a gas can. Fuel pumps right out.
C. Oil. I used 9 qts of Joe Gibbs HR5 break-in oil.
D. Antifreeze. Make sure you use an to evacuate all the air and leave no pockets. I used 3 gallons of https://www.carpartsdiscount.com/coolant-antifreeze-1-gallon-pink-g40/porsche~boxster.html?3593=1300753&3671=1002&r=2&gclid=CjwKCAjwoMPcBRAWEiwAiAqZhygld6HXIfibfVjJzqB6V4heyIU3ZaD6hXgNgMLOCbmQu1-6SFlA7RoCJXwQAvD_BwE mixed with 3 gallons of distilled water.
Engine startup
Finally, the moment of truth! I had bought a http://www.durametric.com/buyus.aspx to be able to monitor and check everything.First, I turned on the ignition and waited 30 seconds.
Then I turned the key to let the crank turn a few times to get some oil pressure up.
Turned it off and then on again until it just started, then turned it off.
Repeated this 4 more times.
Then started it up.
Problem #1
When the engine started I noticed right away that it was not idling smoothly. I let it run about 30 seconds to log info and then turned it off to see what was wrong. Durametric had logged several CELs.
CEL P0300 Cylinder misfire
CEL P0301 Cylinder 1 misfire
CEL P0344 Camshaft position sensor
It took me some time to figure out, but I realized that while re-installing the engine I had cracked the crank ventilation tube going from side B to side A, attaching to the AOS. This was was the original tube that I had not replaced, and had gotten brittle with age. It had a large crack in it on the 456 side, and I also found that it had become dis-lodged from the AOS. Sigh. The only way to replace that sucker was to remove the engine. Had to order a new hose and drop the engine again to replace it. Worst part of that was draining the antifreeze fluid. In retrospect I may have been able to get to it by just lowering the engine a few inches (which is possible without disconnecting everything).
2nd attempt
Following Saturday I spent getting the engine back out and replacing the vent tube. I was able to get it out and back in on the same day, but it took me all day to do it. On Sunday it was time to start her up again.
Problem remains
Again, the engine started up and ran rough. It ran better than the first time, but was something was still not right. I logged some more data and turned if off again. I had a few thoughts:
1. Issue with the O2 sensors and not able to regular AF mixture properly
2. Issue with the coils (which I had not replaced)
3. Some issue with the new 200 cell exhaust system I had put in
4. Something I did wrong during assembly. Timing of bank 1 perhaps?
The injectors were completely rebuilt back to specs by Witchhunter Performance so I felt confident it was not those.
This had me really worried. I did not have a lot of experience with how to read Durametric values or understand how the DME worked. So I spent a lot of time googling on those CEL codes. Lots of threads on this forum relating to them, and I found this guys video which was extremely helpful in understanding how an ECU works:
I suspected something wrong with my O2 sensors, so I hooked up the Durametric and logged these values.
O2 sensor voltage ahead of Bank 1 - Blue
O2 sensor voltage ahead of Bank 2 - Red
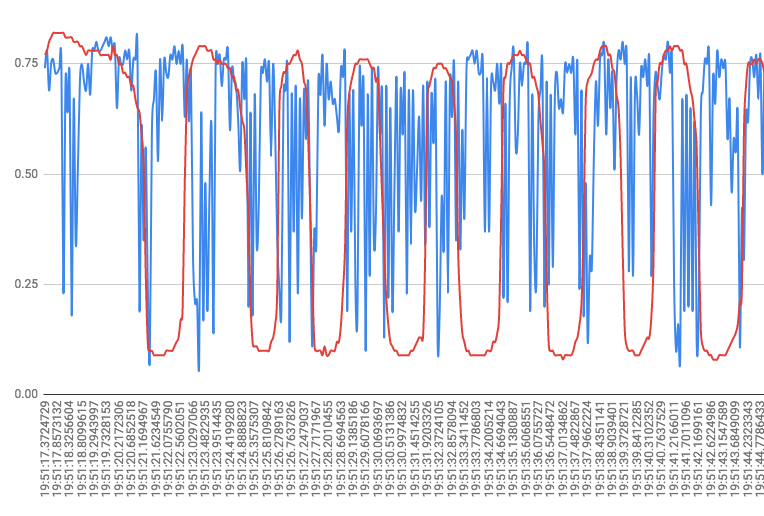
Not good. You can see that Bank 2 switches up and down like it is supposed to but Bank 1 sensor is just all over the place. So first thing I did was replace the Bank1 pre-cat O2 sensor.
Fired it up and tried again. No difference. Next thing was to replace the coil for Cylinder 1. I tried that and again, same thing. Now I was getting really worried. I then realized that the down header coming from cylinder 1 was cold, so obviously not firing. This could only mean no spark or no fuel. I pulled the plug and discovered that it was dry, indicating no fuel. Since I did not suspect the newly rebuilt injector, I thought it was a wiring issue to the injector.
It was time to pull out the Bentley manual and start tracing the wiring. That Bentley manual is worth the money, I highly recommend getting it if you plan on working on this car.
I was worried that the wiring harness had a break in it somewhere so I started to test continuity from the injector socket back to the round connector on the right side of the engine. As I traced through the wiring diagram I realized that the colors for the cylinder 1 injector wires did not match the diagram, which really confused me. I then checked the ones for cylinders 2 and 3. Those matched. It was then that I realized the really, really stupid mistake I had made. I had swapped the connections between the cylinder 1 injector and the changeover valve. After thinking a bit I then remembered being distracted during the time I had assembled those connections.
Problem solved
I put things back together again and started the engine and this time all was right with the world. The engine was running much smoother and this is what the O2 sensors now looked like:

Time to get her on the road and break her in!
Initial drive was about 150 miles along varying country and highway roads with hills and various load conditions, including engine braking and stints of steady and uneven RPMS, but keeping under 4K.
I still have not yet reached the 500 mile mark, and plan to change over the oil to Joe Giggs HR10 at that point for the next 3K miles. The engine is running very smoothly and the torque is fantastic. No CELs or issues and I am so glad to be rid of that slapping sound.
In the end this project was very rewarding being able to do a 100% teardown and rebuild.
I also am happy I learned quite a lot about these engines as well as the fundamentals of engine management and diagnosing ECU issues.
If I can do this then you can also. You just have to take your time and be able to read and follow instructions.
I ended up spending more than I had wanted to on this rebuild. There are some parts that I might have re-used (clutch, some exhaust parts) if I really wanted to reduced the cost. You can look at the inventory list I posted at the beginning of this post to get an understanding of the parts you will need and costs you will incur.
#101
nice build..where did u buy all ur parts from?
also ductile iron sleeves should not be a problem..honda,nissan, toyotas,subarus, go over 200k miles on iron liners on aluminum blocks..
somebody should make a book on m96/97 engine rebuilds..step by step
also ductile iron sleeves should not be a problem..honda,nissan, toyotas,subarus, go over 200k miles on iron liners on aluminum blocks..
somebody should make a book on m96/97 engine rebuilds..step by step
#102
I started by using an online parts diagram like this one to get the OEM part numbers I needed.
I listed all the parts I needed and put them into a spreadsheet so I could price shop them. You can google for that OEM part number and get a lot of listings. I was focused on keeping my rebuild costs down so I entered the lowest price I found, and then grouped them all by vendor. I tried to stick to OEM porsche parts but did not always. These vendors are the ones that I found had best prices on the various parts (often with big discrepancies between them):
SonnenPorsche
Warehouse33
AutohausAZ
FCPEuro
I also found a few parts on eBay and Amazon (muffler parts and I got a great deal on a new DMF).
#105


