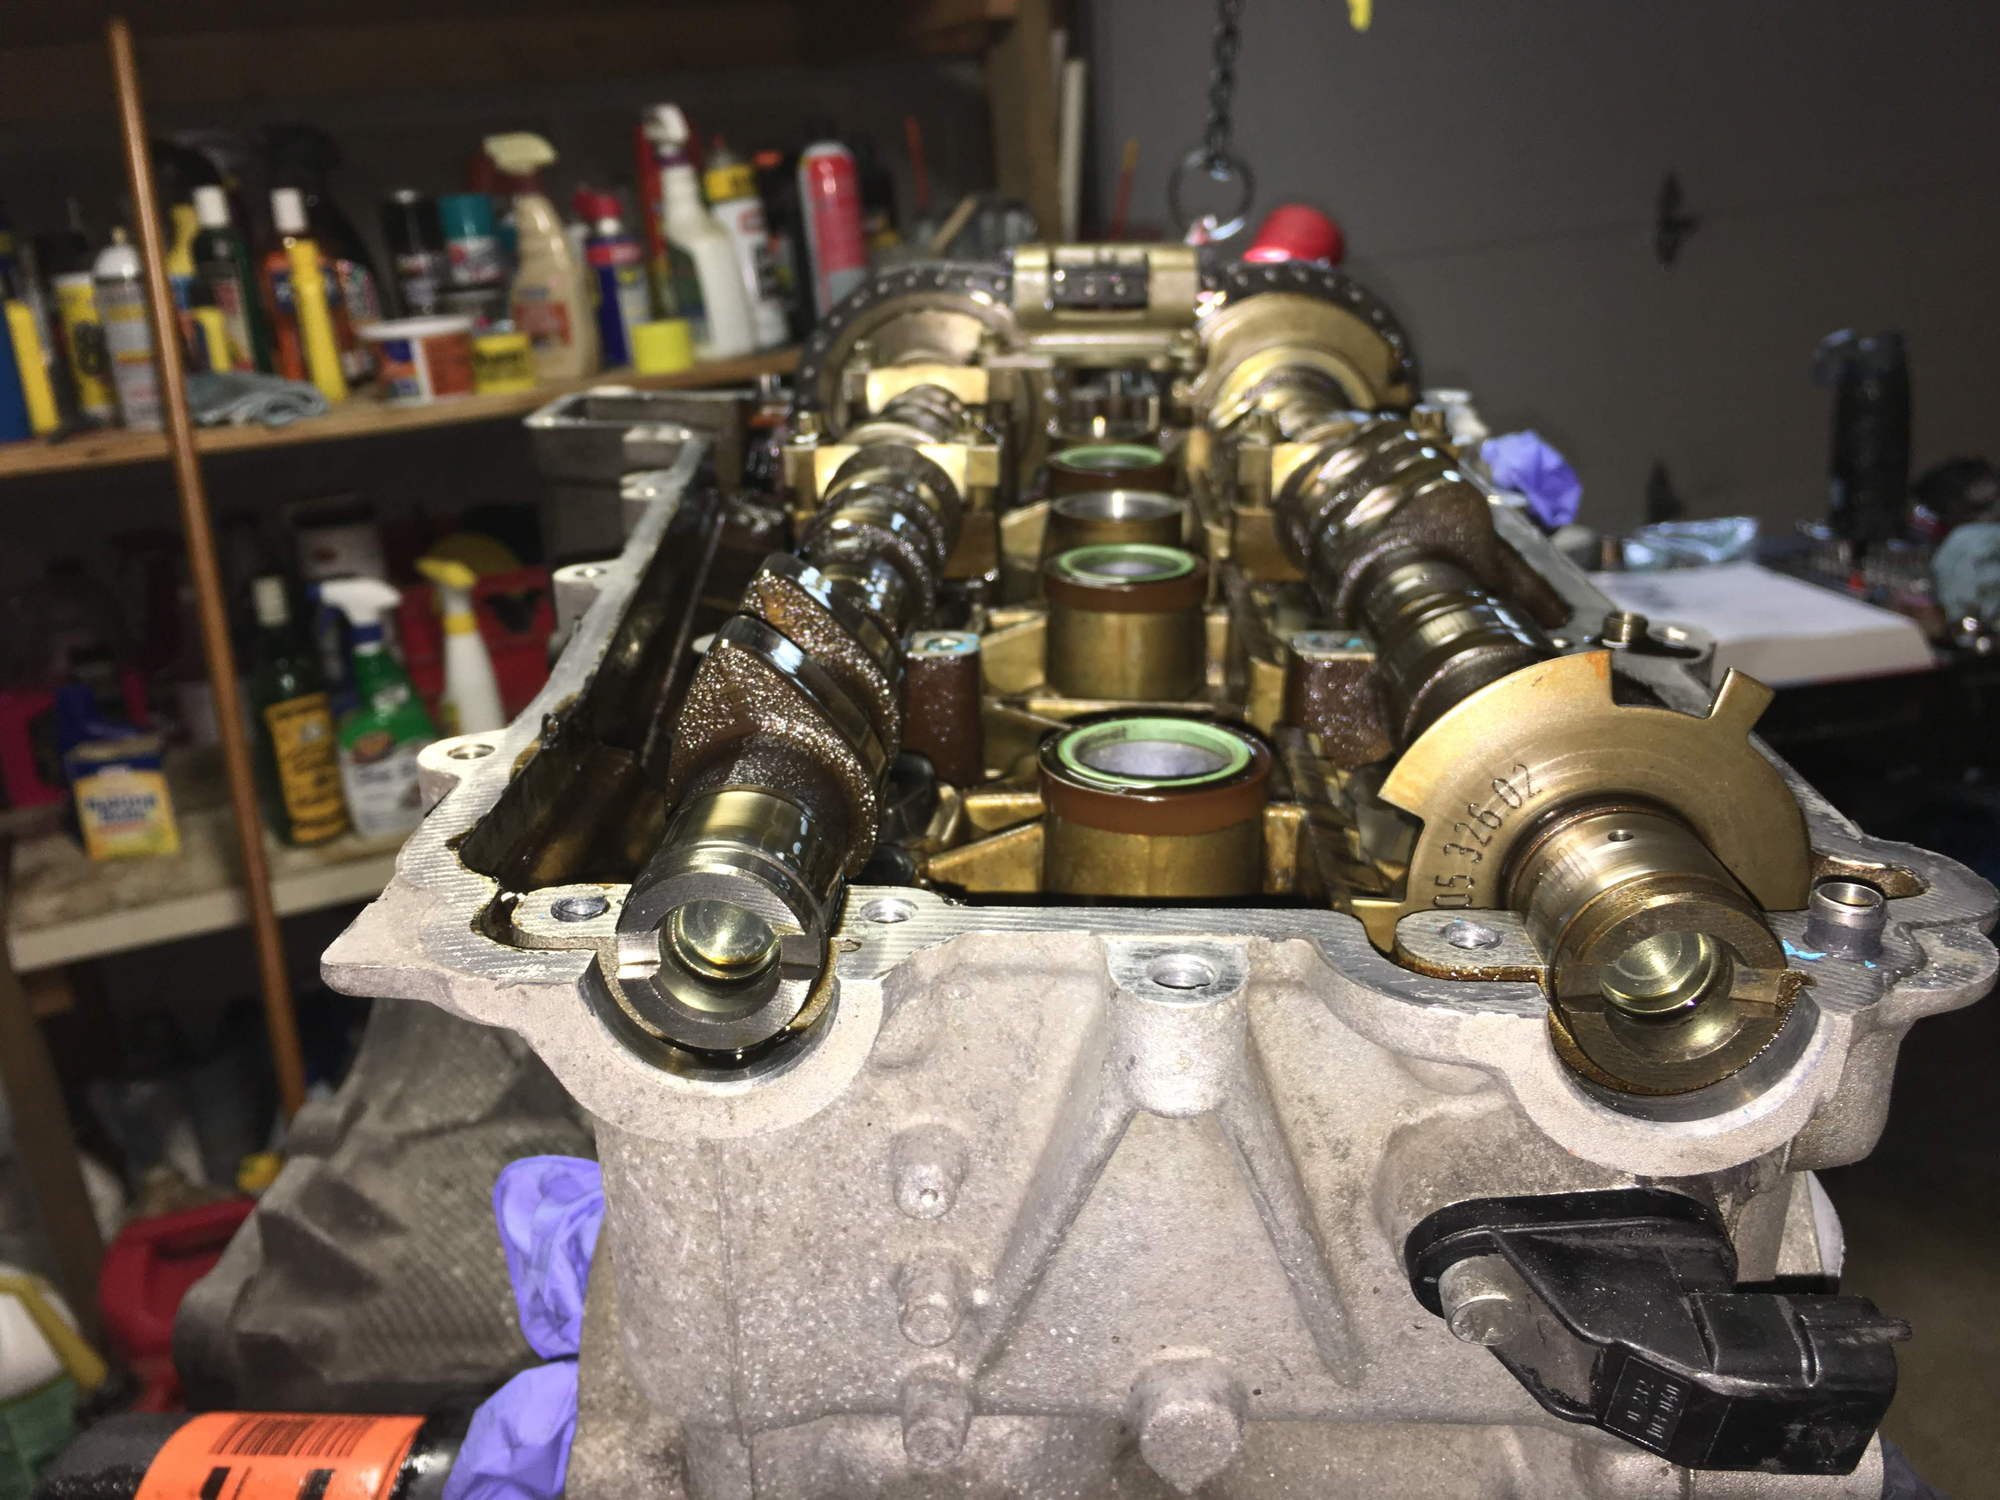
'04 Carrera C4S M96/03 DIY Engine Rebuild
#16
Does the .pdf you bought have the bottom end info? If so, could you send me a link to where you bought it?
Search for your model year, etc. I bought two manuals:
- one is titled 'Technical Manual 996 Carrera Repair' and watermarked with www.workshopmanuals.co.uk
- the other is titled '2001-2005 Porsche 911 (996.2) Service Manual'
#18
Rennlist Member
This is already a great resource thread! Thanks for sharing. Looking forward to more.
#19
Rennlist Member
Related data point:
I’m just finishing a rebuild of the 3.6 in my 997 to a 3.8. New sleeves, JE Pistons, heads redone, bearings, chains, guides, AOS, IMSB, etc. I just fired the car for the first time in eighteen months about a week ago, and I’m the process of chasing down a bunch of issues (O2 sensors, cam solenoids, etc). Apparently leaving a car apart for over a year is not a recipe for happy parts.
I’ve not yet totaled my parts, but I think my costs are around 10k. From memory, machine shop bill with pistons was about $4500. Gaskets, bearings, IMSB, AOS, yada, yada were about $5k. If there is interest, I’ll post a shopping list.
One huge help to me was a fellow forum member and Raby school grad who I convinced to provide, notes, tools and consultation services for a generously low price. Also, the guys at Coventry Motorcar in Connecticut were super helpful in ordering parts, offering suggestions, and Durametric help. Props to Eastwood’s Machine for case artwork.
Oh, and the reason for rebuild was low compression (rings, no visible scoring) in #6. Leak down was 20%, enough for the car to skip at idle. I bought the car in this condition.
#20
My car has been making that knocking noise for 24k miles now (60k to 84k). I use about 1 QT of oil every 1300 miles. It never appears to be spitting oil out the tail pipe. The UOA have been pretty normal. I don't drive it that hard. I keep the rpms around 3k for most of my drive and rarely use WOT or exceed 5.5k rpms. I guess I know the engine has been on the way out for a while and trying to get another year out of it before I get a new engine or rebuild.
#21
Rennlist Member
I went here eManuals Online
Search for your model year, etc. I bought two manuals:
Search for your model year, etc. I bought two manuals:
- one is titled 'Technical Manual 996 Carrera Repair' and watermarked with www.workshopmanuals.co.uk
- the other is titled '2001-2005 Porsche 911 (996.2) Service Manual'
#22
Good luck with the rebuild, please keep us updated with the progress.
If you haven't looked already I would recommend Jim Ellis (Porsche Atlanta) for parts, they were by far the cheapest for the top end refresh I just did on my car for lifter issues. I'd suggest you have a look at your intake lifters to ensure its the updates part and #, I did a post about misfire/lifter issues that details the difference. Peace of mind if your car already has the new parts fitted.
If you haven't looked already I would recommend Jim Ellis (Porsche Atlanta) for parts, they were by far the cheapest for the top end refresh I just did on my car for lifter issues. I'd suggest you have a look at your intake lifters to ensure its the updates part and #, I did a post about misfire/lifter issues that details the difference. Peace of mind if your car already has the new parts fitted.
#23
Engine Removal
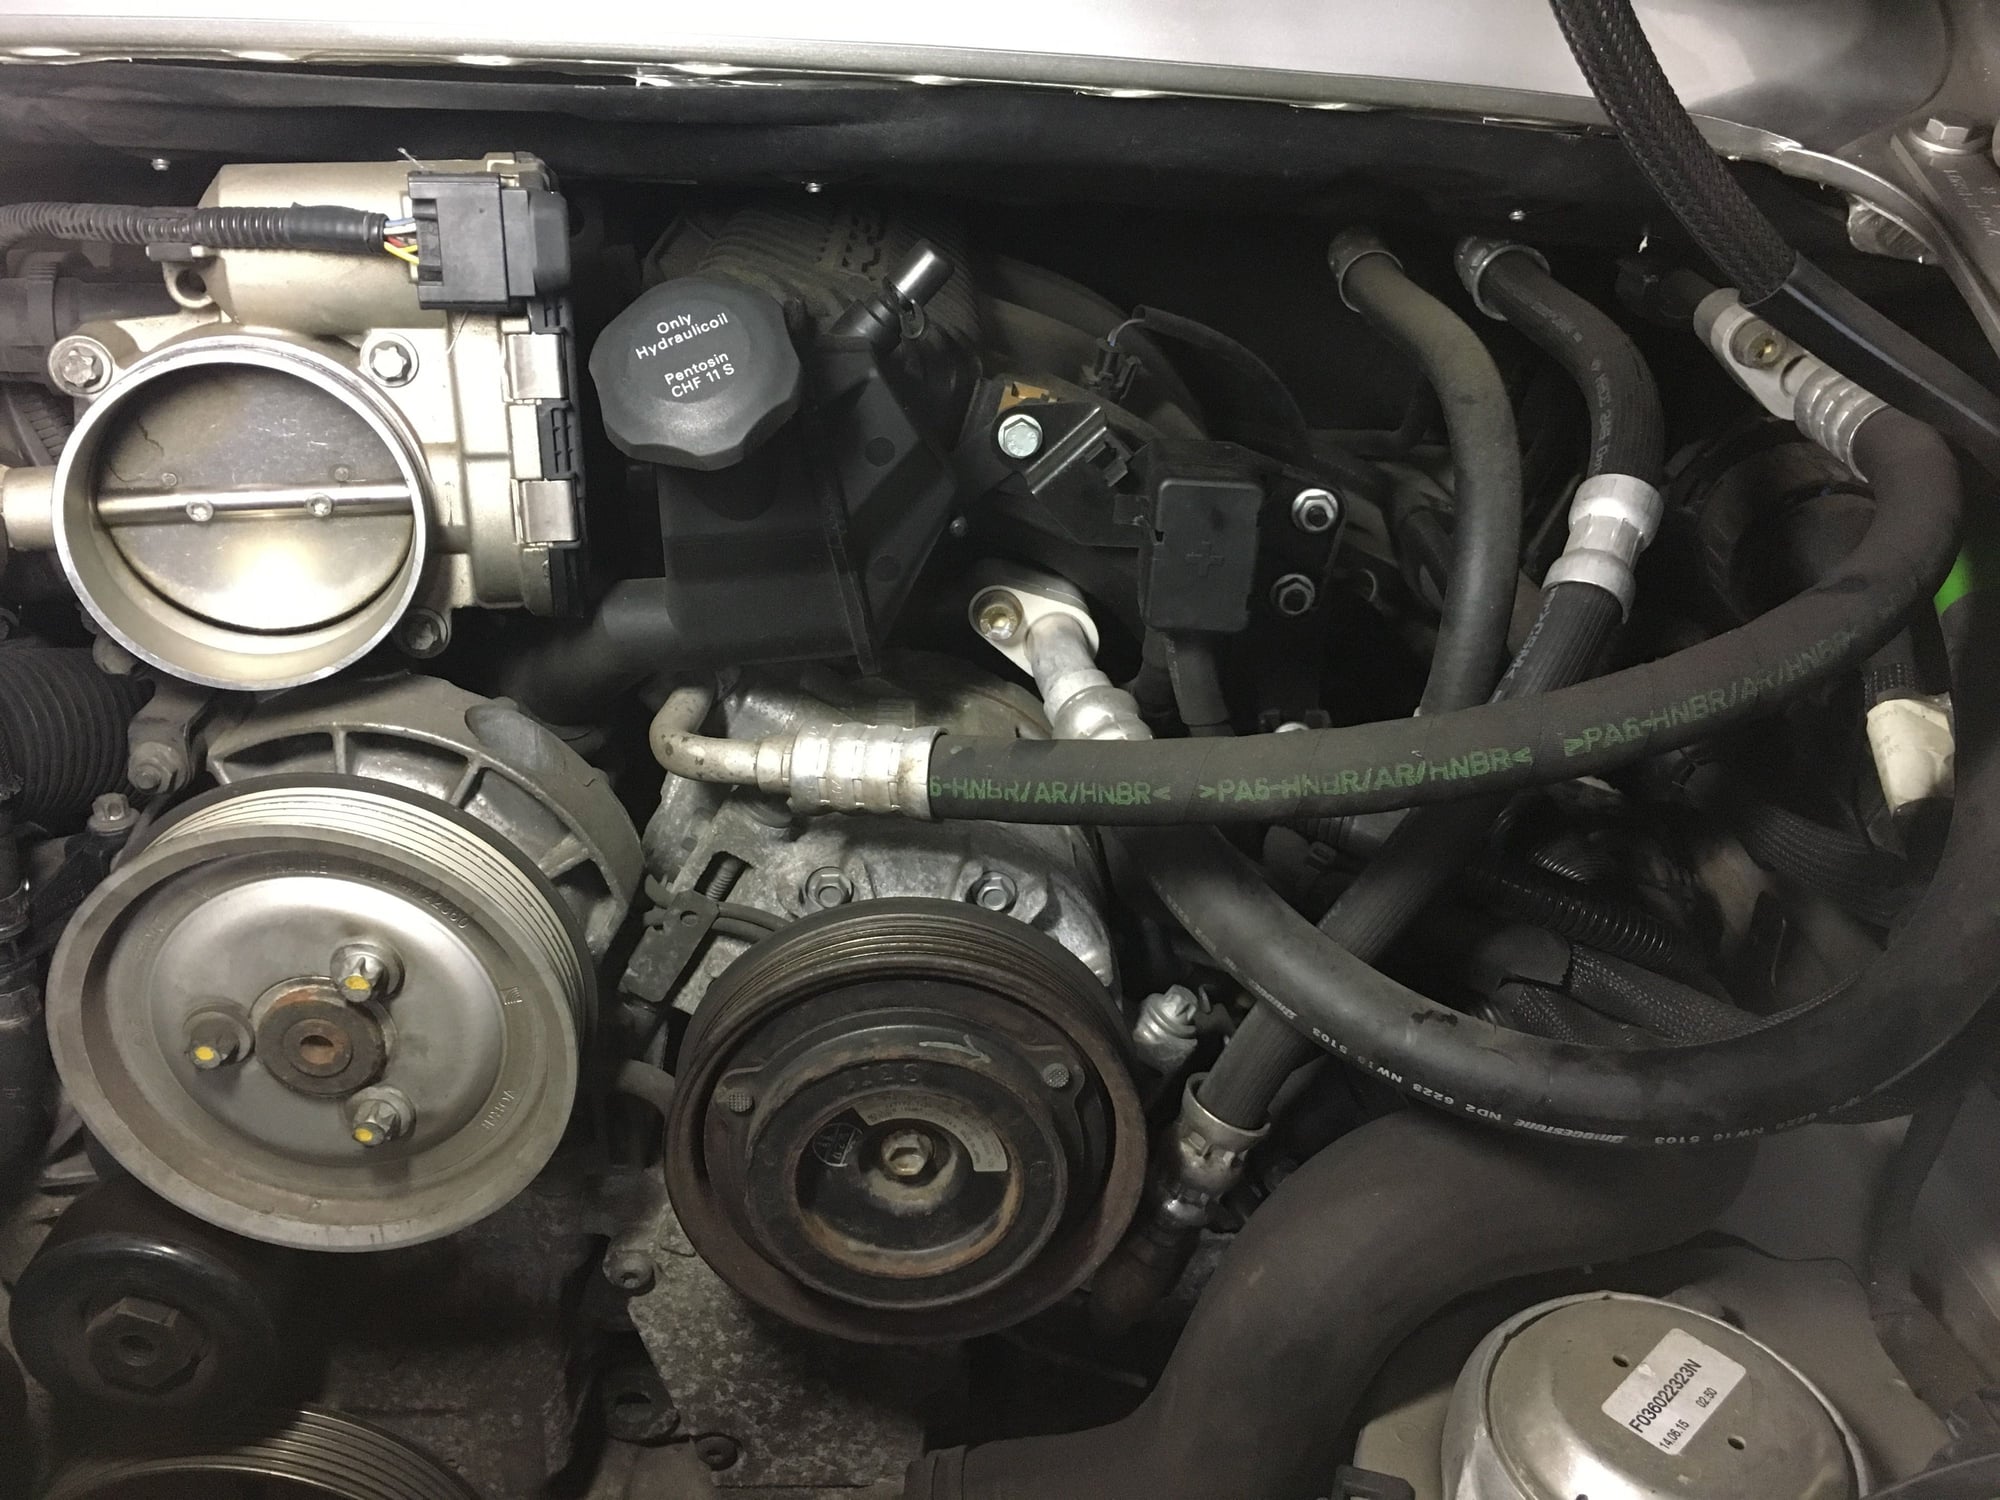
There are lots of guides on how to drop the engine so I'm not going to document any of that. But I will note a few things I found:
1. Removing the bolt behind that A/C compressor is much, much easier if you first remove throttle body and intake pipes. After removing the throttle intake, unscrew 2 clamps each side on the rubber connecters at the end of the horizontal intake pipe and push the connectors to the middle. Then lift out the intake pipe. After that you can use your left hand to guide the socket onto the bolt and remove it. Took me an hour of fiddling before I figure this out, then another 5 mins once I did.
2. Fuel line disconnect: (04 C4S) - don't disconnect anything on the fuel rail. Instead there is a single main fuel line on the upper left that unclips. The line leads off into a Y connection at the back of the engine, which splits off to each fuel rail. After lowering the engine about 4 inches you will easily see the connector, and can unclip it at the top left, near the cooler reservoir.
The whole thing took me about 4 hours to drop, and now that I've done it once I think I could do it in under 2 the next time.
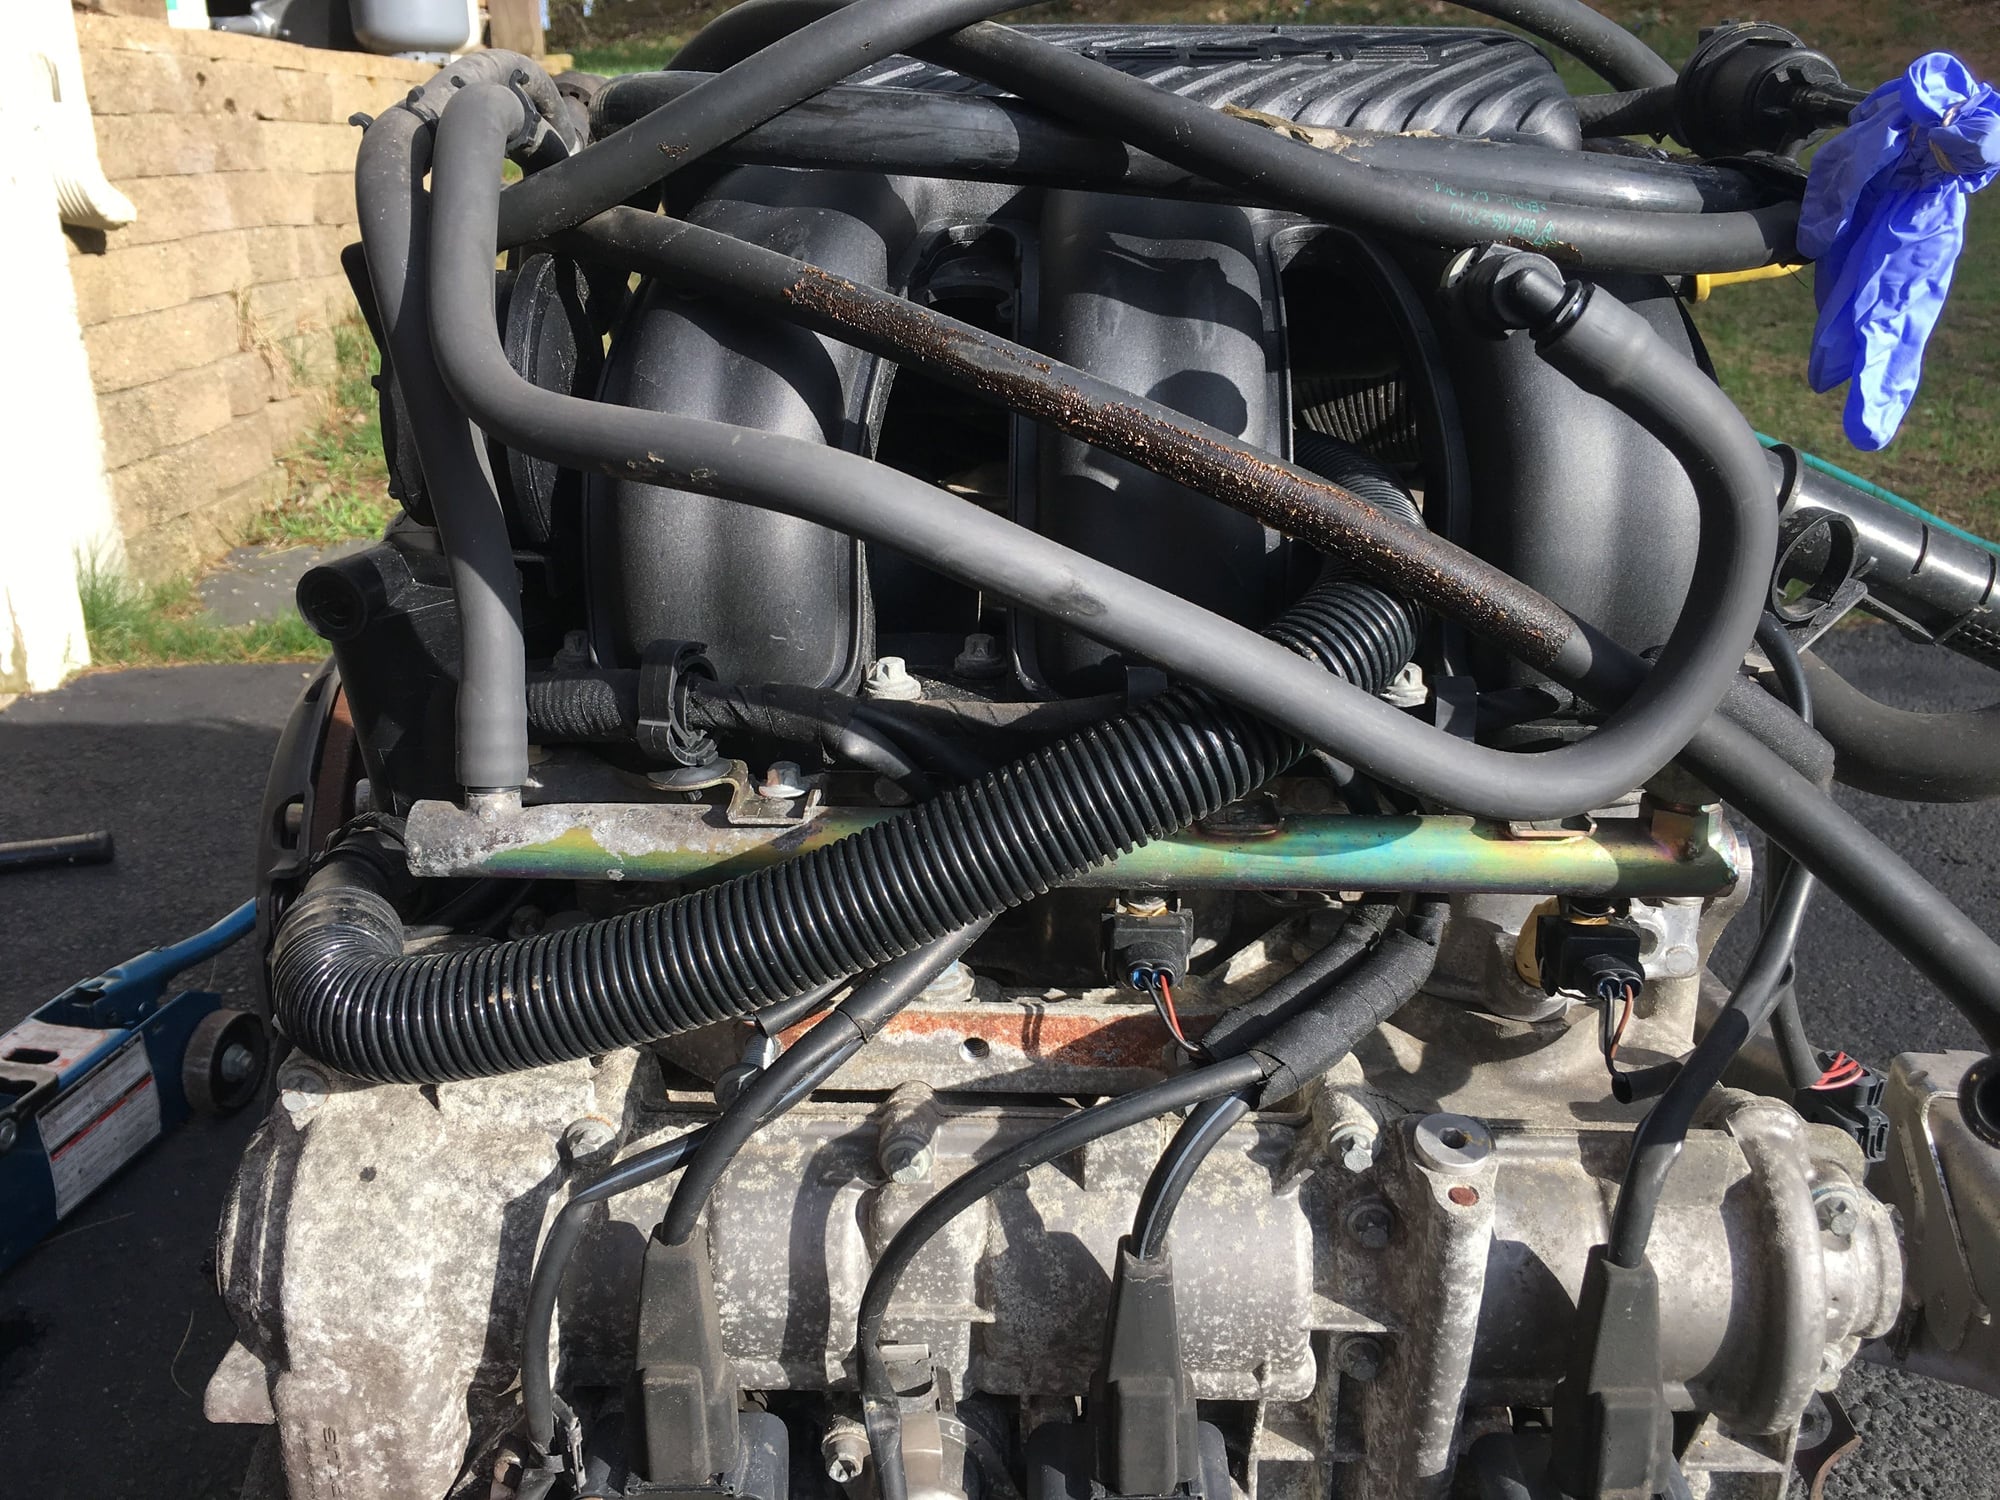
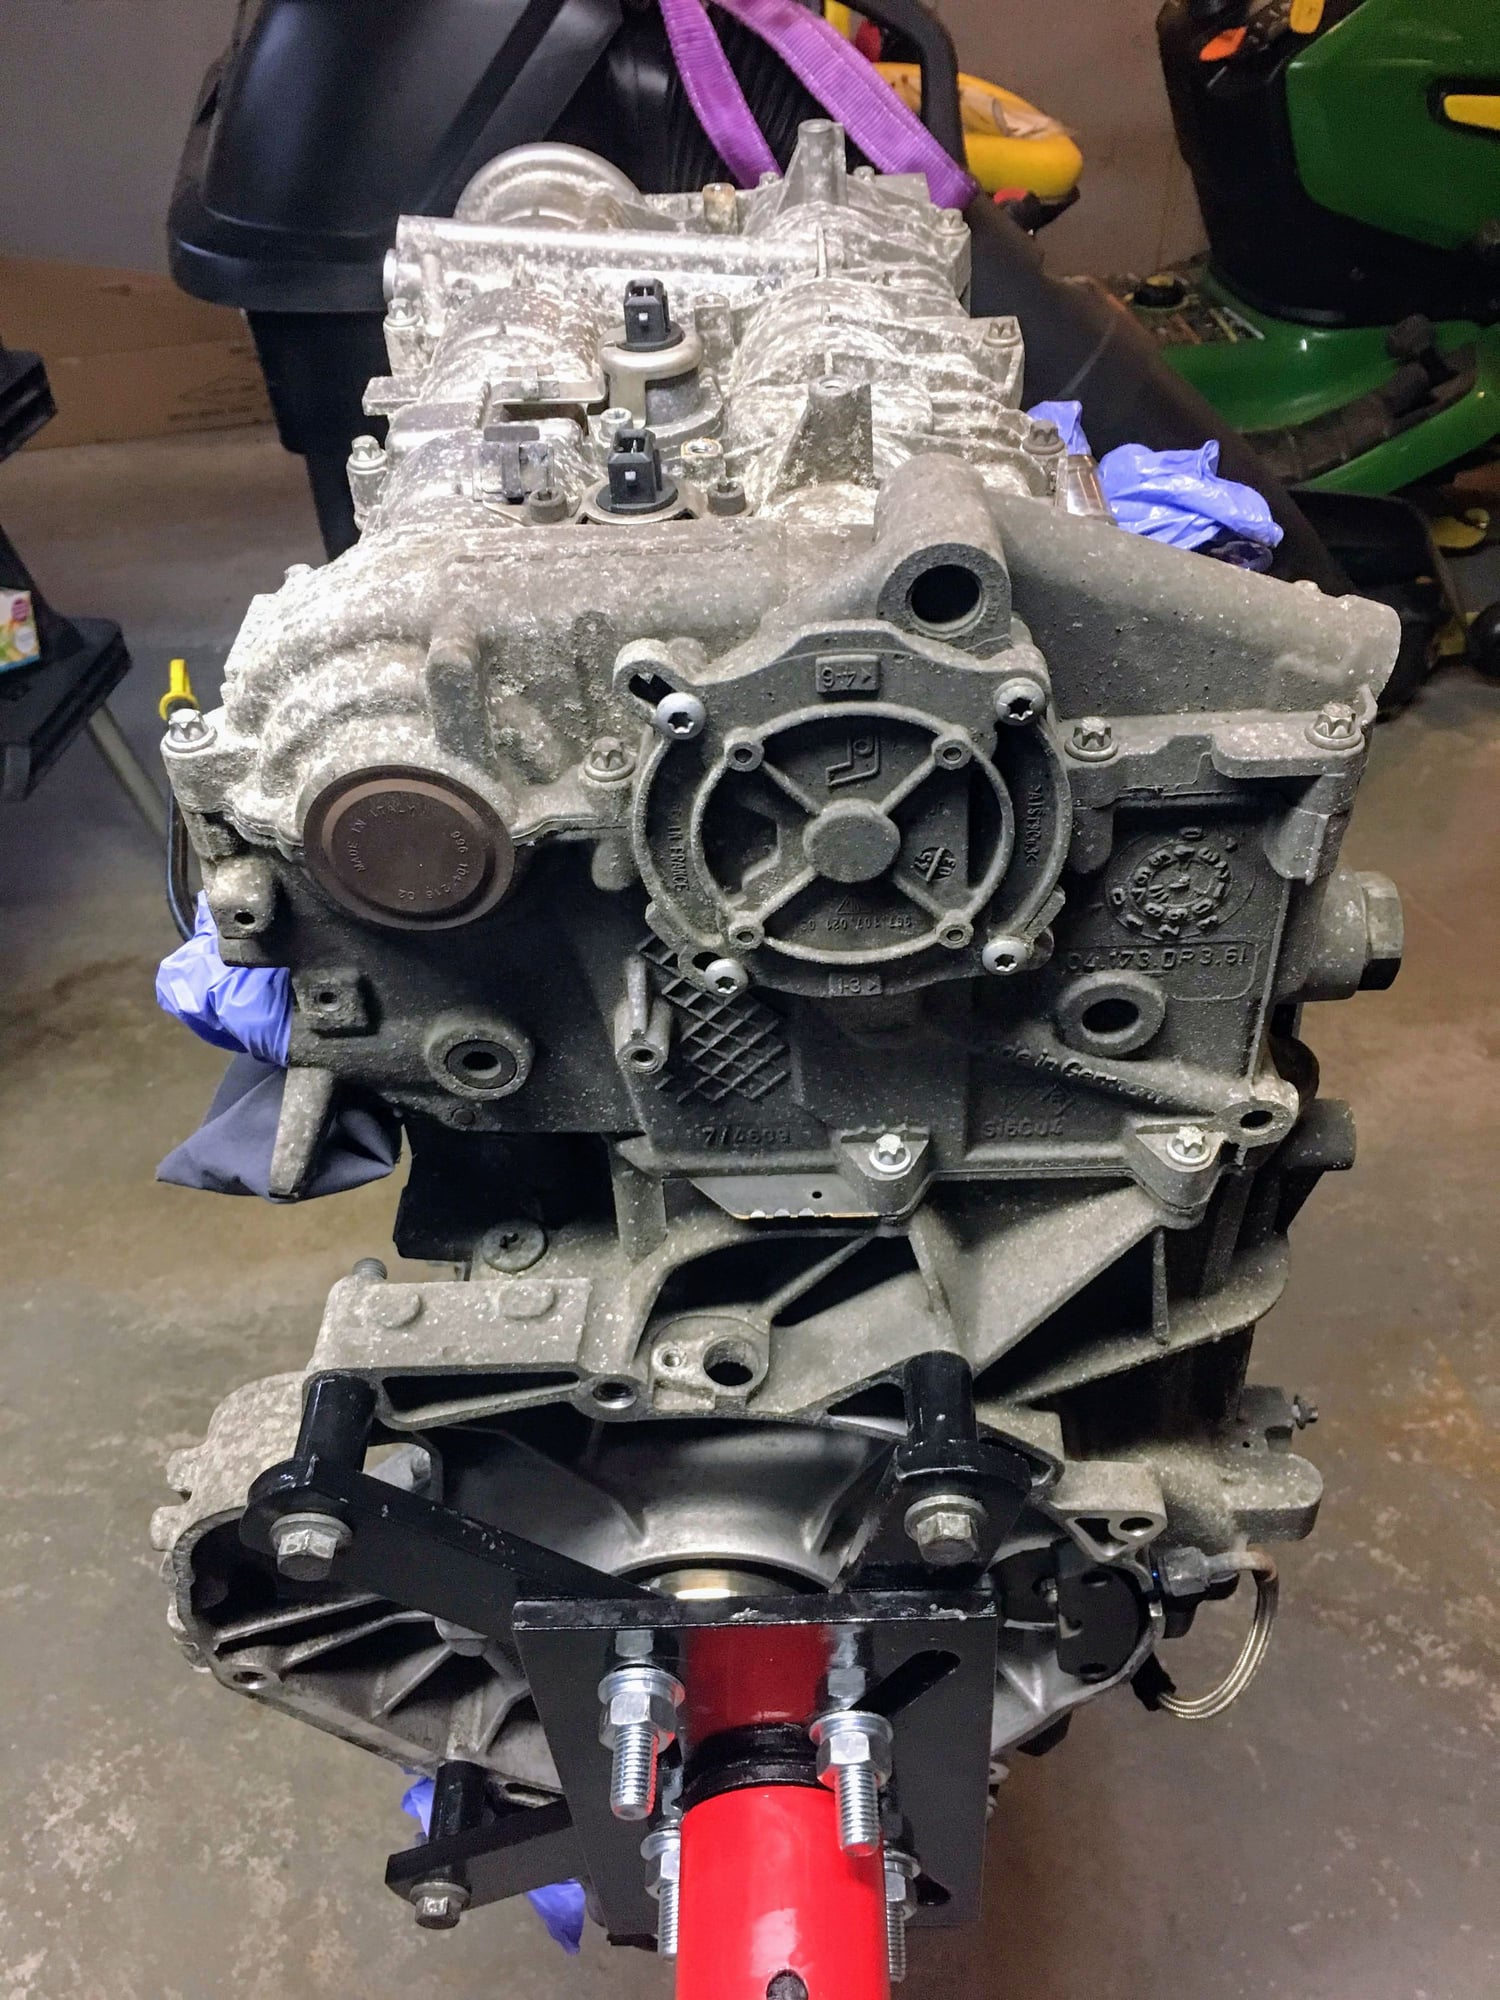
She's going to need a really good cleaning.
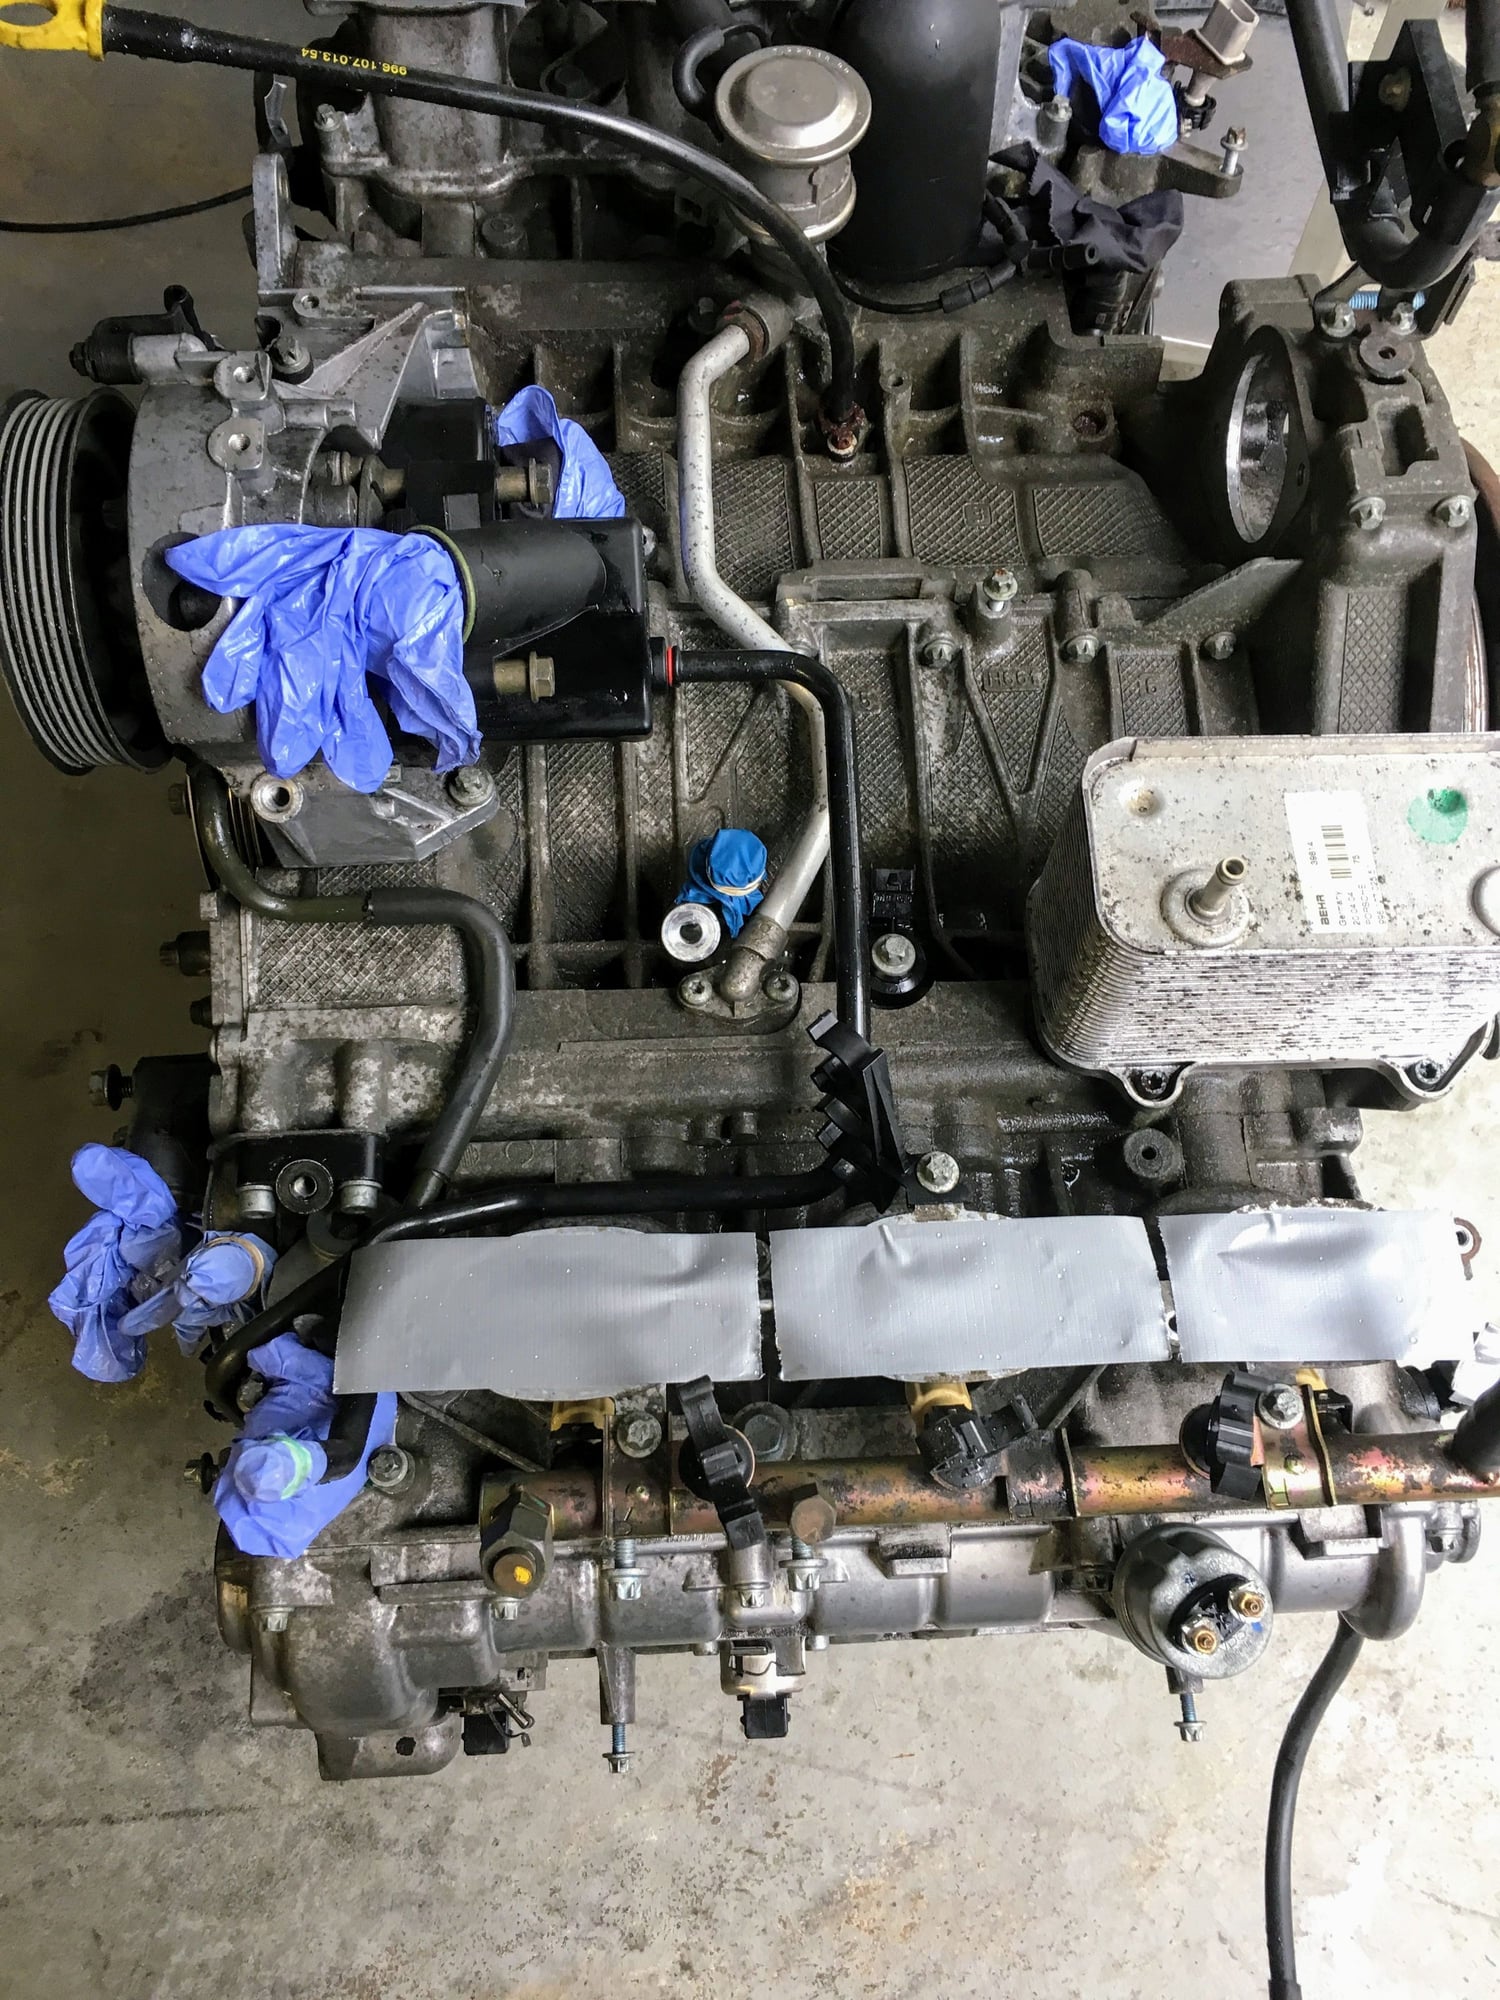
Top view, intakes removed.
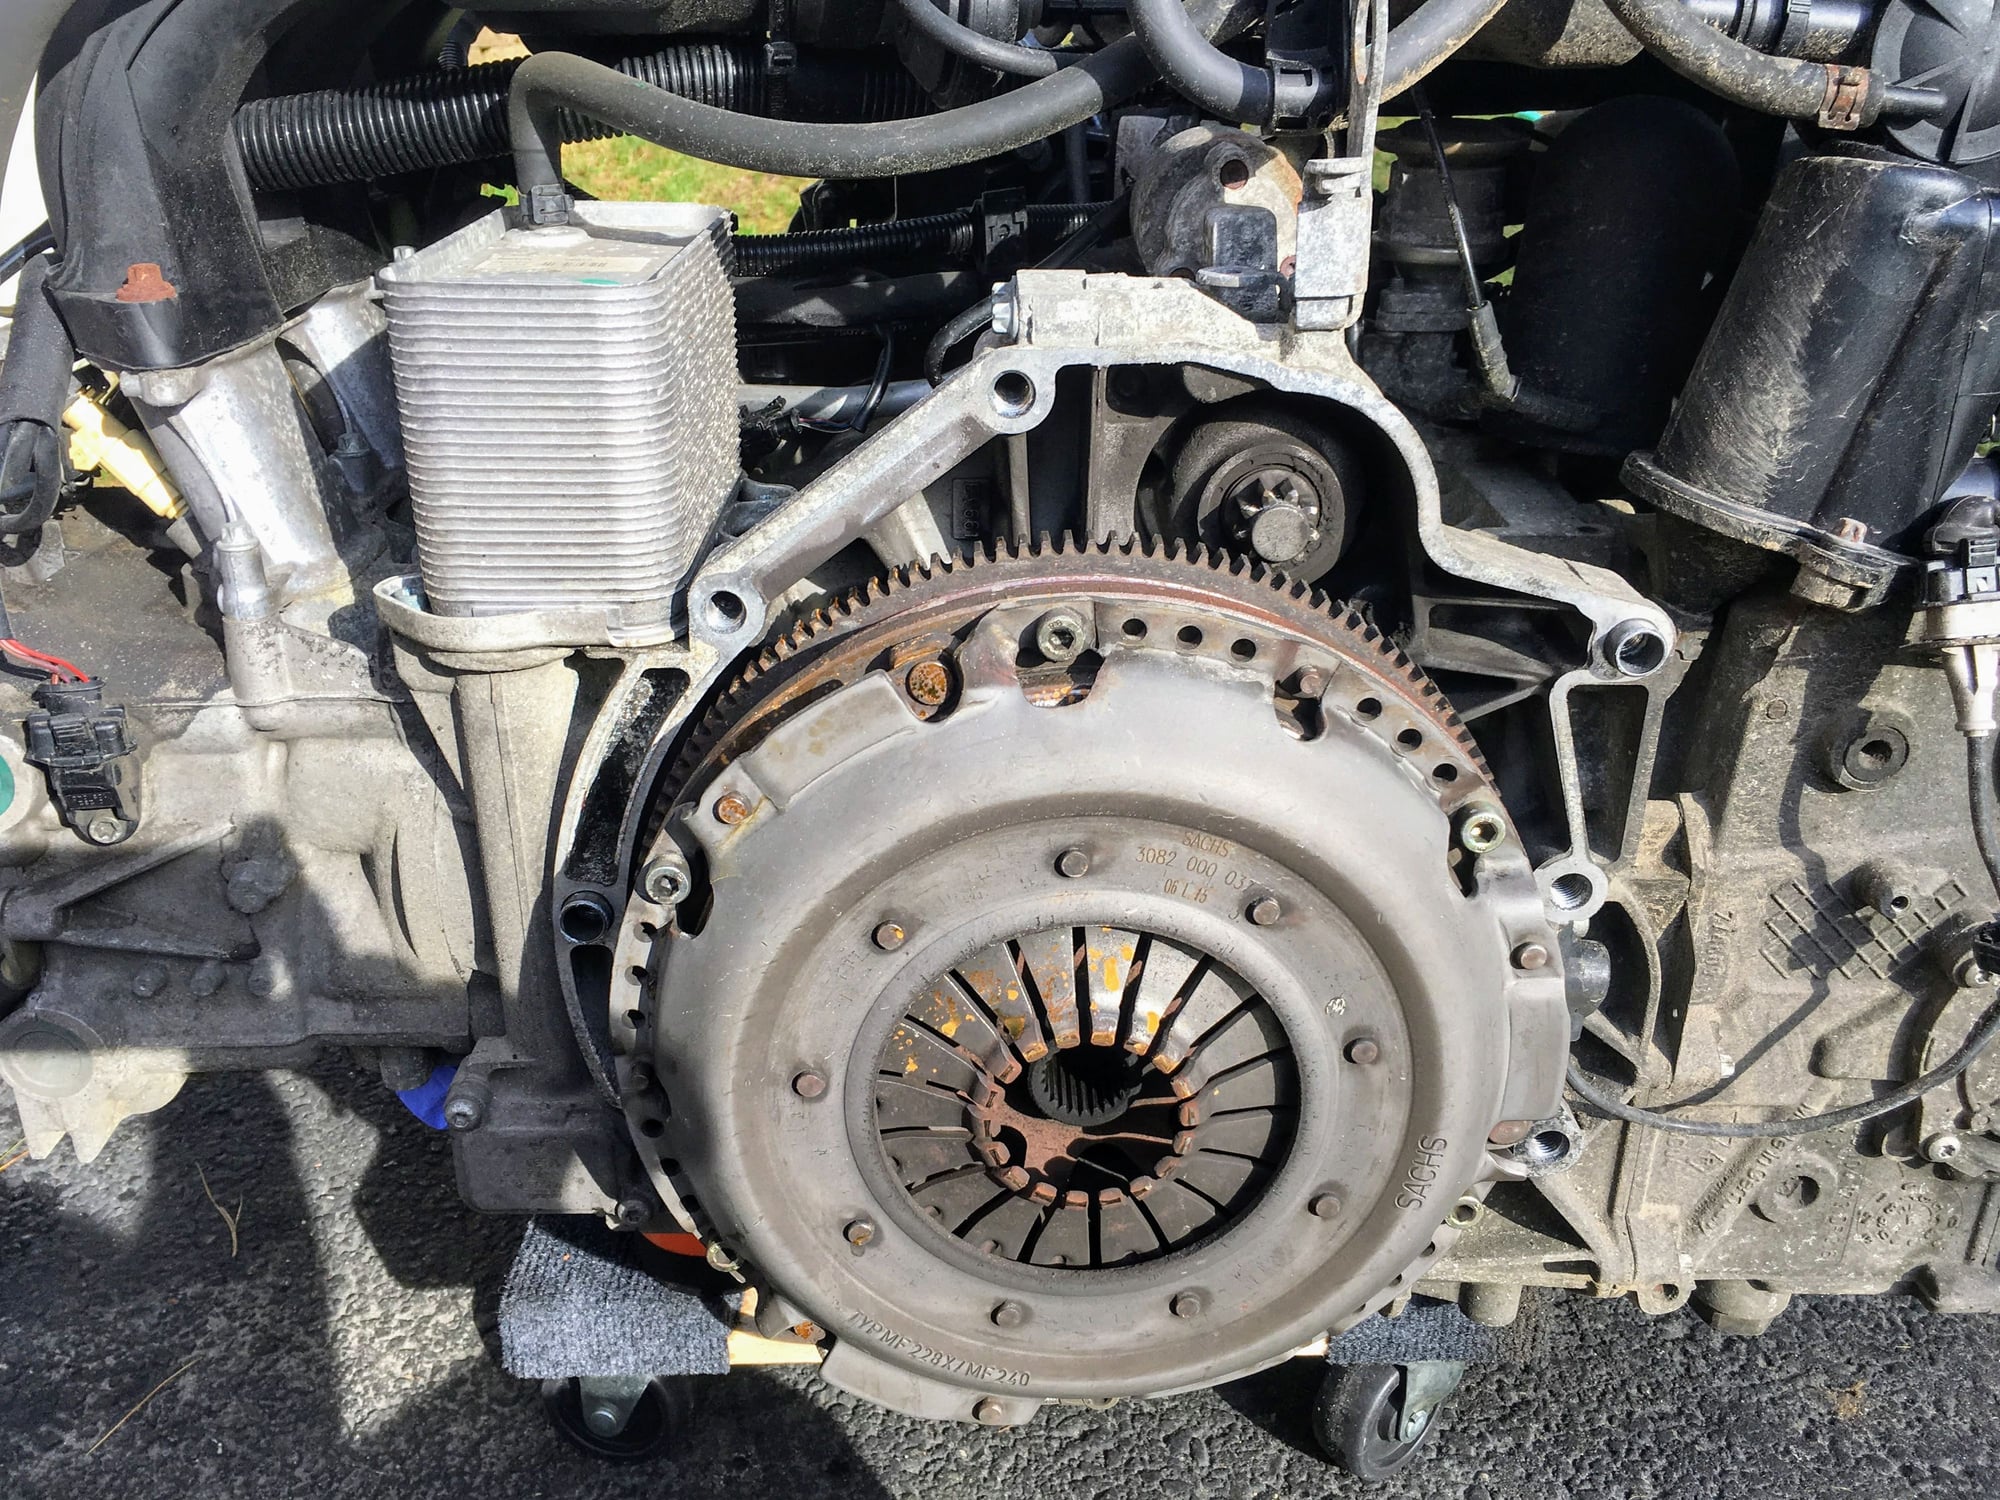
Rear view, flywheel shot.
#24
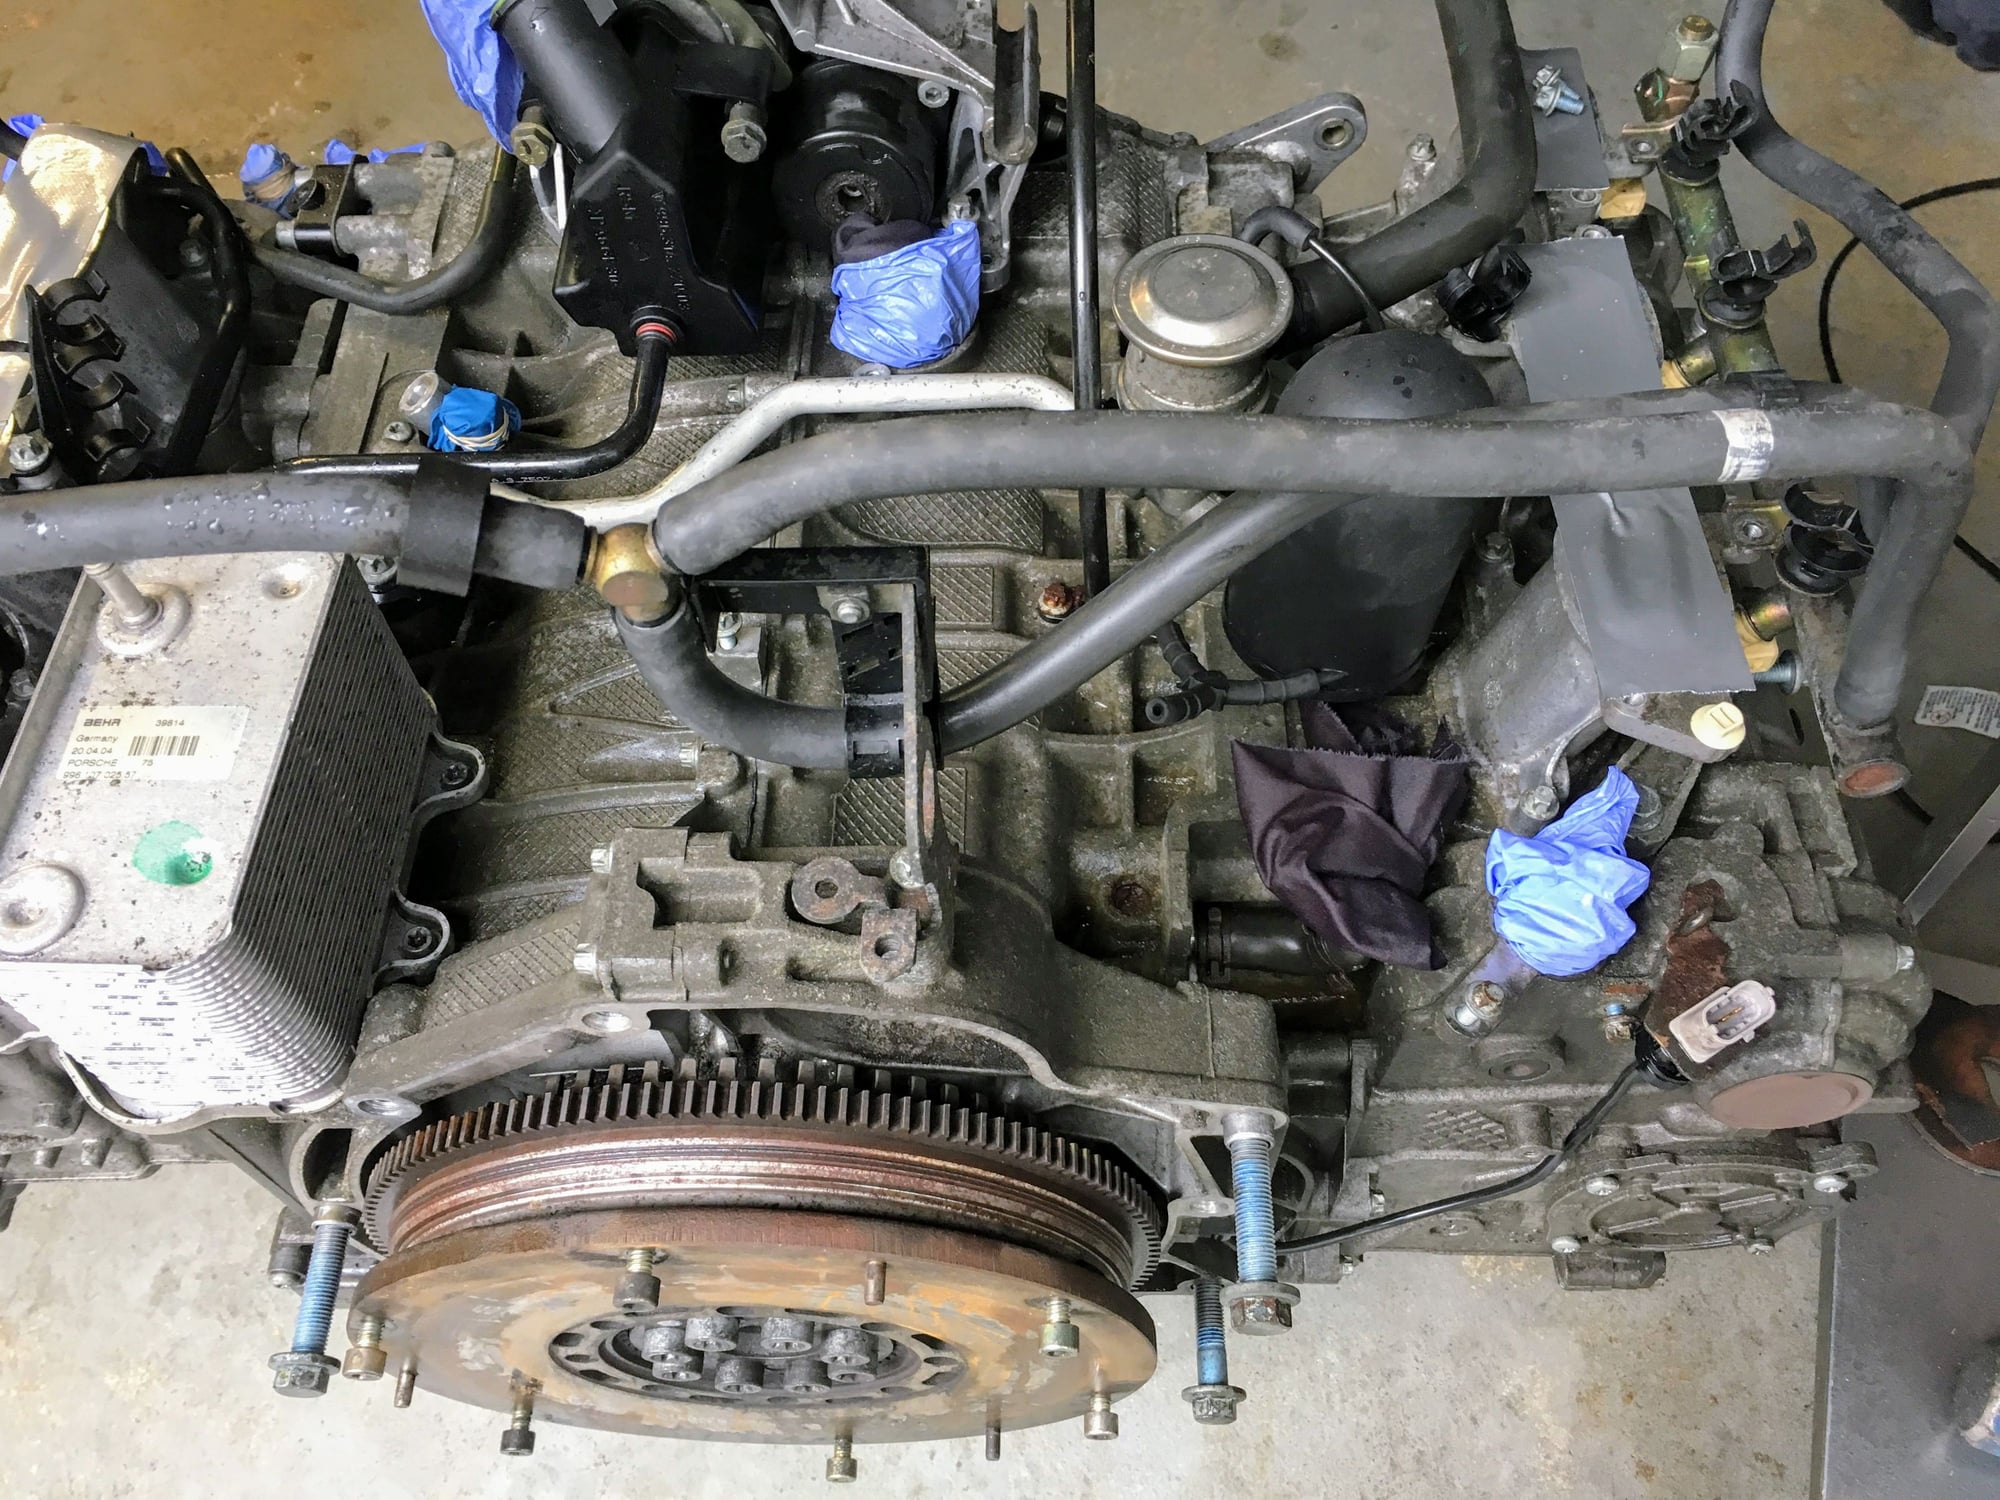
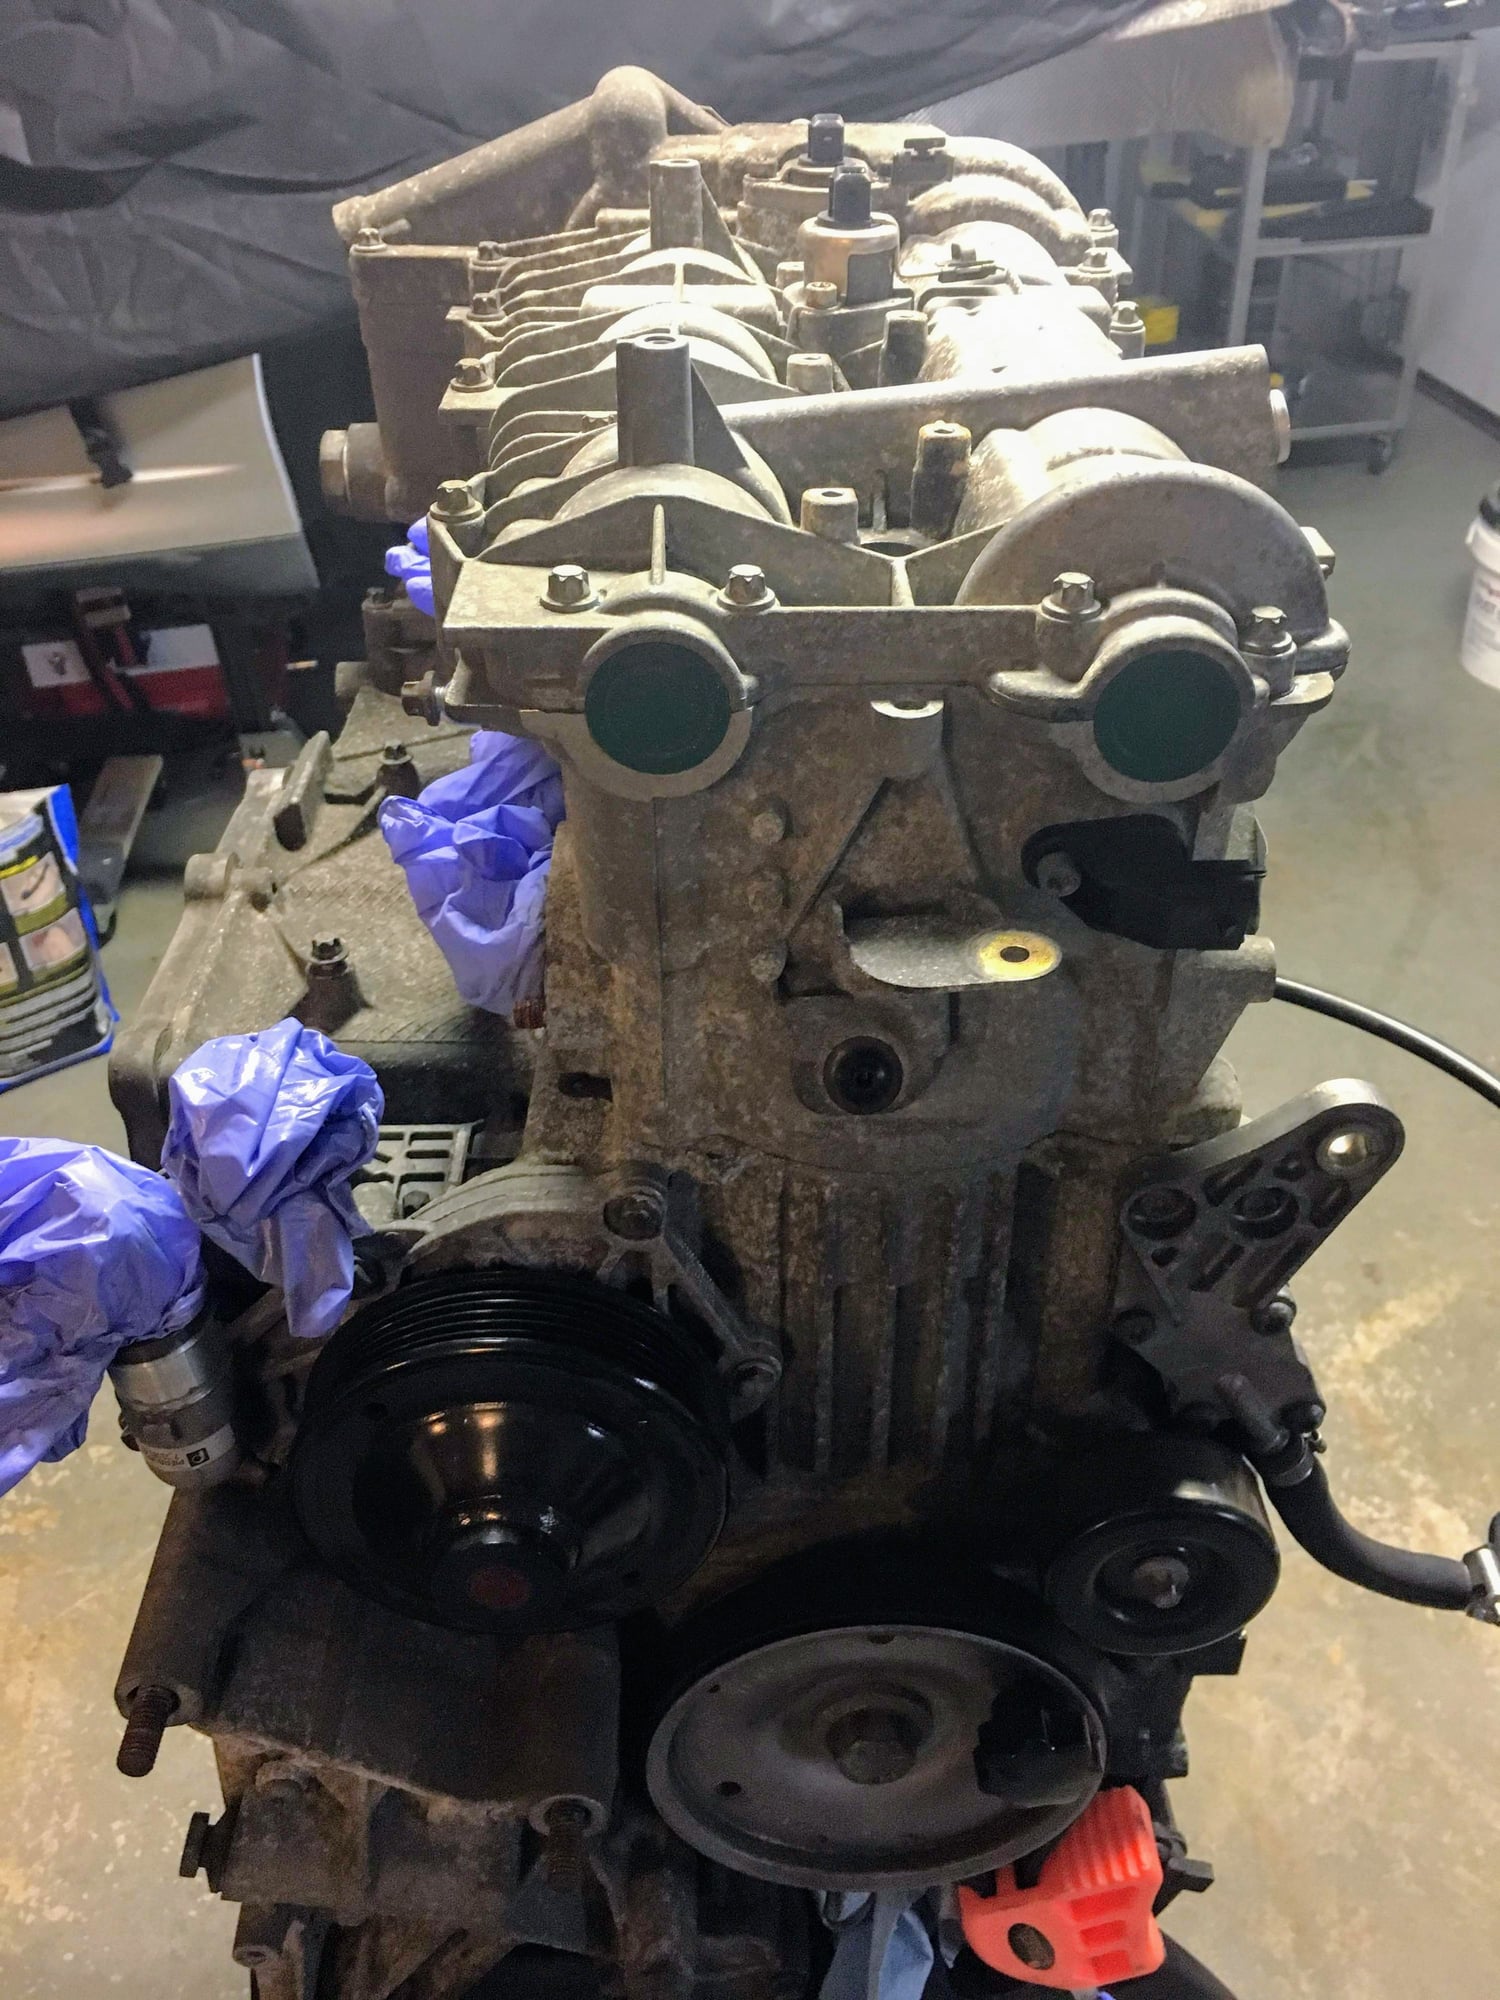
Just a few more glamour shots before I got it up onto the engine stand.
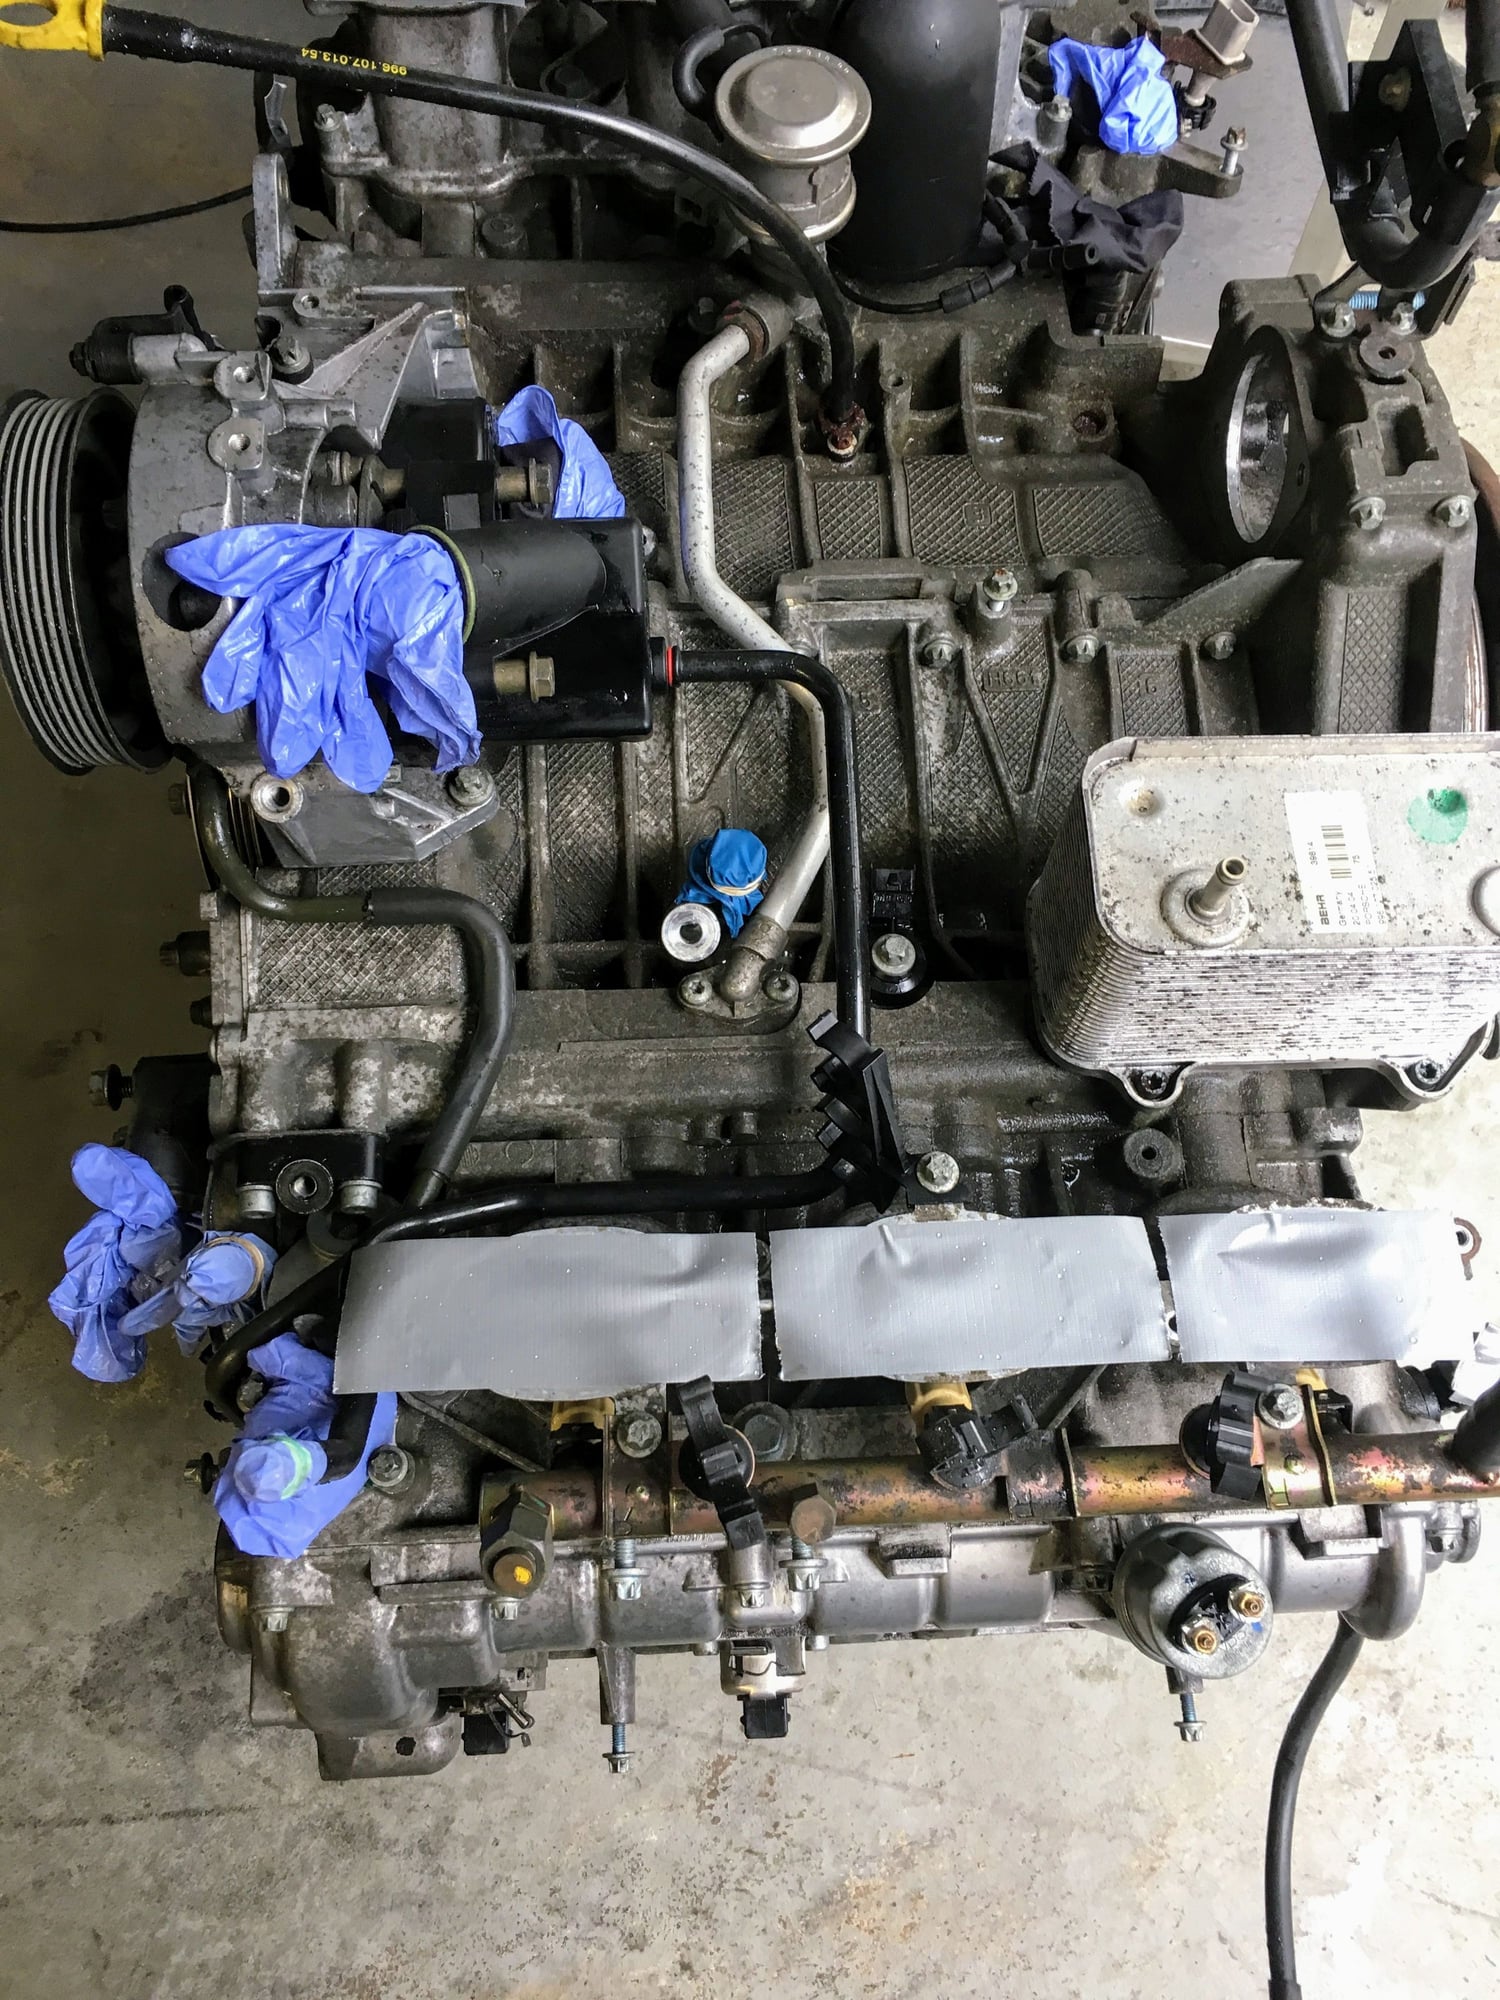
Another view from the top.
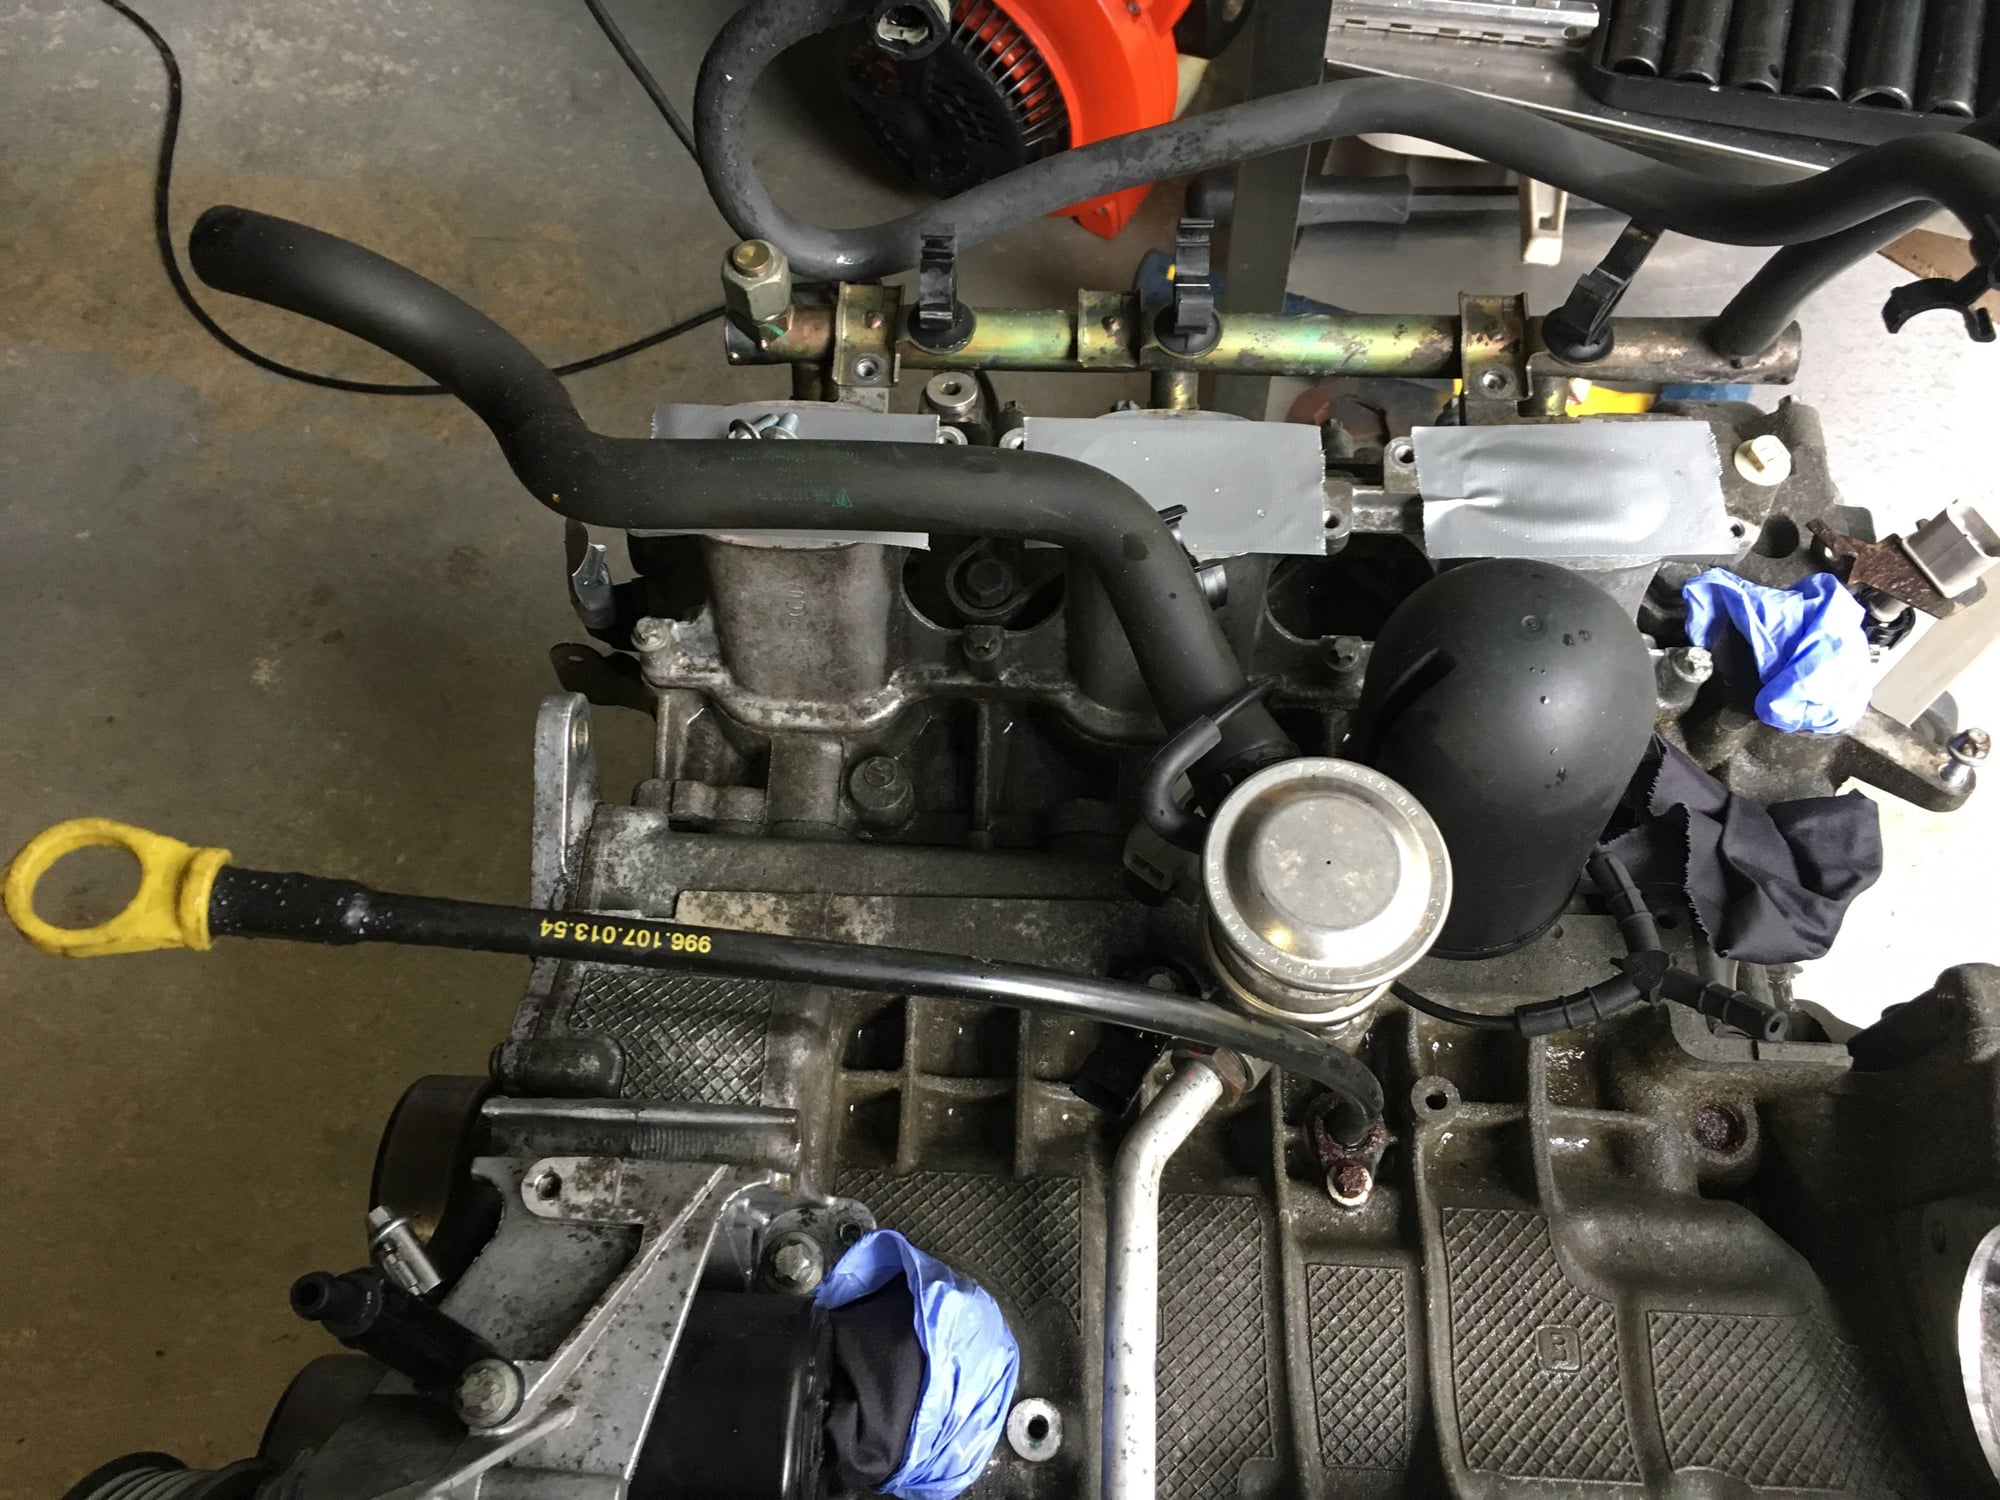
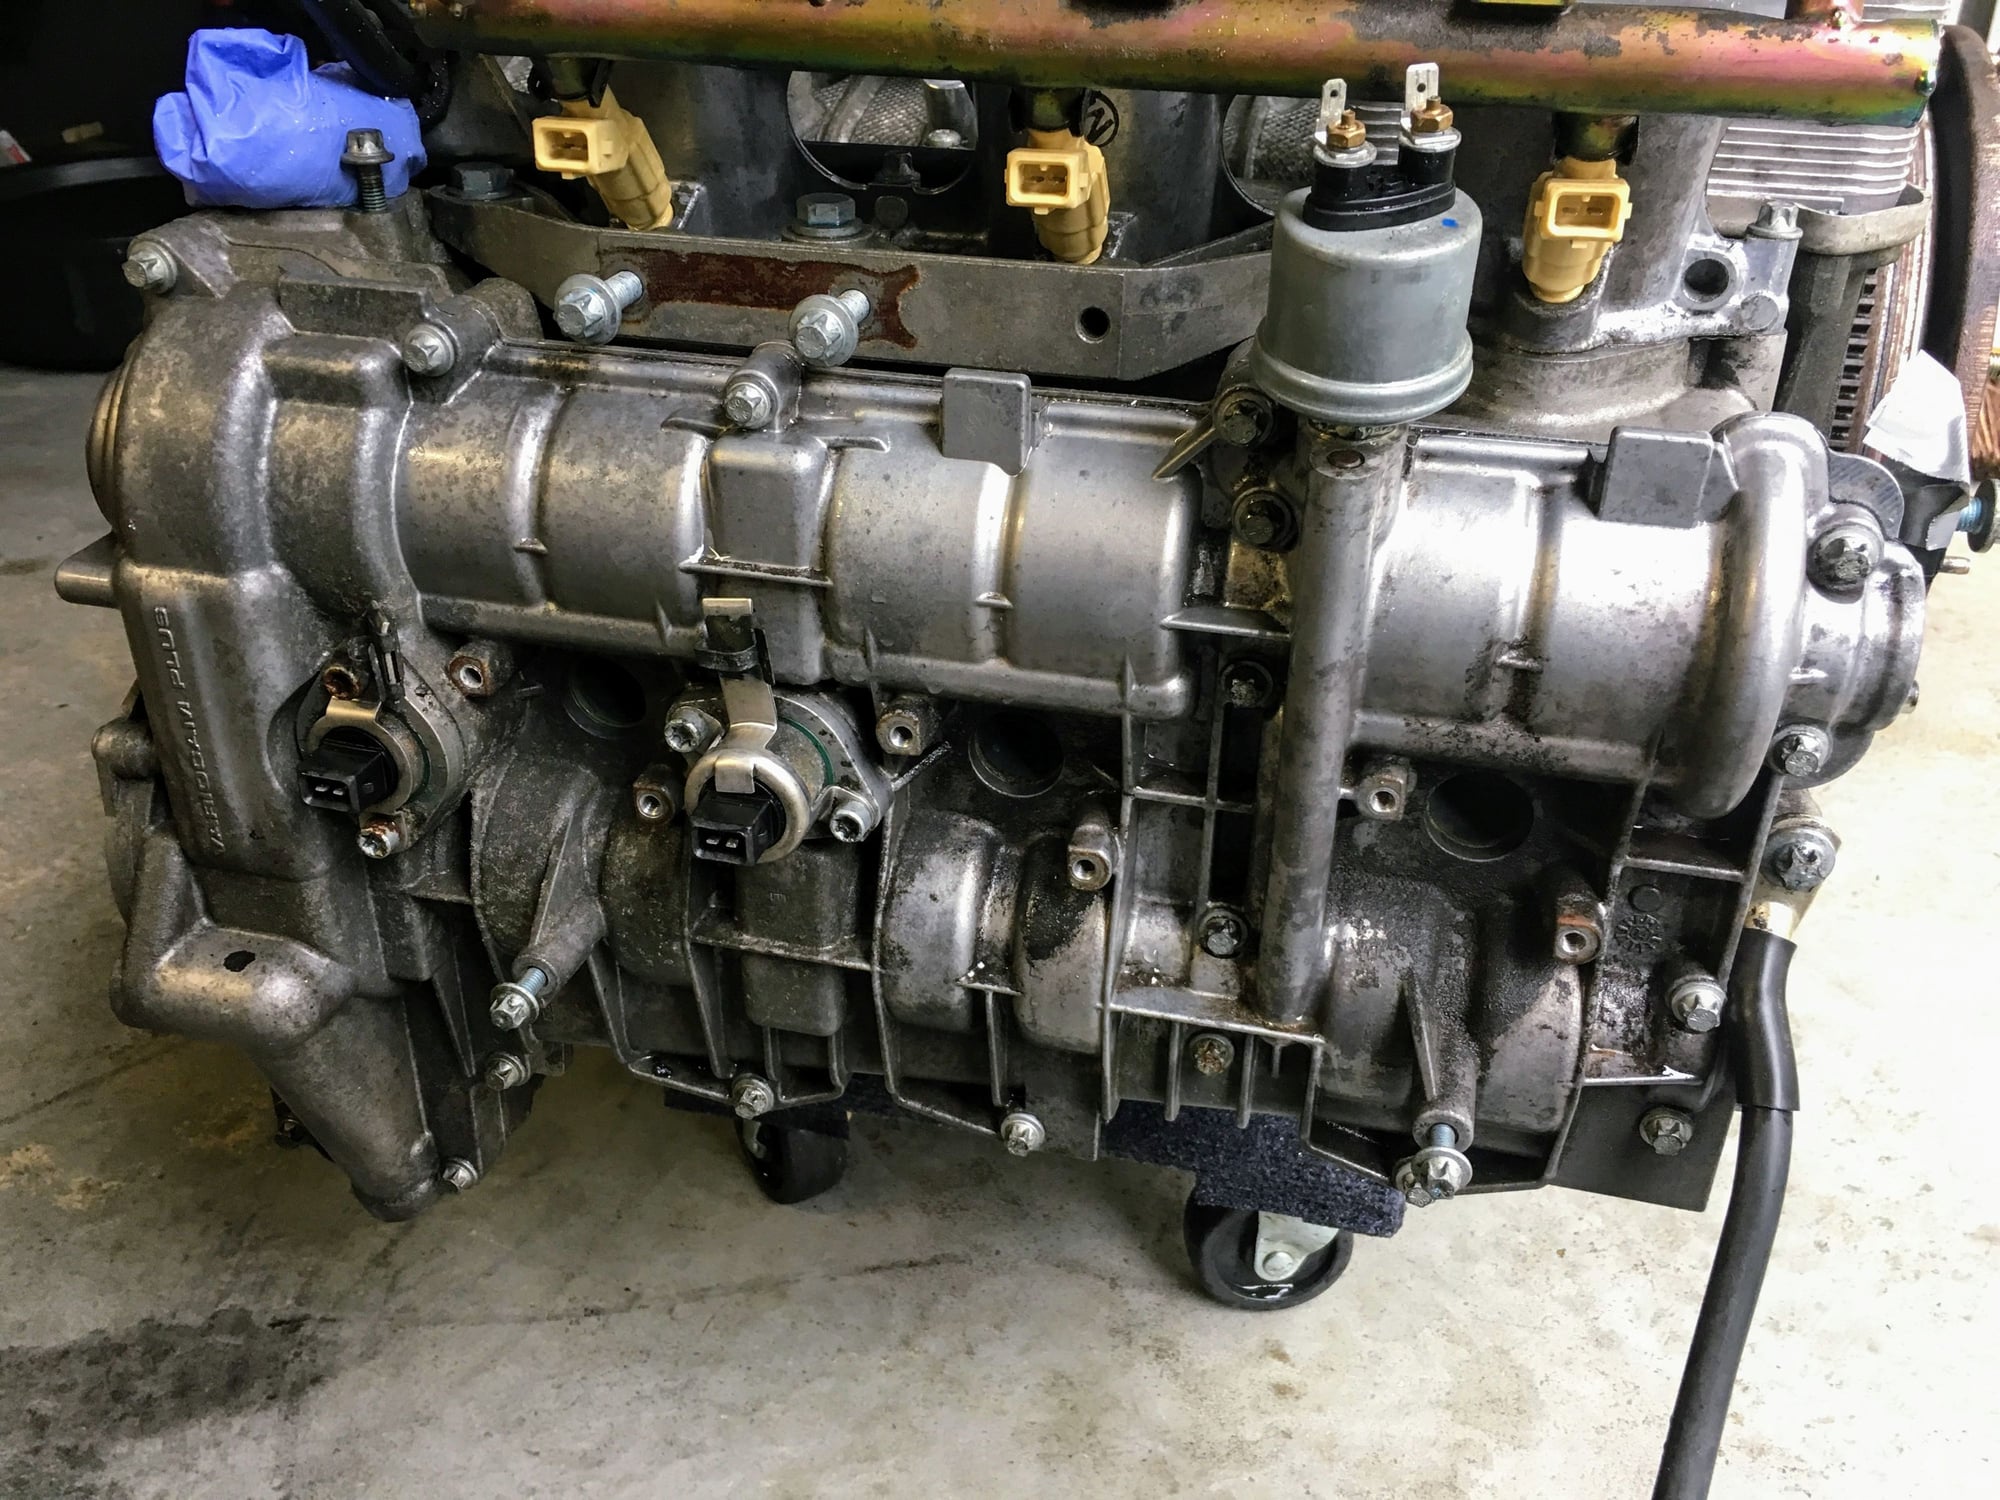
123 head side had some kind of leak in the past I think, oil was dry.
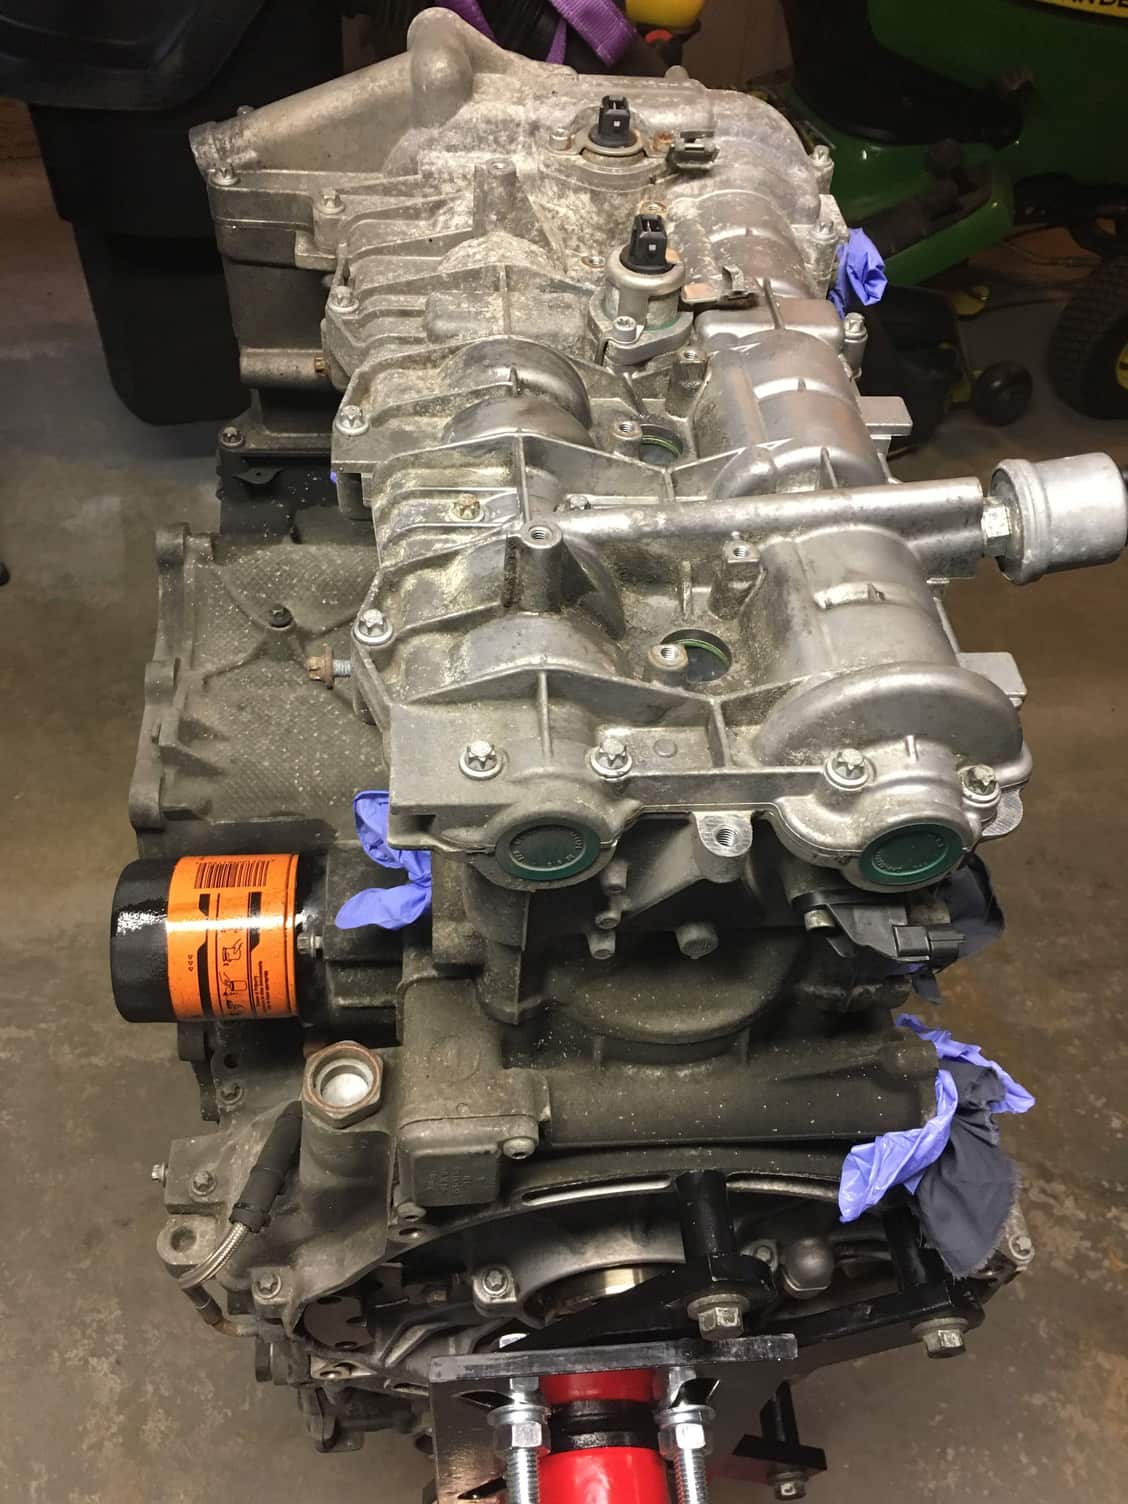
Up on the engine stand. 456 side was very clean.
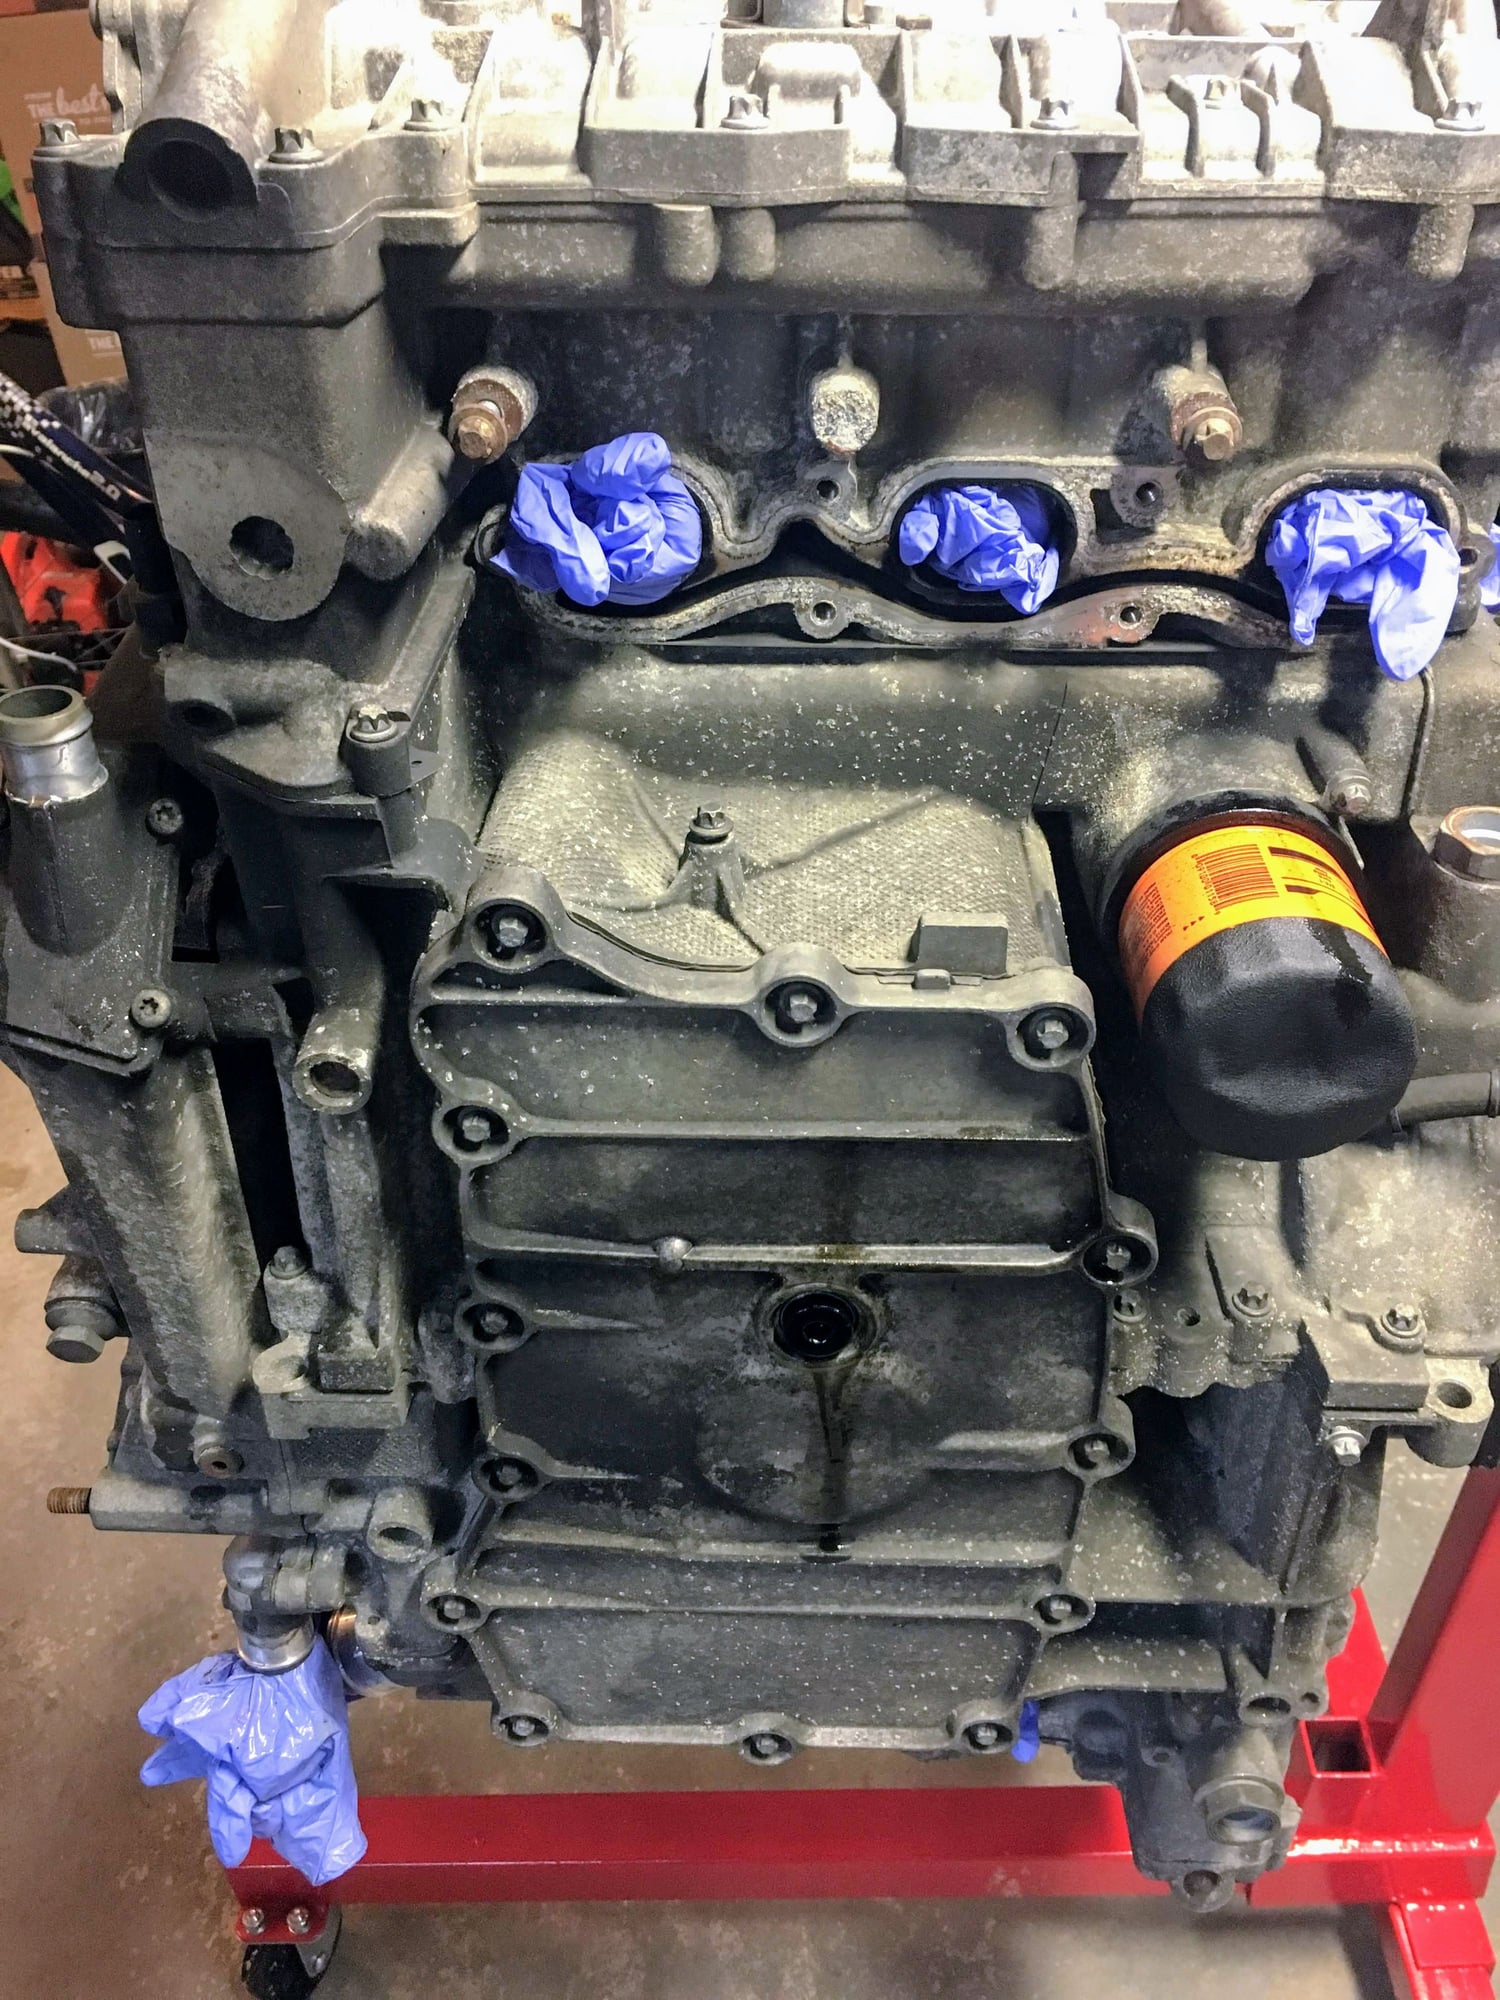
Bottom view, tilted on its side.
#26
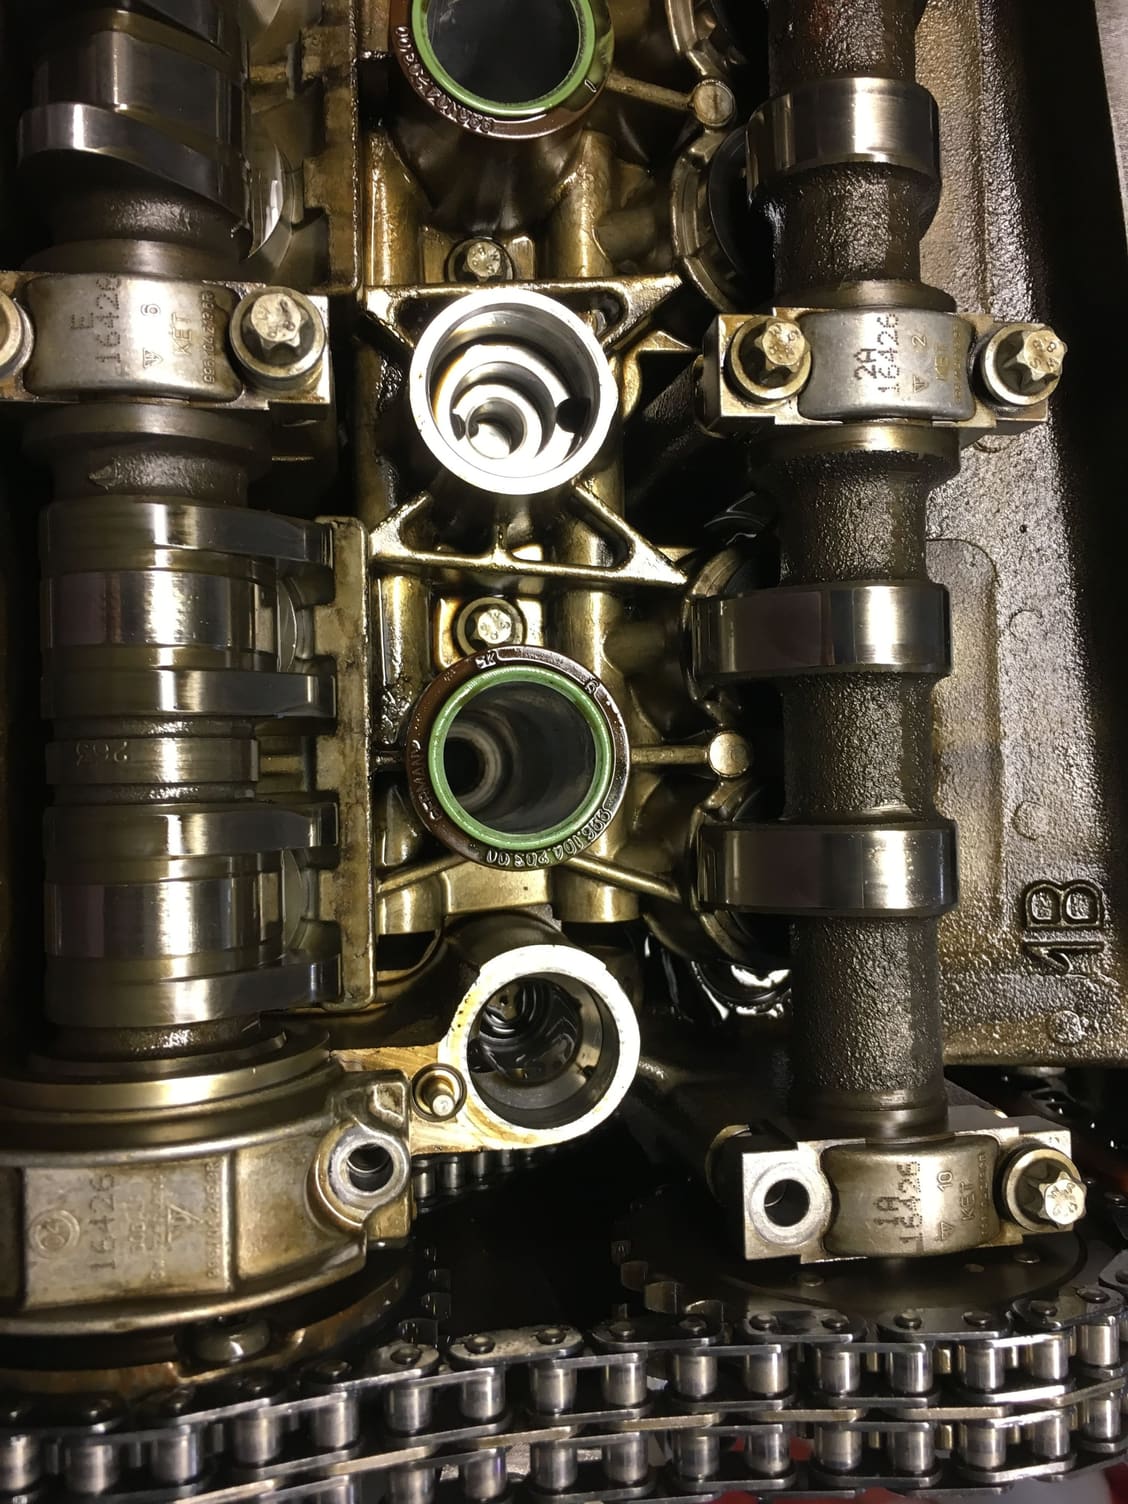
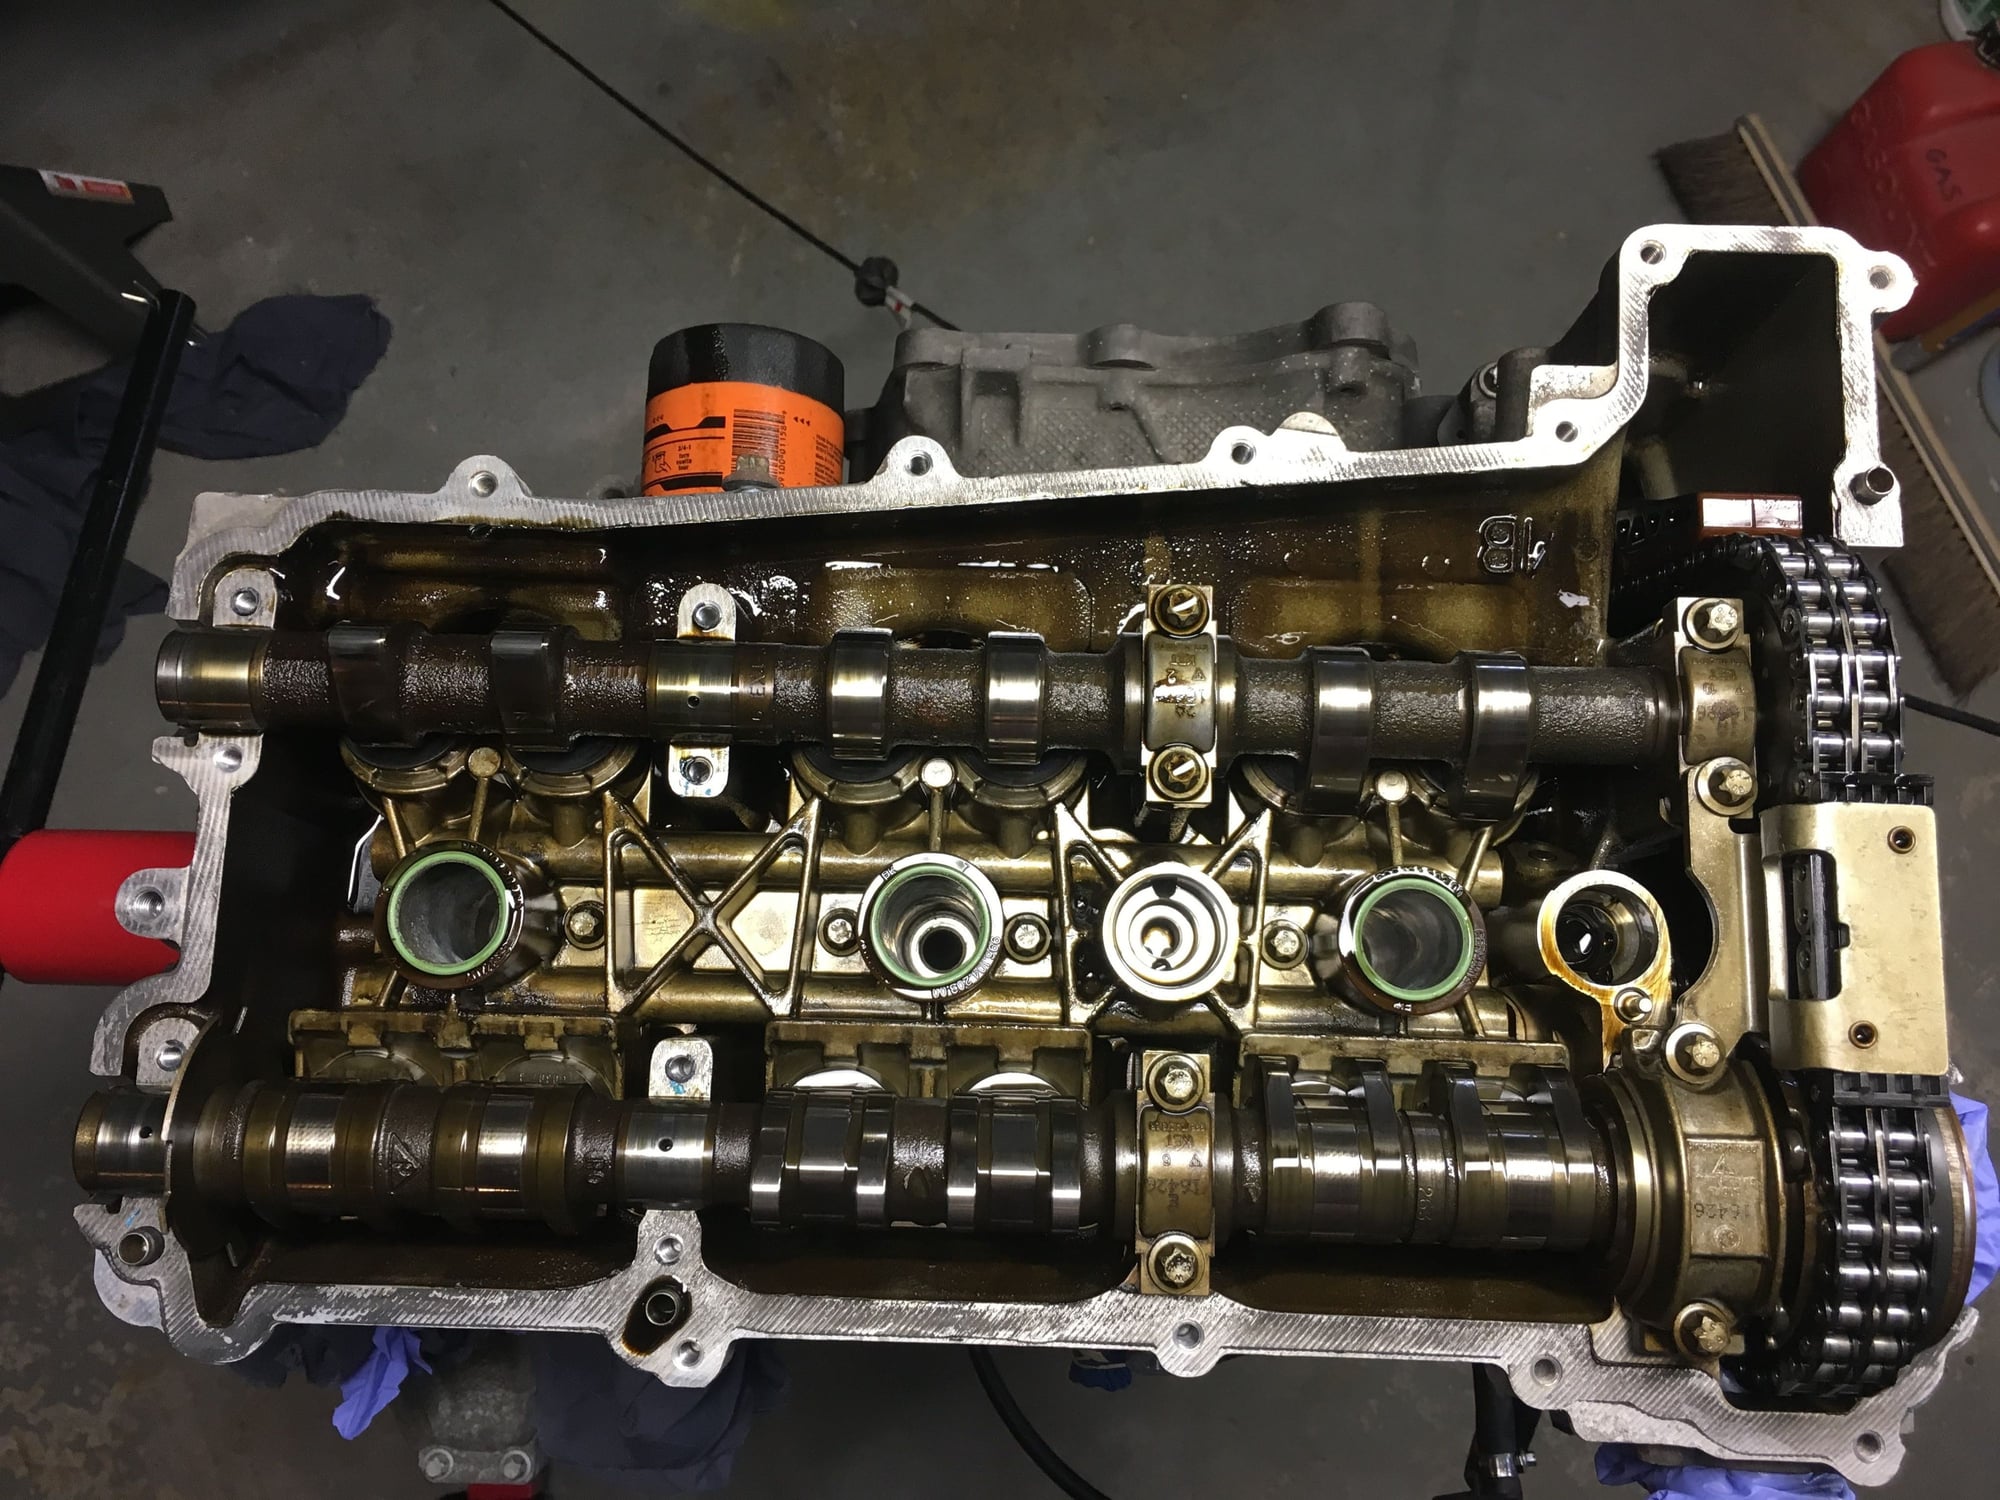
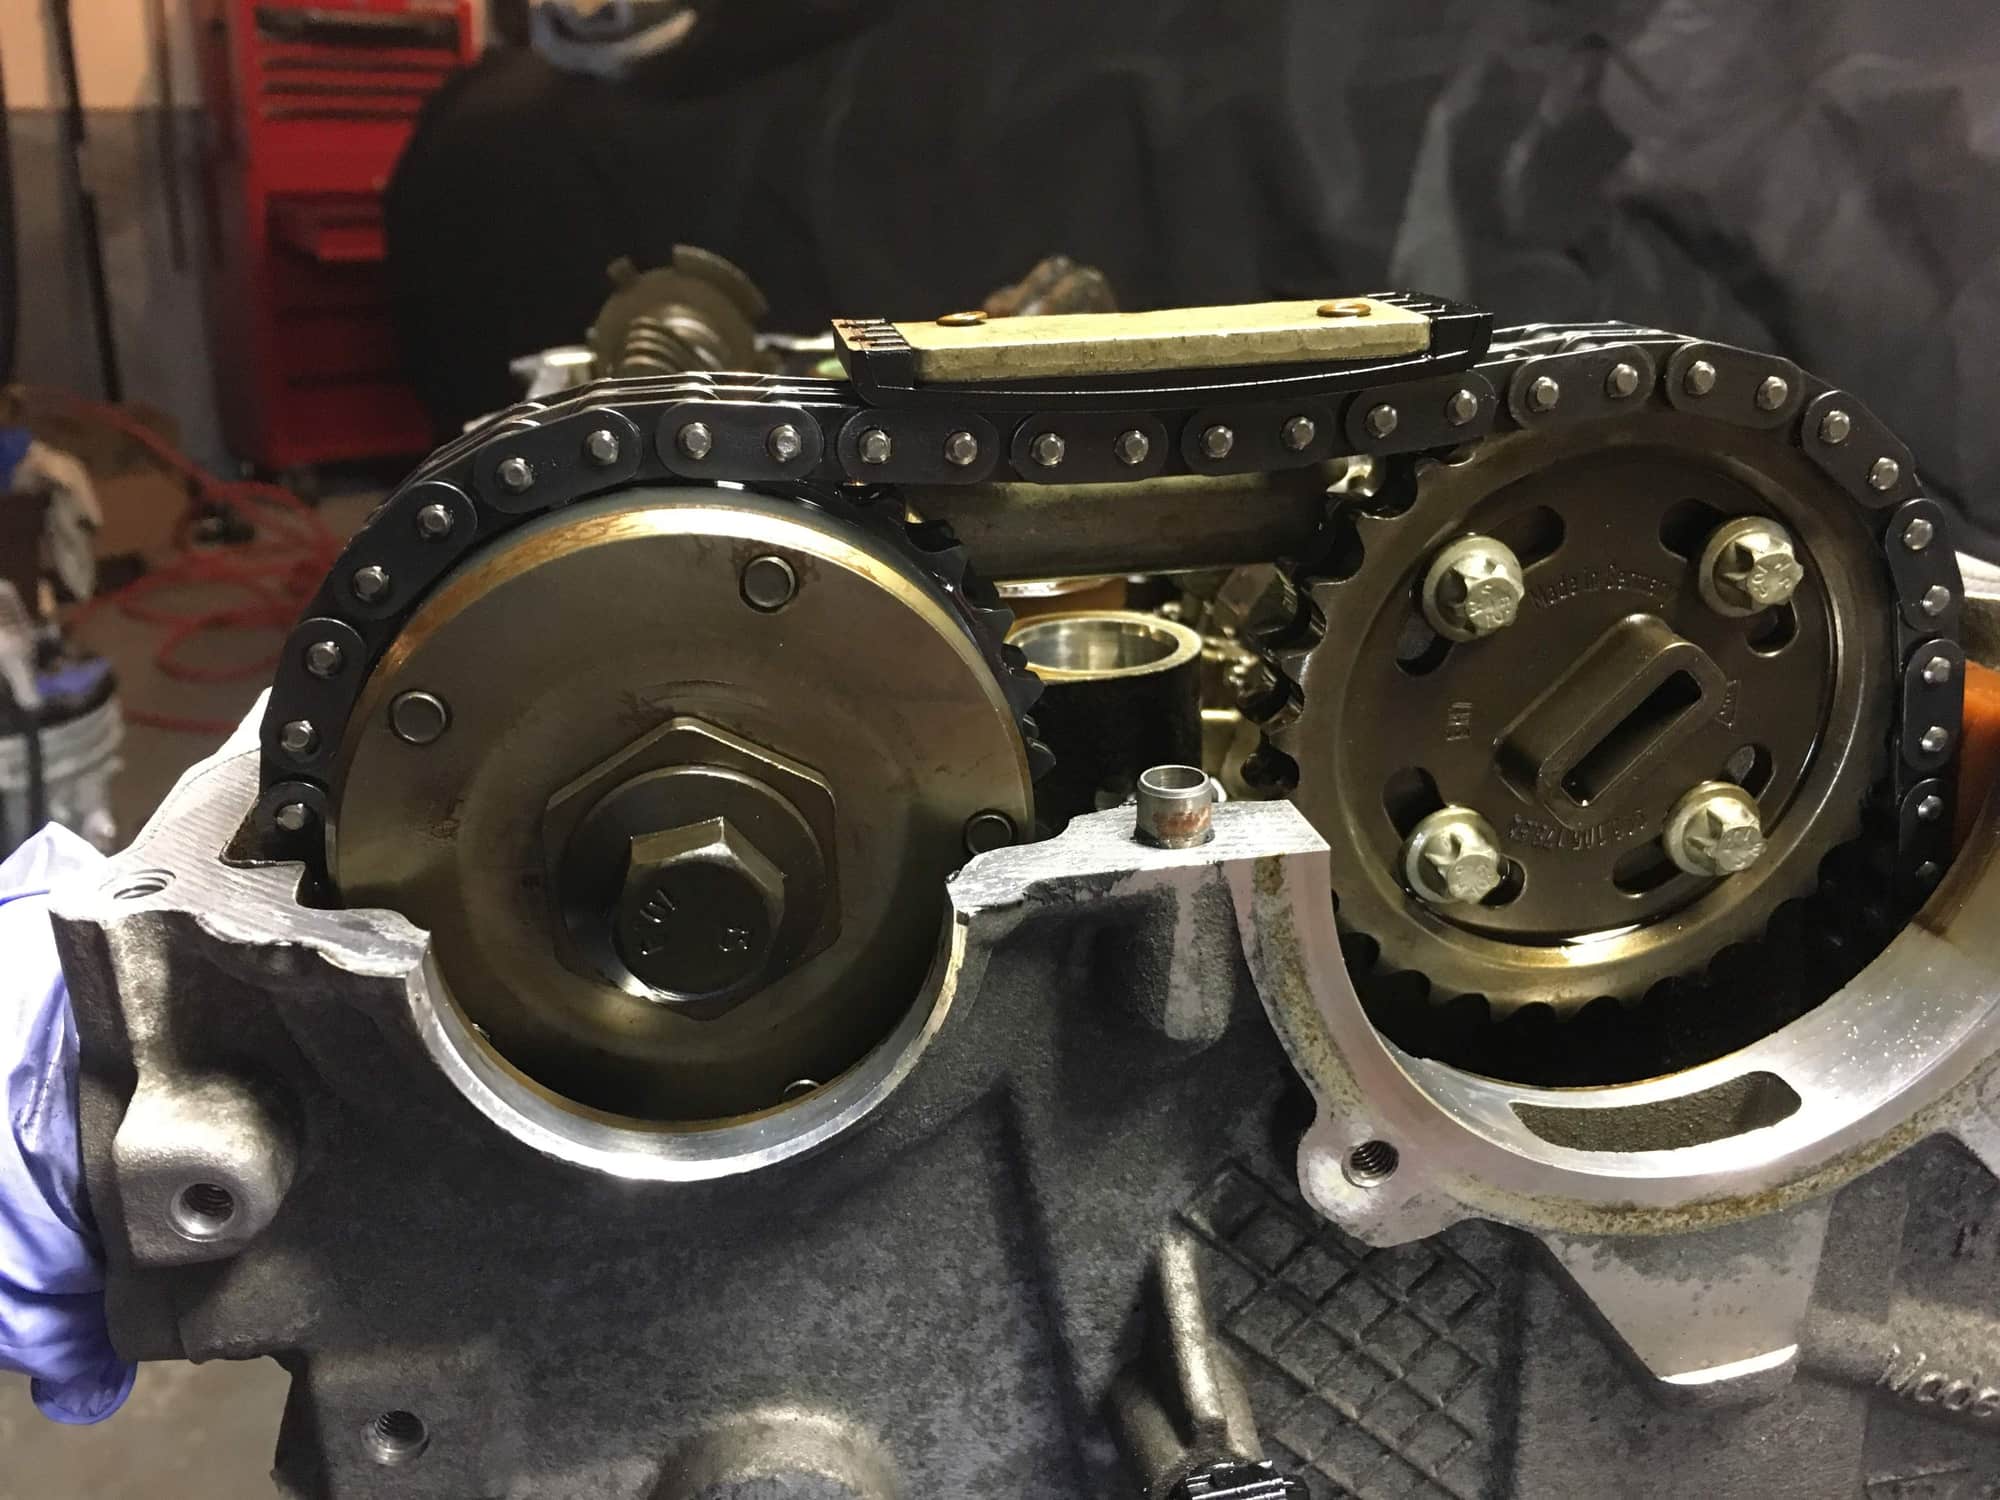
456 side cams.
Cylinder Scoring
Finally, we get to the interesting part, and the whole reason I'm doing all this!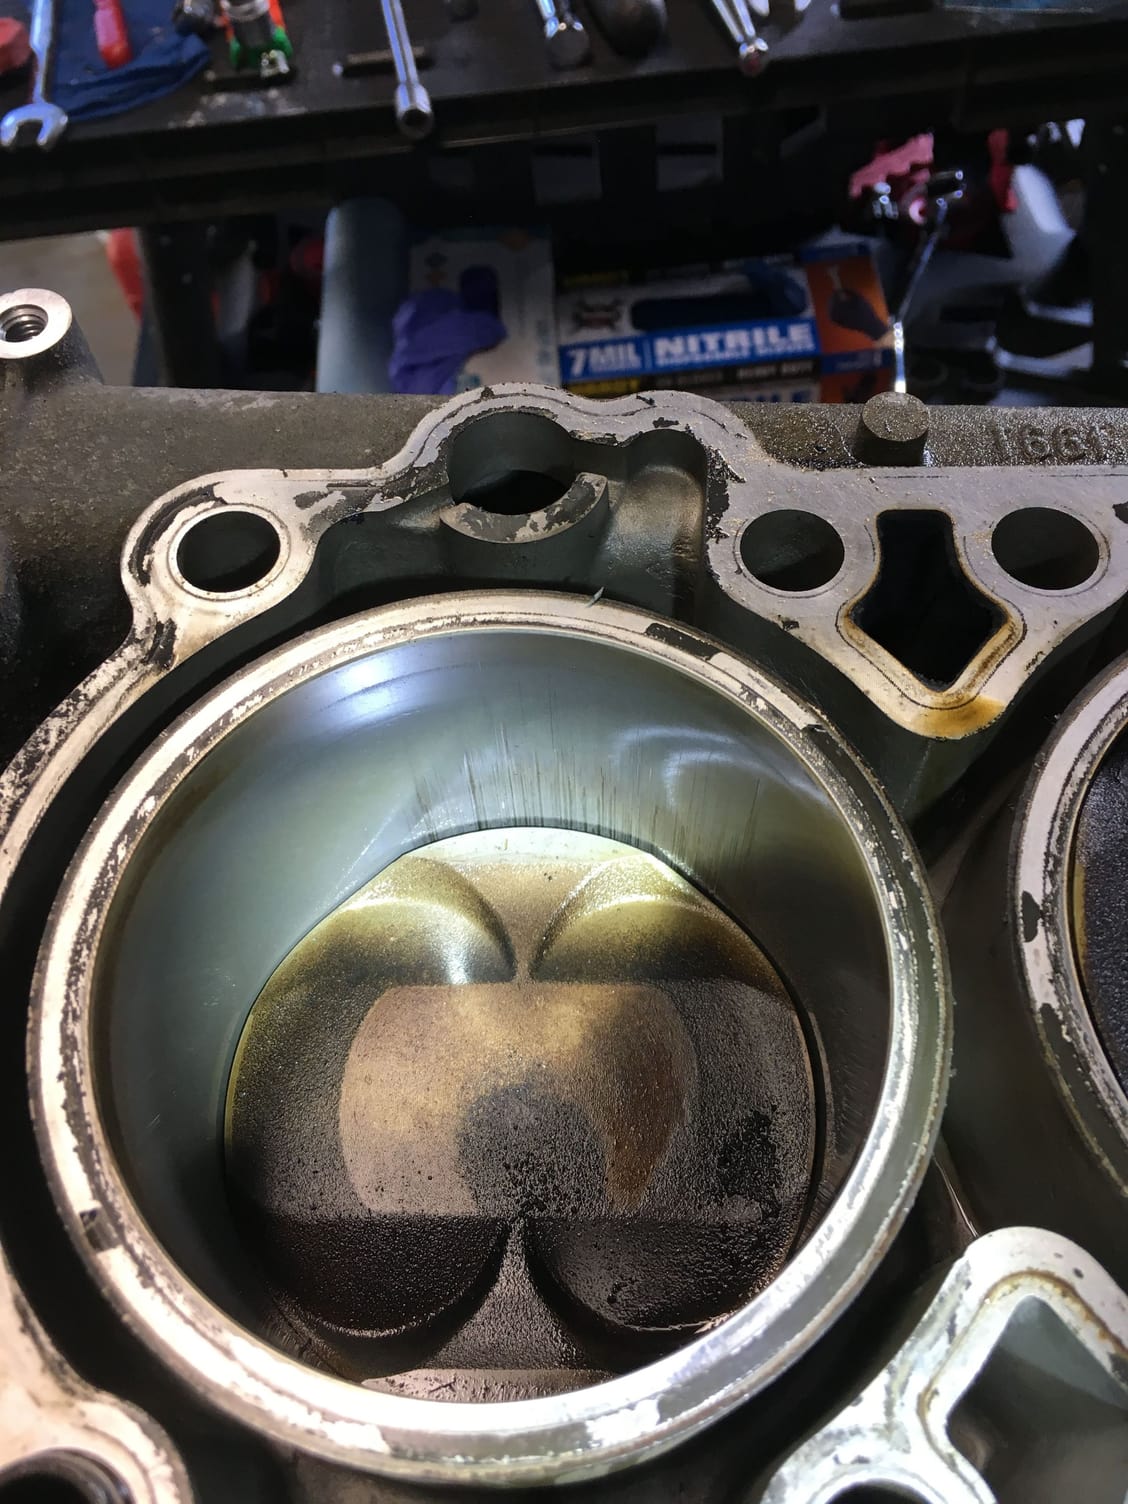
I was surprised to find cylinder #4 had the most scoring. #6 is where most of the sound came from and the one I scoped, but this had worse scoring.
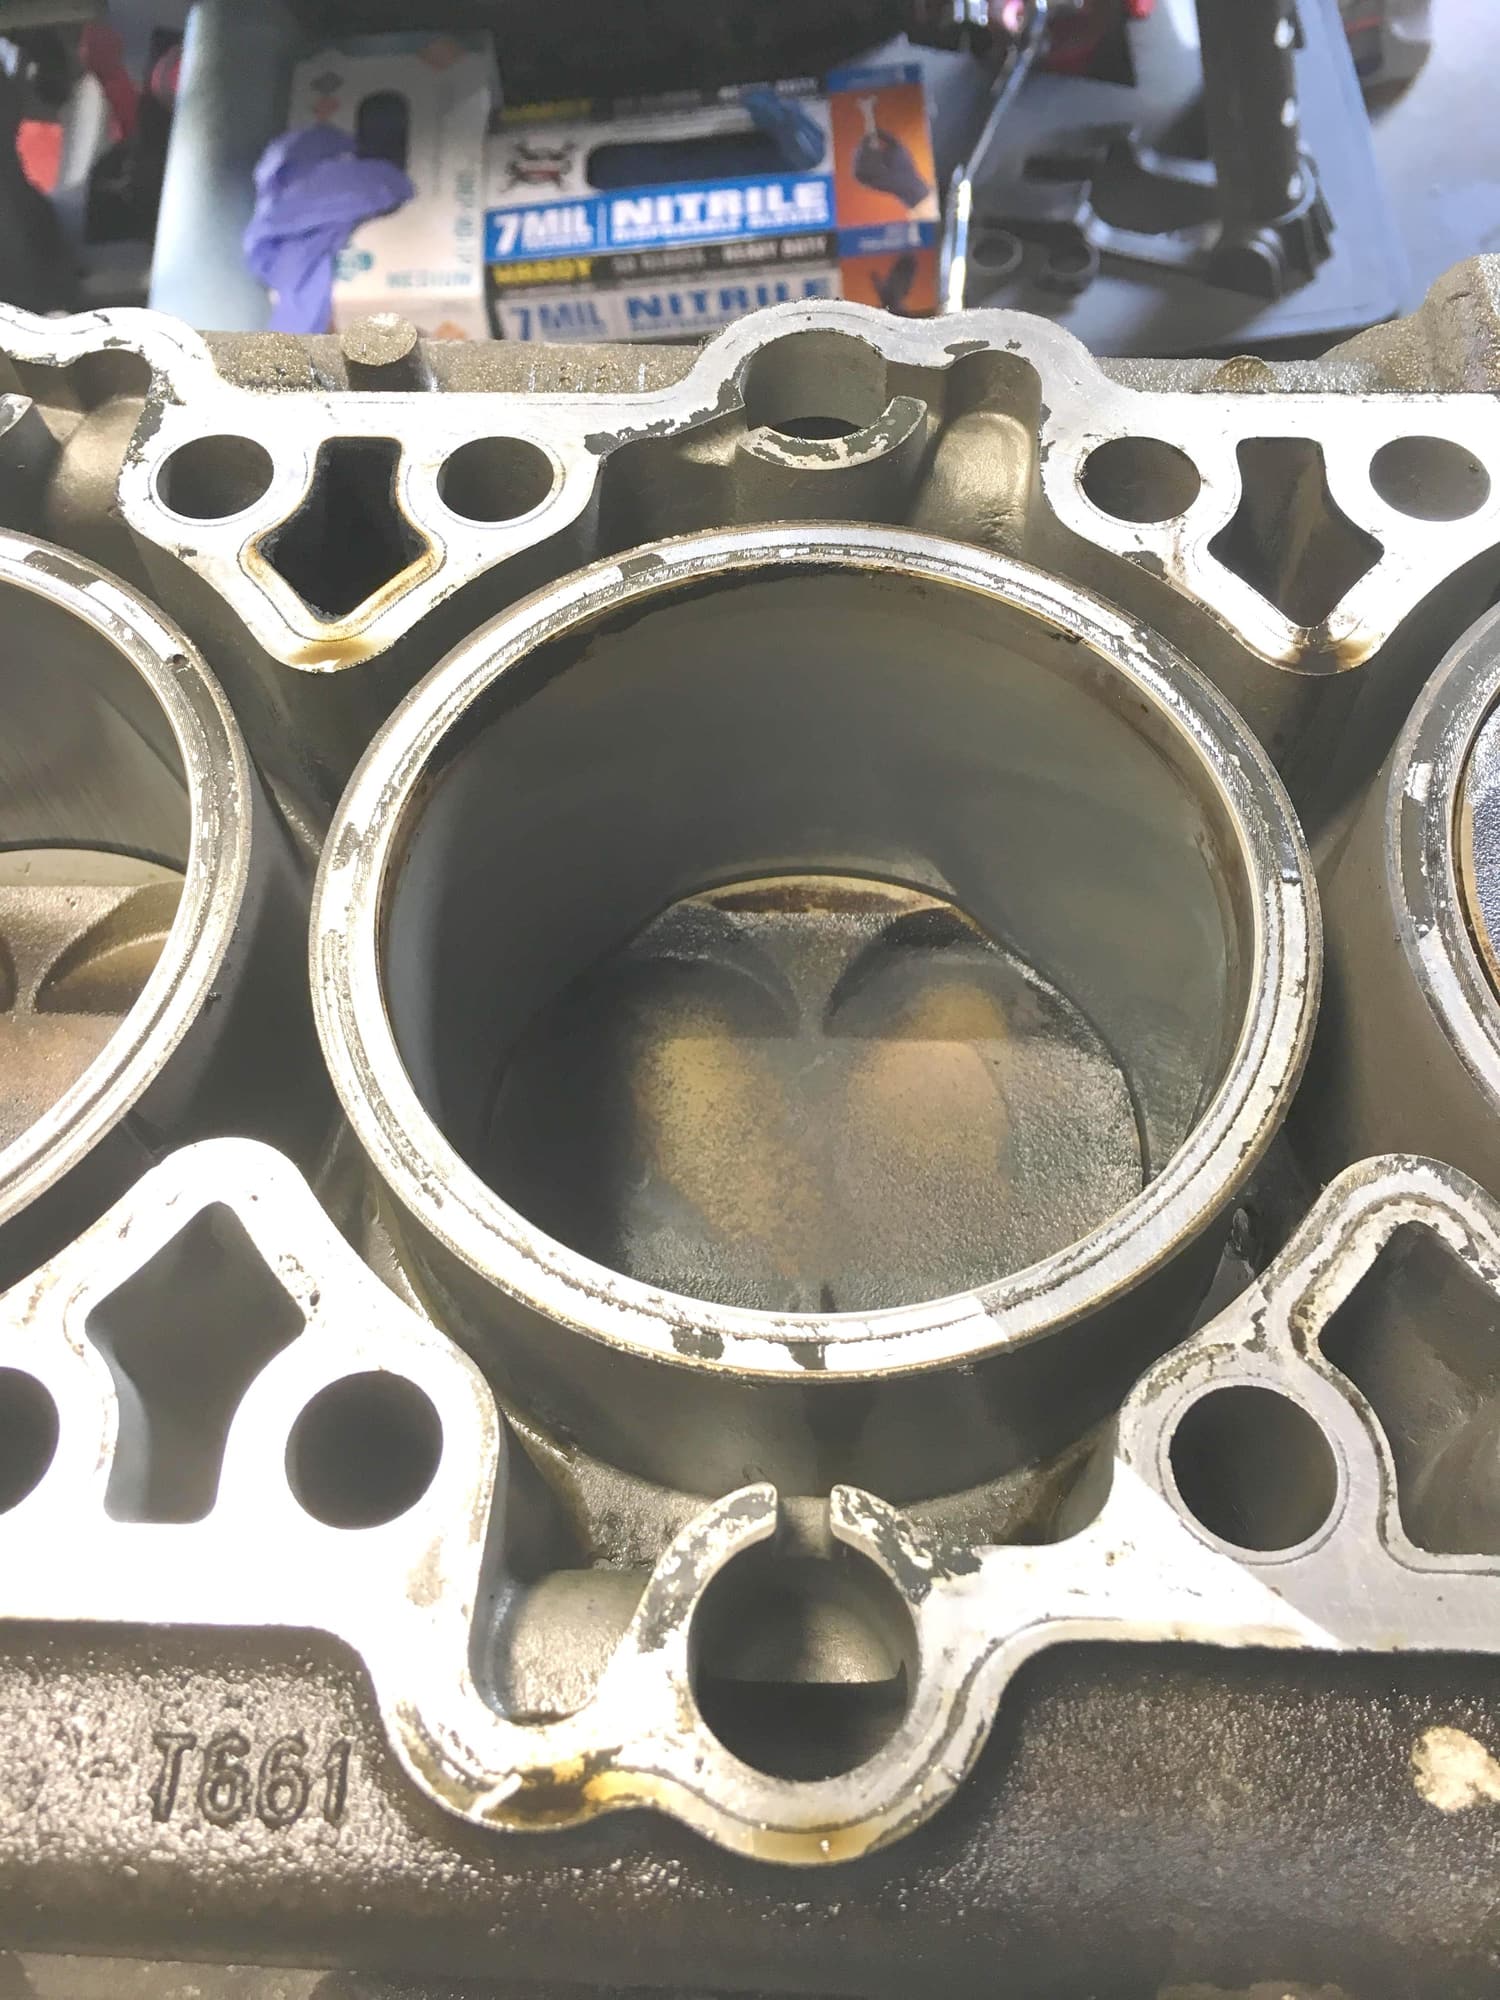
#5 had no issues, as expected.
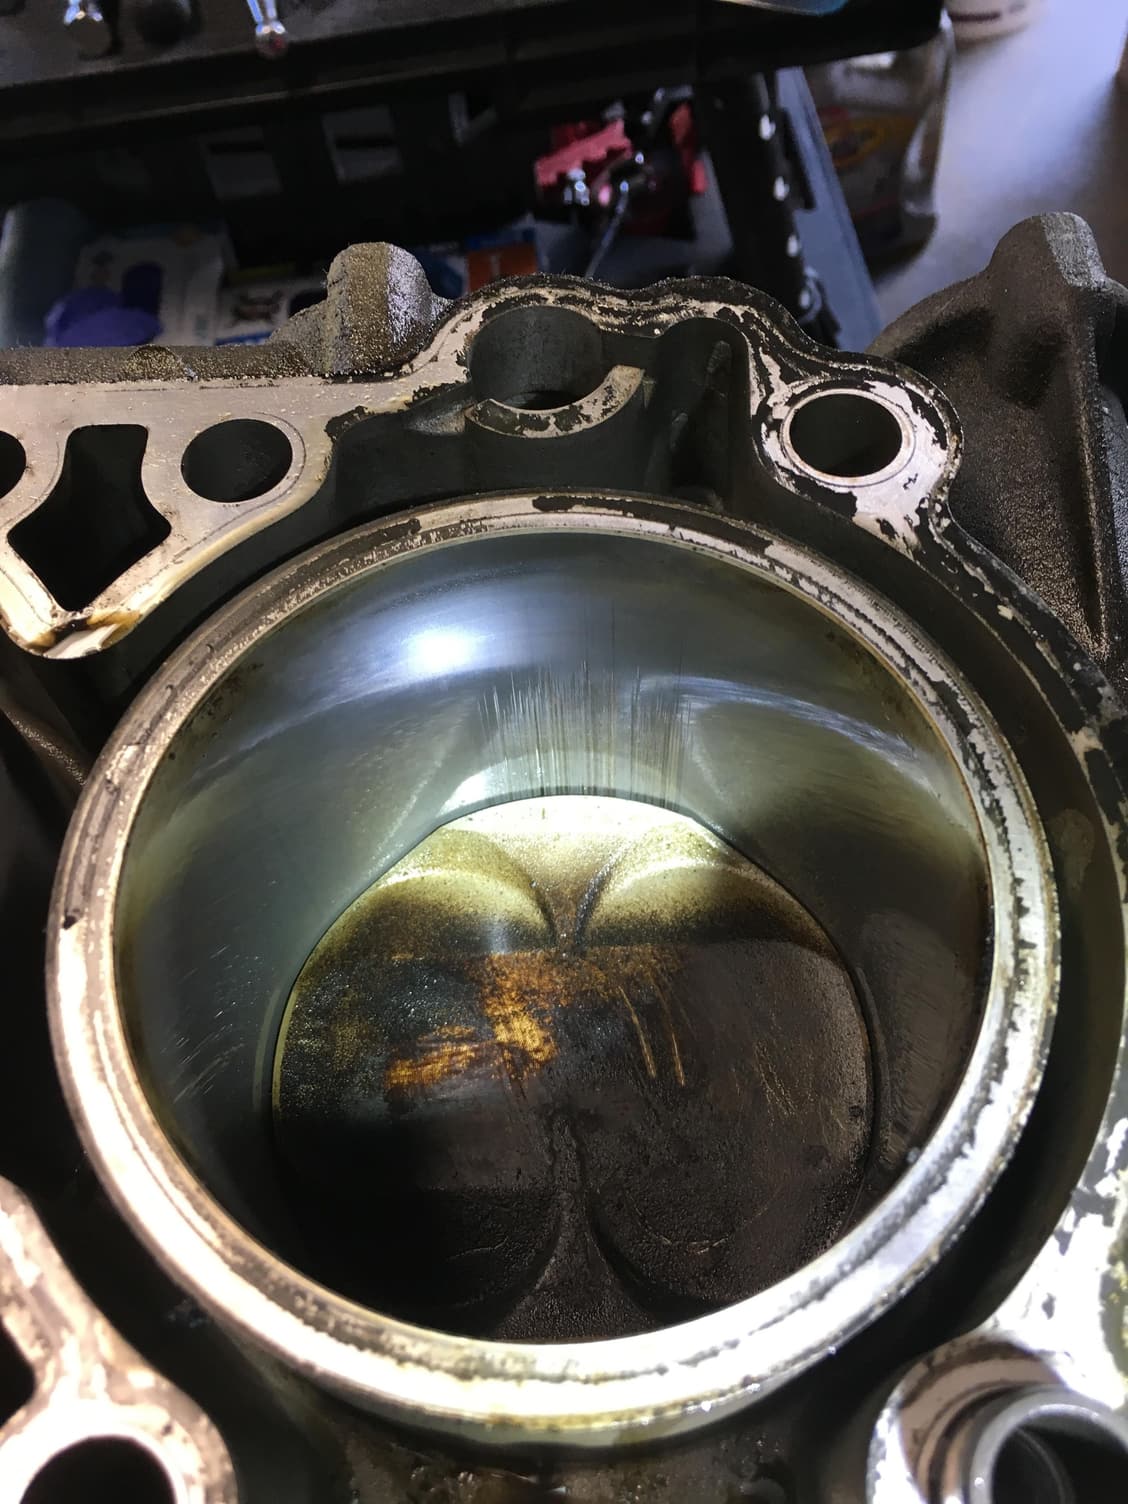
And #6. You can see where I scraped off some carbon deposits on the piston head with a screwdriver. Also matches up with why oil was spitting out my driver side exhaust onto my floor.
At one point I thought I would drive this one more summer and fix it next year, but I'm glad I'm doing this now before more downstream issues occur = more $$$ to fix. That oil blowing by was ending up in my cats (at least the right one) and so they also need to be replaced.
#27
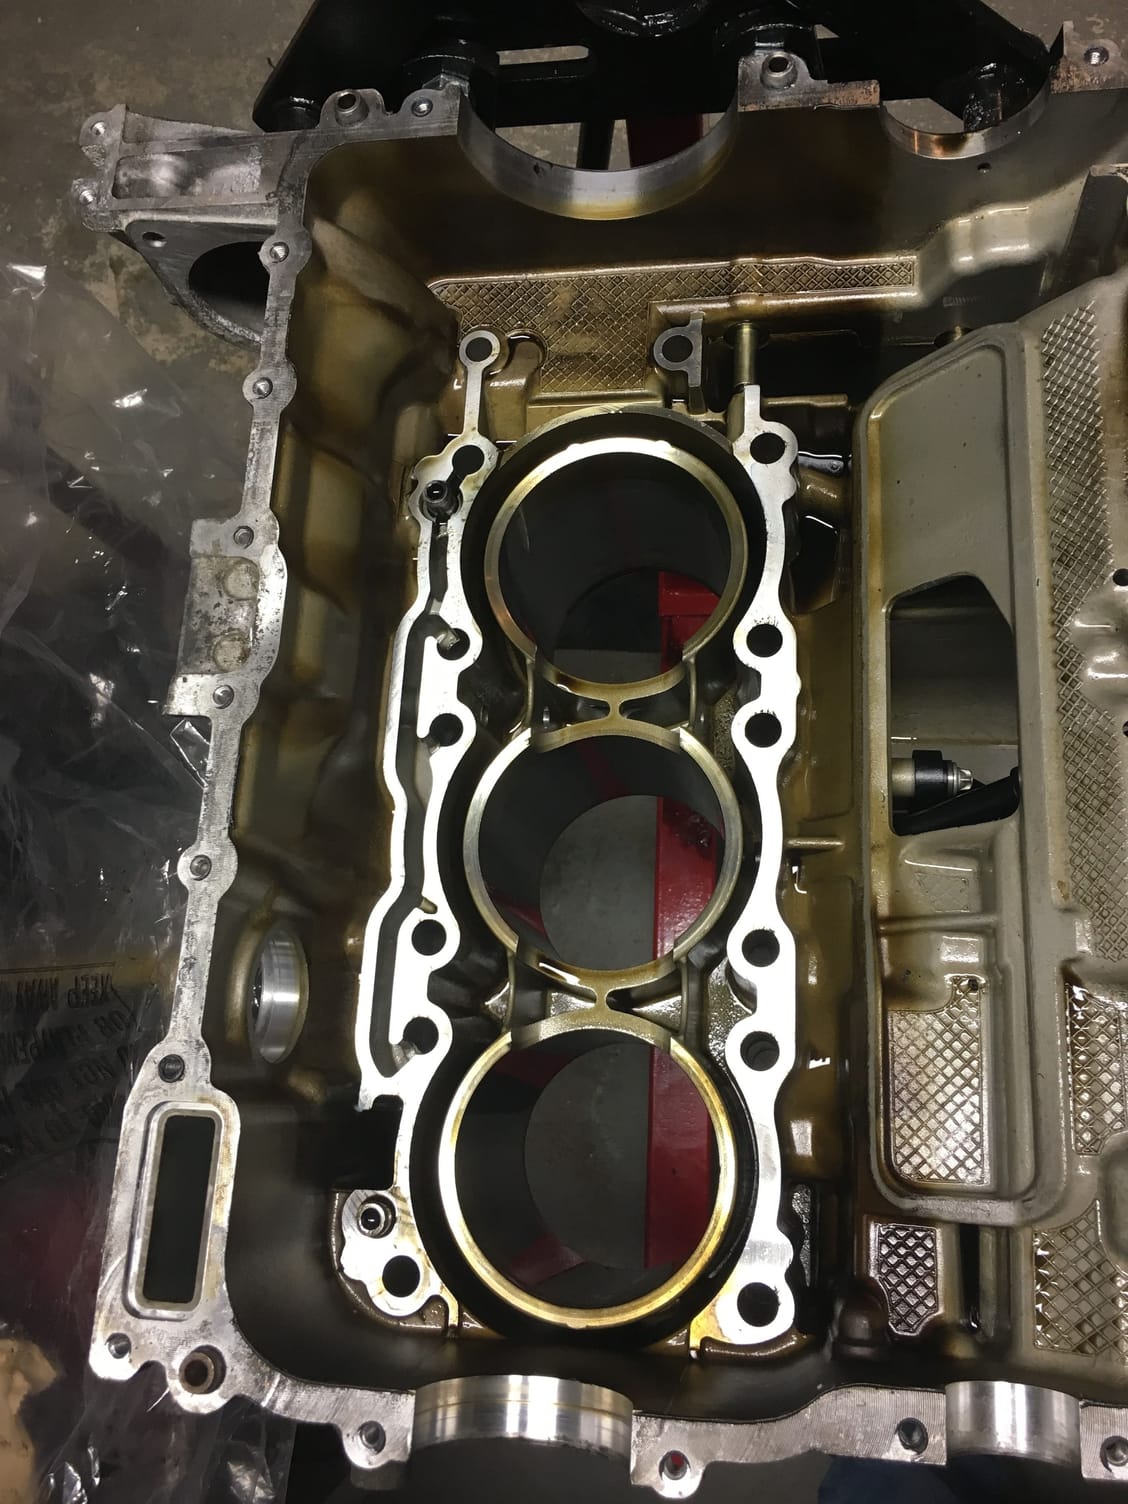
View of the crankcase half on the engine stand with the crank carrier removed. The crank carrier is quite heavy, so what I did was re-attached 4 of the head bolts into it at the top and then tied rope across them.
The rope was then attached to a hoist to lift it out. I will post photos of this when I re-assemble it.
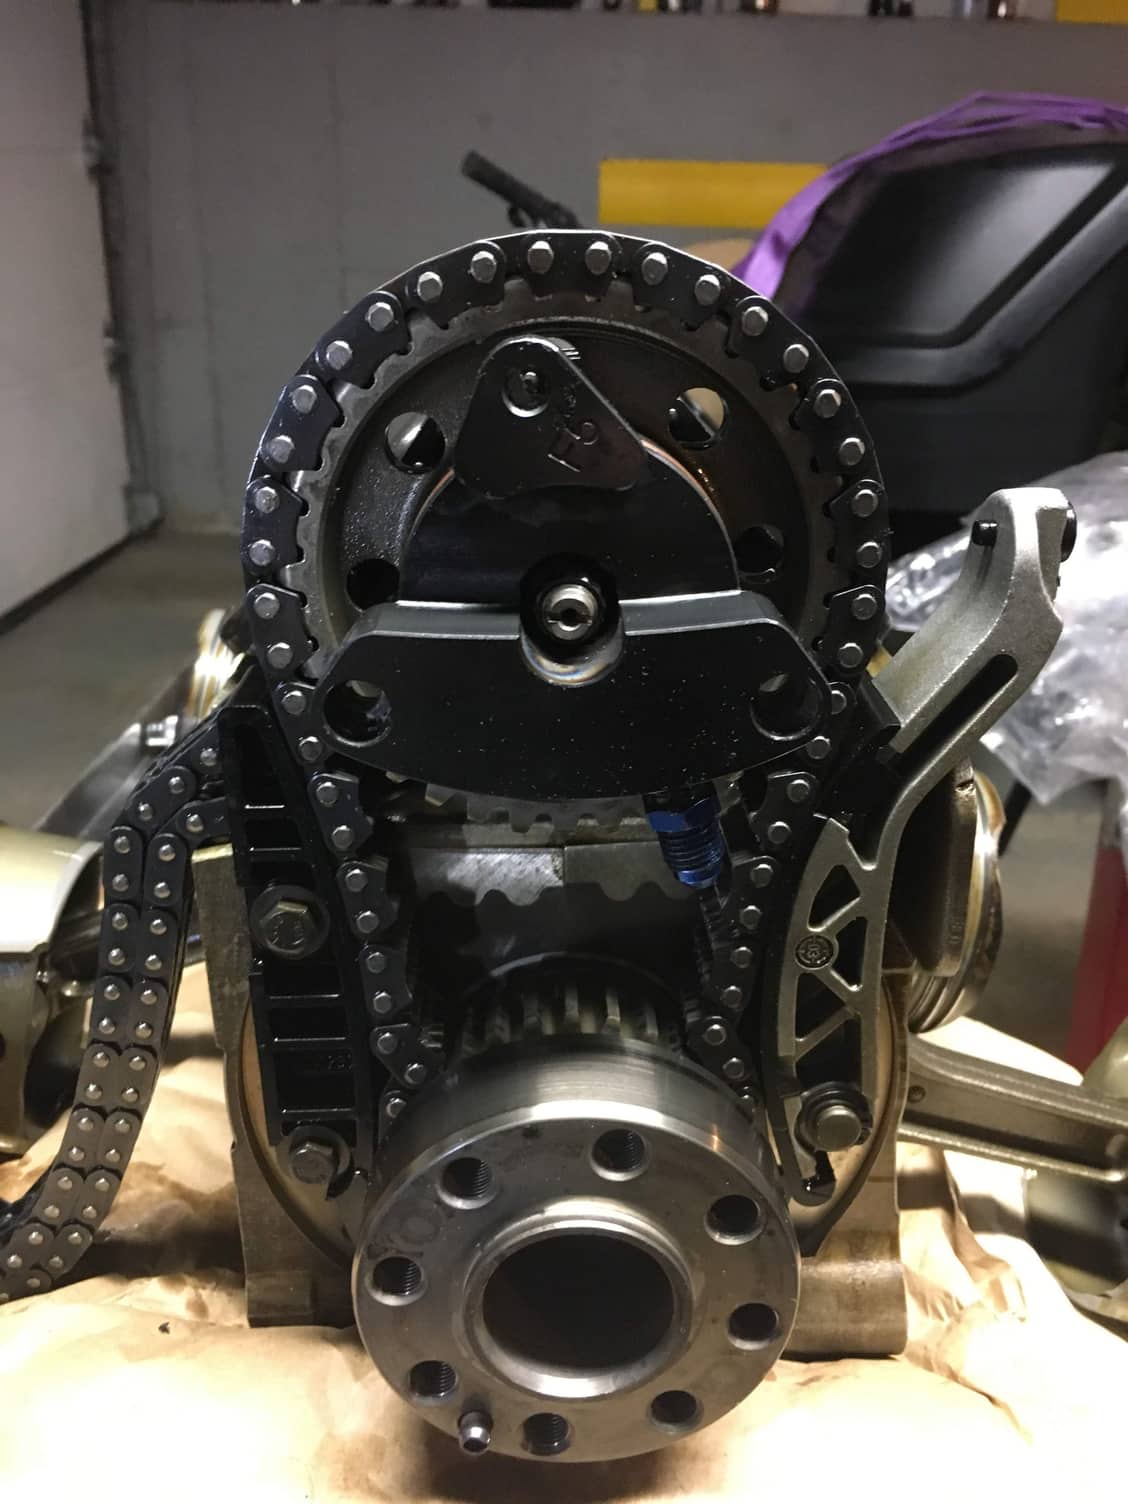
The crankcase carrier out with the IMS attached.
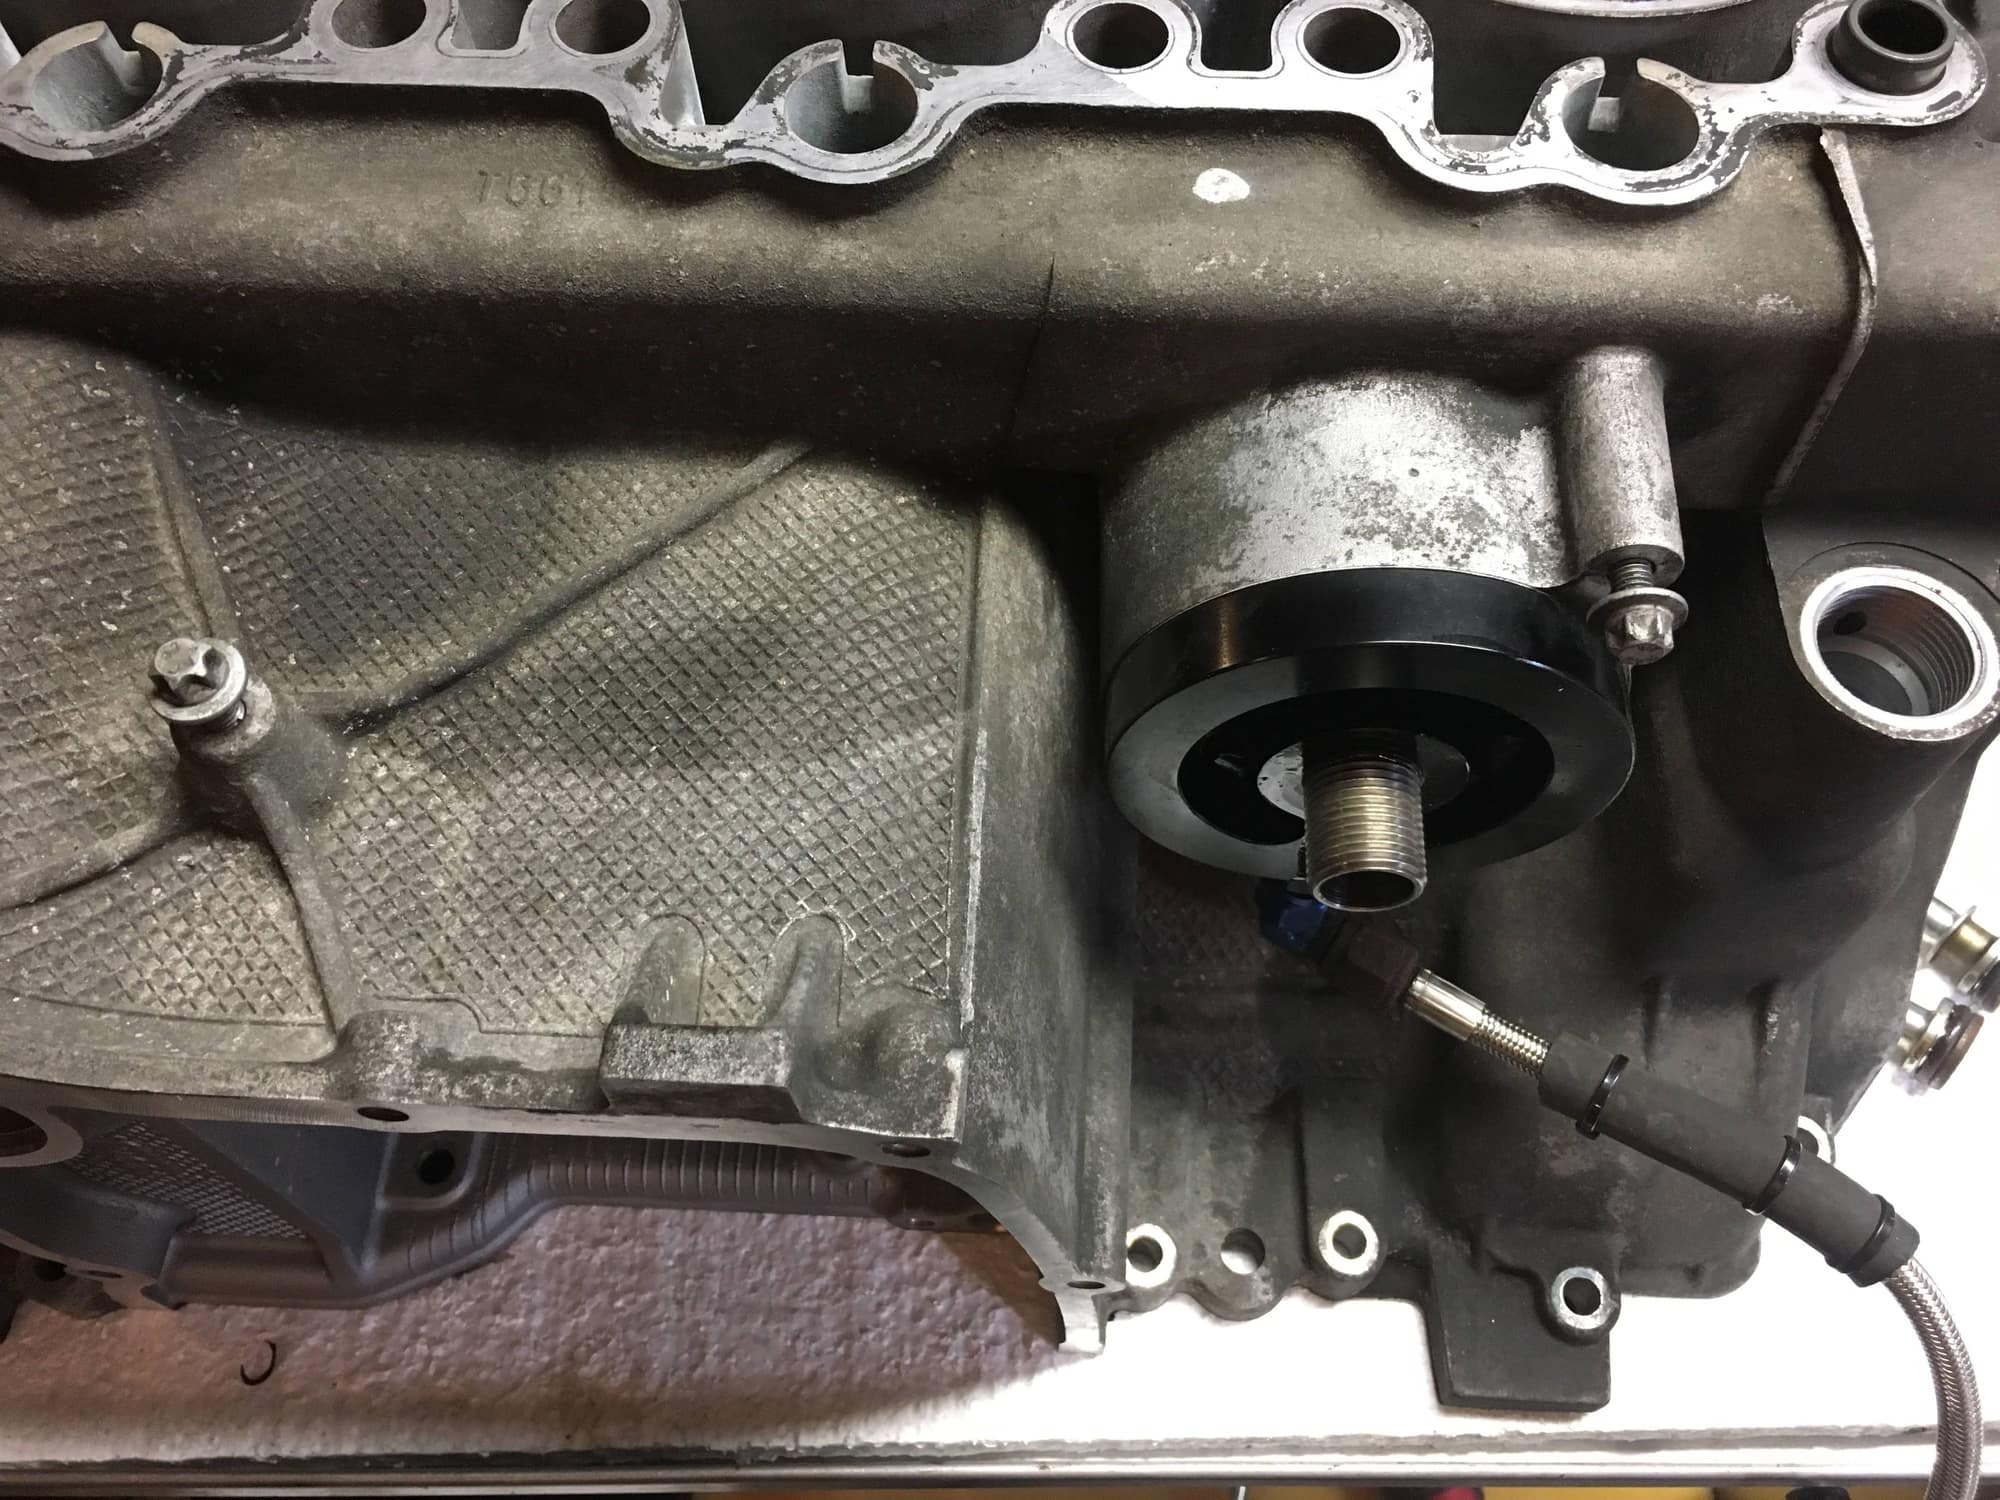
Shot of the IMS solution spin-on adapter that was already in place.
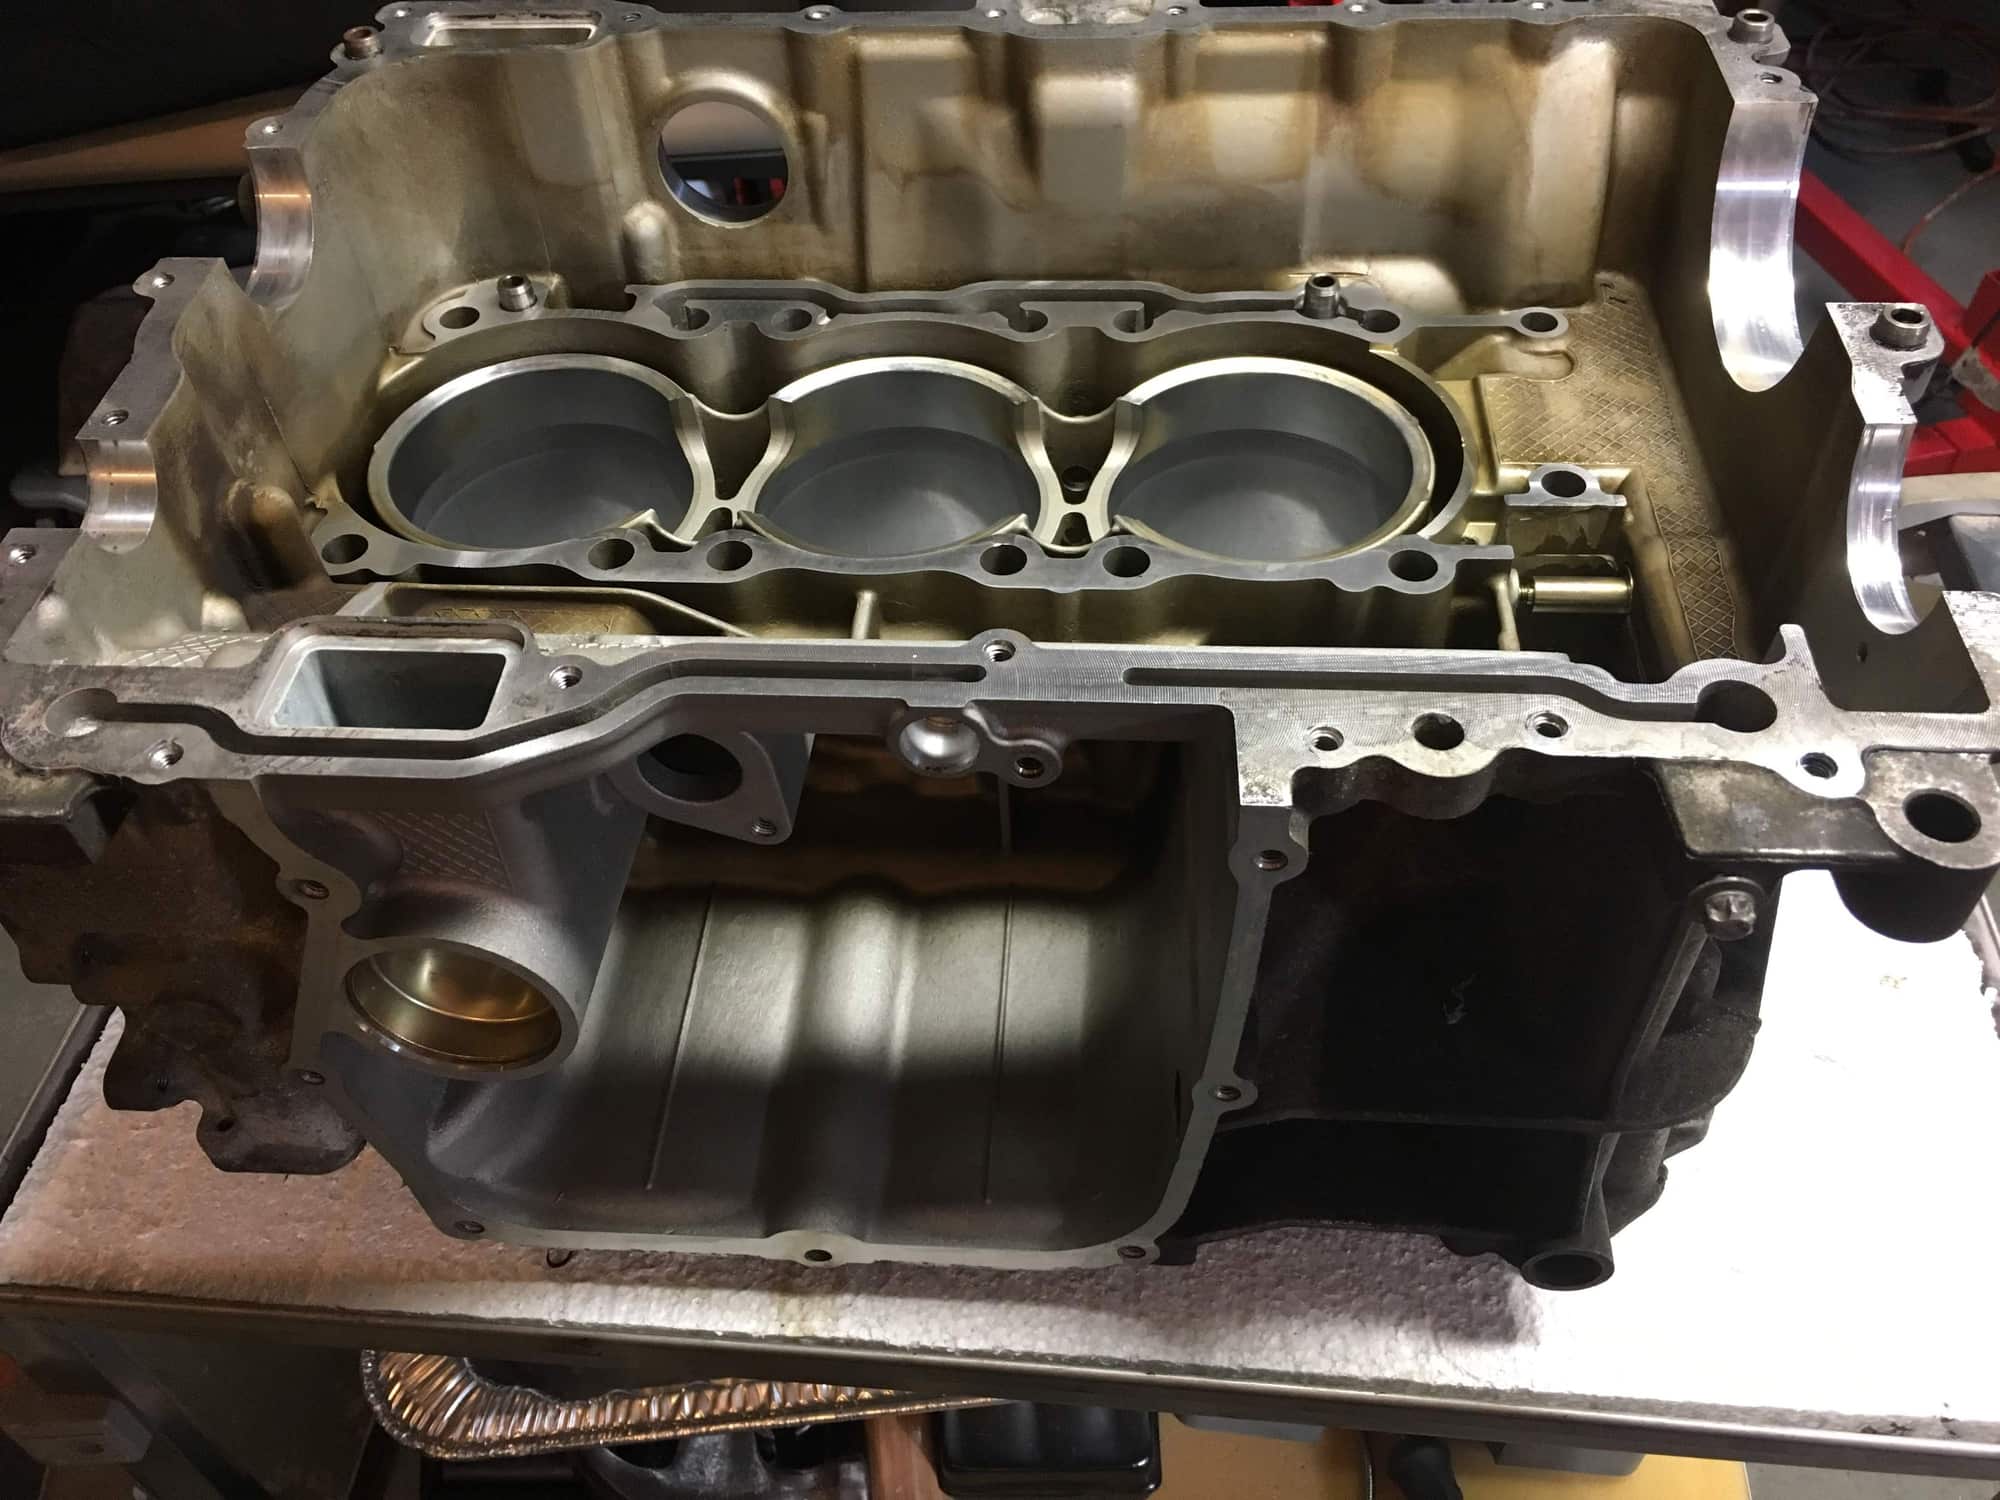
Just another shot of the crankcase, showing the oil pan area.
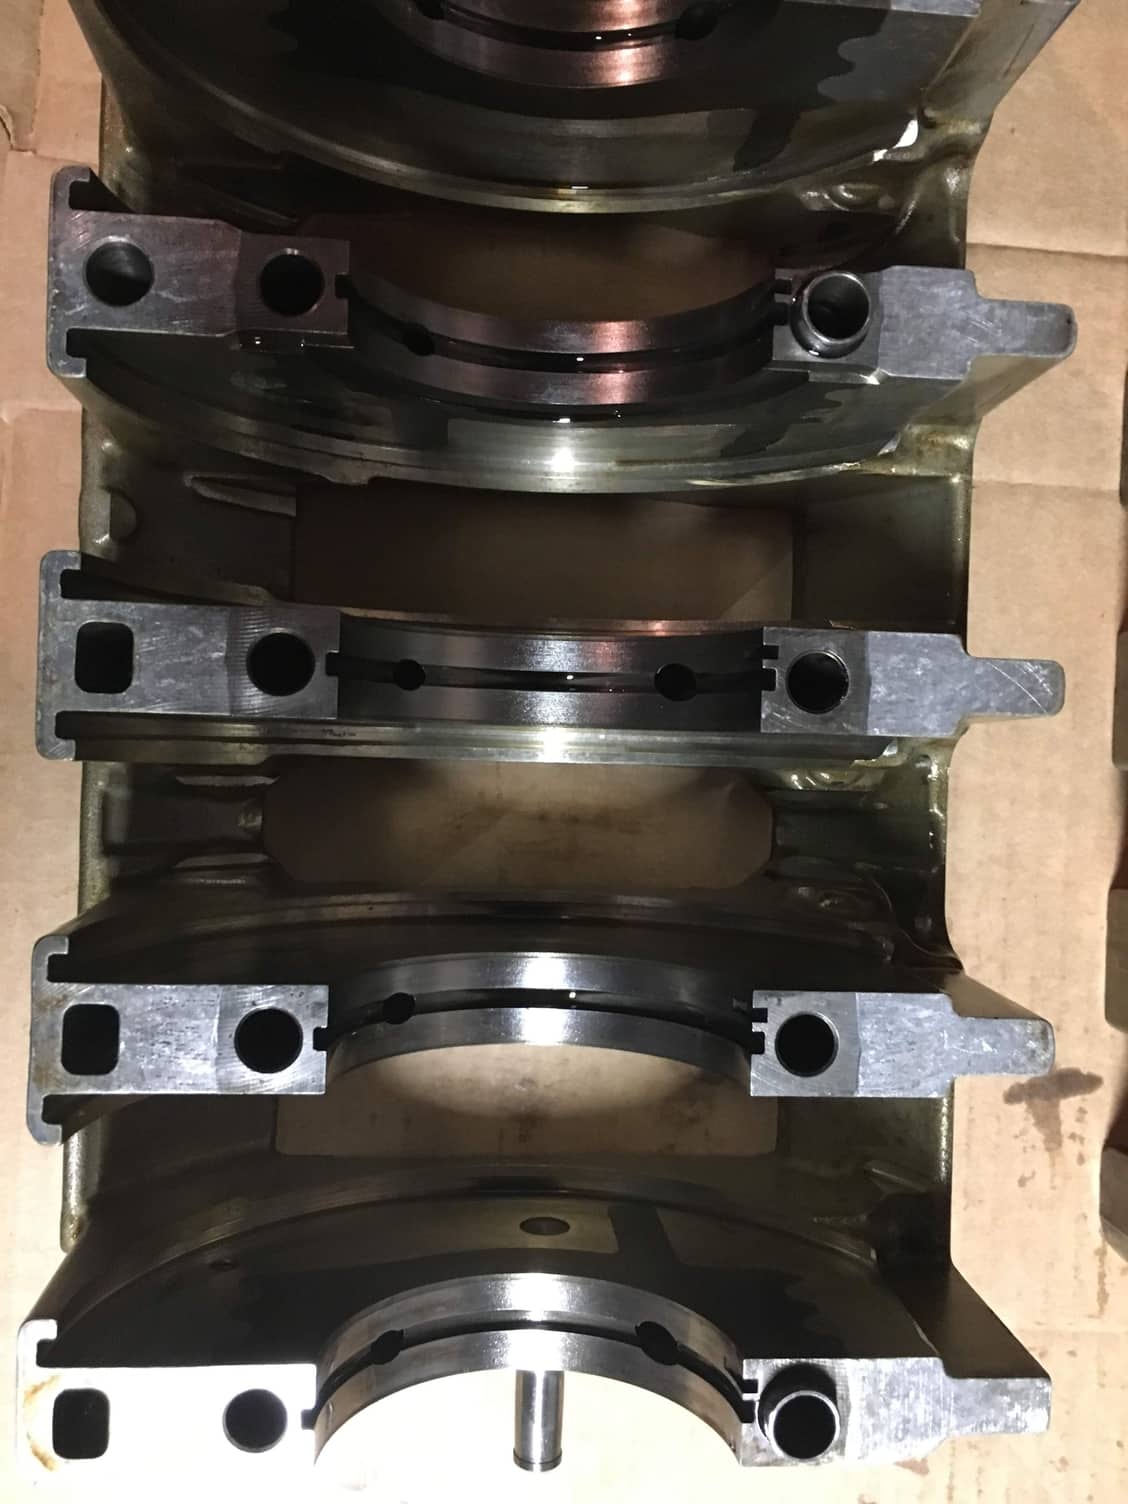
This is what the crank carrier looks like with the bearings removed
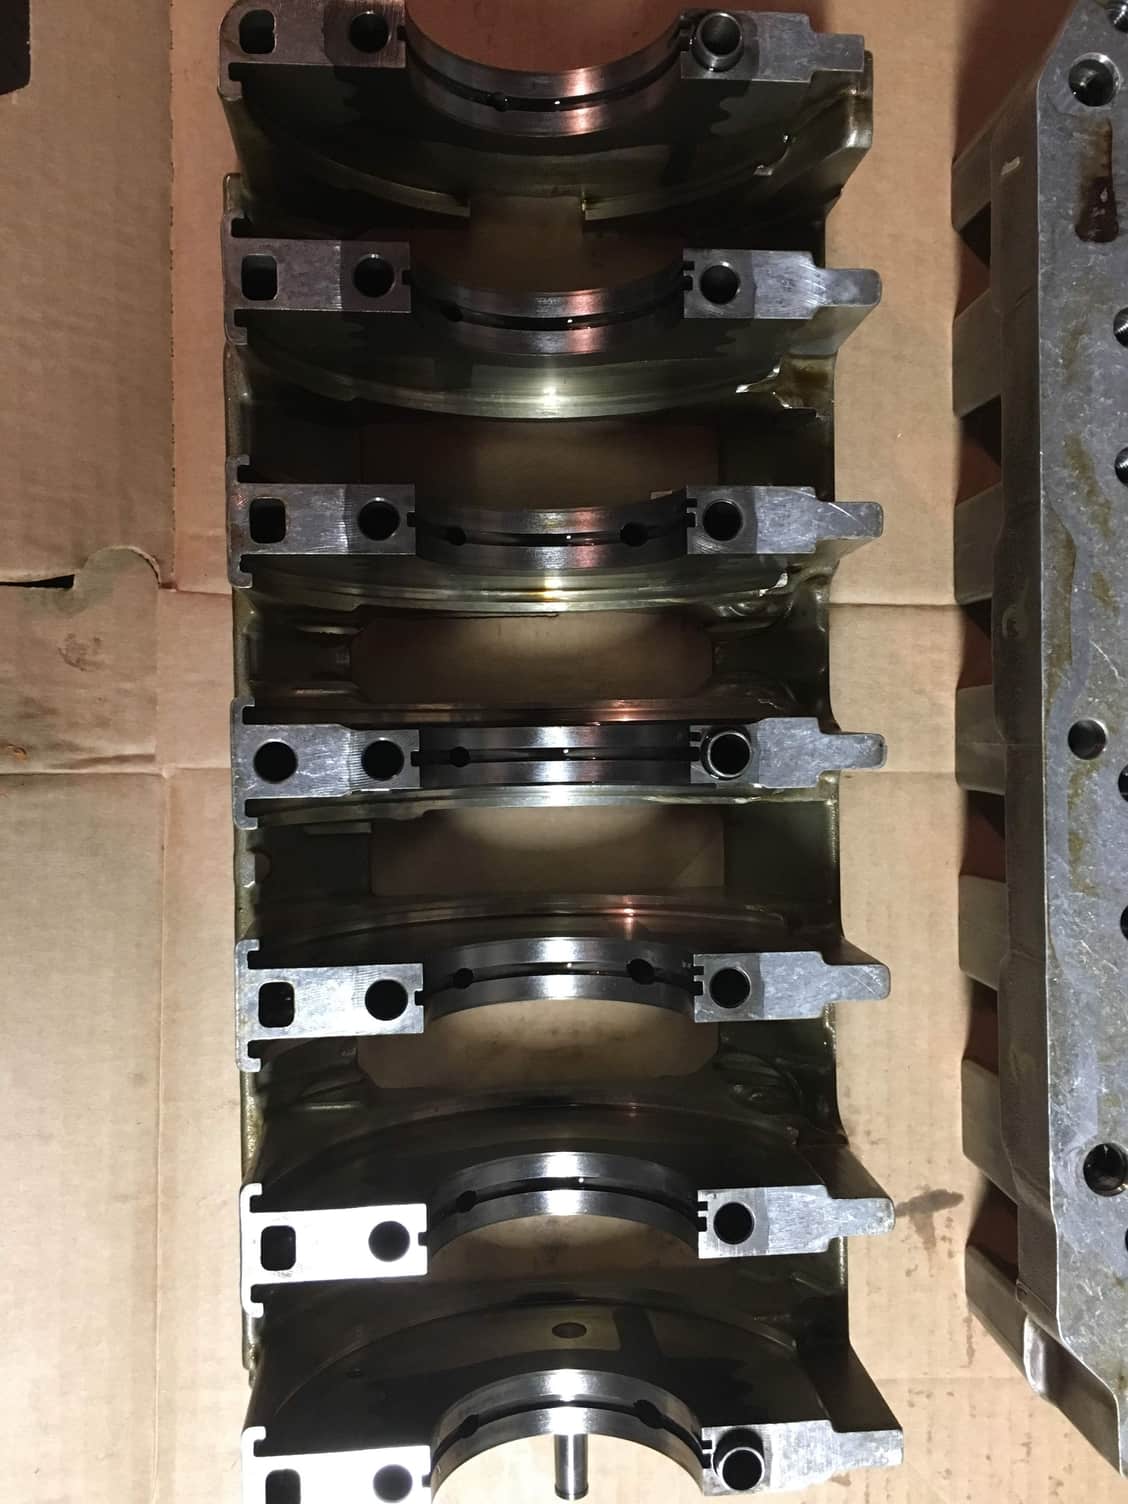
And another shot.
These both will get cleaned up before reassembly.
#28
Rennlist Member
If I may add, the AC's third bolt can be easily accessed through the temp sensor hole on top with a crows foot. No need to take the throttle body off unless you plan to anyway.
#29
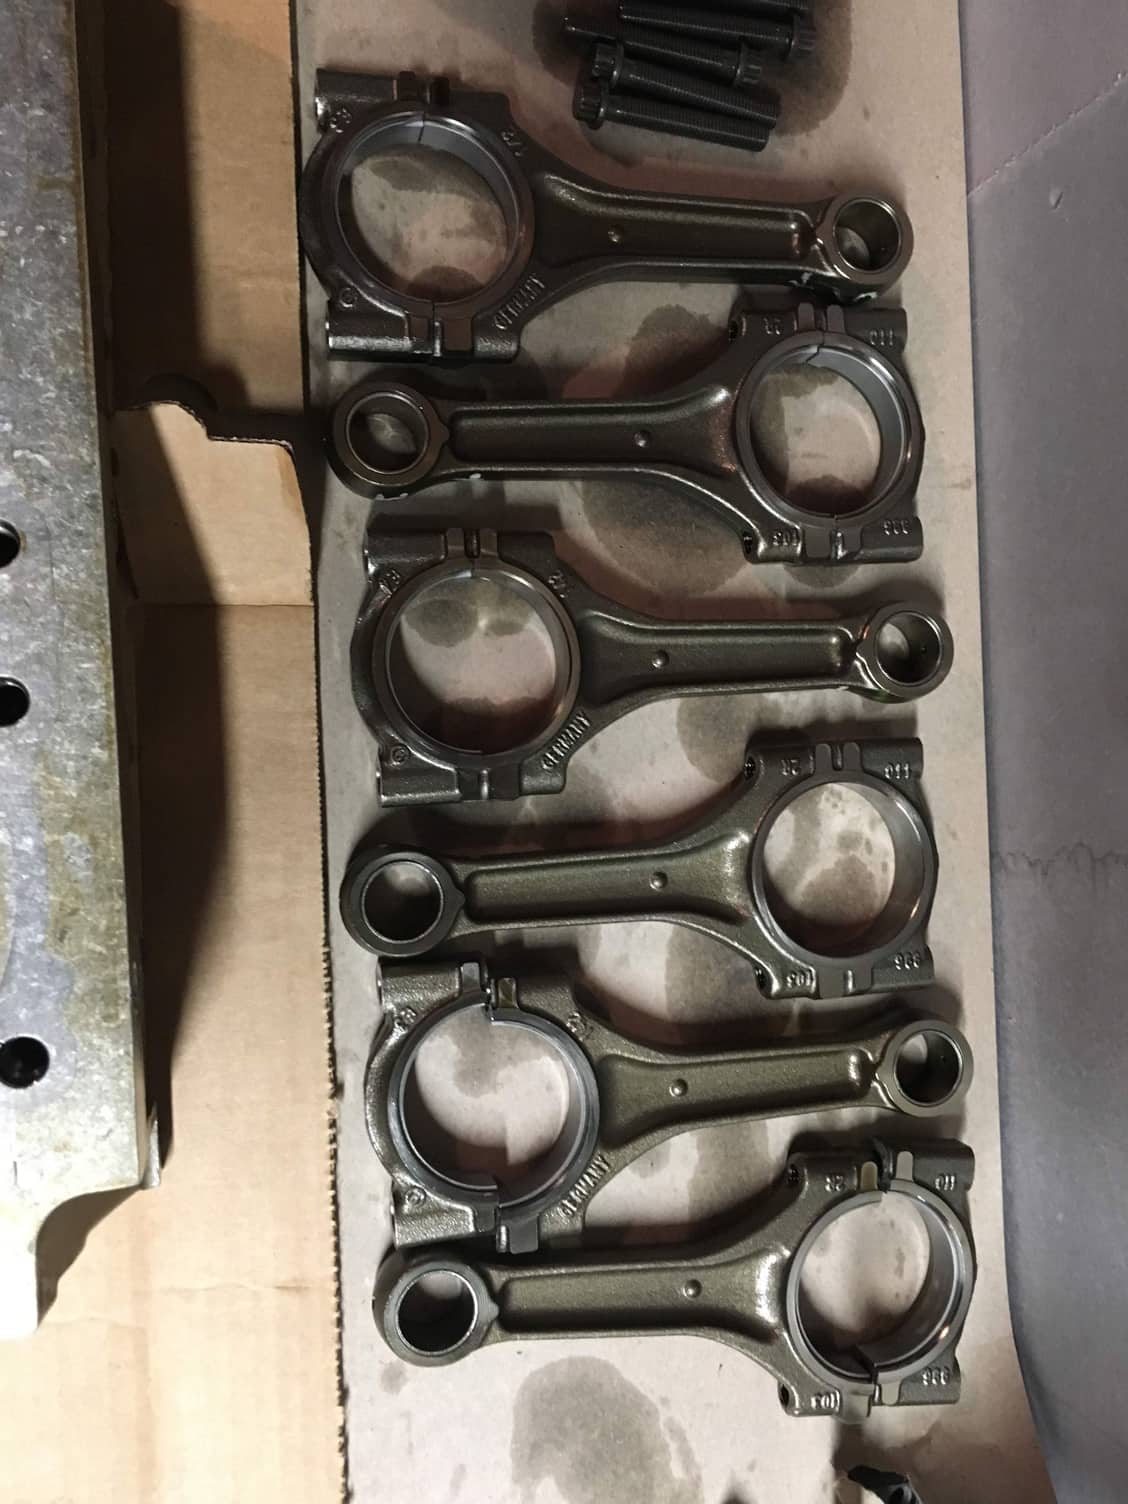
Connecting rods removed. I decided to re-use these and not upgrade to Carillos because I don't intend to track my convertible. They are quite fine for street use and 3.6 to 3.8 upgrade, but NOT for 4.0 upgrade or any track use.
These will also get cleaned up really good.
Bearings have not been removed yet, but will get discarded and replaced. Be careful and keep the two halves paired together.
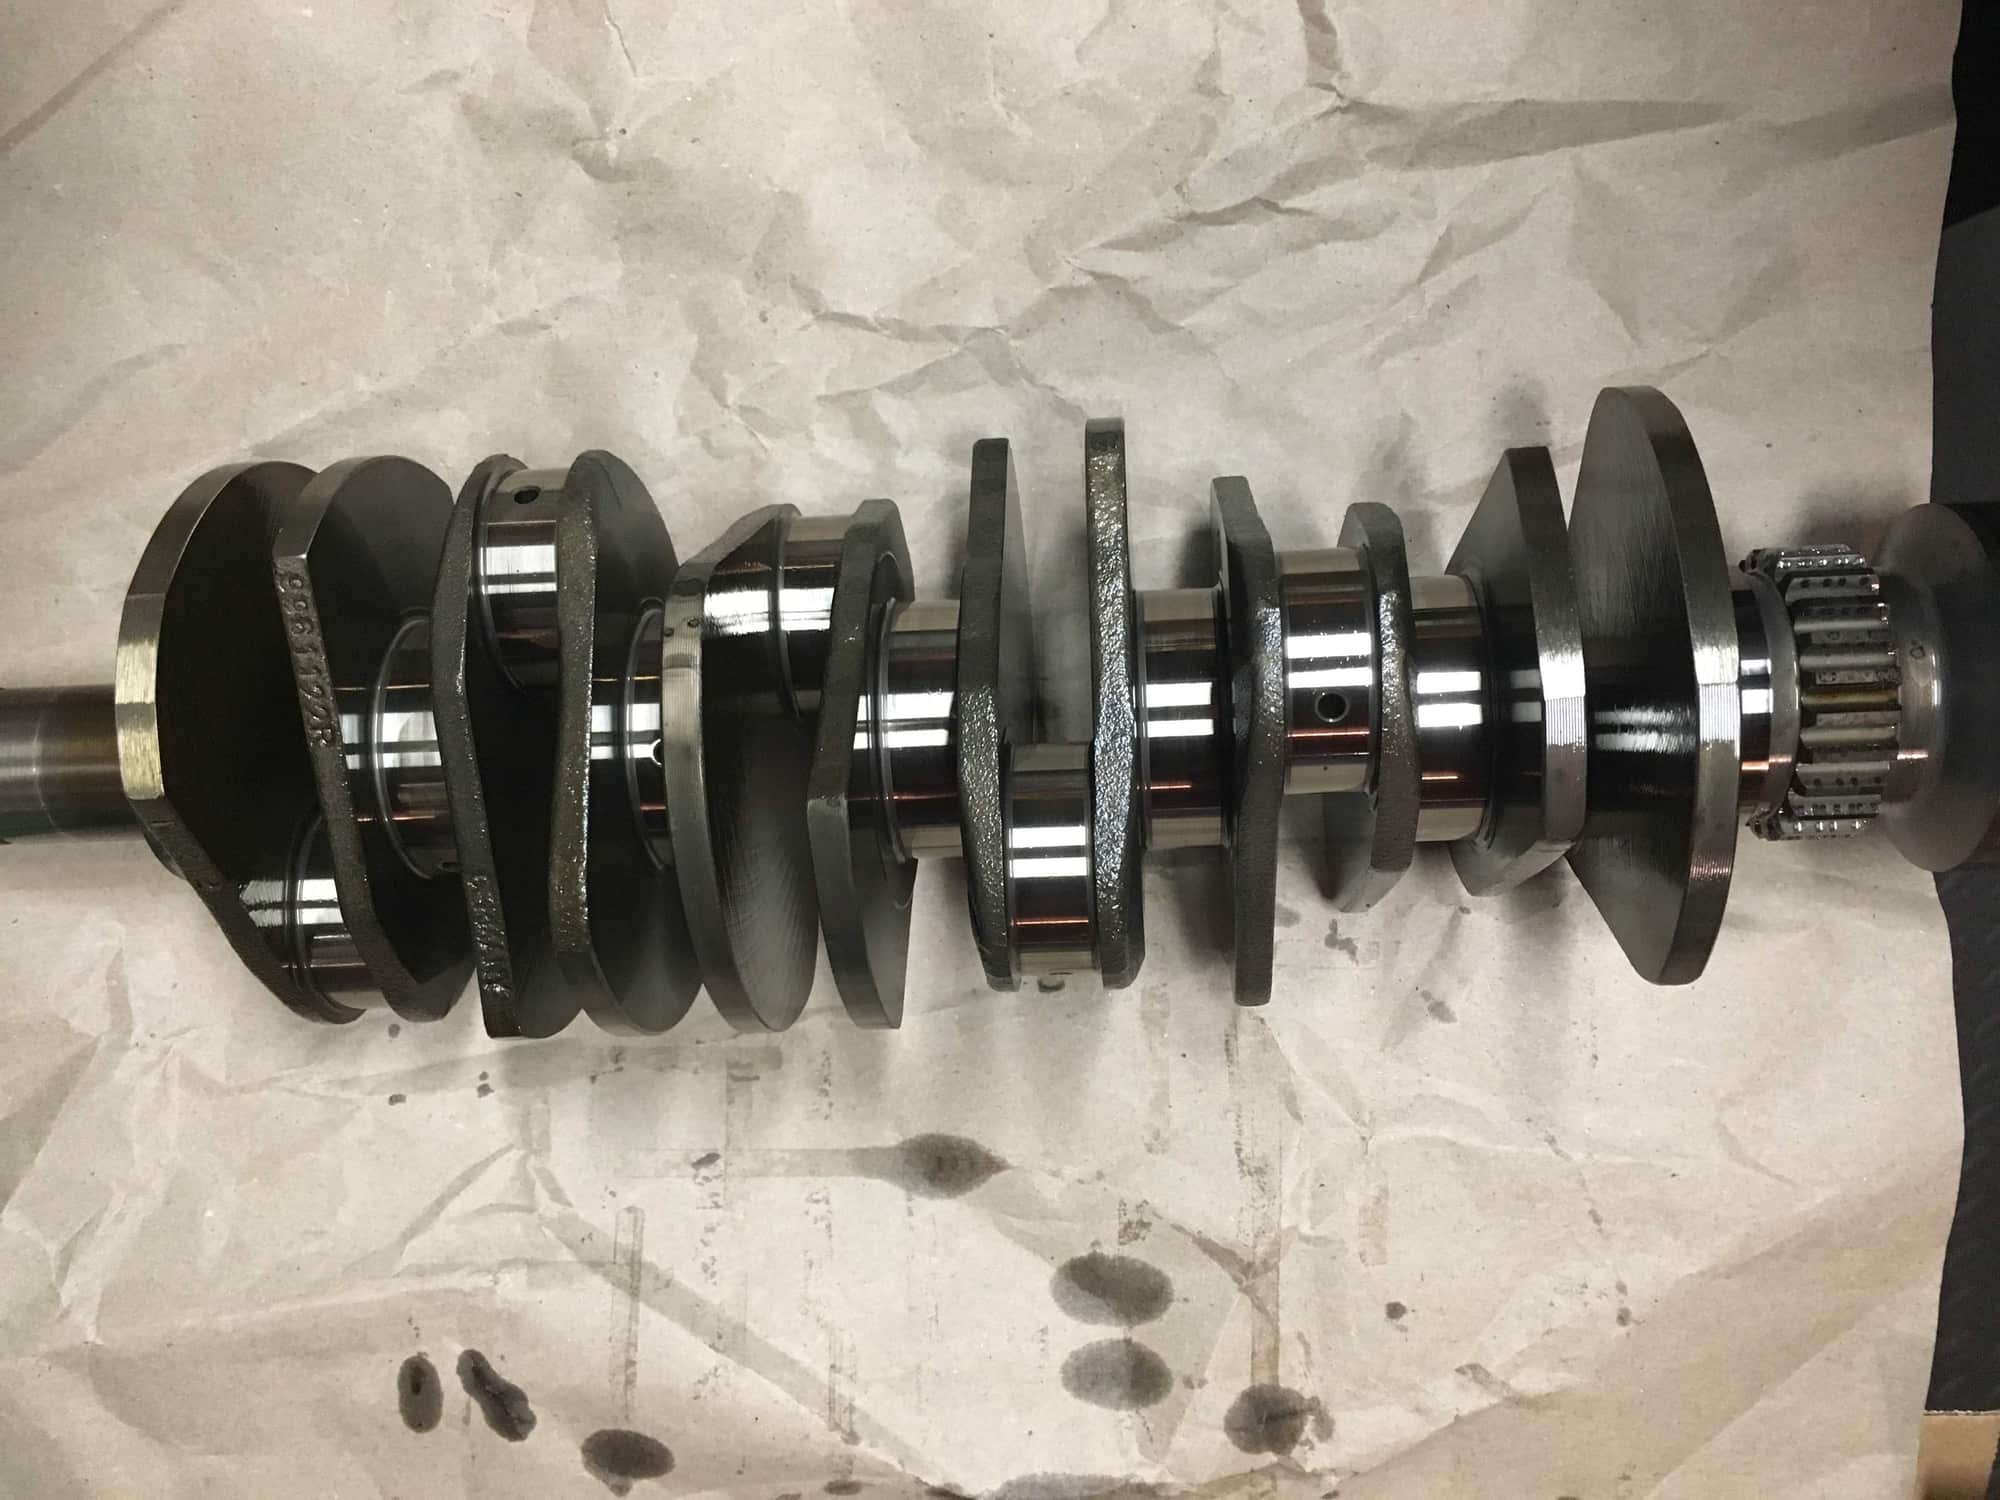
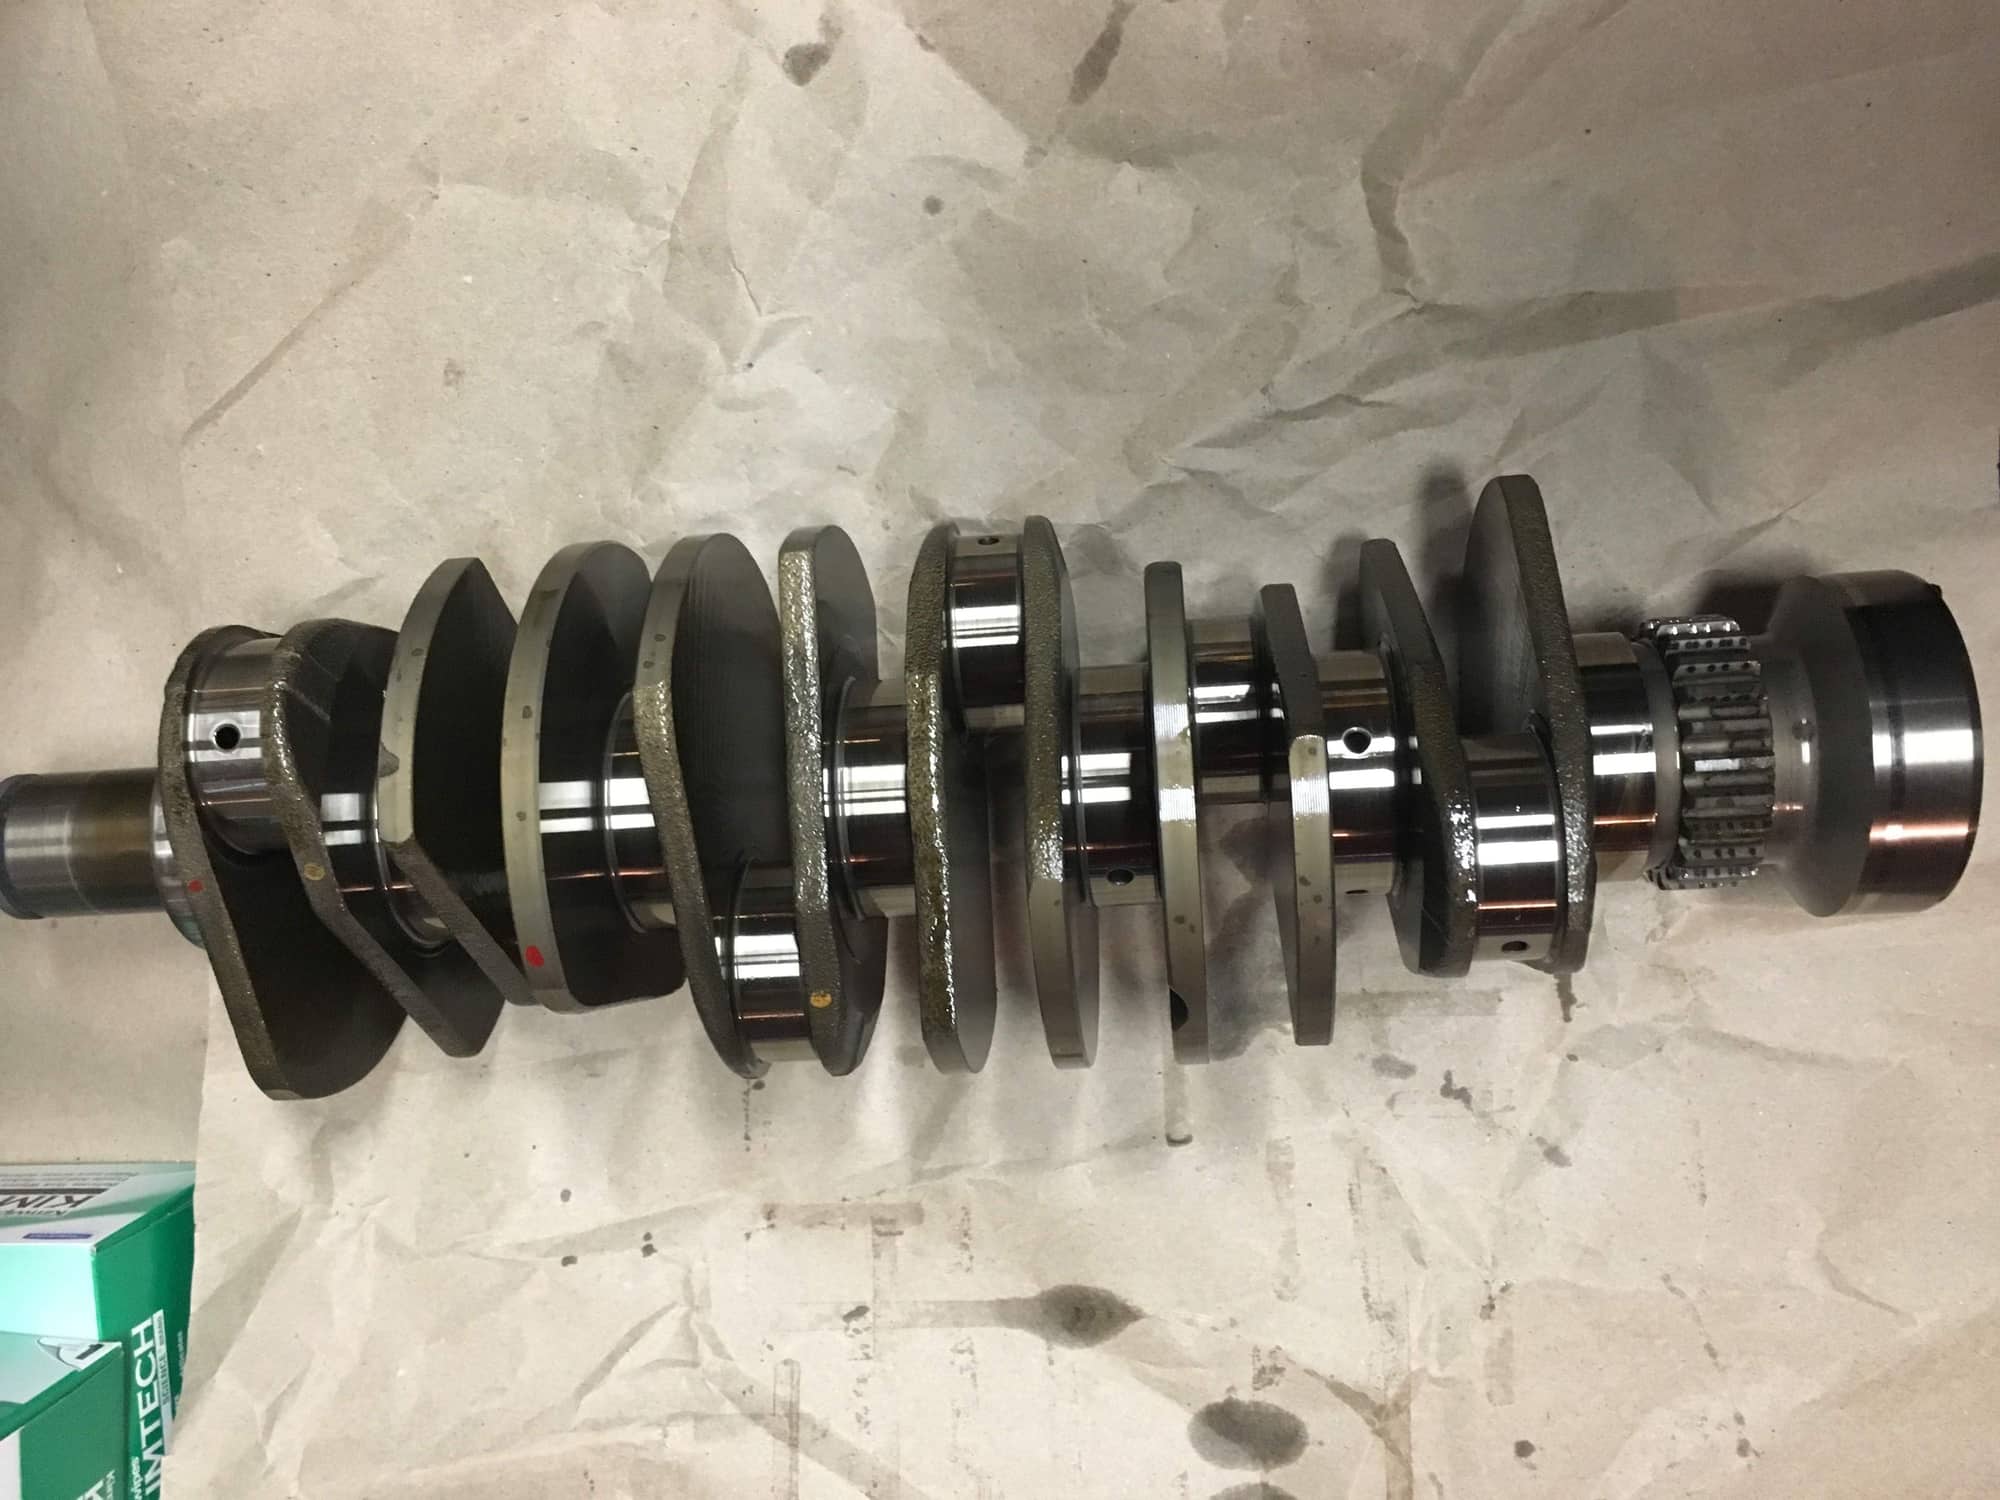
Crankshaft is near perfect. Hard to believe it has over 100K on it.
Once I get my cylinder blocks back from LNE with the new pistons and rings, I will send this out along with them for balancing and polishing.
Then I will finally be able to start with the assembly process!
The cylinder heads were sent out a while back and I've received them back already.
Will post some photos of those next.
#30
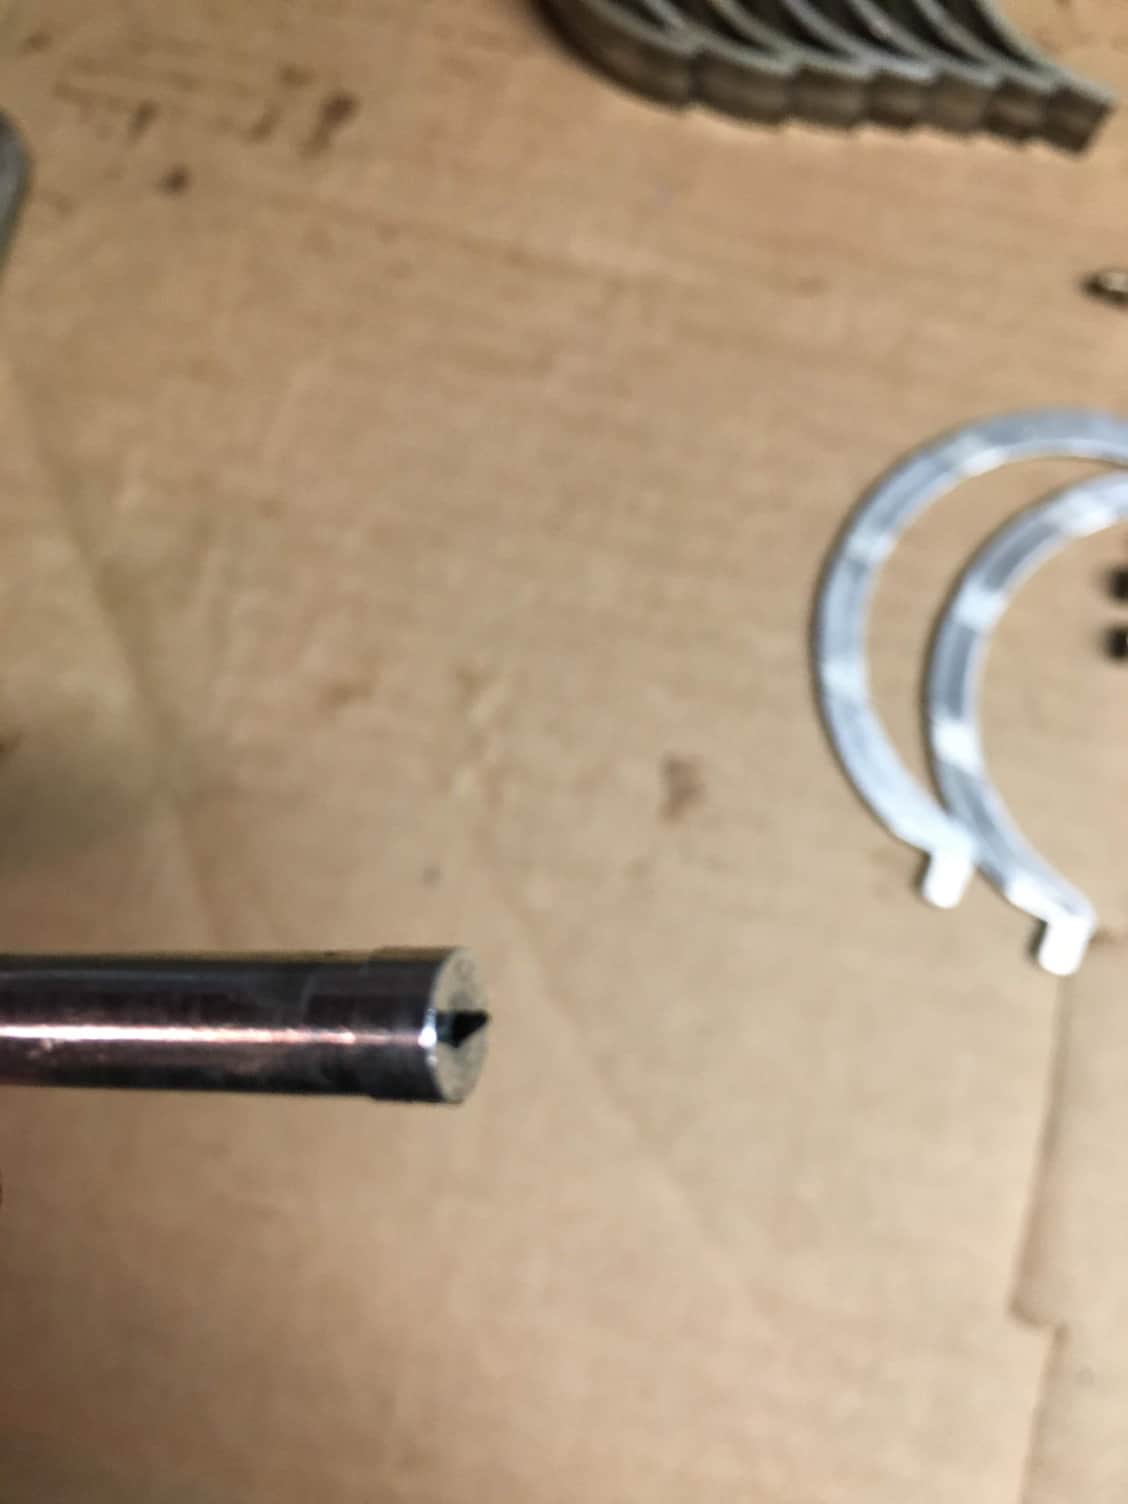
I found this really interesting piece of plastic in the bottom nozzle of the oil sprayer in the middle of the 456 side. The oil feeds up into this hole and out the other side to the two sprayer holes. What is most interesting is that there was no wear/issues with cylinder 5. It also just fell right out, so it was not jammed in there. (You also can see the old thrust washers in the background there).
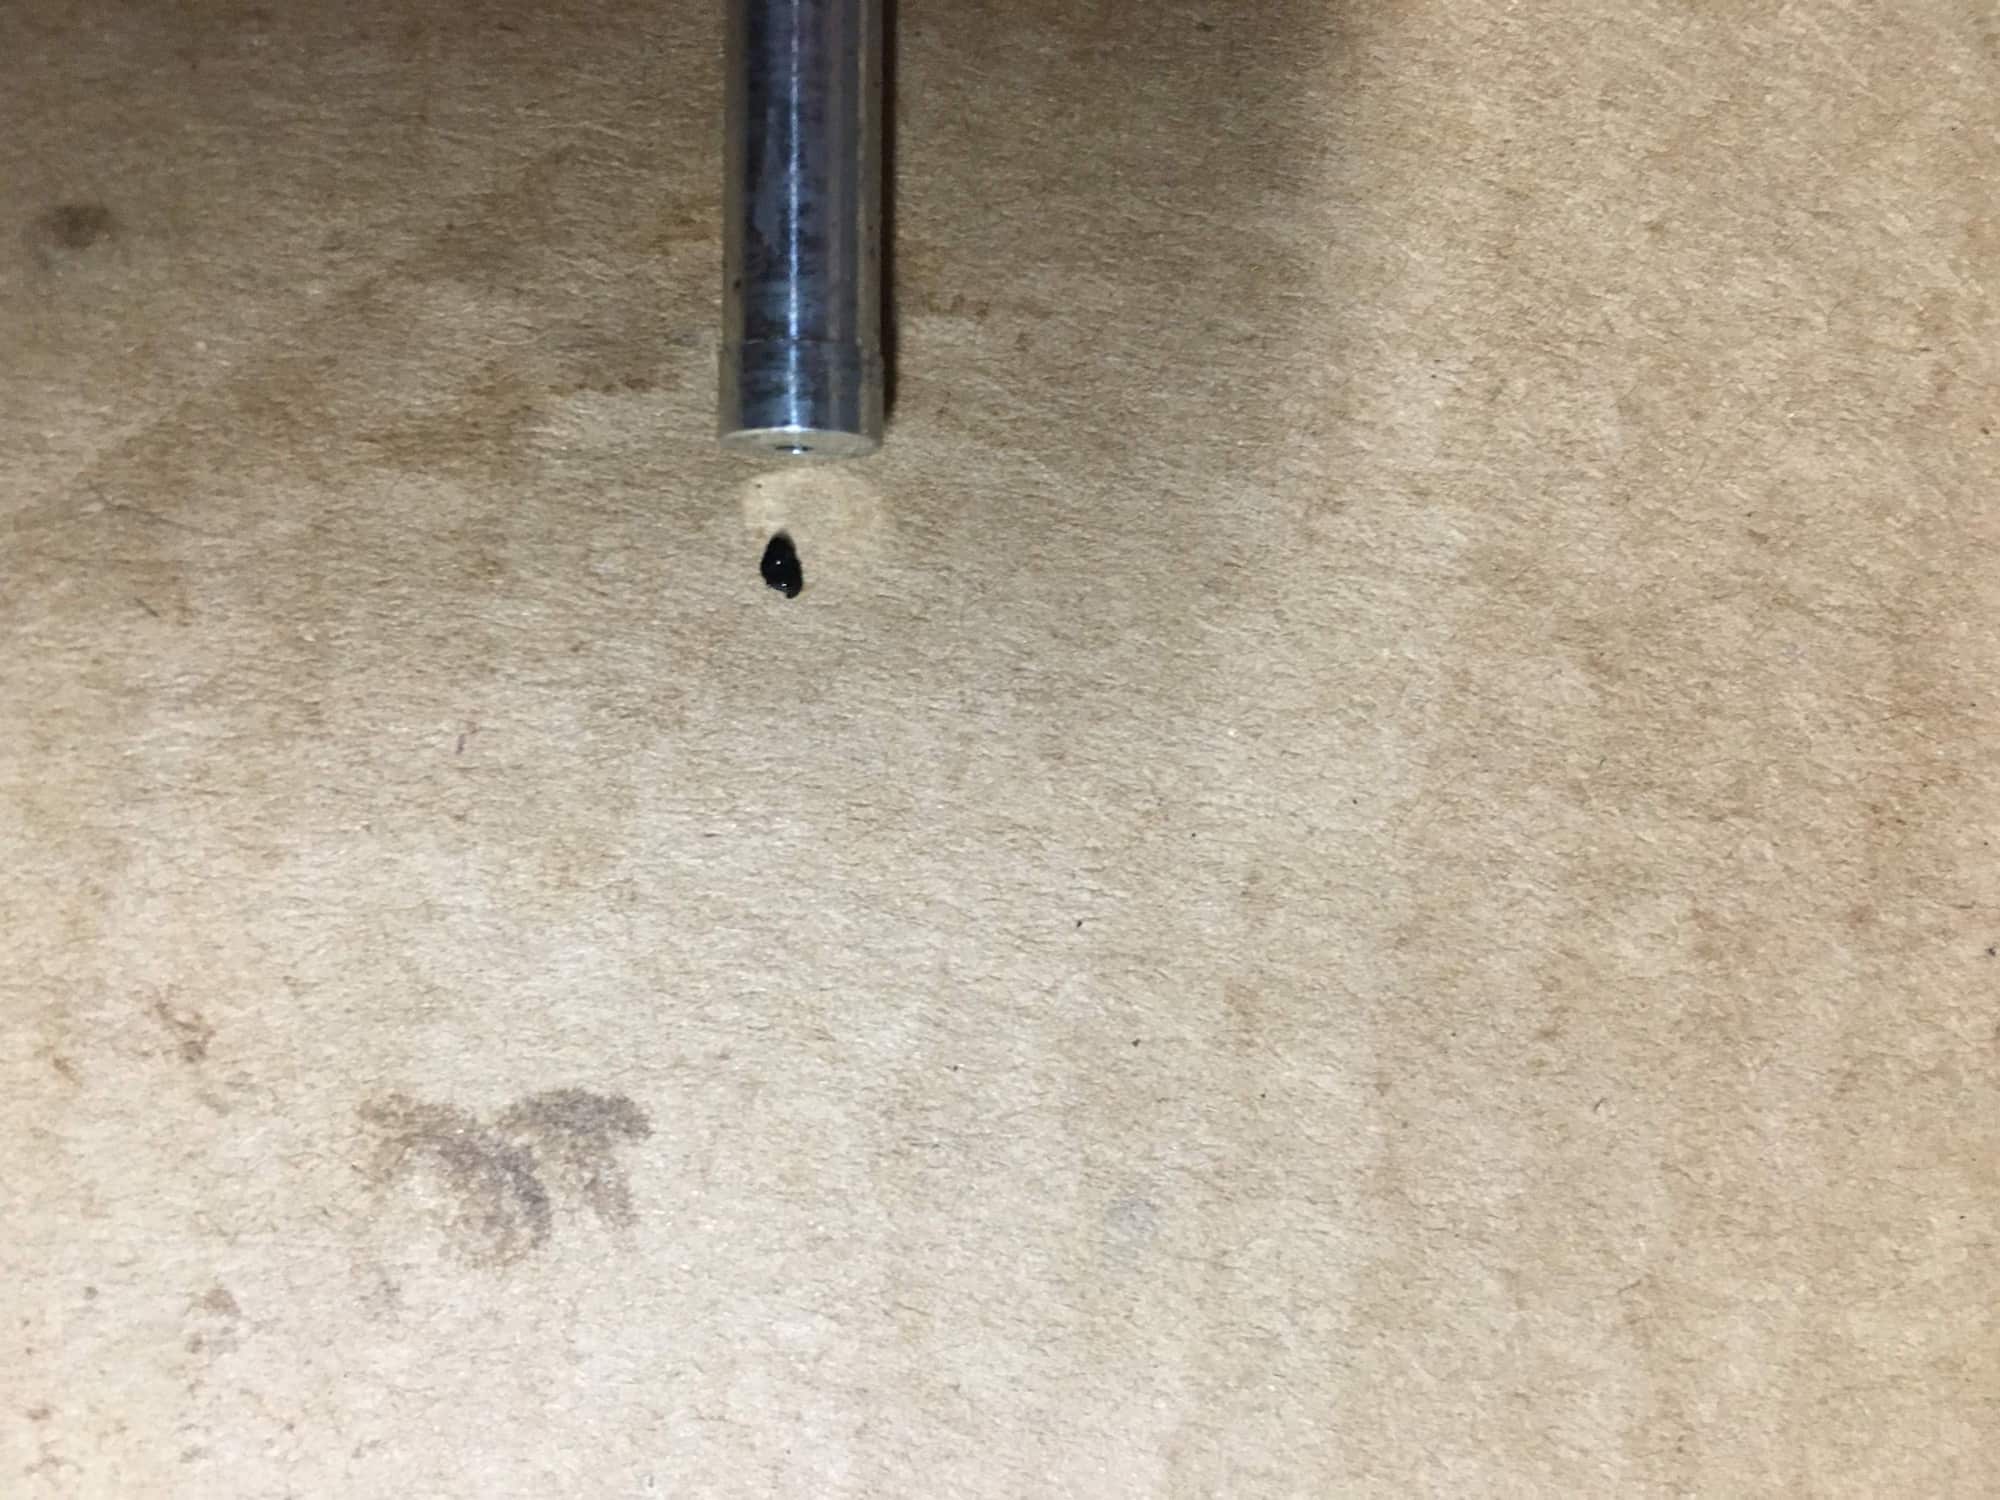
Here is another photo of it. The worst part of this is that right after I took these photos I picked it up with a pair of pliers to put into a jar and it snapped out, forever gone. I felt really stupid, but another reason I'm glad I decided to go ahead and do this now.
I carefully inspected all other areas of the engine and did not find anything else like this, so not really sure what it was or where it came from.


 Looking forward to seeing your results. I would REALLY like to try this one day myself. Thanks for posting!
