When you click on links to various merchants on this site and make a purchase, this can result in this site earning a commission. Affiliate programs and affiliations include, but are not limited to, the eBay Partner Network.
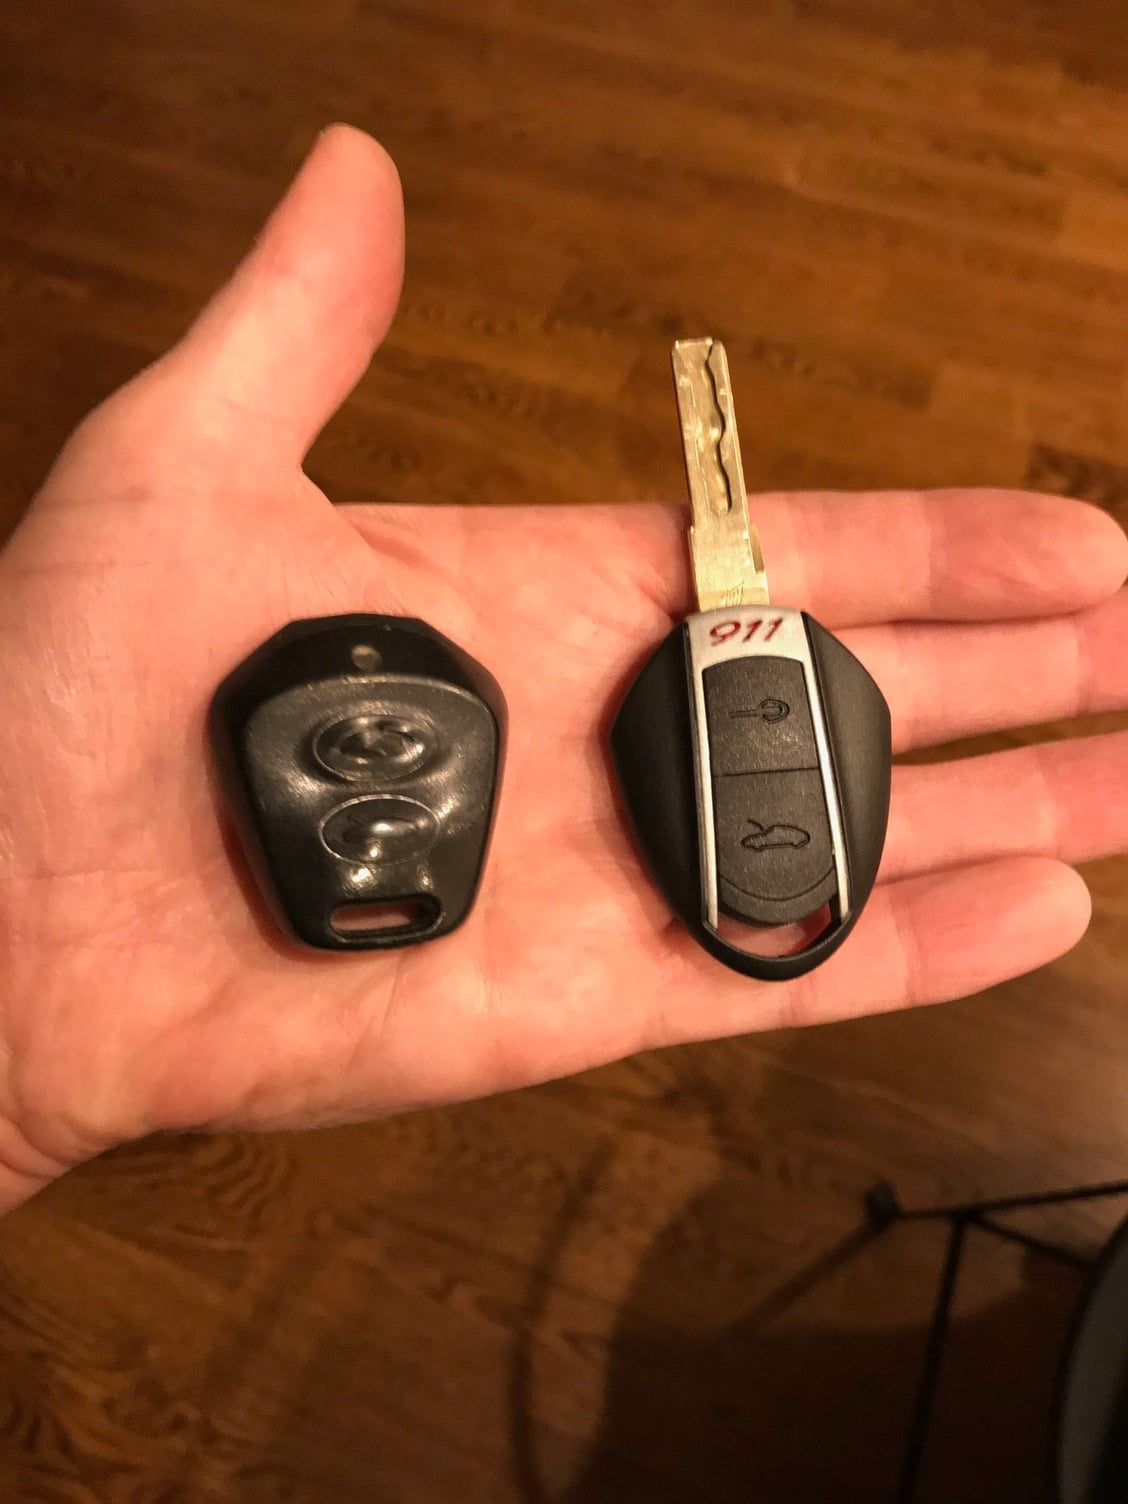
When I purchased my car the main key was pretty worn. The spare looks unused but I would rather keep that like new. New key looks great and is a very simple swap over.
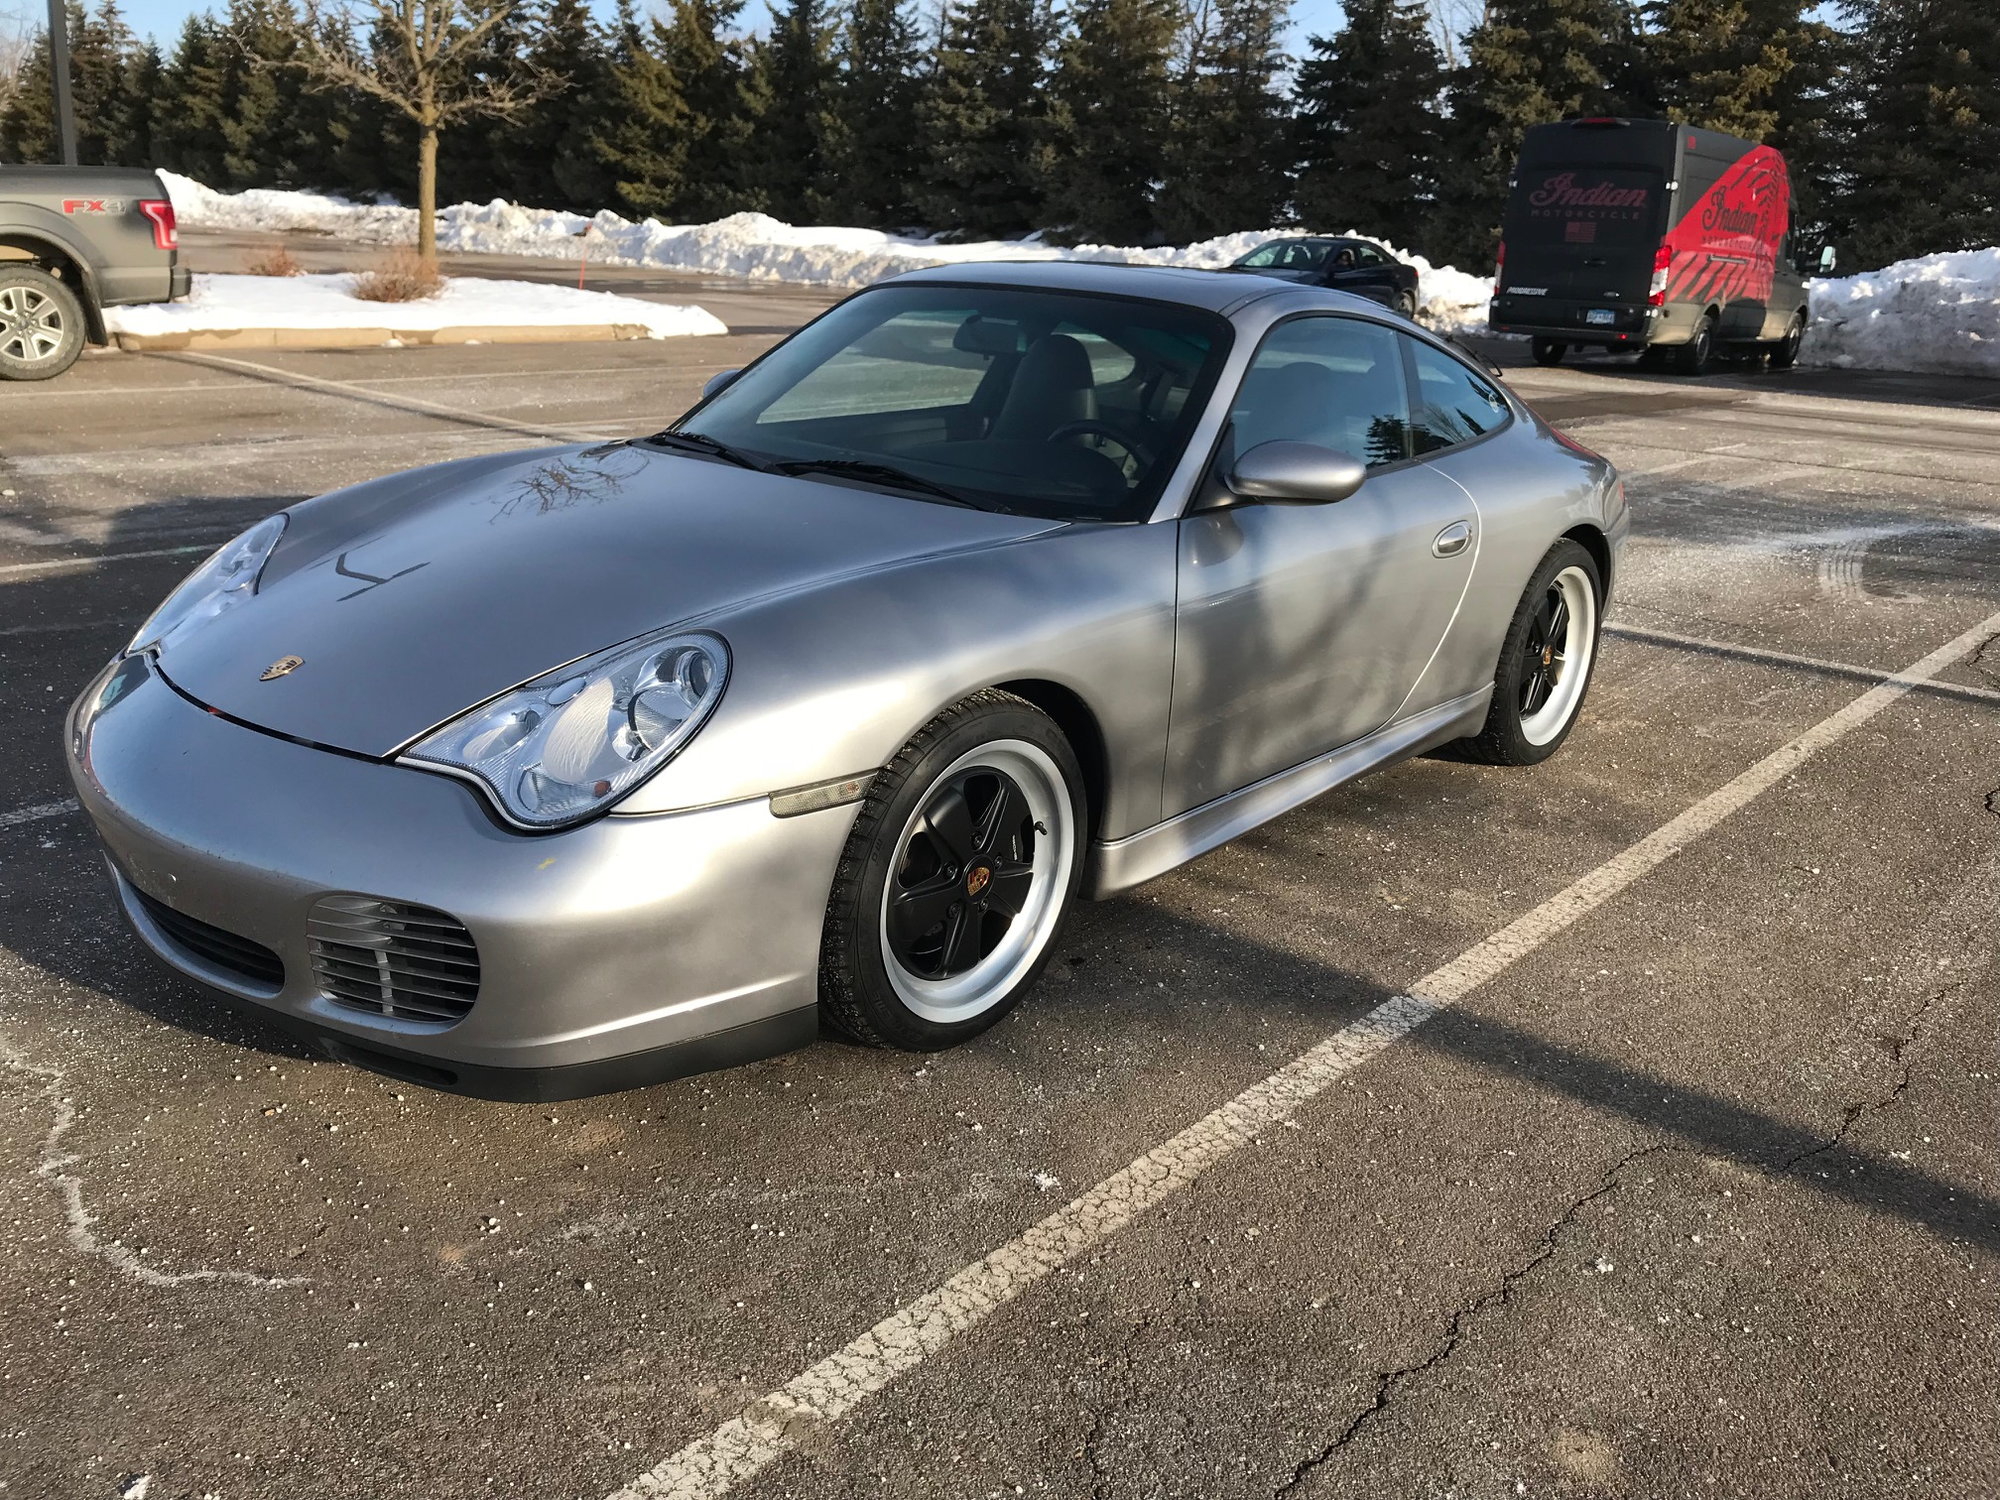
Got on the road with the wheels on at last. I really like them on a 40AE. Whilst the offsets listed were withing a few mm of OE I think they need 5-10 mm spacers to set them off perfectly, they look a little too far inboard.
What do you think of the retro modern look, mixed with what should finally be a 40+ day in MN.
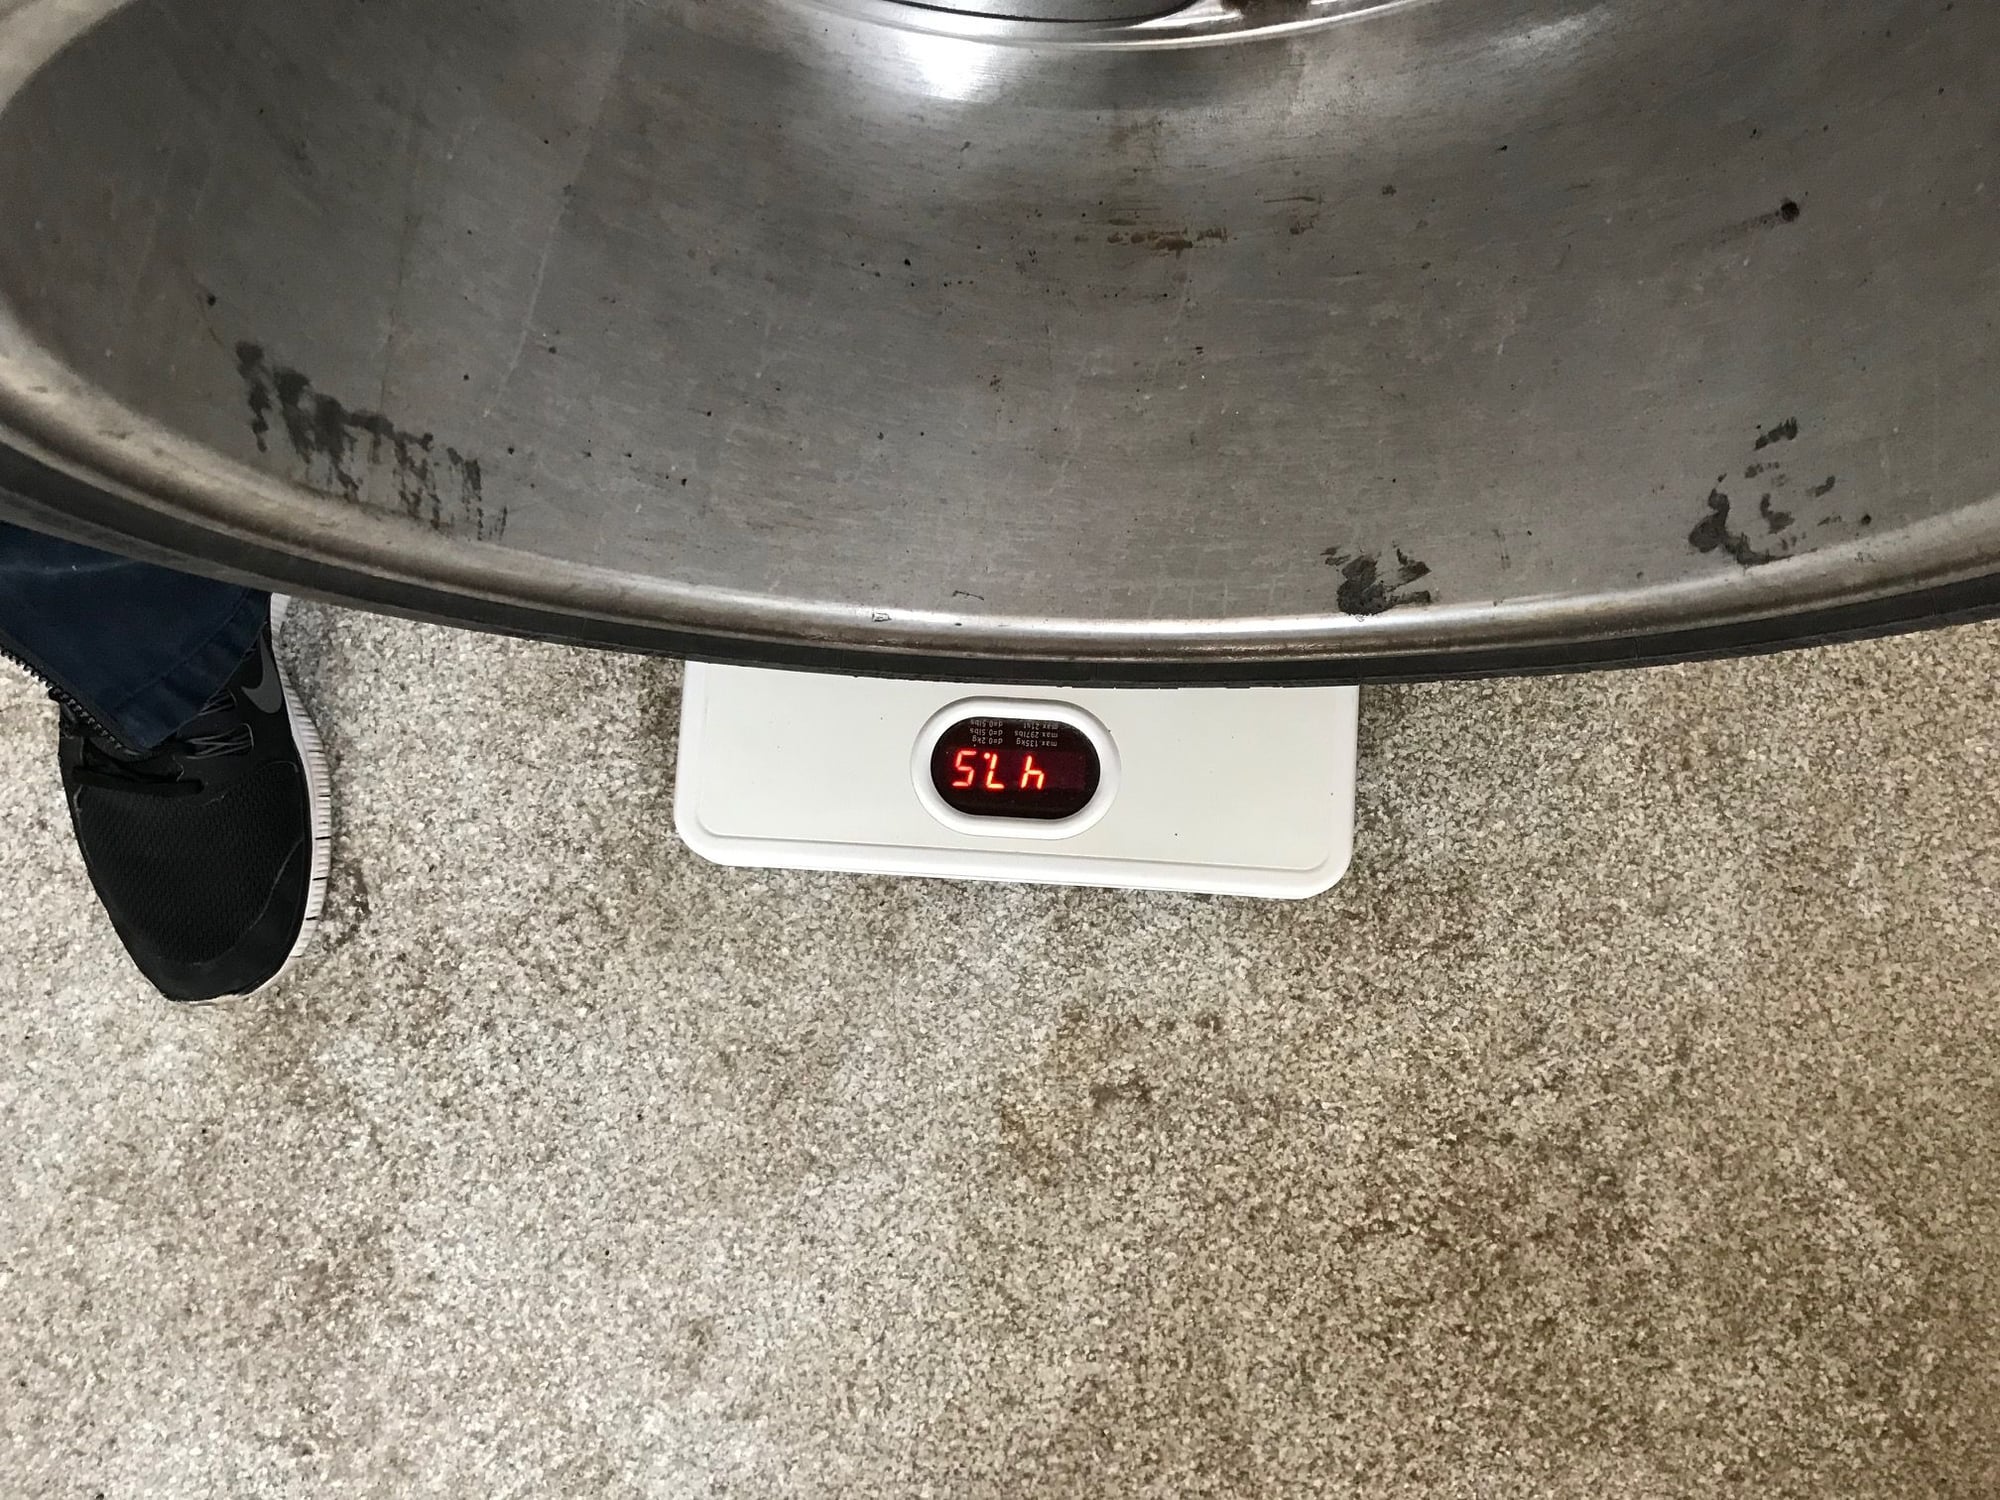
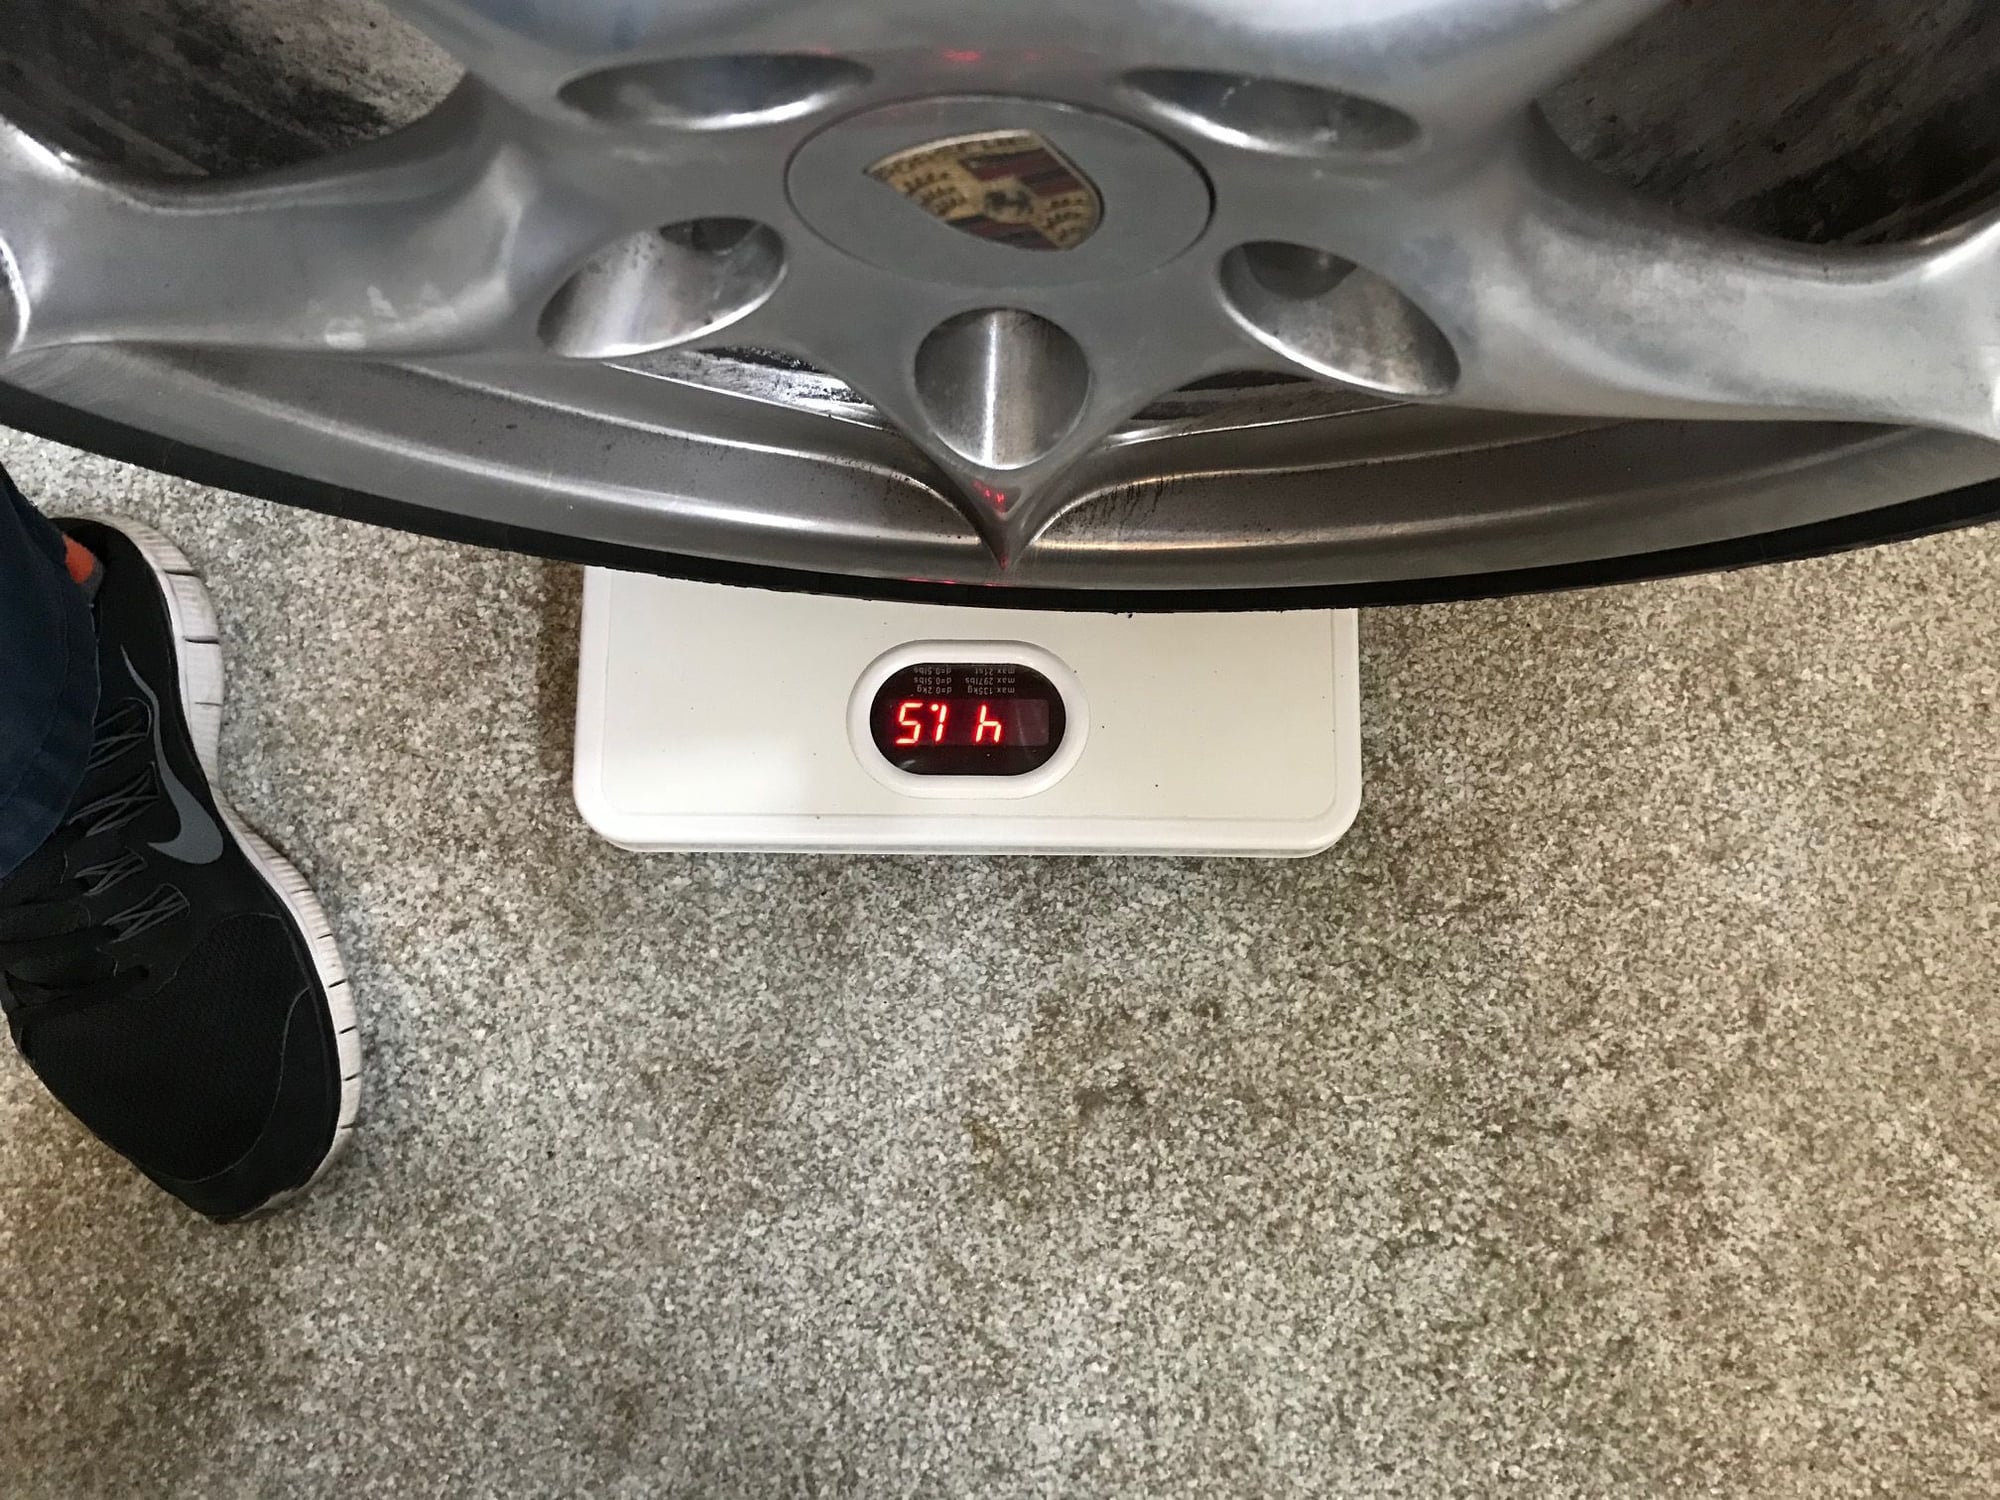
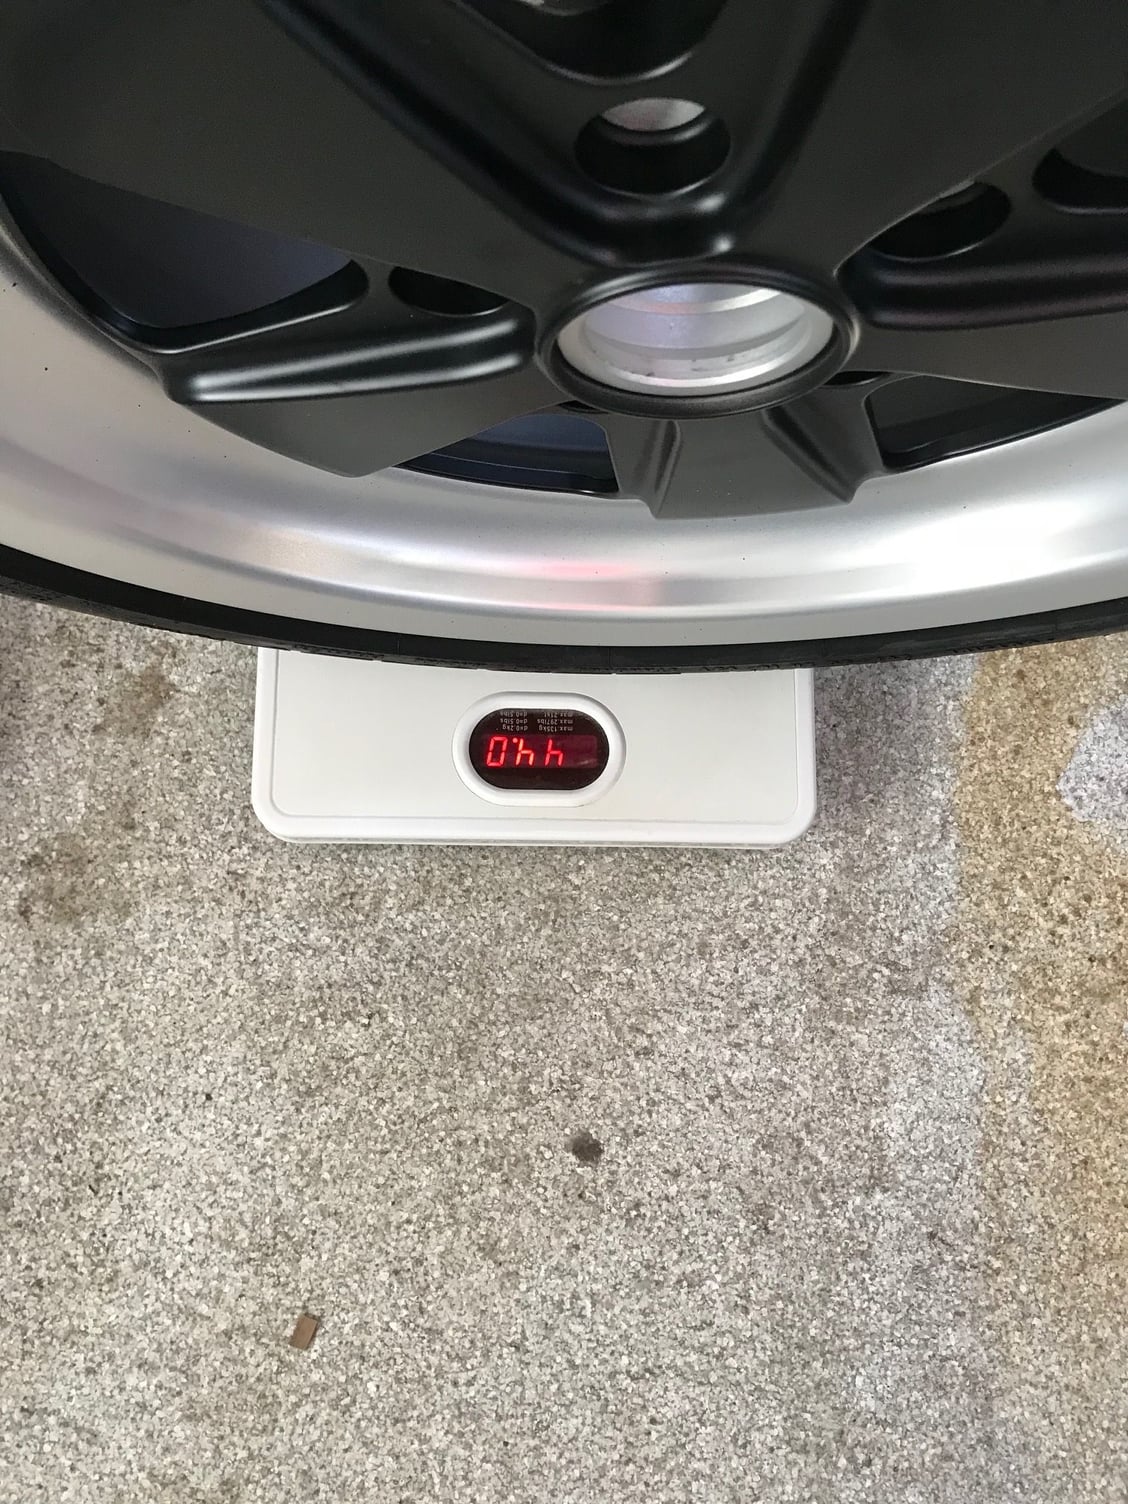
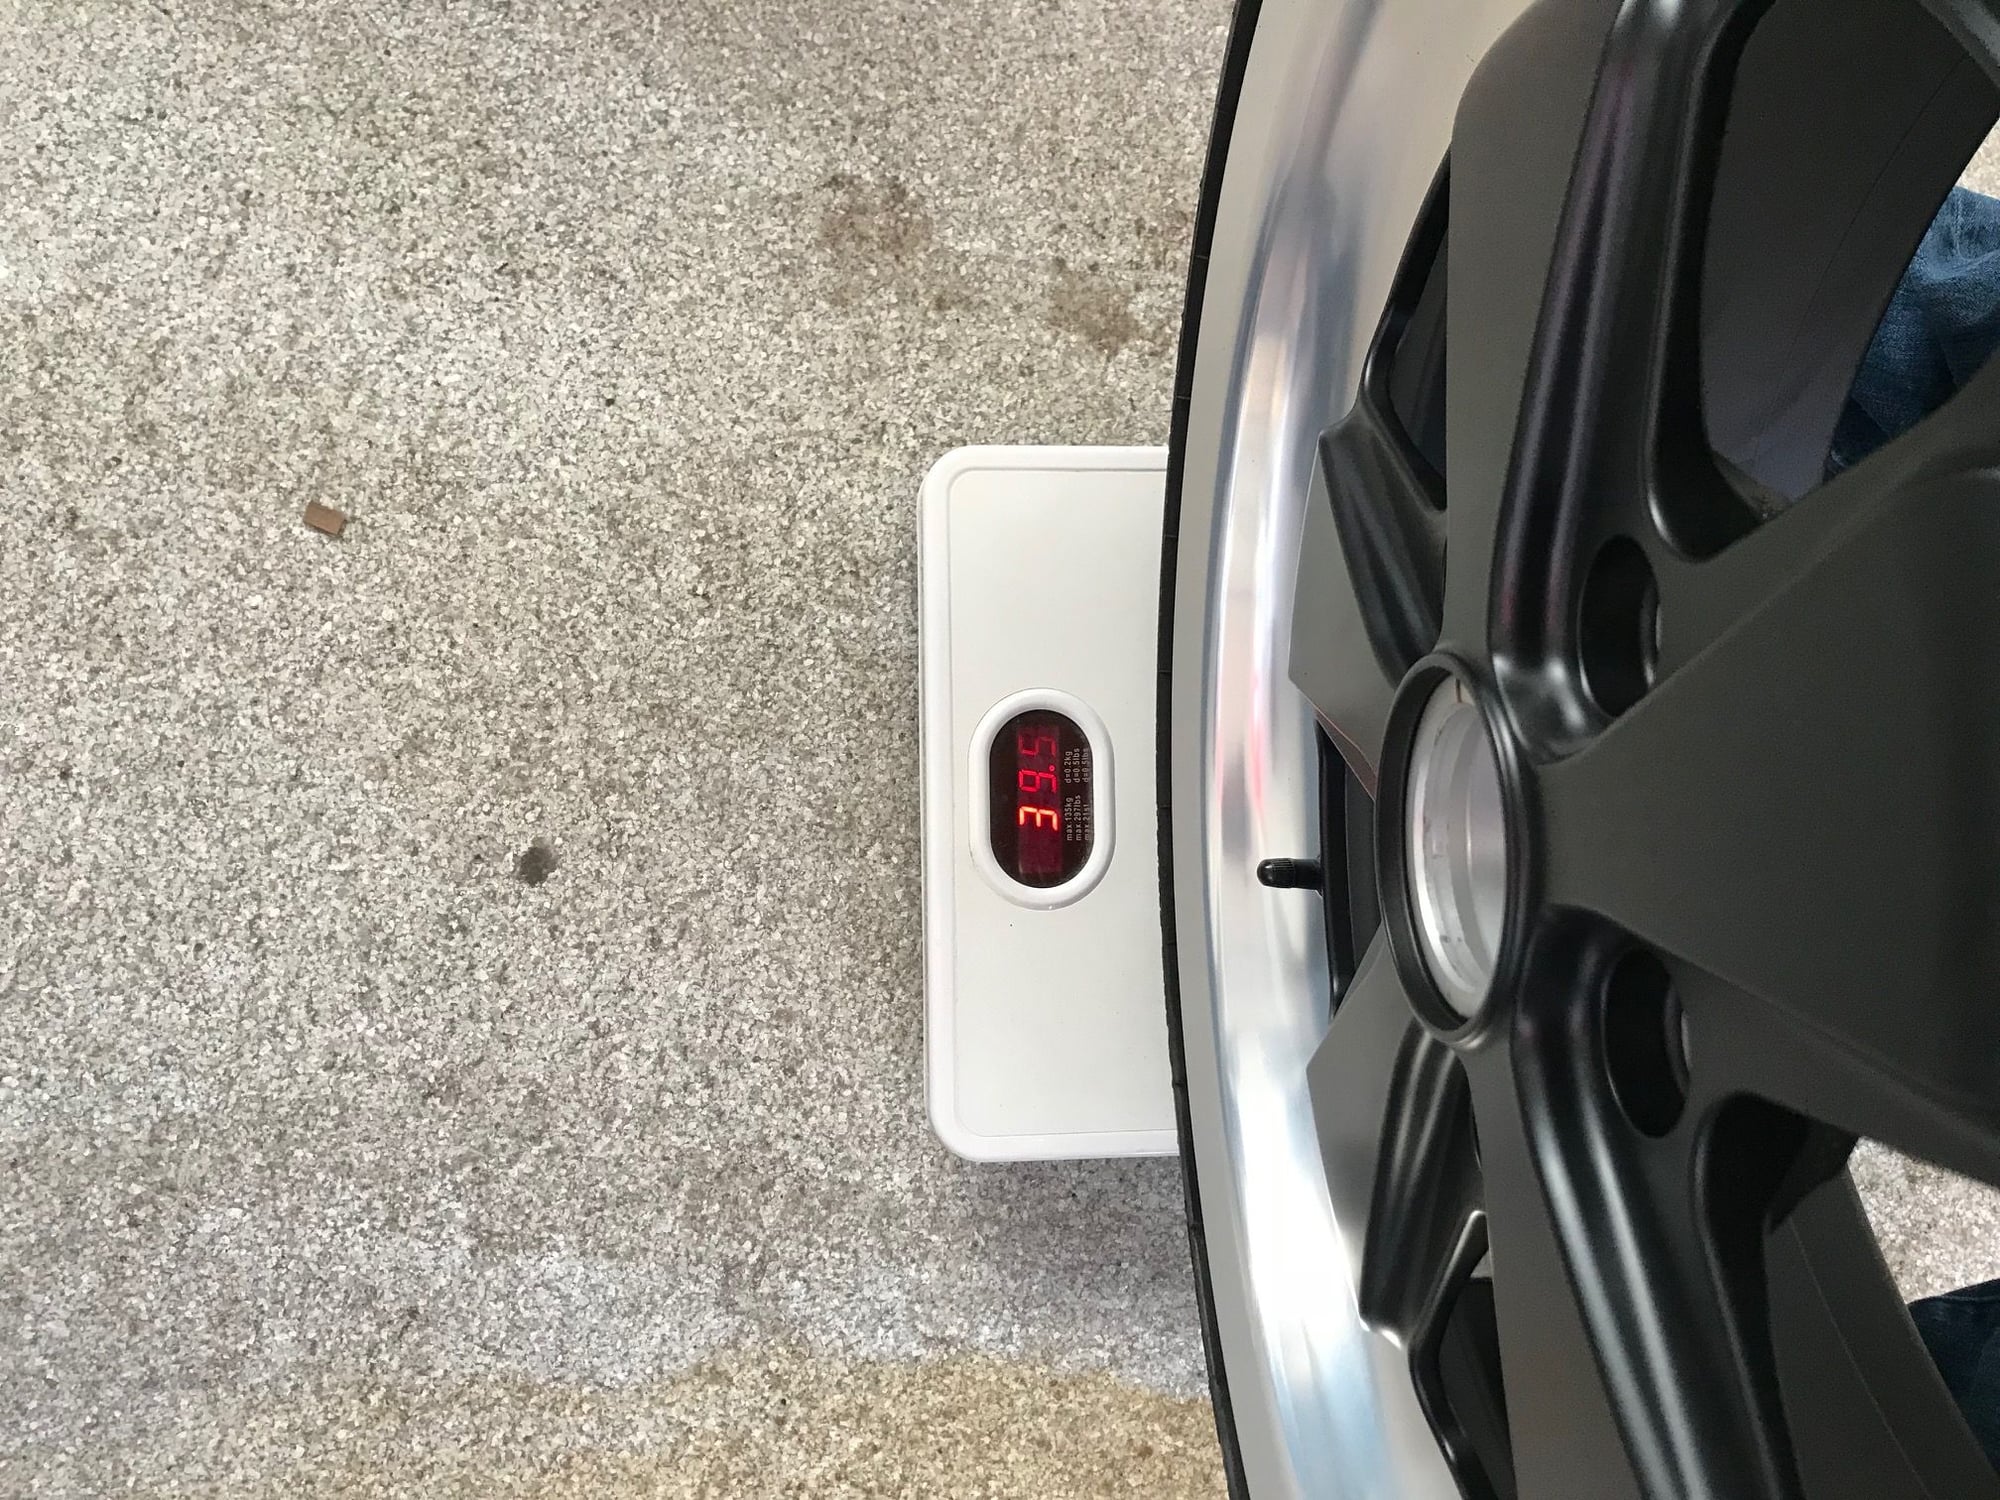
For those interested I weighed the wheels vs the standard lightweight Carrera's fitted with the exact same swapped tires. The rears were 3 1/2 lb lighter, and the fronts were 2 lb lighter. sorry for the bad pic angles, couldn't see how to rotate them.
Last edited by D6lc; 04-19-2018 at 10:32 AM.
Reason: typo
Been busy with the car over the last month or so putting an end to a persistent misfire, it was triggered when the car is hot and revved. Based on the service records that came with the car it looks like the PO had been trying to fix this for a while replacing coils and plugs but to no avail. The records also show that the original owner had Porsche replace 1 intake lifter on Cyl 4 to address a misfire.
After alot of research it looks like 3.6 cars do suffer from sticking intake lifters that trigger misfires. I decided to drop the engine and replace all the lifters as well as chain guides, seals, thermostat, AOS and get the injectors cleaned and matched.
Here is a full thread covering the work I enjoyed doing it and glad to say the car runs perfect now and no misfires!!
Pretty simple job that's been covered before, tap into the sunroof switch wiring. Its switched so cuts off once the ignition is off and the door opened.
Rattles and creaks are one thing the 996 as many other older cars is good for, I am sure it doesn�t bother many. But as my wife will attest creaks in cars are one of my biggest annoyances. When I first got the car I noticed the sunroof interior cover creaking, that was resolved pretty easily by pushing a felt pad under the front RHS of the sunroof cover.
On Sunday on a drive to get breakfast I could hear a slight rattle in the rear, which then ends up with you driving around holding parts of trim and panels until you find the cause, mine was coming from the drivers side interior C panel trip.
It wasn�t difficult to remove but after 15yrs the plastic locating tabs on these panels can get brittle. Removal is pretty simple:
1. Pry off the coat hanger cover and remove the screw under it.
2. Pry off the seat belt adjuster cover, remove the 17mm seat belt bolt under that.
3. Now remove the B panel trim
4. At the rear of the car pull out the trim piece just under the rear screen, it is held in my clops only.
5. Remove the rear speaker from the side panel.
6. Looking down from where the B panel was located to the lower trim (part that the speaker is attached to) you will see a screw that you need to remove.
7. Remove the rear seat upper lock boss (the part the seat back latches onto when in the upper position)
8. From there you can pull the speaker panel and the C trim off, they are attached by small metal trim clips
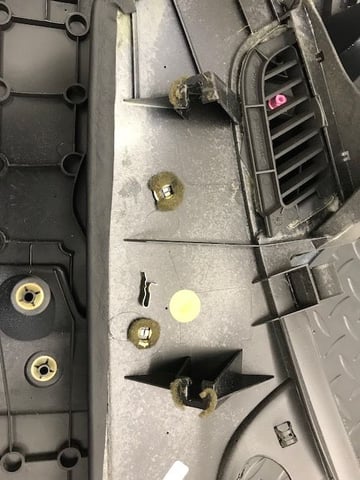
Once I removed the trim it became apparent why it rattled, there are around 6 clips that hold the trim on, of the 6 one was missing and 1 as you can see was damaged in the past.
New clips ordered for $1 each, pleasing when a fix with Porsche parts is so cheap!, next up is the creaking stereo trim.
I always wanted to upgrade the head unit to something more modern that you can stream to from my phone. I�m no audiophile (too many years riding motorcycles as a youth put paid to that). I wasn�t interested in nav, my phone does that perfectly, I wanted a single not double unit that looks as close to OE as possible. I love the look of the Becker Classic unit but at $1,500 it was too expensive for what I needed.
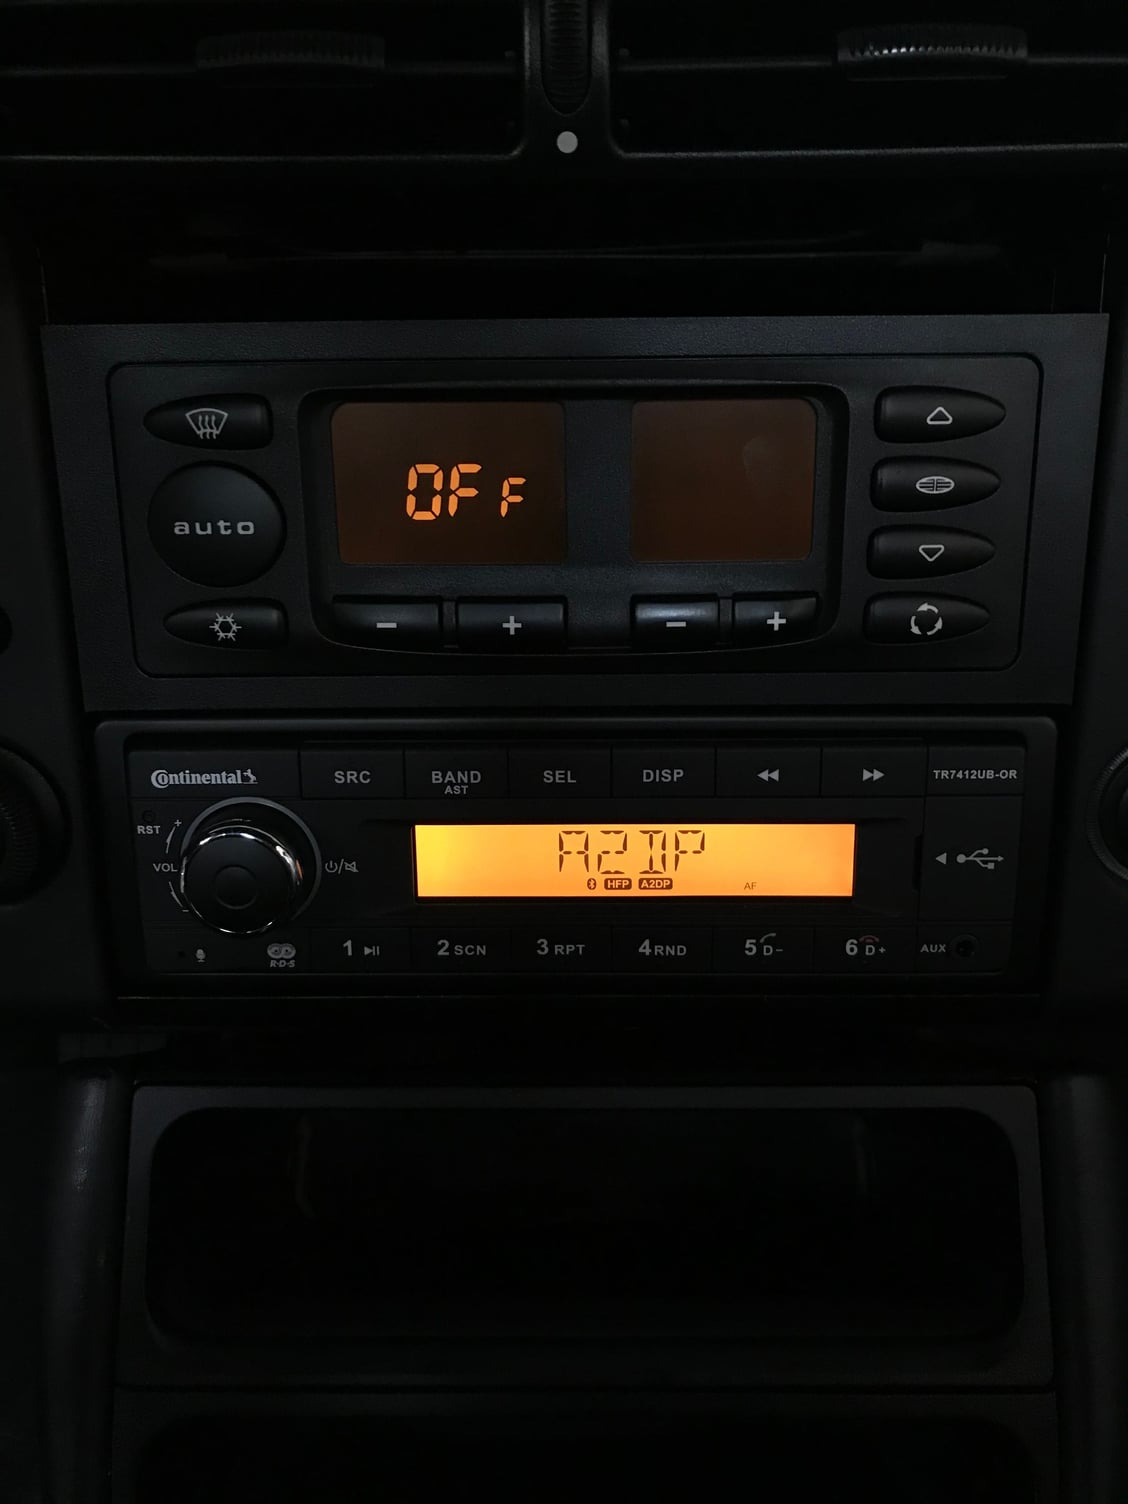
Searching around I saw the Continental TR7412UB, did everything I needed and was priced at under $200 for the HU. There are plenty of places that sell it, I contacted Bergvillfx.com. Explained what I was looking for and got an instant reply from Tore, he could not have been more helpful, asked som questions regarding my car spec and sent me a detailed email explaining option for head units and connection harness needed. Shipping was free and the unit arrived and a few days the HU and adapter form my MOST system came in at around $385.
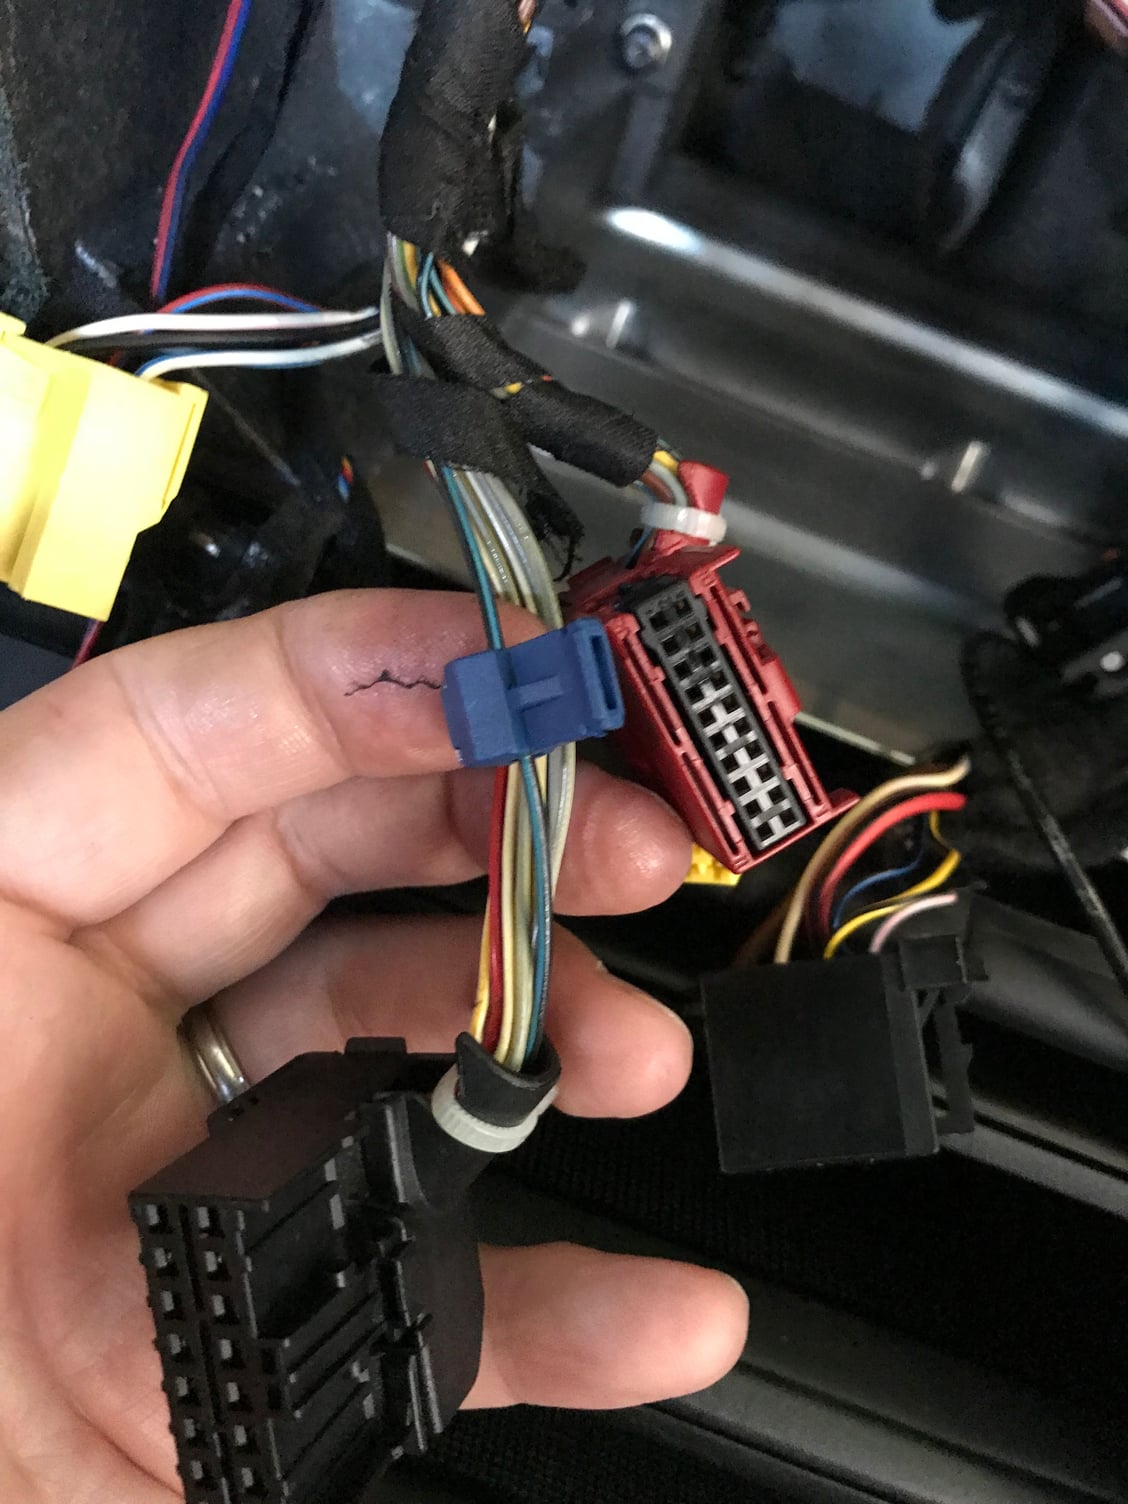
Fitting was pretty much plug and play, all that was needed were 2 wire taps into the climate connector and cigarette lighter wiring to power the MOST harness as shown below
The only other part I needed was a Fakra antenna adapter, you can pick them up for $7 on Amazon.
30 minutes later and I had a fully functional streaming Pearl Jam........perfect.
The pic doesn�t do it justice, the contrast on the display vs the climate isn�t so noticeable in real life. Tore can eve supply a Porsche sticker if you really want the OE look. I may be over optimistic as I was excited that it was so easy to fit and worked first time but to me it sounded great, better than standard to my ears. Maybe as the rest of the system is standard including the speakers the sound is exactly the same, as I mentioned I�m no audiophile. But looking forward to not having to suffer the local radio stations anymore.
That looks really nice! Does it have a usb aux in/charge cable input in back?
just checked and whilst there is a usb connection in the front but it doesn�t charge your phone. Here is a better picture.
Still have some work to do with it, it has the grounding buzz that needs fixing as the new HU is shorter than standard so the rear mount doesn�t fit, I�ll work on it the weekend.
The fact that you can fix anything on the 996 is truly amazing and I envy you for that. If I had your skills I would be shopping for a water cooled 911 right now!
The fact that you can fix anything on the 996 is truly amazing and I envy you for that. If I had your skills I would be shopping for a water cooled 911 right now!
Honestly the 911 is one of the easiest cars to work on and maintain, basic tools and common sense can fix most of it's issues. Go get one, listen to that engine right behind you ears, revel in the grip.......you wont look back
Update on the stereo, unfortunately I had to send it back to Tore. I contacted him about the grounding buzz I had, and he couldn�t explain it and hasn�t experienced it before. I�ve sent the unit and the harness back to him, I hope he can find a fault with it and replace it as the unit worked and sounded great.
Fair play to Tore in that he offered a full refund or to test it. Great customer service.
Whilst having the stereo in and out, I decided to have a look at the cup holder. It had the issue where the front cover didn�t slide over when you open it, not the end of the world but annoying. I expected I could pick one up used for $100, how wrong could I be, well they were $250+ used..�what gives?
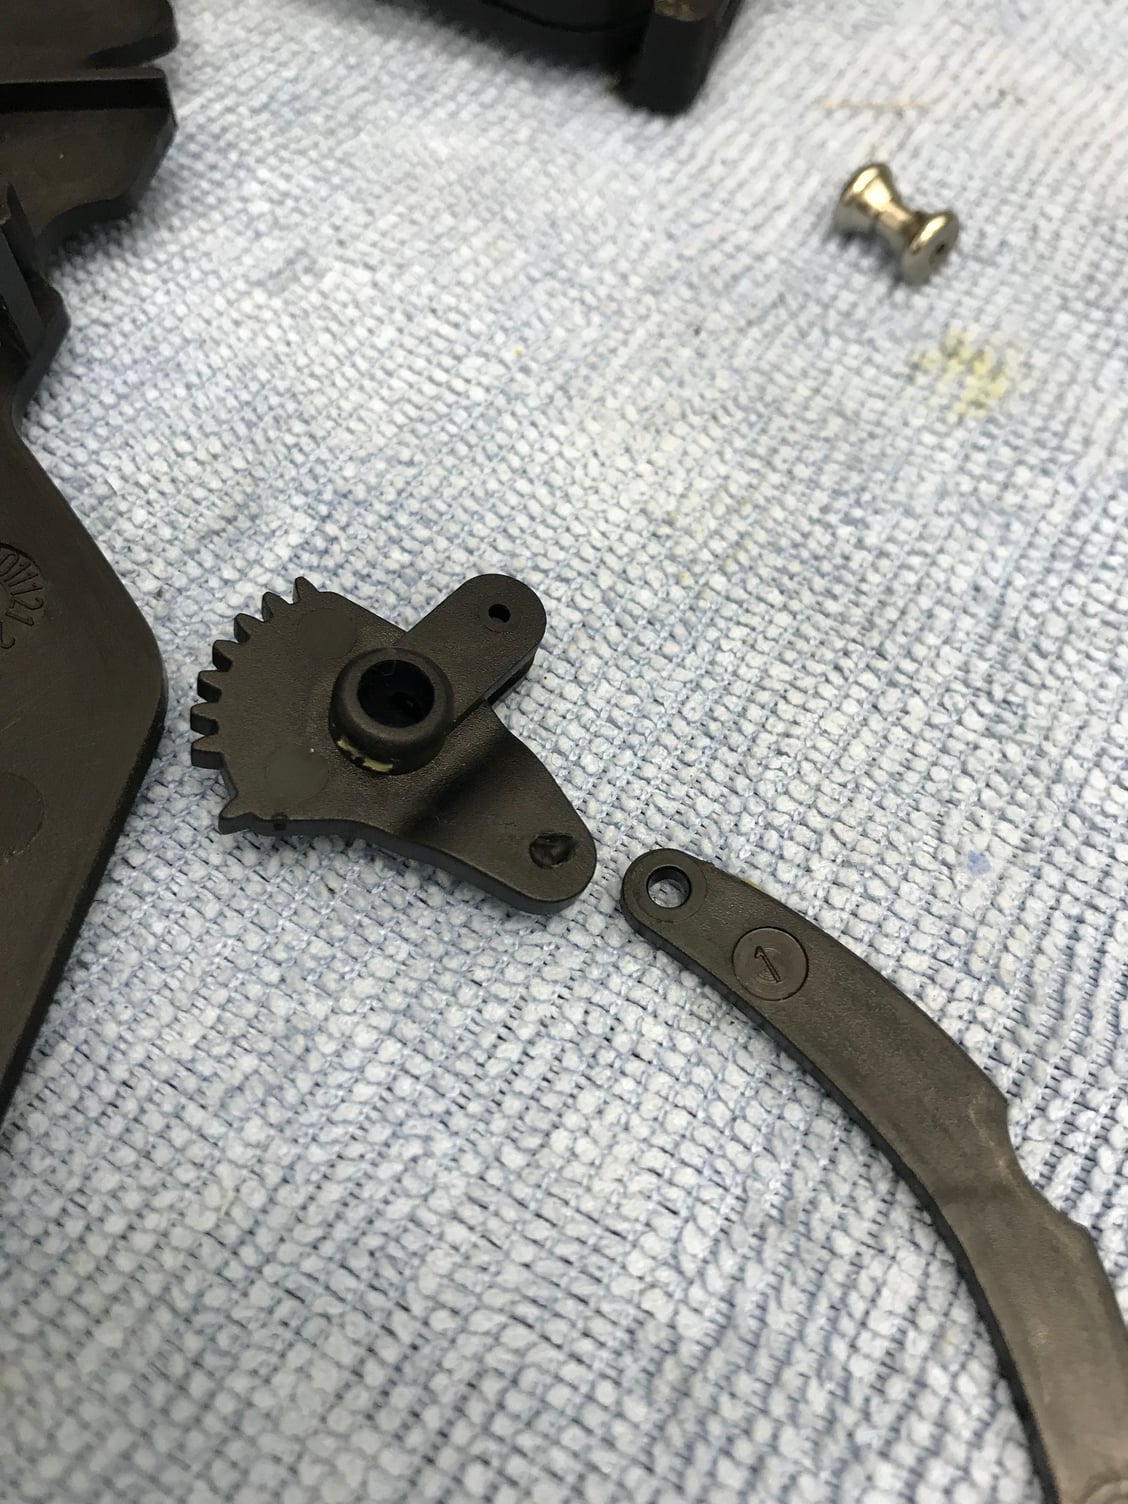
When you take one apart you soon realize, this thing is so detailed and complex you expect it came out of a Swiss watch factory not a German car company. You also realize that when they developed the 996 interior Gunter spent � the whole budget on the cup holder, leading poor old Hans to make up the budget shortfall by designing the rest of the interior out of 1 piece of recycled plastic.
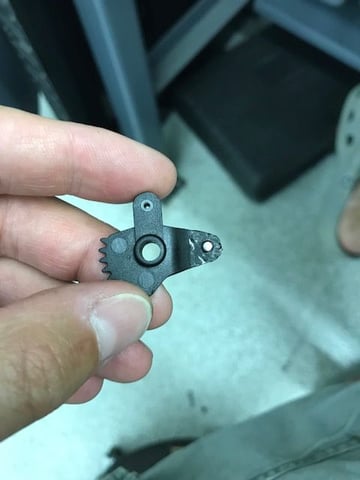
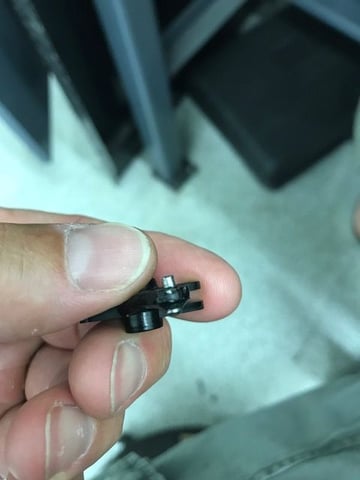
Taking it apart is easy enough, it�s held together by very small torx screws, can�t remember the size sorry. Once stripped I could see that a small plastic peg that rotates a gear that moves the cover plate had broken.
A genius on this board is 3D printing replacements. I took the yard built approach, drilled out where the peg was located, cut a nail down to size and epoxied it in place.
Put it back together (after 15 tries as I didn�t take note of every spring when I dismantled it). And now it works as it should. Another free fix that I love

 04-07-2018, 10:54 PM