When you click on links to various merchants on this site and make a purchase, this can result in this site earning a commission. Affiliate programs and affiliations include, but are not limited to, the eBay Partner Network.
Looks awesome! I'm hoping to get a set of these coils on my 40th car this spring/summer. Correct me if I'm wrong, but I thought one of the benefits of these coilovers is that you can adjust the ride height independently of the spring preload.
How has the shock body and especially the threads held up over time? Have you done anything to treat them to make sure the adjustment rings don't get stuck?
Yes you are correct in that the preload and ride height adjustments are independent, however read the below quote form 3DM Suspension wo Ohlins USA recommended I connect with on buying and changing out the springs:"Remember that the spring preload will determine where the stroke travel is located and the lower adjuster will adjust ride height. In your case with the new softer springs, you will want to measure the current ride height before swapping springs. Then once you put the new softer springs on, only adjust the spring preload adjuster until you get back to your original height. This will set the stroke travel to the same point as before. In other words, don't adjust the ride height adjuster."
With regard to the shock body and adjusters, they are in perfect condition with absolutely no corrosion, I don't drive me car here in MN winters (so no salt) but do drive it all other seasons so its not a garage queen as such.
I know that ride quality can be subjective, but how would you compare the stock suspension our cars came with to the Ohlins? Did adjusting the shocks to a softer handling help with the ride quality? There is a local rennlist member to me with Ohlins so I'll be looking to try them before committing. Either way, great build thus far!
I know that ride quality can be subjective, but how would you compare the stock suspension our cars came with to the Ohlins? Did adjusting the shocks to a softer handling help with the ride quality? There is a local rennlist member to me with Ohlins so I'll be looking to try them before committing. Either way, great build thus far!
I guess that I should first start by saying that here in MN we have pretty rough roads, if your roads are nice and smooth or you want to spend most of your time on the track then the standard Ohlins setup would be fine. The adjustment in the struts is for damping, however for me on the hard settings the car was just too stiff and on the soft settings it was still more firm than I wanted for general day to day driving. It�s honestly difficult to make a back to back comparison with the M030 NA standard setup on my car as I undertook the work over the winter so months between driving the 2 setups, however I think the Ohlins feel firmer than the standard setup.
So I drove a year on the standard Ohlins and felt more and more that for my driving needs they were oversprung with too high a rate. Then in 911 & Porsche World magazine (Jan 20 issue I think), they did a large 996 suspension test including a few Ohlins setup cars some with the standard 120/60 spring as well as 90/40 and 60/40 rated springs. The outcome was that they felt the standard setup was too firm and the 90/40 setup gave better compliance with no handling detraction, it�s a great read if your looking at suspension.
Had the Ohlins returned and apparently there is nothing wrong with it, here is their explanation:We have inspected your damper and found that it is not leaking oil. It appears that a small amount of grease was carried through the wiper by air trapped in the outer tube. This is considered normal. There would be no warranty coverage in this case as there is no defect in workmanship or materials. However, we will not charge any labor for the inspection as good will.
So the morel of the story if you have an Ohlins with what looks like a leak is to give it a good clean and check again later. The good news is that I don't need to get it repaired and I'm happy to cover the postage to know that its all well and good, hopefully get it back in the car this weekend and the newly painted Fuchs wheels on.
The suspension is now on the car, as noted above, very easy replacement job, easily done in a few hrs. I ended up having to add around 20-25mm of preload to the new springs to get the ride height to within a few mm of where I want it to be at 335mm from the wheel center to the arch. Going to run the car for 50 odd miles to let it all settle before the final adjustments. Also got the repainted wheels on minus the black centers, pleased with how they came out.
Hopefully weeks away from getting it out on the road,
I’ve always been disappointed with the standard audio in the car, not only the fact that you only have a choice of cd or FM radio but also the poor sound quality. On my previous 40th I had the Becker aux line fitted, but that is mono only output and really not worth the money.
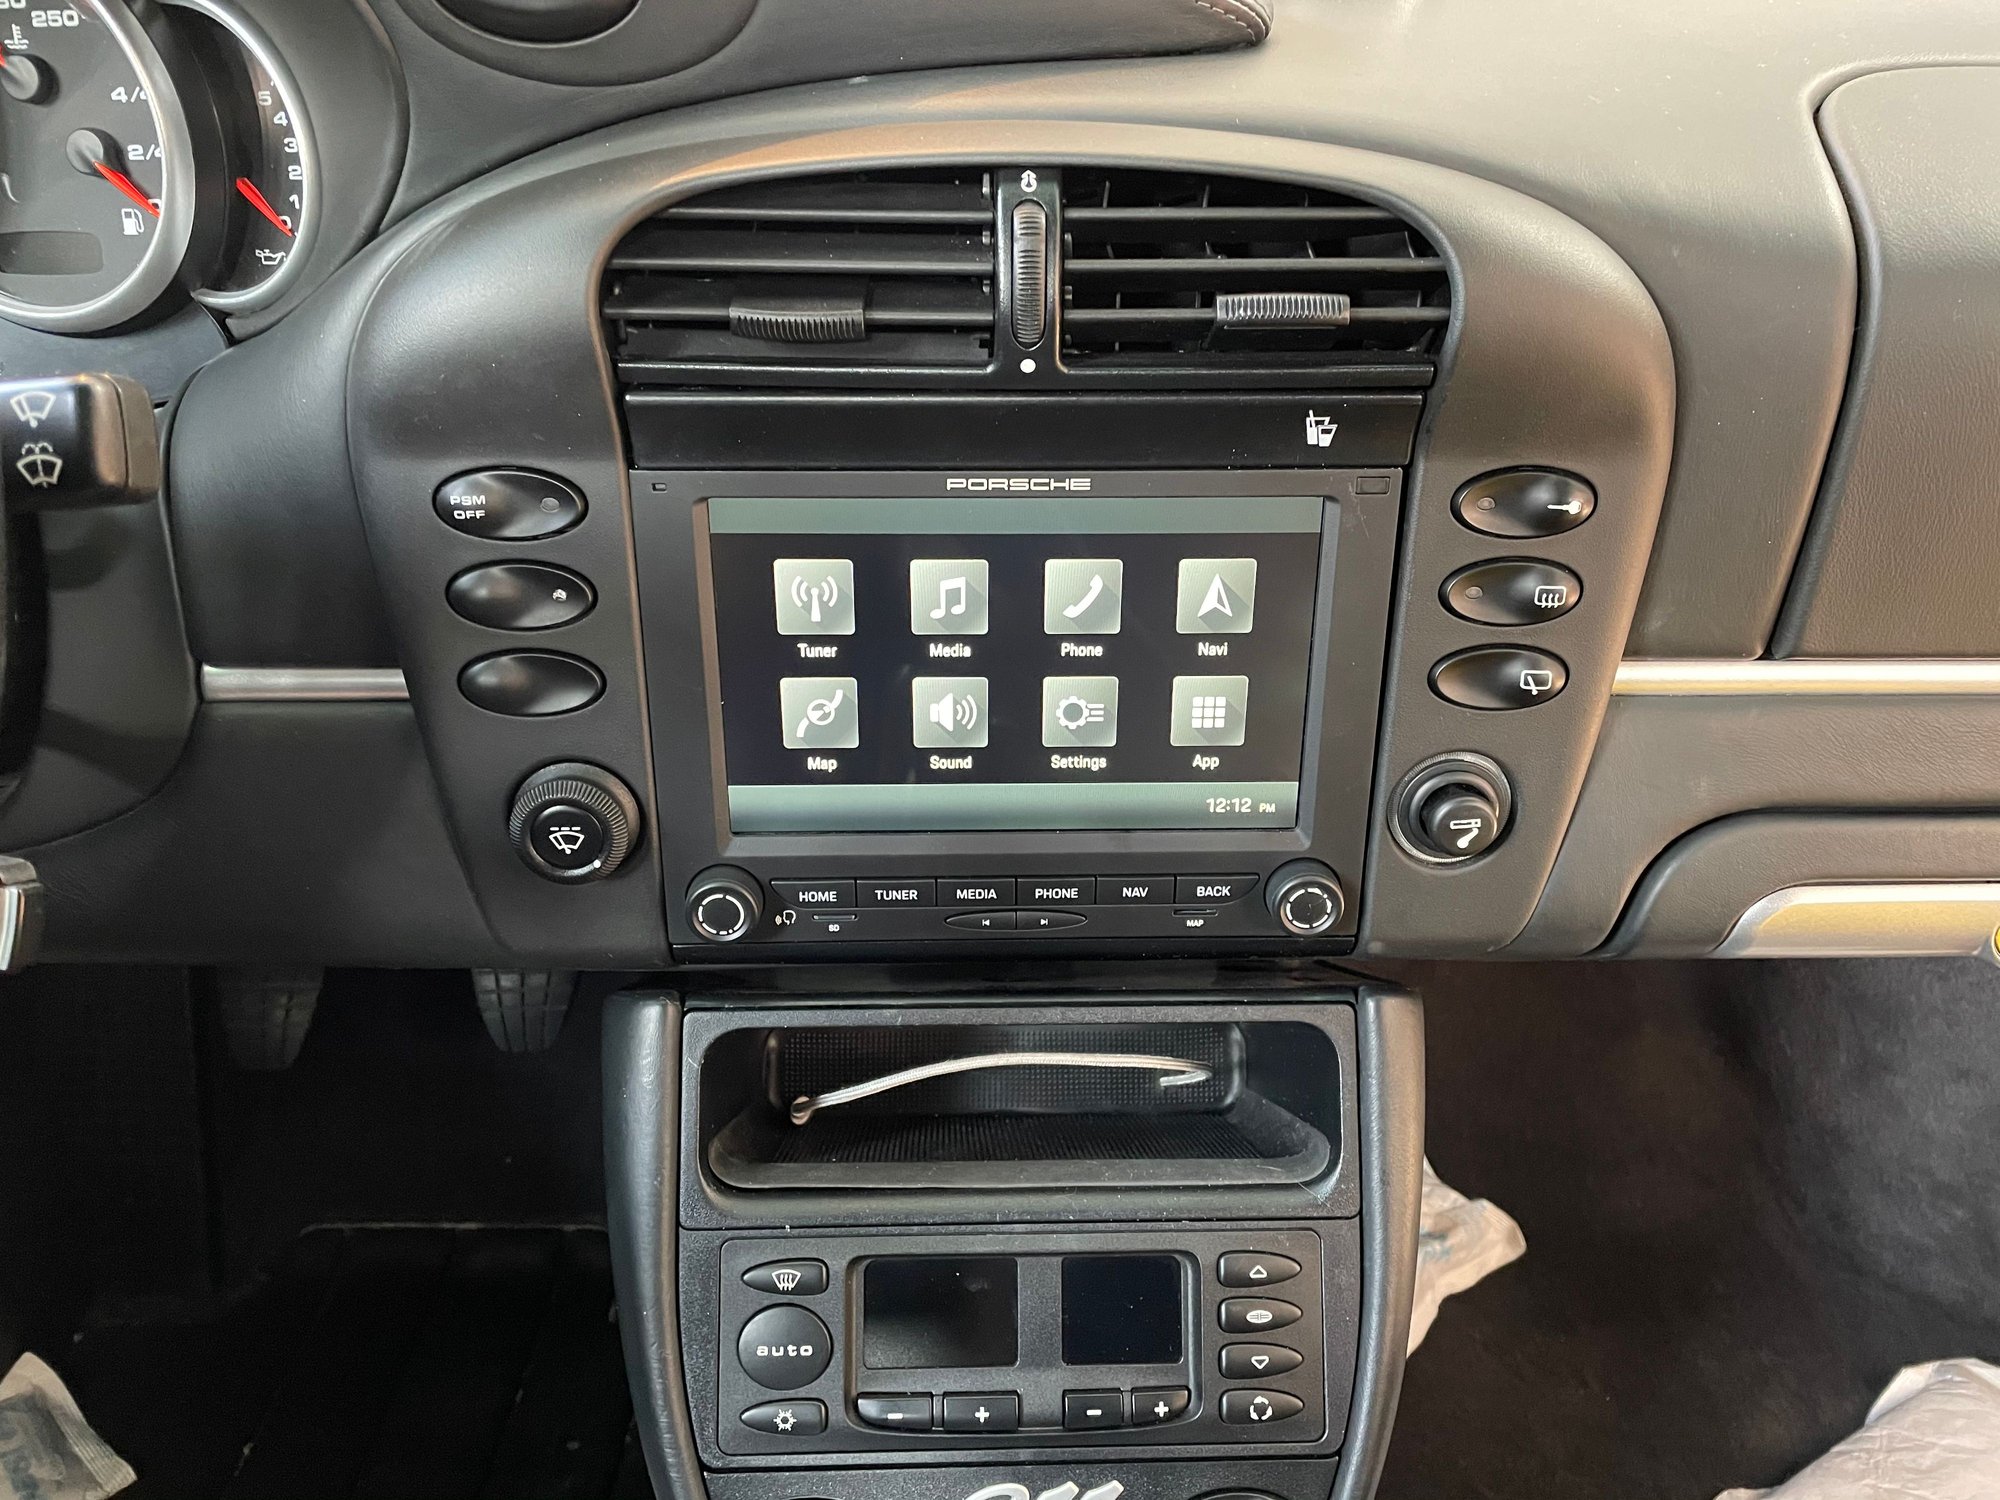
So after deciding to keep the car I went all in and purchased a PCCM+ from Suncoast and installed it myself, now whilst I feel reasonably competent on mechanical work, electrical and audio isn’t my strength, I know the basics but that’s about all.
Porsche definitely wants you to go to a dealer for the install, when you get the box there are no installation instructions. After fishing around I found the dealer instructions here, the are basic but help.https://rparts-sites.s3.amazonaws.co.../pccm_plus.pdf
You can modify the single DIN mounting frame if you want or order the correct mount Porsche part # 996-552-231-1 they run around $60, for me worth it so that I can alway return the car to standard at any time,
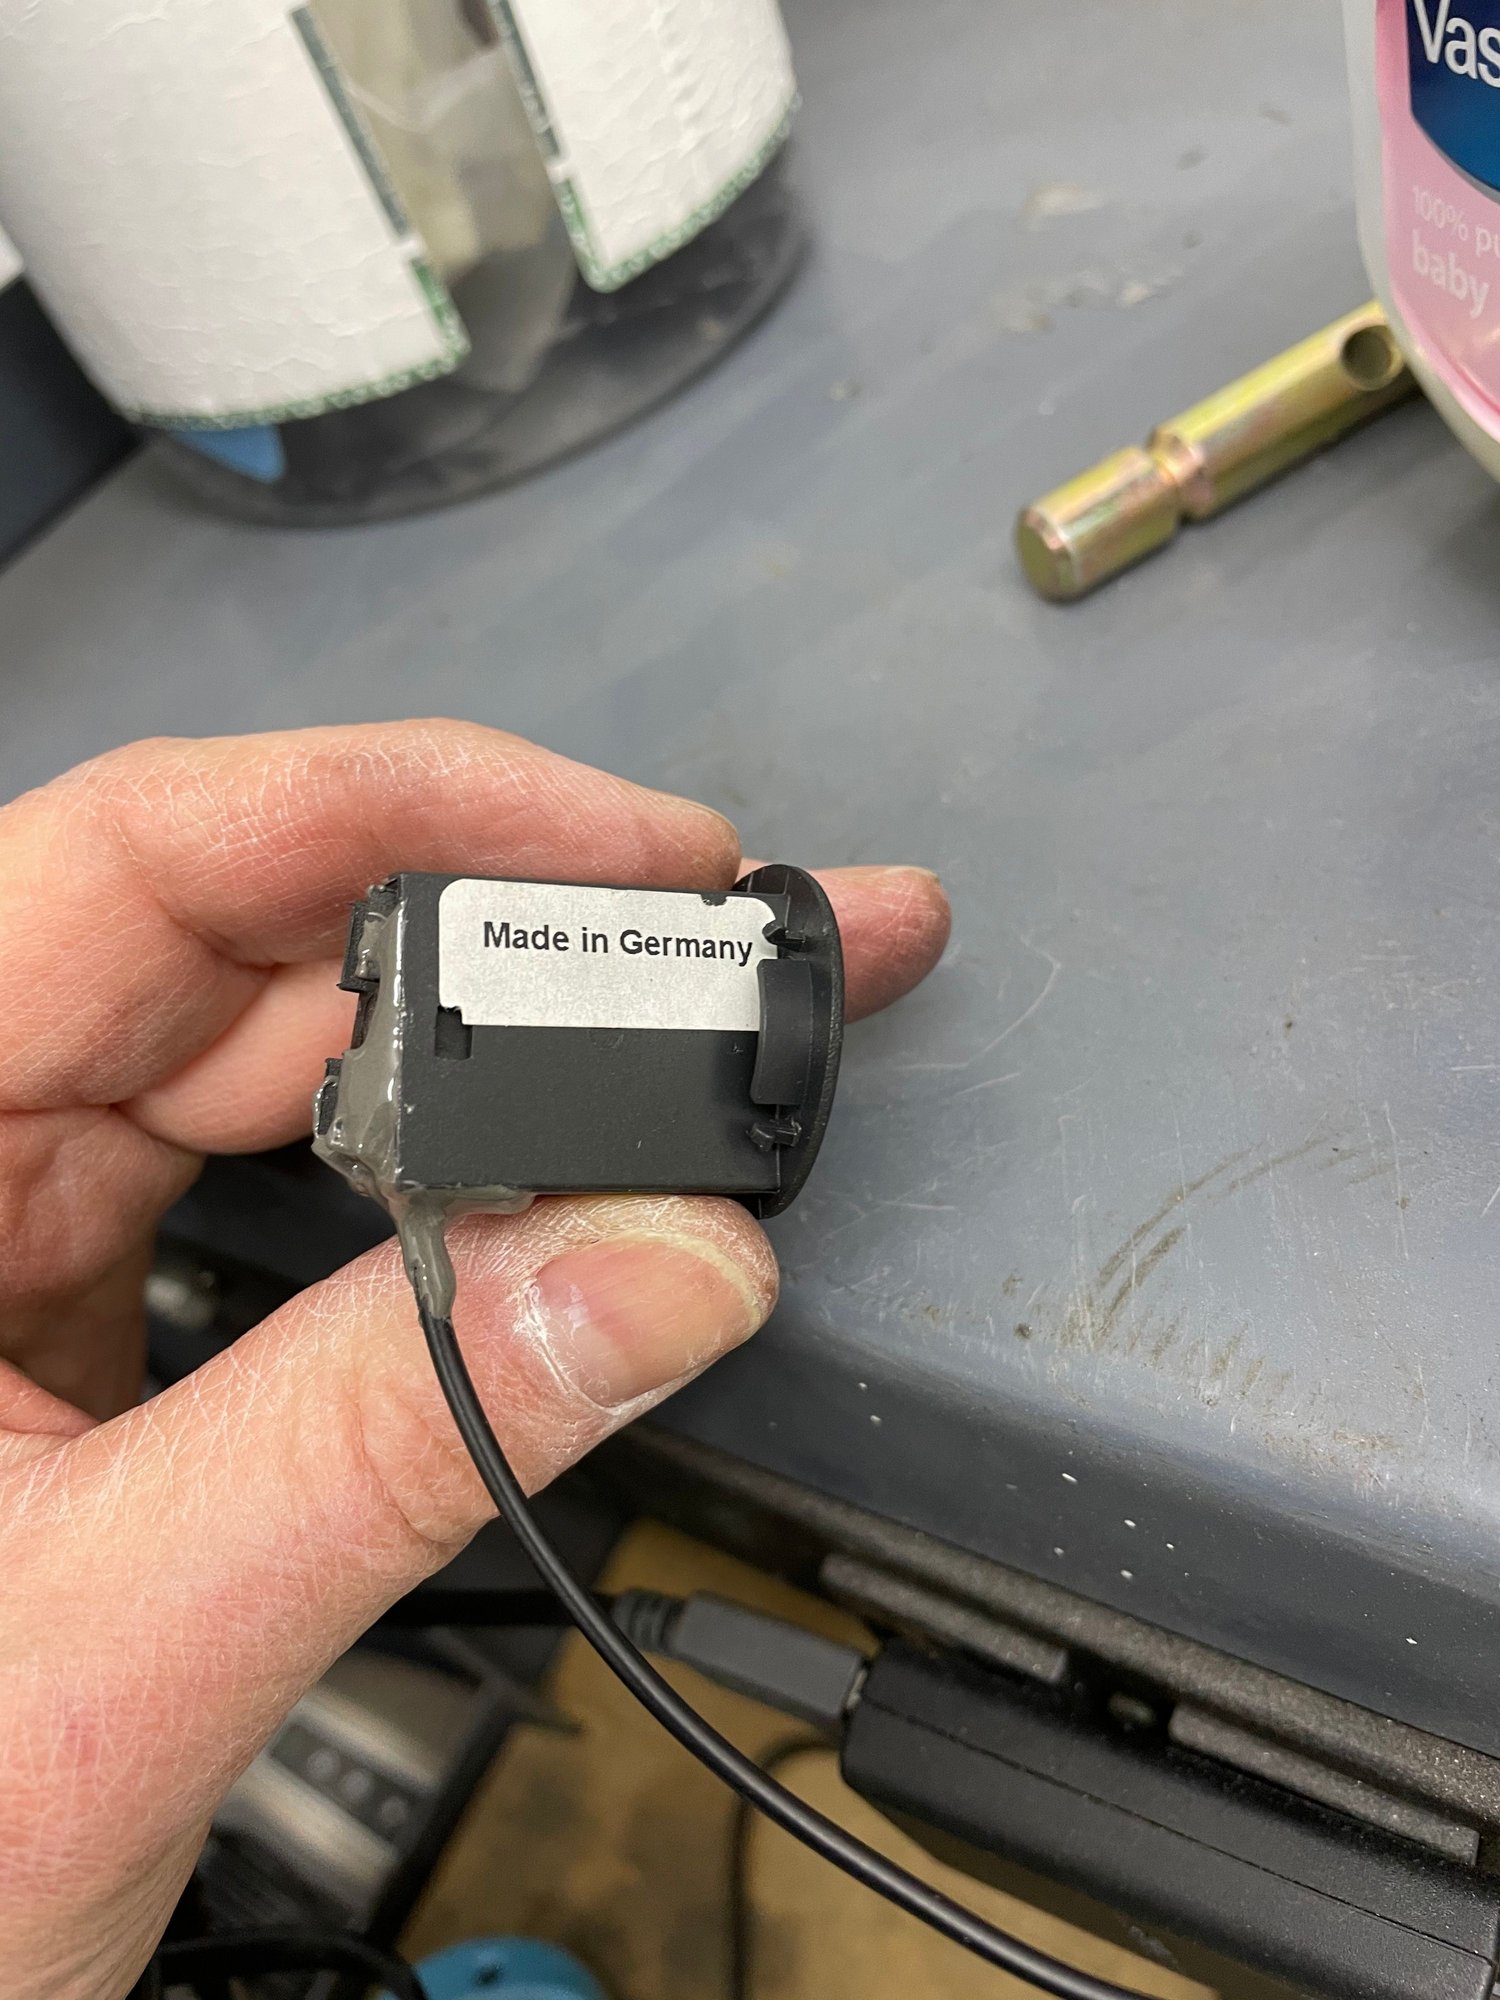
It’s all very straight forward plug in and play install, the instructions advise to mount the microphone on top of the steering column with double sided tape, I didn’t like that solution, and decided to take the microphone apart and glue it into the original microphone mount (the small mesh grill on the LHS of the instrument cluster) as shown below
The rest is very simple, I mounted the usb/aux connector in the glovebox as I didn’t like the official mounting suggestion in the storage tray. I then routed a phone cable back to the storage tray, as I didn’t like the idea of a charging cable dangling out of my glovebox all the time.
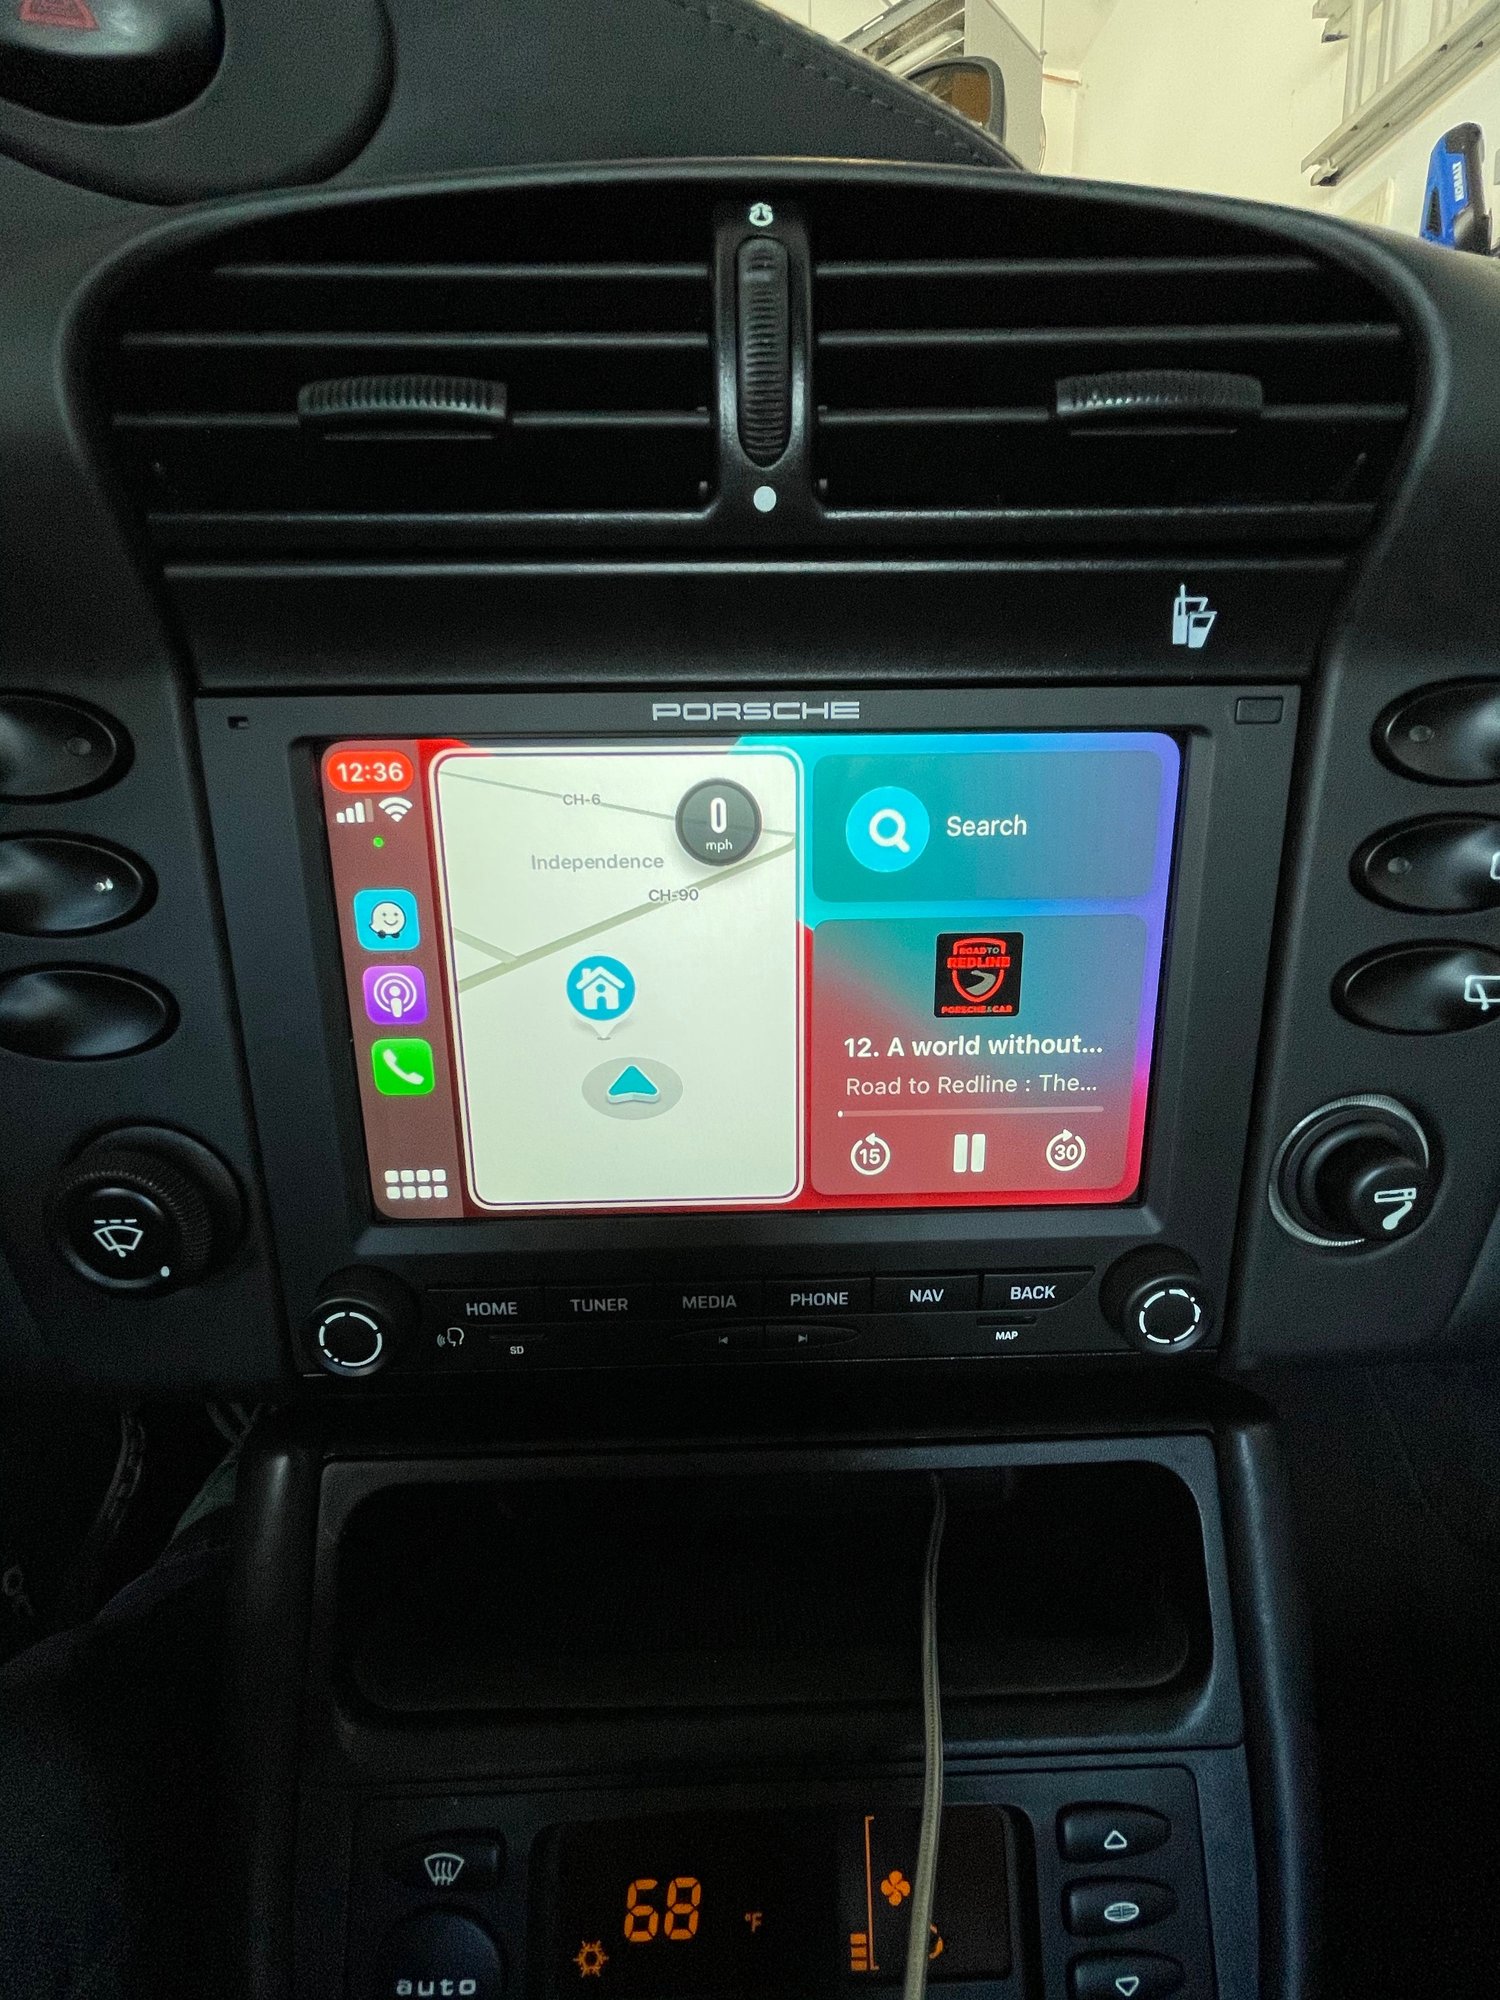
I did not purchase the mapping card, I think it was around $135, just seemed a waste as I will alway have my phone and prefer Waze that works through the CarPlay. System fired up and works great, the microphone mount works perfectly. Whilst I’m no audiophile I would also say the sound quality is significantly better. Really pleased with the system and the way it looks totally integrated as if it were designed this way back in 2004.
Porsche definitely wants you to go to a dealer for the install, when you get the box there are no installation instructions. After fishing around I found the dealer instructions here, the are basic but help.https://rparts-sites.s3.amazonaws.co.../pccm_plus.pdf
Awesome work! Always impressed in how you manage to find a better way at getting things done besides what they provide in the manual. Once I get to installing this I'll definitely follow your mic install mod. I thought about putting the aux/usb box in the little storage bin by the window switches but not sure about if it would actually fit. Could you post a photo of how you mounted yours?
Ideally, I'd like to upgrade the speakers as the Bose is missing the clarity I like. Perhaps there will be improvement with the head unit first.
Here is the connection in the glovebox, I haven�t mounted it yet
First drive of the year, really like you the new springs has taken the edge off the ride making it much better, great setup.
The PCCM+ is amazing, works perfectly, audio is so much better than standard and the call quality was excellent, the best I have had in a car to be honest
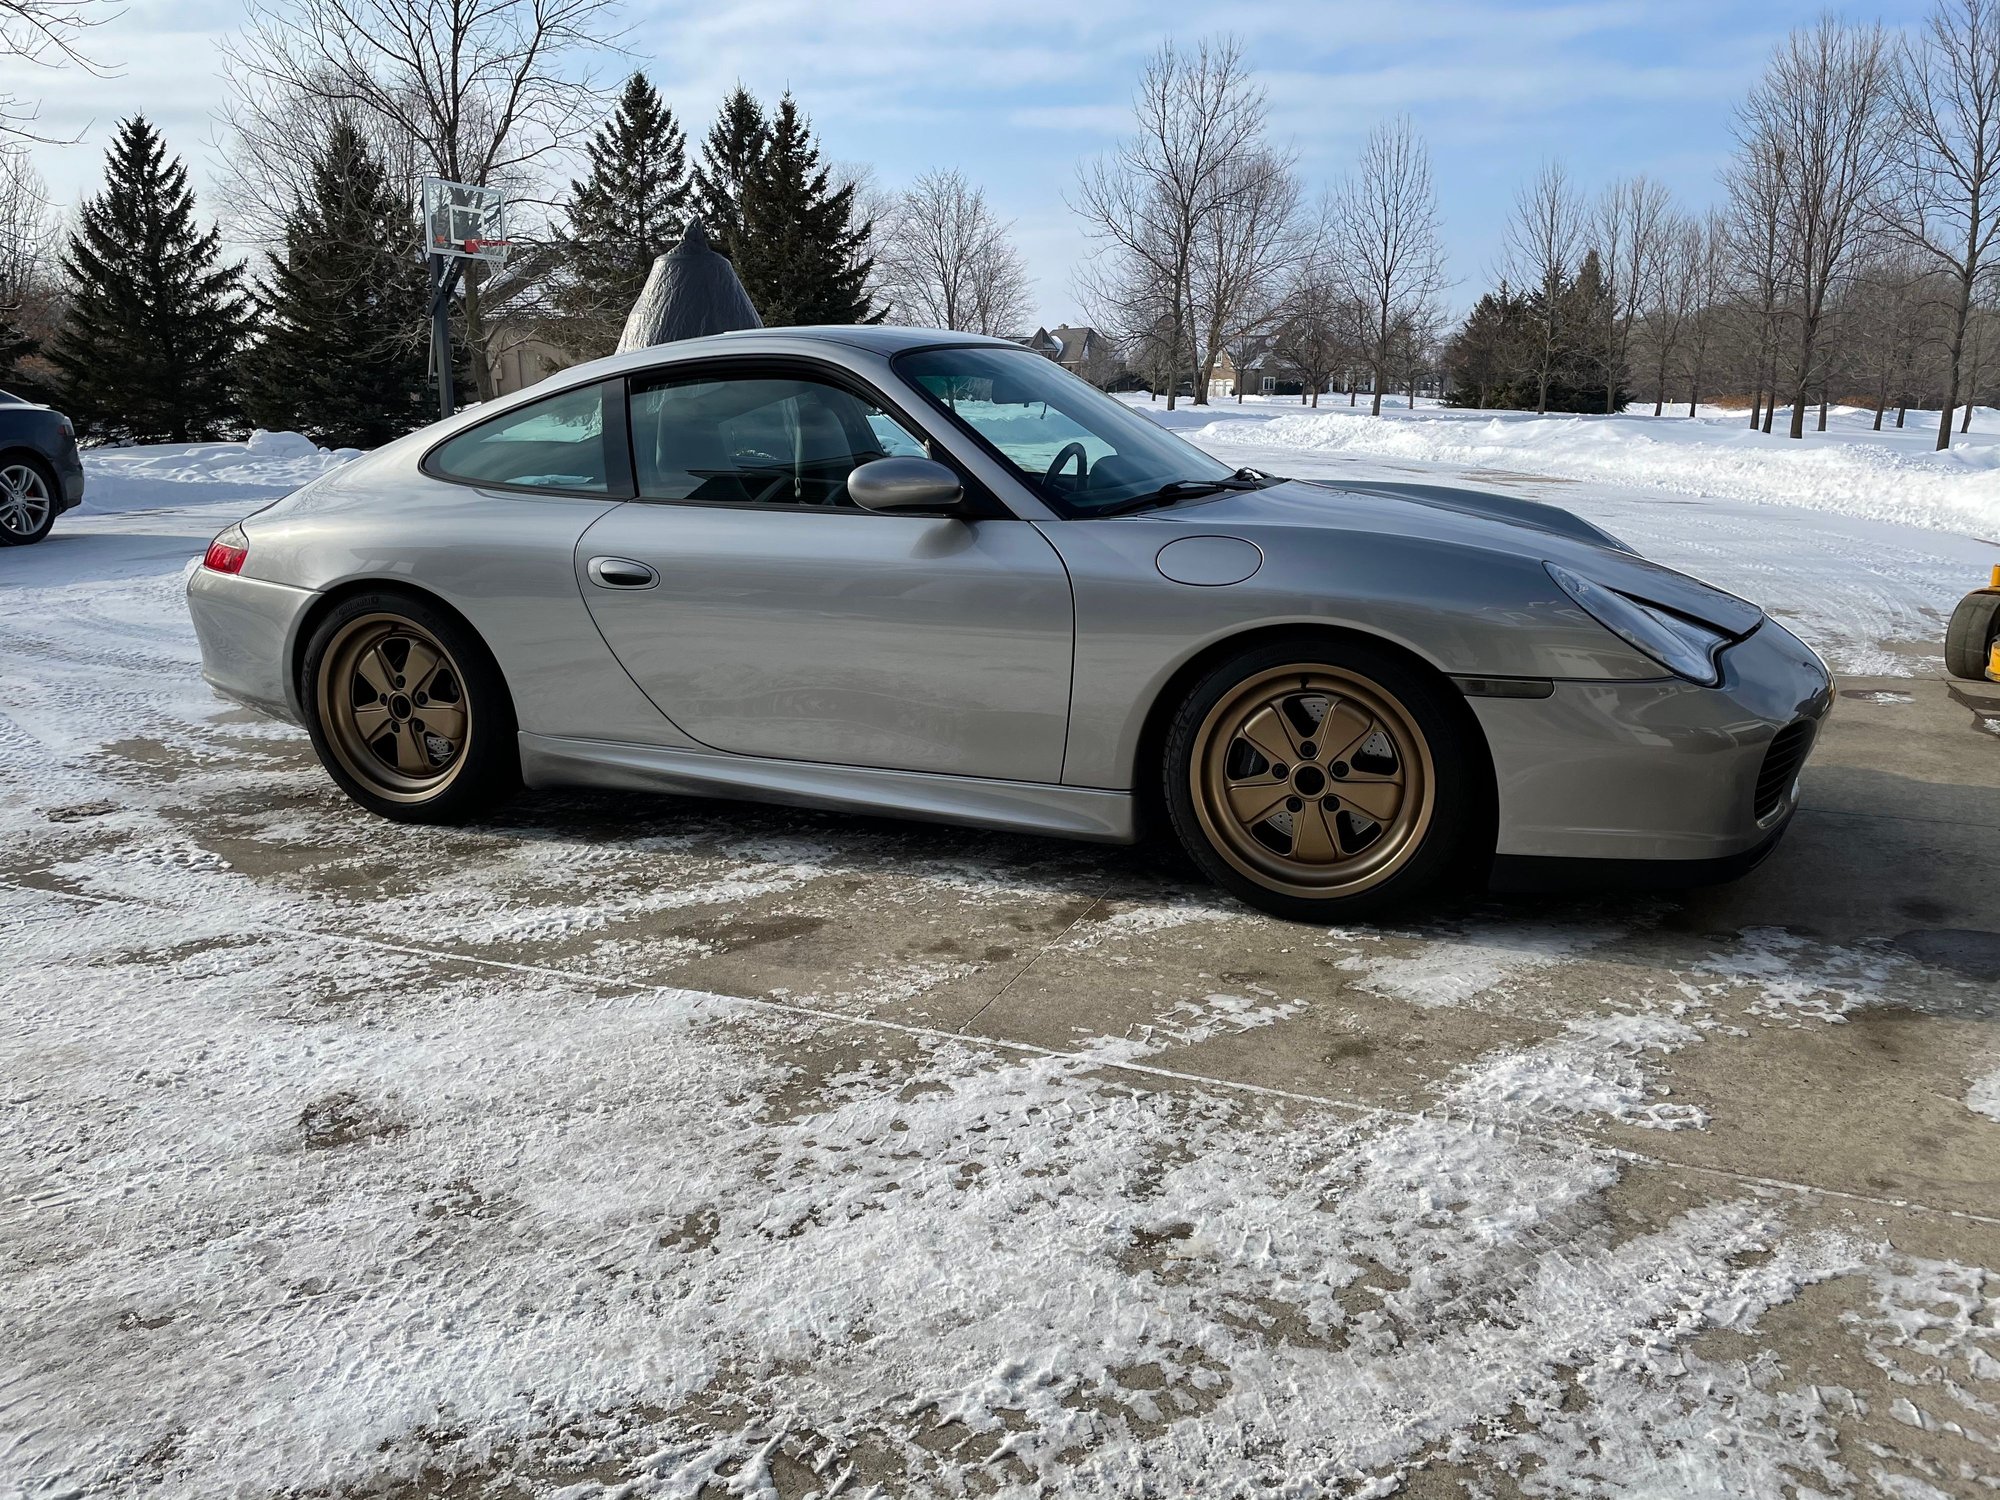
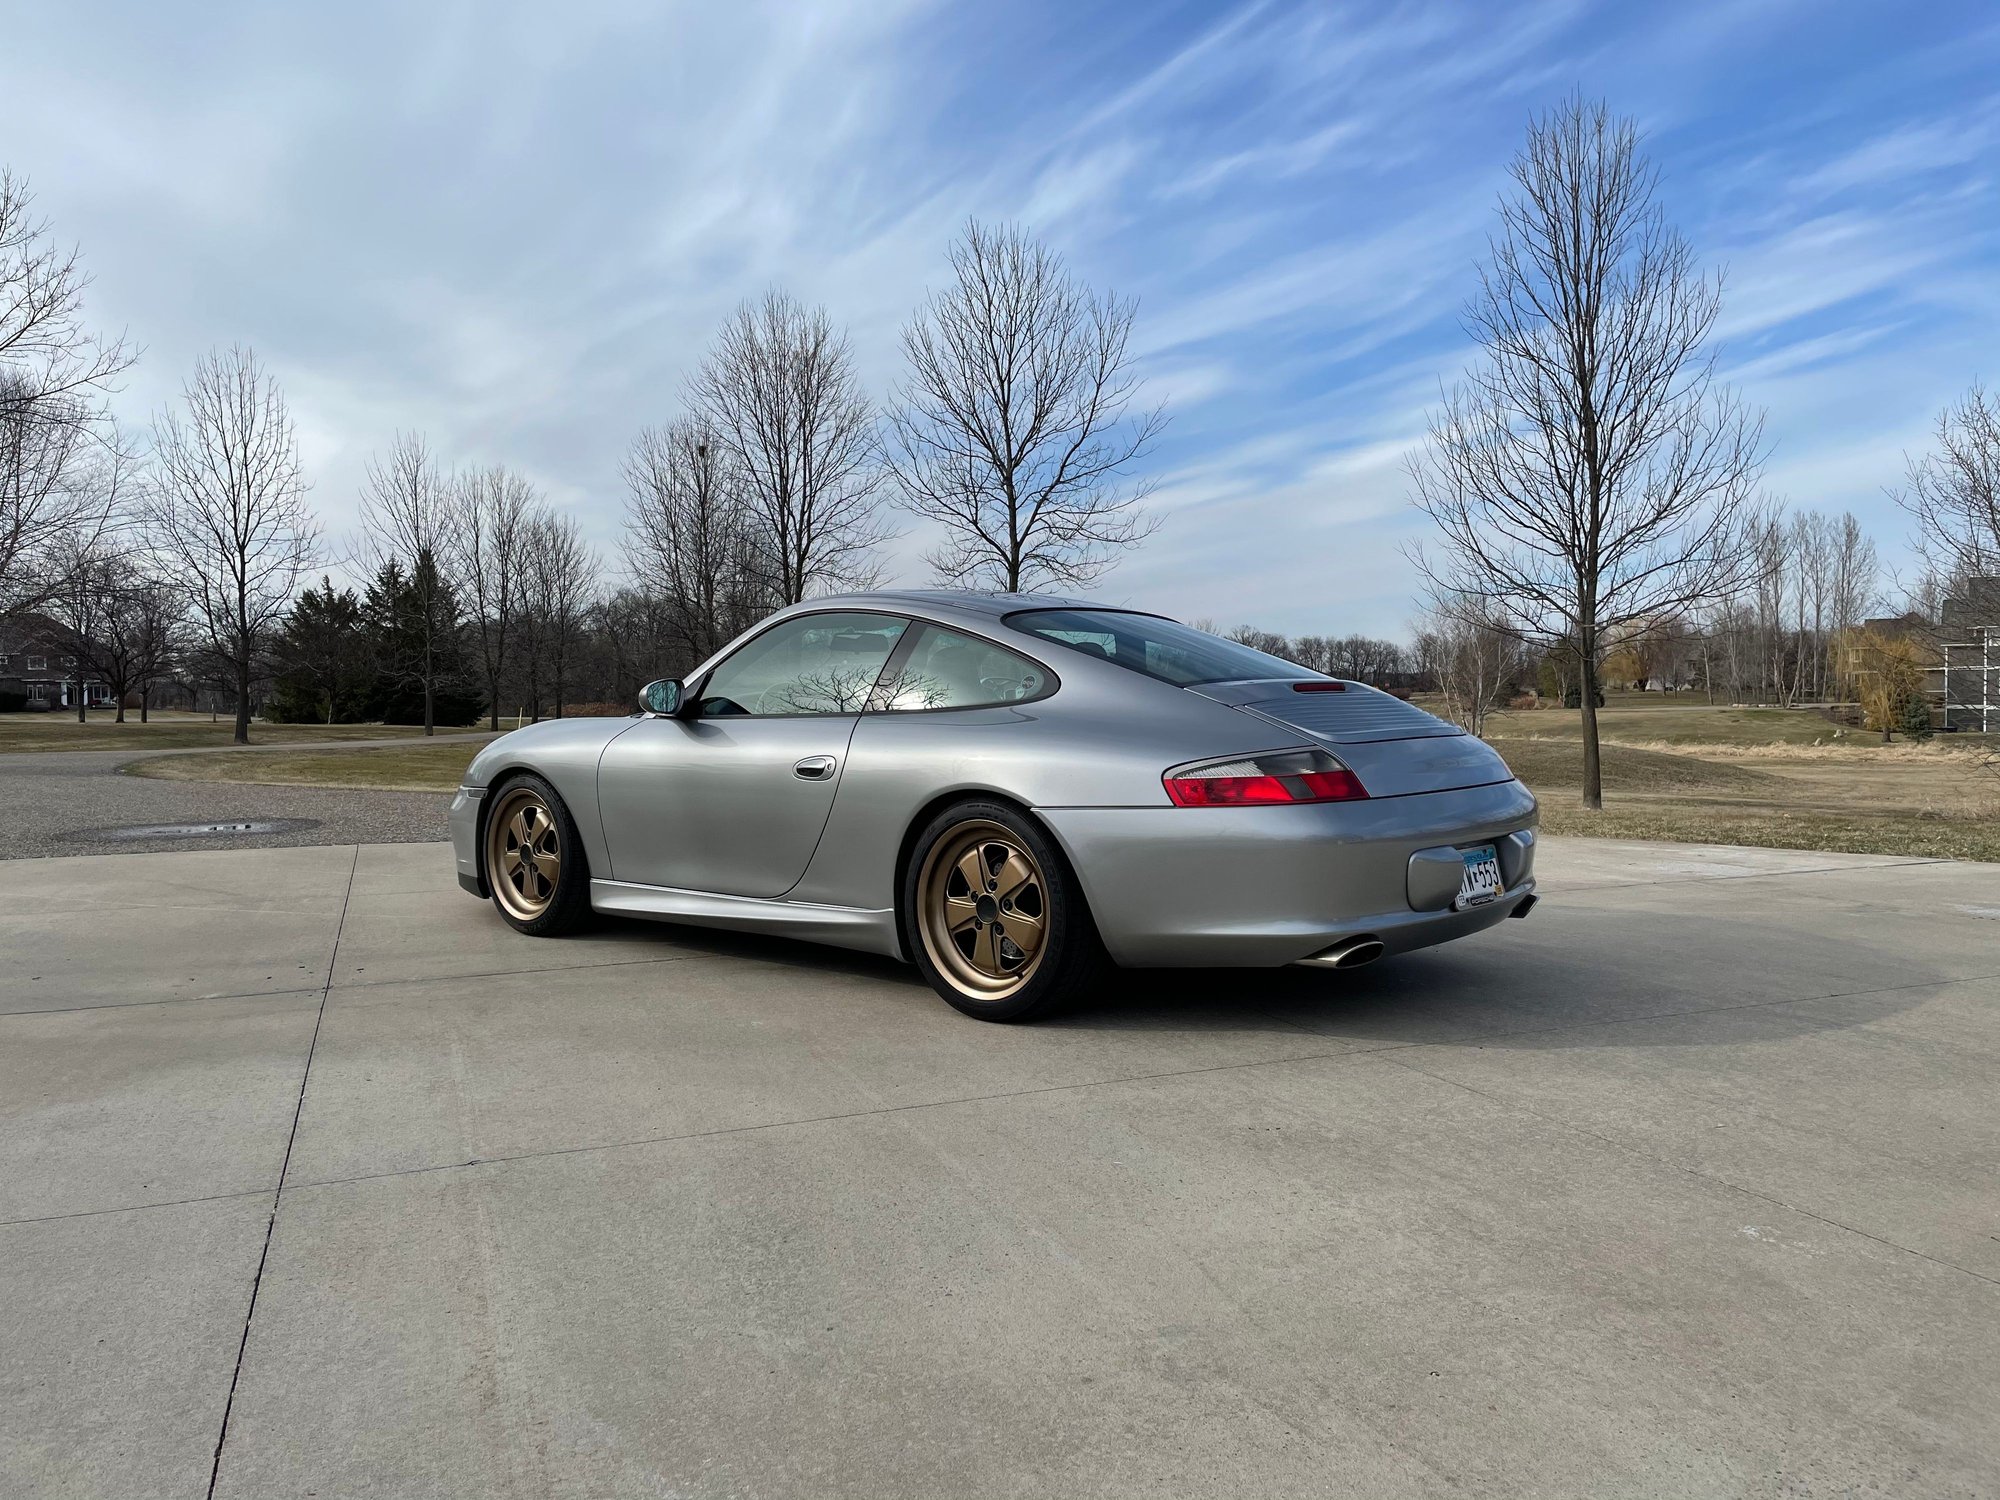
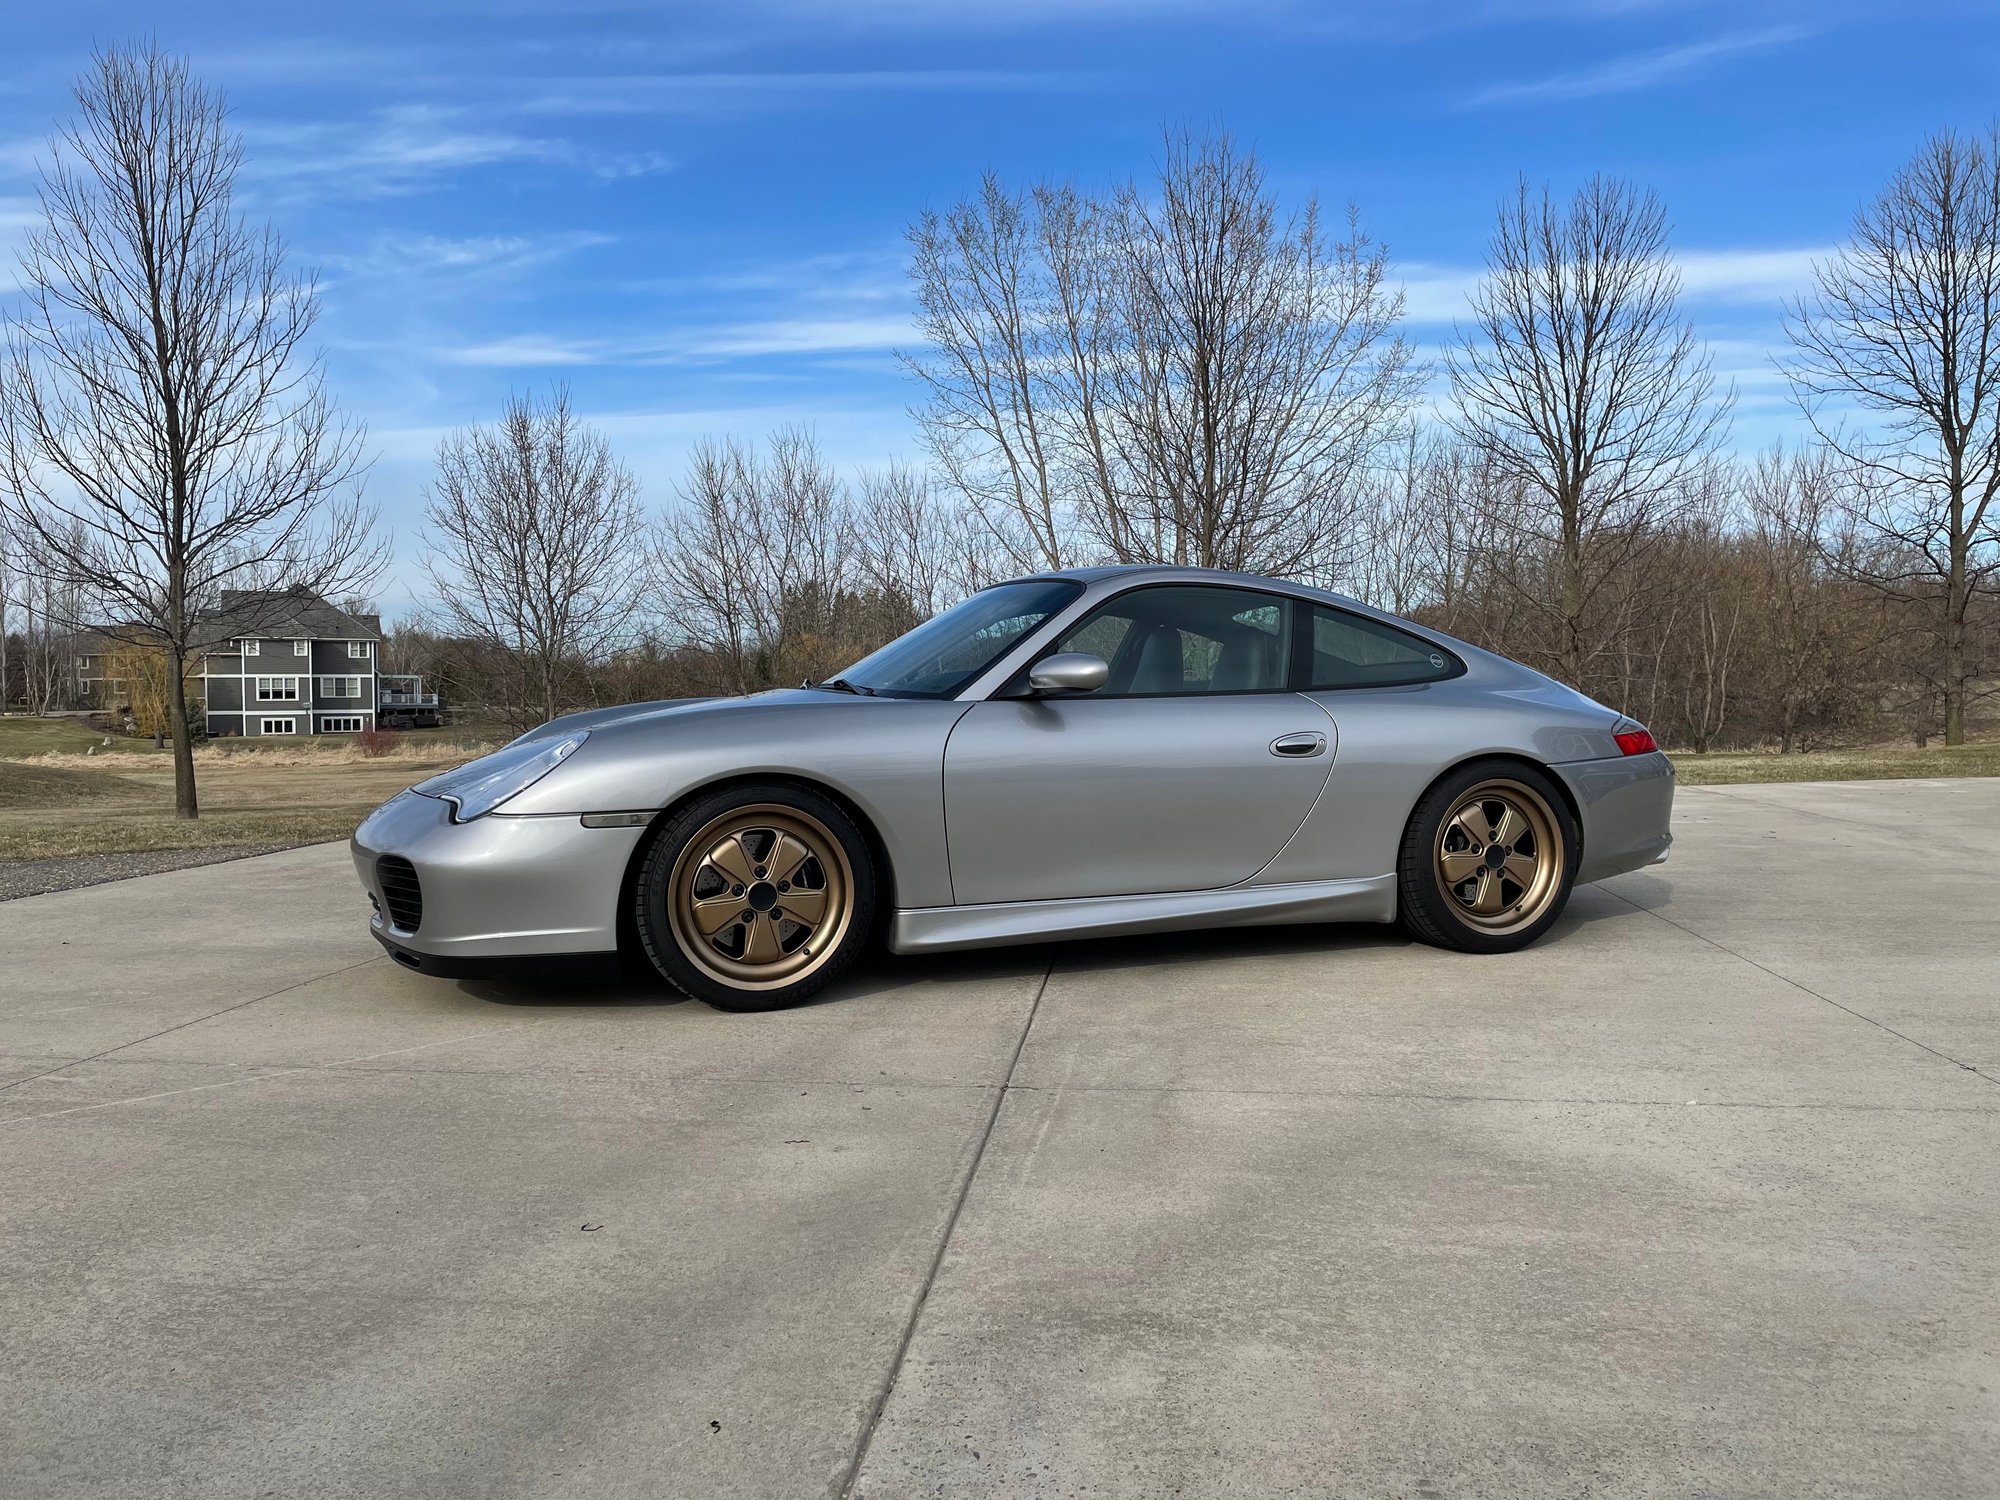
Not 100% sure about the wheel color, I think I will do up with more of a darker bronze
Decided to sell my car next year, I pit it on BAT in 2020 and it came very close to hitting my reserve in the current condition/spec. This time I will be converting is back to mostly standard as all the work I have done has been either bolt on or I purchased replacement parts and kept all the standard OE parts.
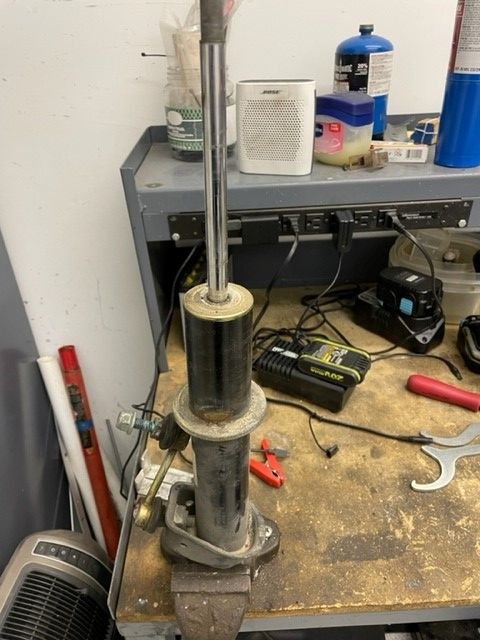
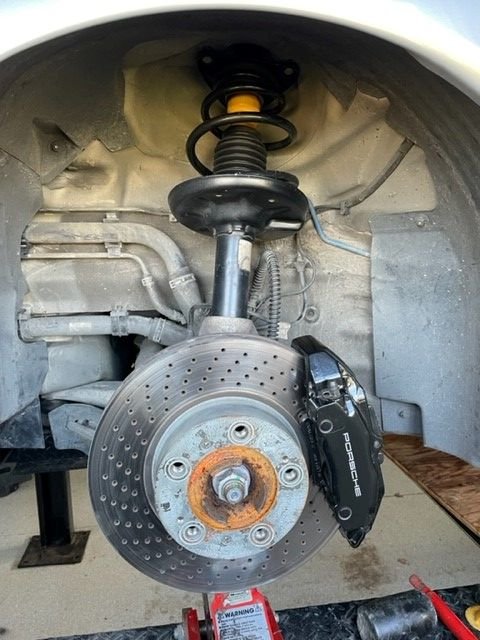
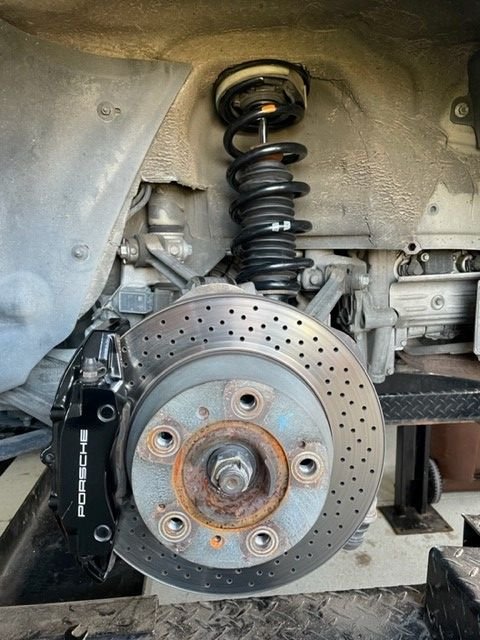
First off was to refit the standard suspension, the original struts were bone dry and in excellent shape, not surprising really as they have around 55K on them, this is the pre cleaned pic
They cleaned up nicely. Here is a before vs after cleaning
Same story for the fronts really however I replaced the bump stops and rubber shrouds as one had a split in it. I also cleaned and regreased the top mount bearing that had no play and was still silky smooth.
Fronts and rears now fitting with the standard drop links
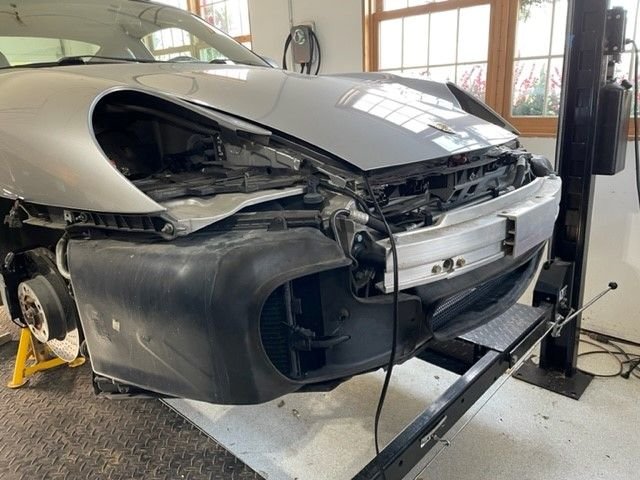
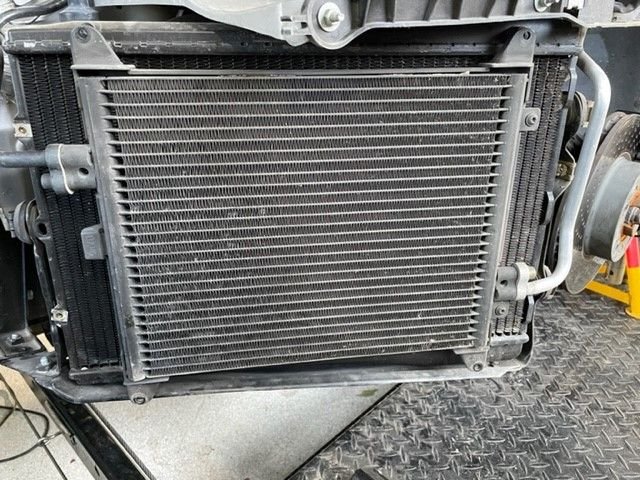
Last job of the weekend was to remove the front bumper cover to replace the current blacked out grills for the original color matched. Great opportunity to clean and vacuum the rads which inevitably get leaves and bugs trapped. A job that should be done every few years to avoid damage and corrosion in the radiators, I replaced both of mine when I purchased the car, now cleaned and in great shape for the next owner.
More to come over the next few weeks and the following will soon be available for sale:
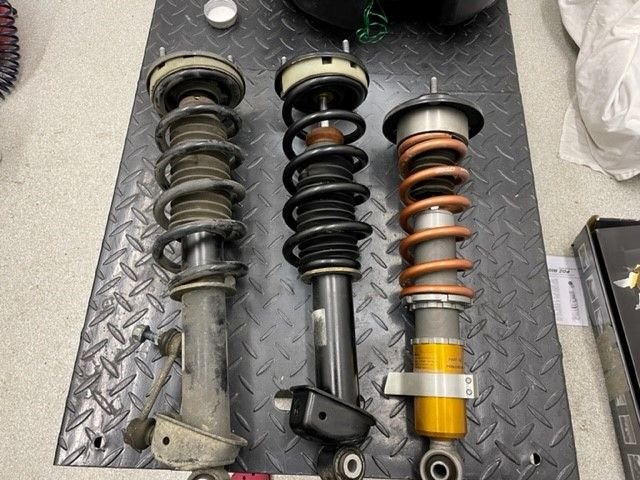
Ohlins R&T struts (5,211 miles)
Swift 40 & 90 Nm springs for Ohlins struts (softer springs that I think gave a better ride vs the Ohlins springs)
Tarett adjustable drop links
Fuchs forged wheels
Black front grills (fits 40th, C4S, Turbo)
997 factory shifter (30% shorter shift to the 996)

 01-15-2021, 11:28 AM