When you click on links to various merchants on this site and make a purchase, this can result in this site earning a commission. Affiliate programs and affiliations include, but are not limited to, the eBay Partner Network.
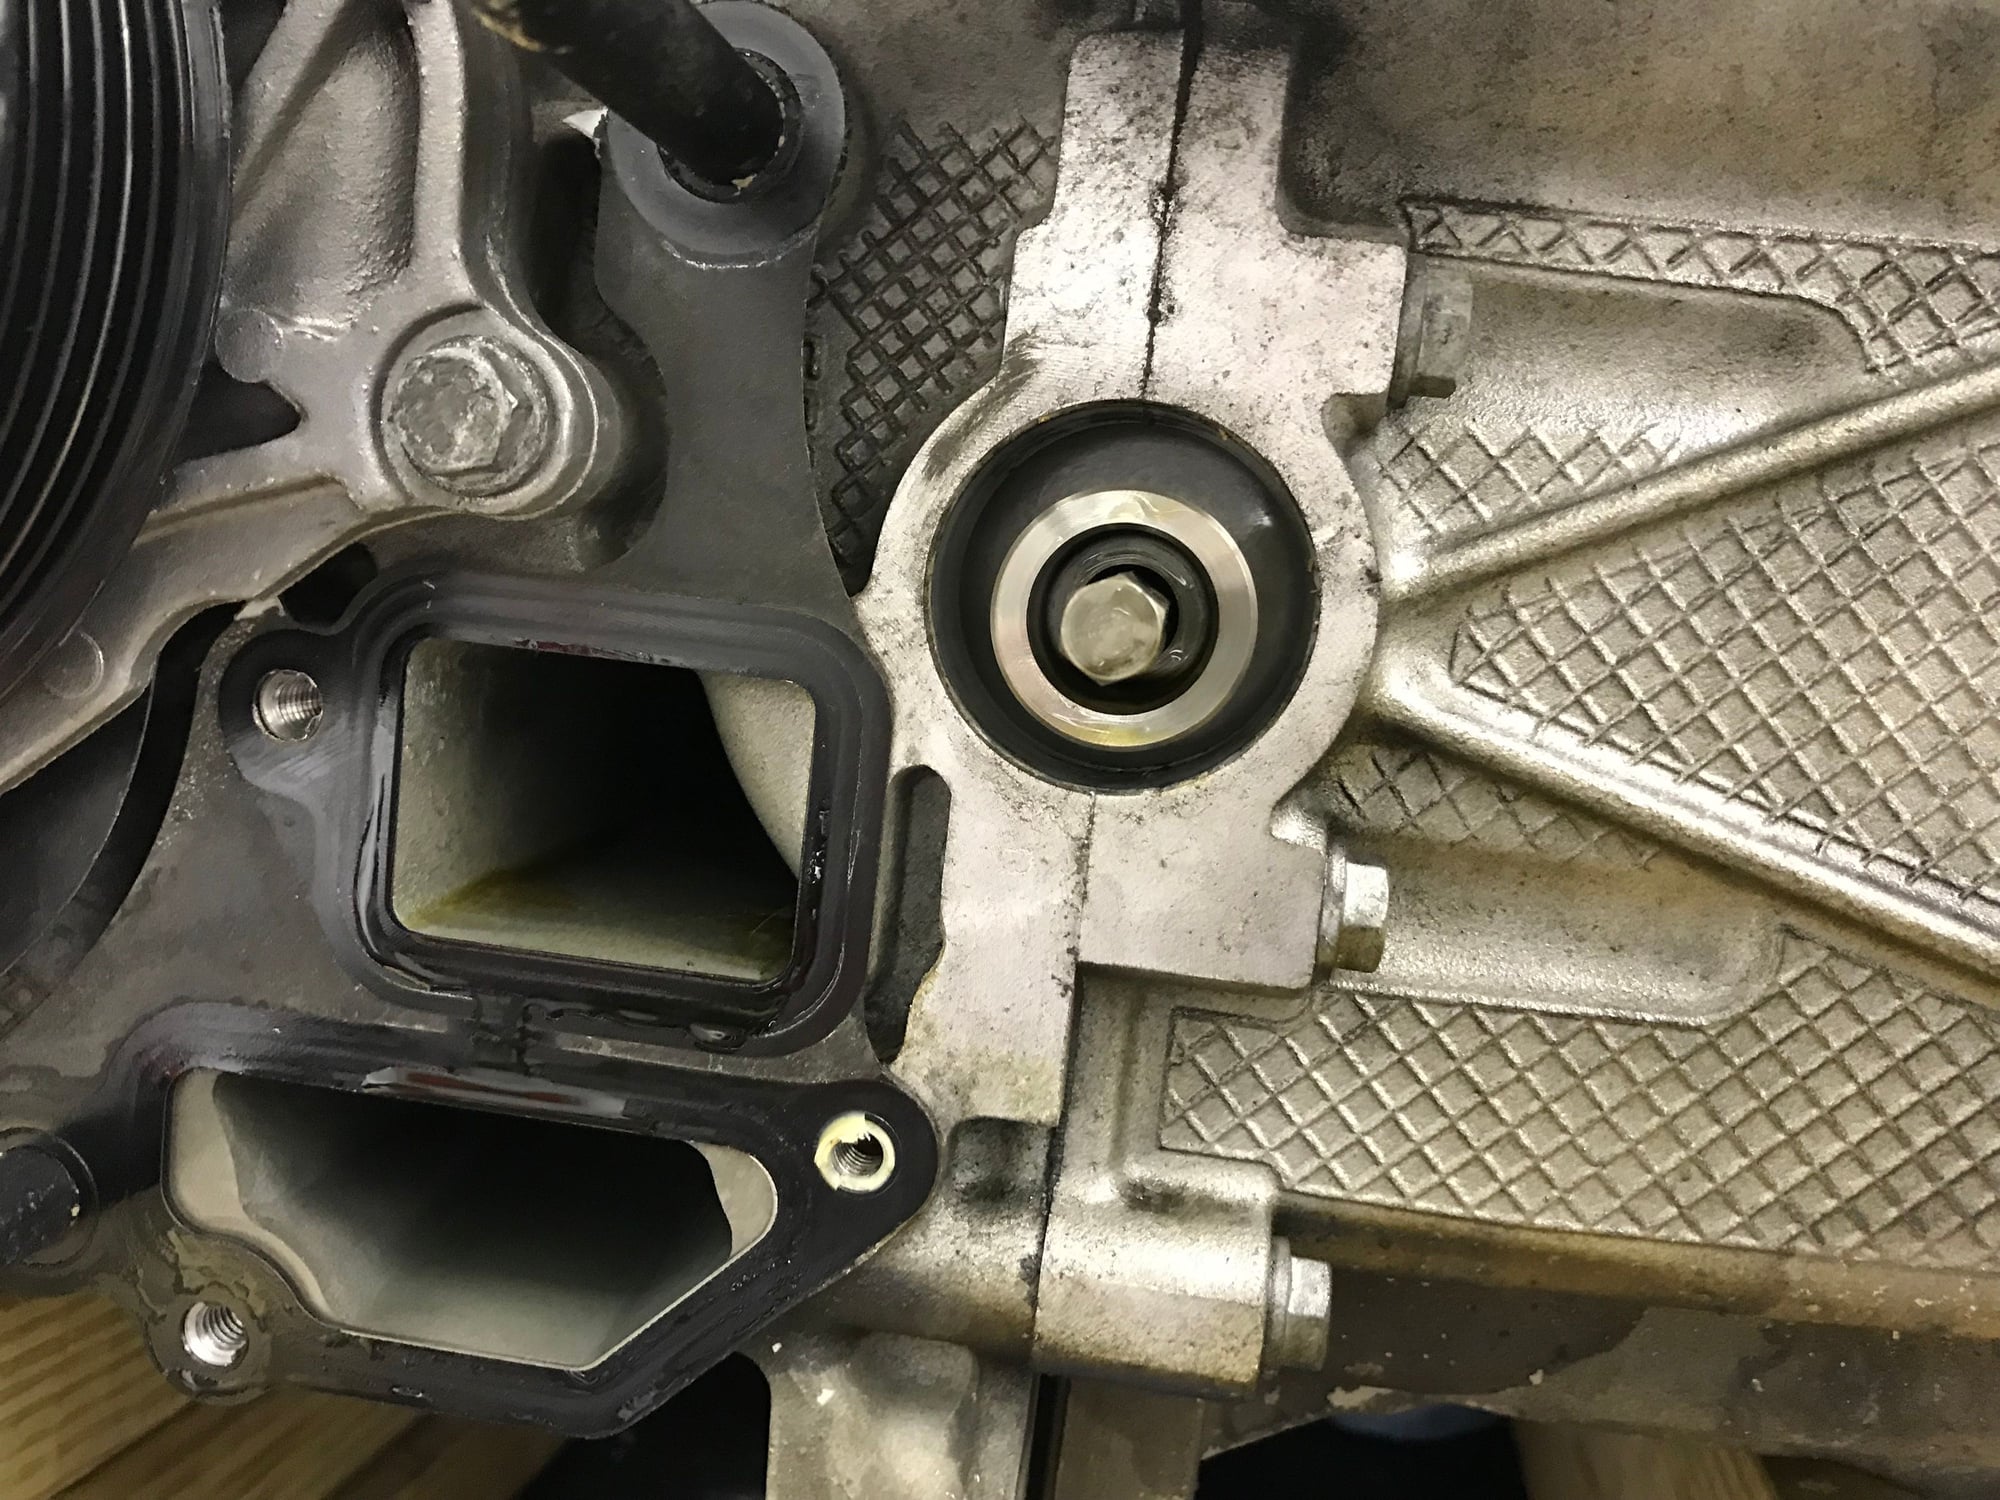
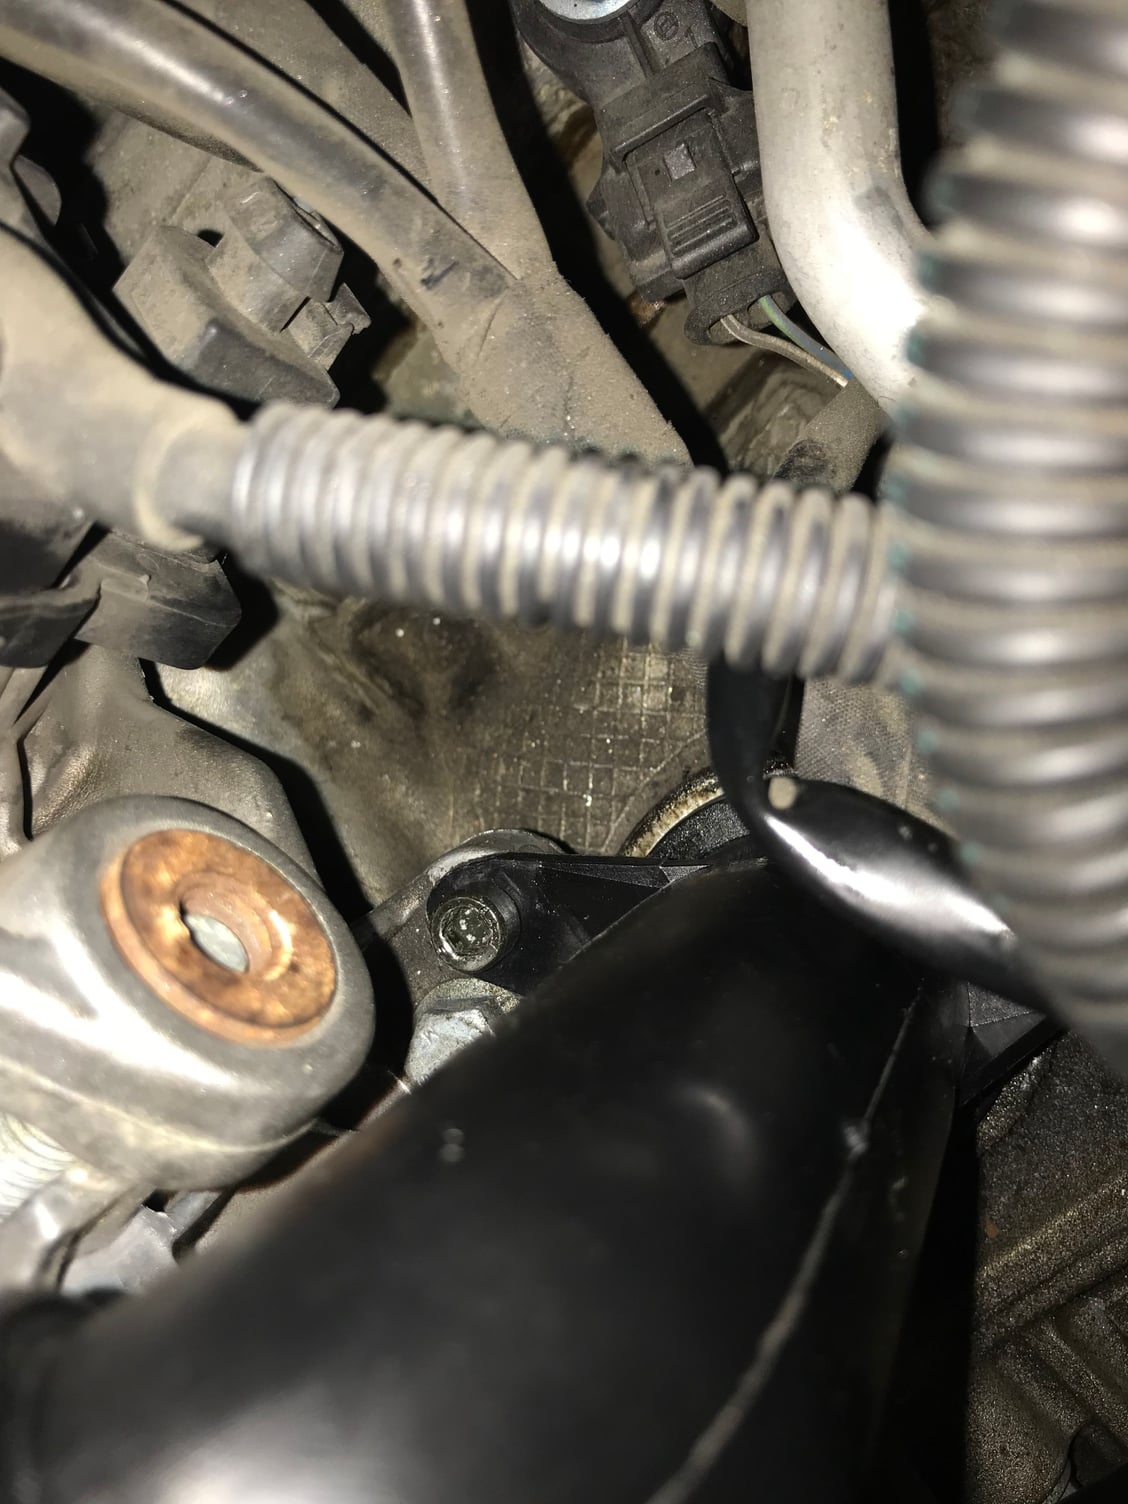
Removed the bank 2 lifters its pretty much the same as bank 1 that I noted above, the main change is you have to remove the oil pump housing to get to the bolts that hold the chain rails, here is the location of one of the fixed rail bolts with the housing removed.
you have to be careful removing the housing as it supports the end of the IMS shaft, you can see it below. With both sets of cams out, I removed the IMS tensioner to relax the pressure on the IMS chain, I had to do this as I was removing the IMS flange as well that supports the shaft at the transmission end.
Found the IMS leak I had was coming from the flange bolts, bolt on the left was the top mount, which was dry. Right was the bottom right which was weeping, you can see the oil had passed and contaminated the encapsulation.
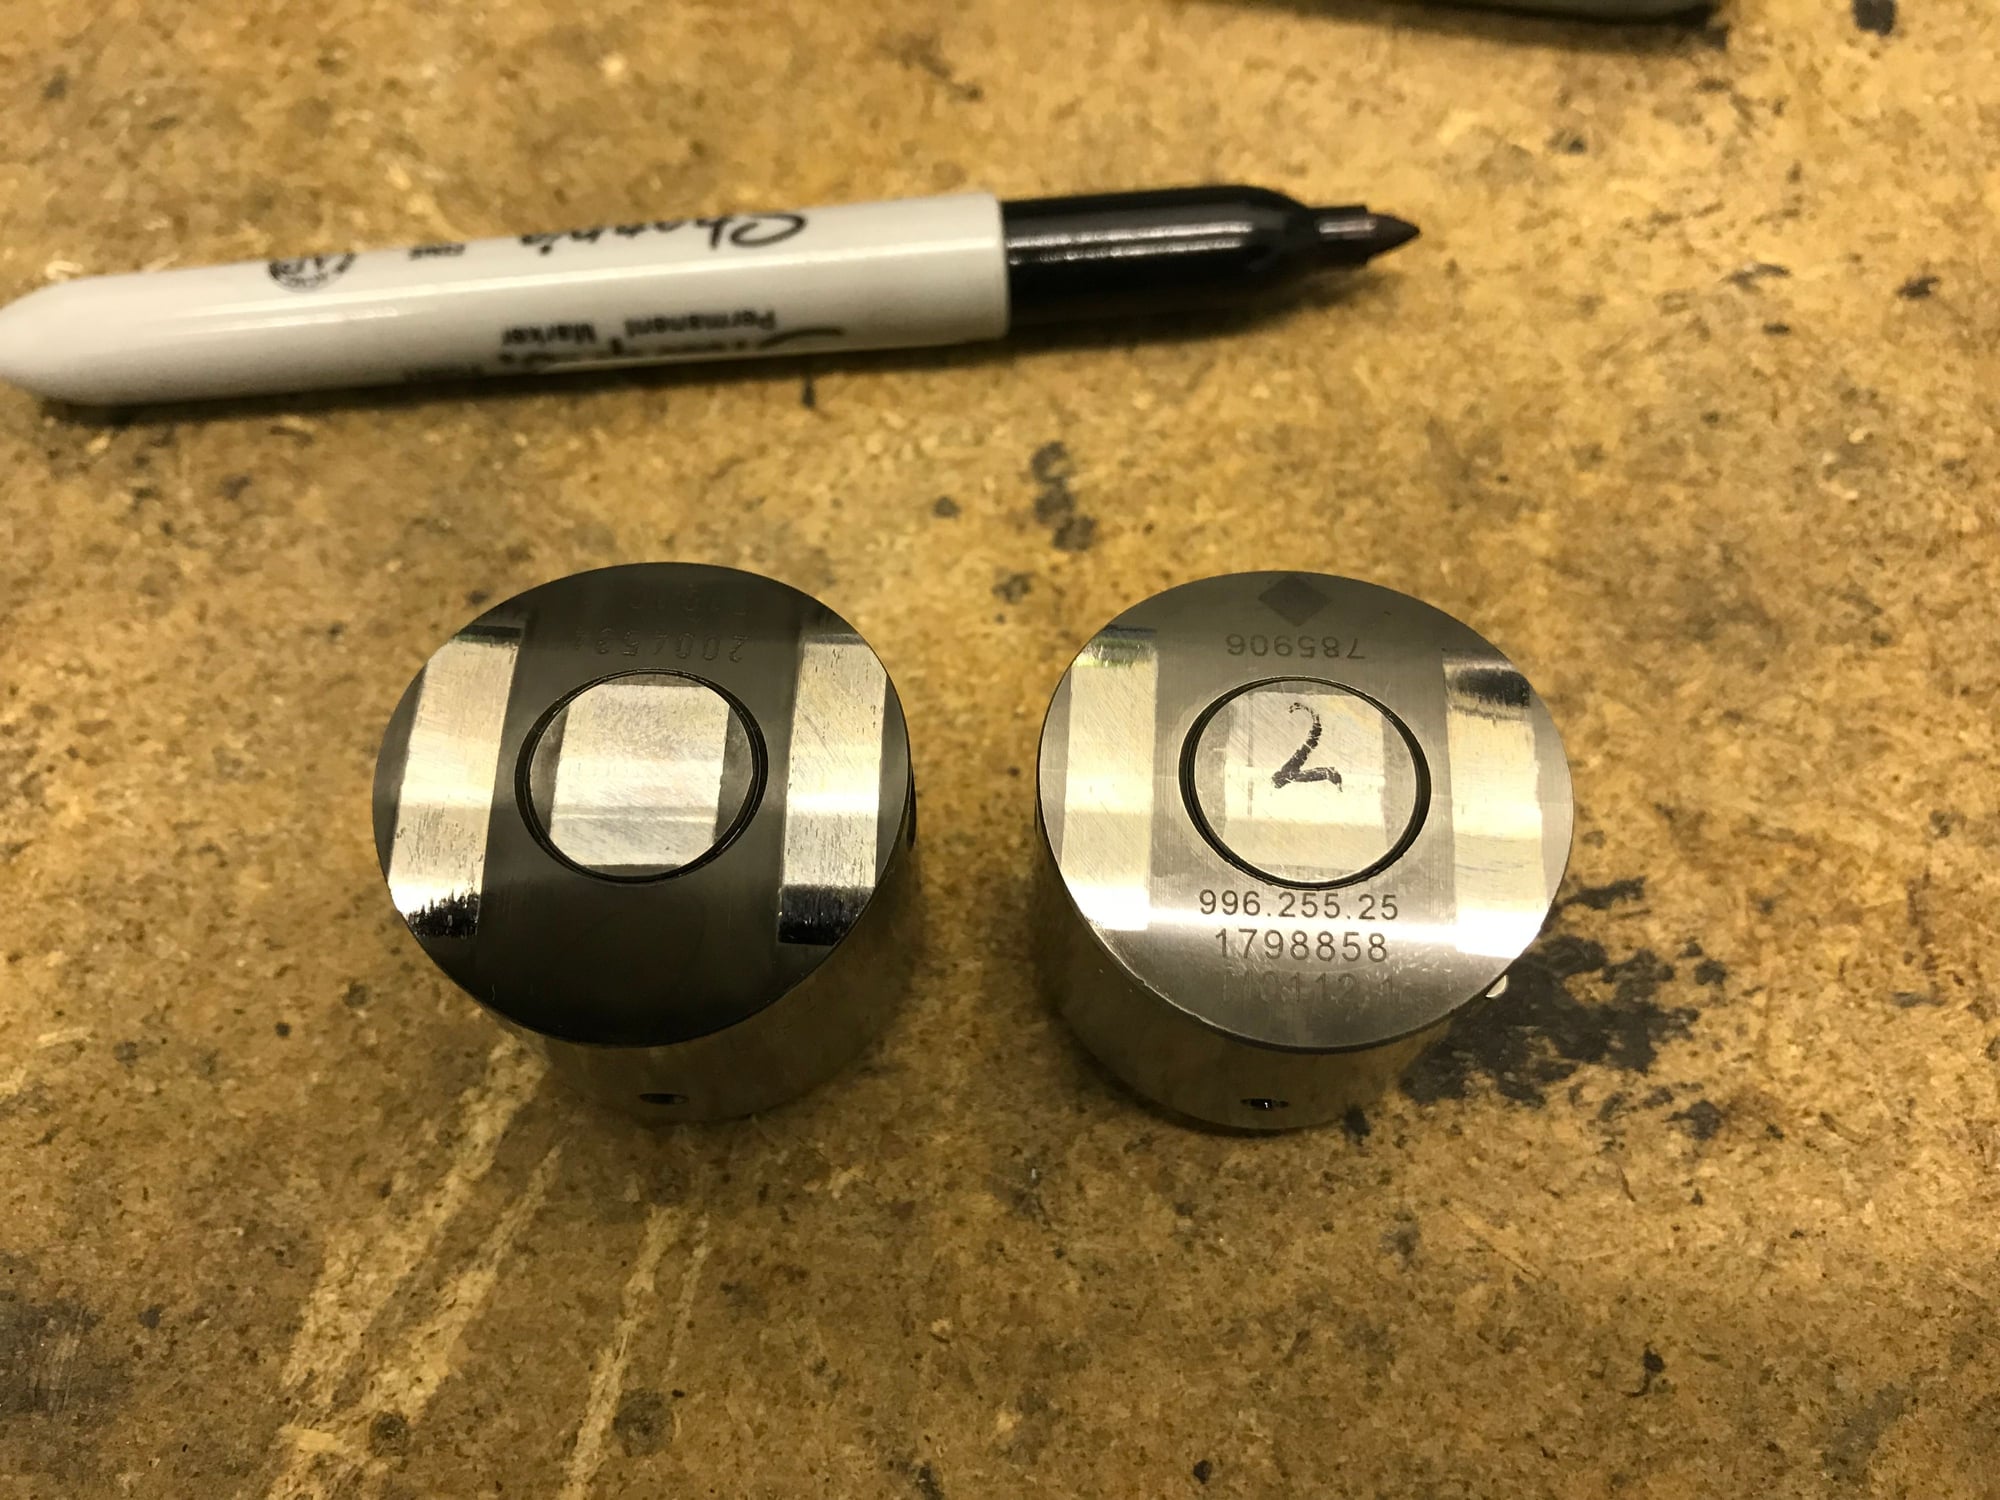
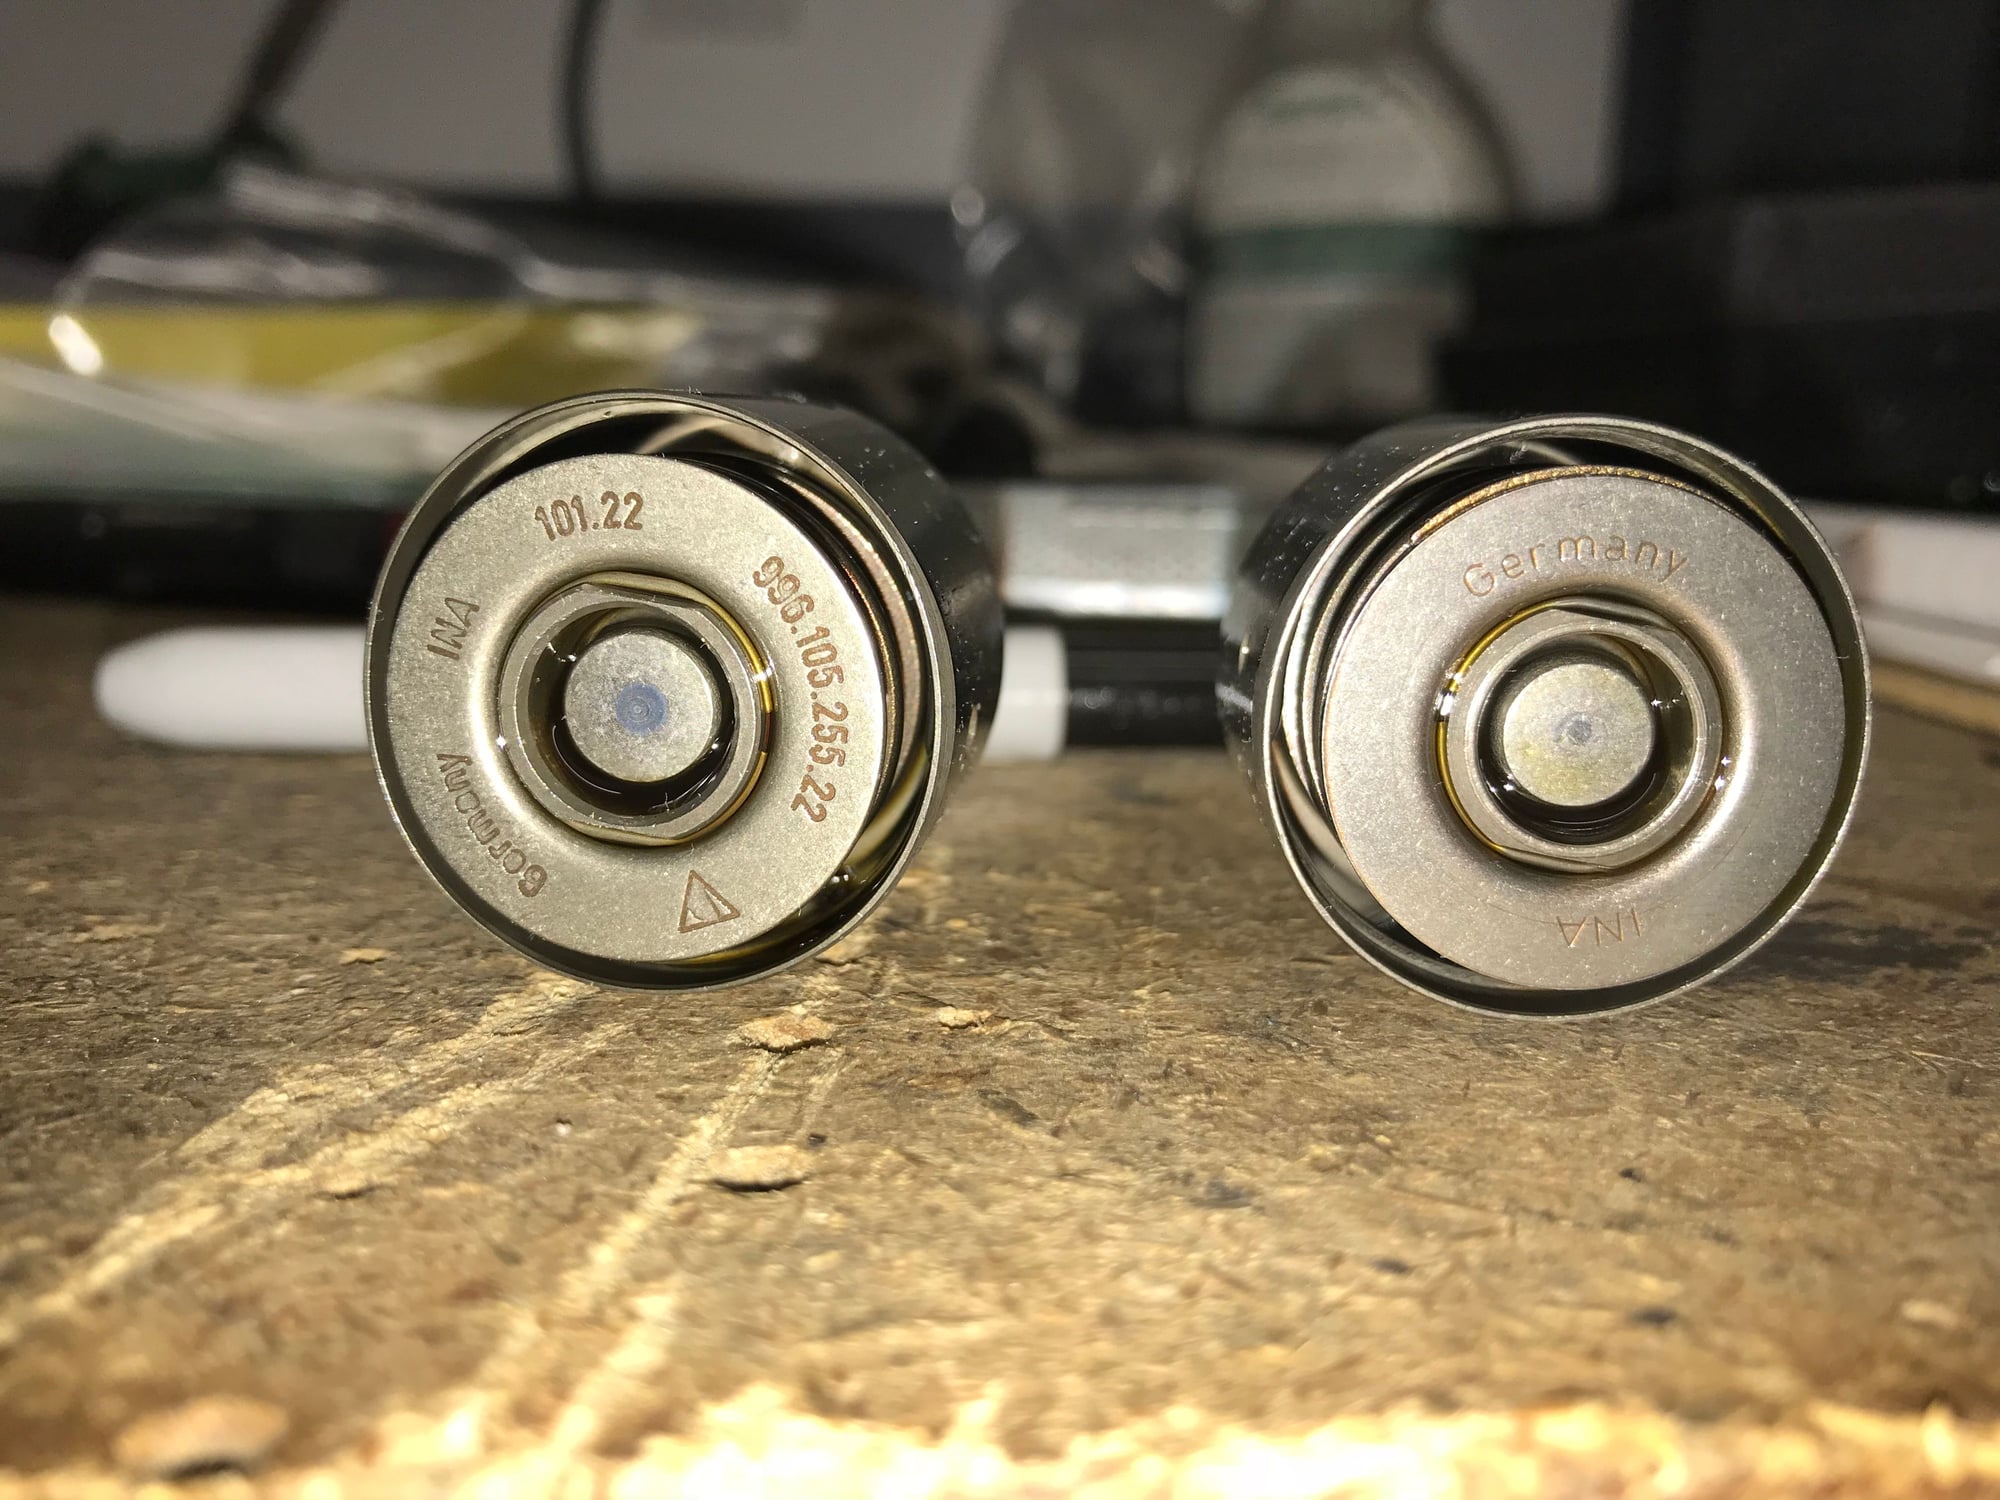
Finally, my cars service receipts show that the original owner had a lifter replaced on Cyl 4, Porsche changed the part and part # to 99610525525. Still an INA part, but you can see the changes. New part on the right vs old on left
Excellent work my friend! I also had that issue on cylinder for on my 996. They originally diagnosed it as some other cylinder fuel or spark related issue. I told the technician to take a look at the lifters before pulling the engine and pulling the head (which is what they recommended!). They were surprised to find that it was the lifter. I don’t go back to them anymore. Ha
Just like a kid a Christmas, getting a box of nice new Porsche parts is a thing of joy, just waiting on the refurbed injectors
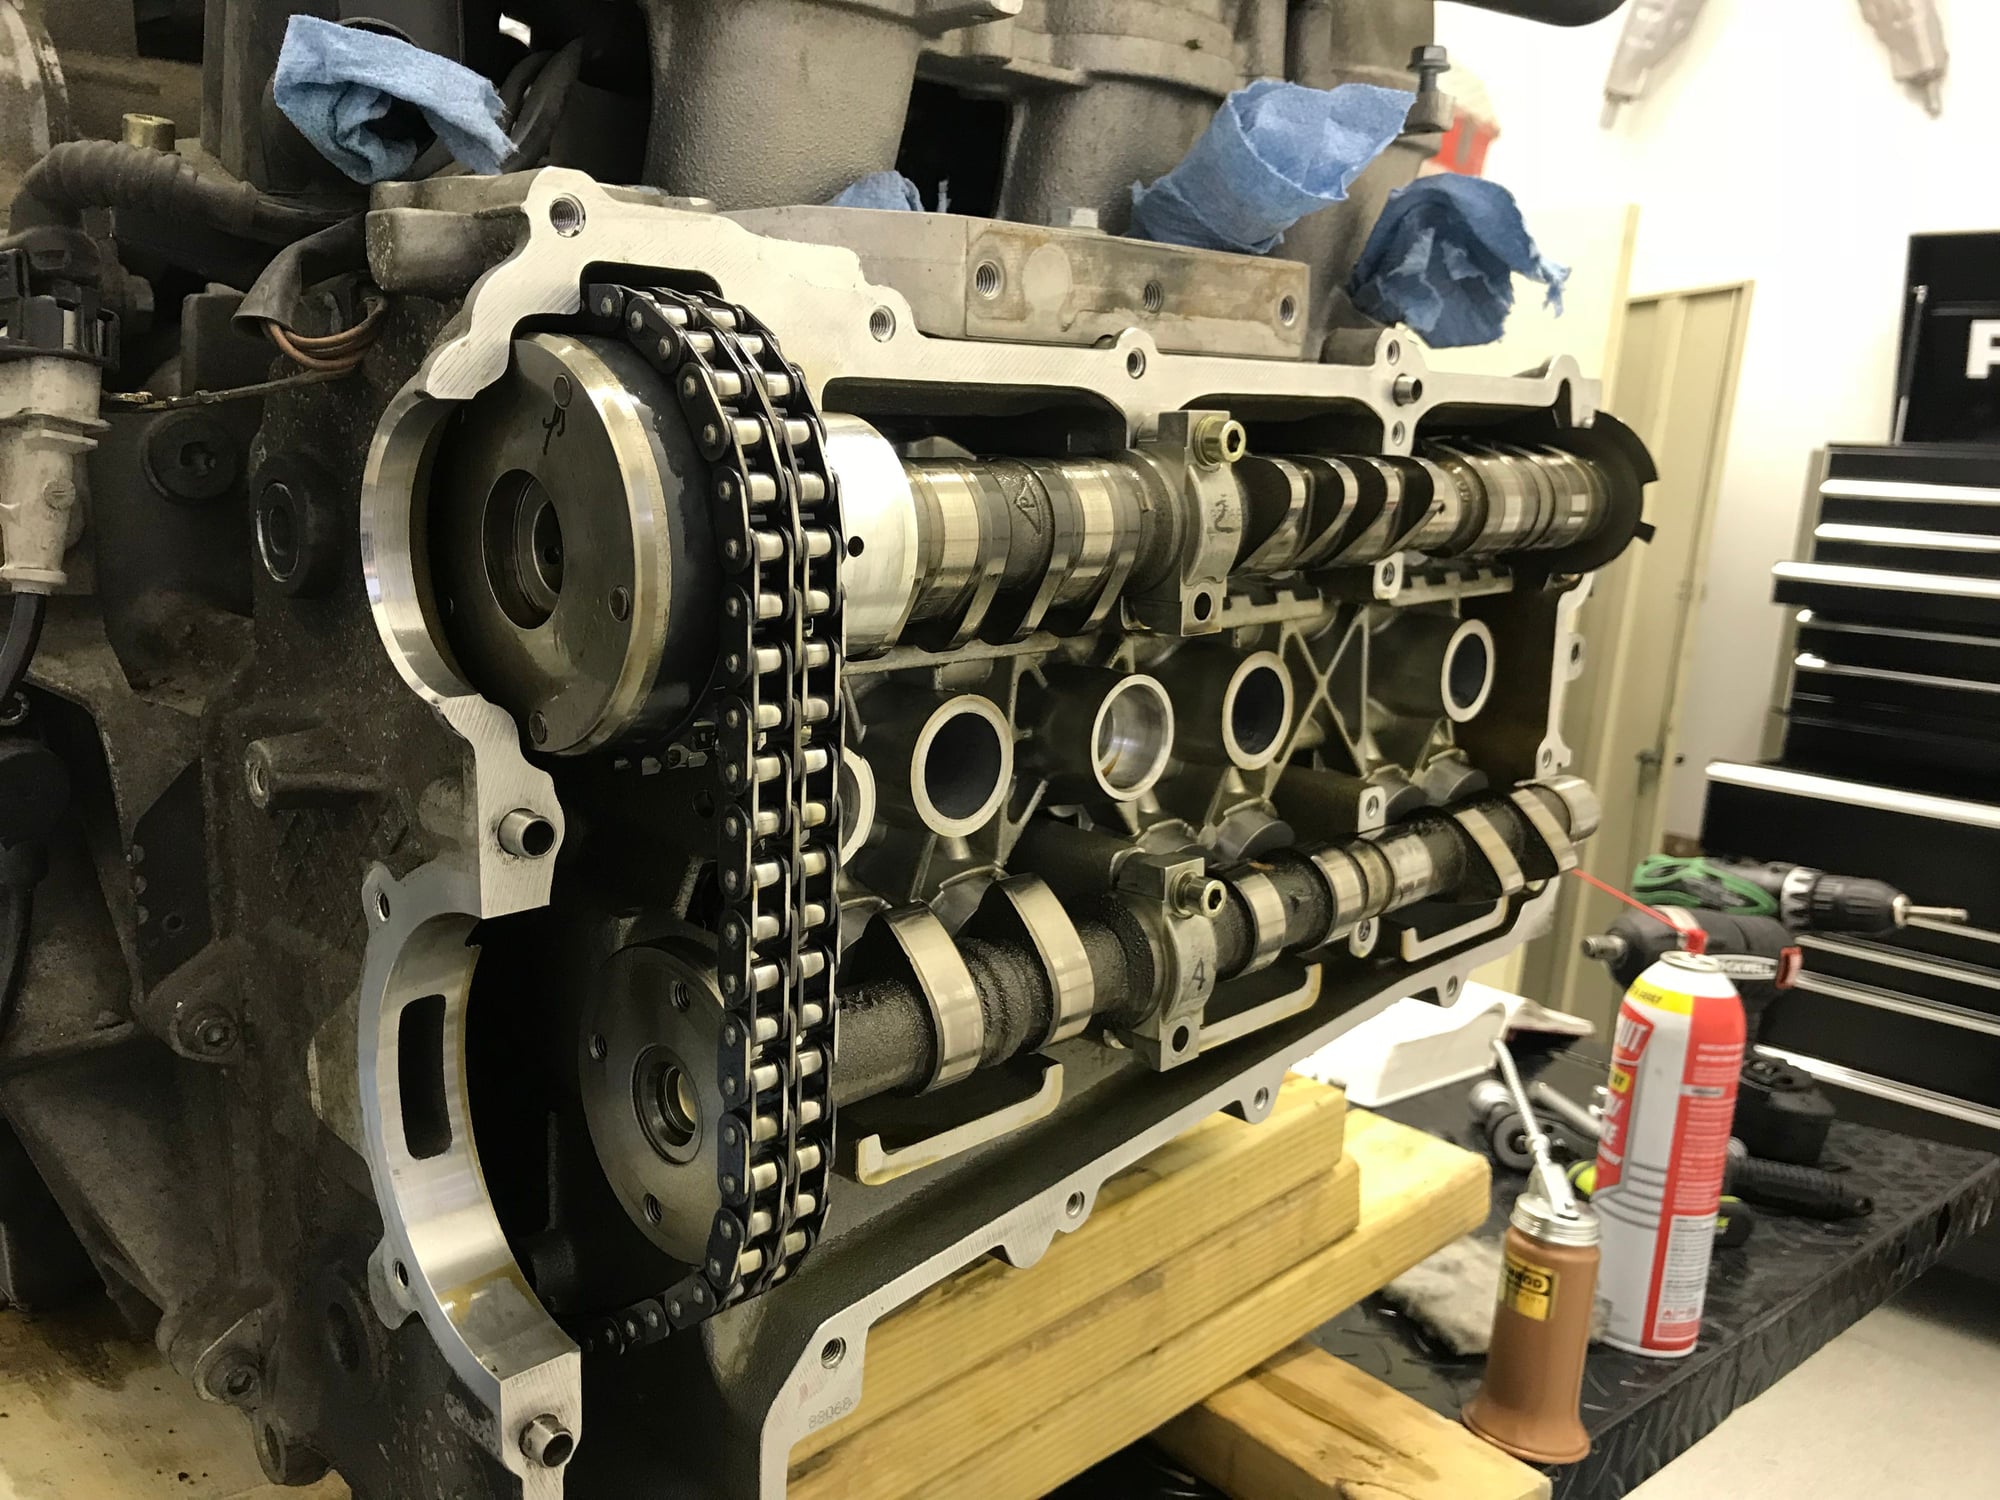
Refitting the cams, lifters and chain sliders is pretty straight forward, I started on bank 2, as that was the last one I removed and needed to fit the chain sliders to get the oil pump on to stabilize the IMS shaft.
Process as follows
1. Set the crank at TDC, mine was already pinned from the removal.
2. Clean the old sealant off the head, I use a razor blade and shave the sealant off, you have to be really careful not to scratch the surface. After that I clean off the residue with a scotchbrite pad.
3. Now wipe the head down, it needs to be spotless.
4. Fit the new cam chain sliders with new O rings on the bolts, I left the outermost (closest to the cam cover) bolt out to give a little more chain slack for assembly.
5. Refitted the oil pump housing with new O rings and gaskets.
6. Now with the IMS shaft supported at the flange and oil pump housing, refit the IMS tensioner with new O ring and aluminum seal.
7. Clean the lifter bores again, oil the new lifters with fresh engine oil, fit the intake first.
8. Now place the intake cam in the head, cyl 4 lobes face inwards, I loosely fitted a cam cap to hold it in place.
9. Fit the exhaust lifters and cam, cyl 4 lobes facing inwards. I found it easier to fit the cam without he sprocket, then with the cam in place you can slide the sprocket on.
10. I then cleaned an oiled the cam caps, also clean out the cam cap bolt holes and bolts. As they will be covered in oil, and you can over torque and stretch them. Fit the caps in the exact place you removed them. I marked mine 1 to 4. Fit the caps and chain guard finger tight.
11. Fit the cam locking tool, and fit the cam sprocket bolts again finger tight.
12. Fit the outermost chain slider bolt with a new O ring.
13. Now gradually torque the cam cap bolt and tighten the cam lock tool.
14. Fit the chain tensioner with new O rings and seal
15. Your cams are now set in place, torque up the exhaust sprocket, make sure the bolts are in the center of the groove, so the cam bolt is not binding on the edge, I’ll add a pic later to help explain this.
16. Now tighten the intake, there is a tool in the kit that holds this, you need to replace the bolt as the are 1 time stretch bolts. You torque it to 50nm then remove the sprocket holding tool and torque it another 110 degrees.
17. I then cleaned and refitted my cam cover, I will remove it and seal it once I have bank 1 done.
18. Remove the cam locking tool.
19. Rotate the crank 360 and refit bank 1
Here is a pic of my bank 1 part way through the process.
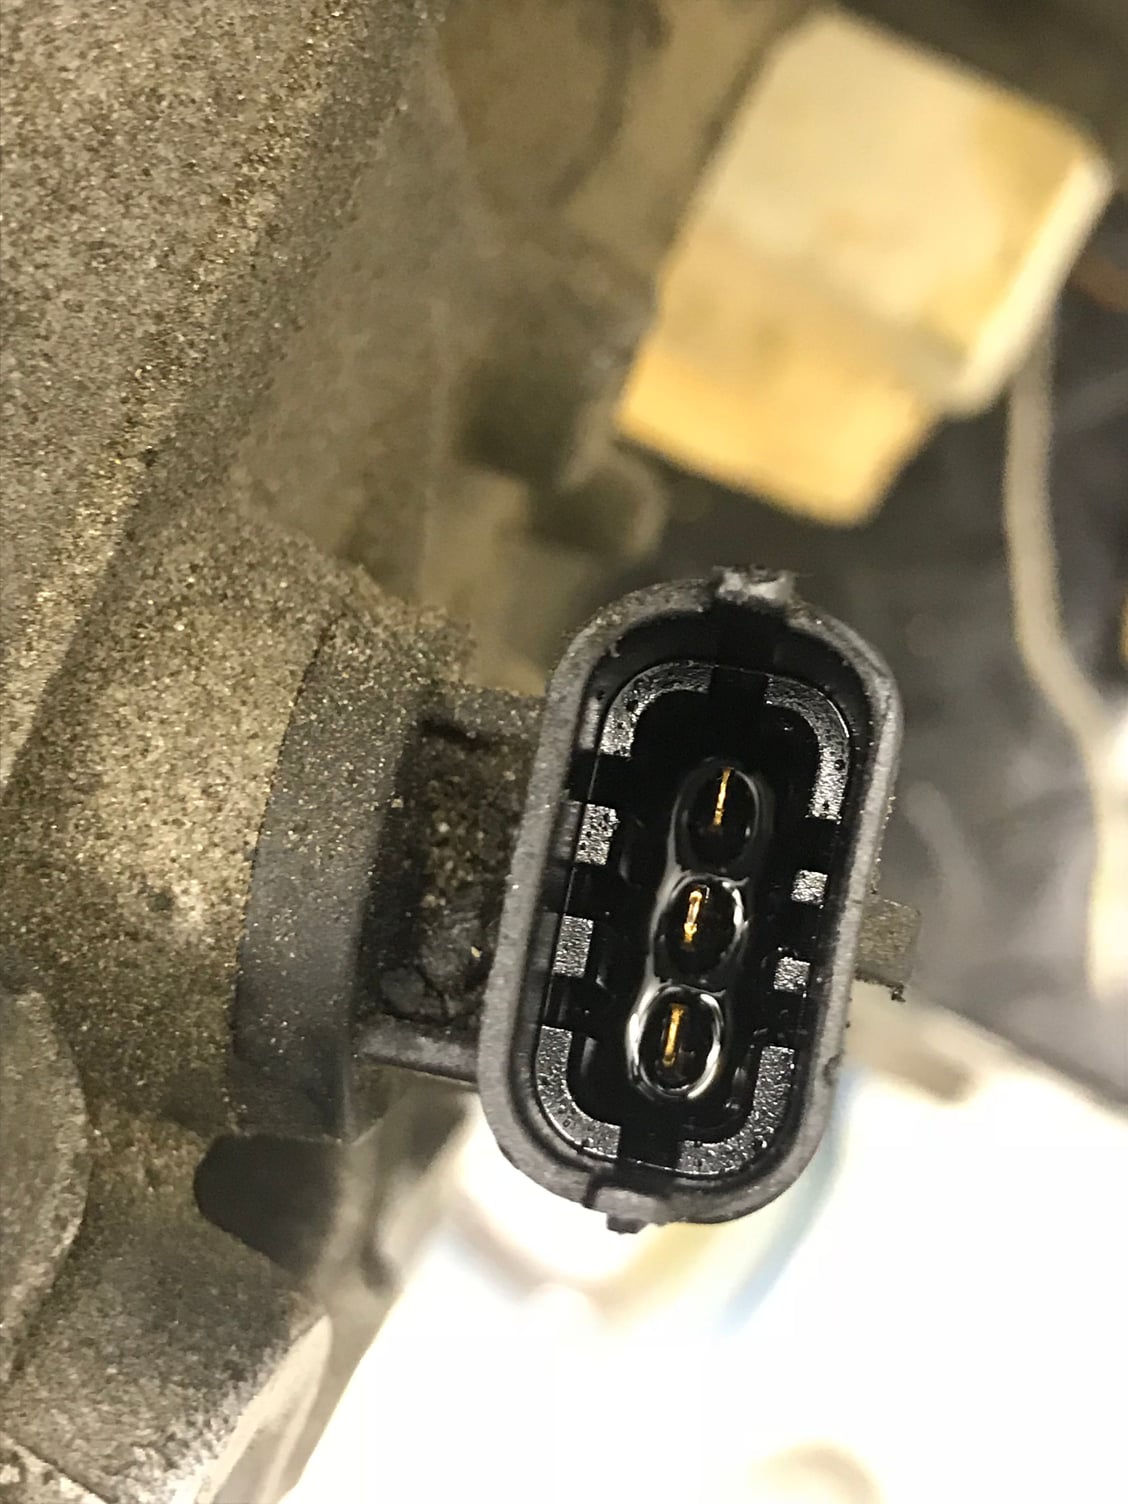
Id suggest you also check your cam sensors, whilst I didn’t have any leaks my bank 2 seems to have failed and oil is leaking into the connector, an easy replacement
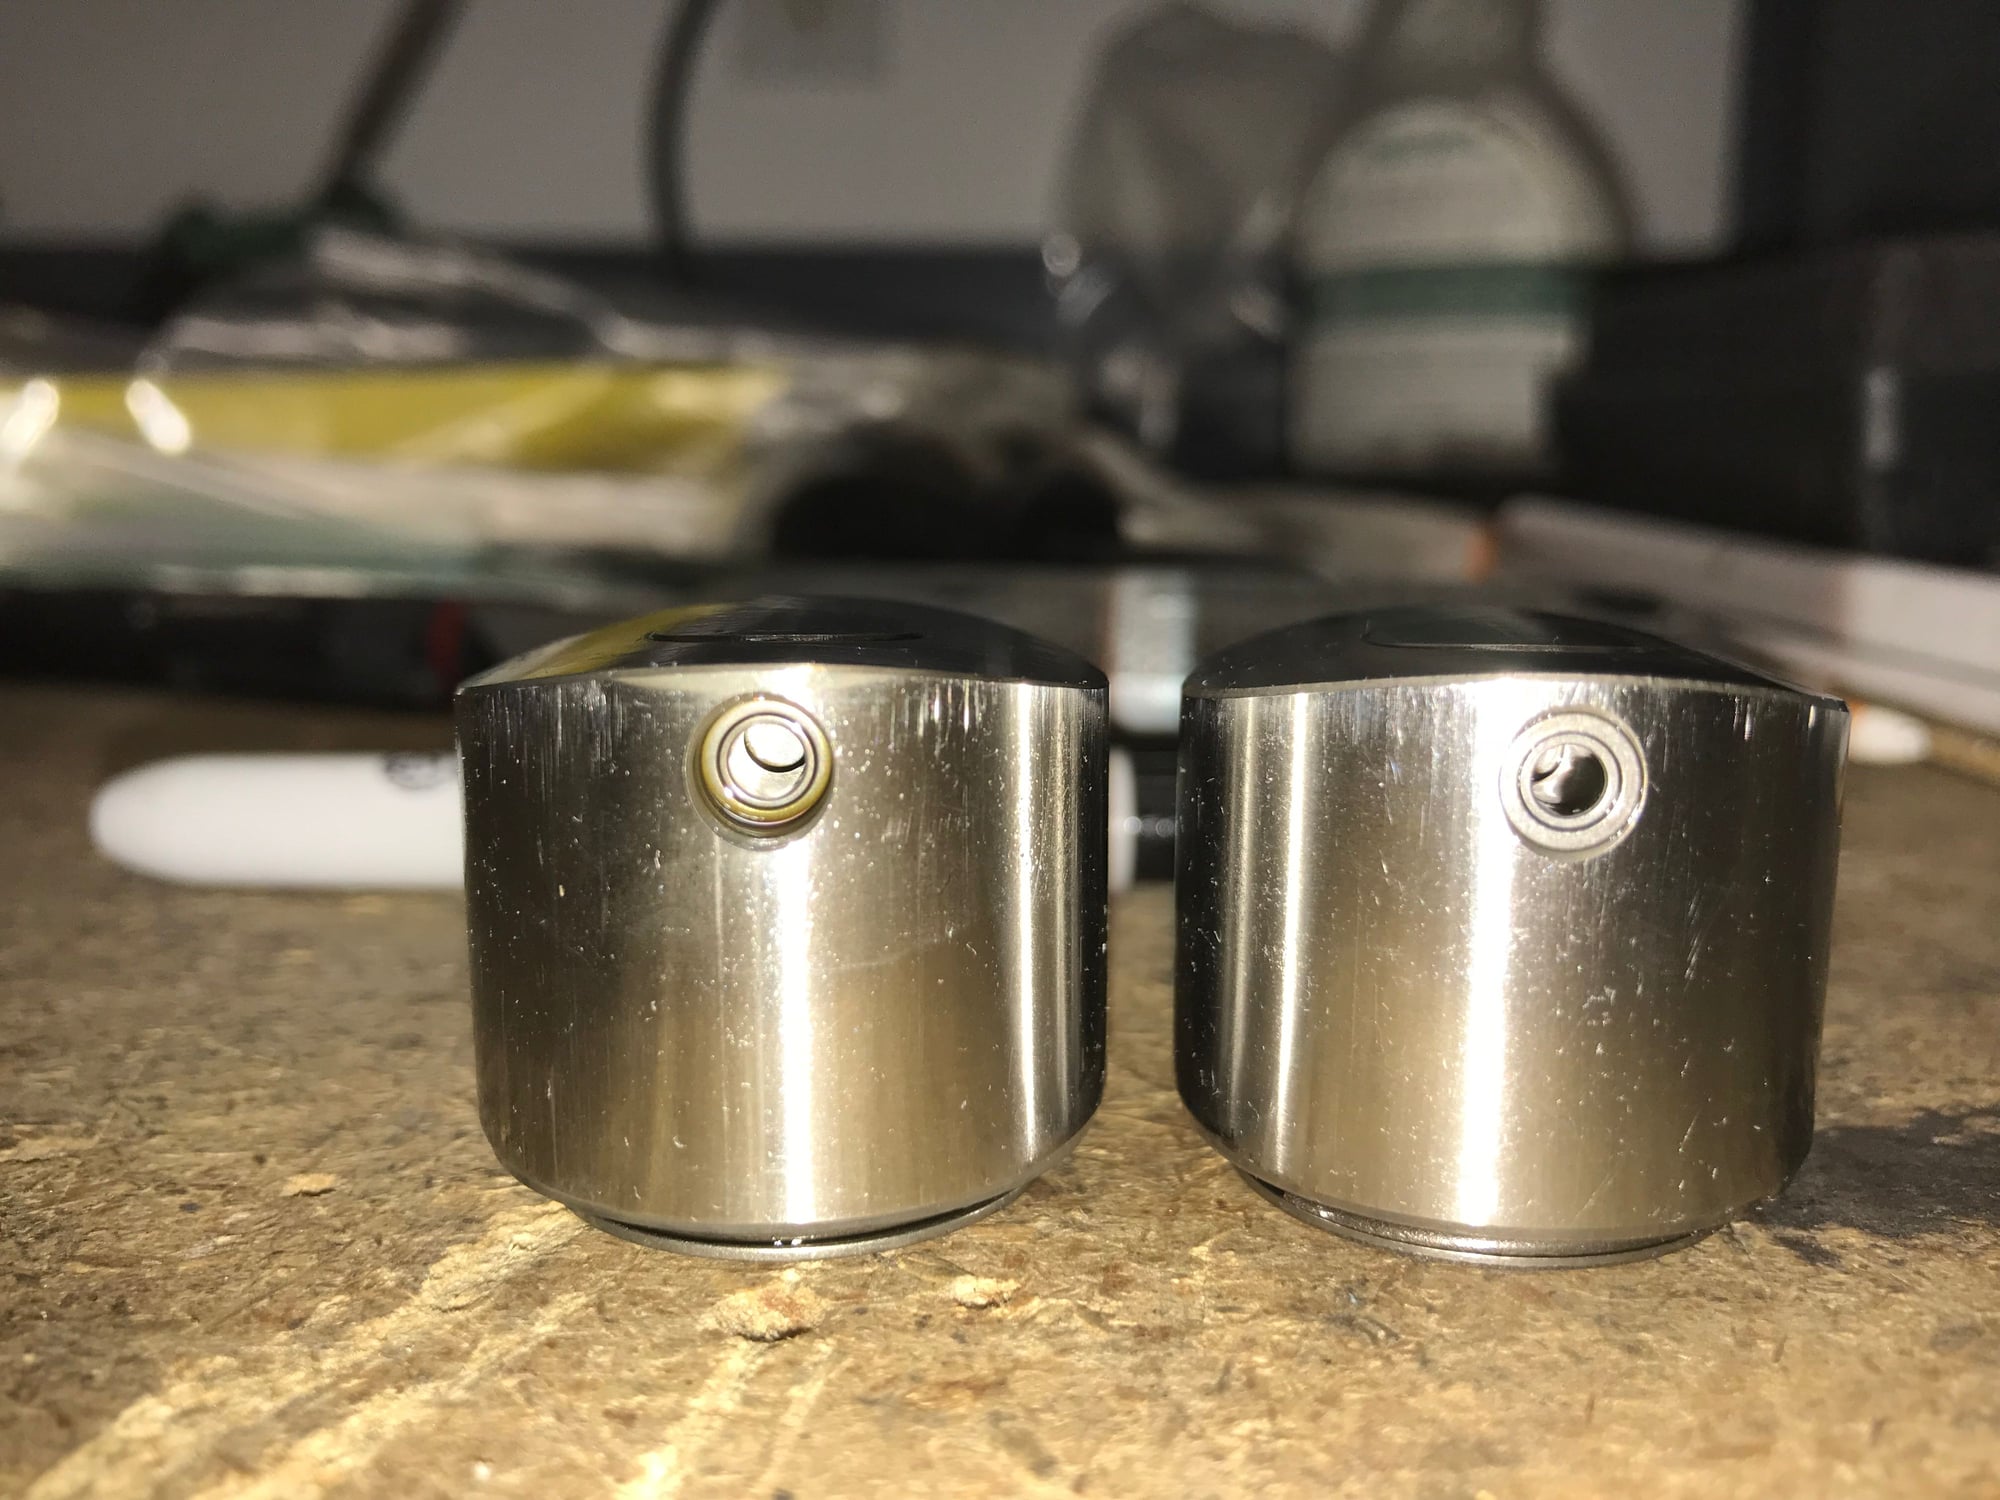
Looking good! What caused the scoring/scratches on the lifter(s) ? Did you change/update the oil pump drive key while you were in there? If not, you shoyuld do it before putting the engine back in the car - literally a 10 min. job... (3.6 may have the updated key already...)
15. Your cams are now set in place, torque up the exhaust sprocket, make sure the bolts are in the center of the groove, so the cam bolt is not binding on the edge, I’ll add a pic later to help explain this.
Looking good! What caused the scoring/scratches on the lifter(s) ? Did you change/update the oil pump drive key while you were in there? If not, you shoyuld do it before putting the engine back in the car - literally a 10 min. job... (3.6 may have the updated key already...)
In reality the scratches were very minimal, I think the flash highlights them in the pic. I thought about the oil pump drive, checked it over and the original part is unmarked so decided to run with it.
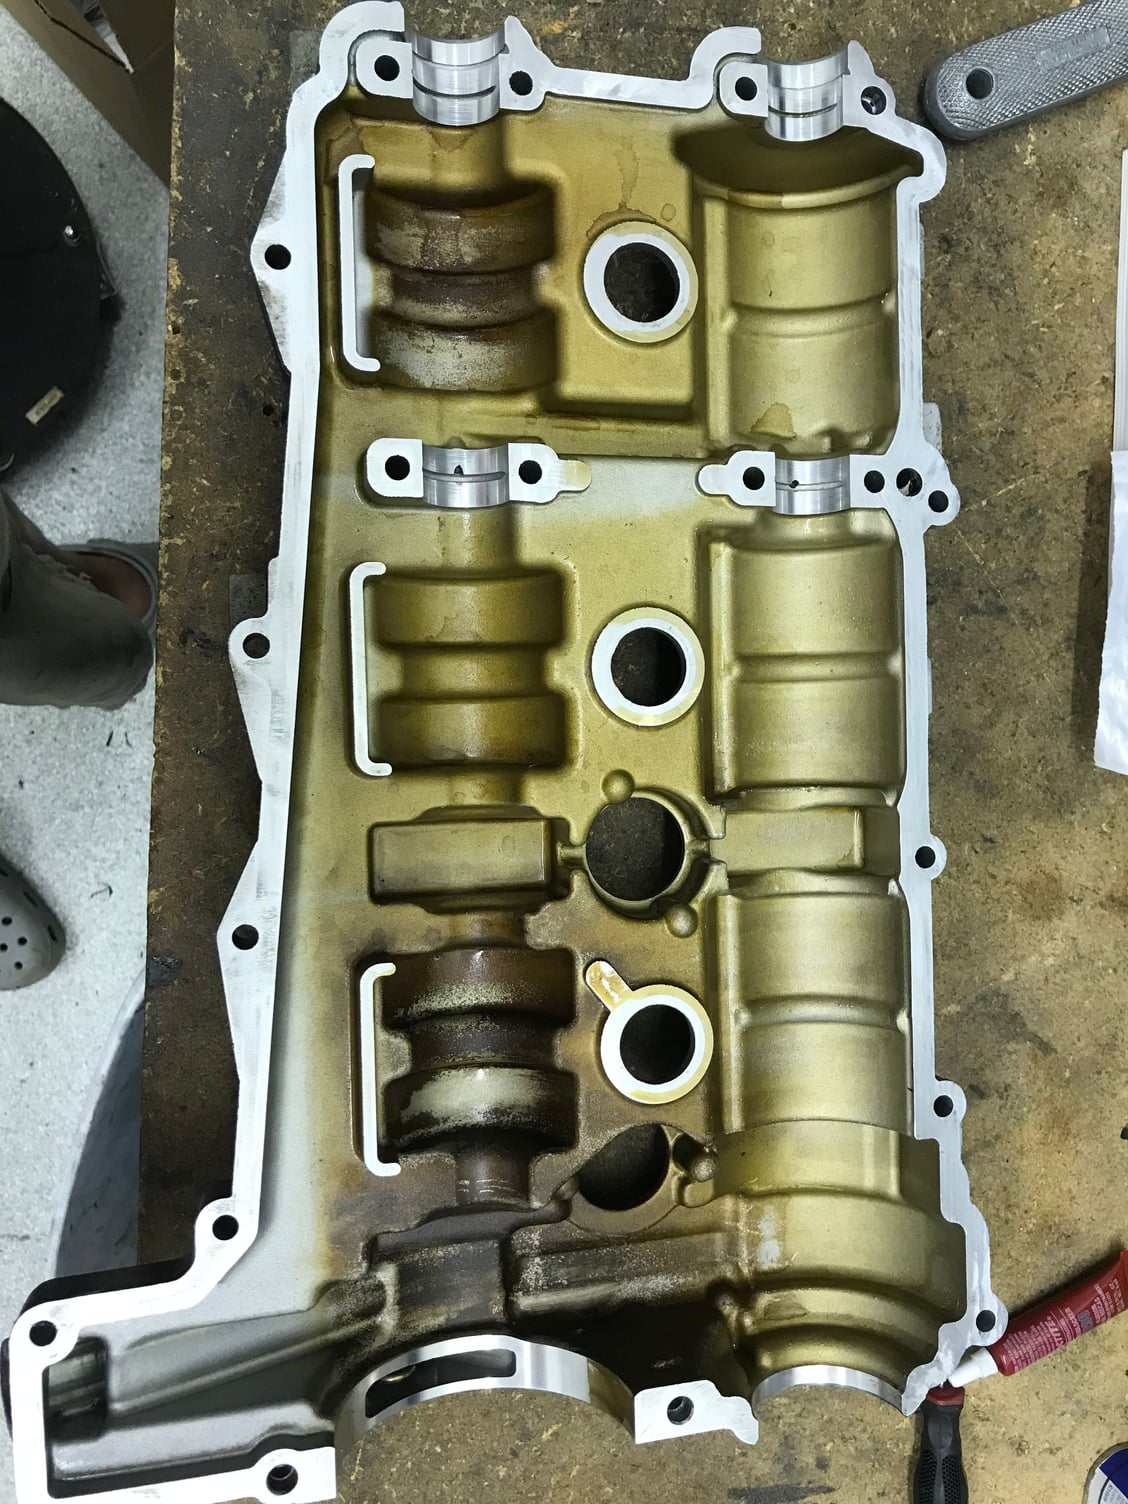
The longest part of this job is next, sealing the cam covers. They have to be spotless without any traces of oil to reseal. I used a razor blade first to gently shave the old sealant off, then I cut up small sections of a scotchbrite pad (1 inch x1 Inch), dipped in denatured alcohol. Also don’t forget to clean the sealant out of the bolt holes. Follow that by a wipe down, then blow the cam covers off with an airline. Clean the sealing surface with a cloth and DA, I repeated this 3x to make sure every trace of oil is removed, this photo came out a little weird, but you can see how clean you need to get it.
Same for the head, repeatedly wipe down the sealing surface. I used Loctite 5900, you only need to run a very think 1.5mm bead to seal, a small amount goes a very long way when bolted up and the 2 surfaces are almost perfectly matched, don’t think more is better. After applying the sealant I smeared clean oil on the bearing journals just before bolting up. Then gradually increase the bolt torque in the correct sequence to the correct torque level.
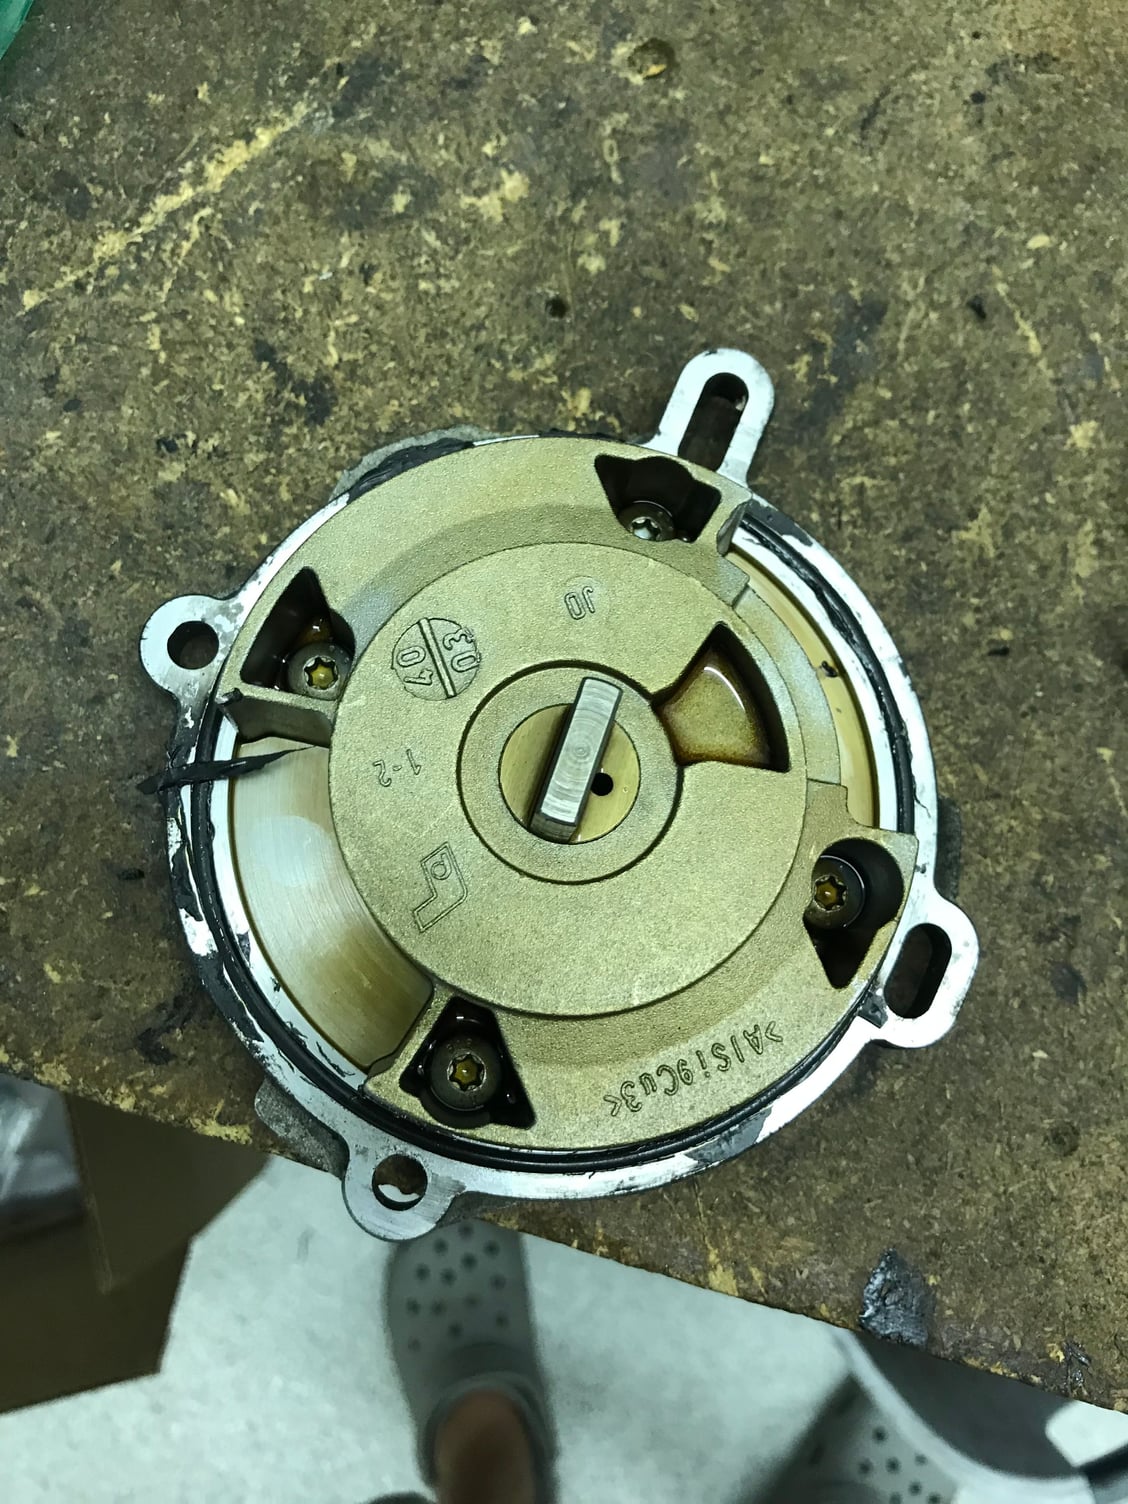
Refitted the cylinder head oil pumps, look at the mess on this one, this was on bank 2 where a Porsche garage/tech had covered the sealing surface in sealant instead of replacing a $4 O ring!.
Oil pumps cleaned up with new O rings, and new cam plugs fitted, slowly getting there.
Repair manuals say to set the cams in place with the crank at 60 degrees BTDC, then rotate the engine to TDC and lock things down. Looks like you just skipped this and set things up at TDC, which I've also heard.
I assume the 60 degree methodology is to avoid accidental contact between valves and pistons, and turning the crank from 60 BTDC to TDC also ensures that any slack is removed from the changer.
There is no risk of valves hitting the pistons during this part as none of the valves are open, setting the cams with the crank at 60 degrees BTDC just ensures the chain slack is completely taken out before tightening up the cam sprockets (as the chain tensionsers are in place and your basically locking the cams in place and rotating the sprockets a few degrees on the end on the cams to ensure everything is aligned correctly. For bank 2 I just left it pinned at TDC from when I removed the cams, then refitted them. When I went onto bank 1 I had to rotate the crank 360 degrees, I probably did it around 340 ish, didn't pin the crank, fitted the cams then rotated it the last few degrees and pinned it before tightening up the sprockets. Once completed I rotated the engine a few times to check everything out and at TDC cams on both bank 1 & 2 are correctly aligned.
The 101 repair book mentioned the BTDC process, but it wasn't covered in the Bentley it just says to pin it at TDC. One thing I found unclear in both was the fit one bank then rotate the crank 360 before doing the other bank. to be safe I took a picture of the Bank 1, before removal and the same for bank 2. My logic being if I put them back together with the cams in the exact same spot I should be good
I would also note that when I removed the cams and first tried to fit the cam locking tool with the crank pinned at TDC my cams were slightly out of line, I ended up having to fit the cam locking tool without pinning the crank as it was a few degrees out.
There is no risk of valves hitting the pistons during this part as none of the valves are open
Unless one screws up. ;-)
I think the 60 pre-TDC may be as much to avoid mistakes as it is to help with correct chain tension...a "best practice"
Originally Posted by D6lc
One thing I found unclear in both was the fit one bank then rotate the crank 360 before doing the other bank.
Me too. But makes sense if you think about it.
When you set bank two, you are setting it at "overlap" (aka between the exhaust stroke and the intake stroke). Turning the crank 360 degrees turns the cams 180 degrees, so the 360 spin moves #4 from overlap to the end of the compression stroke (aka right when the spark fires for the power stroke). Then you set the #1 cylinder to overlap. Without the 360 spin of the crank, both cylinder 1 and 4 would be set up to fire at the same time, rather one fire on one rotation and the other fire on the next rotation.
Does that make sense?
Unless one screws up. ;-)
I think the 60 pre-TDC may be as much to avoid mistakes as it is to help with correct chain tension...a "best practice"
Me too. But makes sense if you think about it.
When you set bank two, you are setting it at "overlap" (aka between the exhaust stroke and the intake stroke). Turning the crank 360 degrees turns the cams 180 degrees, so the 360 spin moves #4 from overlap to the end of the compression stroke (aka right when the spark fires for the power stroke). Then you set the #1 cylinder to overlap. Without the 360 spin of the crank, both cylinder 1 and 4 would be set up to fire at the same time, rather one fire on one rotation and the other fire on the next rotation.
Does that make sense?
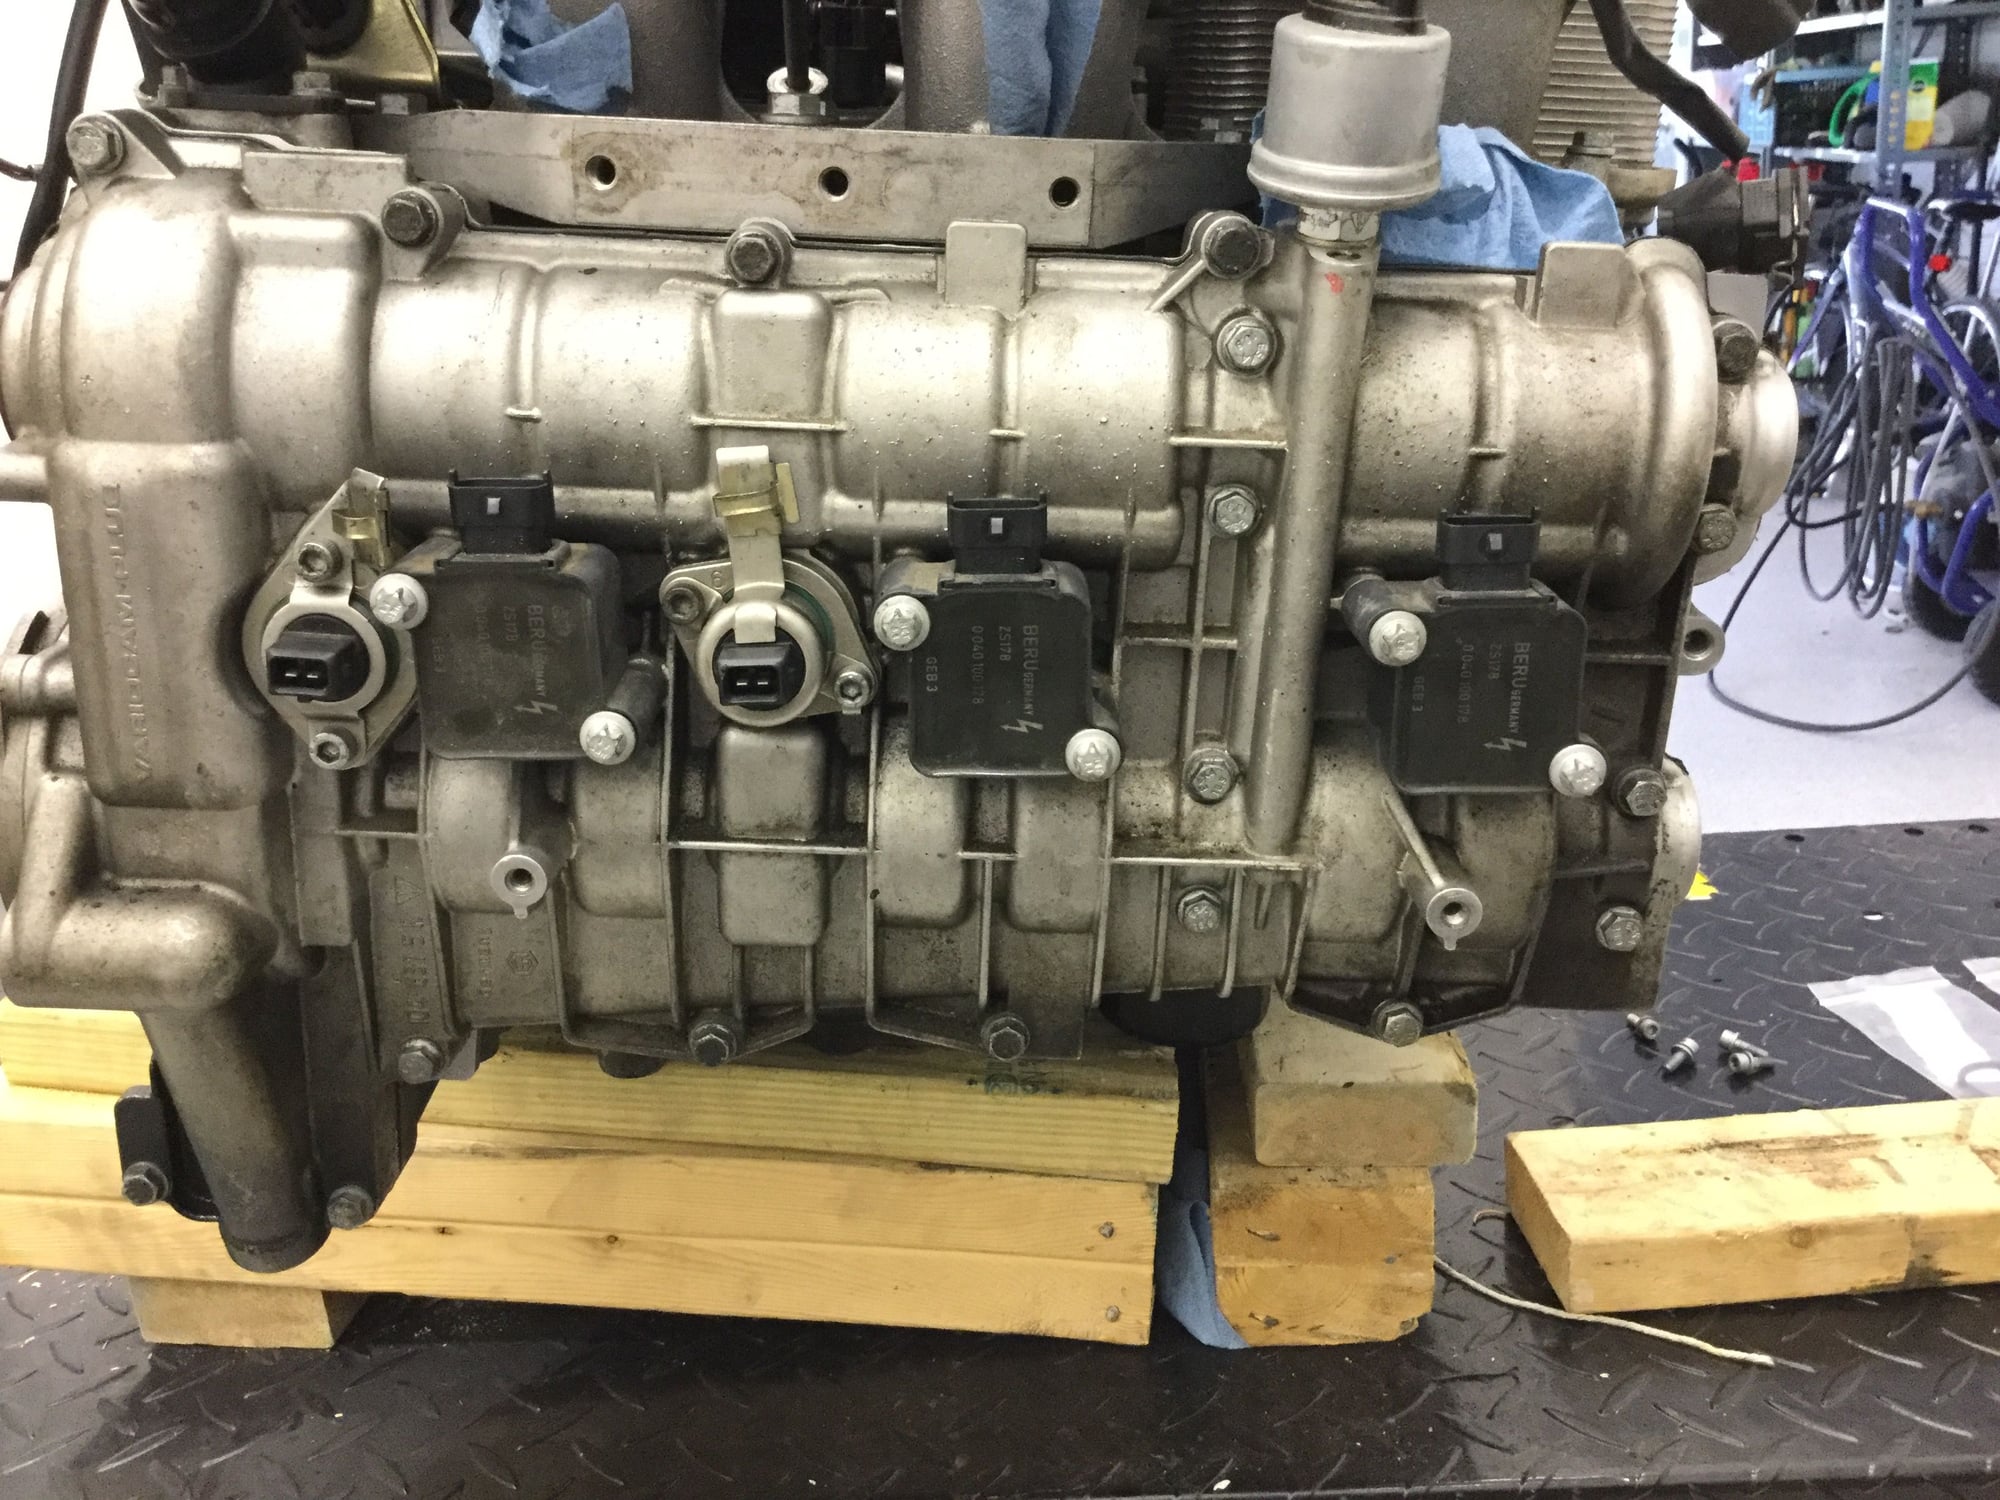
Wrapping up the engine now, still waiting for the injectors. Fitted the cam and valve actuators with new O rings and seals, followed by the plugs and coils, these were replaced by the PO last year ~3,500 miles ago
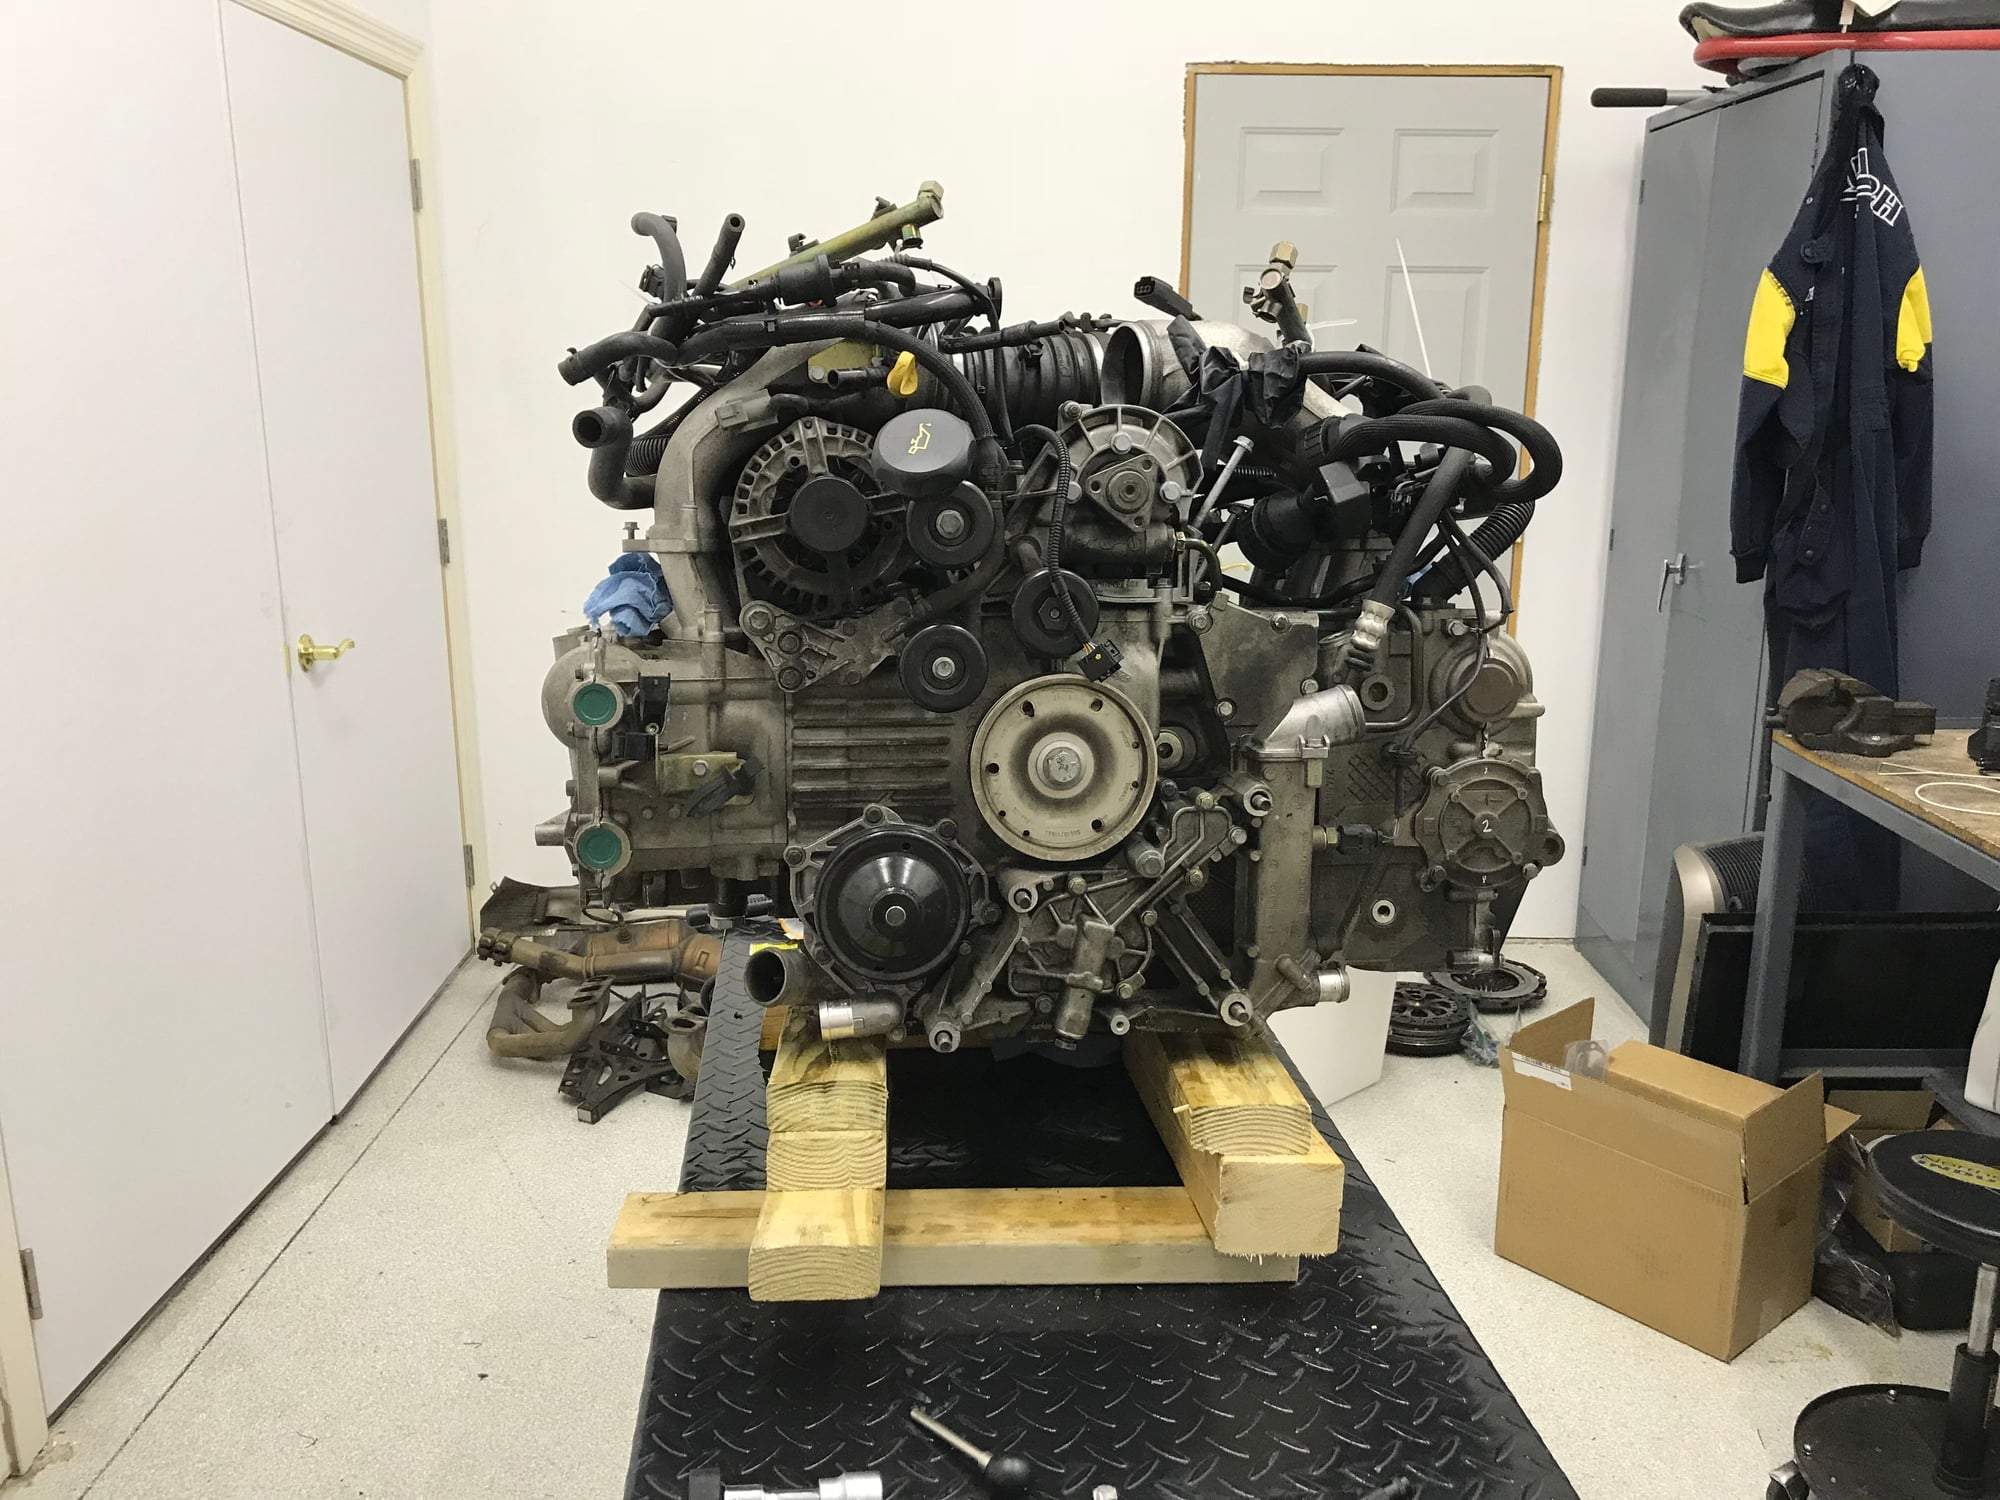
In hindsight I wish I has washed the engine down before disassembly, is not really oily or dirty and I never really noticed it when I first dropped the engine.
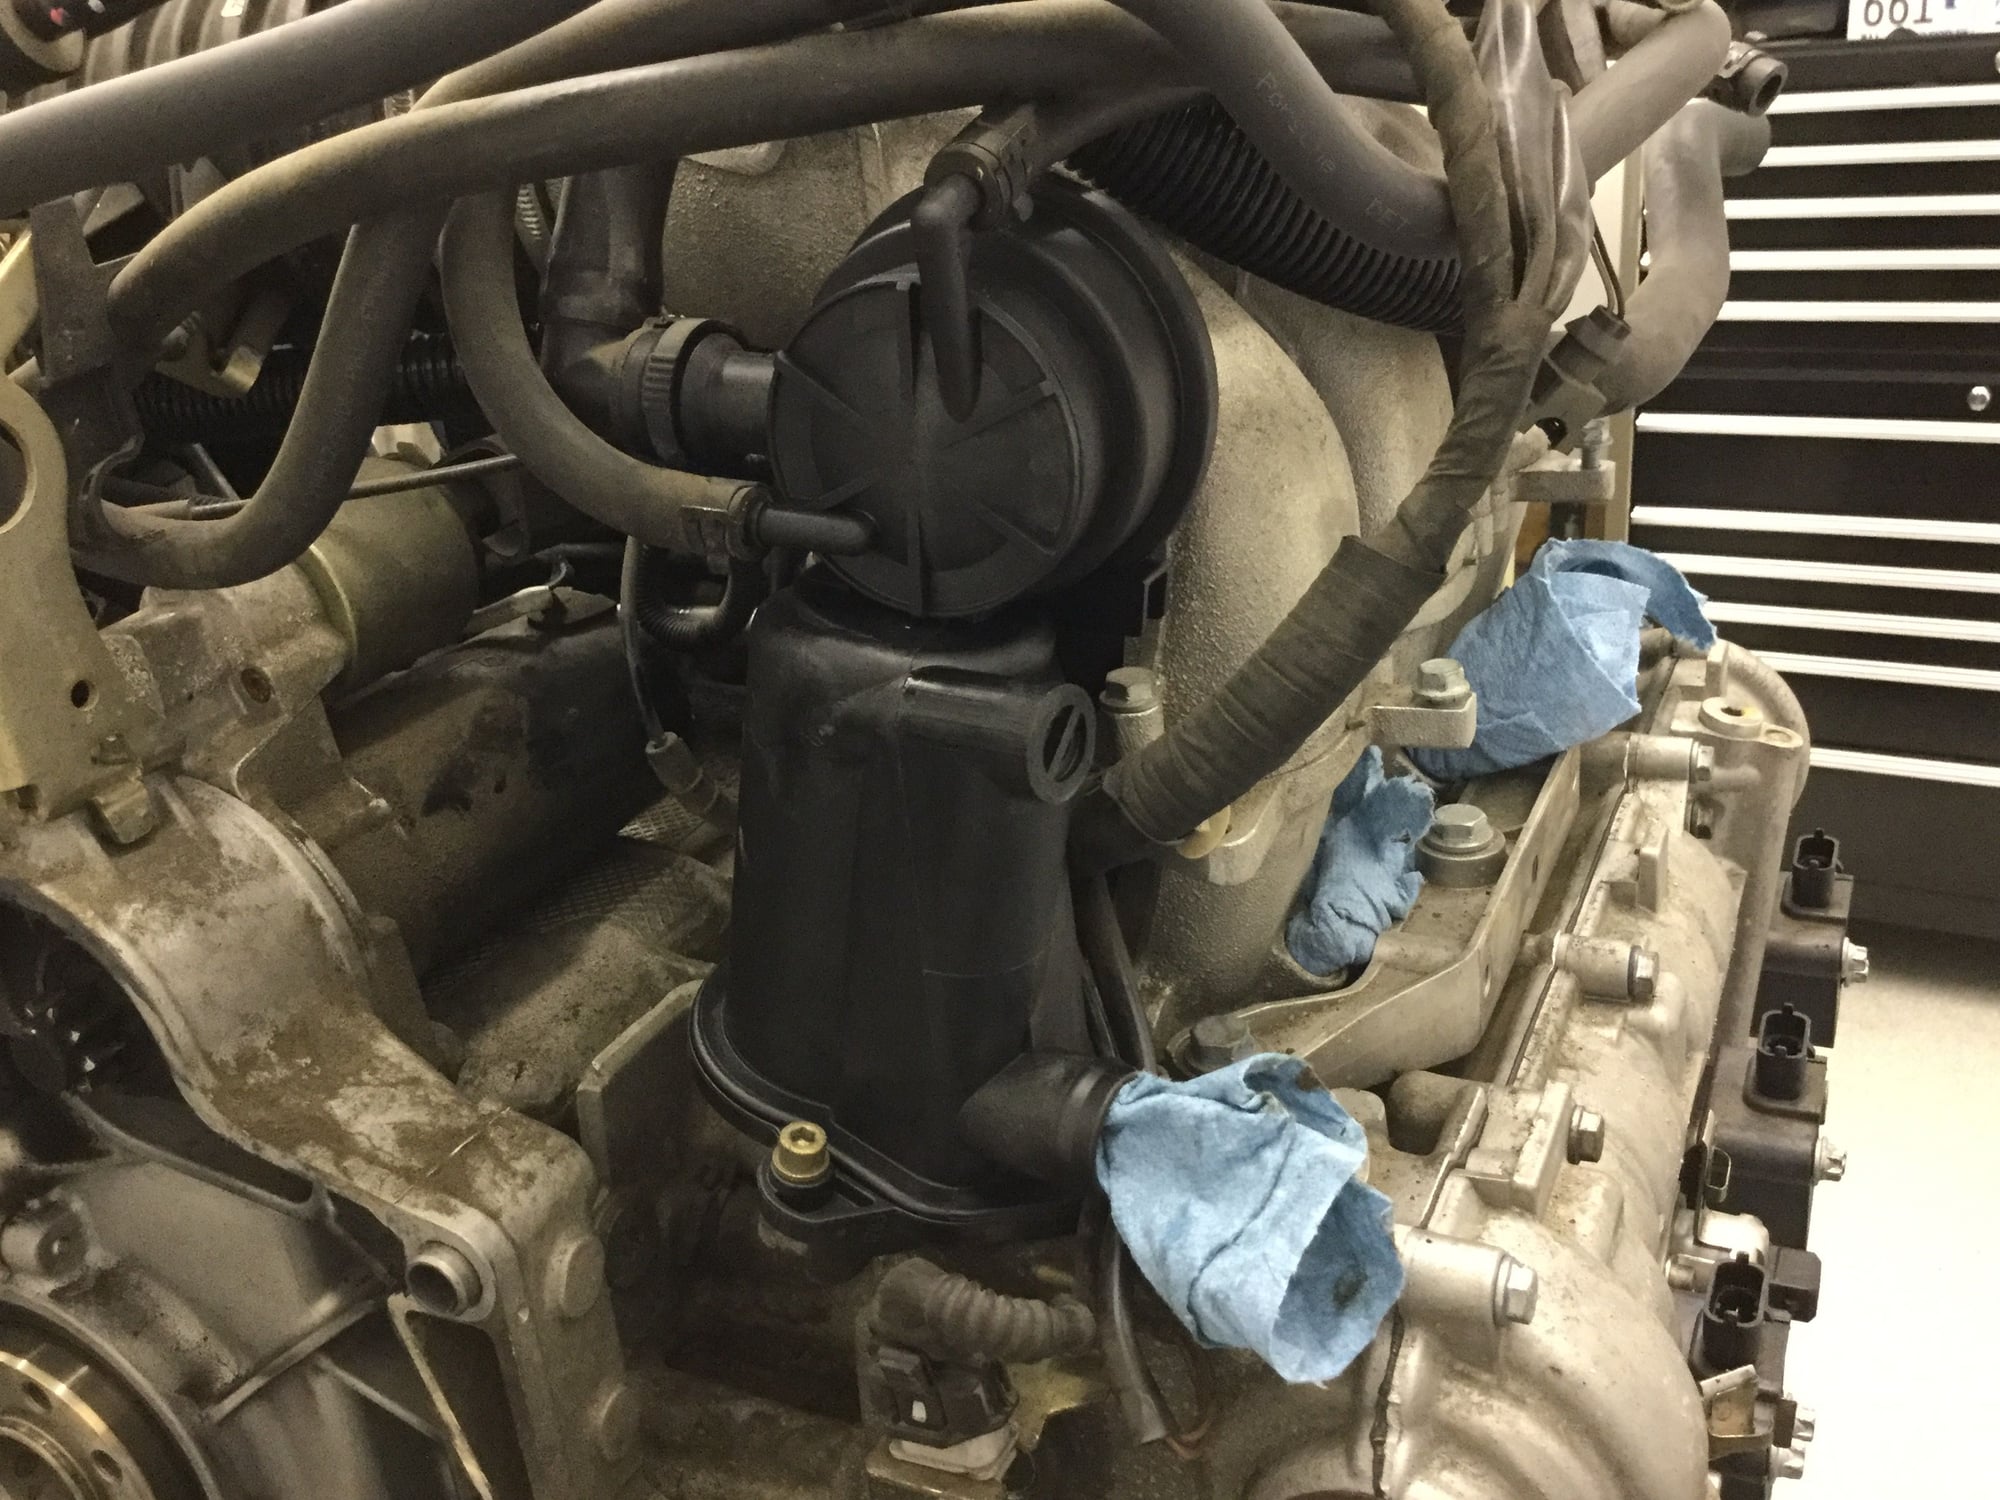
New AOS fitted, I can only imagine how difficult this is with the engine in the car even with the transmission out
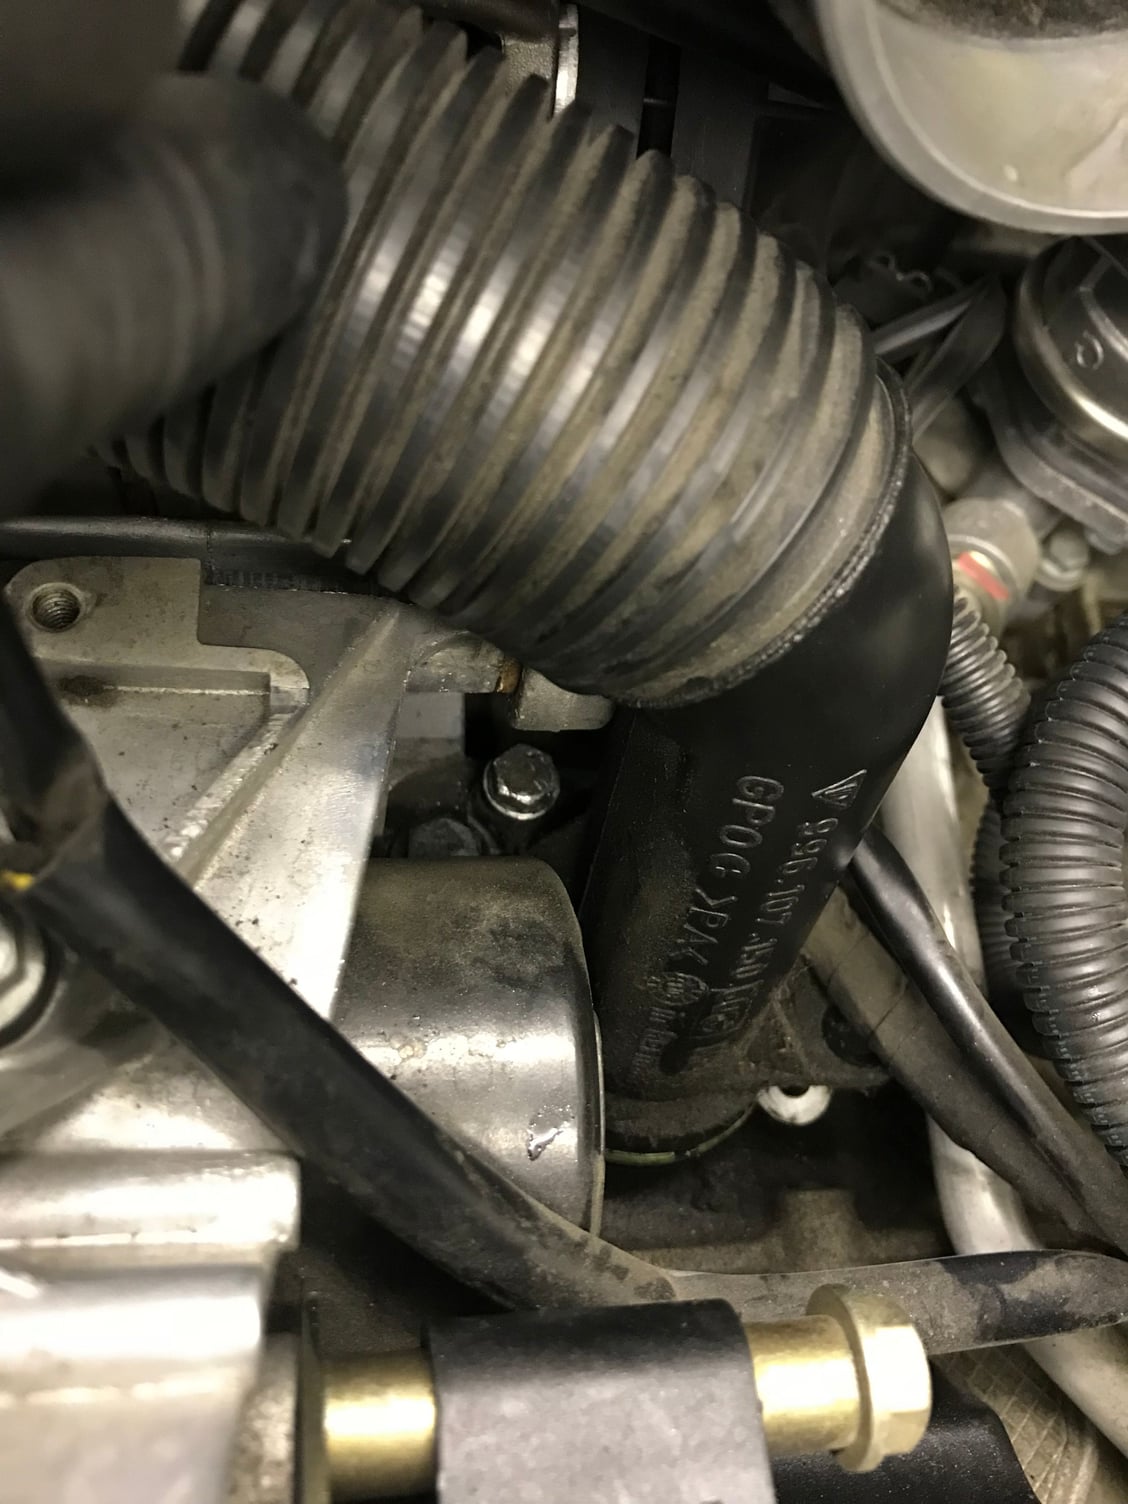
Next the oil filler, I replaced this on my last 40 AE whilst in the car and it was a horrible job, surely its easy with the engine out, well no its not really, you can see the rearmost bolt easier but its still tough to get to. Maybe there is a simpler way by removing the PS pump, but I just went at it as is, once the front (front of the car) bolt is out you can just get a socket on at an angle and remove this bugger, easy to see tough to get a socket on
Mine was sweating so glad I replaced it, getting the front bolt in was easy, for the rear I binned the hex M6 and went for a cap head so that I could use a ball socket. went for a non stainless so I could drop in in place with a magnet, then it was pretty easy to tighten up with a ball end allen wrench
Finally went to replace the oil cooler O rings, I ordered 1 large and 1 smaller O ring only to find out it needs 2 of each, I need to order replacement flywheel bolts as I forgot them as well, so 2 more O rings to the order. Hopefully get them next week and the injectors arrive and we should be ready to put it back in the car.
Yes makes sense, I understand the overlap, I just think the Bentley isnt very clear in explaining that.
Totally agree. Not just Bentley. No source I have found spells it out; they all say to rotate the engine 360 between timing the banks, but I would think a little verbiage on *why* might help folks understand the process a little better.
As the title suggests, received the injectors today. Having not sent injectors for refurb before so not sure how much improvement is expected. Doesn't look like they were so bad before cleaning. But glad to know they are all pretty closely matched now and a little more flow than before.
Last edited by D6lc; 05-29-2018 at 11:08 PM.
Reason: typo
 05-20-2018, 10:45 AM