When you click on links to various merchants on this site and make a purchase, this can result in this site earning a commission. Affiliate programs and affiliations include, but are not limited to, the eBay Partner Network.
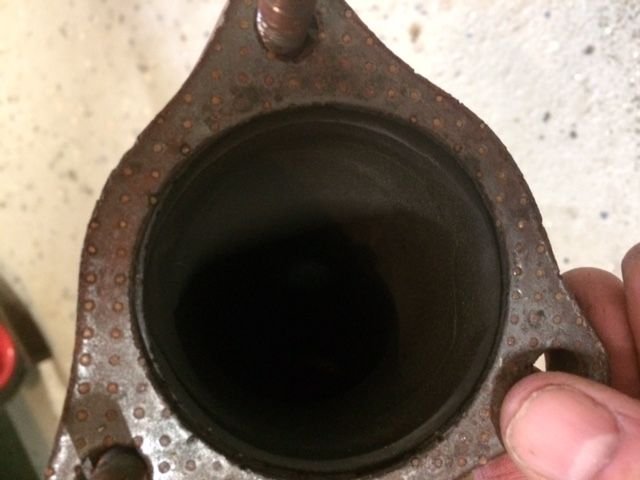
Check your spark plug tubes - it looks like they're leaking...
I agree...that is what it is likely to be.... These are cheap plastic tubes that some O-rings on them that could leak or even melt if the engine ran hot. I don't remember if the heads have to come off to replace them. I have a set if you want them...just pay shipping. Would be happy to contribute to your project...even in a small way.
I agree...that is what it is likely to be.... These are cheap plastic tubes that some O-rings on them that could leak or even melt if the engine ran hot. I don't remember if the heads have to come off to replace them. I have a set if you want them...just pay shipping. Would be happy to contribute to your project...even in a small way.
that would be very appreciated. i'll make sure my son doesn't pair them with my swivels and tell me there cannons for his battle lol
The heads don't need to come off. Just remove the heat shield and spark plugs. A 1' or 1 1/4" expandable boat plug works wonders pulling them out.
another big thank you. that saves me scouring the net to find out how to do it. like I mentioned I just don't know much about this motor yet but I will catch up. so sorry if I ask silly q's
another big thank you. that saves me scouring the net to find out how to do it. like I mentioned I just don't know much about this motor yet but I will catch up. so sorry if I ask silly q's
Changing those darn tubes is a pain, you might as well do the spark plugs & coil packs while you are there, thats what I am doing with mine (plus injectors). I am really considering dropping the motor I think in the end it will be easier and my stress level will be less.
it would be a good idea to have a look inside while you have the plugs out, i have one of those fancy cameras that you can put in the spark plug holes if you want to borrow it
well I had a good weekend in the garage. I can see how on that side of this thread it could be " oh cool he got the side skirt on" but on this side this weekend was "Houston.... we have lift off " lol I was worried how the skirts would mount and what kind of troubles I would run into as this is my first time ever doing side skirts...this skirt went on quite nicely . I have two layers of my bondo on there and its very solid and secure on there.
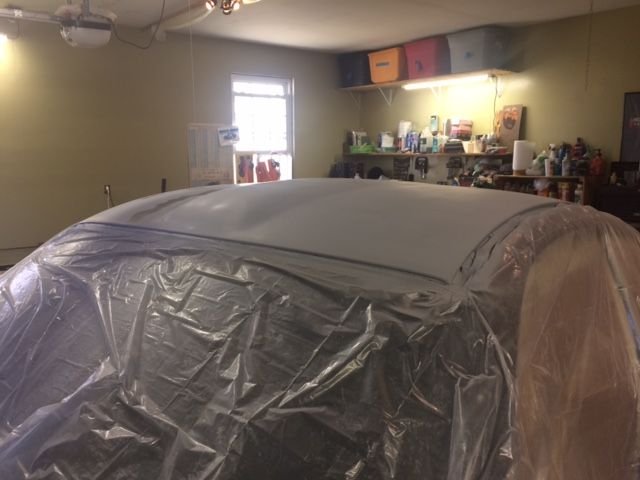
also I was able to get the roof scoop popped off. that went really well as well, took about 10 minutes. the second picture is the mess it left behind lol my drywall mud method is not the cleanest way to do this stuff but it sure seems like the easiest.
lastly I had planned on painting the rear bumper this past weekend but I forced myself not to lol. I usually get so anxious to get paint on parts when I do my cars and I'm always frustrated with not fixing the little stuff and the bumper just wasn't perfect so I wanted to retackle some of the little blemish's that I seen. I'm really trying to take my time and make this car perfect
my not seem like much but this tedious stuff out of the way is motivation.
Changing those darn tubes is a pain, you might as well do the spark plugs & coil packs while you are there, thats what I am doing with mine (plus injectors). I am really considering dropping the motor I think in the end it will be easier and my stress level will be less.
it would be a good idea to have a look inside while you have the plugs out, i have one of those fancy cameras that you can put in the spark plug holes if you want to borrow it
sorry forget to reply to this one... um ya I'd love to barrow it!! lol that would be some great piece of mind to know how those walls look. I can come to you to get it if you want. I'd still like to get pics of the supercharger kit as well so I can piece together my own kit
also thanks to the guys who came over this weekend and checked out the car. the Porsche community rocks
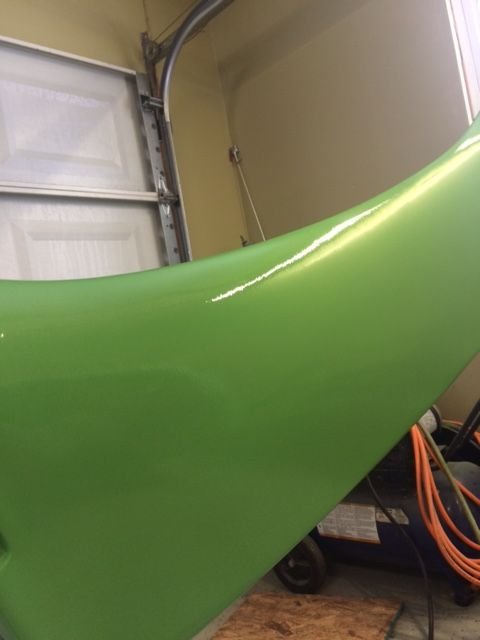
2-bunch of pics of the paint on the rear bumper and center of rear wing. can you see the blend lines on the rear bumper where I made my parts... me either lol came out pretty good after paint. granted I haven't seen it in the sunlight which is where the imperfections will really show but it looks pretty good so far. I still need to wet sand and clear coat so they will be shiny after that is done which I should be able to get done tonight. I wouldn't say its a $10k paint job so far but perhaps up there around $9,995 lol for a garage paintjob .. I'm content.
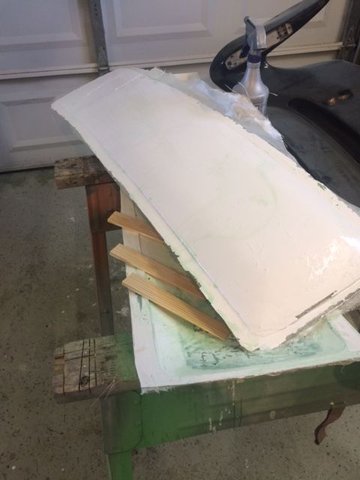
3-molds for drivers side skirt and roof scoop and then the gelcoat on the roof scoop. I still need to clean up the skirt before I can make the part.
I'm off to Tennessee for a week for work so no updates for a bit. but if there is anyone in Tennessee who needs carbon cleaned out of there Porsche motor Just let me know I'm always up for a cruise lol
so last week my post was of the rear bumper with out the clear on so first few pics are of the clear applied.
next two pics are of the part being made for the scoop.
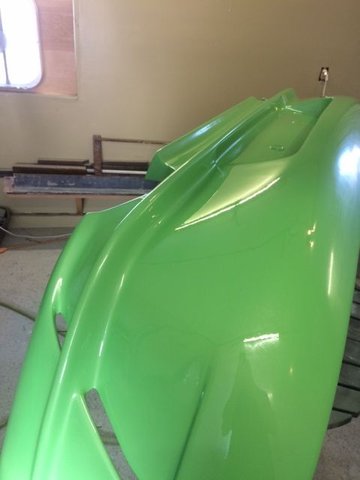
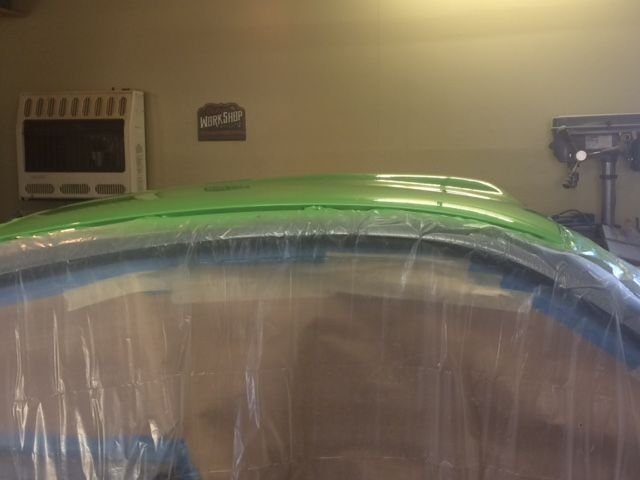
next two pics are of the roof with out clear.
lastly is the pics of the scoop/roof with clear.
I'm about 60% satisfied with the roof I spent about 16hrs sanding on that roof to make sure there were no blemishes with the bondo so you couldn't see the blend of the scoop to the roof. with the primer, It looked great and I was confident that it was going to look great. after the paint went on.. I could see some spots that will be noticeable in the sunlight super bummed. I am happy with the over all look of what I did though.
so this post shows the start of the exhaust I'm building. I cut off the triangles thingies where the fab speed headers go into the rest of the exhaust... it was quite choked down. so I opened it up to be a smoother flow. you can see in the pics how much I had to take out to match it to the headers. the complete exhaust will be a smoothly matched up 2.5 inch exhaust with quad mini sport mufflers. hoping to achieve a higher pitched sounding system over the previous fab speed system I had. fab speed has a great system, but I'm trying to get a different sound. if the system sounds like poo I'm only hour about $300... its worth the learning experience to me and if it works ... yay!!
also a pic of my exhaust kit from summit, really great quality.
last pic is of the control arm area tore apart. next order I make will be for the new bushing for the whole car and the new coil over suspension.
another post coming in a few minutes of paint on rear fin
thanks
oh ... ya I know I could have just bought new triangle thingies but why waste the $. it only took a few minutes to hog these out
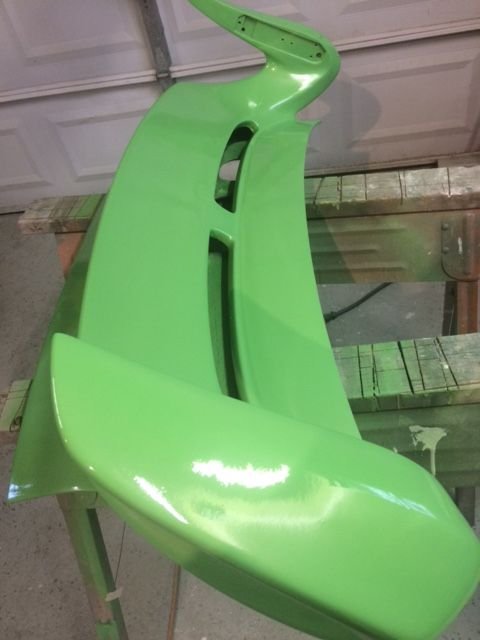
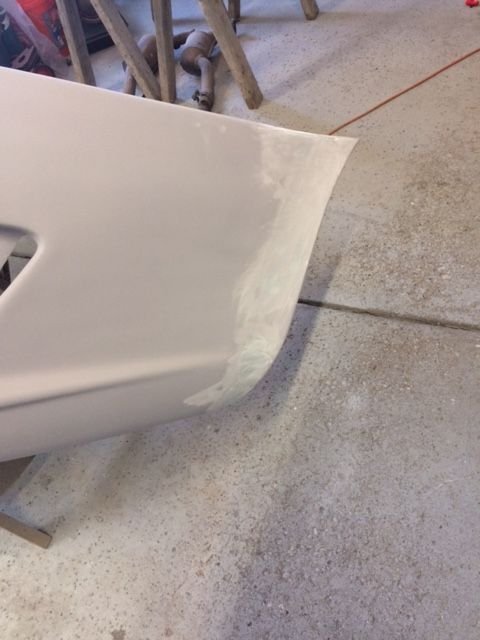
so I cleaned up the rear fin. gotta say the quality of that fin.. not to impressive. lots of wowies and warped areas that I could see as I sanded it. also had to fix a few spots where the fiber glass started to separate.
anyway, first 2 pics if primer
1 pic of before clear
2 pics of after clear
2 pics of fin on car because I wanted to see it lol
2 pics of driver side skirt. one of it in the mold the other of it after it was pulled
lastly..... the wife got a puppy why oh why palm and Chihuahua mix... I'm pretty sure that makes a rat highbred lol
hihuahua mix... I'm pretty sure that makes a rat highbred lol

 03-09-2018, 01:07 PM


 . I have two layers of my bondo on there and its very solid and secure on there.


 I spent about 16hrs sanding on that roof to make sure there were no blemishes with the bondo so you couldn't see the blend of the scoop to the roof. with the primer, It looked great and I was confident that it was going to look great. after the paint went on.. I could see some spots that will be noticeable in the sunlight
  super bummed. I am happy with the over all look of what I did though.


 why oh why
 ") palm and Chihuahua mix... I'm pretty sure that makes a rat highbred lol
palm and Chihuahua mix... I'm pretty sure that makes a rat highbred lol