When you click on links to various merchants on this site and make a purchase, this can result in this site earning a commission. Affiliate programs and affiliations include, but are not limited to, the eBay Partner Network.
^^
Gotcha! The blue line was me tracing the contour I saw in your photo and the pink line was me showing how I would modify the front to fit an opening if you choose to go that route. Prolly shoulda explained that bit! As for the contours in the rear that's an interesting question. In my mind it should start wider near the windshield and narrow as it approaches the rear glass, while simultaneously getting closer to the roof / losing height. I found a few more angles on the kit I posted for inspiration / mini-design study. Obviously if you google "996 roof scoop" you get these photos but in the spirit of the forum I'm posting some here. I know you're kinda doing your own thing but seeing this shape from other angles may help you figure out your build! Good luck!
so the pics show the rear bumper flares I glassed on last night.
pic1 is grinding away the bumper surface so the glass sticks better also to make the part and bumper seem have a lower profile for me to blend and sand.
pic2 is the back side of the part ground away to do the same thing as the bumper.
pic3 showing how it blends together.
pic4... success
pic5 success x2 lol
very happy with it, came out great. everything lined up and I don't think blending it will be to complicated. one side skirt part is made and the other side skirt mold is just about done. also the roof bump I'm making is taking shape and i'll have some pics of that soon as well.
last night was a huge motivation for me. I finally have some parts mounted!!! super excited
1-Rear bumper is pretty much done as far as smoothing out the blended surfaces. I just have to sand a little bit on the drivers side and cut our the under lying bumper where I overlaid the new which you can see in the pic of the inner view of the bumper.
2-my molds are still nice and sturdy after pulling my parts out of them
3-driver side mold is just about to come off, probably tomorrow.
4-working on the passenger side skirt while its off before I attach it so I can do the smoothing out and pretty work on the underside before it goes on.... sanding while laying on my back.. not fun.
5-few new parts came some mufflers I'm going to try, some steel braided brake lines and some lift pads for the car. I still haven't received my cats yet. but when they come in i'll start my exhaust build and post pics of it.
6-roof gelcoat has been applied. will be putting on a second coat tonight and then glass Thursday.
I really can't wait to see the finished product....
I cant wait till I reach a point when I can afford a lambo like yours, I'm getting there. Lamborghini is in our 5 year plan for my wife and I. lol llooovvveeee that color!!!!!
Thanks
Originally Posted by JimmyChooToo
Agreed. Snorkel For The Win
Umm... sorry I don't know what that means lol but thanks
ok so I see this thread is still getting lots of views and not to many comments anymore which is fine I just want to throw it out there, that if I'm being a little to frequent with the pics and info as far as detailing the small stuff. please say so and i'll cut back a bit. I'm one of those guys that when I read a thread, I like to know everything they did so I can follow it if I want to do it as well so I'm trying to do that here.
so last night I got a lot done but most of it adds no value to the thread but the rear bumper does. if you look in the previous post I have a pic of the inside view of the bumper in the wheel well. you can see how there was two wheel wells as the new part I made was laid over the bumper. I used a "lap joint" to put that part on. well now that its secured well and not going anywhere last night I cut out the original bumper behind the new part(wow I'm confusing myself, hope this is making sense) after I cut it out I added more glass and poly on the back side to give it more strength. while I was at it I put a little more through the center of the bumper where the sun will beat down on it. like mentioned back toward the beginning of this thread, on my boxster the front and rear aftermarket bumpers I put on ended up getting quite warped after the first summer from the sun. Duraflex parts are very thin and it doesn't take much heat to soften them up. hoping to avoid that this time. once I get done with the back of this bumper I will paint it all black and it will look just fine.
I cant wait till I reach a point when I can afford a lambo like yours, I'm getting there. Lamborghini is in our 5 year plan for my wife and I. lol llooovvveeee that color!!!!!
Thanks for the kind words but I would trade it in a minute if I could have your skills. :-)
I am following. I am really anxious to see the finished product.
Thanks. no worries on the comments guys. I appreciate them, I just don't want to create a thread that is redundant and annoying. just trying to make sure its thorough
Originally Posted by tekkie
same here lol, i havent had time to work on mine so i am pissed you are way ahead of me lol
Tekkie... I feel your pain.. let me help you out... sell me your super charger kit and than you'll have less to do we're not to far apart, if you need a hand just let me know.
Originally Posted by lowpue
Thanks for the kind words but I would trade it in a minute if I could have your skills. :-)
oh I cant leave this comment alone lol ok so bring your Porsche(love that yellow) and drop it off at my house. I'll make it look like mine and you can give me your lambo lolol honestly guys my skill are completely self taught and really just comes down to patience. I will sit and stare at my project till the thought bubble pops and then just take my time making it happen. I'm sure pro's would laugh at how I do things but for me... it works.
ok another post coming up after this one with lots of pics and a question... please help
1- Hey guys... please help. I am not up to speed on the Porsche motors YET. I've read up on them but I have not wrenched on one other than changing a serp belt on my boxster. next year when I rebuild the 911 I will get edjumacated ok so I have an oil leak.. pretty good one. it is the first two pics. it is on the drivers side right above the header. please don't laugh but... is that the head cover? is it something I can fix without needing anything special, meaning unscrew some bolts, put on new gasket and tighten back down. or is there going to be some stuff that's over my head to do?. orrrr is it not my cover that's leaking and I just made myself look like a totol idiot lol?
2- next pics ... new parts!!!!! yay!!!! my new high flow cats came in last night. so my exhaust build will be starting very soon. I need to order me a header kit from summit and then pics will follow
3-exhaust dropped, had my little helper help me with those. although you know your working with your 7 year old when you ask him to grab a socket swivel and unscrew the bolts that I loosened up for him... then you walk away and come back to see him have ALL your swivels out on the floor and playing with them I said "son what are you doing" he replied with "daddy they look like little army men so I'm having a battle" lololol he had my impact swivels going against my chrome colored swivels .. kids are precious and man so much fun lolol he was a miracle child for us and were just approved for foster care so we are looking to adopt very soon for a sibling for him and another joy for us.
4-i was able to get 2 layers of glass on the roof last night. I don't like to put it all on at once because in the past I end up with warp in the finished product because of the heat. so tonight i'll put on another 2 layers and some supports and it will be ready to pop.
5- just a quick two pics of how I break the molds loose for those who might want to do this. so I take some shims and really lightly tap them between the mold and the car with a 14lbs sludge hammer lol ok not that big. once you get it started, squirt some water behind it and let it do its job. repeat ever 15 minutes or so till the part pretty much falls off. than let your 7yrs old have a blast scraping the dry wall mud off.... they actually really like that part. "look daddy I got it all over my cloths... think mommy will be mad... oh look some swivels" lol attention span of a 7yr old lol
6- rear bumper is done. got it primed last night and i'll sand it tonight and hopefully get it painted this weekend. wife is on training this week and for the next two weeks so I'm getting 4 hours a night of garage time... ohhh the guilty pleasure lololol
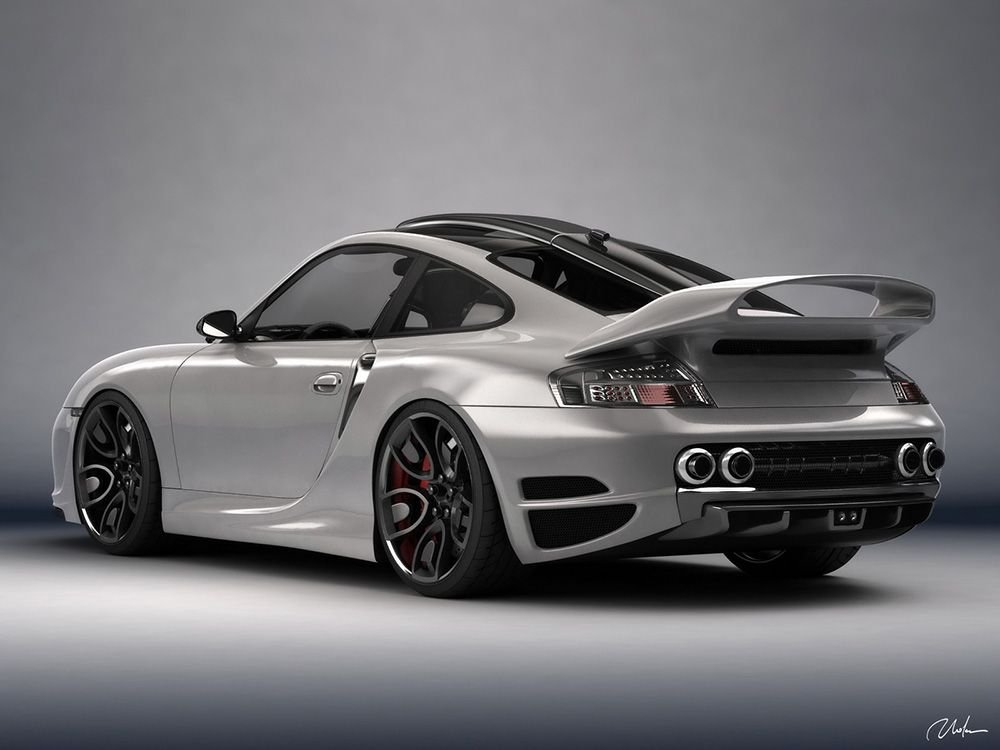
This is the wheels I think I'm going with from CCW wheels. What ever rims I go with though I will be going with black as I think it will look better with the green paint. green and black will the be the theme. I'm also going to go with the same bumper I put on the boxster but I'm going to mod it. I drew some black lines on the pic attached. seeing the bumper in person on my boxster I don't like how it dives inward there. Makes it look to pointy, so I'm going to widen a bit at the corners by those lines.
anyone have any input into the question in the previous post ?

 02-22-2018, 02:47 PM


 some mufflers I'm going to try, some steel braided brake lines and some lift pads for the car. I still haven't received my cats yet. but when they come in i'll start my exhaust build and post pics of it.


 we're not to far apart, if you need a hand just let me know.


