When you click on links to various merchants on this site and make a purchase, this can result in this site earning a commission. Affiliate programs and affiliations include, but are not limited to, the eBay Partner Network.
It'll certainly be close enough to work with but the thoughts of a one size fits all solution may be unrealistic. Know more soon.
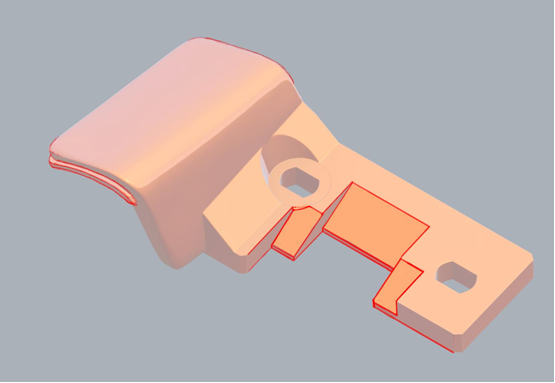
G
I've been watching this thread with interest GMorat. I remember when you were first motivated to fashion one of these while installing your turbo scoops. I think this is a great temporary fix for those wanting a bumperette delete. Wondering if a two piece unit that allows you to alter the position of the cover with a few adjusting screws might ultimately prove more versatile and effective? Keep up the great work!
Glad to see a 3D printed version may soon be tweaked and finalised - I know a 3D printer would have helped me a LOT figuring this out originally when I was making the original bumperettes.
One issue I had was lack of feedback - only a couple of RLr's that received the molded versions sent me comments - so I never did really figure out how consistent the holes in the bumper are from car to car. Also mine don't stick out 1mm so not sure if that is a molding issue or the bumper can be out that much car-to-car. If you do get the feedback, this should produce much better final results.
My original molds are still on their tour of NA - currently with "Brinks" who is in the painting stage this weekend with the ones he molded.
G, I am really looking forward to receiving a tweaked set when this all comes together, keep up the good work!
The 1mm issue may have been picked up in the scanning, the modeling, the printing, the cooling etc.
So hard to say. Did you ever test the pieces I sent you for fit?
In the end, if it turns out that these are just different from car to car, I may just put them on shapeways for people to have printed and shipped with the proviso that they will need modifications, even it they have to be cut back in places and built up in others, it's still 90% of the way to filling the hole.
I may get a few sets printed there myself to see if the inaccuracies that are present on hobbiest level printers are in their prints. It'll get expensive fast but I have to know at this stage.
You inspired me to do this and I'm still not sure whether I'd like to shake your hand or punch you in the face
I'm still not sure whether I'd like to shake your hand or punch you in the faceG
Lol, I'm just happy you running with this concept
I did try your printed versions and the fit was better than on your car - they were pretty much identical to the fitment of my molded ones which makes sense. So back to: What is different - the bumper cutout, the mounting points for the bumperettes or something else...?
I think that the actual location of the cutout is the variance. Mounting points on the cars seems solid to me so even a fraction out to either side on the hole makes this difficult. They knew it would be covered up and as Germans probably hated having to add this warts to their beautiful car in the first place.
I'M LOOKING AT YOU GERMANY!!!
I'm thinking of breaking the parts into 2 pieces, the mounting plate and the visible trim piece. You'd put the mounting plate in and then glue the visible trim piece to it in situ.
I have to imagine that the hole is a consistent shape, it's not like they were cutting them out with butter knives!
This is what I'm going to do hopefully. It'll be a mean each plug is two pieces. You'll be able to move the visible trim piece from side to side as well as slightly forward while still having enough of the tongue and groove in contact to glue when you have the fit perfected.
That's an interesting approach, but I can't help but think that it might cause a weakspot at the joint. Perhaps that could be corrected by adding a buttress to the back side as well to help triangulate/spread out the load on the joint?
Either way, jointed or not, I'm still interested with whatever you come up with.
Probably, maybe rounding out the hole and they holding the plug with a washer if needed may be the answer. Work is well busy at the moment, but as soon as I get a chance I'll investigate this approach.
I like the idea of having a rim/lip like you did below - but only on the top edge and not also down the sides - so insertion is still easy.
A lip along the top will pull it in flush with the rest of the bumper because although the shape/position of the cutout may change - the thickness of the bumper should not.
I working on this for the insert version minus the base. I need to give about 3.5mm to account for the thickness of the bumper cover plastic. Maybe I can roll it back into the other piece.
Does anyone have an estimate of how much a body shop charges to fill in your bumprette holes?
I assume the entire bumper needs a respray after. So maybe $700 total. If these prototypes work out. We're probably at half the price with the part and paint. How much does a euro narrow body bumper cost? Just trying to get an idea of all the options and how much they cost. What do you guys think?
I've been watching these bumper cover prices for the last four years. Shoulda pulled the trigger a long time ago. ~$1800 with the bits shipped+ $375 painted. This reversible fabrication intrigues me and I like where this is going. Subscribed.


 02-27-2016 | 01:19 AM
 If you do get the feedback, this should produce much better final results.