When you click on links to various merchants on this site and make a purchase, this can result in this site earning a commission. Affiliate programs and affiliations include, but are not limited to, the eBay Partner Network.
Really nice installation, Jo-hans! How do you like the Continental-Focal combo system? Does the HU have enough power to drive the system? Did you install the Focal K2 Power 130KR component system? Does the tweeter fit into the stock Porsche tweeter enclosure? Thinking of installing a similar set-up. A few additional pics of the speakers fitted into the doors would be great. Thanks...
Really nice installation, Jo-hans! How do you like the Continental-Focal combo system? Does the HU have enough power to drive the system? Did you install the Focal K2 Power 130KR component system? Does the tweeter fit into the stock Porsche tweeter enclosure? Thinking of installing a similar set-up. A few additional pics of the speakers fitted into the doors would be great. Thanks...
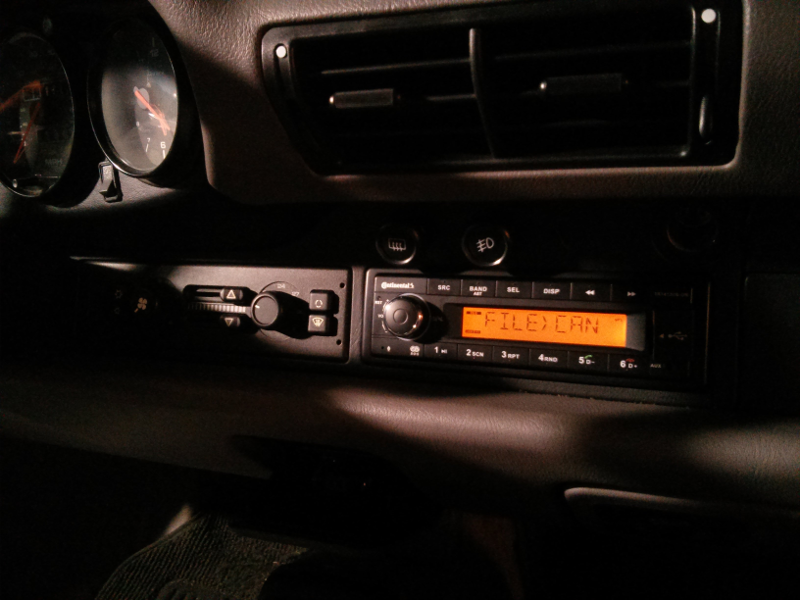
Brinks, just like the OP, I also opted the use of the stock speakers as they are still in good condition. The decision to go with the Conti HU was to get something that had bluetooth/USB connectivity plus this unit has a more period correct look and illumination matches nicely too.
The dated Pioneer HU in my car had to go.
The output does not change much and is similar between a CDR-210/Nokia, and the Pioneer that was in there.
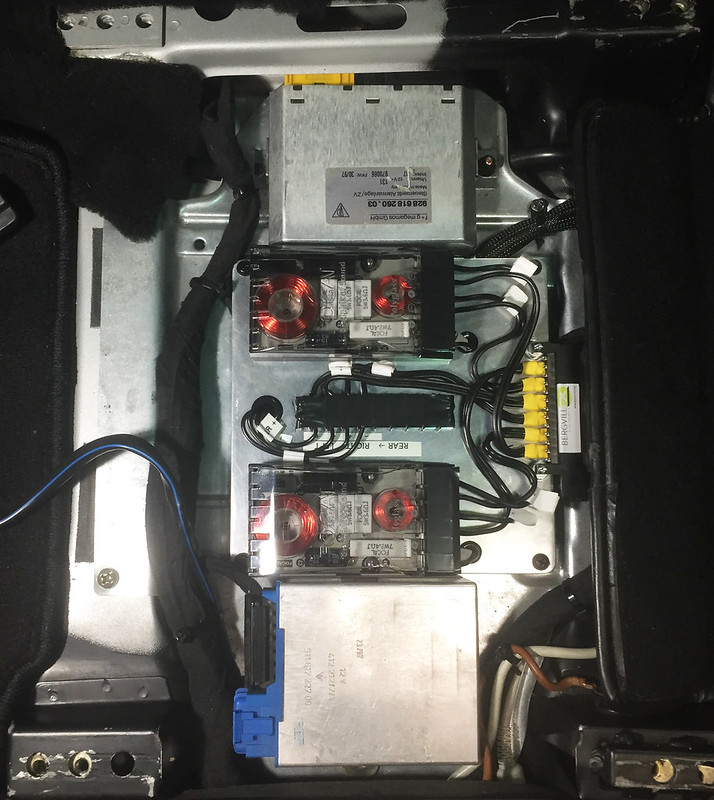
So with the Focal XO's installed as a module it is easy to go back to the Nokia Amp.
So no pics of the door speakers except this one with the module installed:
Anyhow good luck with your install and don't forget to share the results.
Non hi-fi installation so it was as posted above pretty much plug and play the only messy part was removing the PO's ~15 year old Alpine unit. I won't miss the bright multicolored LEDs.
Lucky for me whoever did the Alpine install found proper plug in connectors to convert the 2 OEM 8 pin plugs into the Alpine 16 pin plug.
I must admit I had several head scratching moments but Joe (jansan946) was extremely generous with off line help like when I couldn't get the radio antenna lead to fit. I had no idea that there was an easily removed adapter on the Continental's radio connector.
The only additional parts I needed were:
A. PAH-1784 External Power Supply Harness for select 1983-10 Euro Cars(Becker) from discountcarstereo.com
B. short piece of wire to run between the power supply harness and the ashtray light
Just like Joe, I also wound up not installing the Continental frame. At his suggestion I just lightly bent up some of the tabs on the Alpine frame and the radio fits nice and snug and I don't have to worry about losing the radio keys.
Looking back, as someone who is all thumbs it took me way to long to install this radio though I'm sure I could do another one in way less than an hour.
Just received one of these from Tore but I don't have anything that will connect to the A or B section of the Continental. My 84 Carrera had an old cassette player but the connector from it will not fit into the back of the Continental. I see he sells ISO connectors for 964s and 993s but nothing for earlier cars. Is this what I need?
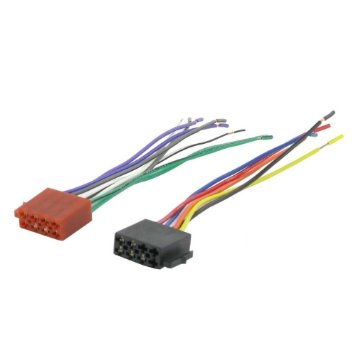
Depending on what type of head unit you have installed now, you will probably need universal ISO connectors for the power and speaker connections.
Such cables are available in most car stereo shops, as well as on eBay and elsewhere. Here in Norway, such cables are available in most hardware stores as well. Se pic below.
All the best,
Tore
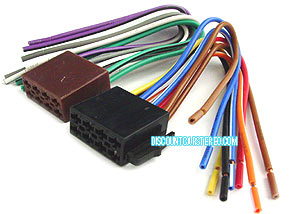
Thank you Tore. After a lengthy chat with discountcarstereo.com I found This Connector which I think will do the trick.
You have identified the correct ISO A and B plugs from Discount Car Stereo. I have a couple of observations/suggestions for your consideration:
1. You apparently have an aftermarket replacement radio installed. Try Googling the make and model for a manual or installation instructions. With luck, you may find an illustration of the back chassis sockets. This should help you identify which wires are for what speakers and the +12V power lead controlled by the ignition switch. If you are really lucky, a patch ISO harness may be commercially available.
I assume that your existing installation isn't heavily modified with a power amp, sub-woofer, etc.
2. IIRC, the '84 Carrera has a power antenna, raised when the radio is switched on. If so, the power output for that is pin A5 on the back of the Continental radio.
3. Before you remove the existing radio - if it is working - use the fader, balance and volume controls to test the LF, RF, RR and LR channels to make sure that they all work and are distortion-free. This will verify that the existing speaker wiring is correct and the speakers aren't shot before you change the harness.
4. My preferred harness installation is axial wrap and resin-core electronic solder using a soldering gun such as a Wen or Weller and shrink tubing. Butt connectors or wire nuts are poor substitutes and bad ways to go about it.
5. Some folks think changing the harness is fun... others don't. If you don't, you may want to consider professional installation which will get you to the end result for some expense but with a lot of time saved.
Have fun!!!
Thanks for the help.
Originally Posted by 20C4S
Chris M.,
Please let me know how u end up with. wish u have a successful install. i'd be doing the same after u.
I might have missed it, but is the cross over module something you made or pre-made? Interested in this set-up and would like to replicate. Have you done a write-up? or I can PM you.
I might have missed it, but is the cross over module something you made or pre-made? Interested in this set-up and would like to replicate. Have you done a write-up? or I can PM you.
If you buy new speakers, they come with crossovers.
On my original hifi option car, I used JL Audio C5-525 speakers. I bought the Bergville speaker wiring harness and ran it from the dash under the carpet next to the console, then put the JL crossovers under the seat where the crappy Nokia amp used to be.
The USB port only supports USB memories, not an iPod/iPhone.
The memory needs to be FAT16/FAT32 formatted. I tried a 512GB min memory stick, but this had exFAT formatting, and did not work. I am still trying to get the memory working properly in FAT32.
Cheers,
Tore
@Tore...so is there no way to charge a phone with this head unit?
Does anyone know if the Kienzle has the same issue?
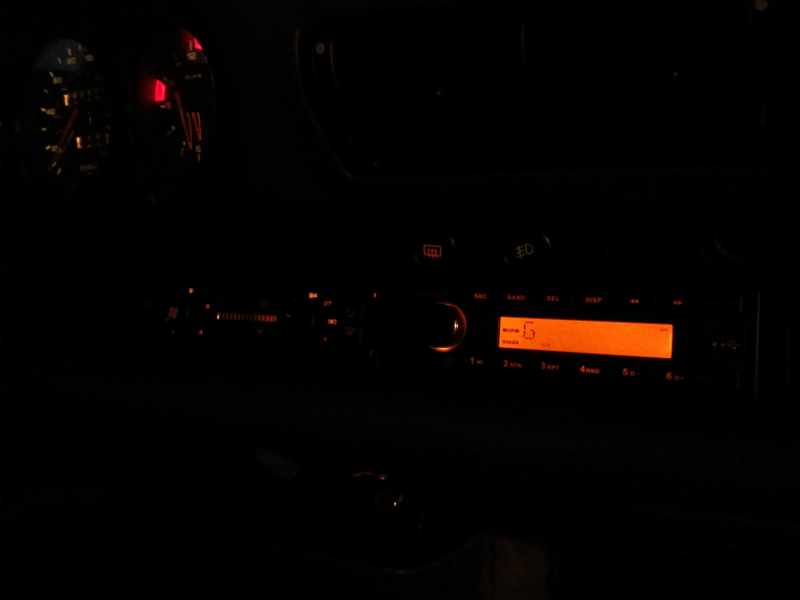
Finally got mine installed and it looks great. Only have the door speakers but it sounds way better than my iPhone speaker. I use Bluetooth for listening to music from my phone and if I ever needed to charge I'd use the lighter port. Not sure what I'd use the USB port for.

 03-03-2016, 08:00 AM


 but Joe (jansan946) was extremely generous with off line help like when I couldn't get the radio antenna lead to fit. I had no idea that there was an easily removed adapter on the Continental's radio connector.