When you click on links to various merchants on this site and make a purchase, this can result in this site earning a commission. Affiliate programs and affiliations include, but are not limited to, the eBay Partner Network.
Another interesting find - bought this damaged S/T instrument cluster, and ordered some replacement LCD panels from China . . . will be interesting to see if the S/T panel works with PDK . . . Might be a total waste of money, but I like the looks of the S/T gauges . . .
If I were able to get my hands on an S/T cluster, do you think it would be plug n� play? How difficult do you think it would be to extract and transplant the outer rings into a Carrera S cluster?
It's unlikely to be plug and play - still unknown if the GT3 software will work within the S architecture . . . I suspect the S/T software is nearly identical to the GT3, but there may be some small differences. Only way to figure this out will be to plug it in, program in PIWIS, and then see if it plays nicely with the other ECUs. One big difference I'm aware of is the PDK in the GT3 is totally different than all other 992s - and talks to the ECUs in a totally different way, so not sure the 8 speed PDK will talk to the GT3 cluster - if you recall, the GT3 PDK is 7 speed, so I doubt it has software to display 8 speeds . . . so this may throw up a bunch of faults that can't be fixed. Also, the S/Ts are all manual, so it's possible that the PDK code isn't native in the S/T cluster period.
It's unlikely to be plug and play - still unknown if the GT3 software will work within the S architecture . . . I suspect the S/T software is nearly identical to the GT3, but there may be some small differences. Only way to figure this out will be to plug it in, program in PIWIS, and then see if it plays nicely with the other ECUs. One big difference I'm aware of is the PDK in the GT3 is totally different than all other 992s - and talks to the ECUs in a totally different way, so not sure the 8 speed PDK will talk to the GT3 cluster - if you recall, the GT3 PDK is 7 speed, so I doubt it has software to display 8 speeds . . . so this may throw up a bunch of faults that can't be fixed. Also, the S/Ts are all manual, so it's possible that the PDK code isn't native in the S/T cluster period.
With my car being an MT, that�s why I was hoping it might plug in and work once coded since the S/T�s are all MT as well. It�ll be interesting to see what happens once you attempt to get yours working.
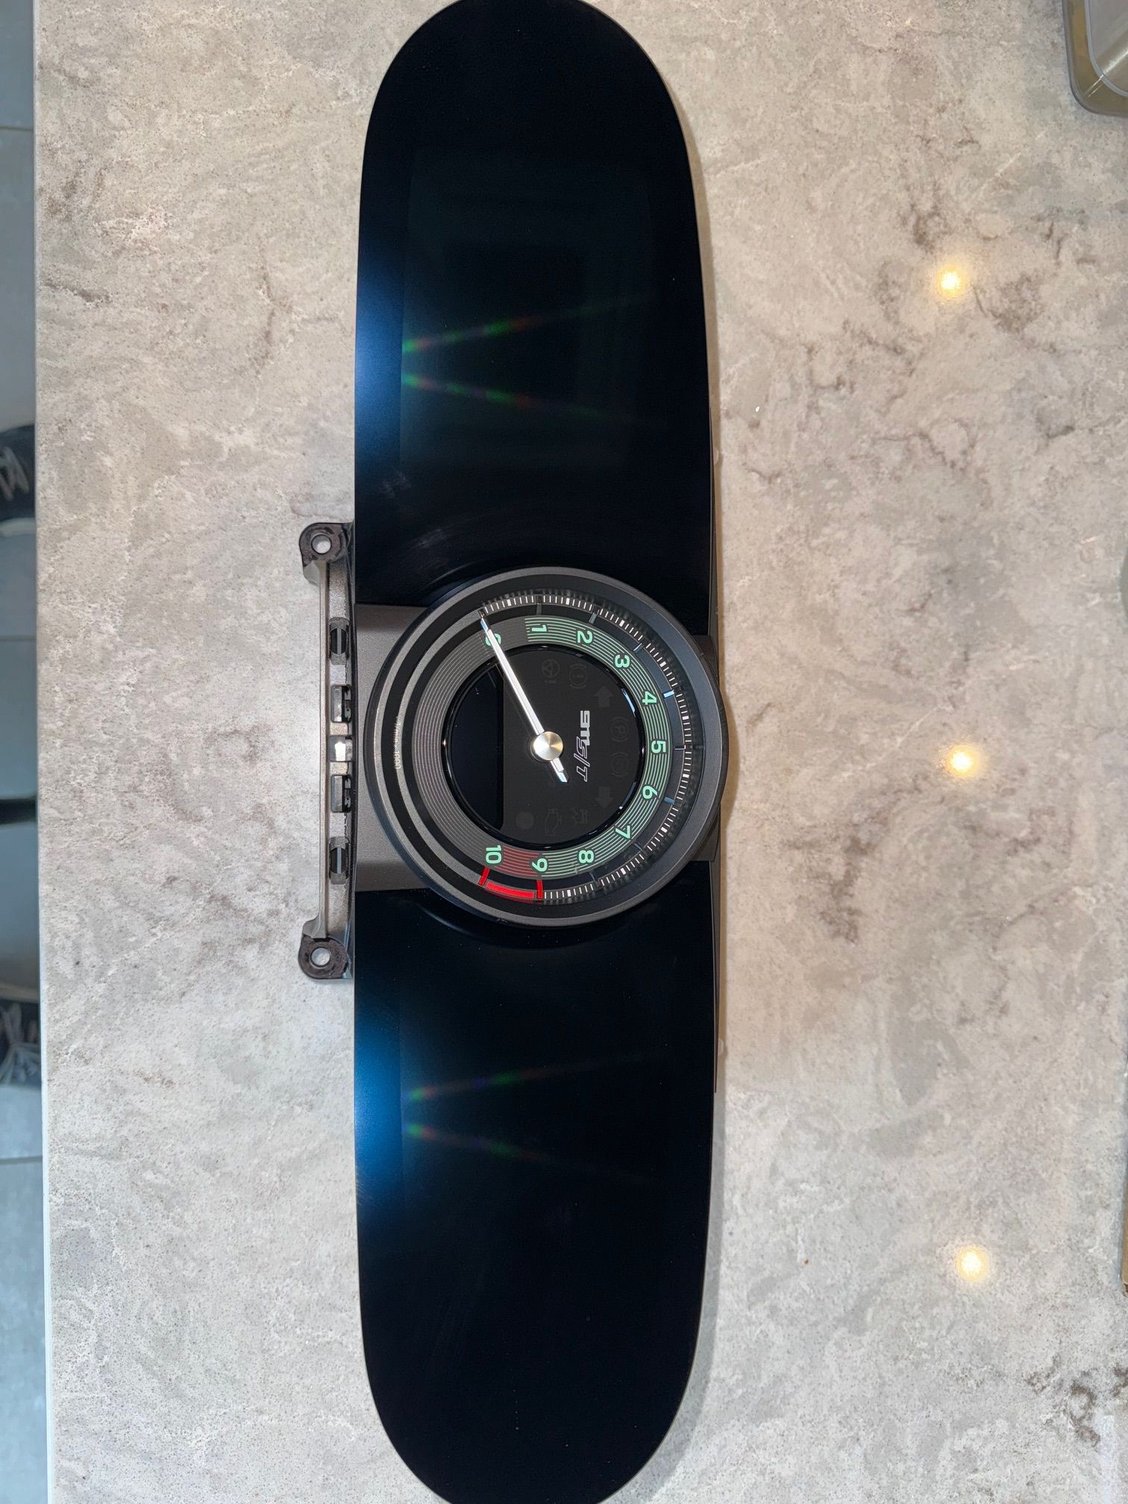
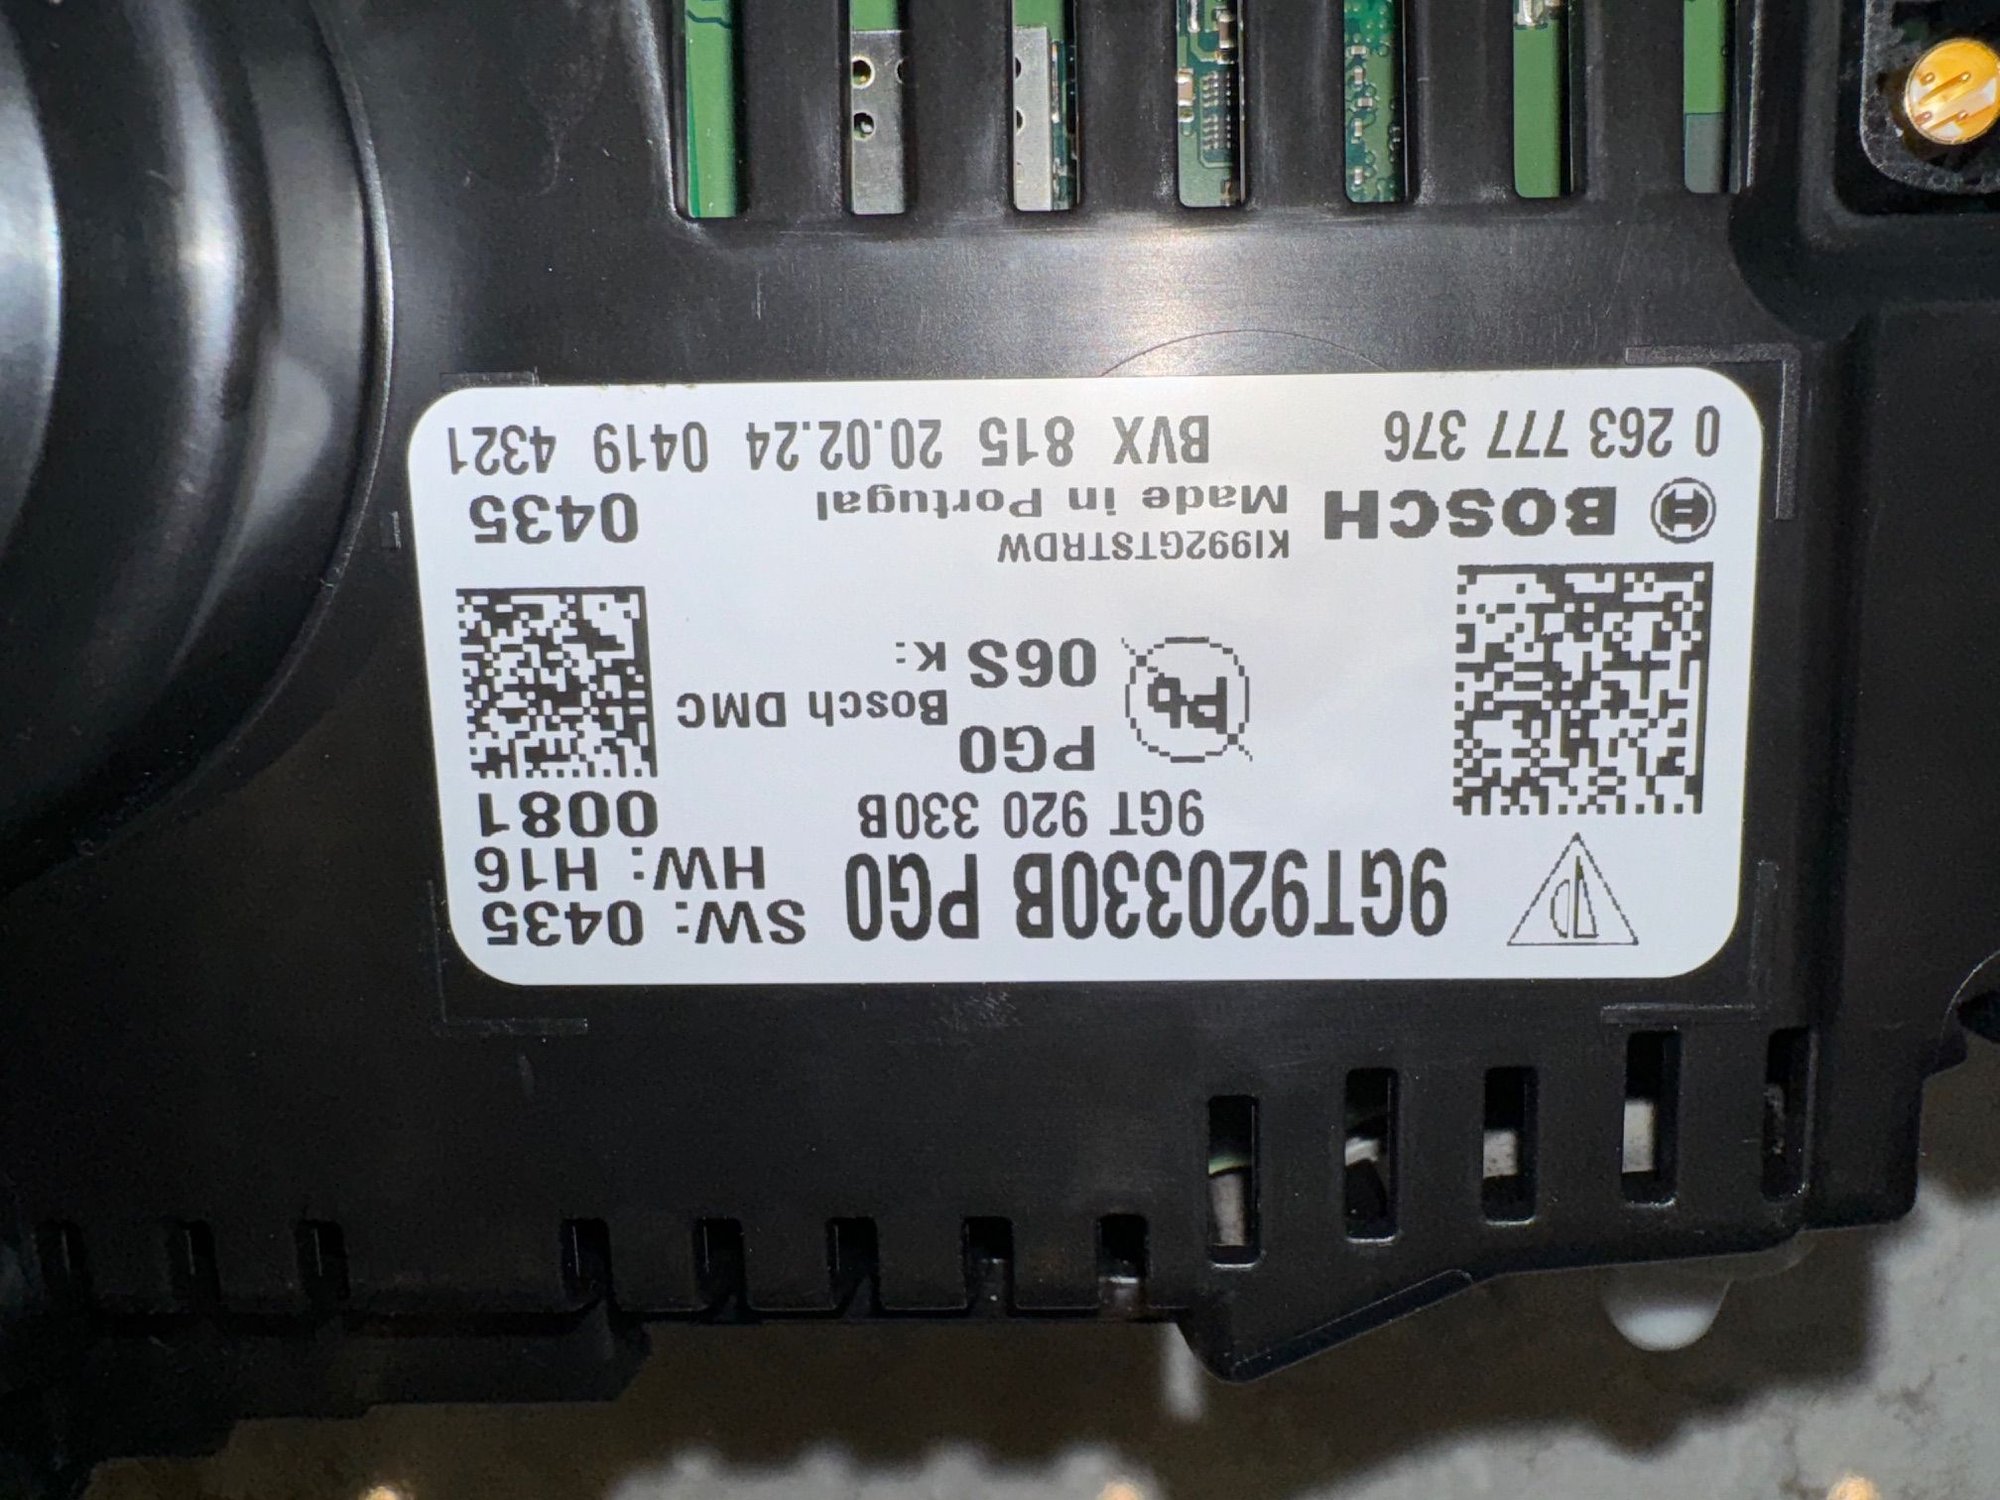
The damaged S/T instrument panel showed up today - I disassembled and repaired - ready to install! Beautiful piece. I pulling these all apart (S/T, GT3, and Carrera S), they all have the same PN on the circuit boards, etc - seems like the only difference between various models is programming. I know there is some stuff hard coded into these like Odometer (from what I understand) - haven't verified this yet, nor tried to reprogram one of these across models. I'm fairly confident this S/T unit will work in a standard GT3 (with PDK), but we shall see. . .
The damaged S/T instrument panel showed up today - I disassembled and repaired - ready to install! Beautiful piece. I pulling these all apart (S/T, GT3, and Carrera S), they all have the same PN on the circuit boards, etc - seems like the only difference between various models is programming. I know there is some stuff hard coded into these like Odometer (from what I understand) - haven't verified this yet, nor tried to reprogram one of these across models. I'm fairly confident this S/T unit will work in a standard GT3 (with PDK), but we shall see. . .
On one hand, there are some folks that installing a Cargraphic valve controller is too daunting of a task, and on the other hand folks like f4bones are deep in the trenches taking on tasks that master mechanics perform. What a pleasure to read his progress. Chapeau to him.
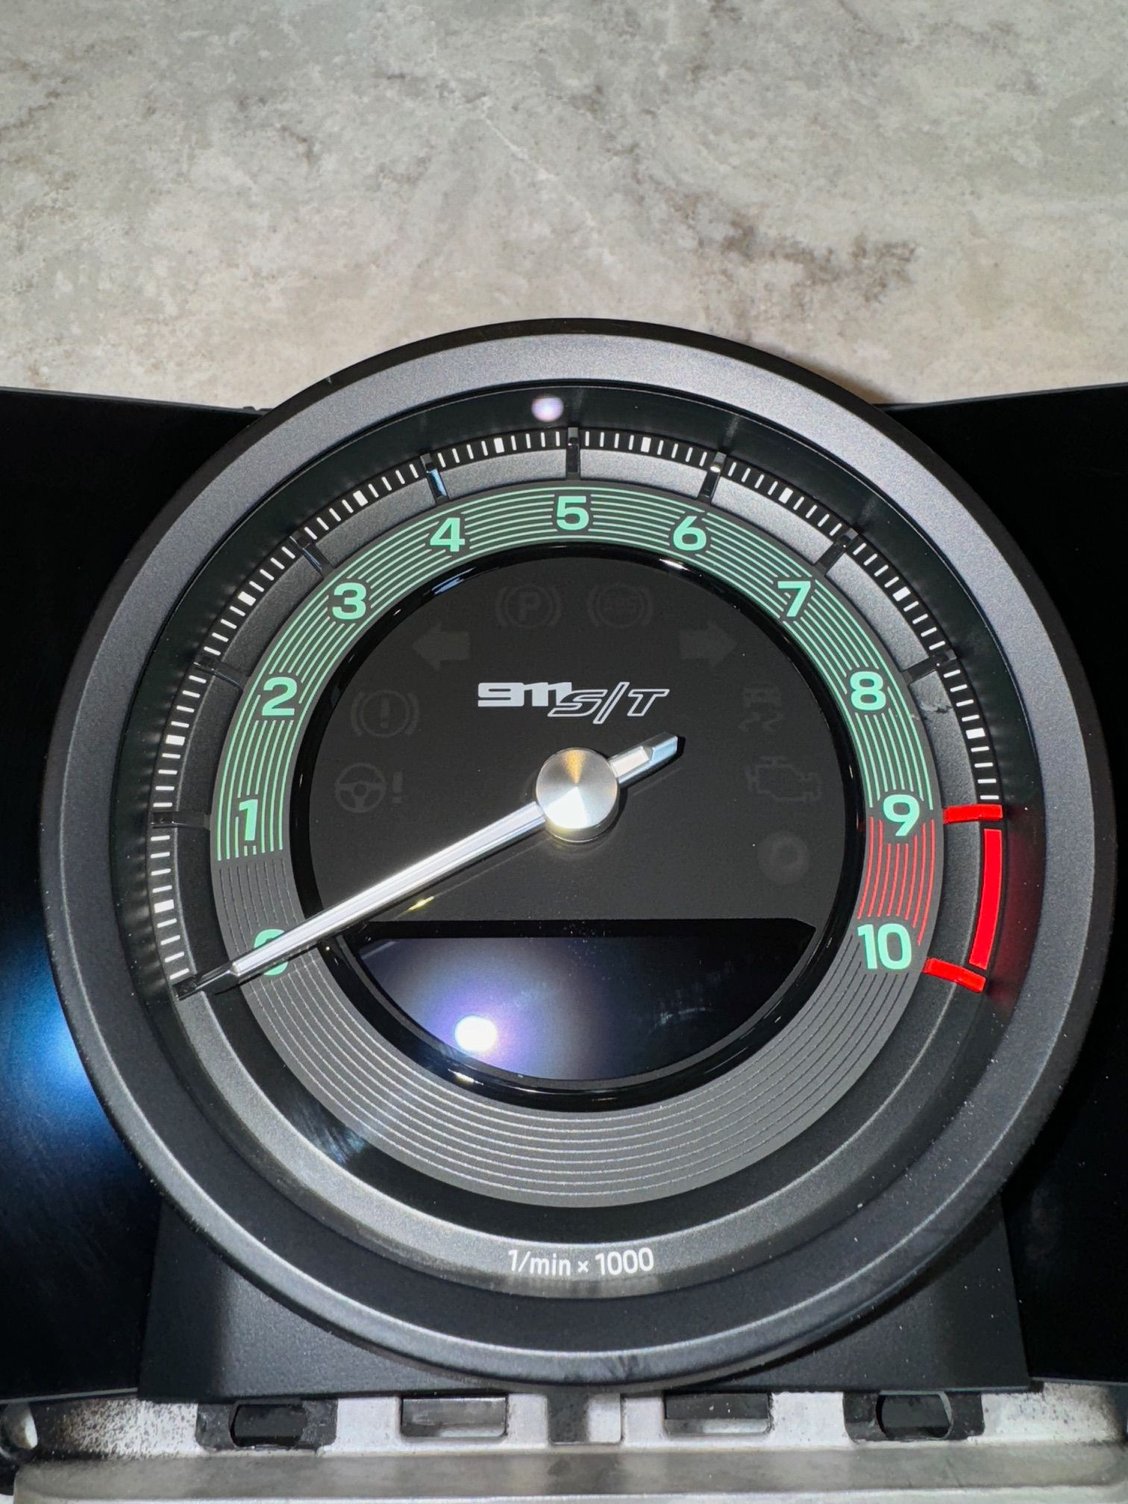
Wonder if it's possible to put the 9000 RPM mark at the 12 o'clock mark. Basically turn the tach 90 degrees. Since it's already a custom build, it would be cool.
Don't think re-orienting the tac would be economically feasible - it would require a complete rework of the analog tach housing to re-orient the stepper motor - and then a custom face plate, which could probably be sourced.
Don't think re-orienting the tac would be economically feasible - it would require a complete rework of the analog tach housing to re-orient the stepper motor - and then a custom face plate, which could probably be sourced.
Figured as much. Not like the old ones where you just turn it. lol
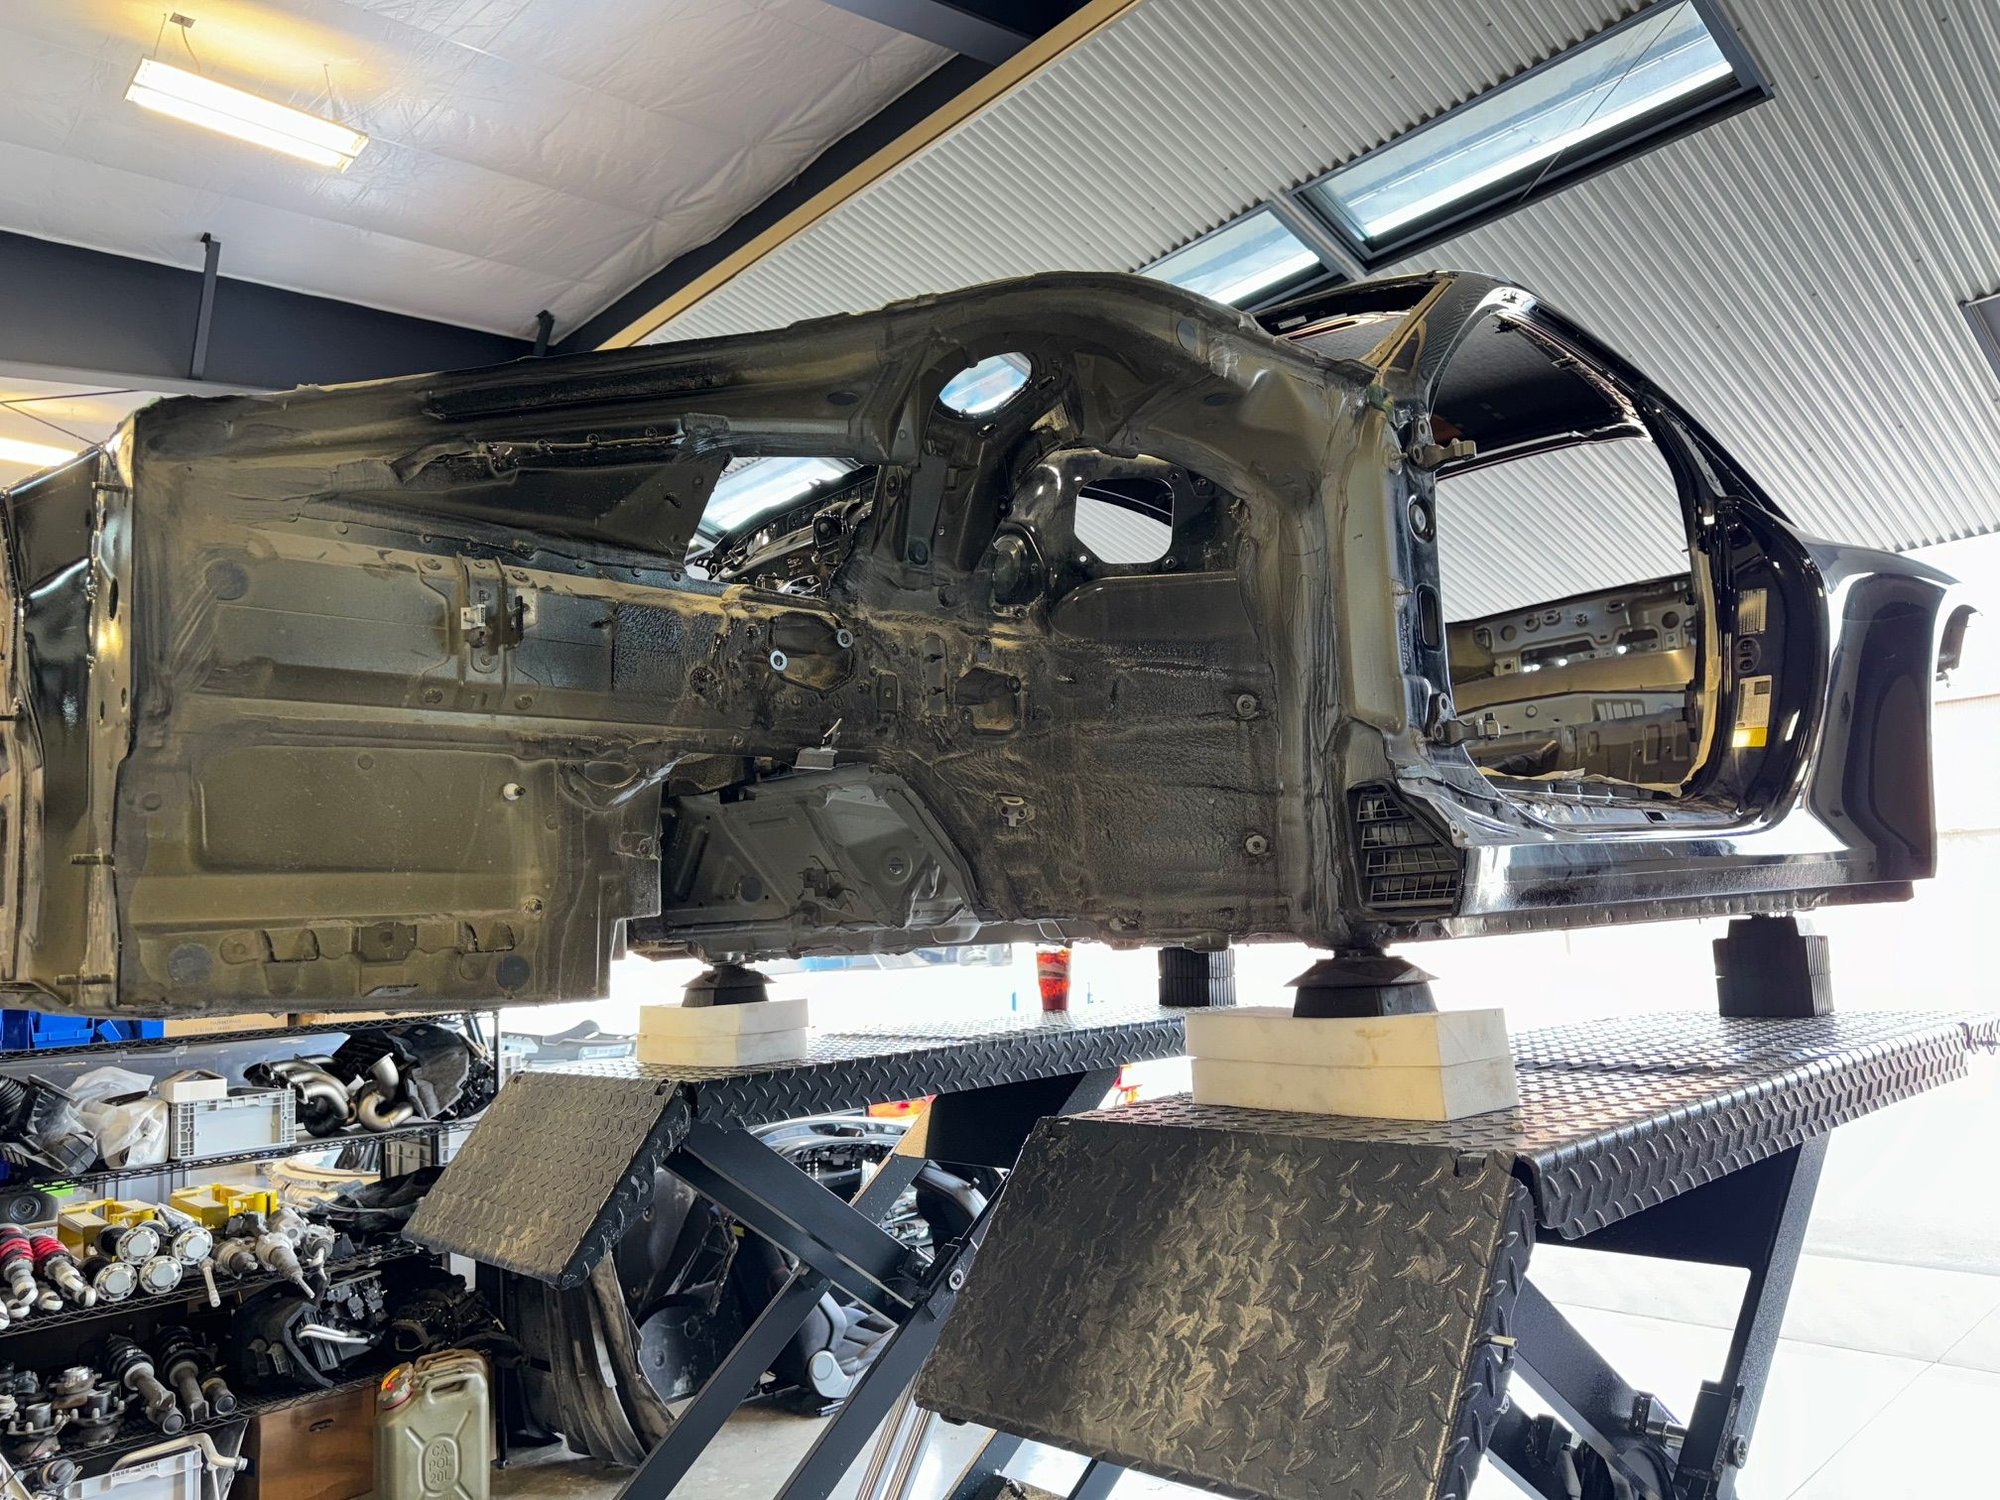
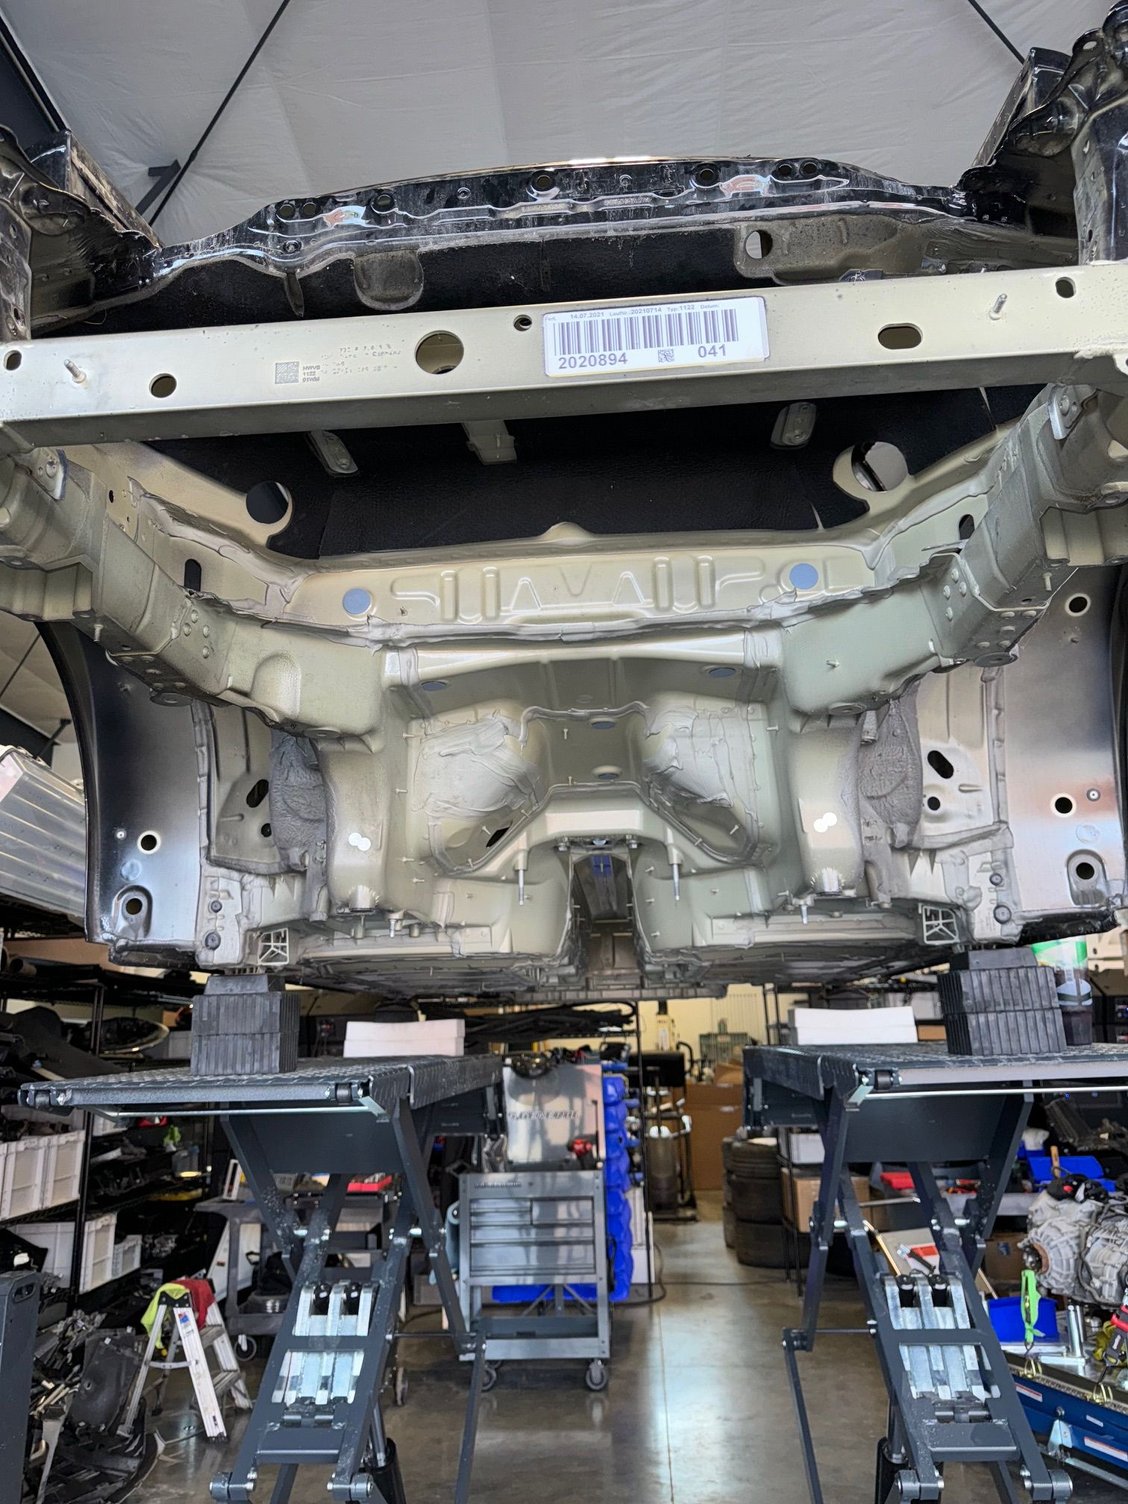
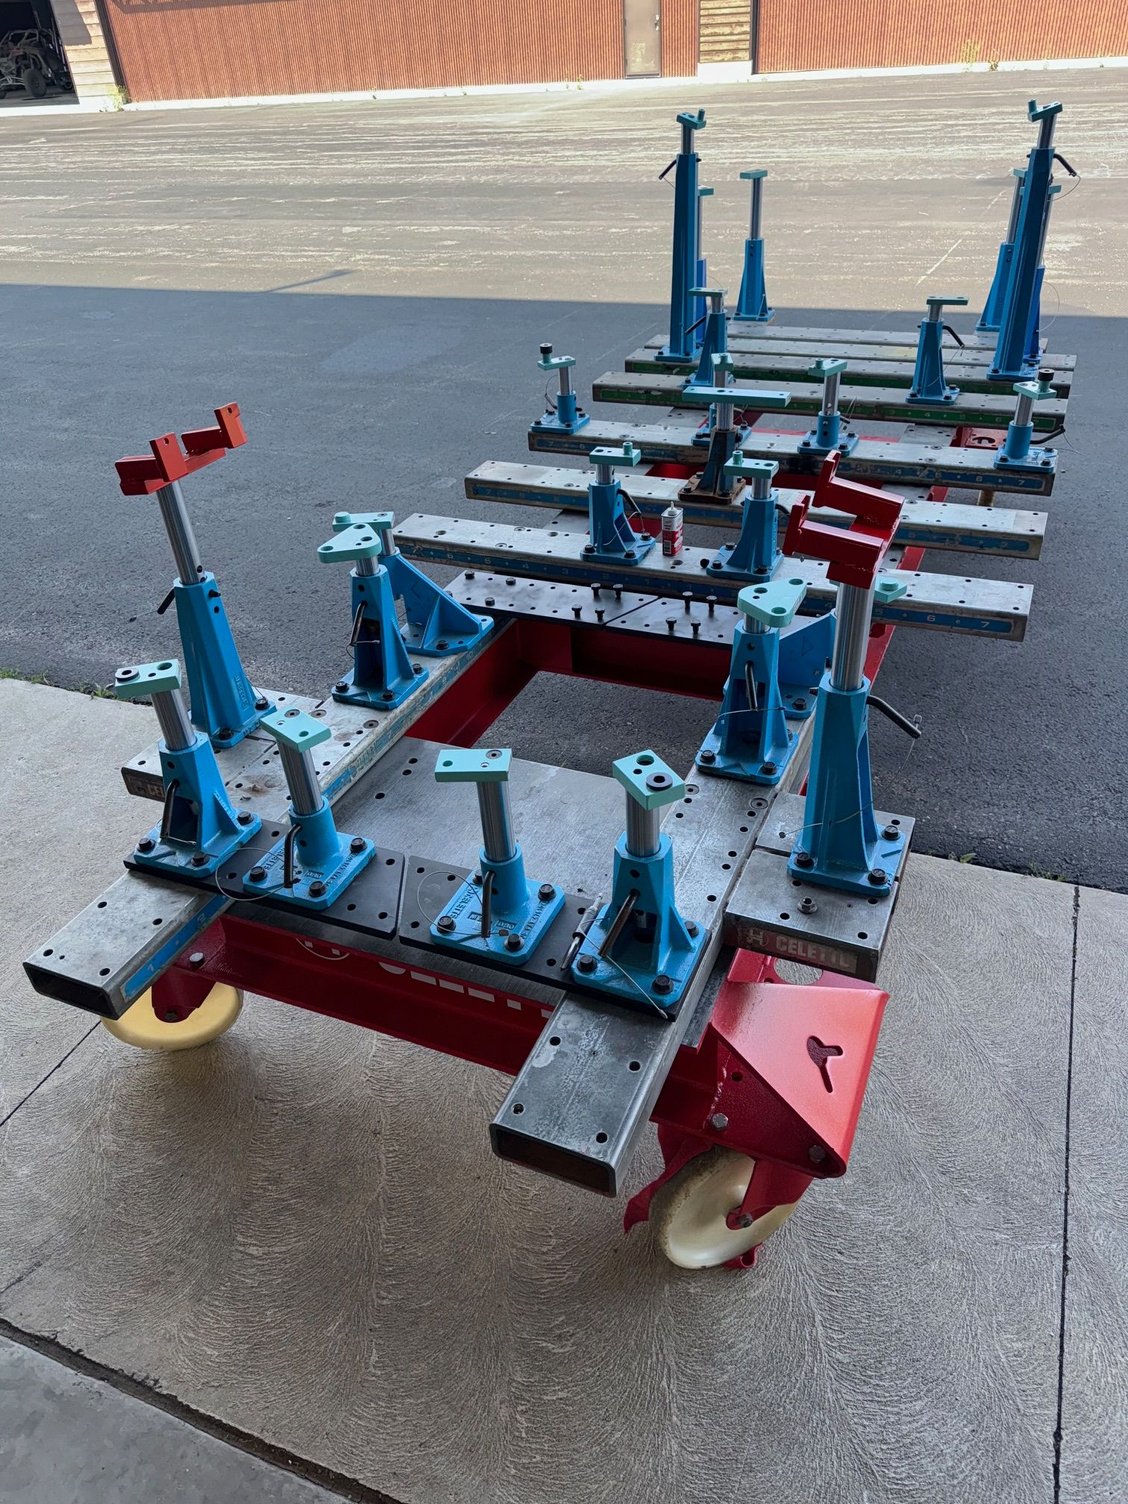
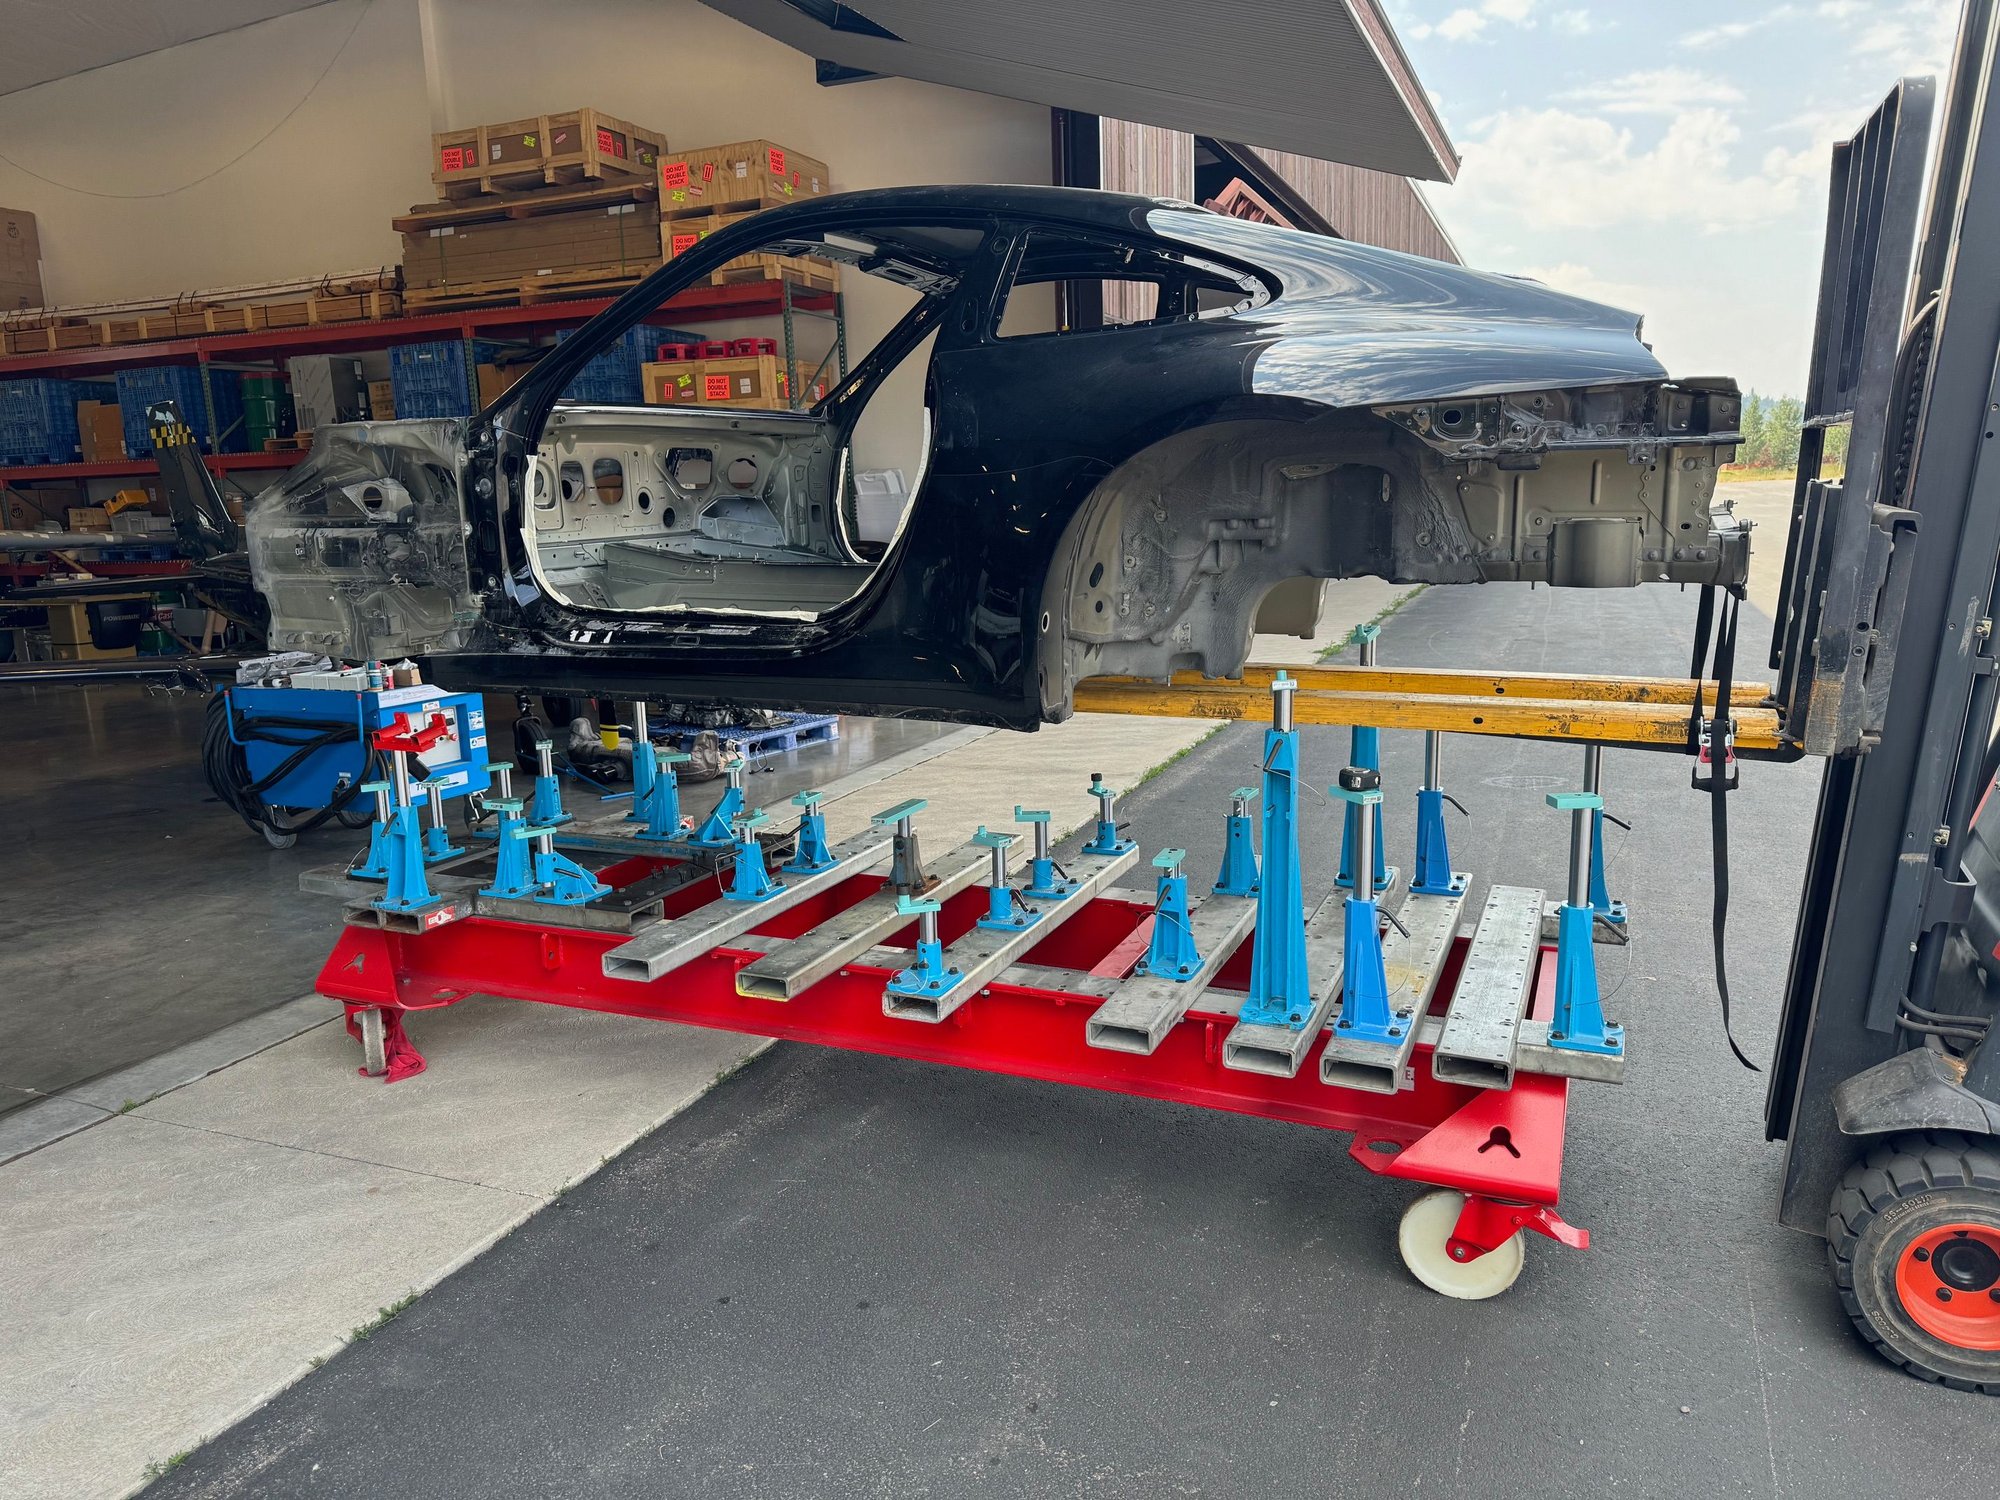
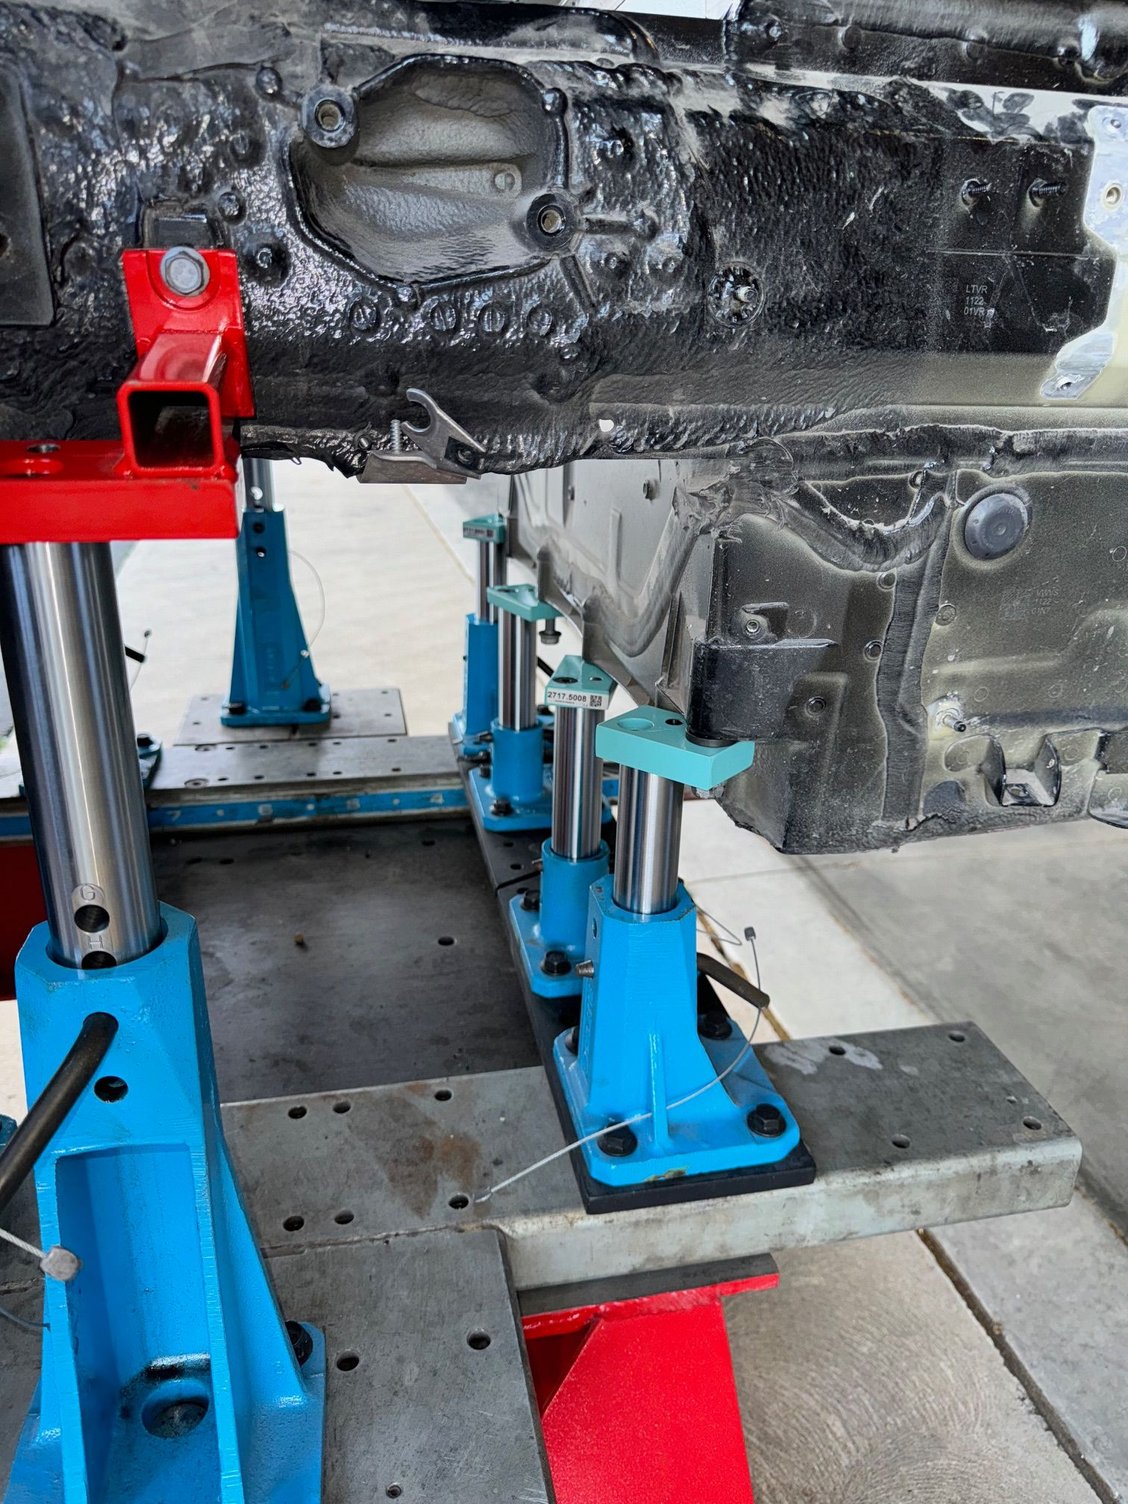
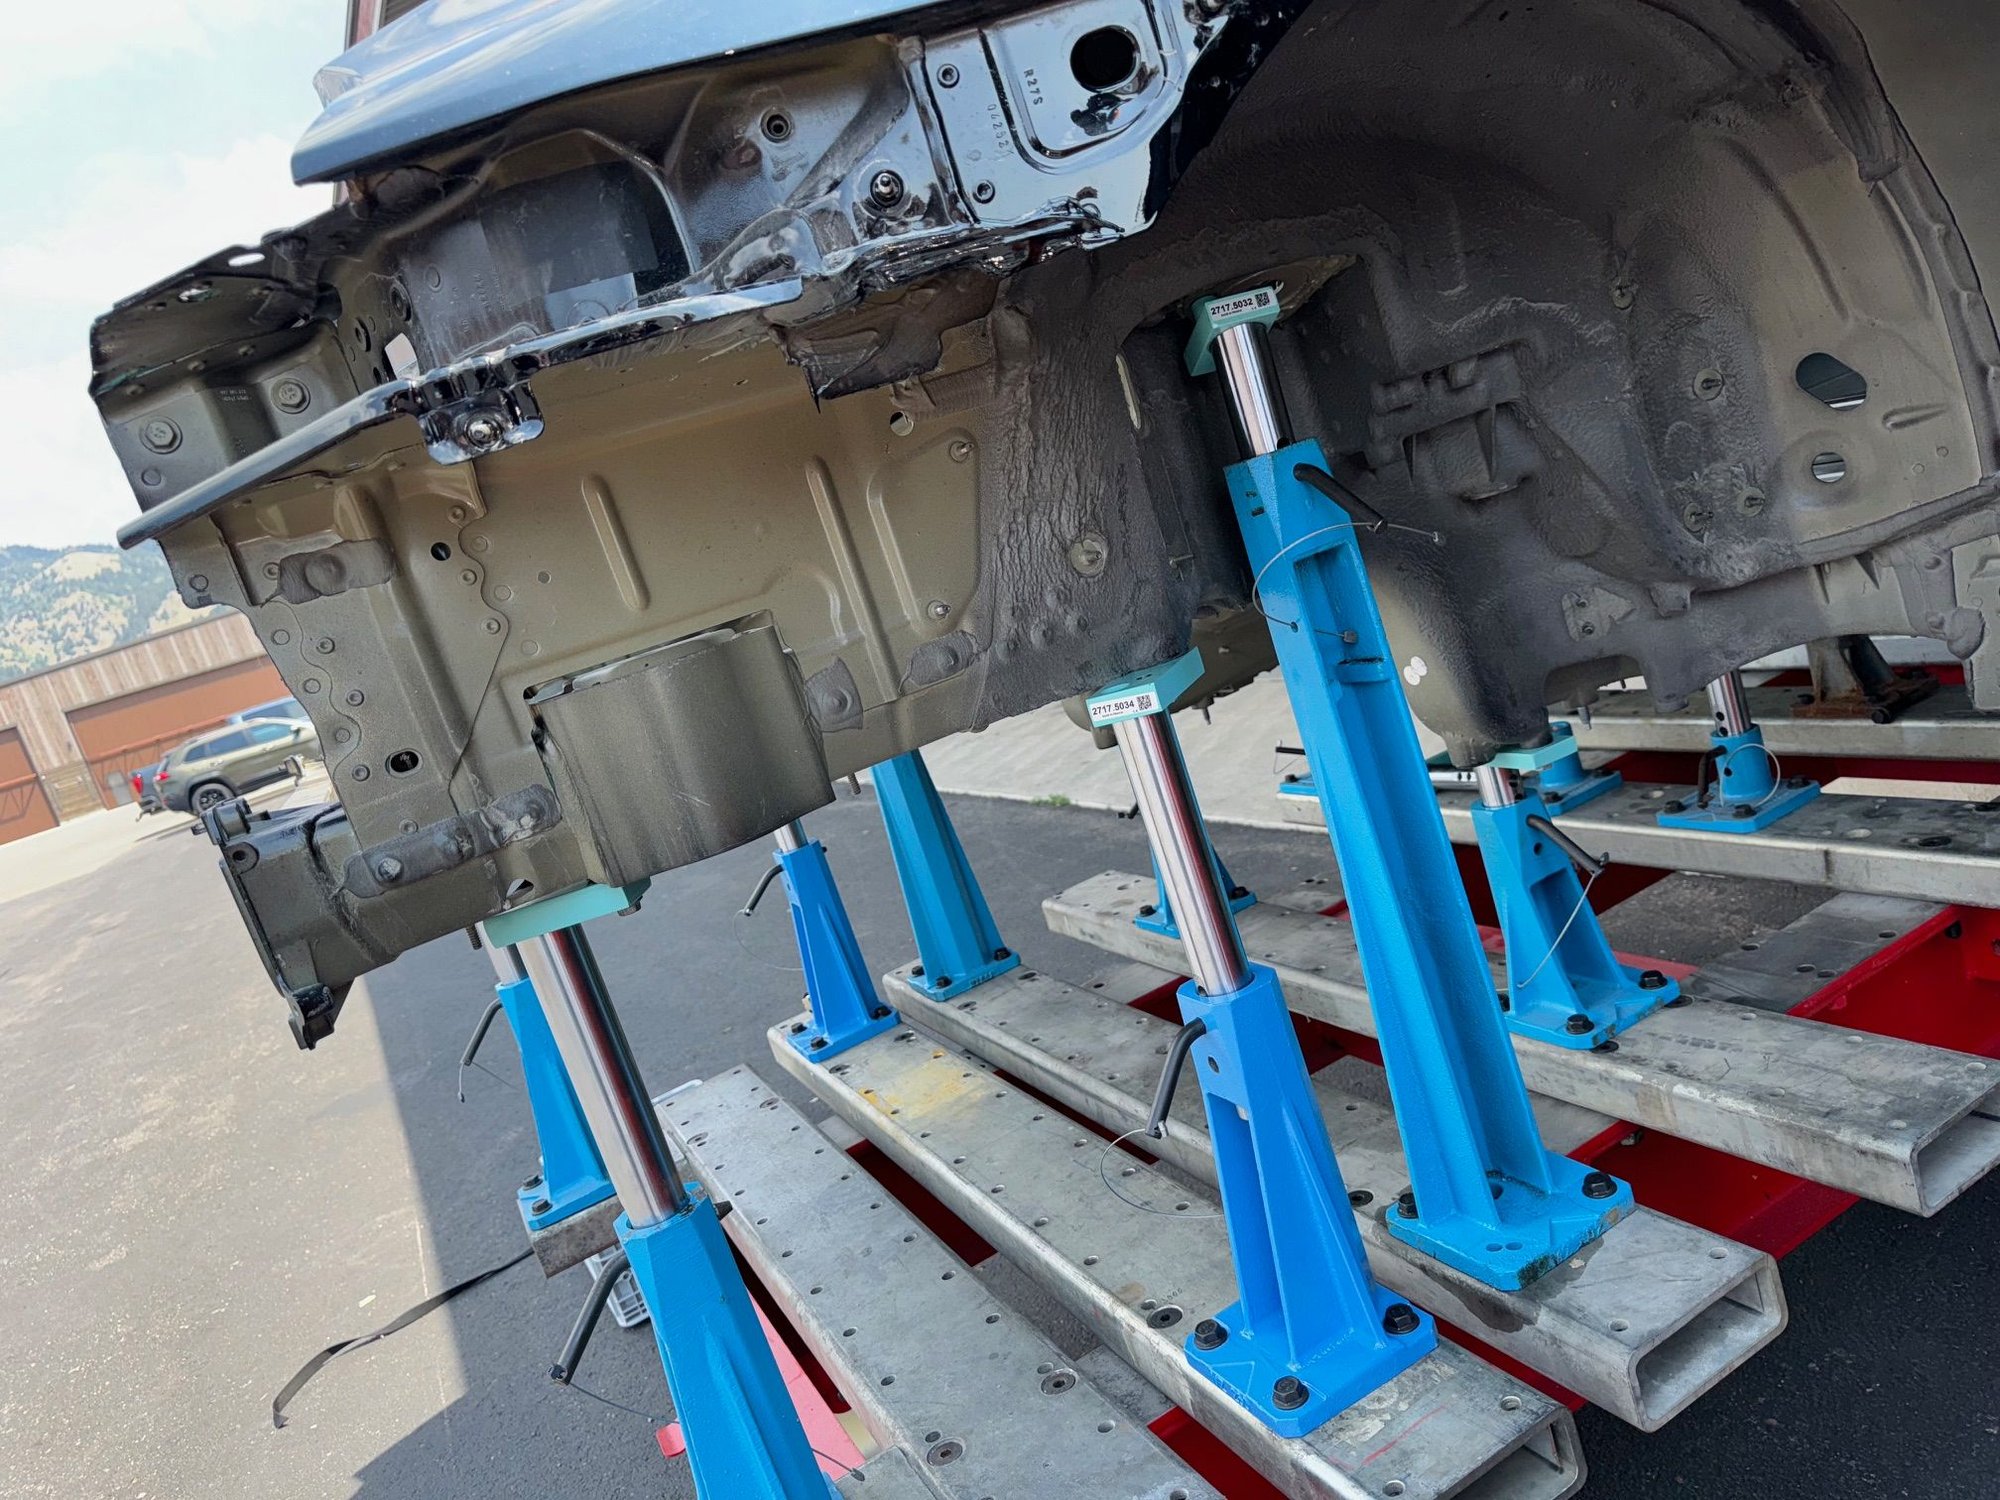
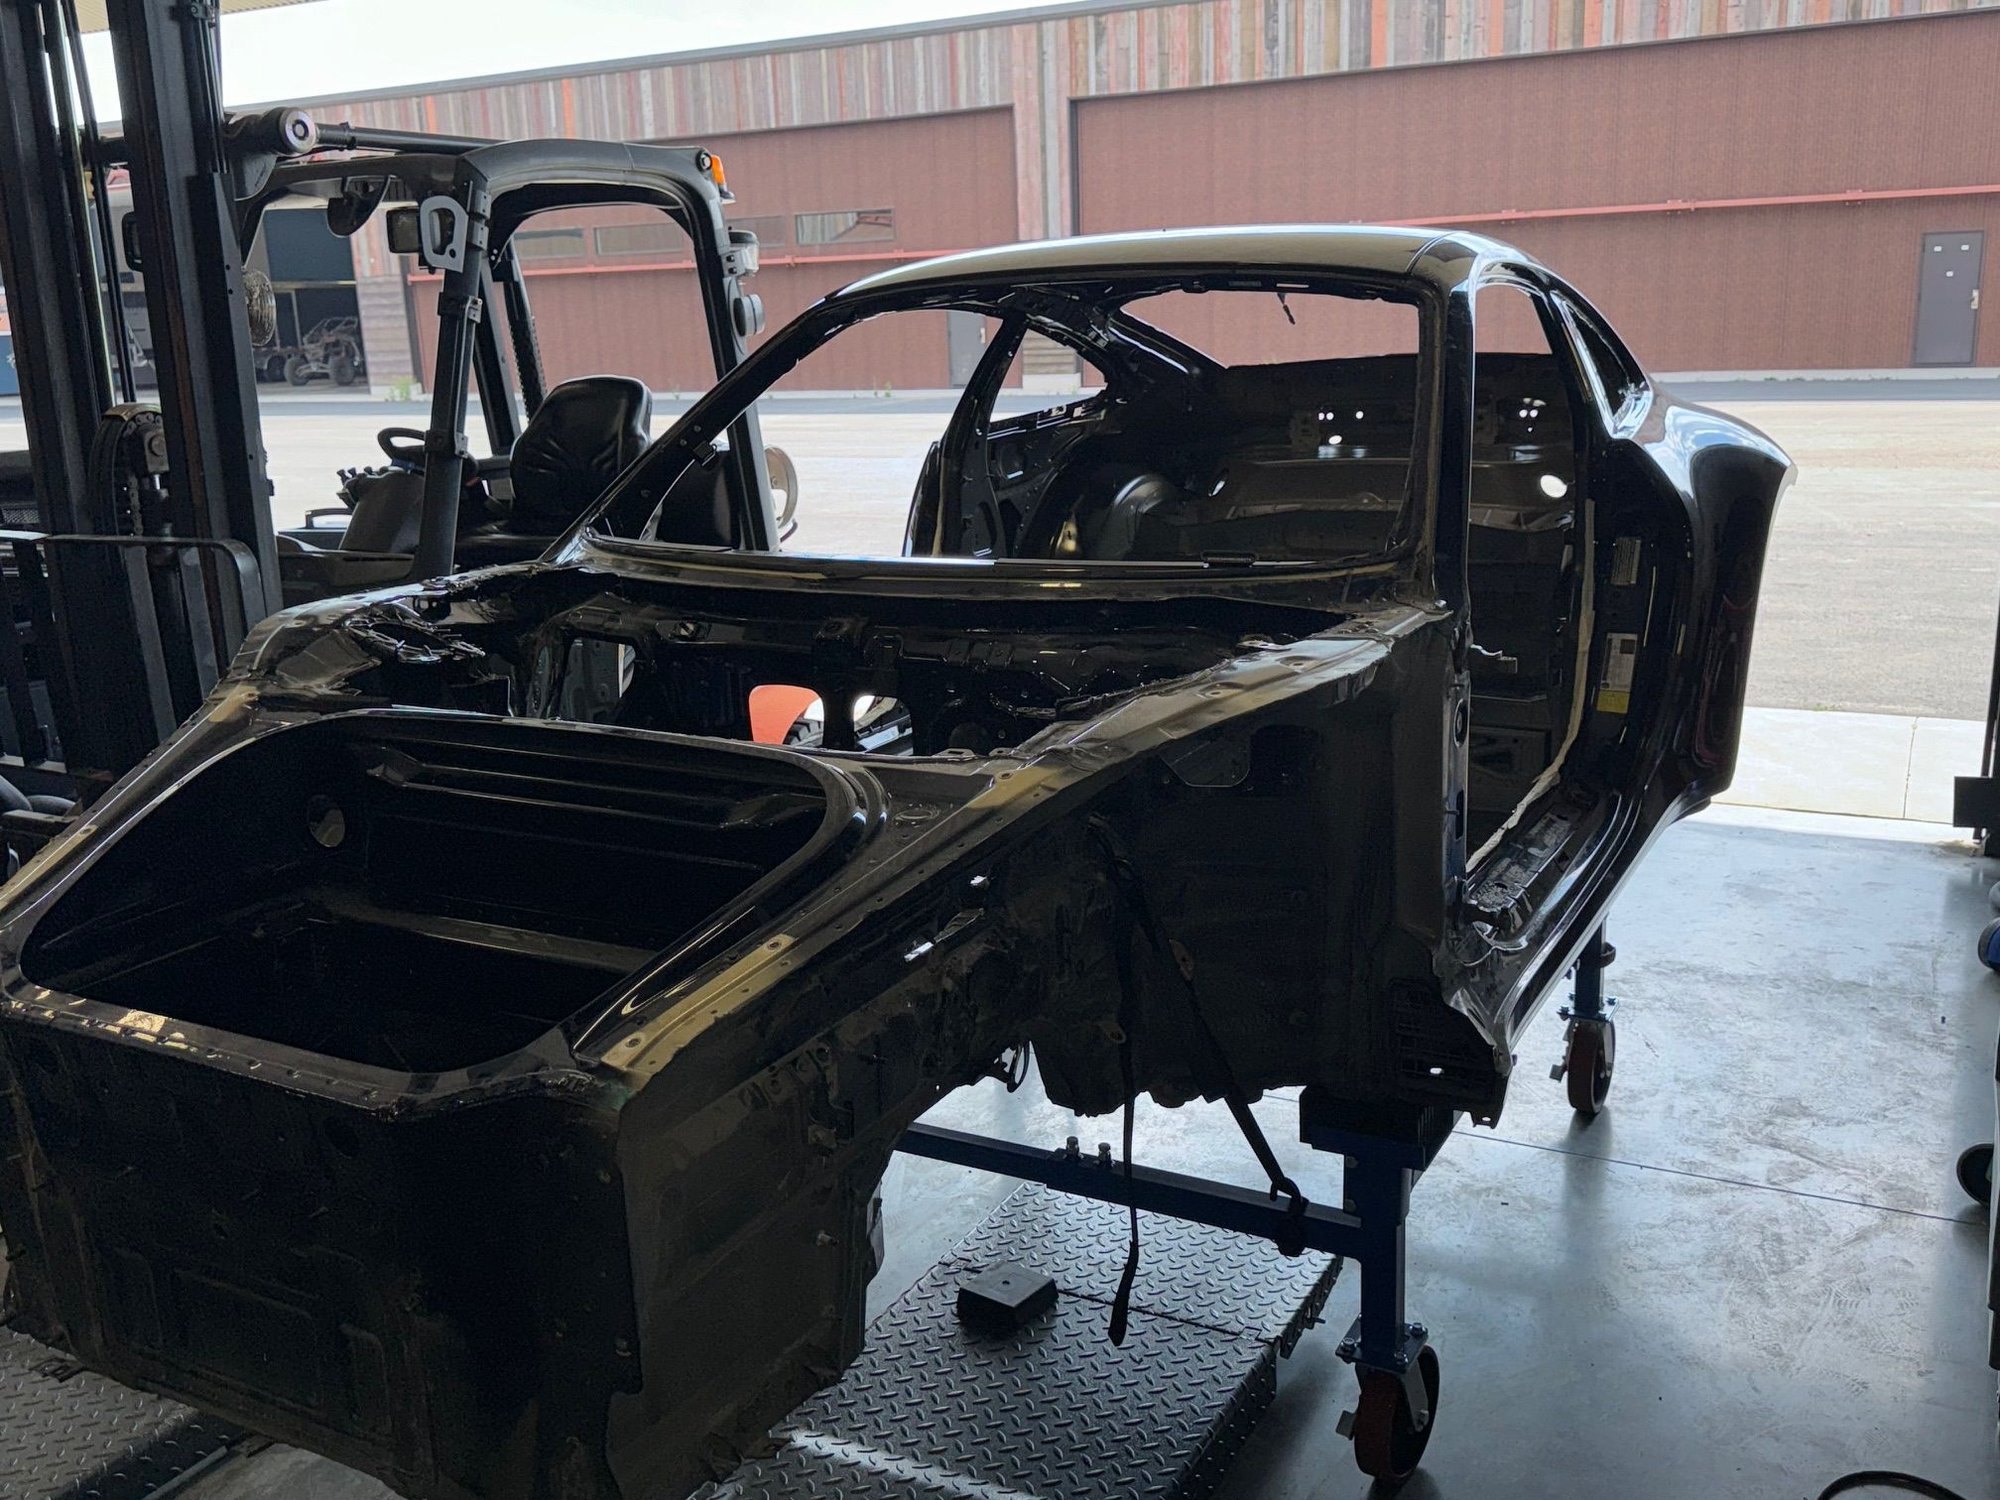
Made some good progress this week. We completed stripping down the donor 992 GT3 car, and got her on the Celette jig. Finally received all the fixtures from Celette for the 992 series, including the special GT3 mounting points - the Celette frame jig is really a nice tool for this type of work. After configuring the jig per the included 992 drawings, I used a forklift to carefully set the donor body down onto the jig points. The donor had a pretty minor front right hit, and I couldn't see any deformations on the front tub. However, to be certain, I wanted to place the body on the Celette to confirm all was in order.
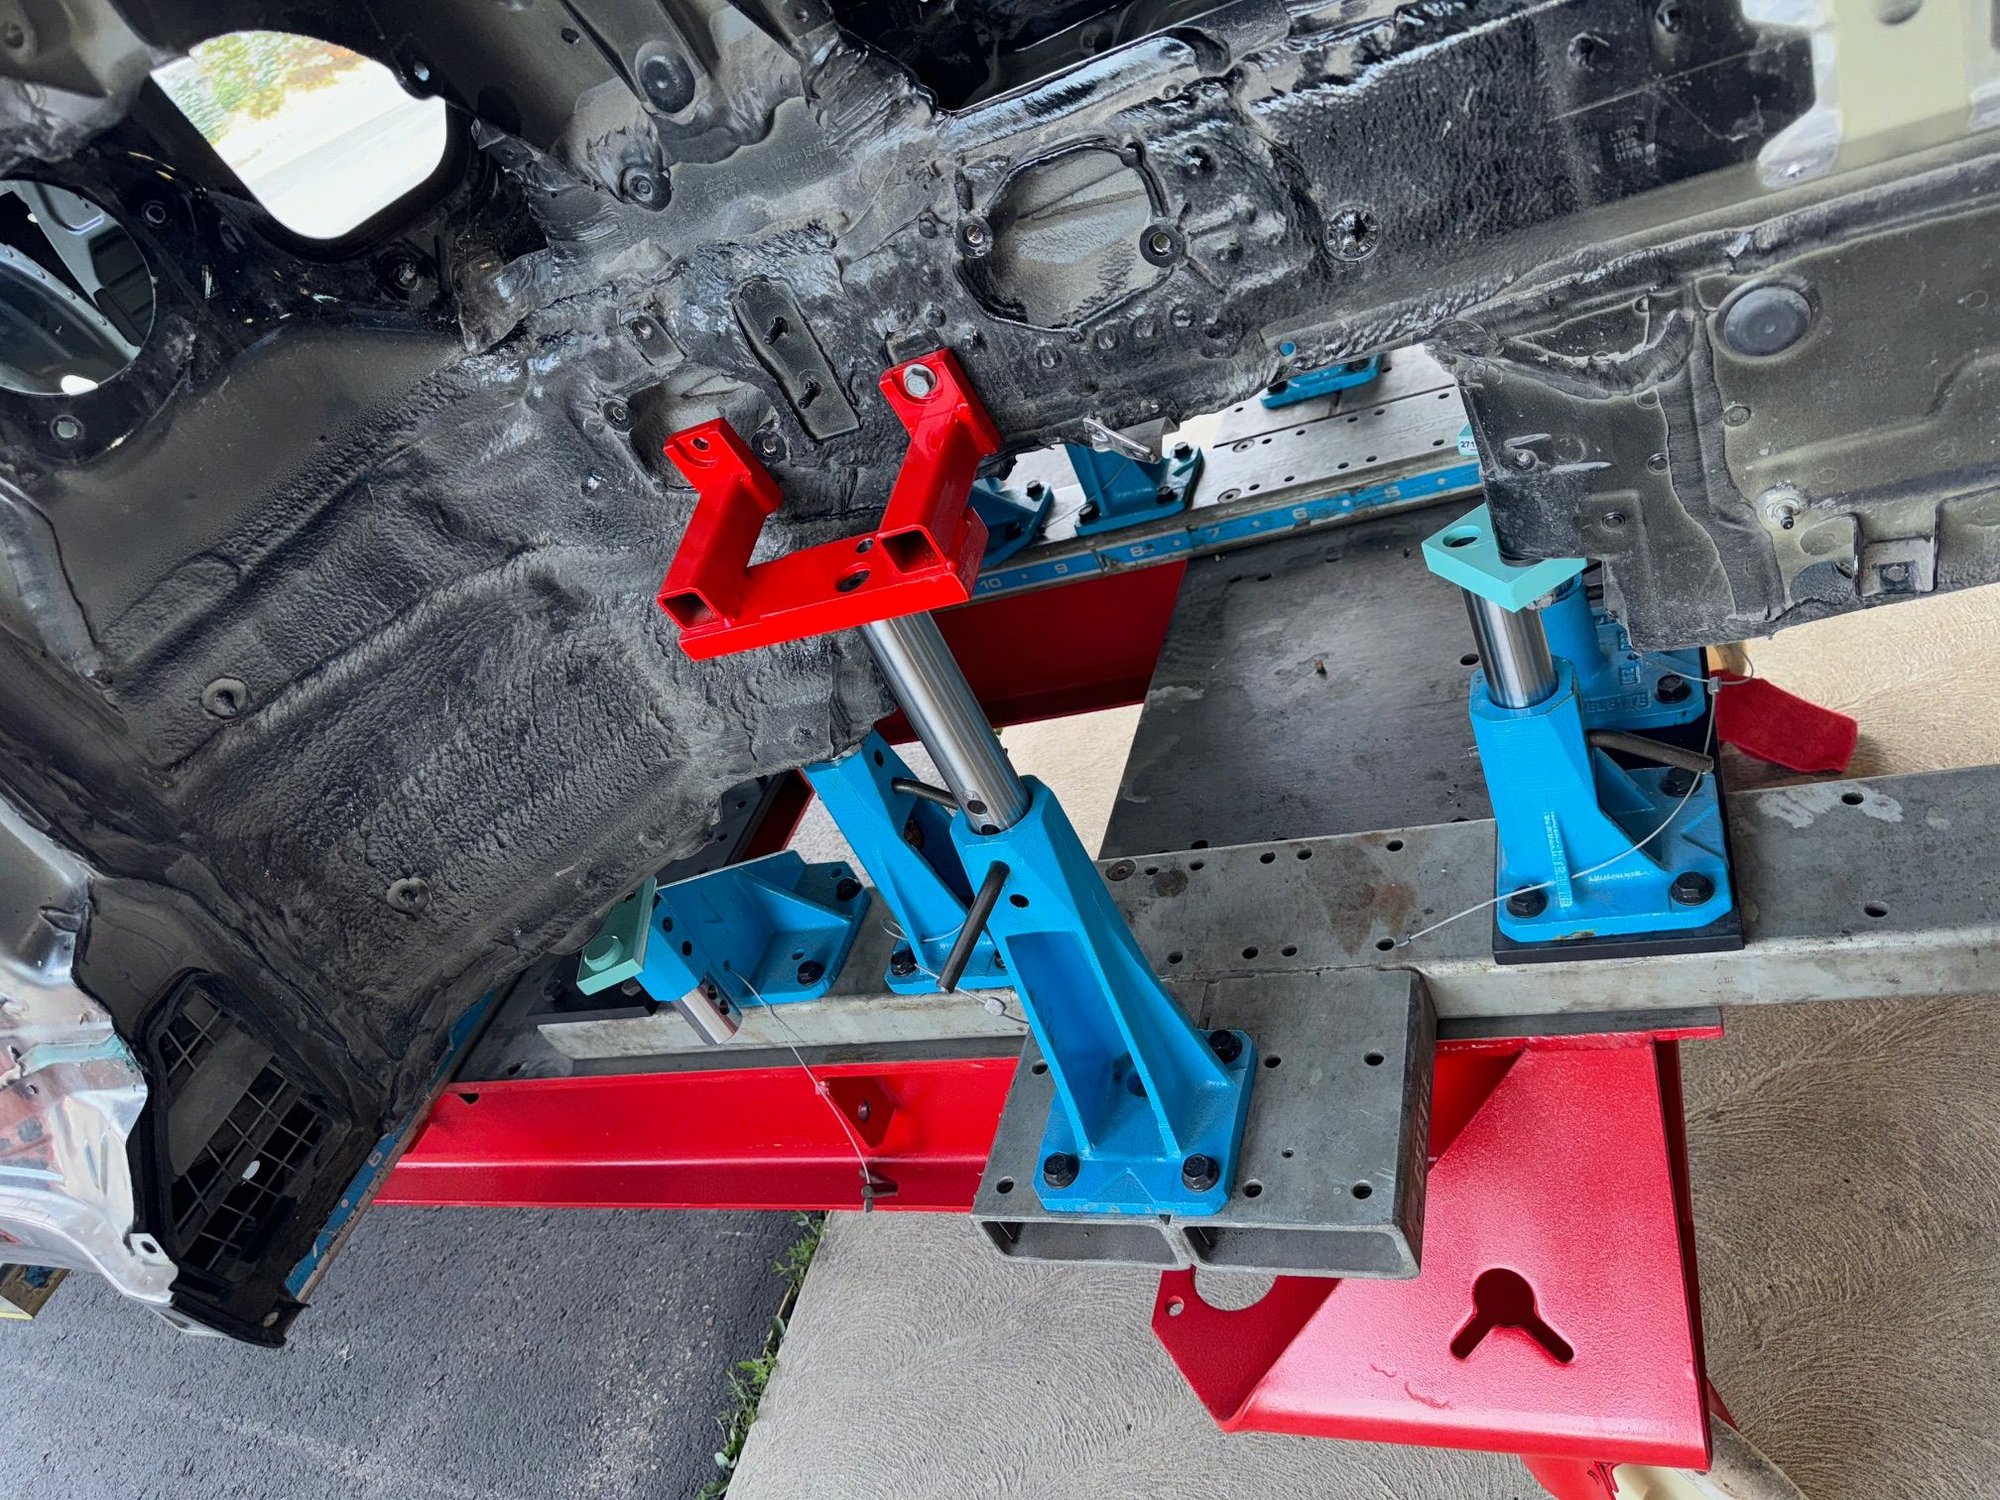
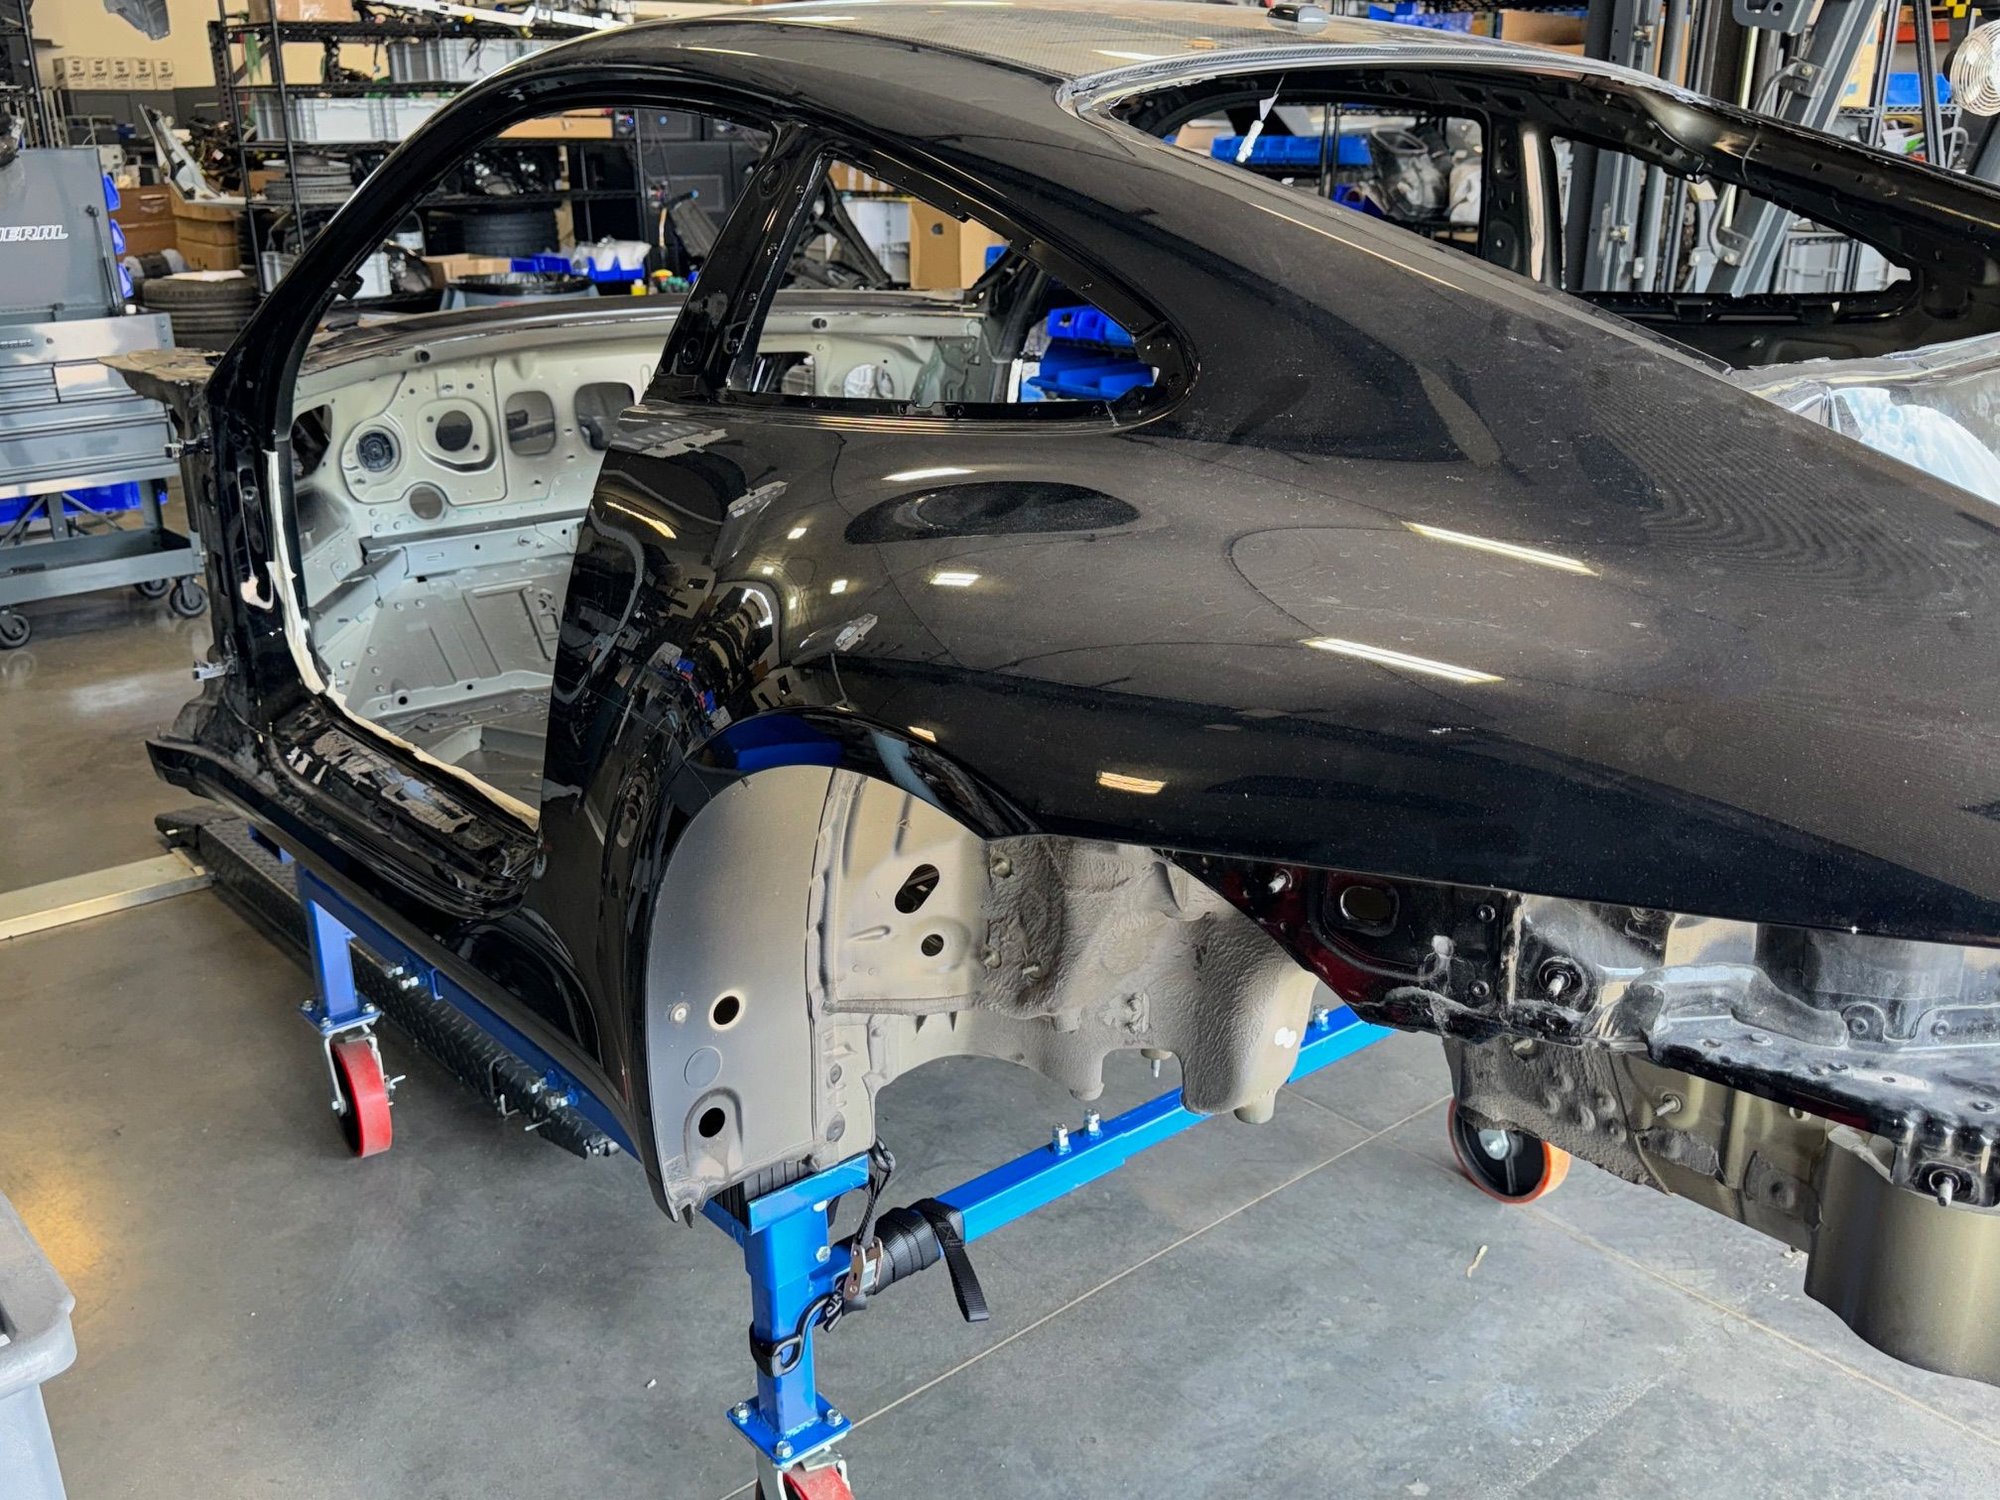
The jig is very high quality, and the points are very stout and precise - seems like the tolerances are very tight. After setting the body down on the jig, I started 2 bolts at the rear points, and two in the front. I was greatly relieved when all the points lined up perfectly, and I could hand screw in the mounting bolts. Seems this body is absolutely perfect! Next, removed it from the jig, mounted it to the Tuxedo BCS-3000 rolling dolly, and got her loaded up in the trailer for the trip to the paint shop in San Diego. Hopefully will get started on paint next week!
There is some damage to the RH rear fender - still not sure if this can be reworked, but just in case, I have a new fender panel on order - that should be pretty straighforward to replace if required, and shouldn't slow the paint process down too much. I'm going to remove a bunch of the sloppy factory seam sealer while in paint - bugs me to look at it. Should be quite spectacular when completed.
The RS doors are on order from Porsche in Europe - still waiting for those. Other than that, I have all the OEM parts to exactly match the S/T bodywork. I'm excited to see her with the new body panels fit up, and ready for paint!
Next up, I dropped the white 992 S body onto the Celette (my 992 GT2 project) to prepare for the new front tub. Using the jig to mount the new front tub will give me 100% confidence that everything is perfectly aligned and laser straight.
Donor body disassembled and ready to place on frame jig Spent some time trying to figure out which mounting points were which . . . it actually was pretty intuitive. . . Celette jig configured with all the mounting points for the 992 GT3. My bench is an M7, so not quite long enough to mount both the front and rear bumper connection points, but those are not critical. If there were concerns there, I could shift the jib and only jig up part of the body. In a perfect world, I would have purchased the Sevenne, which is a little longer, but more than 2X the price so in a rare display of self control, I passed. . . The Celette system is very nice - really an indispensable tool for this type of work. Carefully positioning the body above the jig - then lowered onto the jib points with some guide pins on 2 front and 2 rear points The Celette GT3 jig set comes with the option to index off of the top A arm mounting point. I wanted to make sure all the suspension points were absolutely straight. Front tub jig points . . . perfect alignment On the rear, there are jig. point for the suspension mounting points as well as the shock towers. Everything checked out perfectly, so not transferred to the rolling dolly and off to paint! One giant step for mankind. . . .
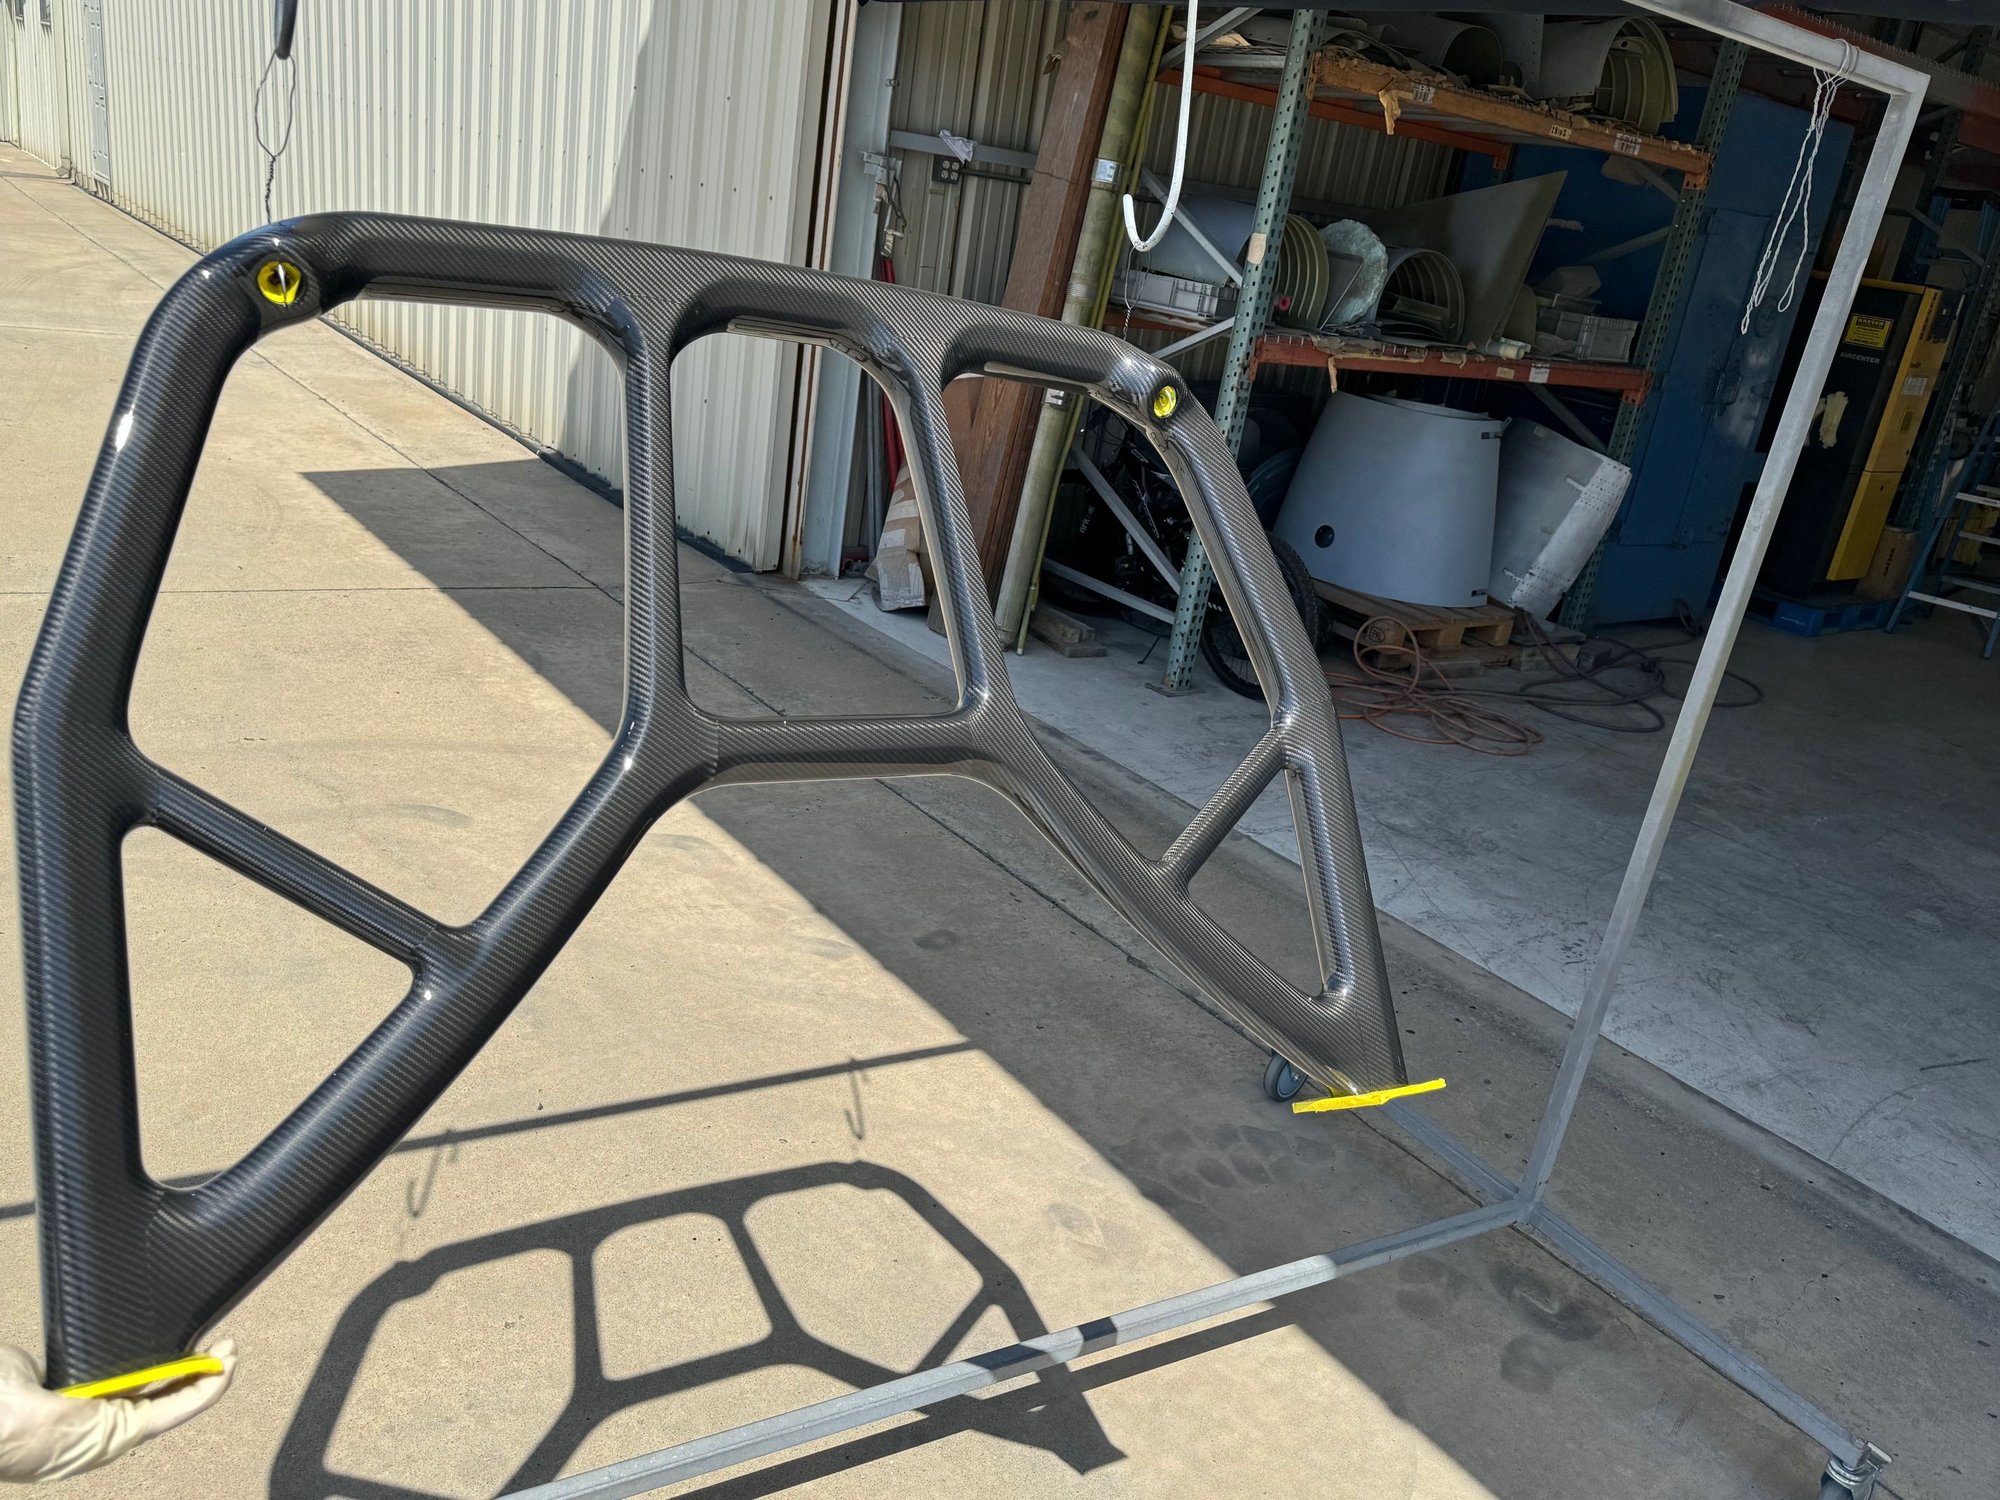
Just finished spraying the new clear on the carbon roll bar - it looks absolutely incredible in gloss clear vs he factory matt - certainly is better than new now! I was lucky to find 2 of these - second one being prepped for clear as we speak. I had to order the connecting hardware and rear mounts - hopefully those come in soon so I can install in my GT Silver car.


 06-27-2024, 02:10 PM