When you click on links to various merchants on this site and make a purchase, this can result in this site earning a commission. Affiliate programs and affiliations include, but are not limited to, the eBay Partner Network.
The product description says it works with 991, but doesn't mention 992. Have you used that one on a 992?
The OP is looking for the connector not the whole harness.
He will have to splice the connector into his 992 wiring.
I have read this 991 Dongar harness doesn't work for the 992 because the harness wires are not compatible between the 991 and 992.
The Dongar spec for this harness says ground on pin 3 - on our 992's ground is pin 2
The white wire is switched power the clear wire (middle) is ground.
For the OP this doesn't matter since he needs a replacement connector - after he cuts off the connector from the Dongar harness he can splice the appropriate wires to "top" "middle" "bottom" so he can get the correct pin out.
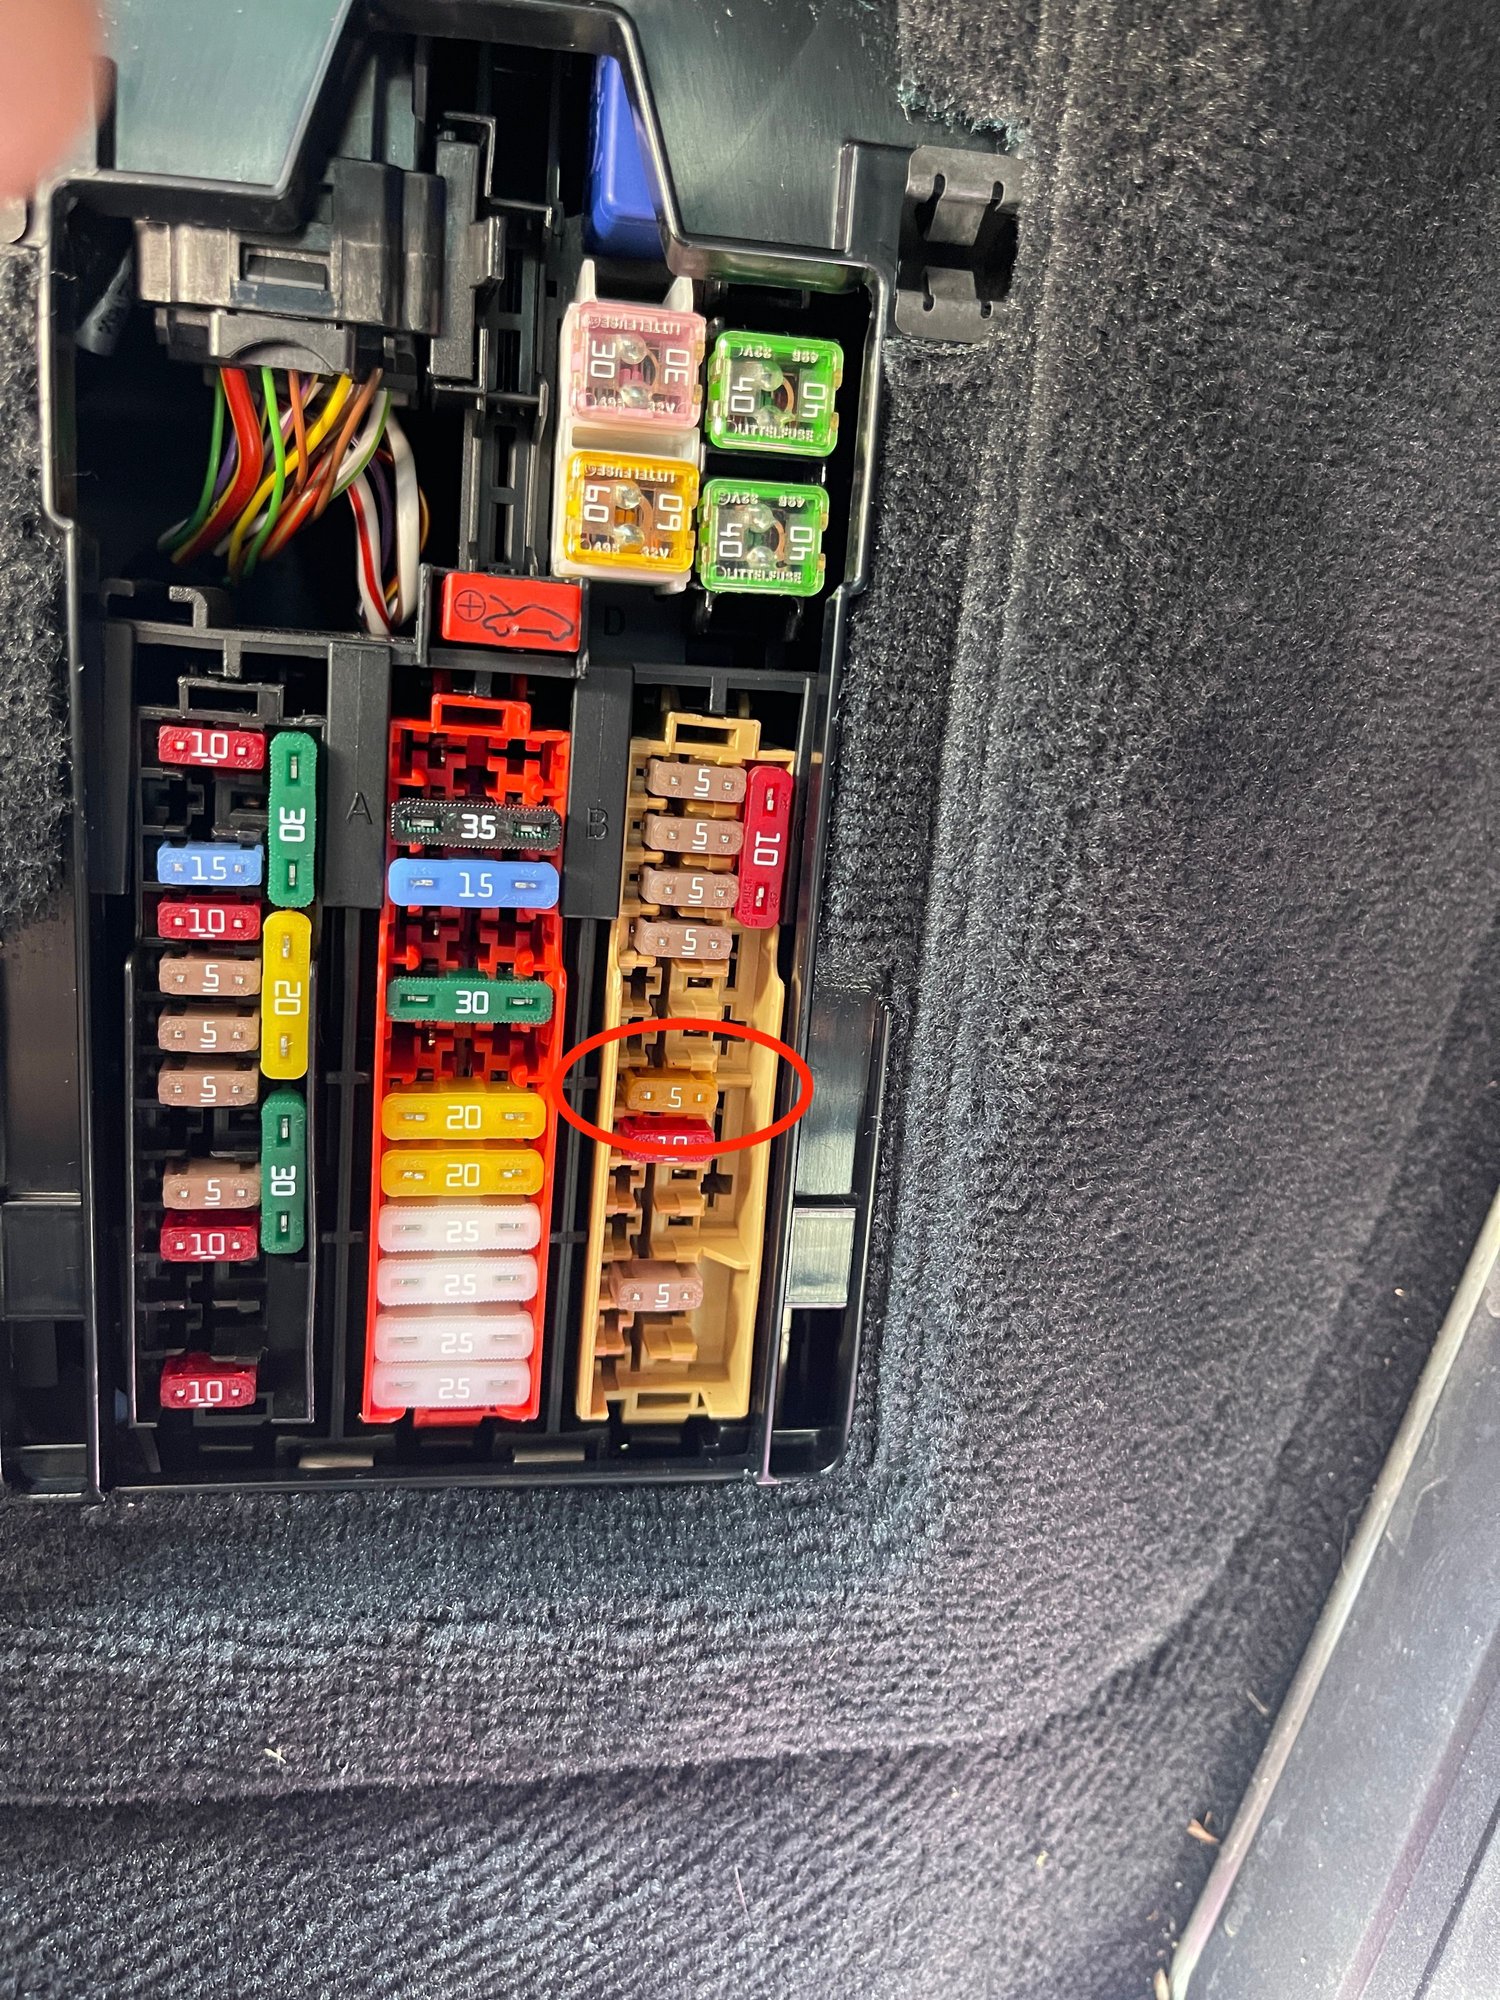
@audi4t thanks again for the Dongar suggestion; worked like a champ in terms of install. However, it's still not giving me power to the dimming function of the mirror. Any suggestions? I looked for a fuse in the manual but it's not listed.
@audi4t thanks again for the Dongar suggestion; worked like a champ in terms of install. However, it's still not giving me power to the dimming function of the mirror. Any suggestions? I looked for a fuse in the manual but it's not listed.
Next step would be a multimeter to check each side of the connector when the door is open or the ignition is on
Middle wire (clear) is ground
White wire is switched 12v - on with ignition
Yellow wire - maybe constant 12v or the �dimming� 12v I�m not sure about this.
I had a Blendmount and mirror tap on my Cayman GTS, and even though I've had Blendmounts in over a dozen vehicles, it bothered me on the Porsche, so don't plan to buy one for the 992. In addition, it prevented me to use the sunshade I had, even with the detector removed, so I didn't like that at all. I was thinking to just use the V1 suction cups and the flat cable (I hate how bulky the coiled one looks) with the excess cable zip-tied. But found a mount I'd very much like to install... IF it's made for the V1, but couldn't find it. It's this: https://www.ebay.com/itm/11317839287...ntid=113688782
It could be installed right in front of the mirror, as high as possible, and I'm almost sure it wouldn't block visibility at all. Or just a small fraction when below the mirror. If I found such a plate, I'd use a mirror tap cable again. But if no such plate available, would just run it with suction cups and cable when I travel, which is not a big deal to me. The presence of a Blendmount can invite break-ins, since most thieves would assume the detector is somewhere inside the car, so another reason I'm not going to use them again. I used them for decades, and was the best mount by far IMO. But never liked how they blocked visibility, and because of the smaller space inside, I noticed that more with the Porsche. The 911 is wider than my Cayman, but hardly noticeable behind the wheel. Finally, the other great thing about that plate is that it'd block the sun from hitting the V1 directly, at least for the most part. Hopefully somebody makes one. Or can make one .
>> I stuffed my V1 wire in between the A-pillar and windshield, and wired it to the fusebox.
In the 992 there's no reason to go through the trouble of A pillars and fuse boxes. Get a mirror tap, drop the mirror, wire it in, done. 10 minutes if you know how to get the mirror down - literally the easiest radar install I've done in 40 years.
+1.....The mirror tap has an inline fuse built into it also.
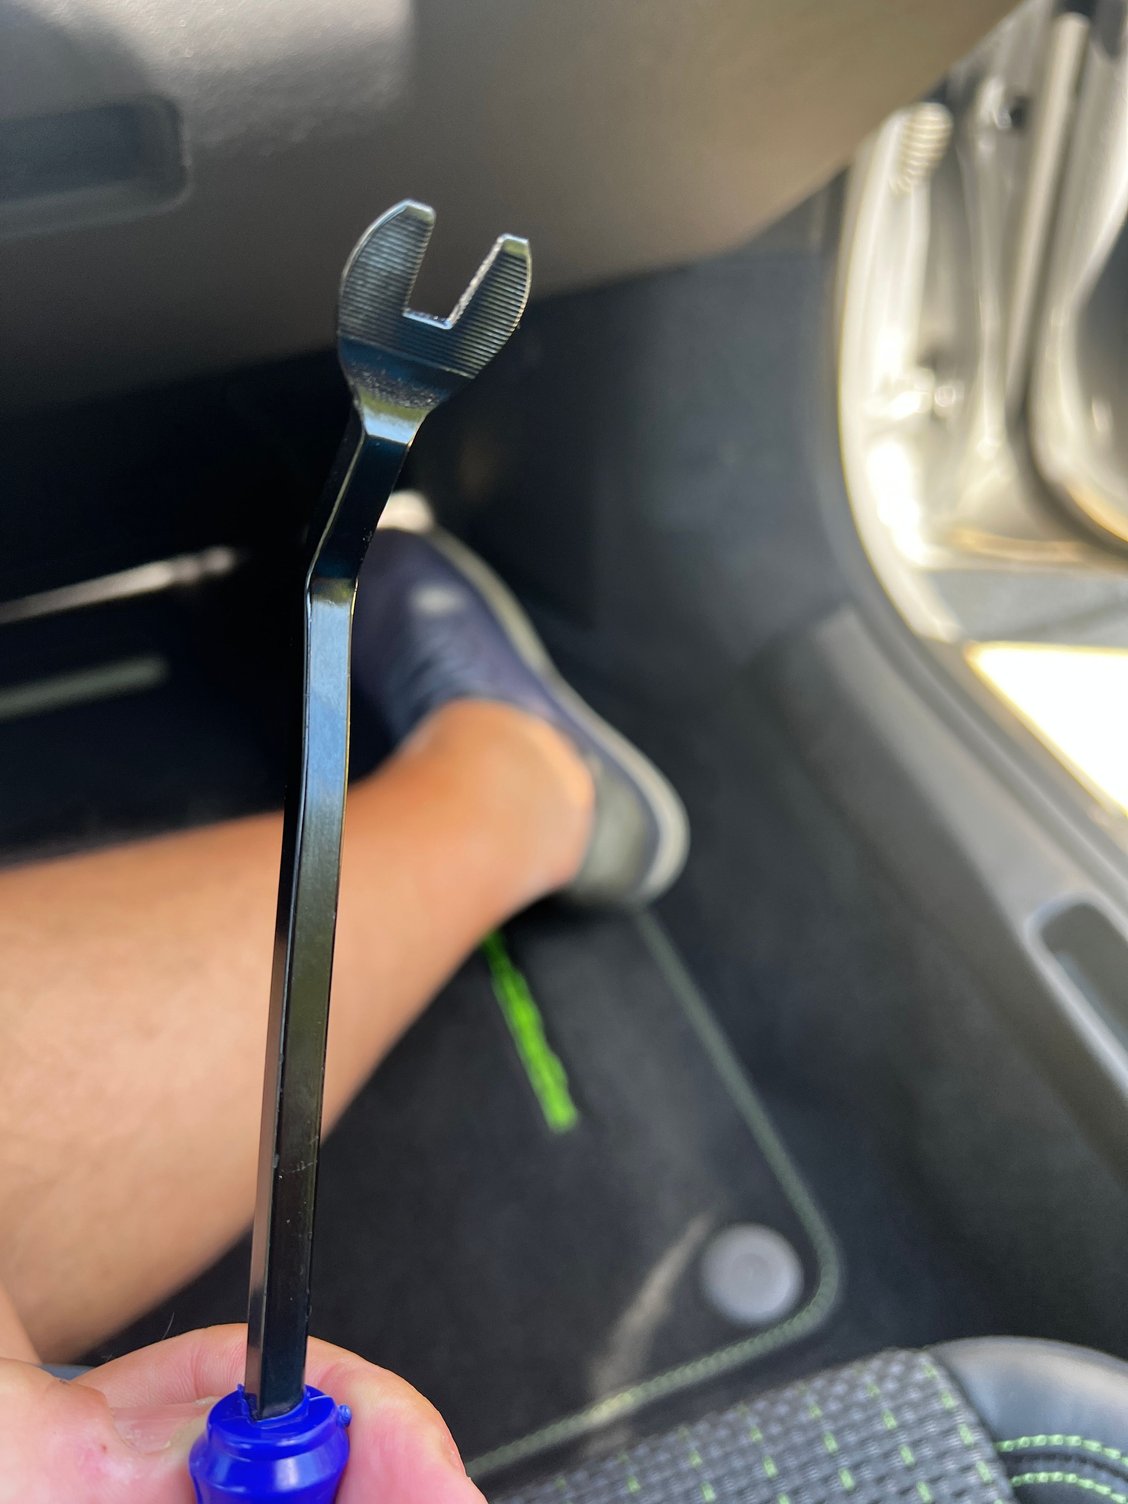
BEFORE STARTING, ENSURE IGNITION IS OFF. A couple of points for clarification, the #1 panel as labeled in the beginning, has its clips at the back of the panel closest to driver/passenger. I slid a thin trim removing tool in to push one at a time then pop the panel off. The Torx screw is removed with a T15 size bit. After getting the panel off and locating the proper blue clip (one on right as said earlier) there are two prongs on the left side you have to pry one at a time open and pull on the clip to release one side at a time. Those prongs are located where shown:
It takes a little fidgeting around but it eventually comes out. To replace it after you've successfully tapped in to power, I put the blue clip in farthest side away from me first then clipped the other side in with a slight push.
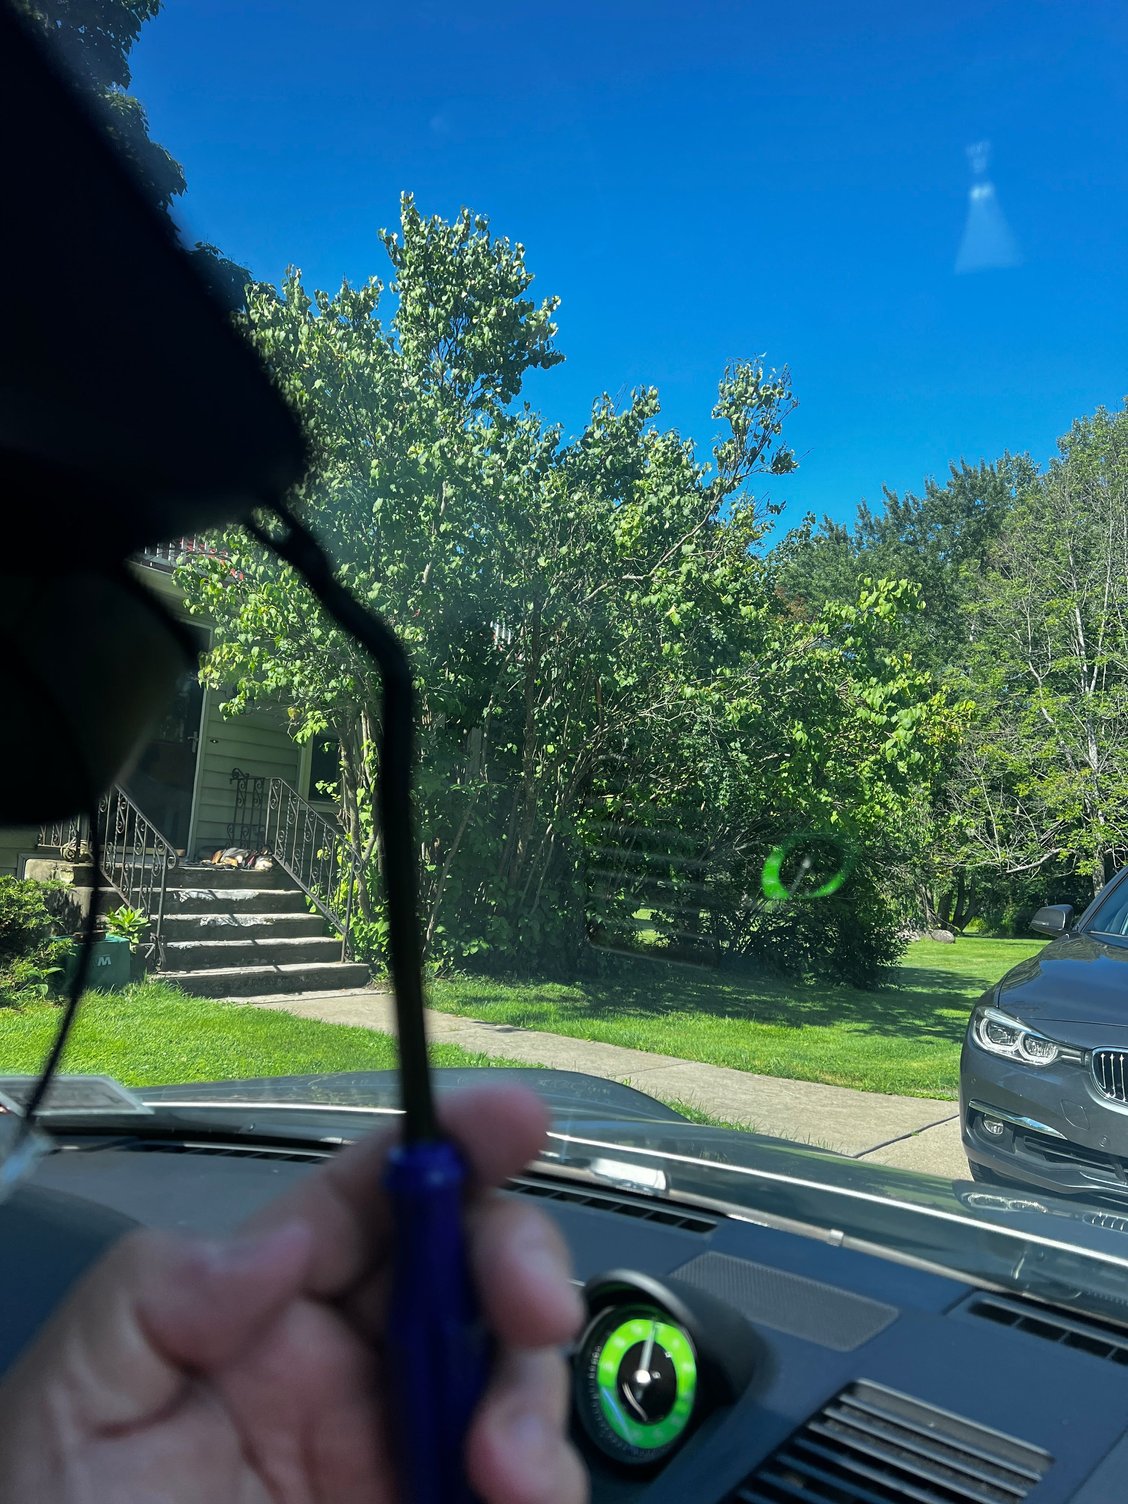
To thread the power cable through the remaining trim piece where it meets the mirror stem, I pryed open a bit with a trim tool as shown then fed the power cable through:
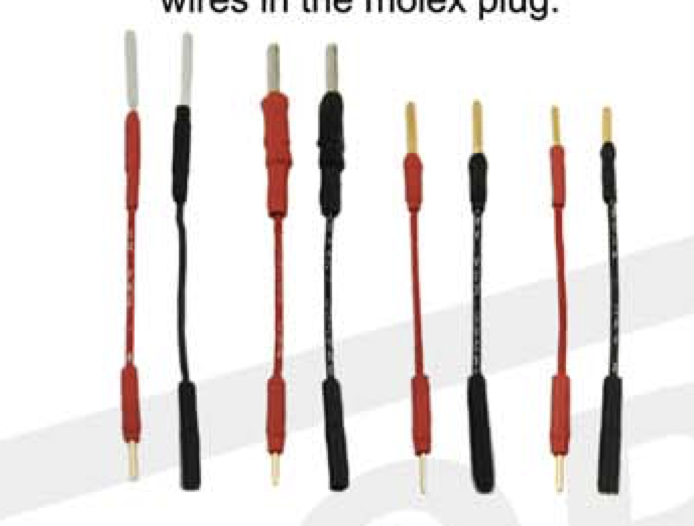
The Blendmount kit I had (MTX-1015) said to use the sized pins that wedged in the best, grey (clear) being the ground and white was the powered lead. I found I had to use 2 different sized "taps" to get the proper fit with the powered connection being larger than what I used for the ground.
These are the "Taps."
One other thing, I didn't mock up the length of the cable and determine how much I wanted hanging out of the trim, I just pulled as much slack as I could after I made the power connection out towards where the detector would be eventually placed. After I got the Blendmount attached and adjusted to my liking I then pushed the excess back up in to the trim piece for a nice clean install. A lot of time was spent trying to get the blue Monex clip out and getting the right size taps put in place. I'd suggest putting the Ground tap in first then doing the power Tap last. Good luck!


 03-24-2023, 11:03 AM


 .
.