When you click on links to various merchants on this site and make a purchase, this can result in this site earning a commission. Affiliate programs and affiliations include, but are not limited to, the eBay Partner Network.
thanks for this! installed the mirror tap with ease.
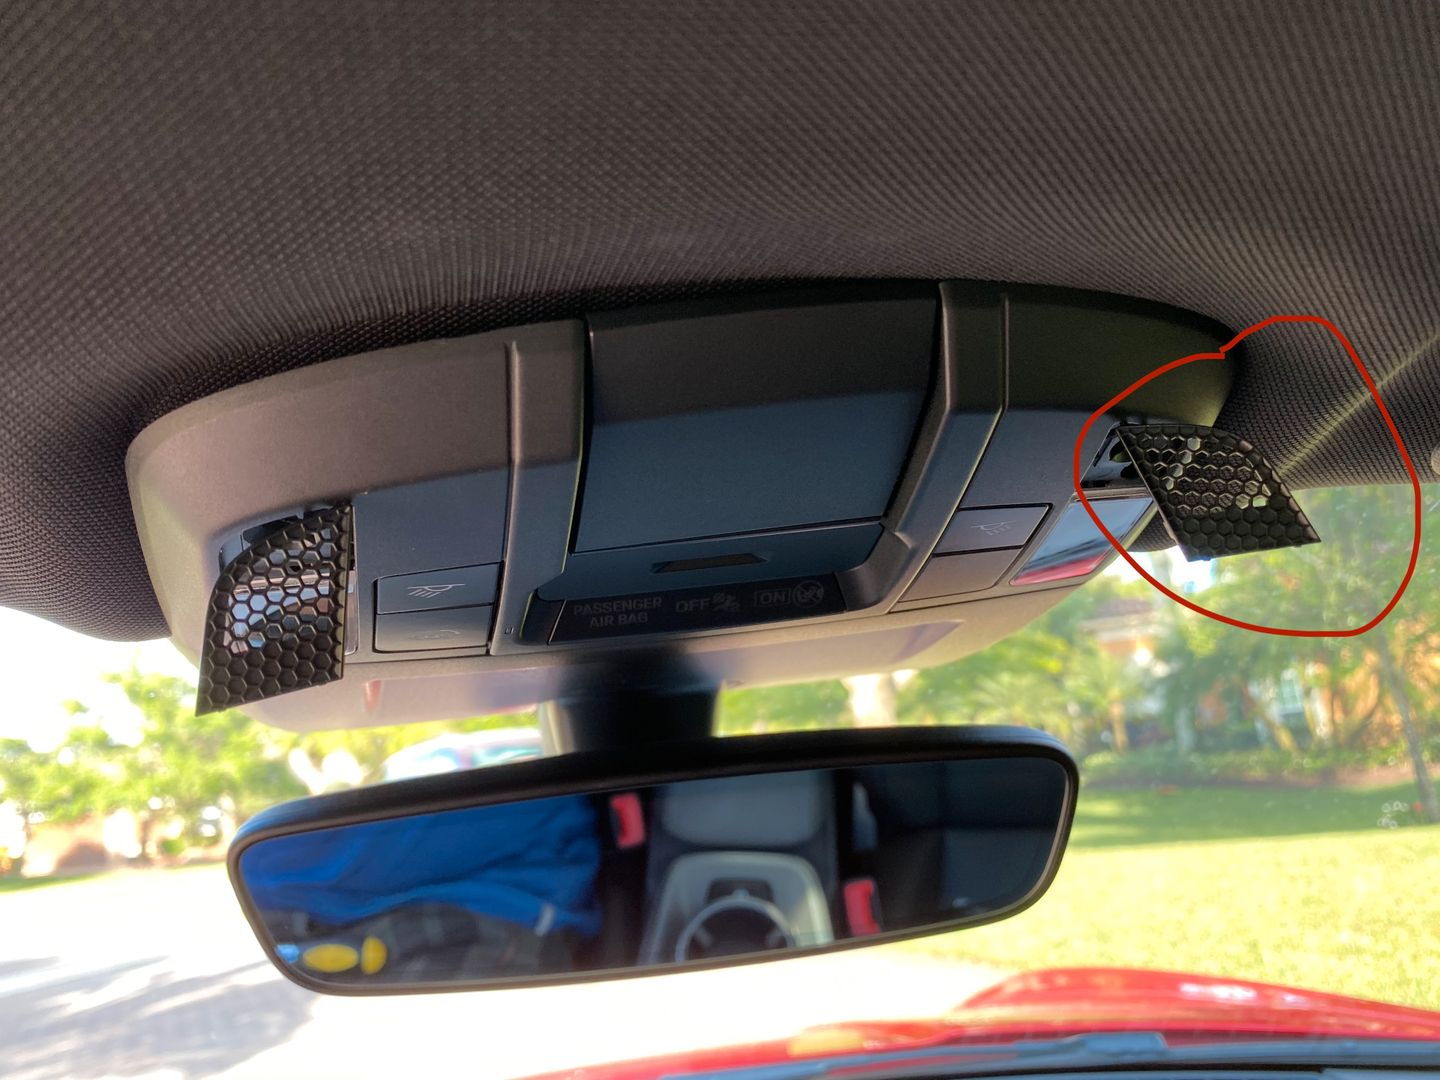
but, does anyone have a part number for this grill covering the torx screw? mine doesn't seem to sit flush. see the picture here. This one doesn't seem to be flush compared to the driver's side either.
That is a pic of my car. It sits flush now. One of the clips was bent (I am pointing to it)
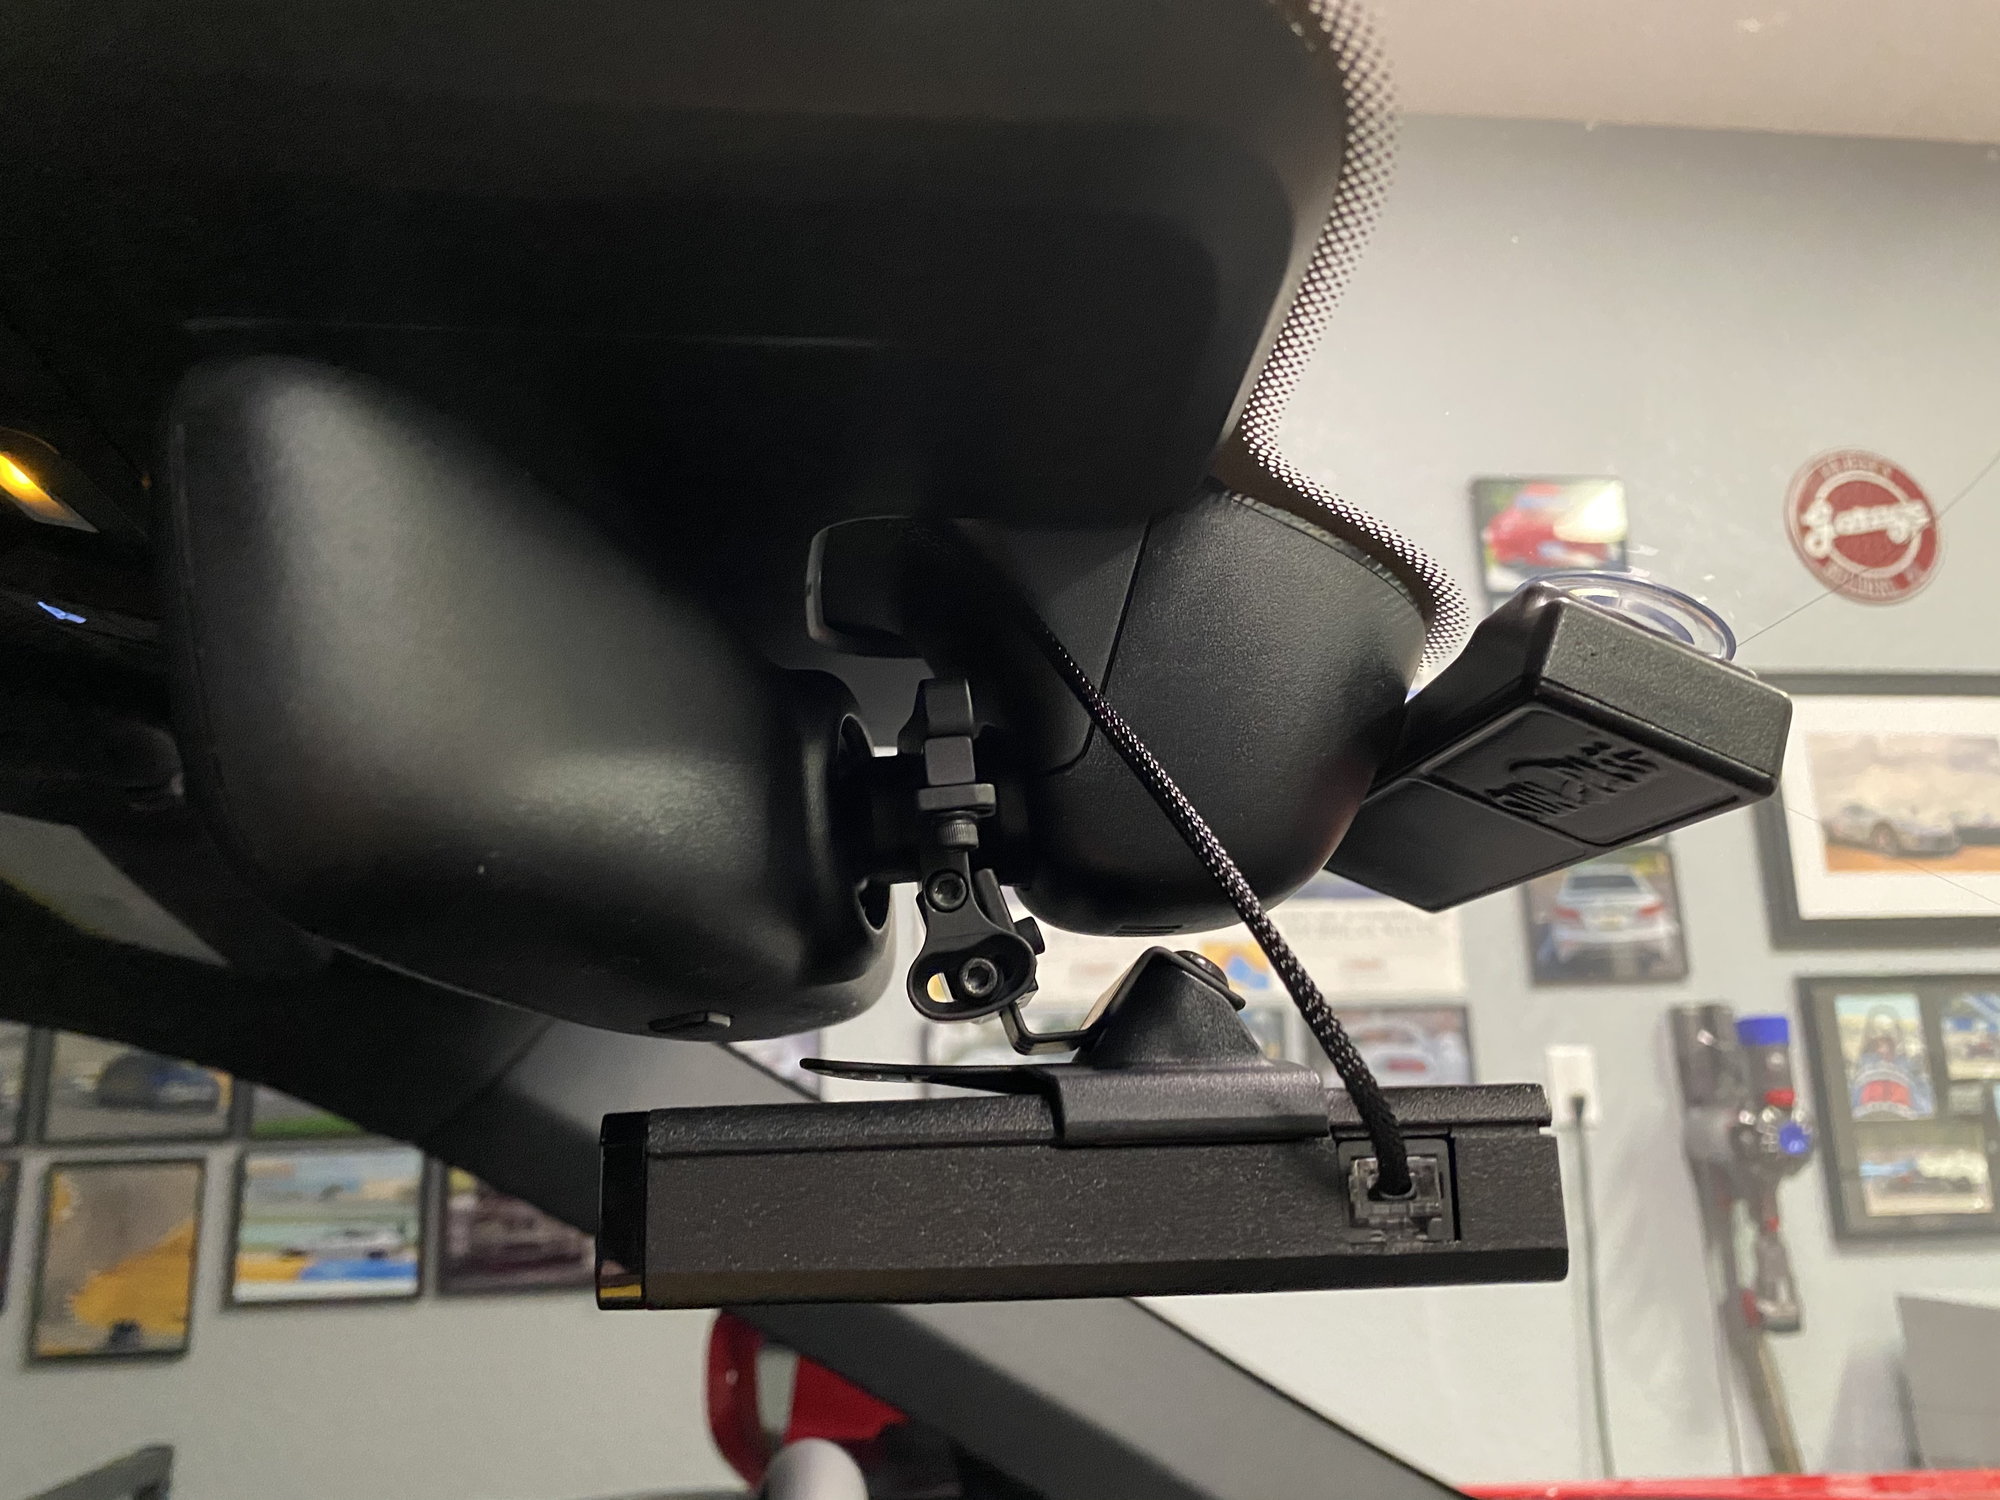
thanks to msile and mikey94025, I decided to combine your ideas.
I made a "Y" connection from the mirror tap and both the radar and dashcam are powered from the rearview mirror.
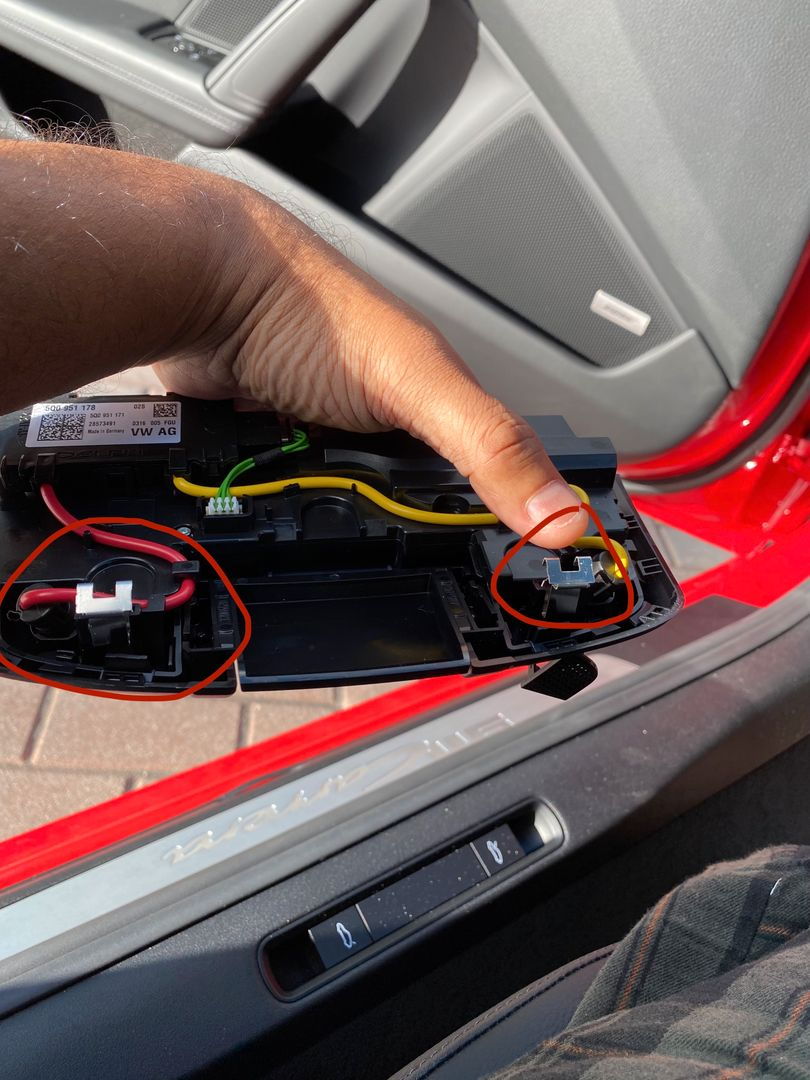
one caveat is that the blackvue will power off when the ignition is off. the newer dash cams have 3 wires, one of which is requires a constant on power source. you can still tap into the overhead lamp assembly for constant power. instead of using the blue plug on the right, there's the blue plug on the left that has constant on power.
Originally Posted by mikey94025
Thank you! Your instructions enabled me to install my BlendMount MirrorTap power cord tonight for my BlackVue DR900S dashcam. This replaces the ugly power cable I had previously tucked around the windshield, down the passenger door, across the footwell, and into the lower power outlet. For someone who has NEVER before tried to remove car panels or wire anything electrical like this, your detailed instructions were very clear and reassuring. It was a very simple installation even for a newbie like me.
Some additional MirrorTap installation notes to assist other novices:
In picture #1, also use a credit card to pry open the little right mesh panel from the lower side to expose the torx screw. It pulls out slightly from the upper-left corner to tilt like in the picture or to remove it completely.
In picture #1, you really do only have to open the right mesh panel and unscrew the one torx screw (use T20). I still don't understand why the panel can be opened without also unscrewing the left panel torx screw (maybe there isn't one?).
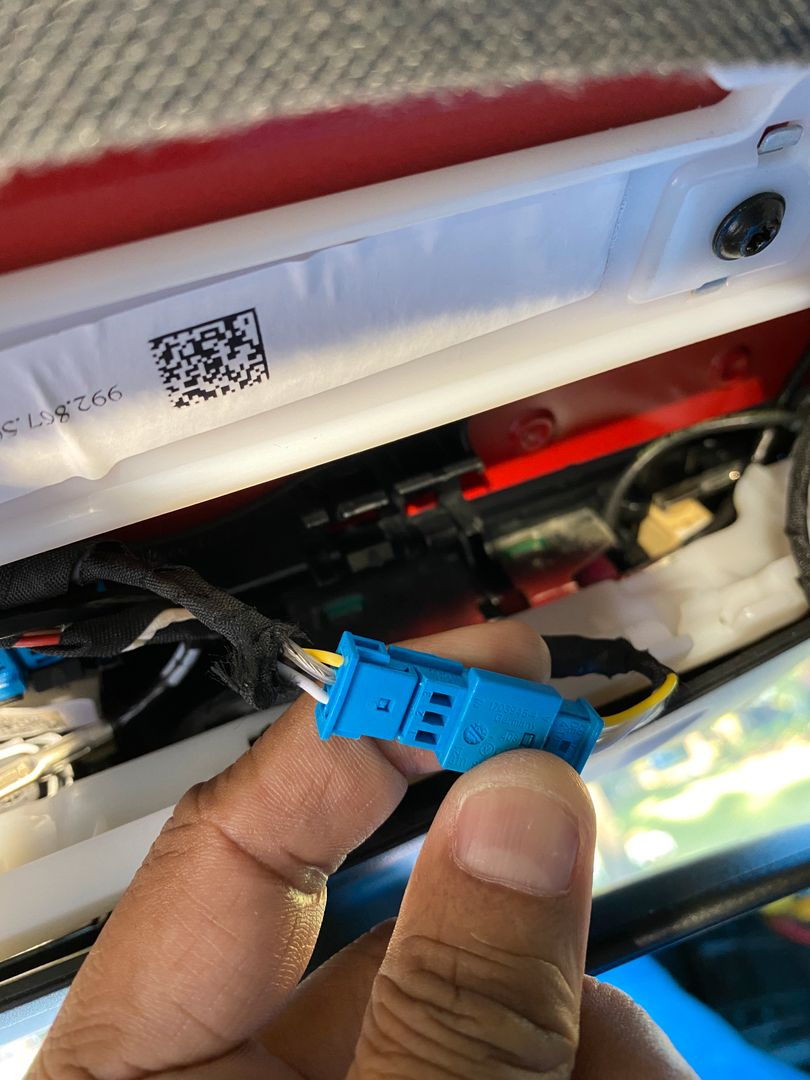
For picture #5, the red end of the MirrorTap cable connects to power and the black end connects to ground. In the light blue power coupling in picture #5, power is the white cable and ground is the middle (grey/clear) cable. The MirrorTap comes with several sizes (lengths) of taps, I used the middle size of power (red tap) and the smallest size for ground (black tap).
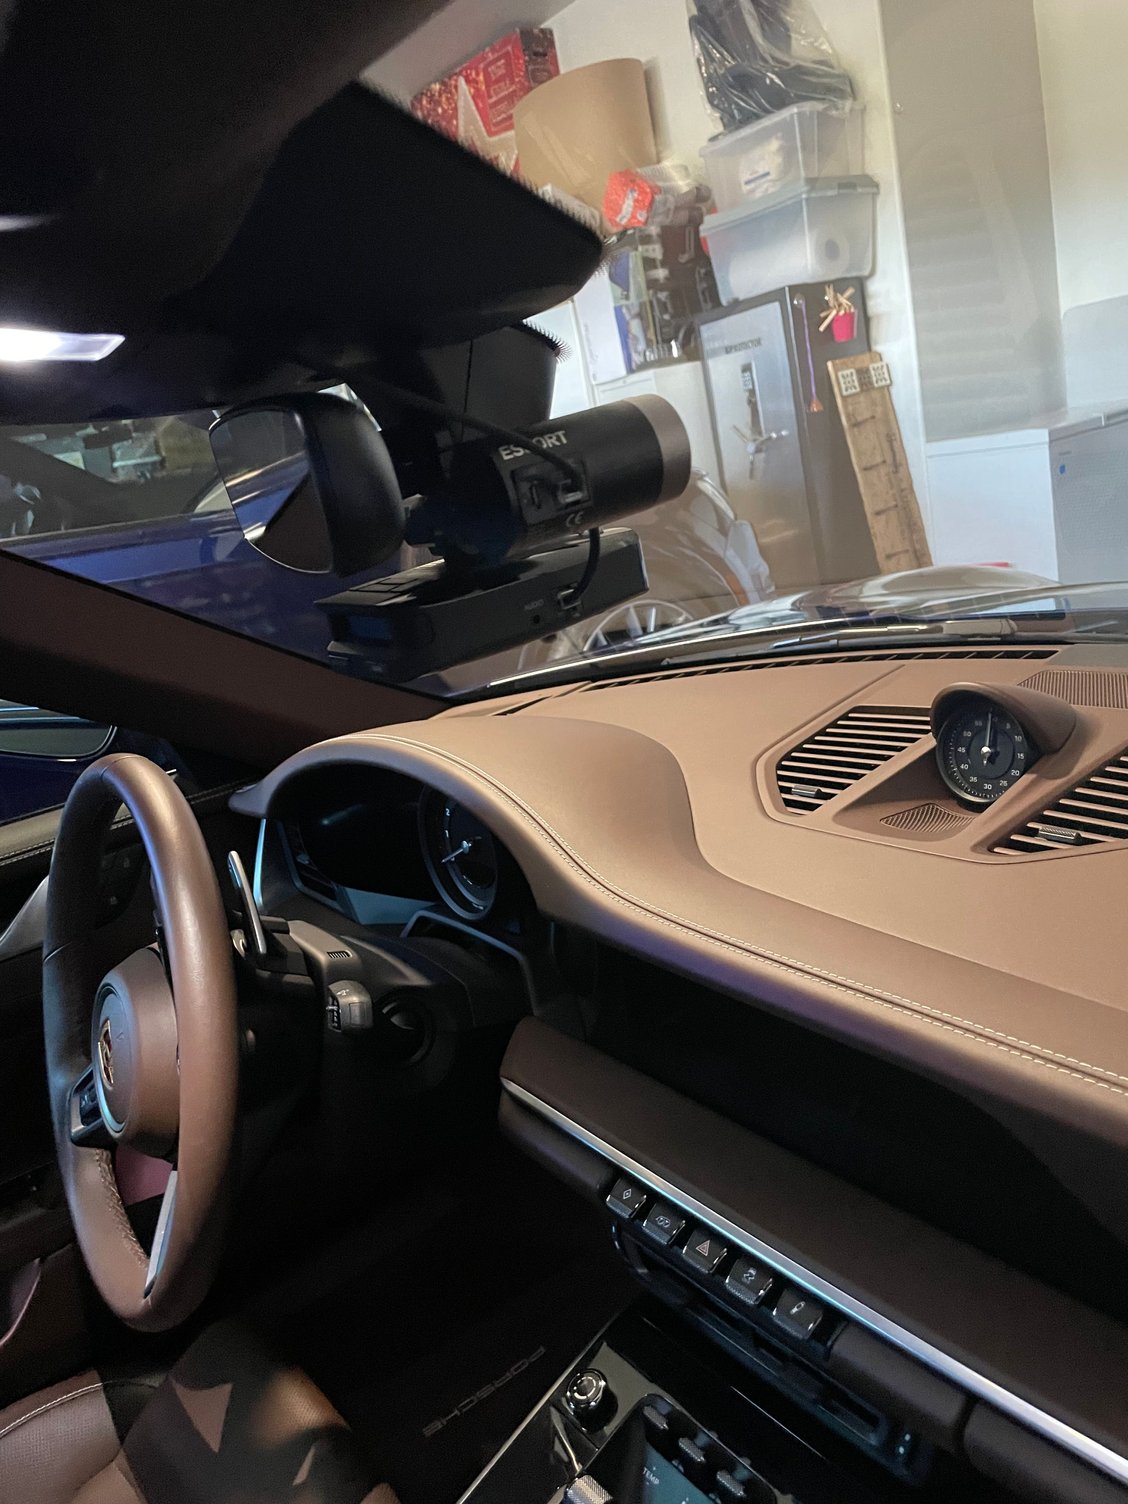
In picture #1, my 2020 992 rear view mirror doesn't look the same. My mirror has a much more substantial connection going up and into the ceiling unit, perhaps because I have surround camera and other options. So I could not thread my MirrorTap cable through the circled area on part #2 without removing more panels. Instead I threaded the power cable through the upper-right corner of part #2 (there's a small gap against the headliner so you can squeeze the cable through without removing the part). That leaves a little bit of cord visible but I didn't want to try and remove any other panels.
Here's what my BlackVue DR900S install looks like:
I recognized that could be an issue. The ground fit pretty snugly so I had to wrangle the wire (factory) a little to make room for the wire tap. The red (hot) lead was totally loose no matter what I did. On this one, I ended up using a little electrical tape, hopefully with the Texas heat it will stay in place.
I have not received my blendmount and my wiring yet, but I know that some of you are waiting to install yours, so I took the plunge.
********* Do this at your own risk *******************
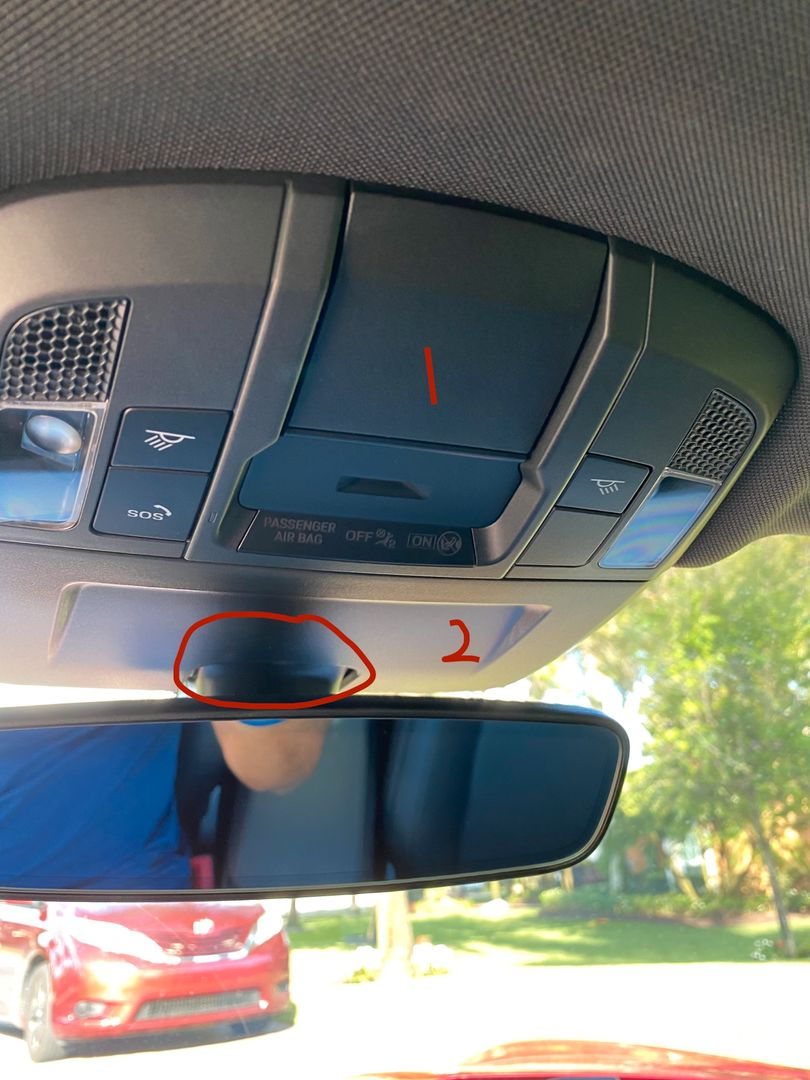
There are two sections, Only part #1 has to be removed. The radar wire can be threaded through the circled area on part #2.
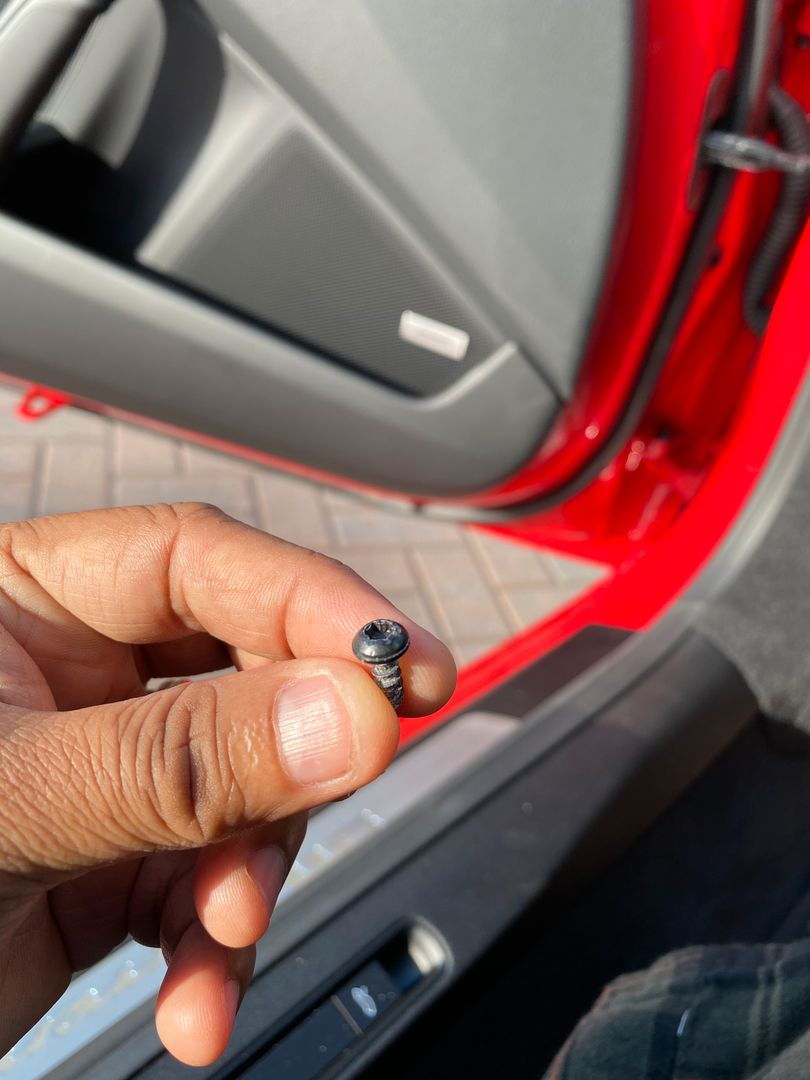
There are two covers, only the circled one has to be opened. There is a torx screw behind it. Remove it.
Push the circled clips in with a credit card and it should drop right out. There was very little resistance.
There are two blue plugs in a holder. Use the one on the right. Remove it from the holder. The white one is power. The middle one (grey/clear) is ground. This switches on and off with the ignition.
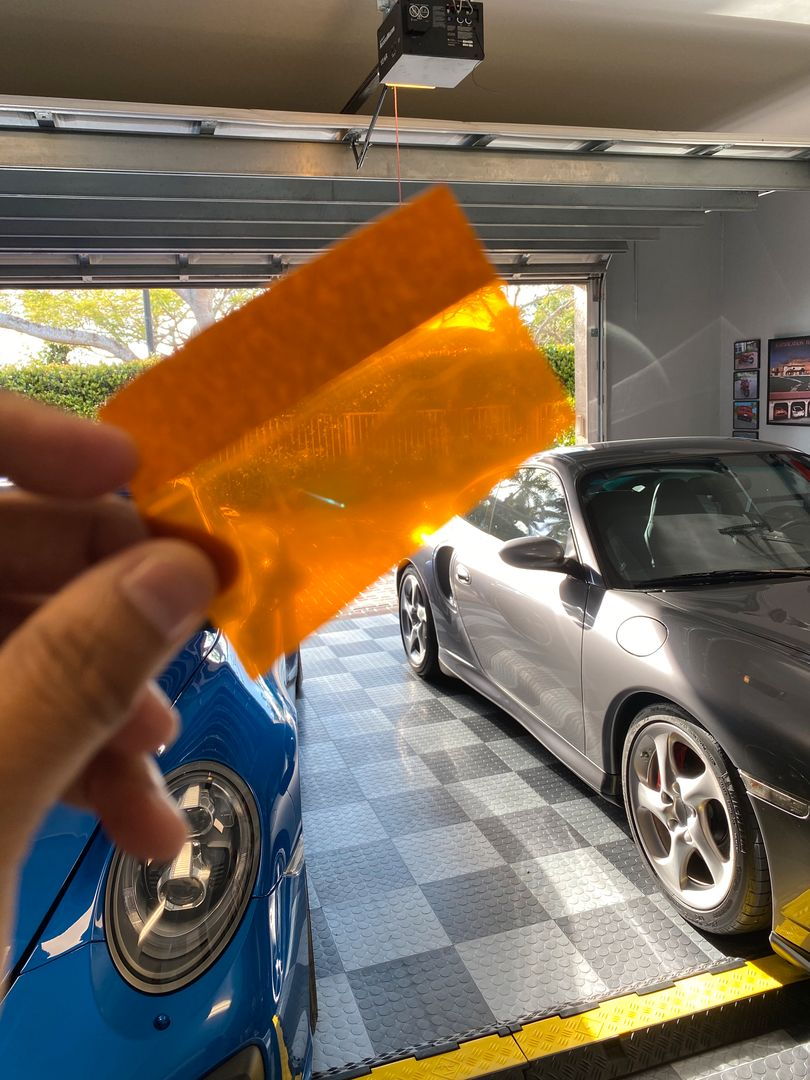
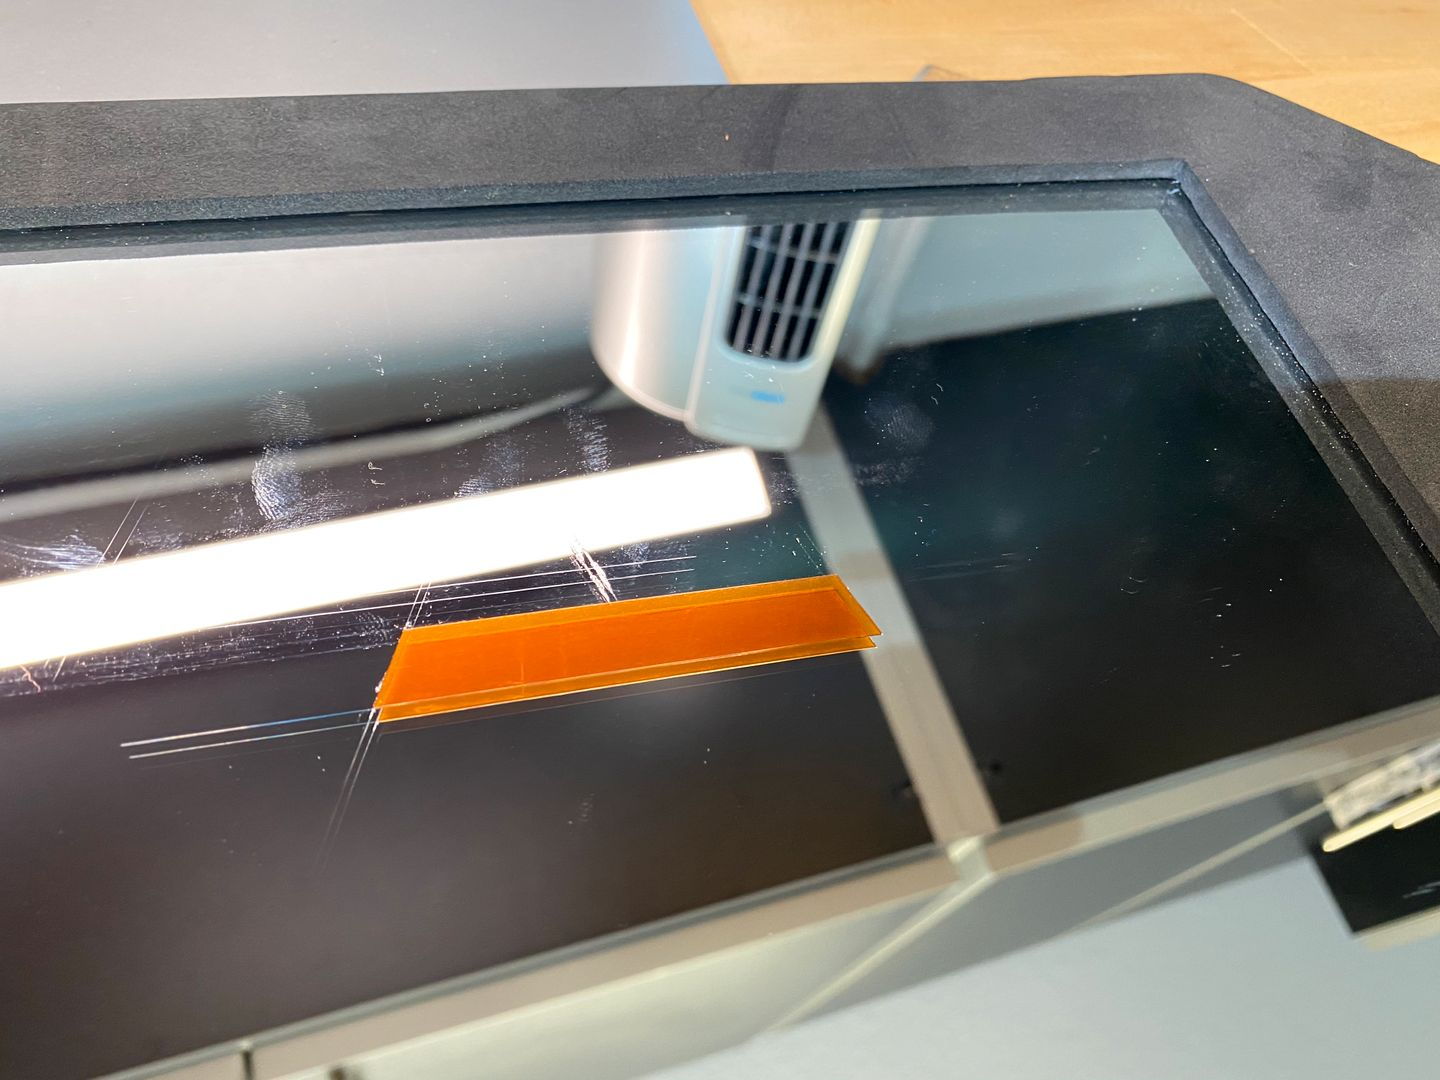
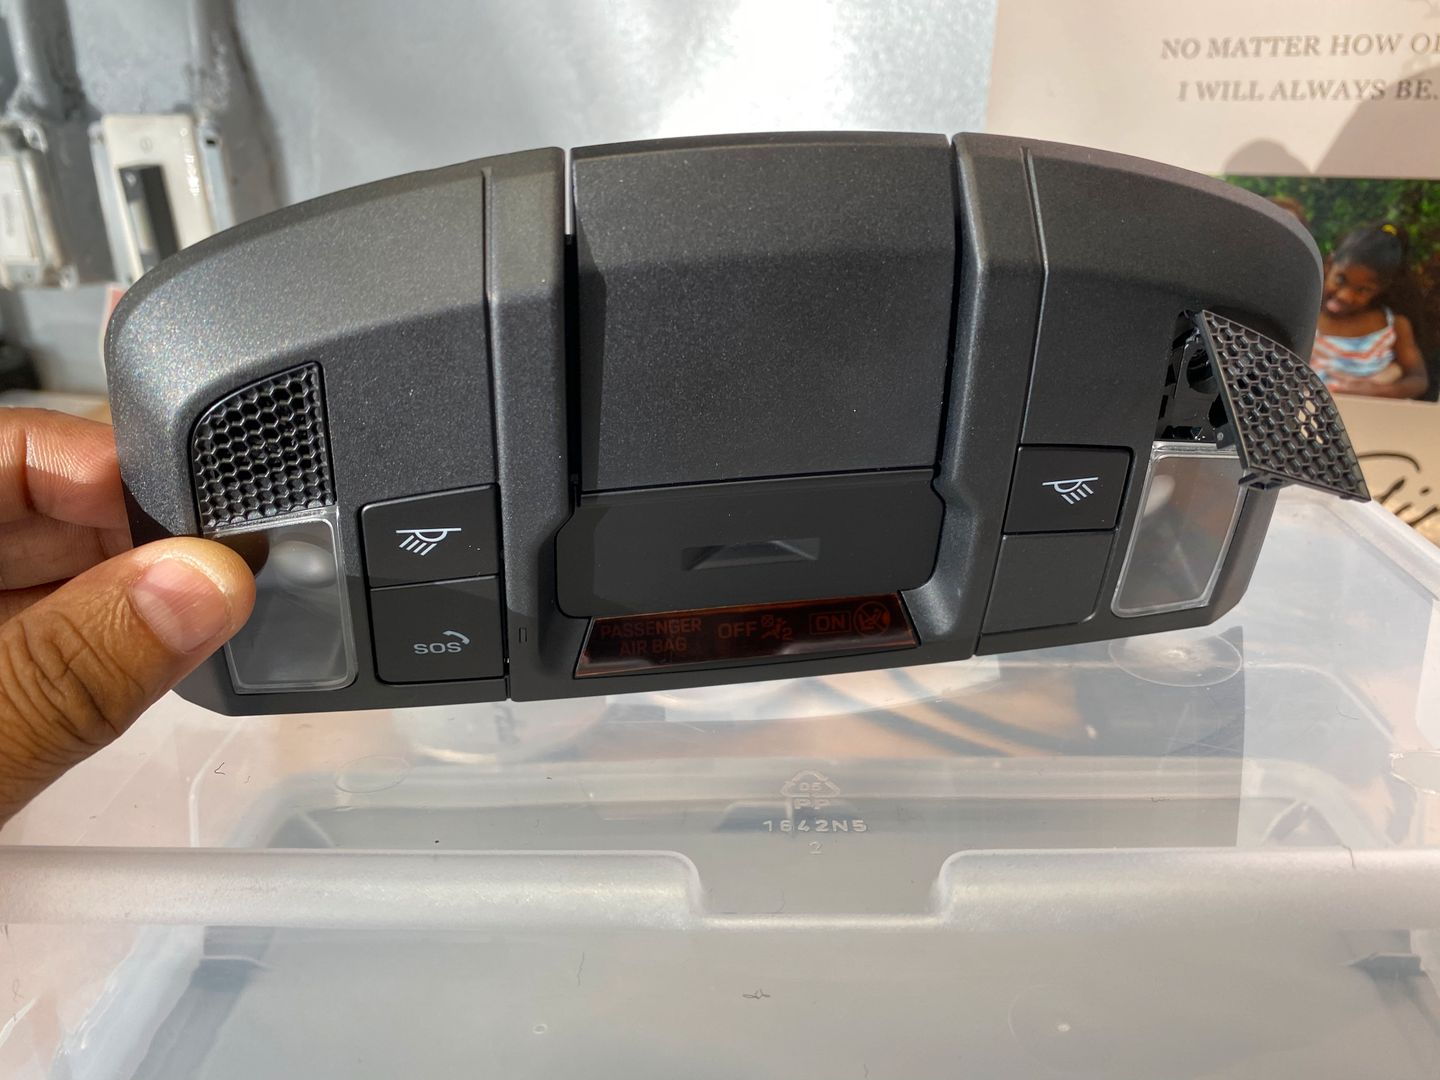
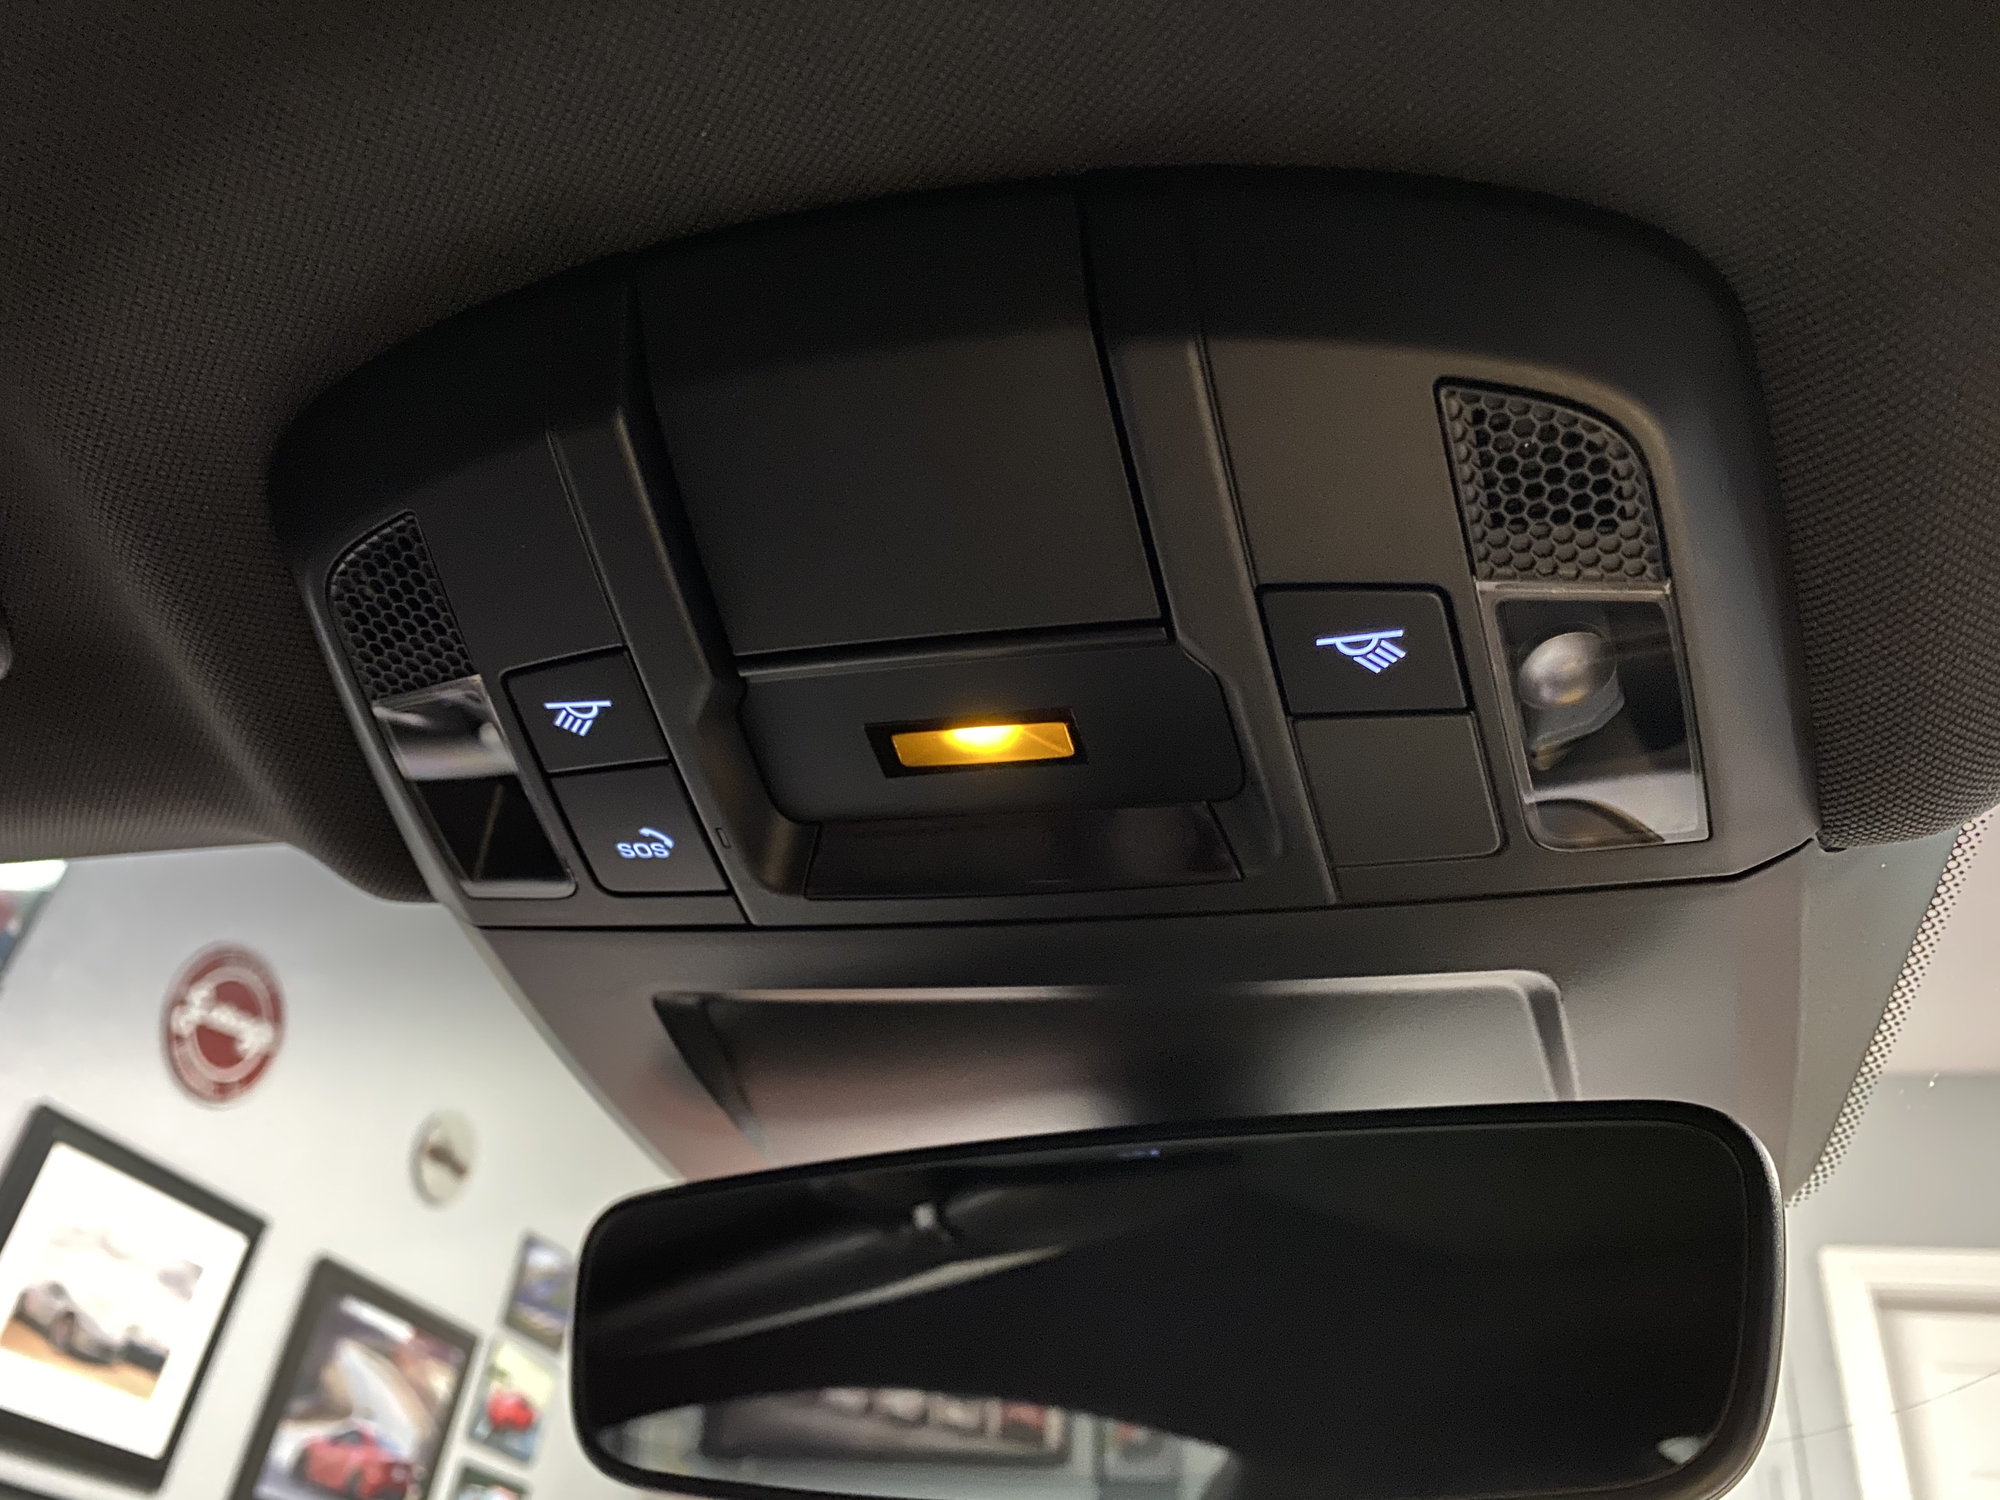
While I had the console off, I decided to tackle the overly bright overhead seat belt indicator. I used a vinyl film that I had lying around and the adhesive was not too tacky so it was perfect. I cut the shape out and stuck it on.
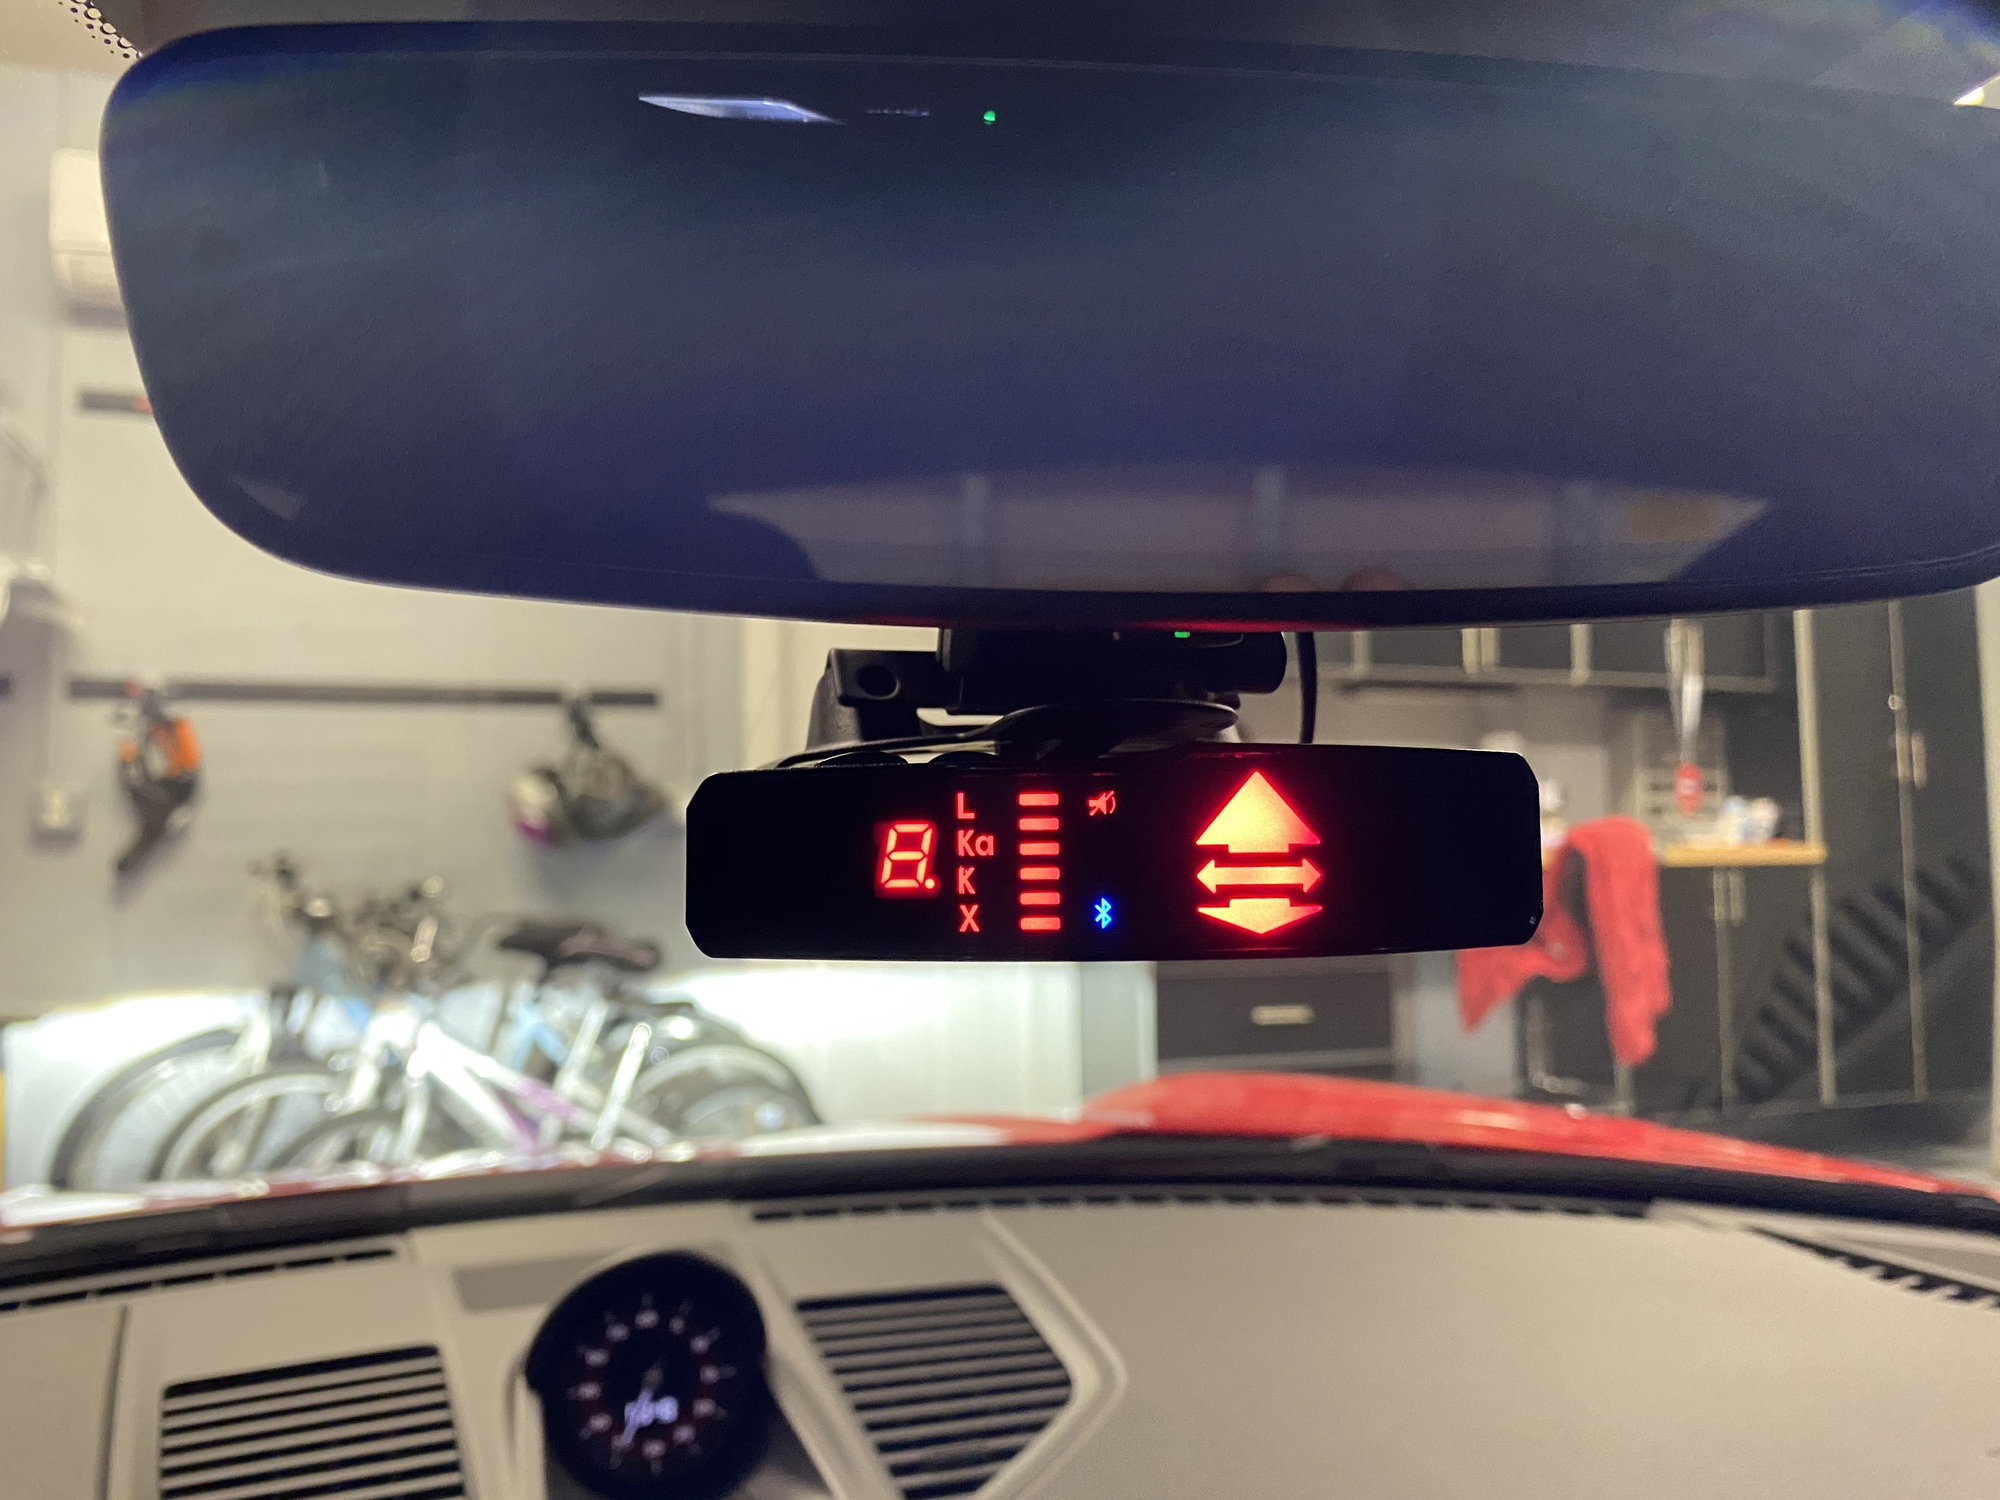
New Valentine 1 V2 installed
Also put a tint over the white ambient light and it is less harsh now at night
Thanks for this write up. Got my R7 installed and looks super clean. I used an angled pick to pull the small grates down so I could behind them without marking up the visible portion at all. For the extra clean look I also put some heat shrink on the mirror taps to ensure the exposed portions never made contact with anything else. Could've trimmed them down to size I guess, but didn't want to have to form another pointed tip. I found in the $15 kit I ordered on Amazon that the smallest size was nearly a perfect fit.
Last edited by SFDCArchitect316; 10-10-2022 at 09:55 AM.

 03-13-2022, 09:57 PM