When you click on links to various merchants on this site and make a purchase, this can result in this site earning a commission. Affiliate programs and affiliations include, but are not limited to, the eBay Partner Network.
I definitely need to get a set of quick jacks. Where did you get yours?
siberian
Not the person you asked, but also have a pair of quickjacks and they are amazing. The cheapest place to buy them is generally Costco of all places. They often run a sale for them $1100, but looks like they are currently out of stock.
Not the person you asked, but also have a pair of quickjacks and they are amazing. The cheapest place to buy them is generally Costco of all places. They often run a sale for them $1100, but looks like they are currently out of stock.
Thanks. As expected AK is not in the universe. Selected my zip, it showed the Home Depot in Fairbanks and was ready to enter CC info when I noticed that delivery is to Bellingham WA. Oh well...
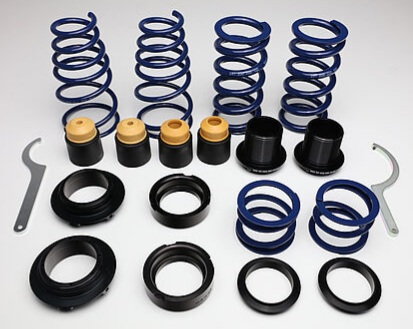
I purchased a set of techart has - height adjustable lowering springs with the intention of installing them, but ultimately decided upon not going that route. If anyone wants to save a few hundred dollars PM me for them, tks. Also posted the on the marketplace. Great look for the suspension, high techart quality, and very easy to adjust like coilover kits, but at a fraction of the cost. Tks.
I put myself on the list for the snap on sport chrono bezel covers. I’m tired of the chrome bezel and would like it to match my interior stitching and seatbelt color. The covers can be painted in any color, look OEM and install in seconds.
Hey cg760, just an FYI, you have the quick jack backwards and with so much of the weight in the rear this is quite dangerous. Just rotate them 180, meaning the one on the drivers side spin 180 and put it on the passenger side. Same for the other. You will see they lift the car WAY easier and 100% more stable.
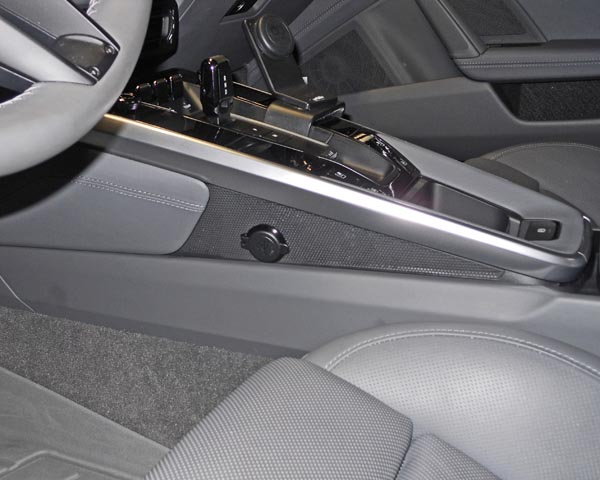
I got tired of trying to reach/find the Power Outlet at the extreme forward end of the passenger side foot well and/or running a cable out of the Console Arm Rest.
So, I installed two, Aluminum Housing (not plastic), Dual C3.0 USB Ports on each side of the Console. FWIW, they are B+ Switched so they're only "On" when the Ignition is "On".
These USB Power Ports provide more than enough power for my: Garmin 61 GPS, my Cell Phone, my Wife's Cell Phone and an FRS Radio simultaneously.
In doing this I encountered two main challenges: First, the Console is constructed of a countless number of pieces almost all of which must be removed to install these USB Power Ports. If you do this, keep very close track of where the screws, clips , tiny little alignment grommets and the miniscule rubber bumpers go. LOL. Second, one must fashion a wedge shaped spacer (I used marine Starboard) to fill the space between the external trim and the aluminum casting that supports the entire console.
. Drivers Side with cover in place.
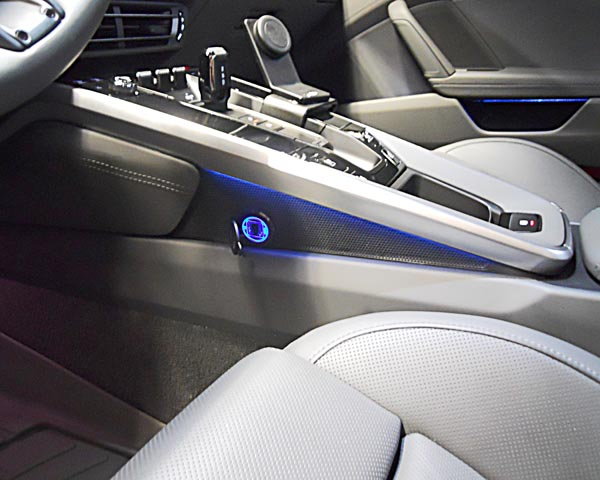
. Drivers Side with cover open and ignition switched "On". The "Blue" interior color perfectly matches the color of the USB Power Port when it's "On".
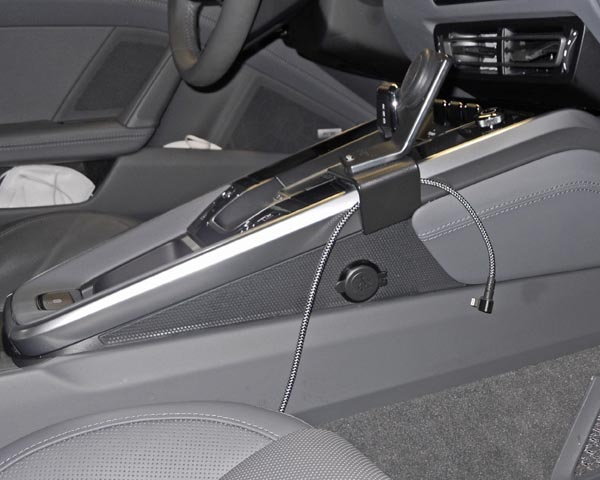
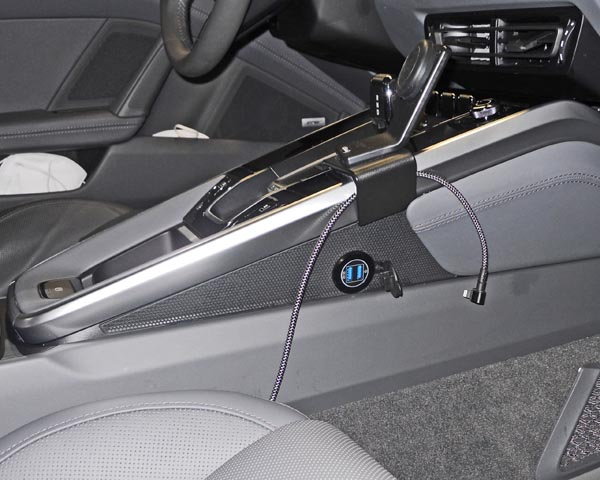
. Passenger Side with cover in place.
(Until I get a shorter USB Power Cord, the old one that runs to the Console Arm Rest, that I've been using remains in place.)
. Passenger Side with cover open and ignition switched "On".
(Until I get a shorter USB Power Cord, the old one that runs to the Console Arm Rest, that I've been using remains in place.)
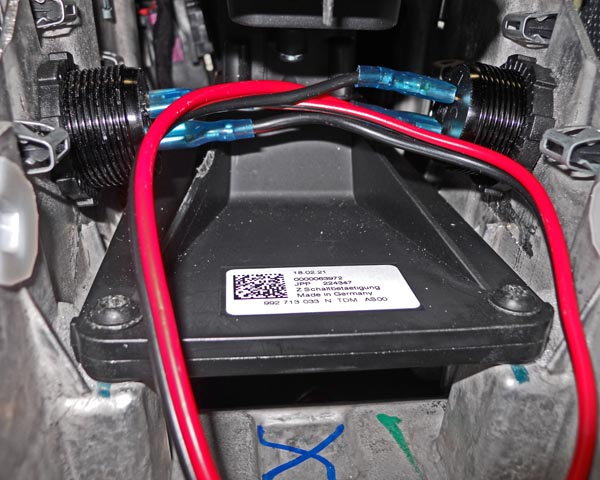
. Console Open with wiring for USB Power Ports shown.
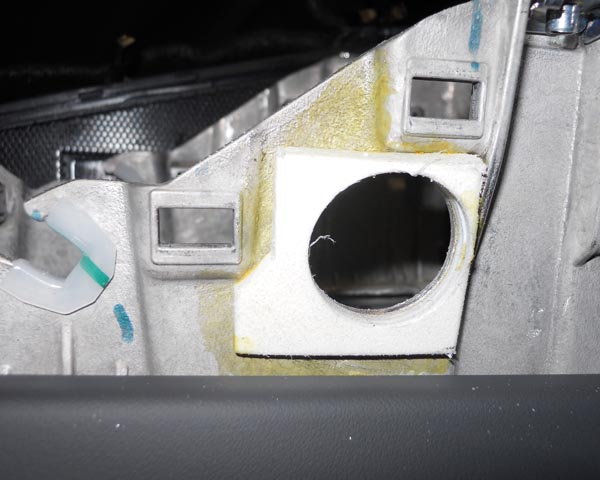
. Interior view of Console with USB Power Ports installed.
. Wedge Spacer glued in position.
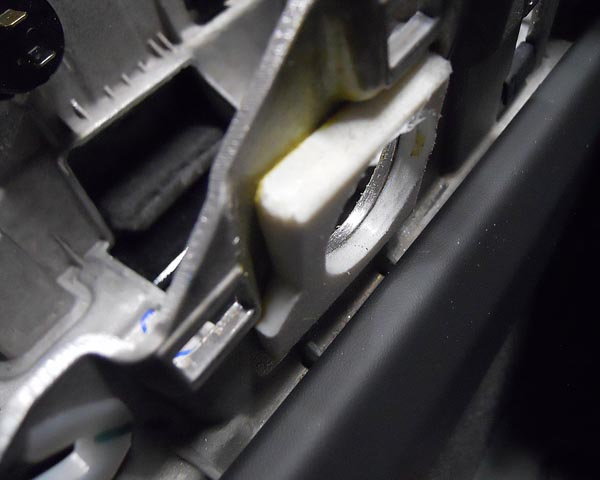
. View looking down at the Wedge Shaped Spacer.
Last edited by Bluehighways; 12-29-2021 at 09:08 PM.
I got tired of trying to reach/find the Power Outlet at the extreme forward end of the passenger side foot well and/or running a cable out of the Console Arm Rest.
So, I installed two, Aluminum Housing (not plastic), Dual C3.0 USB Ports on each side of the Console. FWIW, they are B+ Switched so they're only "On" when the Ignition is "On".
These USB Power Ports provide more than enough power for my: Garmin 61 GPS, my Cell Phone, my Wife's Cell Phone and an FRS Radio simultaneously.
In doing this I encountered two main challenges: First, the Console is constructed of a countless number of pieces almost all of which must be removed to install these USB Power Ports. If you do this, keep very close track of where the screws, clips , tiny little alignment grommets and the miniscule rubber bumpers go. LOL. Second, one must fashion a wedge shaped spacer (I used marine Starboard) to fill the space between the external trim and the aluminum casting that supports the entire console.
. Drivers Side with cover in place.
. Drivers Side with cover open and ignition switched "On". The "Blue" interior color perfectly matches the color of the USB Power Port when it's "On".
. Passenger Side with cover in place.
(Until I get a shorter USB Power Cord, the old one that runs to the Console Arm Rest, that I've been using remains in place.)
. Passenger Side with cover open and ignition switched "On".
(Until I get a shorter USB Power Cord, the old one that runs to the Console Arm Rest, that I've been using remains in place.)
. Console Open with wiring for USB Power Ports shown.
. Interior view of Console with USB Power Ports installed.
. Wedge Spacer glued in position.
. View looking down at the Wedge Shaped Spacer.
I must say nice work but very dedicated way to get some dedicated USB ports! Wow!
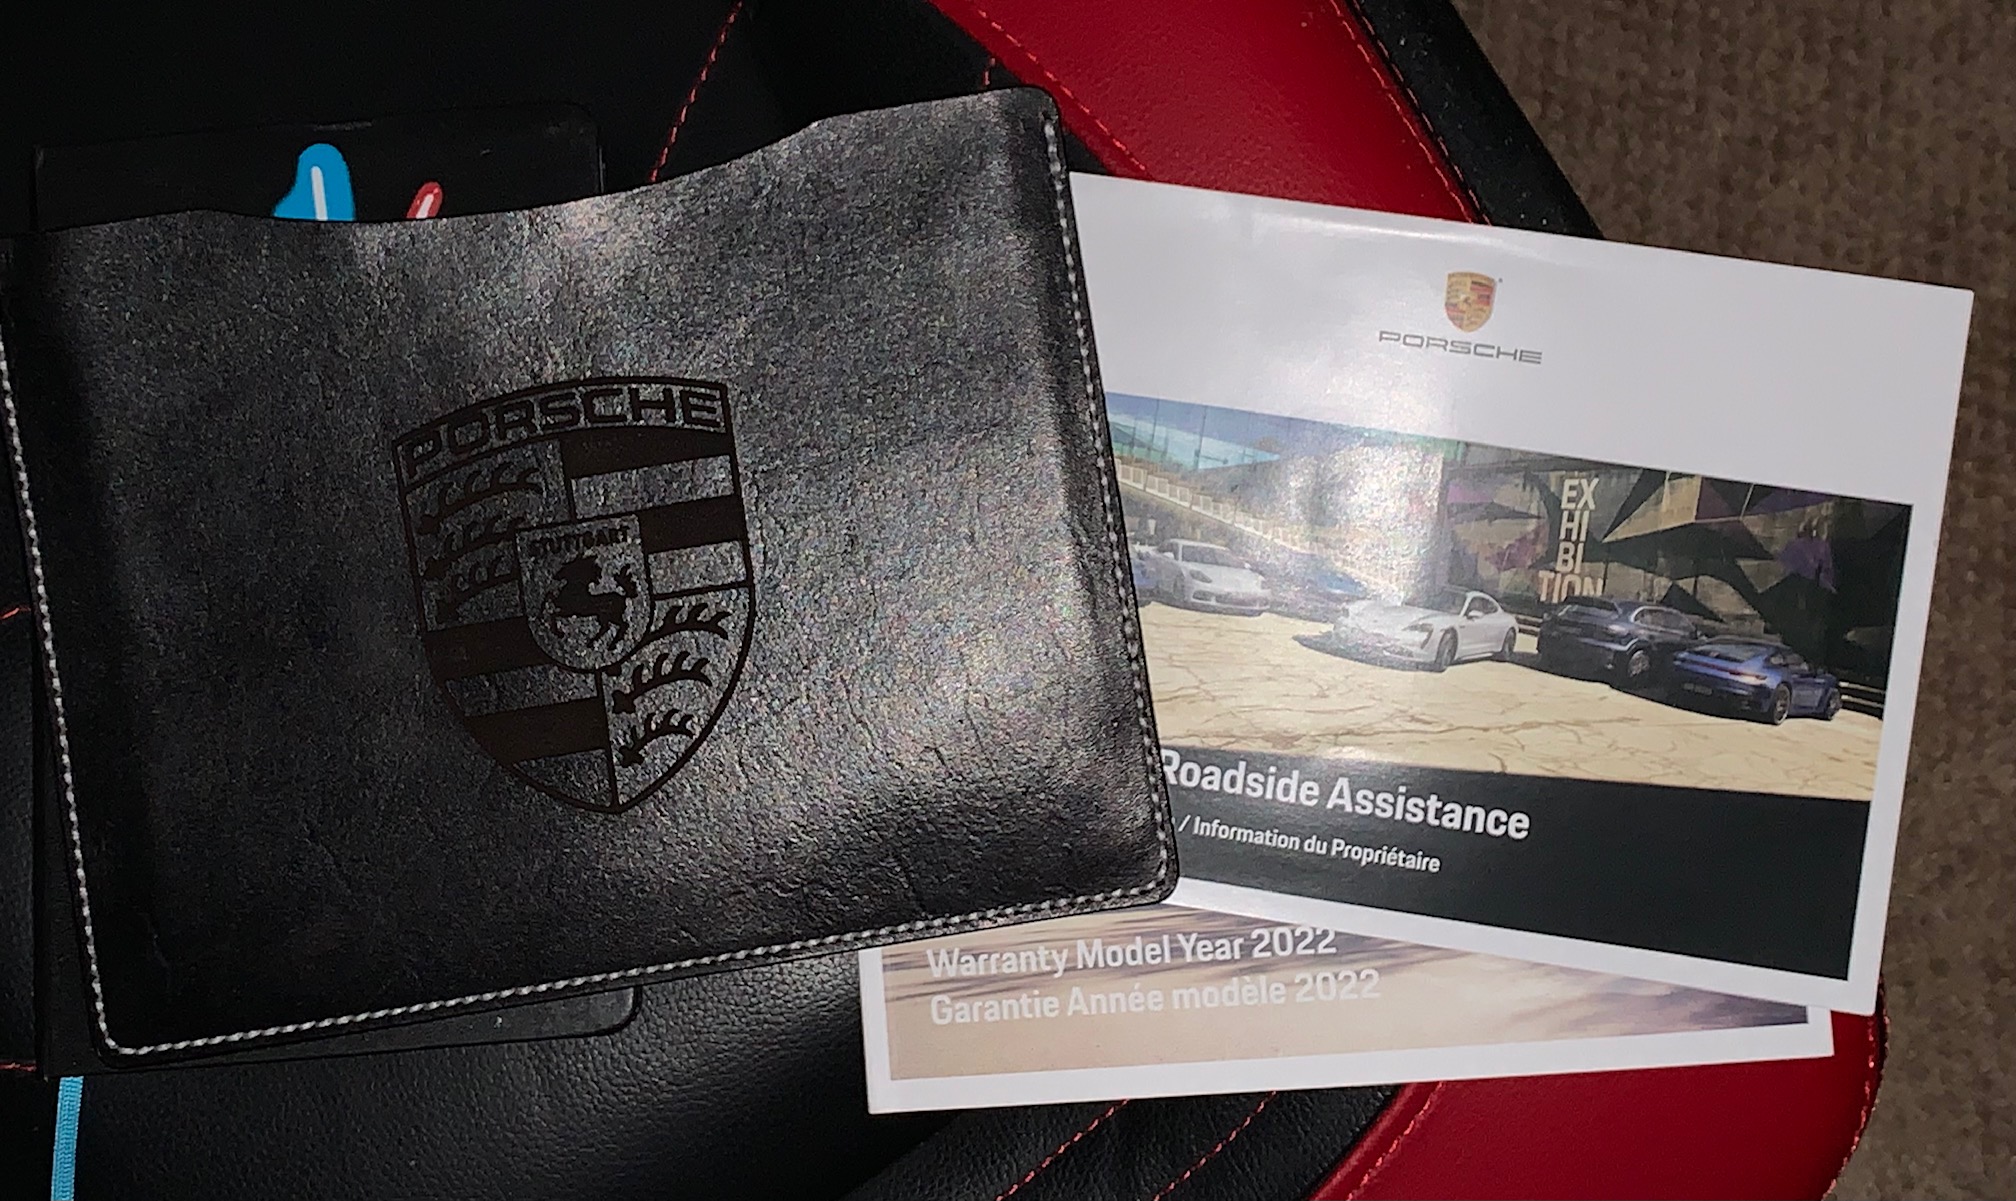
I had this custom leather sleeve made, so it can house my Porsche Roadside Assistance and Maintenance booklets in my glovebox. The existing faux leather sleeve I got with the car is designed to hold the Warranty, Roadside, Maintenance, and User manual all together as one. Yet I found it too snug for my liking, so I made this supplemental one, in black leather with white stitching, from a source on Etsy here in Canada.
I had this custom leather sleeve made, so it can house my Porsche Roadside Assistance and Maintenance booklets in my glovebox. The existing faux leather sleeve I got with the car is designed to hold the Warranty, Roadside, Maintenance, and User manual all together as one. Yet I found it too snug for my liking, so I made this supplemental one, in black leather with white stitching, from a source on Etsy here in Canada.
The video video of how they made it is most impressive!
M
Oh Oh.. I want one! PM me if you can make it for less than the cost of an arm or a leg... I'd be interested... San Francisco USA delivered!


 12-05-2021, 05:56 PM