When you click on links to various merchants on this site and make a purchase, this can result in this site earning a commission. Affiliate programs and affiliations include, but are not limited to, the eBay Partner Network.
I have not, the only bolts I've touched are:
Removal of T55 Torx bolt holding the Strut
Removal of bolt holding lower control arm on the strut end
Loosening of the bolt holding the lower control arm to chassis to allow it to swing down during strut removal
I haven't touched any others as of yet... I'll disconnect the sway bar end link this evening - I believe I prepped all the nuts/bolts with some liquid wrench in the event I have to further remove... any others I should loosen/remove?
Originally Posted by polobai
Also, have you disconnected the sway bar end link? That will allow enough movement of the suspension in most cases.
Sorry I assumed you removed the bolt holding the sway bar end link. You only need to remove one of the ends on the end link and that will allow you to move the suspension enough to get the strut in place. It also helps if you have both back wheels off the ground to release any preload on the sway bar. Other than that, that should be the only additional bolt you need to remove.
Awesome! I think this might give me the play that I might need ...Currently the car is on four jack stands with all wheels removed so it's easy to work on each corner... hoping that's sufficient and I don't need a QuickJack (can't fit a lift in)
I'll take some pics after work just to confirm before I go to town... can't thank you enough for all your help
Originally Posted by polobai
Sorry I assumed you removed the bolt holding the sway bar end link. You only need to remove one of the ends on the end link and that will allow you to move the suspension enough to get the strut in place. It also helps if you have both back wheels off the ground to release any preload on the sway bar. Other than that, that should be the only additional bolt you need to remove.
You're going about it wrong. Stop trying to force the strut saddle up and over the top of the hub. loosen the top three set screws enough that there is some play at the top, then push the strut back behind the hub and use the jack to then lift it up from BEHIND and slide it on using the wood and mallet. DO NOT use a pry bar! You're making this harder than it already is...
This would def be my preference, less to loosen means less for me to forget about
For what it's worth, I did try to push the strut back behind the hub... I wasn't able to get it there... is that where loosening the sway bar for some play would help?
Originally Posted by iWrenchmy911
You're going about it wrong. Stop trying to force the strut saddle up and over the top of the hub. loosen the top three set screws enough that there is some play at the top, then push the strut back behind the hub and use the jack to then lift it up from BEHIND and slide it on using the wood and mallet. DO NOT use a pry bar! You're making this harder than it already is...
hmm, in that case you need to remove both bolts from the upper links AKA dog bones, which will allow you to rotate the entire wheel assembly out towards you. At that point you should be able to get the saddle to fit behind the hub. Once the saddle is behind the hub use your jack to slowly lift and compress it until it is in alignment and can either be pulled on to the hub or knocked on to it with the wood and mallet.
Overall, you're going to have to get creative as getting this thing back on is really not simple or easy but it will go back on of course.
This would def be my preference, less to loosen means less for me to forget about
For what it's worth, I did try to push the strut back behind the hub... I wasn't able to get it there... is that where loosening the sway bar for some play would help?
But are the three set screws tightened down? I would remove those set bolts (inside the car) completely so that the strut can move around enough to get it on the saddle - that is primary objective. Once the saddle in bolted back on to the hub you can feed the top back in to its set holes, and this is where some movement of the carrier assembly may be required and why you want one of those lug spline tools so that someone can put weight fully on it(pulling with one's arm is not generally enough to move the assembly adequately unless said person is a body builder).
And yes, removing the drop link from the stabilizer bar would allow you further movement of the carrier - those drop links keep the stabilizer bar physically linked to the opposite side carrier assembly which means with it connected you effectively have to move two carrier assemblies while wrestling one side in to place. Does that make sense?
If the makers and sellers of these components told you the 100% truth about how hard they are to install how many units do you imagine they would sell?
Pics coming soon! Taking care of the calipers now, plus finishing up the 30k maintenance... alignment this week... and then some special goodies...
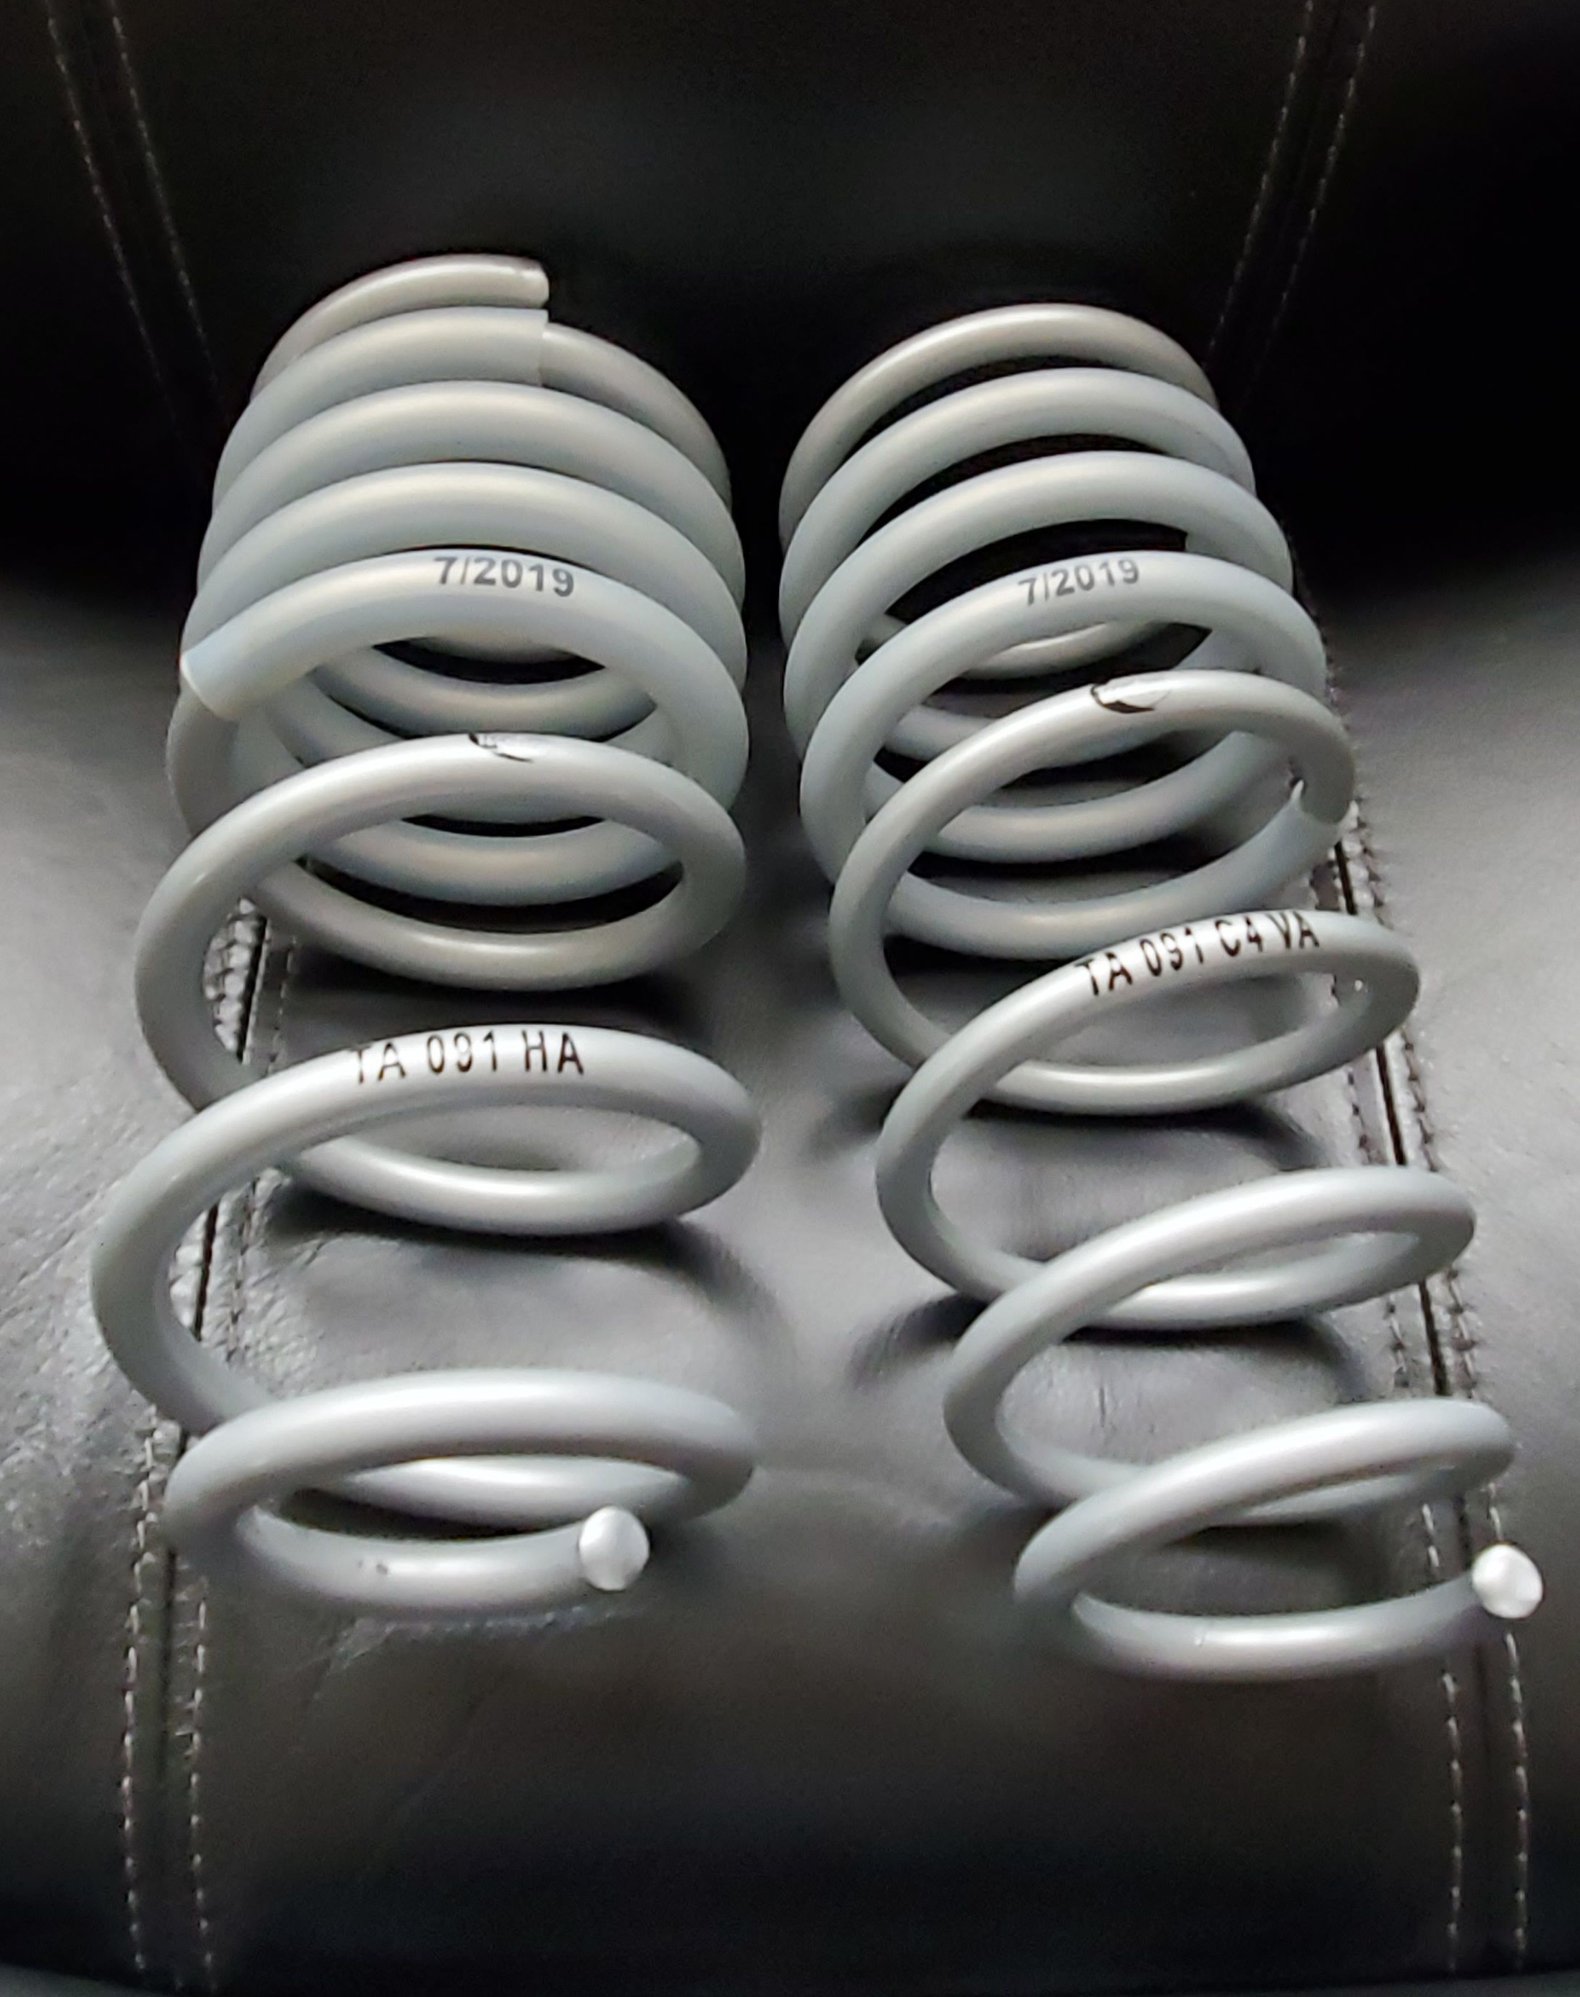
TechArt springs have been installed successfully... without @polobai and @iWrenchmy911 input in the end, this would have never gotten done... thank you guys - you're true gentlemen and scholars!
I actually landed up removing the stabilizer bar all together, had a friend step on the rotor... and that gave sufficient room to slide everything back in place - exactly as you said it would be! surprisingly enough, I didn't need to use zip ties at all once I removed the stabilizer bar
The other rear shock was absolutely no problem - maybe 30 min end to end! The fronts were quite intuitive and followed exactly as the other DIY's showed...
Originally Posted by polobai
Nice work-glad I could help. Did you disconnect the stabilizer bar end link?
Pics coming soon! Taking care of the calipers now, plus finishing up the 30k maintenance... alignment this week... and then some special goodies...
TechArt springs have been installed successfully... without @polobai and @iWrenchmy911 input in the end, this would have never gotten done... thank you guys - you're true gentlemen and scholars!
Wow! That looks great! Not sure I want to go through all of that hassle though.
I found this thread because I'm thinking of buying a Macan too. And, like most SUV's, they sit too high. So, with various sources of lowering springs, ...


 05-13-2020, 03:24 PM


 ...Currently the car is on four jack stands with all wheels removed so it's easy to work on each corner... hoping that's sufficient and I don't need a QuickJack (can't fit a lift in)