When you click on links to various merchants on this site and make a purchase, this can result in this site earning a commission. Affiliate programs and affiliations include, but are not limited to, the eBay Partner Network.
I couple photos of the install for my 2016 GTS. Fabricated the brackets and had them powder coated. Did some minor trimming on the side fins and recoated the panel. Took some time to get it right but not to complicated.
I couple photos of the install for my 2016 GTS. Fabricated the brackets and had them powder coated. Did some minor trimming on the side fins and recoated the panel. Took some time to get it right but not to complicated.
Looks great! Would you be up for selling a couple of those fabricated brackets for some of us 991.1 owners?
Thanks. I have looked at a number of 991.1's and the rear cross member that the front bracket attaches to is different on different models. Basically some have 2 holes and some have one hole like mine. I drilled and set rivet nuts for 2 additional mounting holes so mine would have 3 front attachment holes. The rear brackets all need to be fabricated around where the panel ends up based on the front bracket being done first. If there is a 1/16 of an inch difference the rear brackets would not line up correctly. So, basically it would be near impossible to fabricate brackets that would work for all installations. It really is a custom fitting issue. I would be happy to send anyone interested detailed photos of the brackets that could use for fabricating their own. If it were more universal I would be happy to make some as they really aren't that difficult when you have the basic shape to start from. It took me numerous tries to get the shape right. Hope this helps.
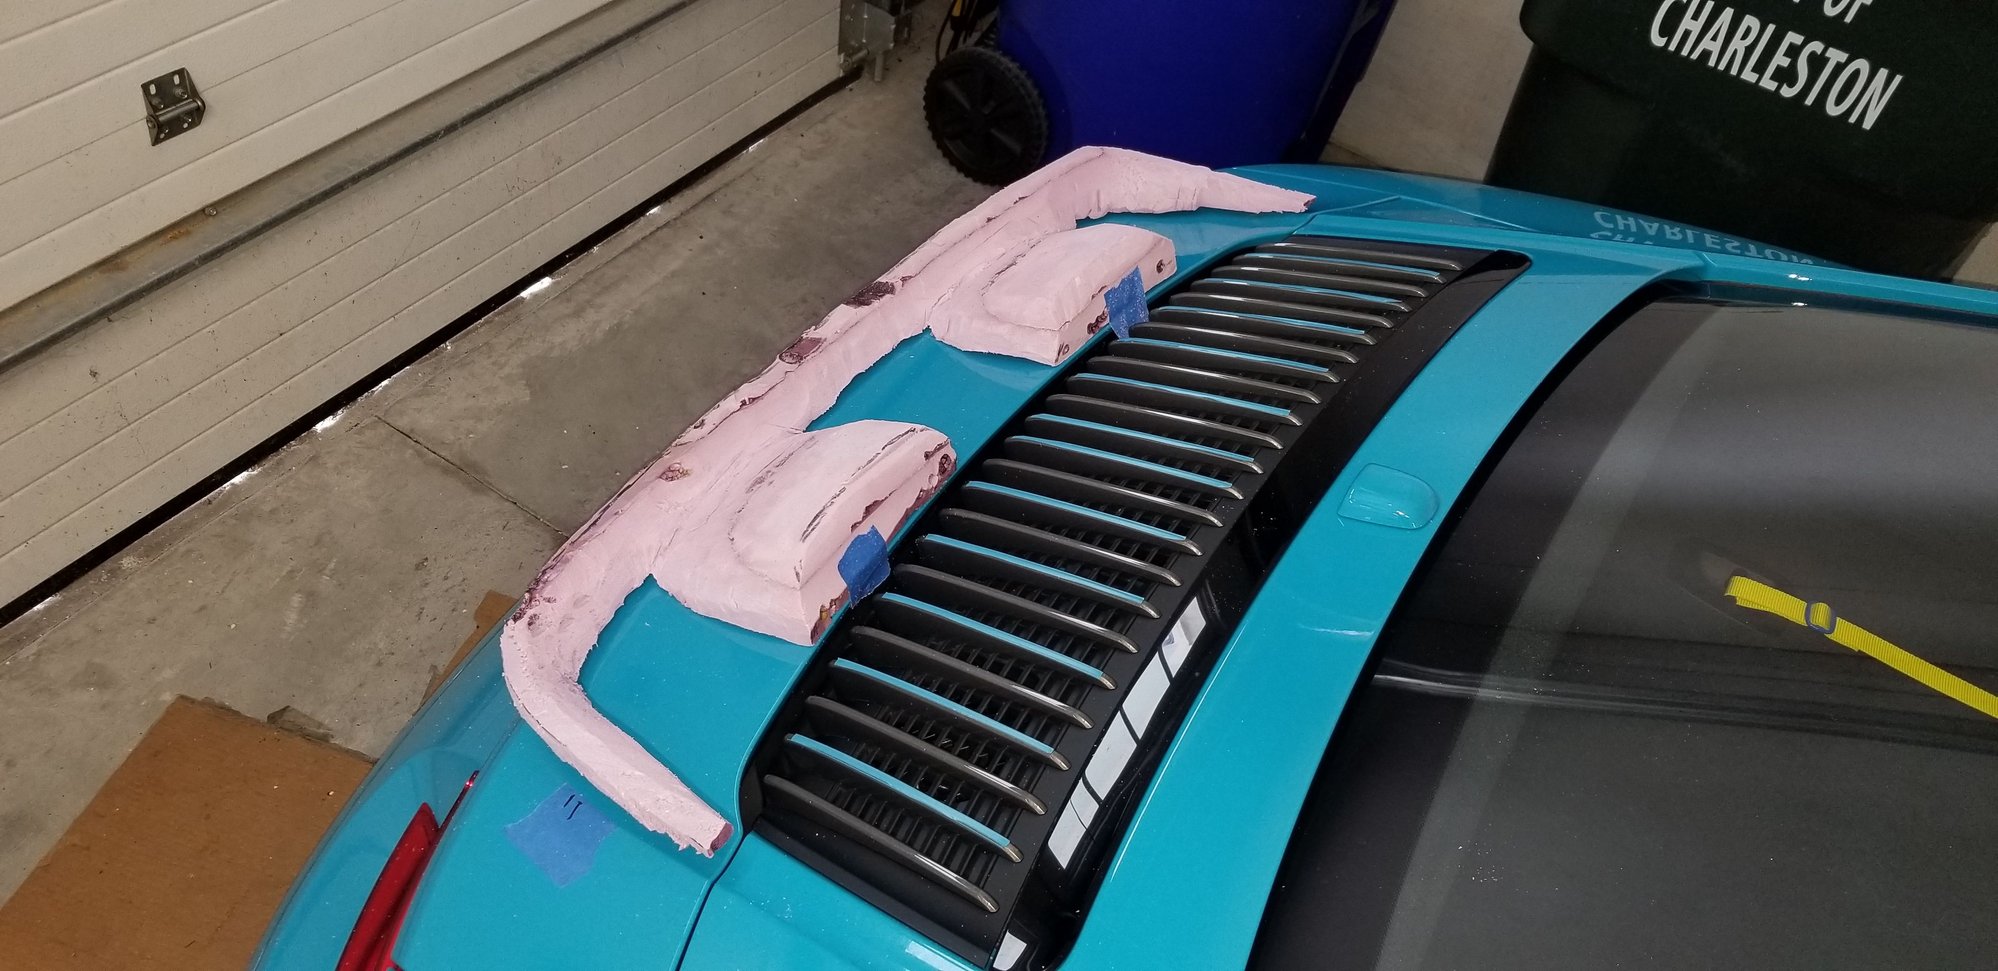
Firstly, full credit to polobai for letting us know this was possible.
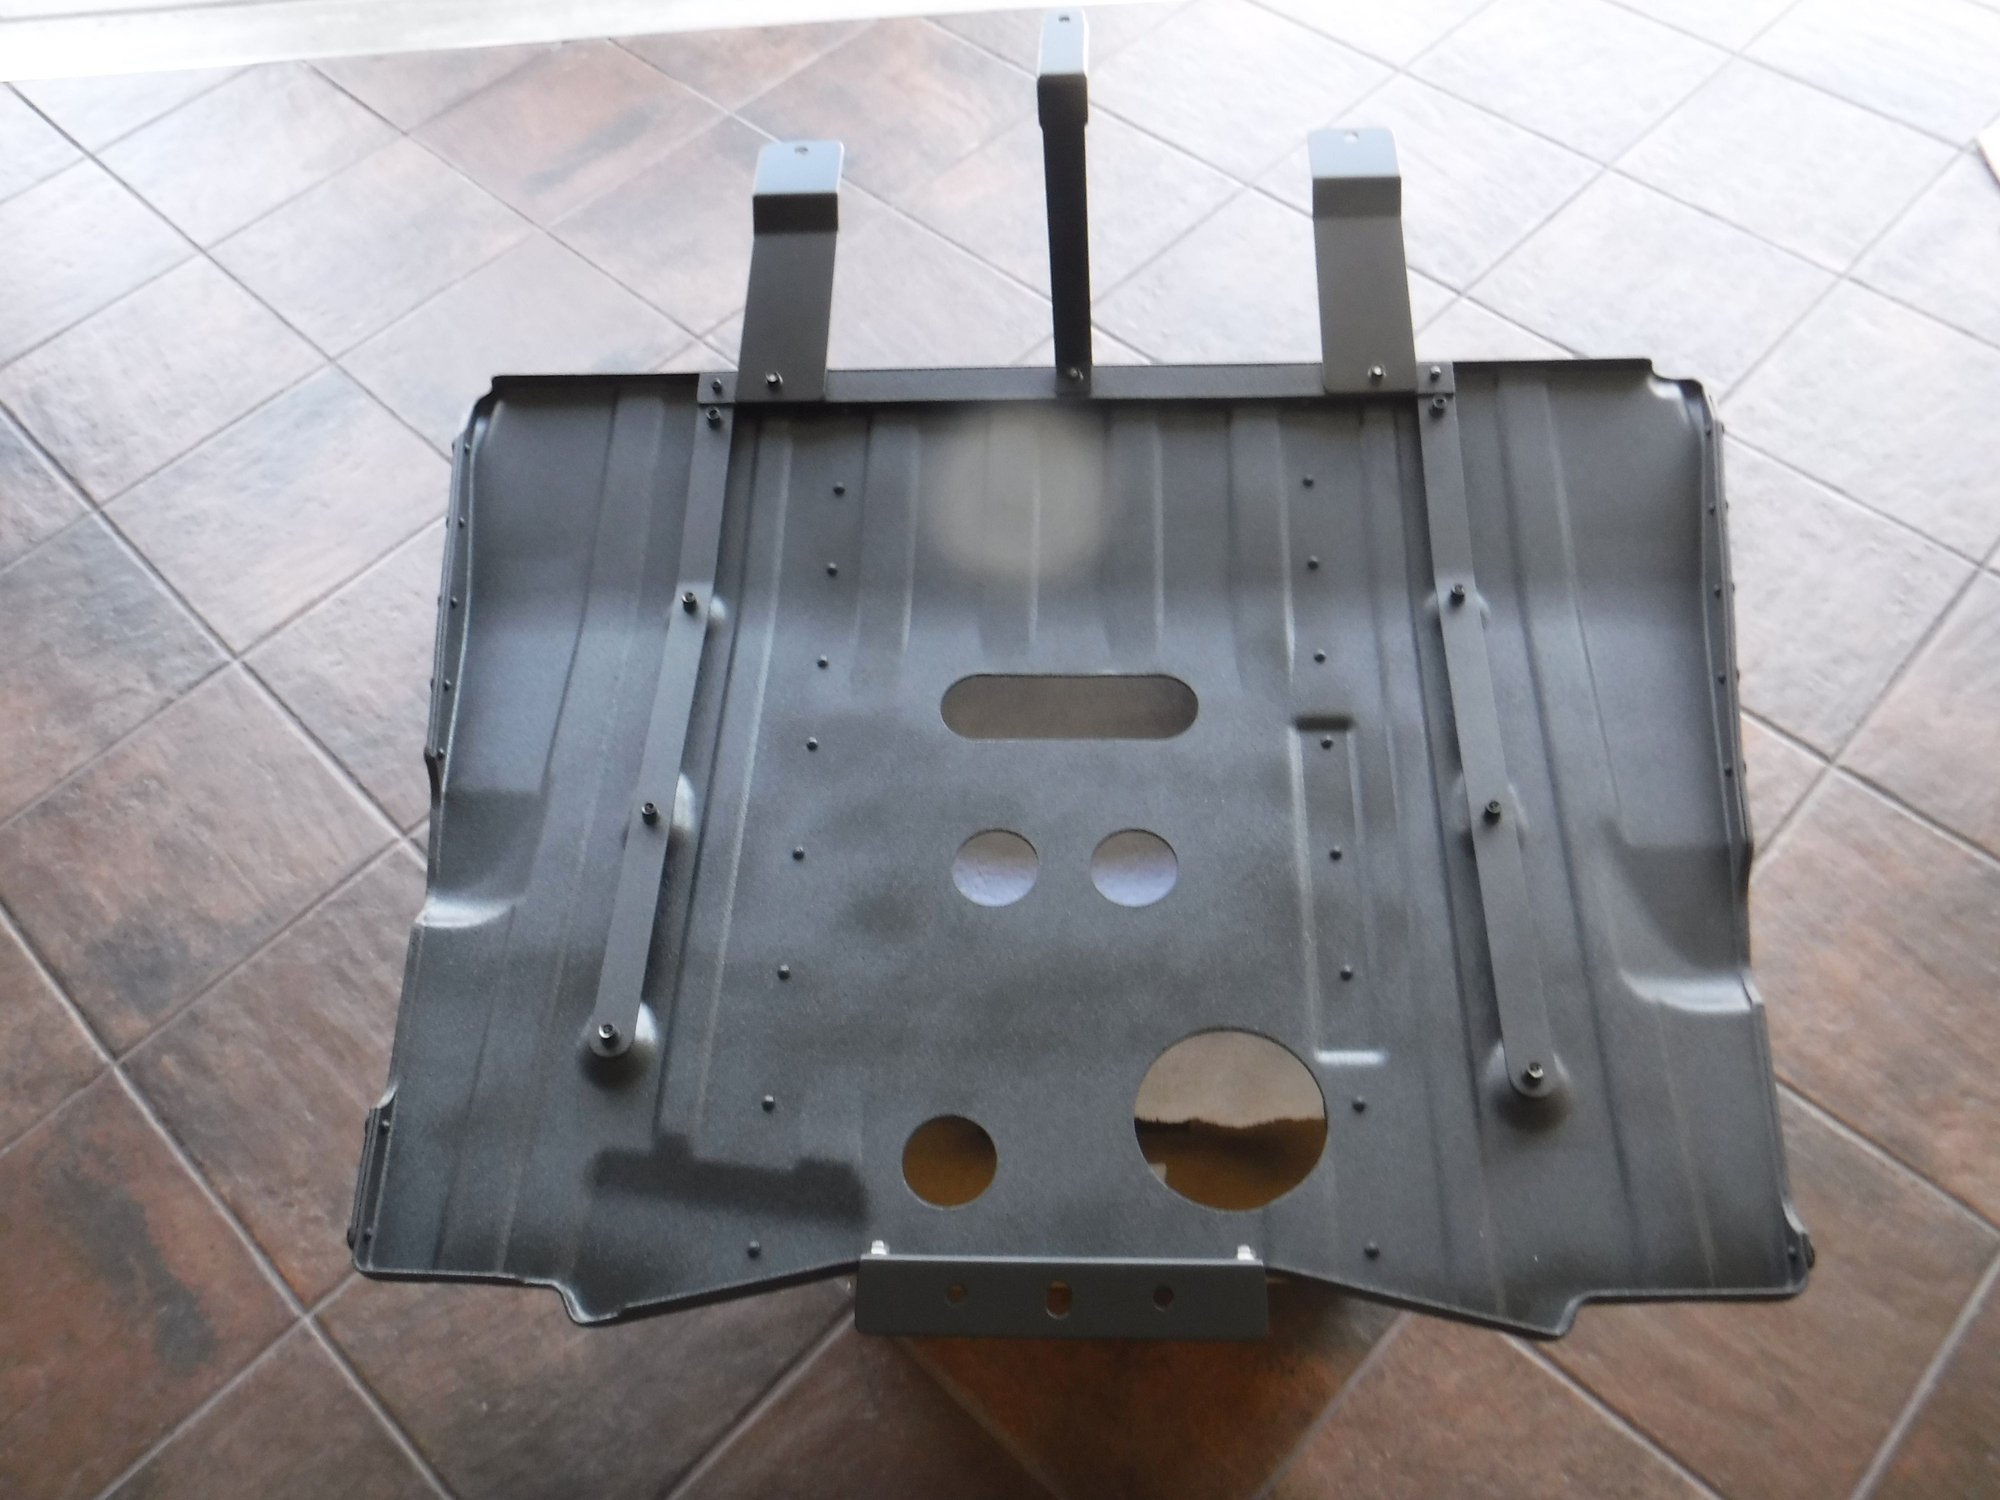
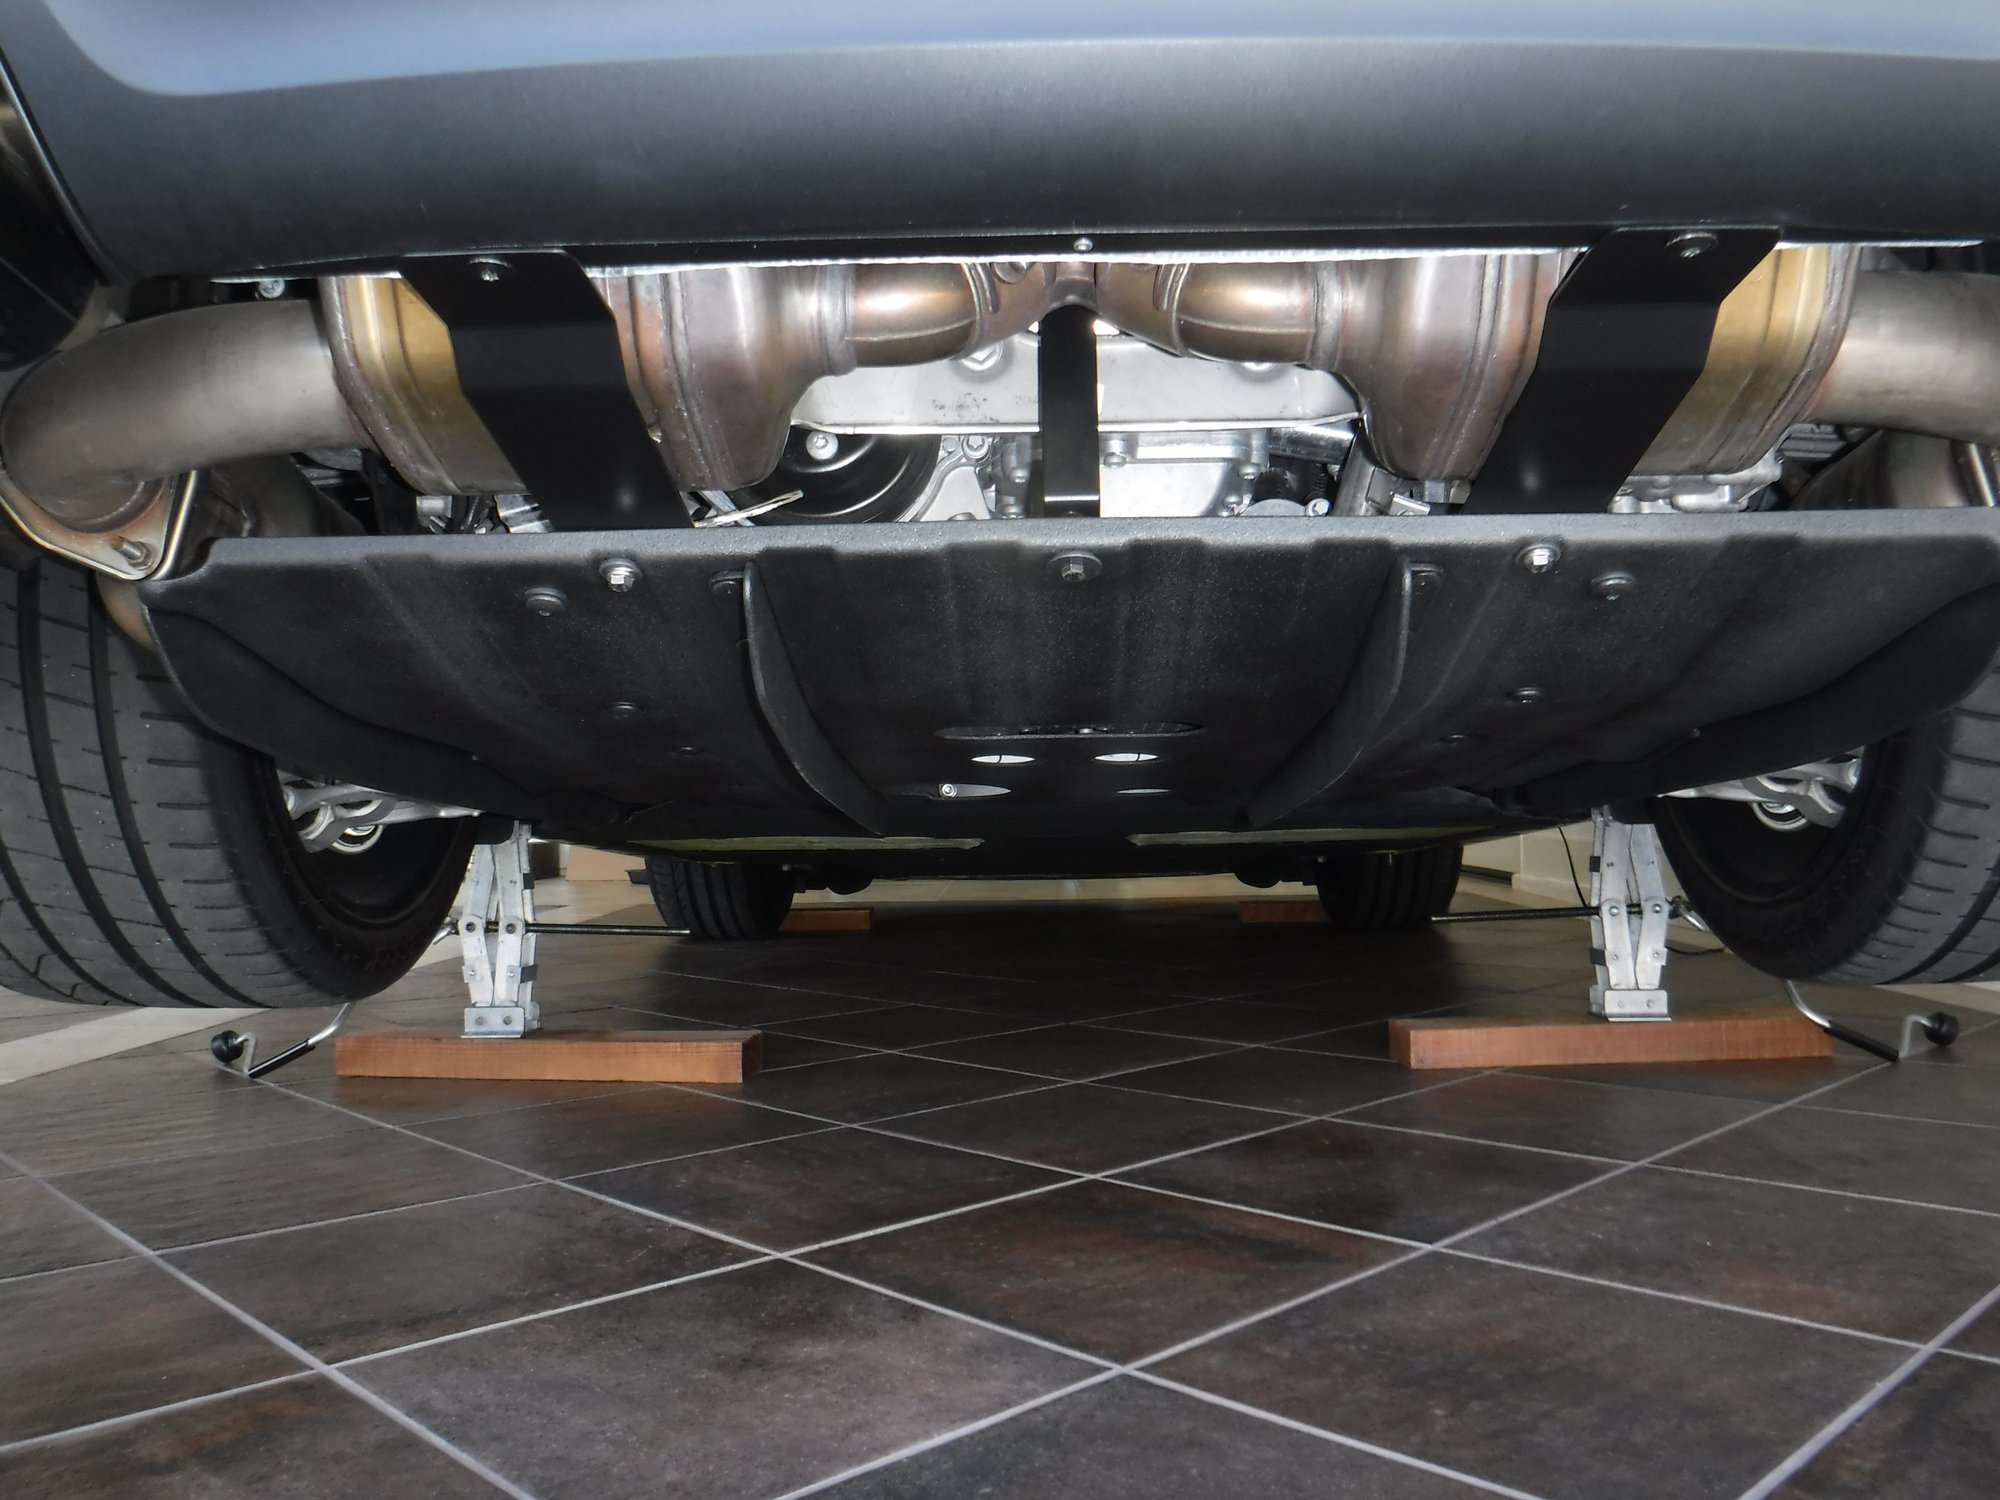
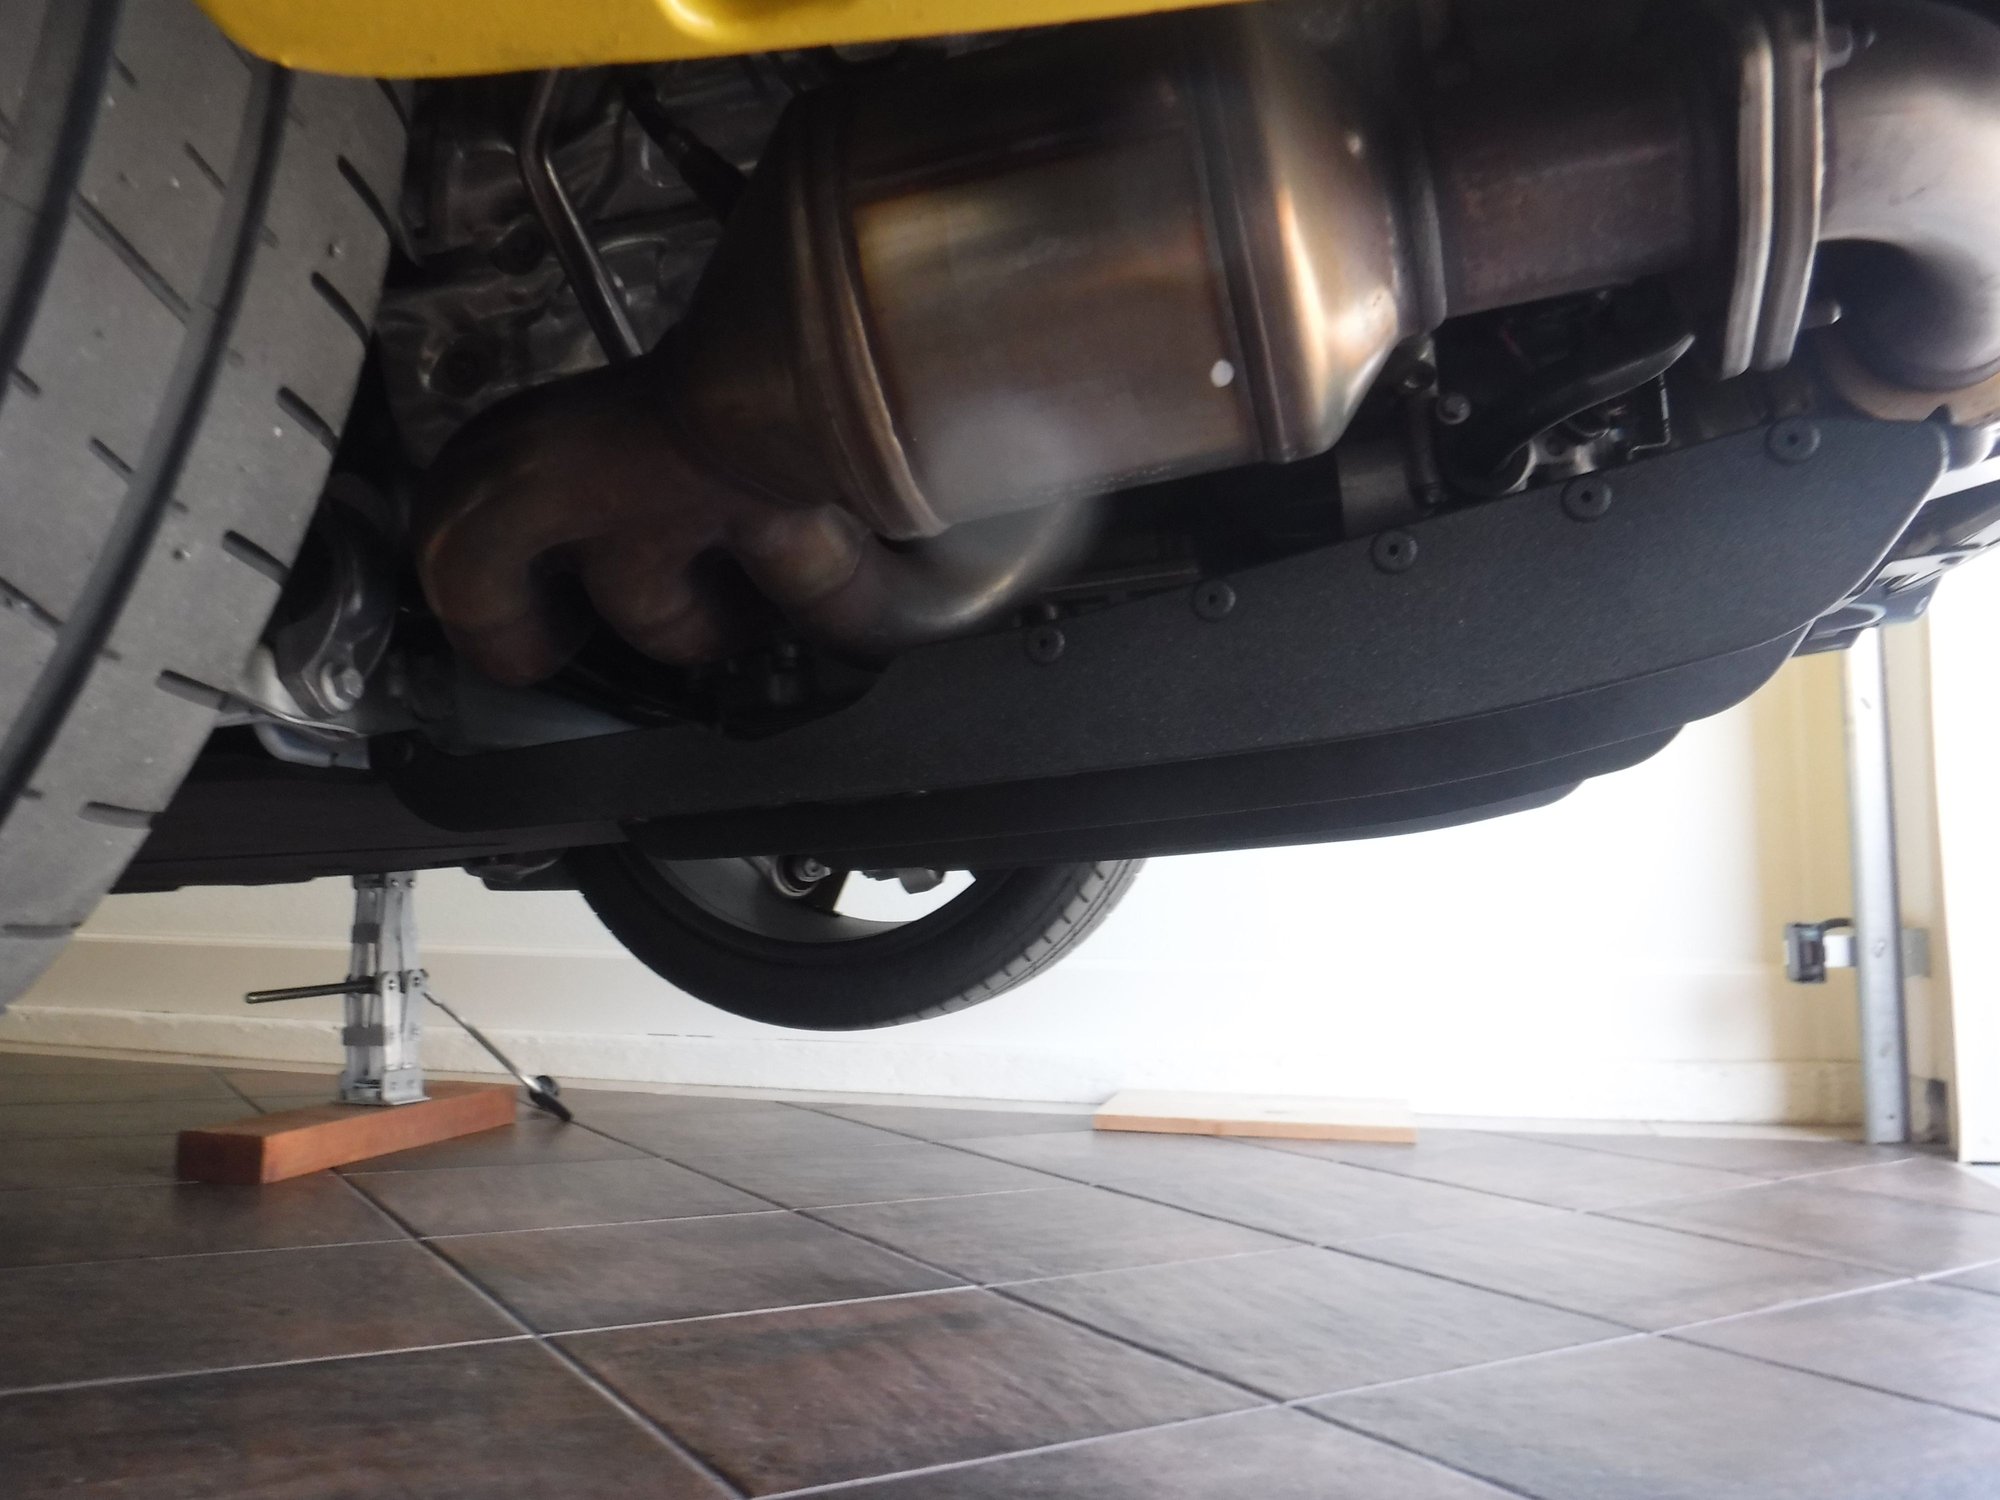
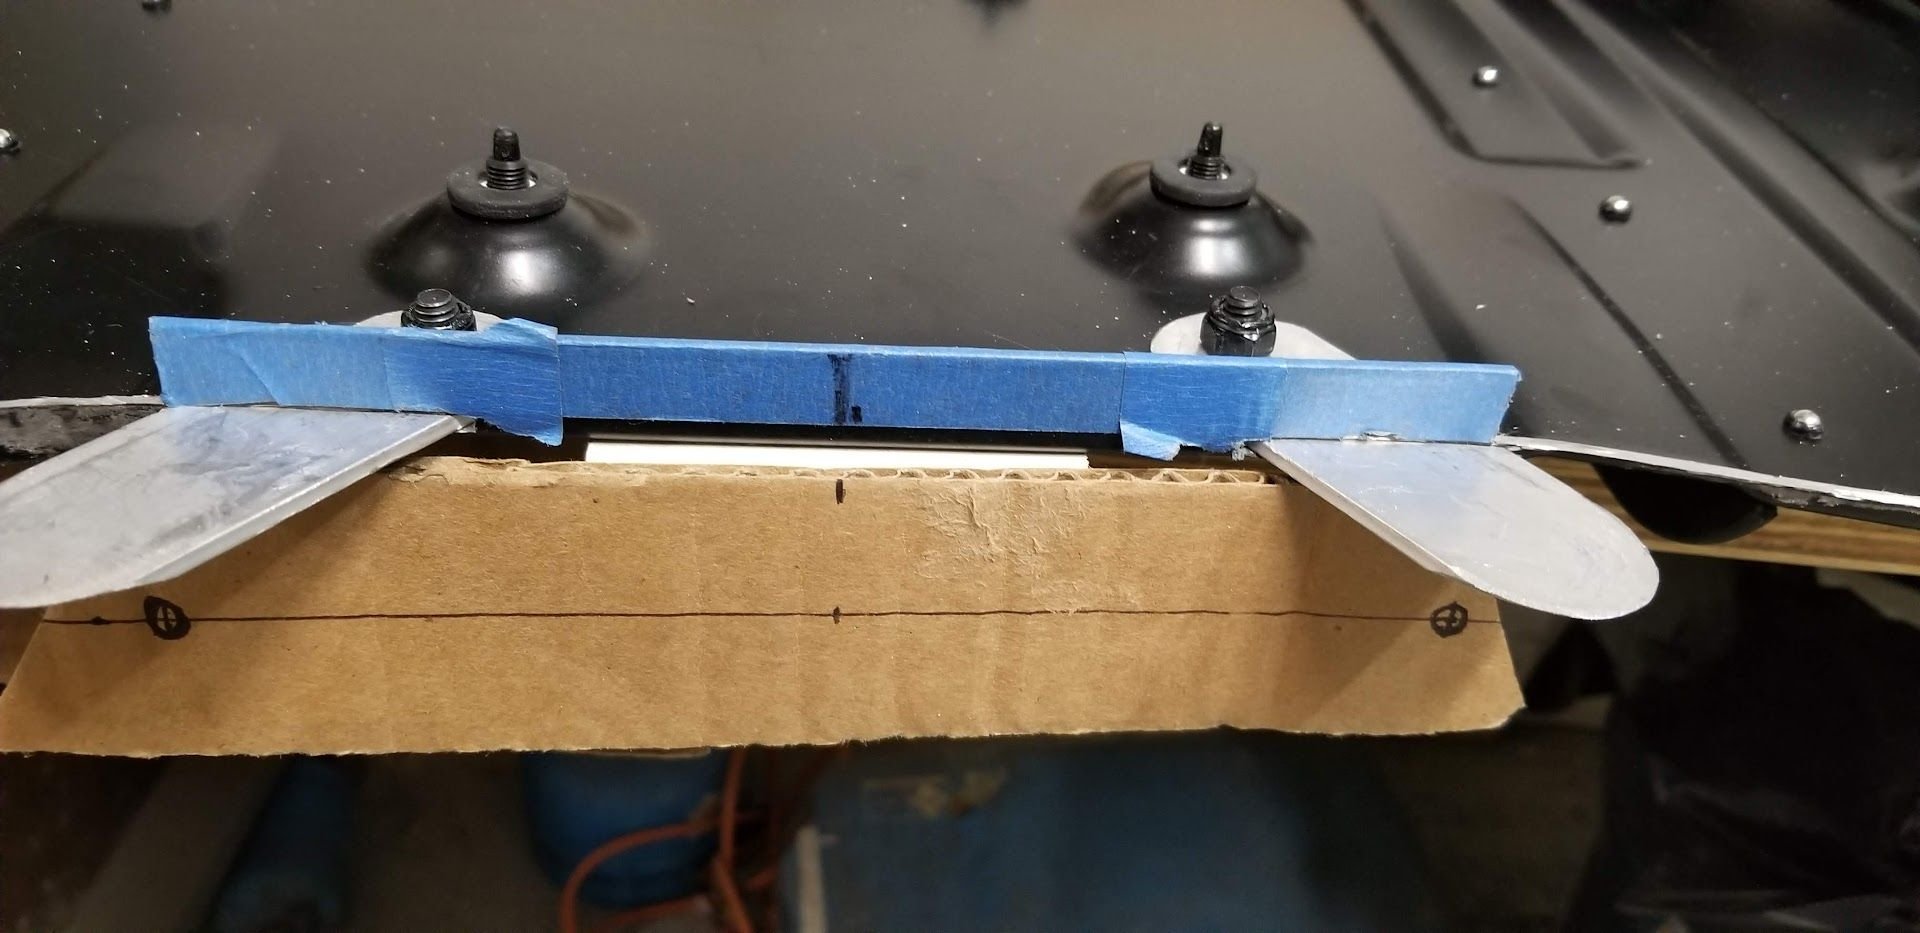
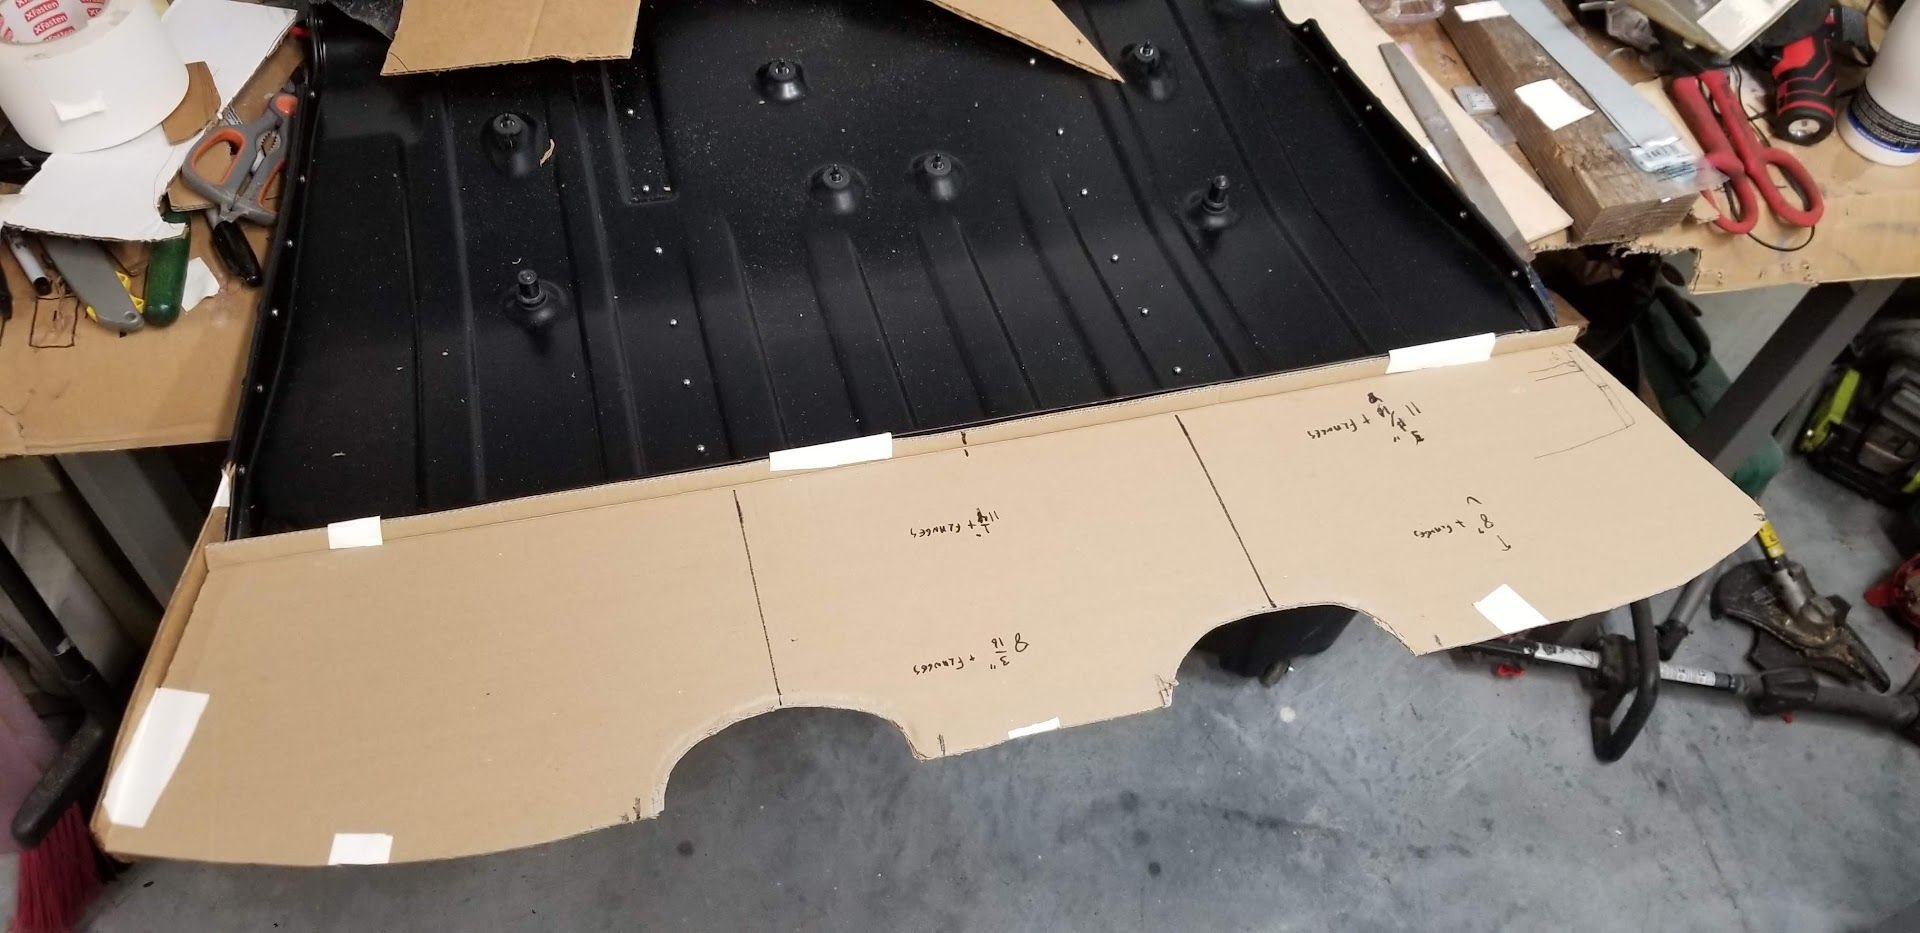
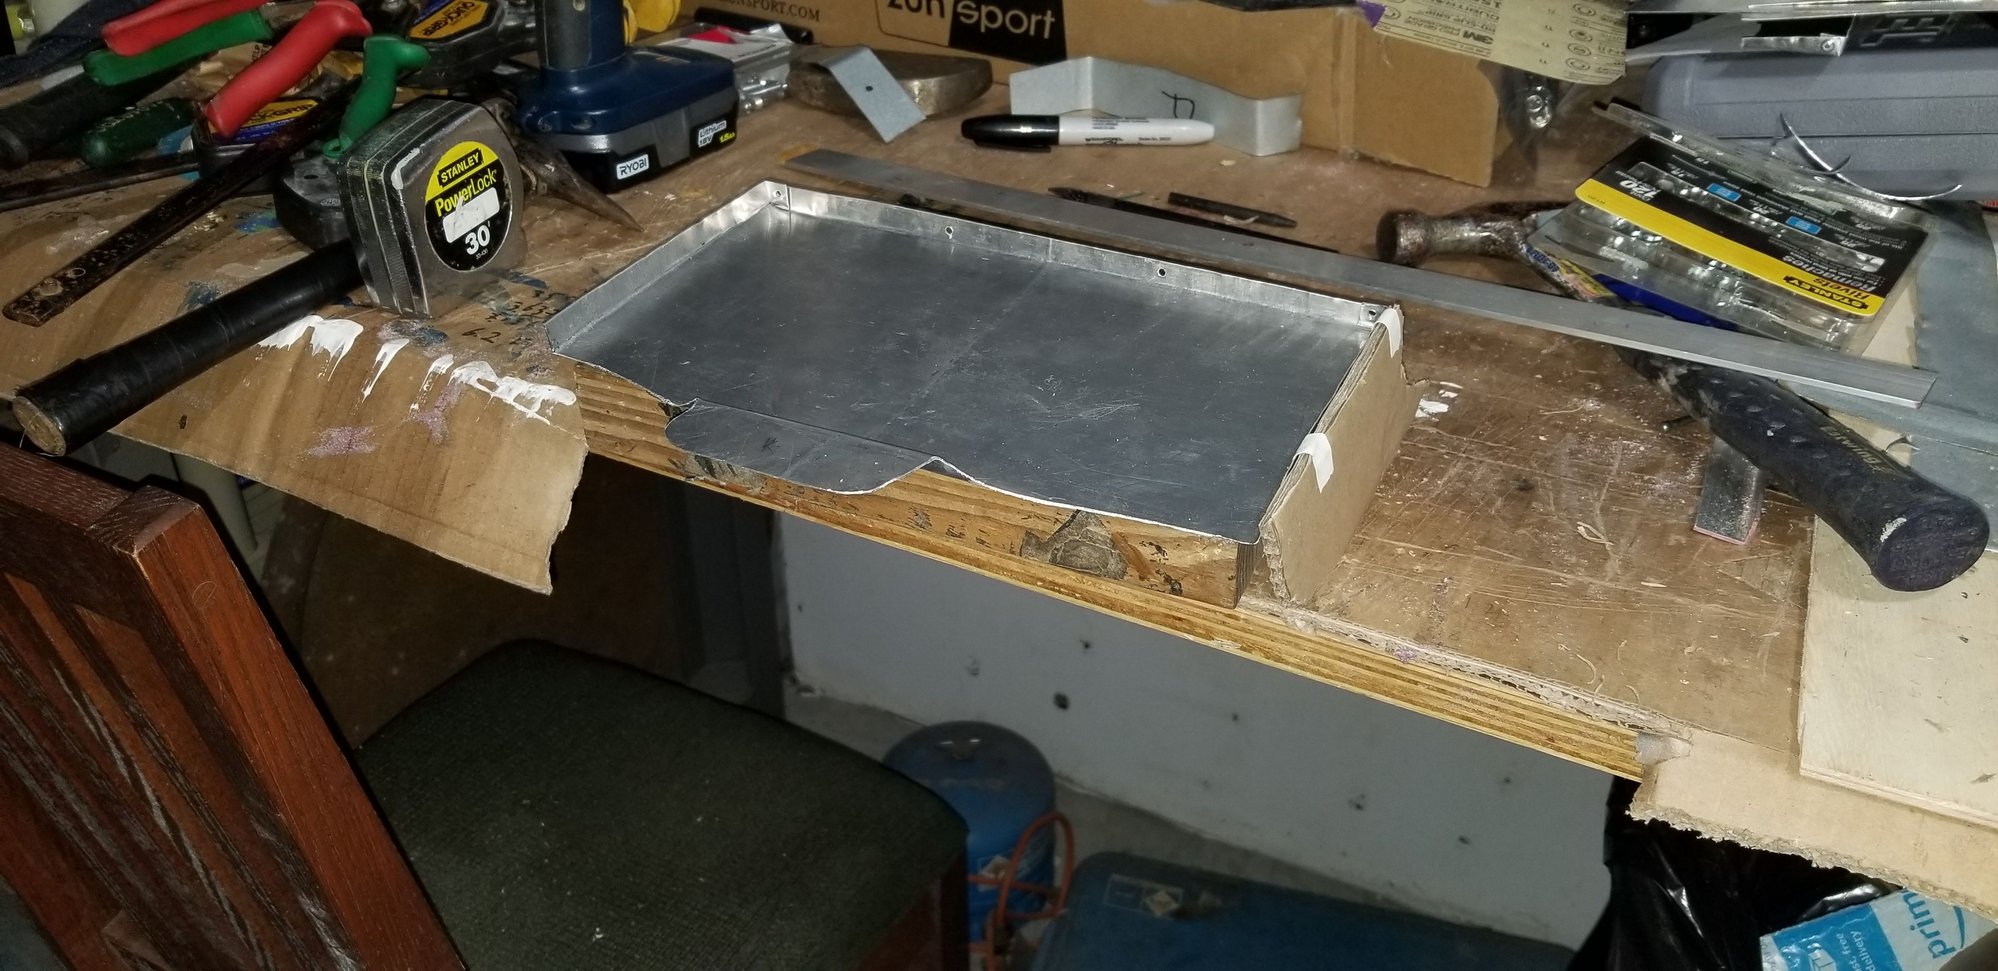
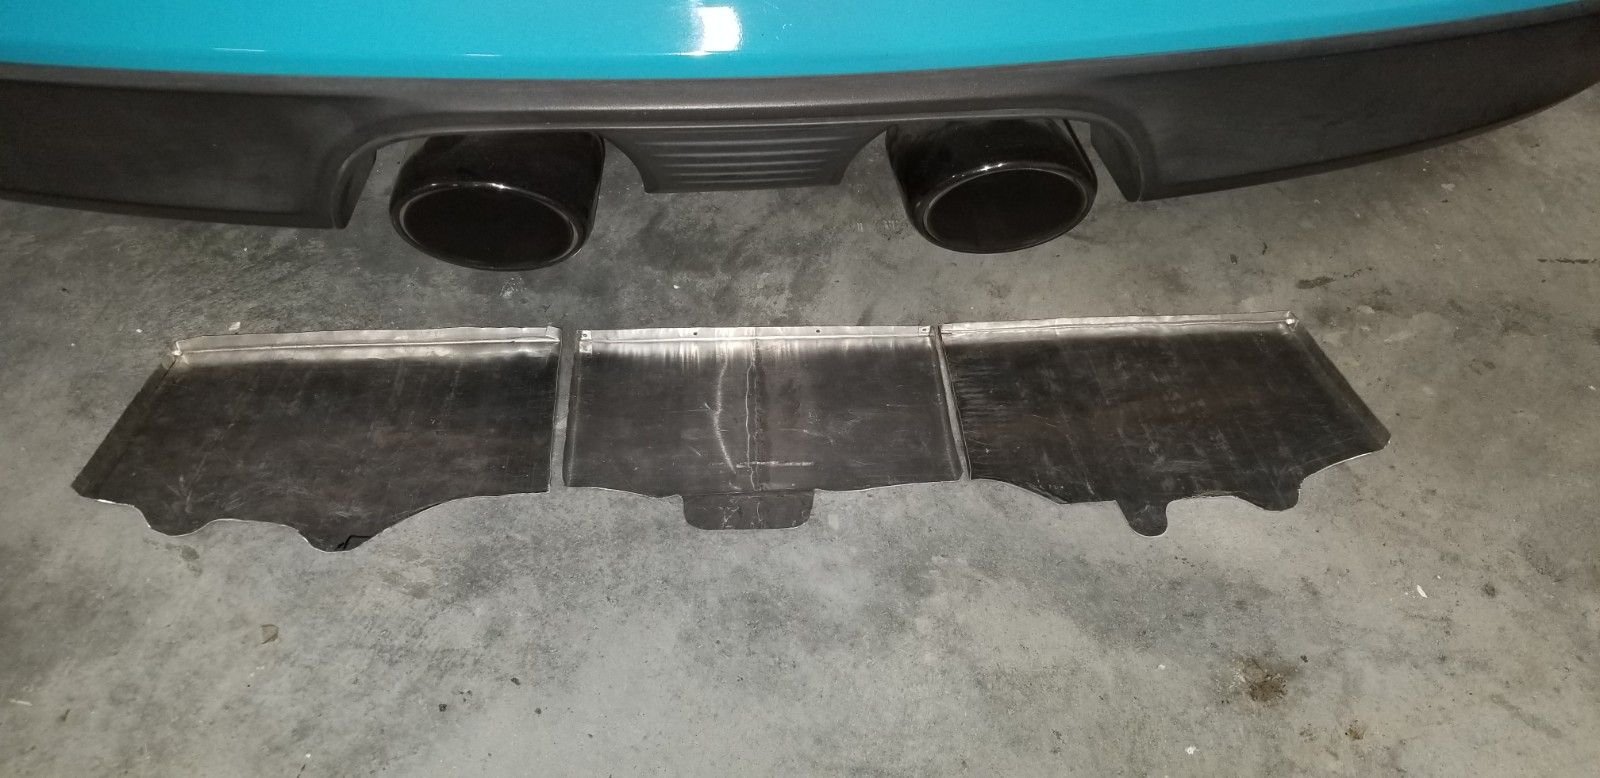
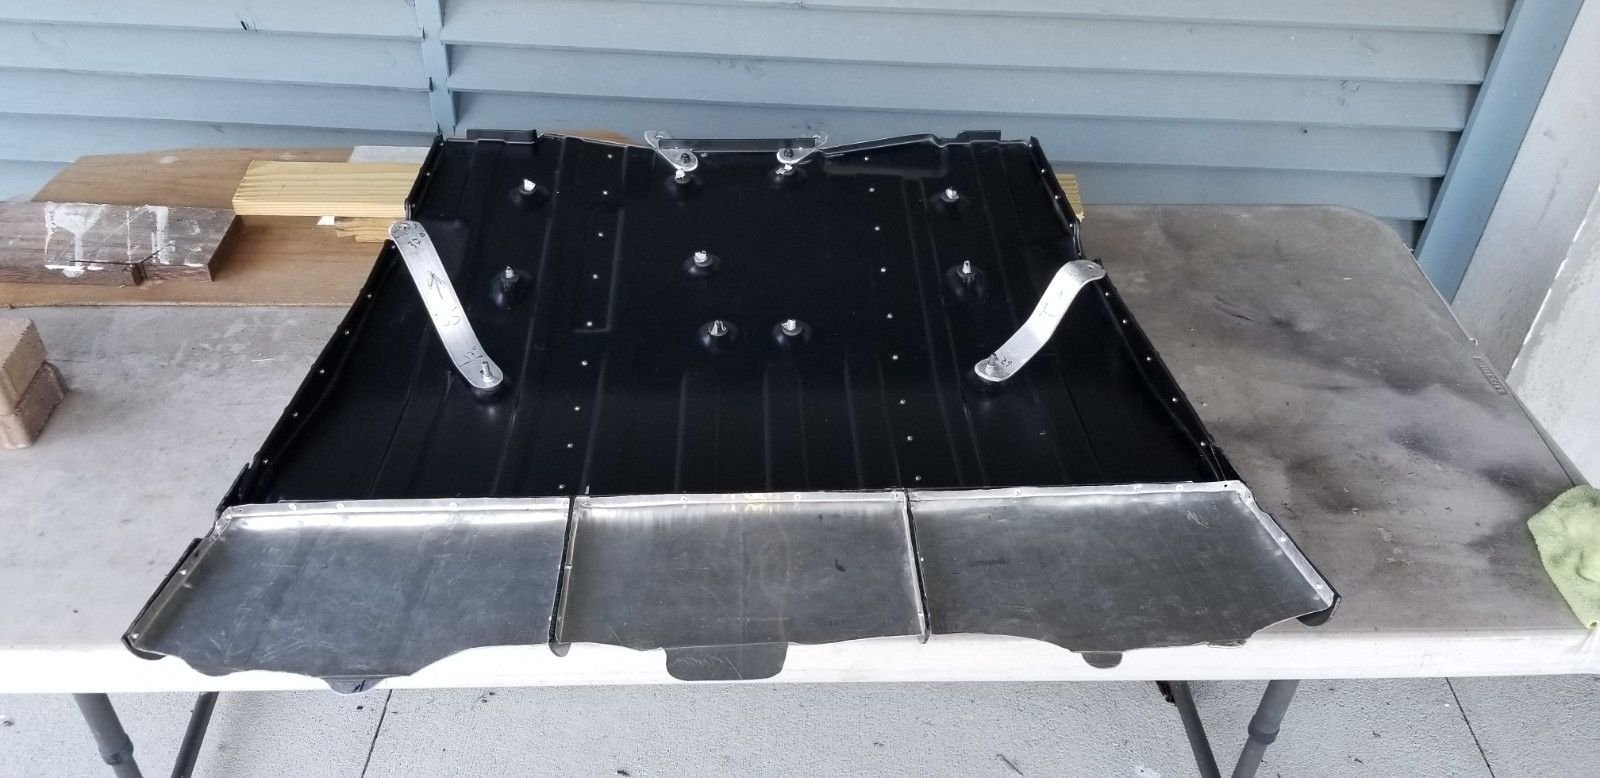
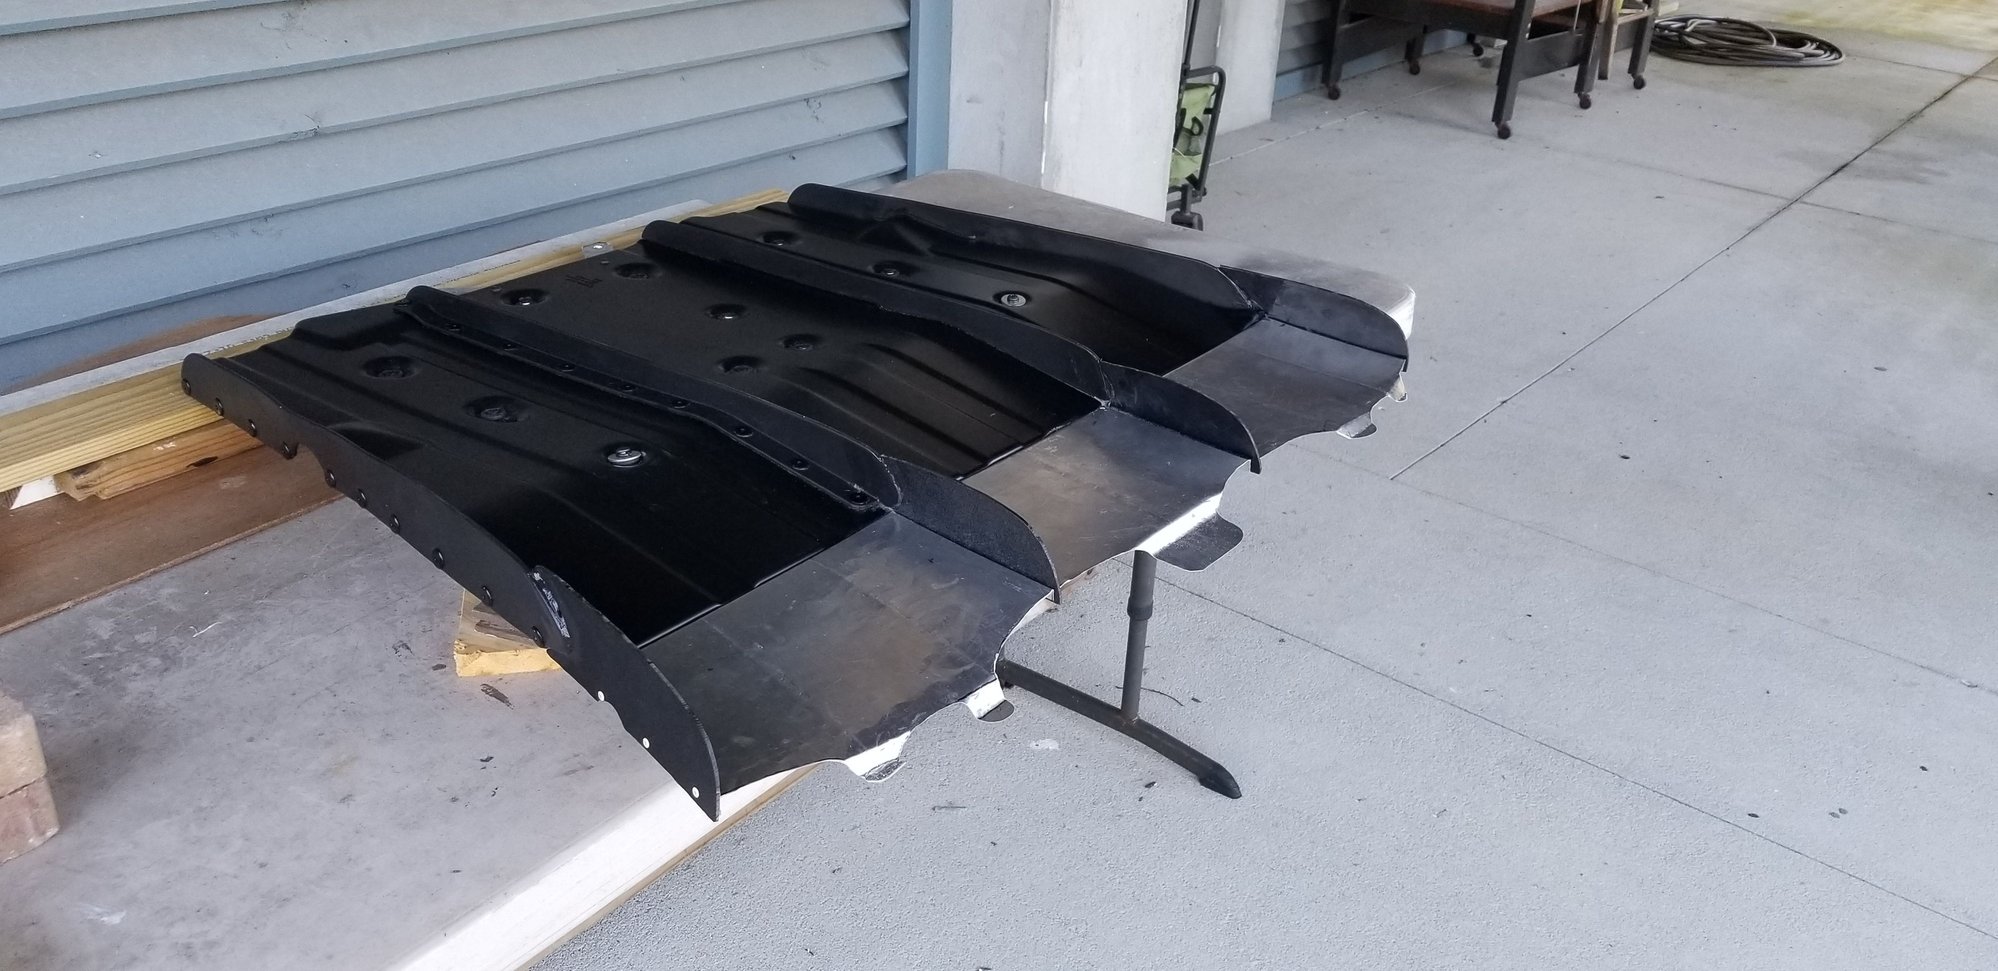
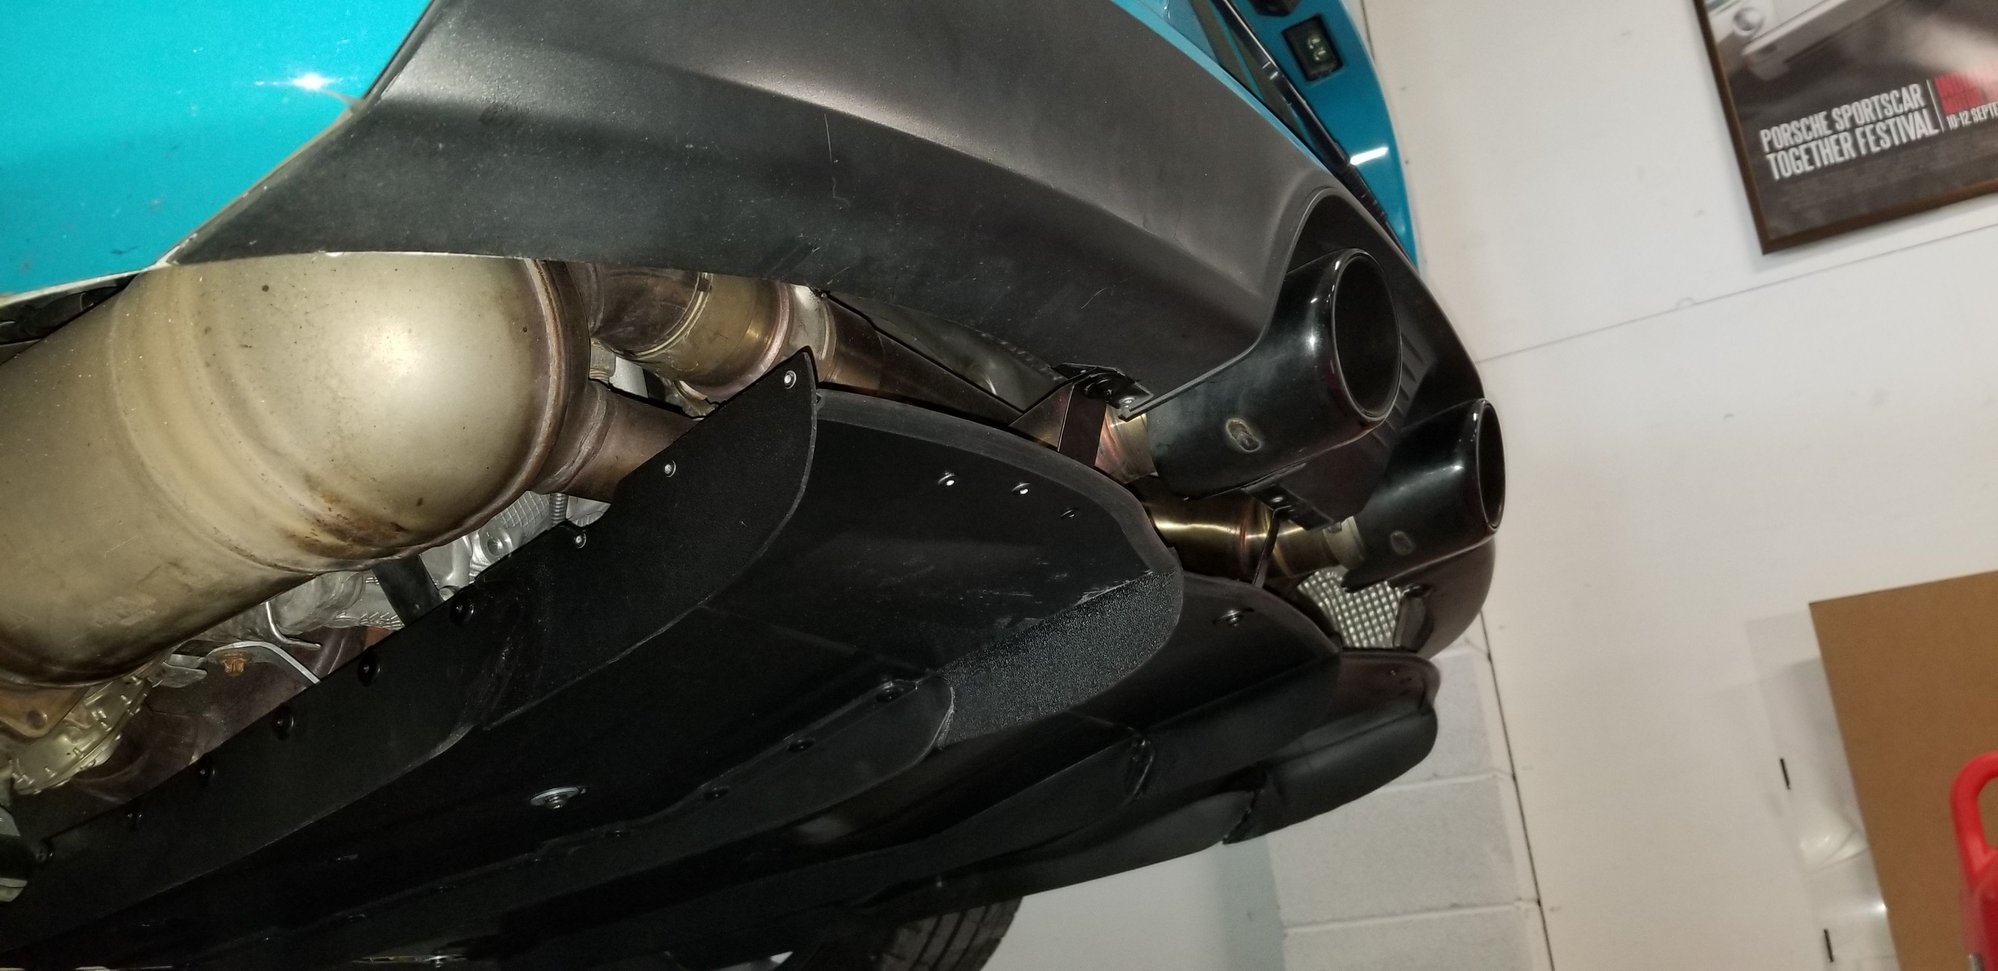
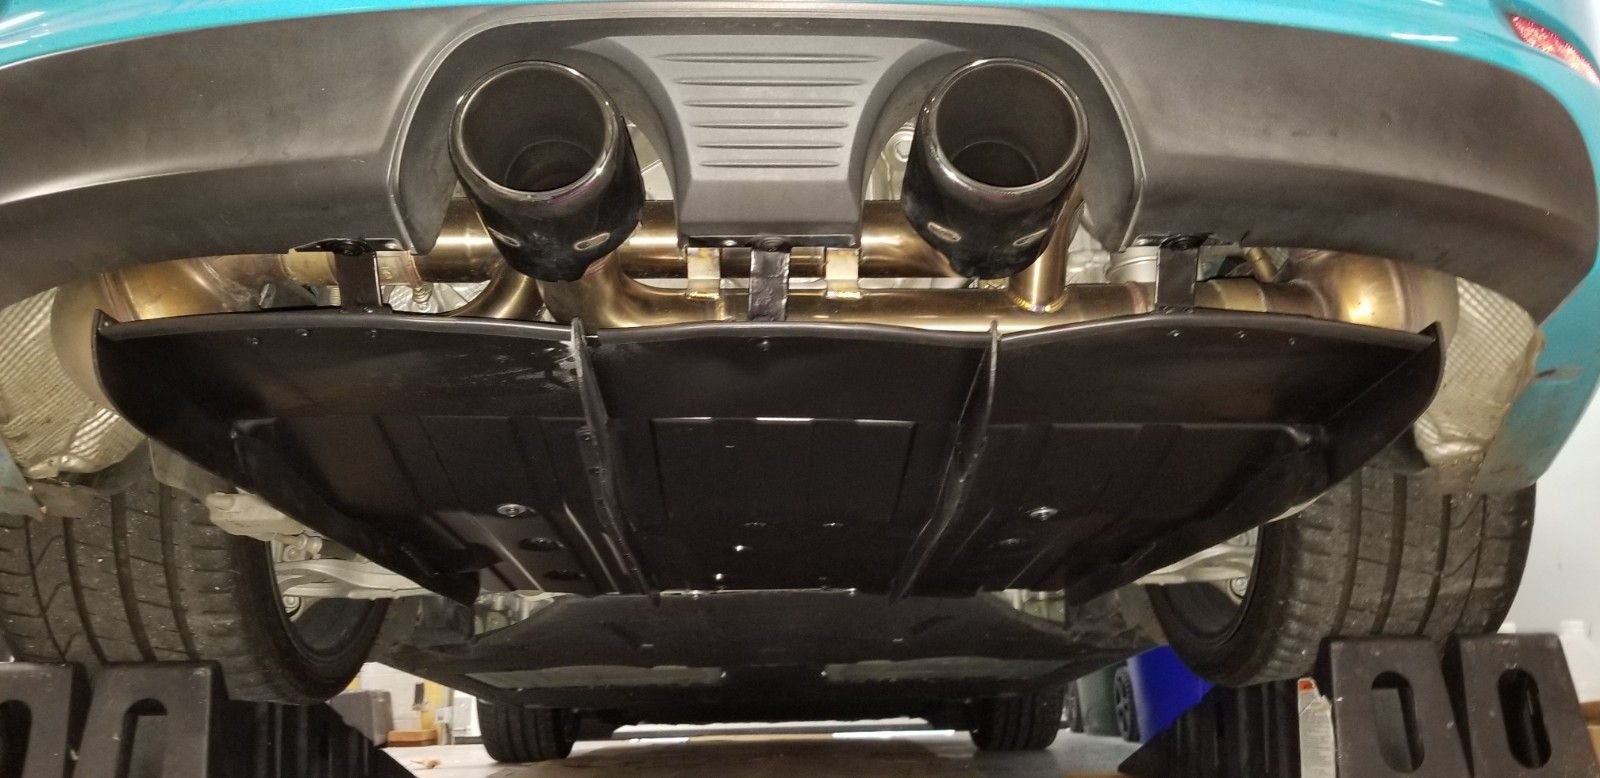
My mod of polobai's install was to trim the front of the R diffuser to allow using the front face flush against the suspension crossmember. Made the front attachments from 1/8 alu bolted to the top of the diffuser, protruding through windows in the face of the diffuser to the crossmember with Rivnuts inserted. Also added a safety hold piece that curls on top of the crossmember. Rear mounts as per polobai. As I have the SharkWerks exhaust, it seemed like a good idea (was it? We'll see.) to extend the diffuser to the front edge of the rear bumper cover. I made three "trays" out of .025 alu which were riveted together incorporating the fins and then riveted to the rear of the diffuser. Initially I had protrusions on the rear of the additional piece allowing for attachment to the 3 bumper cover screws and slip fit on the edge of the bumper cover. These all got trimmed off and replaced with fabricated brackets and "L" profile stiffeners for the outboard sections. As installed the assembly is quite stiff. You will notice that there is clearance vertically and horizontally between the extension and the bumper cover to allow for engine cooling.
To do this again, I think I would opt for a one piece extension made of an alu honeycomb sheet with 1/2" X 1/2(or3/4)" L section alu strips for fin attachment points. Would simplify process considerably. All of the fabrication involved for this project was accomplished with rudimentary tools and questionable skills.
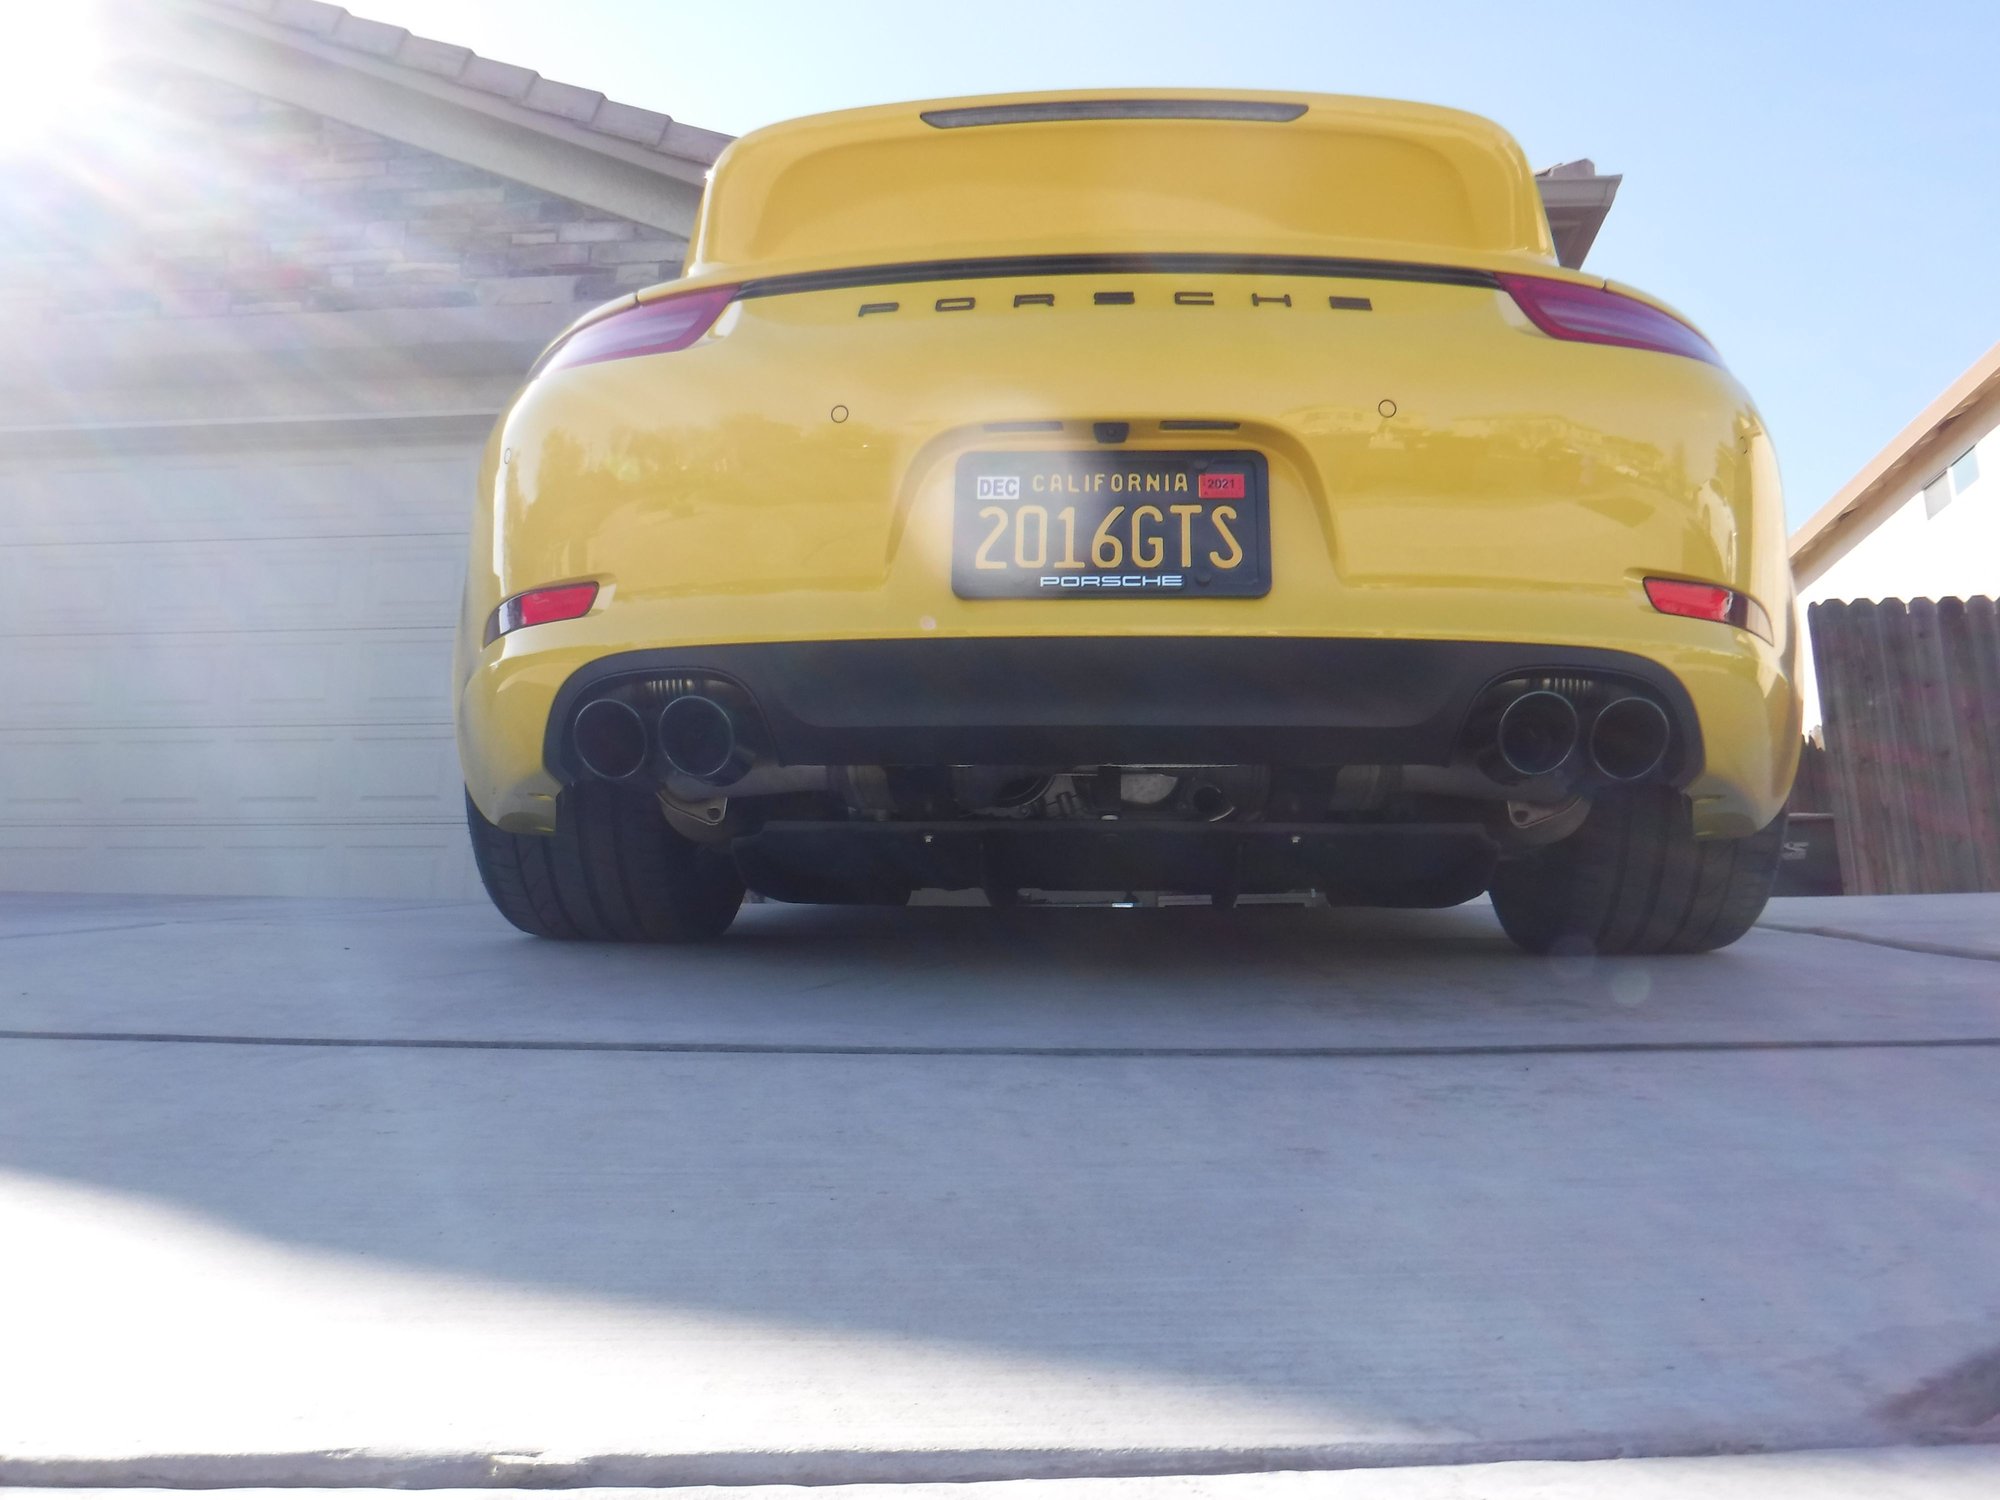
The next step, now that rear downforce has been augmented(?) is to replace moveable rear spoiler assembly with fixed intercooler air intake and vestigial ducktail (last photos shows early mockup).
All of this is driven by an overall goal to get the weight of the car below 3,000 lbs. (currently have about 50 lbs. to go).
Front mounting tabs Template Center "tray" .025 alu Trays laid out. Note differing rear profiles for mounting tabs - all got trimmed off. Trays mounted with fins Underside Diffuser mounted after painting Rear view. Fixed rear spoiler mockup
Wow looks good! Glad to see others doing this mod-pretty cool and great way to be different! @supercroc can you share your weight loss journey for your car? Curious how you were able to get it down to 3050!
Wow looks good! Glad to see others doing this mod-pretty cool and great way to be different! @supercroc can you share your weight loss journey for your car? Curious how you were able to get it down to 3050!
Big items were;
1. Ceramic brakes
2. Removal of rear seats and seat belts - replaced by fabricated lightweight rear package shelf
3. Li PO4 battery
4. SharkWerks exhaust
Planned items to come are;
1. Fixed rear spoiler/intercooler intake
2. Removal of front air vanes and actuators (never chilly enough in Charleston not to have them open)
3. Passenger sun visor (No, dear, it never had one.)
When I run out of ideas;
1. LiteSpeed Magnesium wheels
Nice-I have a lithium battery, cat bypass, lighter wheels and little things (titanium lugs, etc). I don�t want to get rid of my back seats but I am thinking racing seats may save some weight (like fixed back carbon driver and foldable passenger).


 03-29-2021, 07:06 PM