When you click on links to various merchants on this site and make a purchase, this can result in this site earning a commission. Affiliate programs and affiliations include, but are not limited to, the eBay Partner Network.
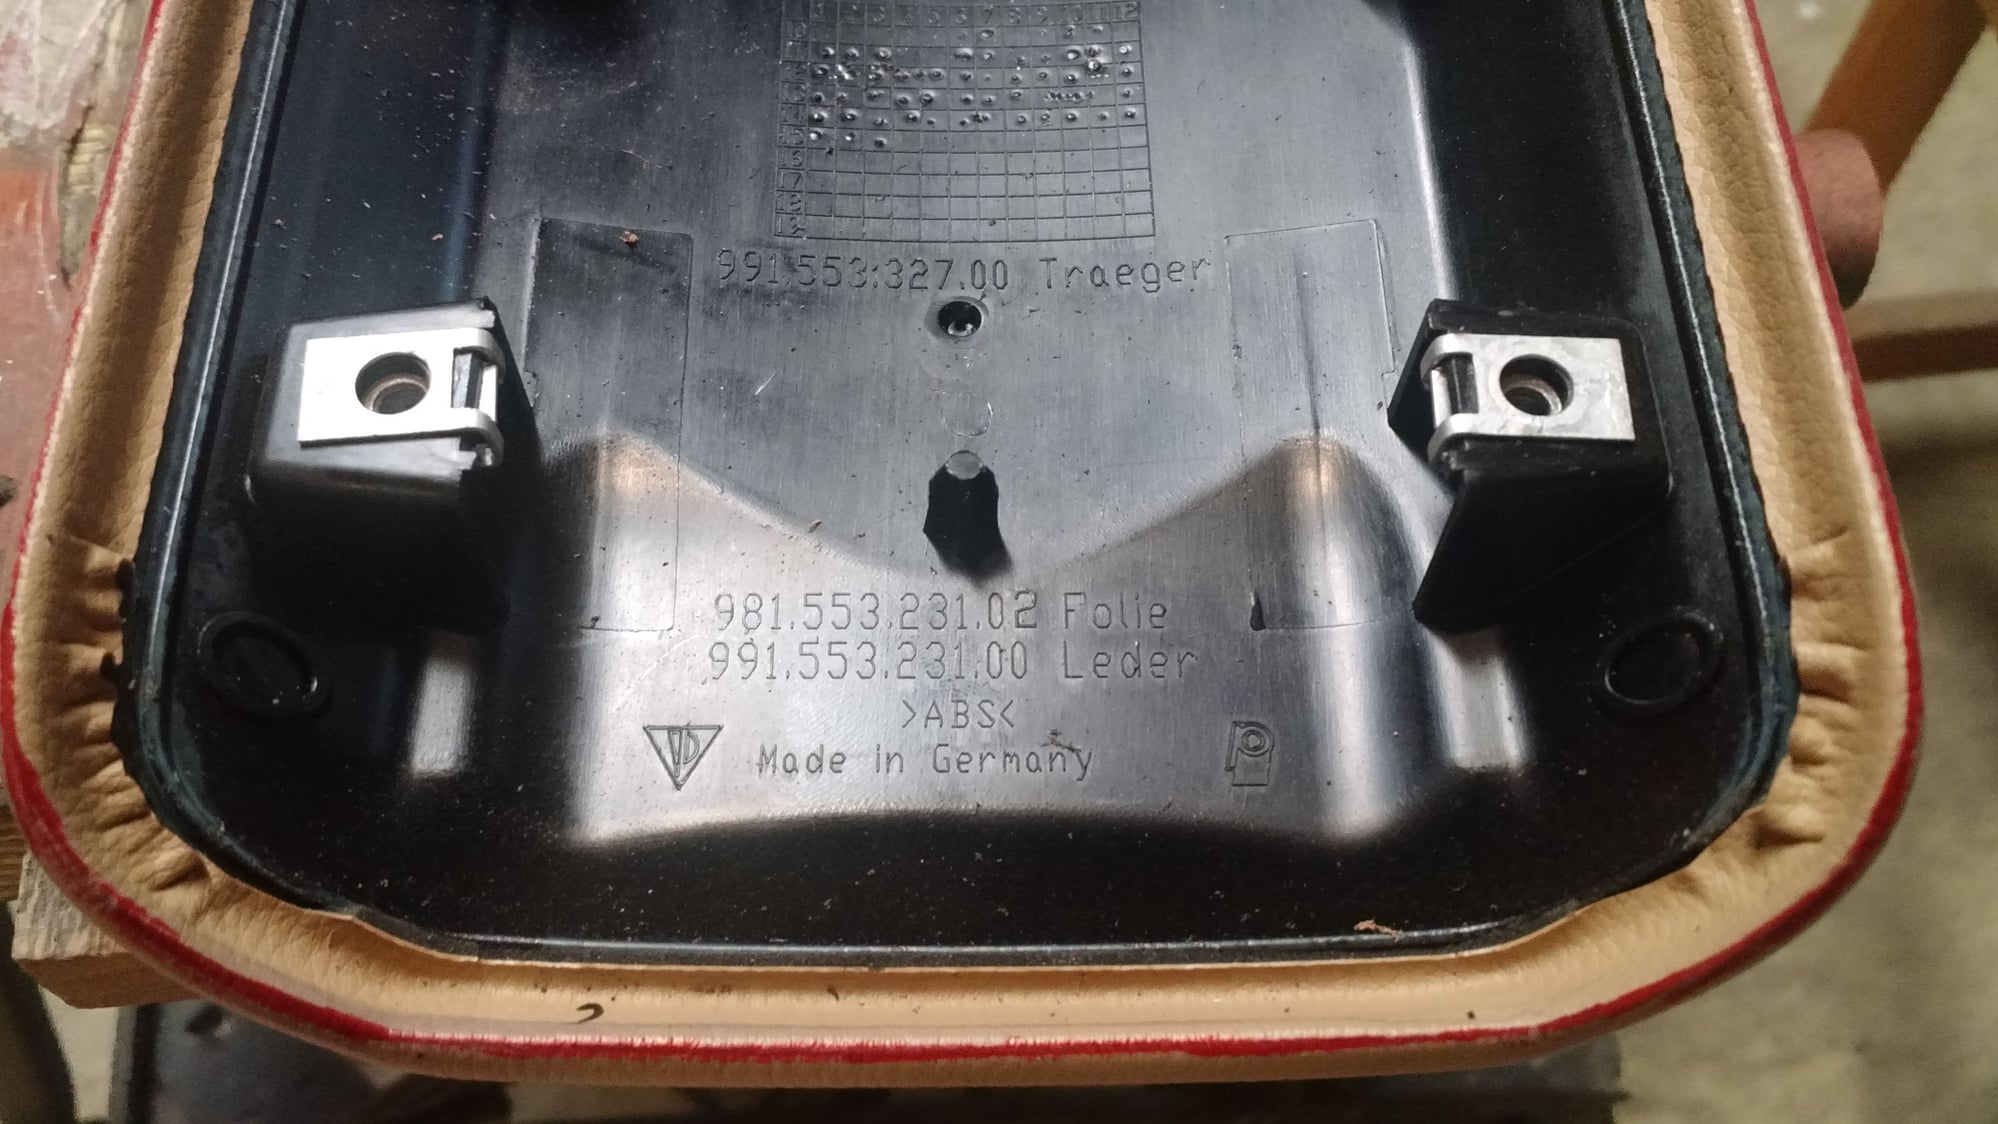
Thanks. No. The std and leather panels have different backings. The leather panels have a channel molded into them. I thought about cutting the foam in the std panel and making the silver trim fit but I didn't want to take a chance of ruining my original door panel. I think it would be tough to make a perfect enough cut. Also, you can't buy the silver trim pieces. They are only available with the whole leather door.
For phase 2 I knew I wanted pepita inserts. These are available in the aftermarket IF you have lightweight carbon buckets. I don't, and didn't want the non-folding units available in the US. I found that Gert Carnewal has folding buckets, but there are issues getting the air bags to work, so that's out.
See this thread on Folding GT2 buckets
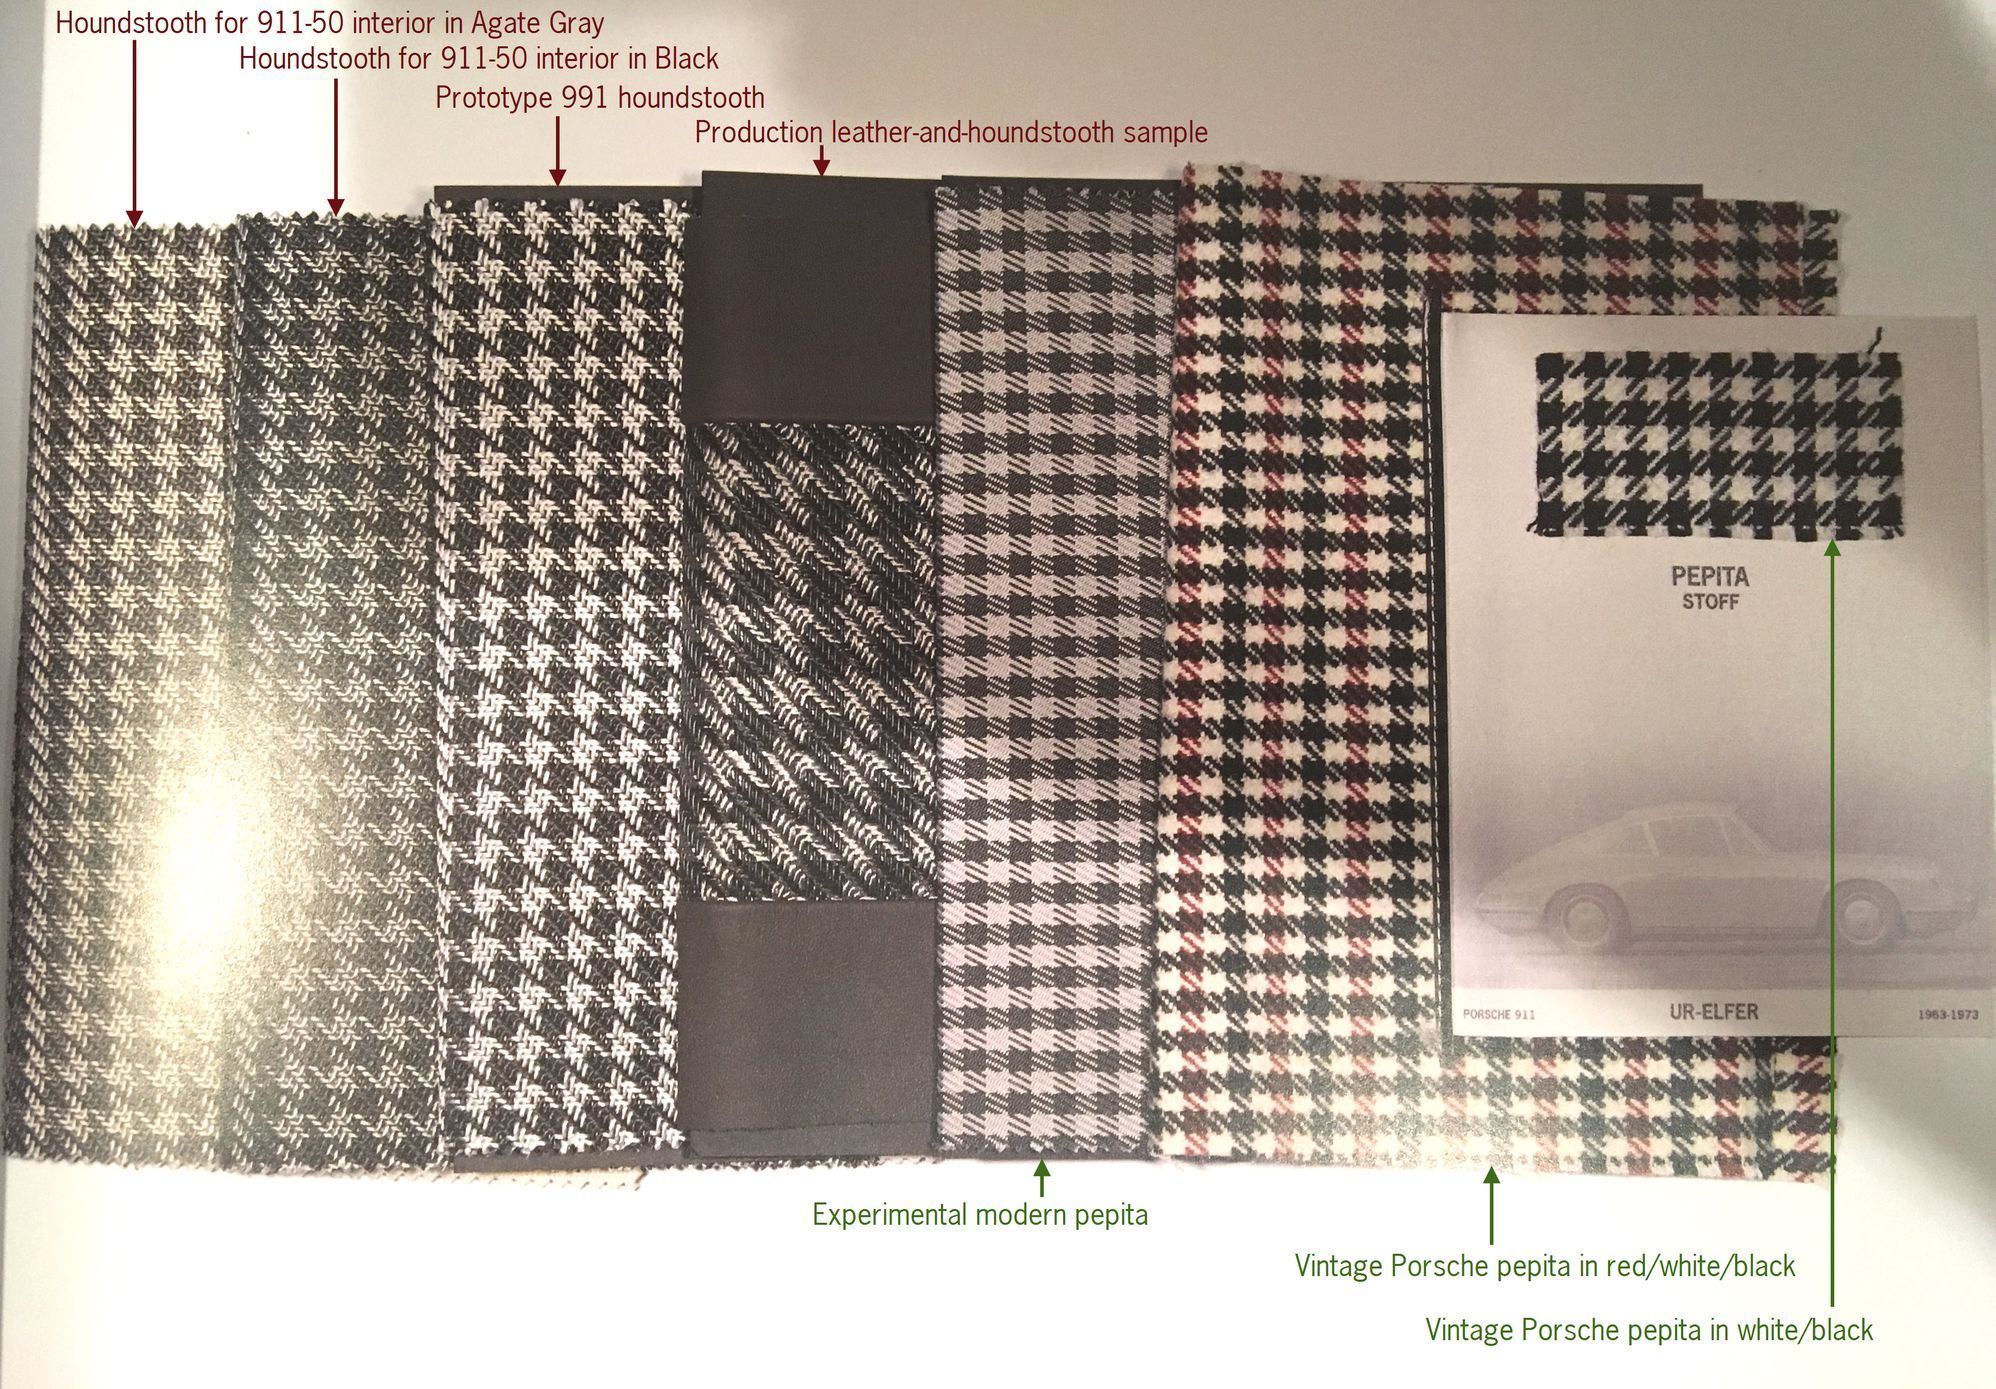
So the next question is what style of pepita? Retro or current? Choices!
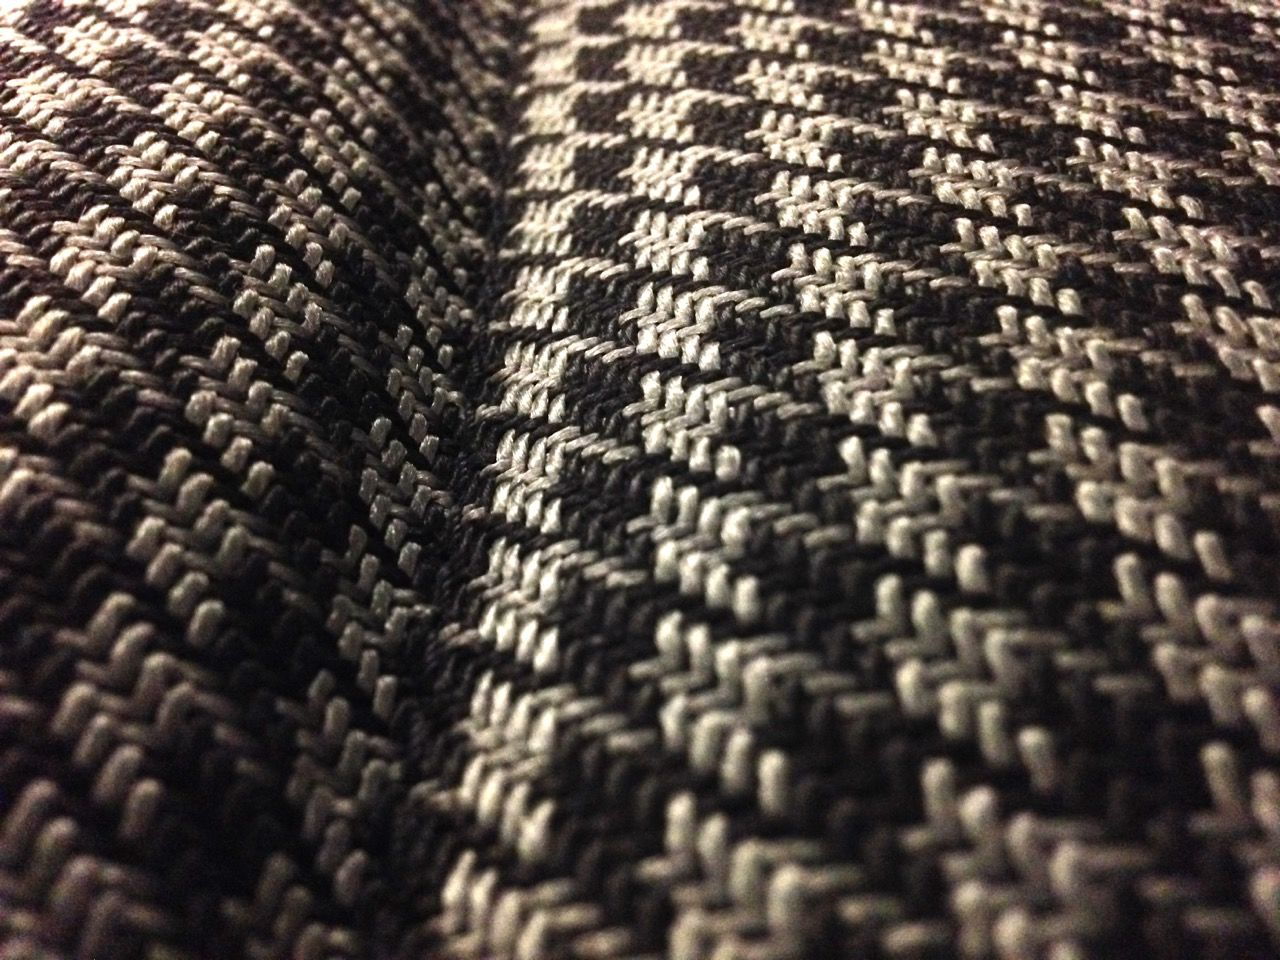
I decided to stick with what was available from the factory on the 991. The 50th anniversary and 911R have this style. Black and silver pepita.
4 way sport and sport plus front and rear seats have to be disassembled and the center sections resewn. It's pretty involved. I got quotes from Porsche expert trimmers for the whole project but they were in the $2900 range, plus I would have to ship to California or Michigan.
Doing some research, it appears the only place to buy the factory fabric is Garry at Classicfx. It's not cheap, but I placed the order and got it in a few days from the UK. My local trimmer was very happy with the foam backing, and I really like the feel. It should be tough wearing too.
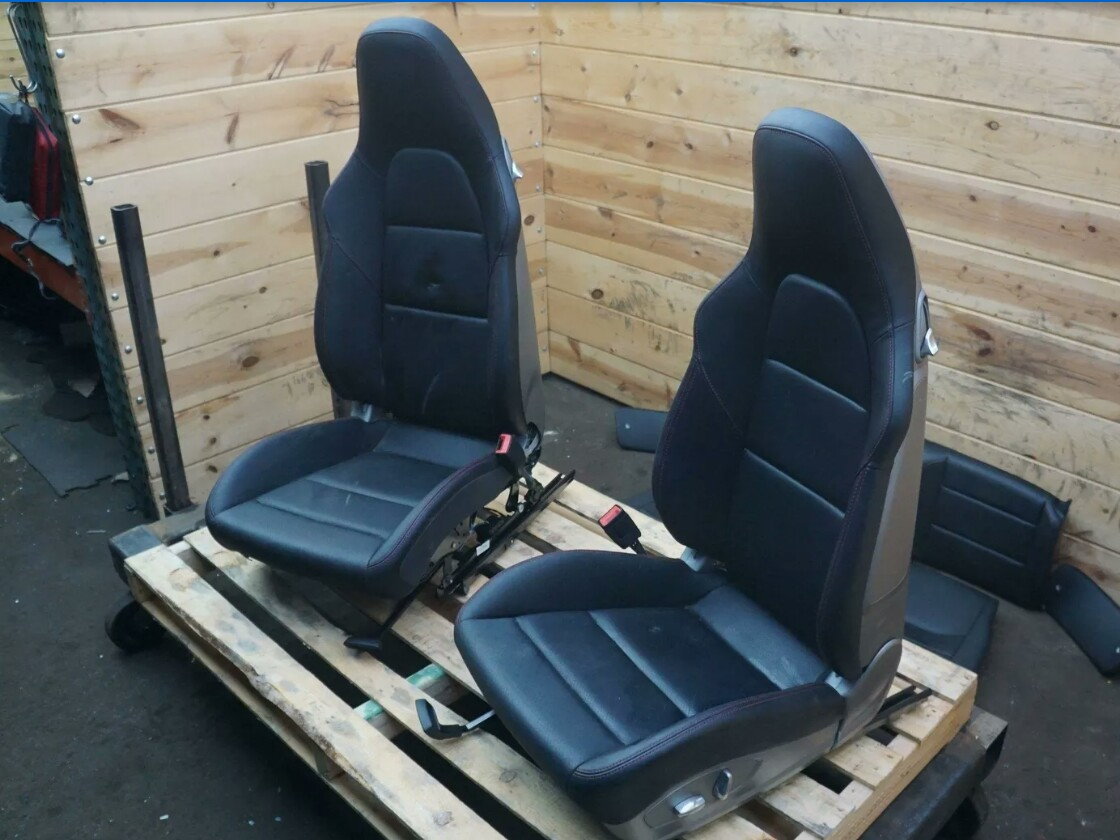
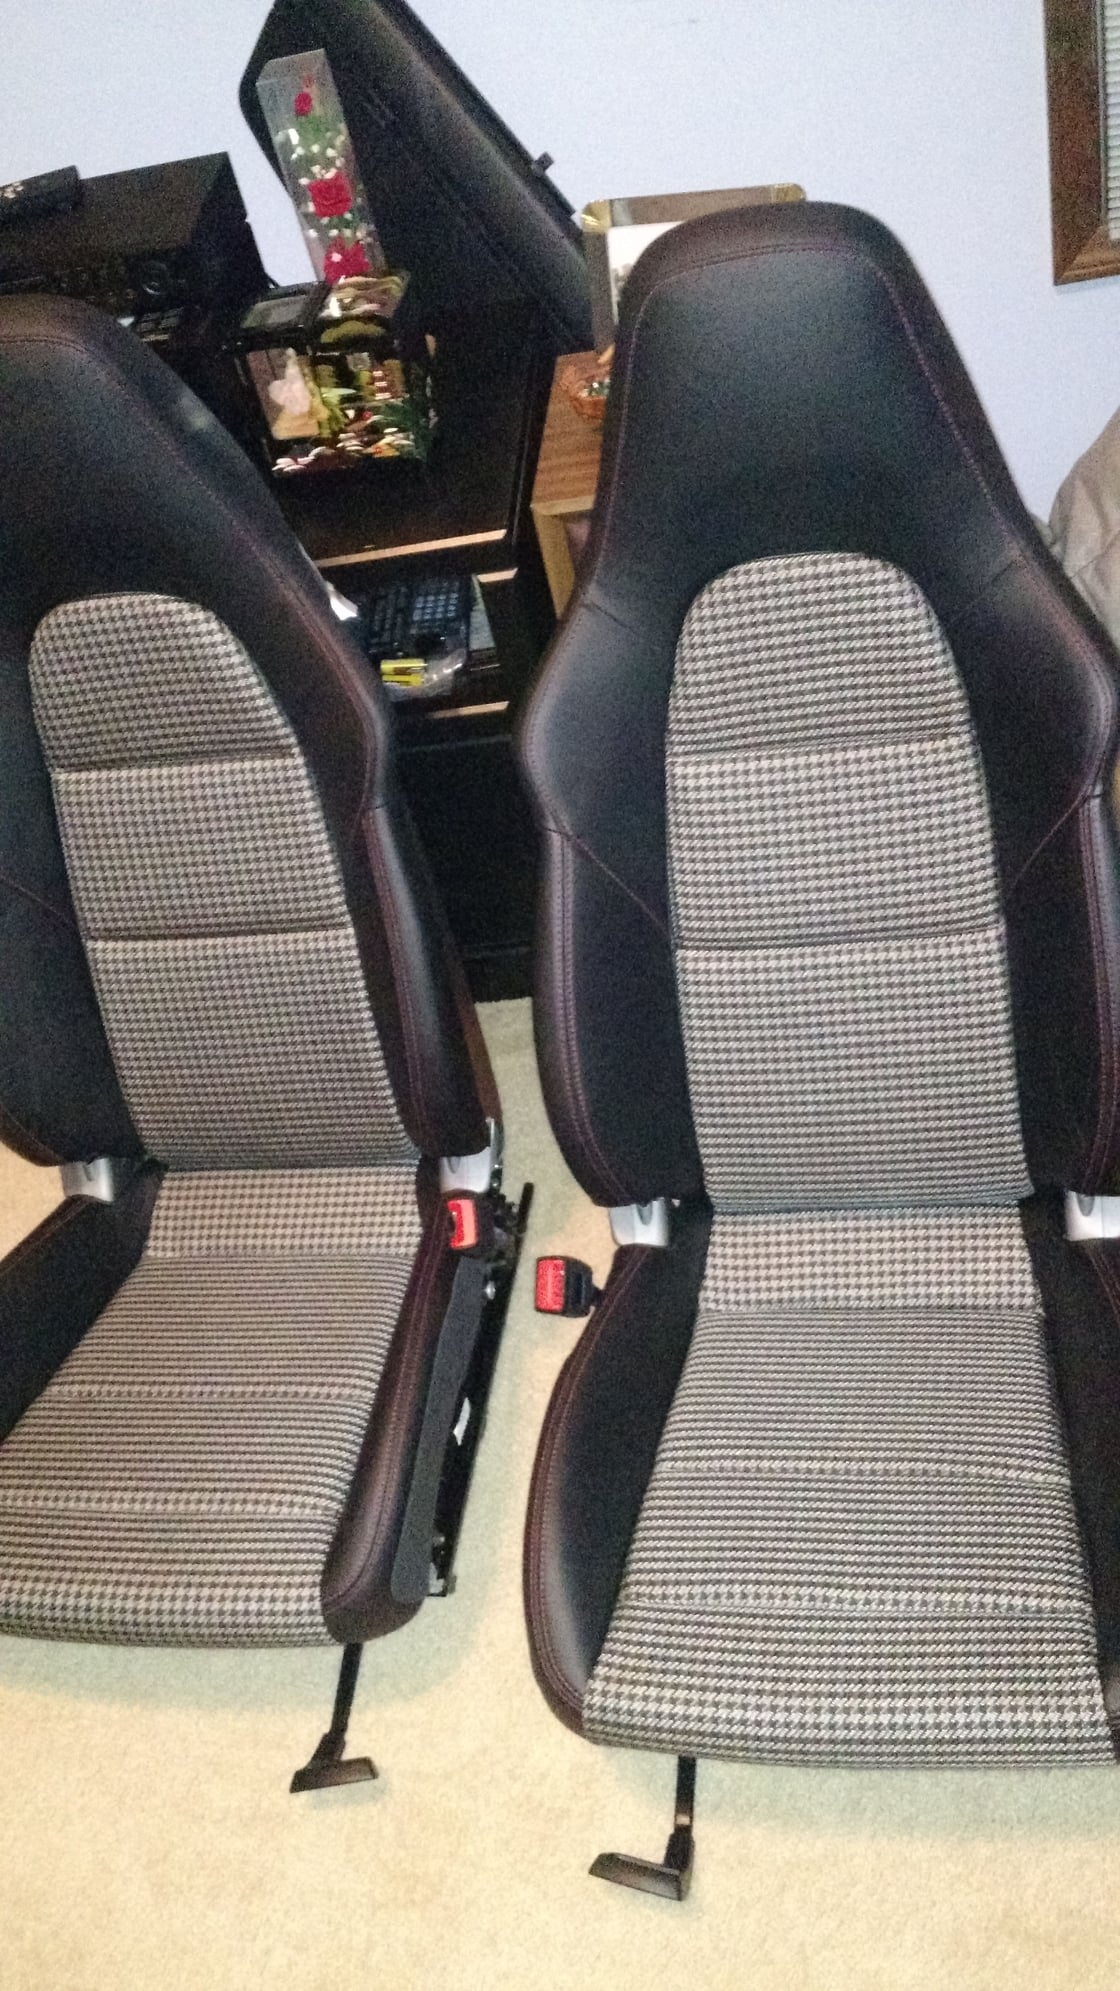
Keeping with my plan to keep stock parts, I needed to source some seats. I found some slightly damaged sport plus 4 ways including back seats on eBay. I drove hours and picked them up.
I cleaned and treated them with leatherique rejuvenating oil and pristine clean and they look great.
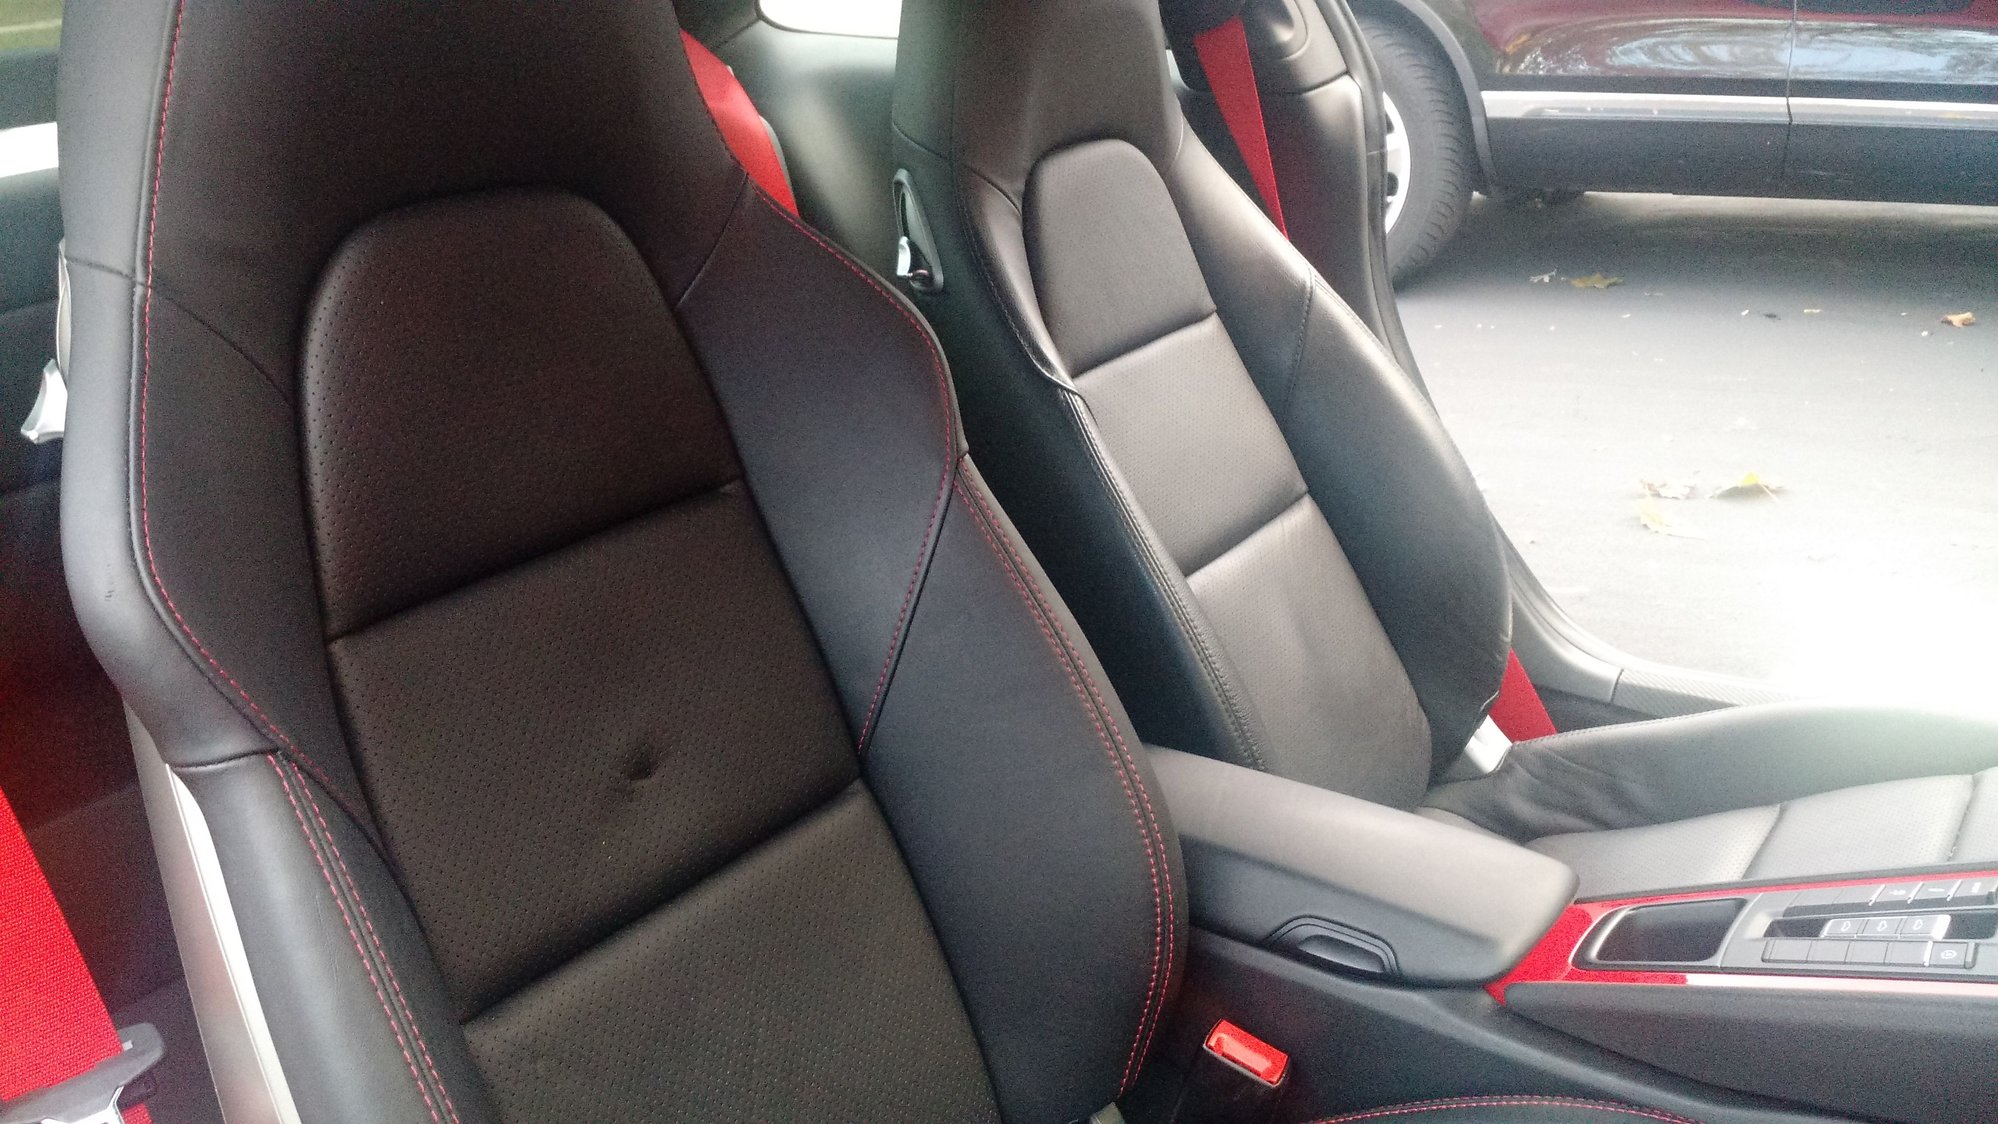
I installed them before investing in materials. Here is one of each seat in the car. I wasn't worried about the damage to the center cushion since they were being recovered.
They didn't work! I got an air bag light set. Turns out the occupancy sensor is coded to the car. Swapping in the original sensor, reset the airbag light, $200, and on my way.
Armed with fabric and seats I got quotes for labor from a few local trimmers. I ended up working with Irene from Albo restoration. They are only 20 min away.
A week later and I got the whole set back. Pepita 4 way sport plus seats with deviated red stitching.
They did a great job! I'd recommend them. She was fun to work with. By sourcing my own fabric and working local, I probably saved $1000 from the original $2900 plus shipping estimate. I think this is something like a $10,000 CXX option if you ordered it from the factory.
Unfortunately, the car is in storage so I can't get any satisfaction of seeing them in the car until spring.
Here is where the OCD kicks in...
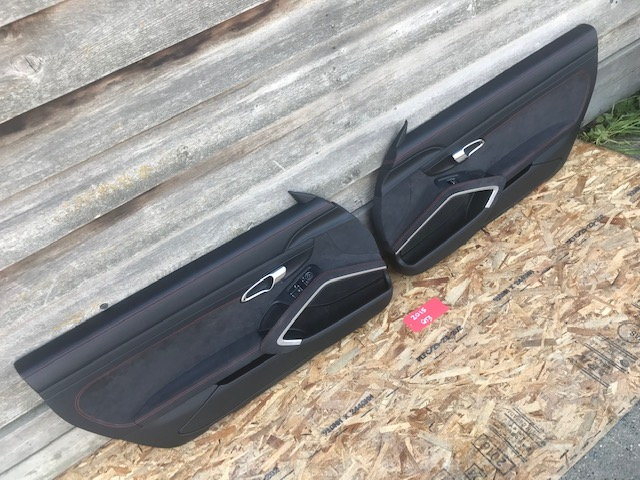
I liked how the seats turned out so much that I wanted to carry the deviated red stitching throughout the car. About this time another set of door panels showed up on eBay.
I really wanted the red stitching now, so I wondered if my converted panels could be reworked with red stitching. The cost estimate was more than this set of door panels from a wrecked gt3.
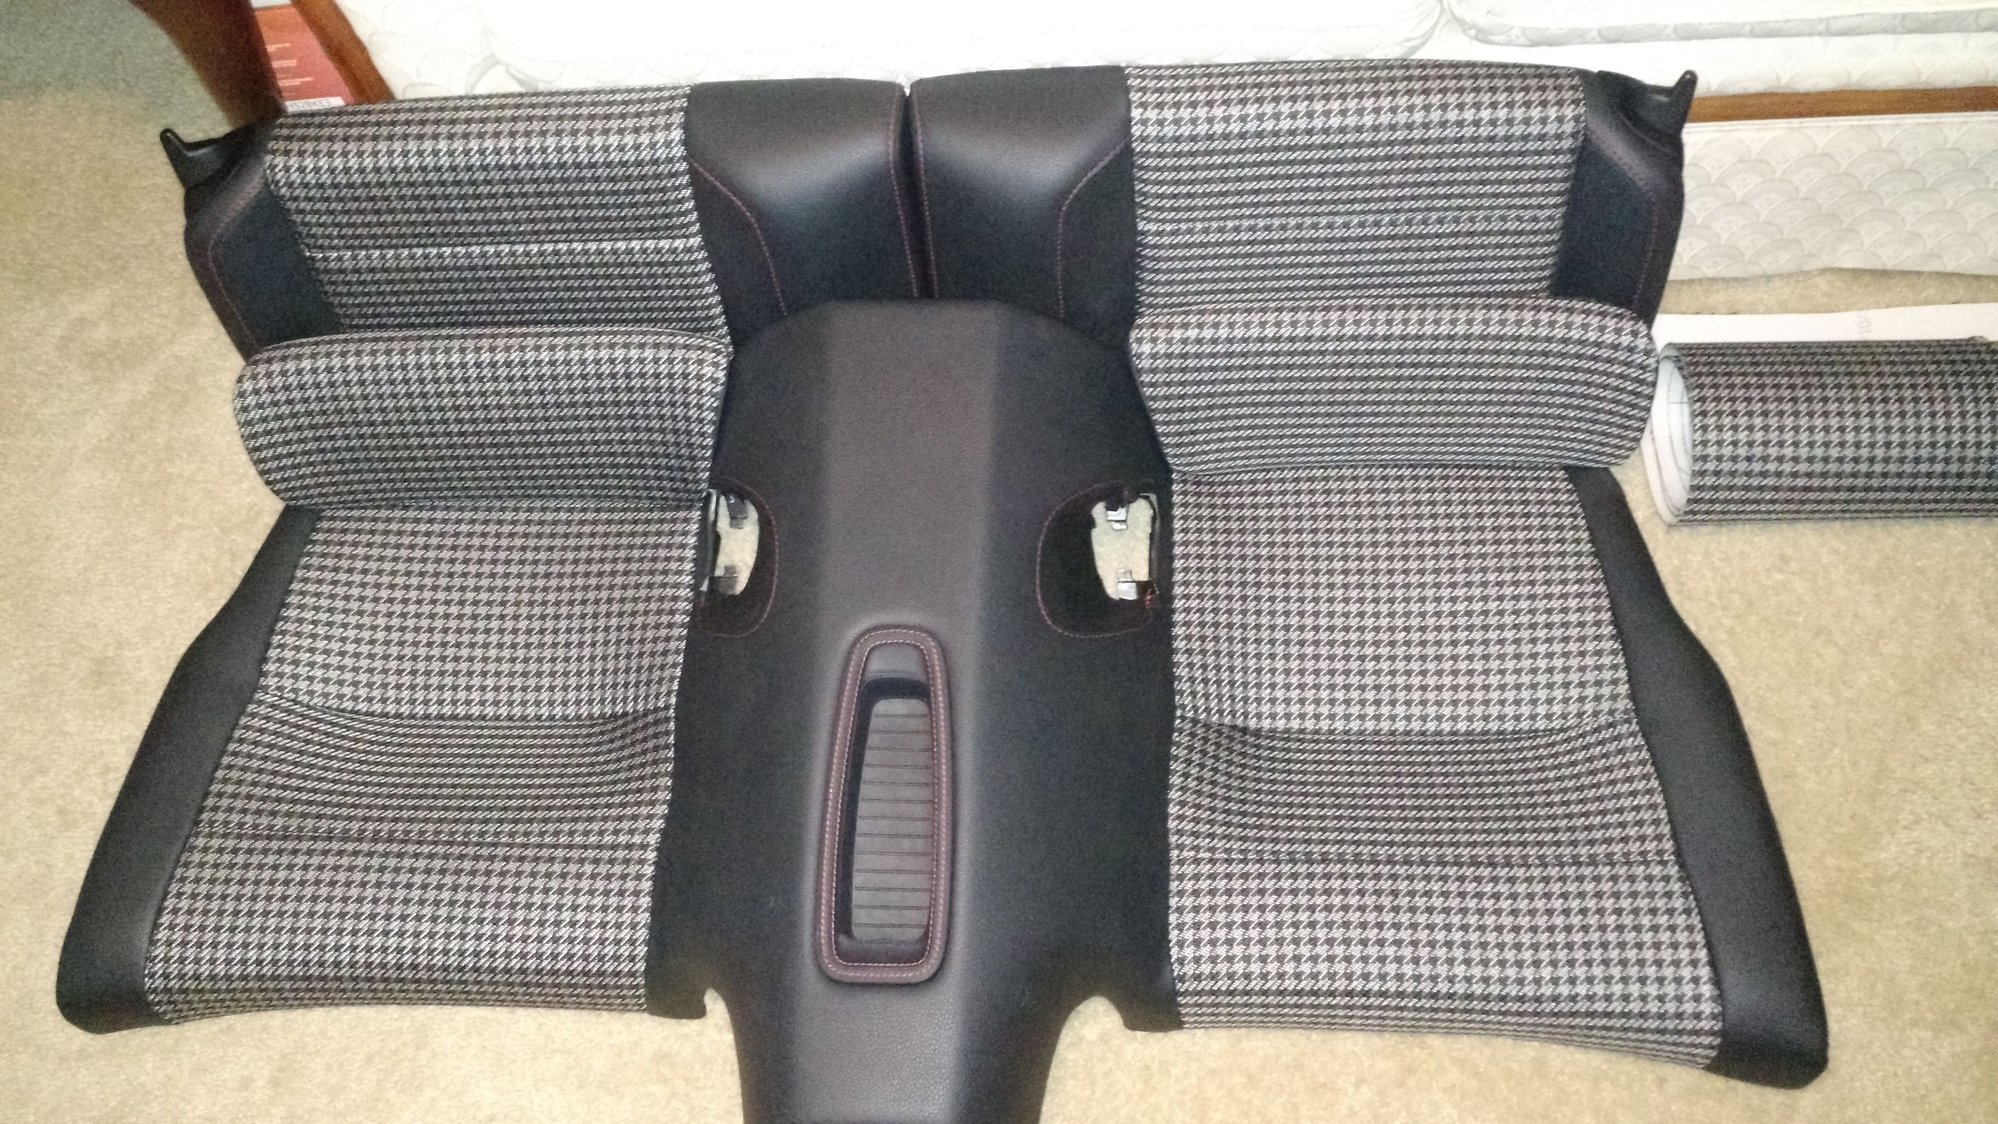
The same seller also had the rear seat side panels available so I made a package offer and got them too!
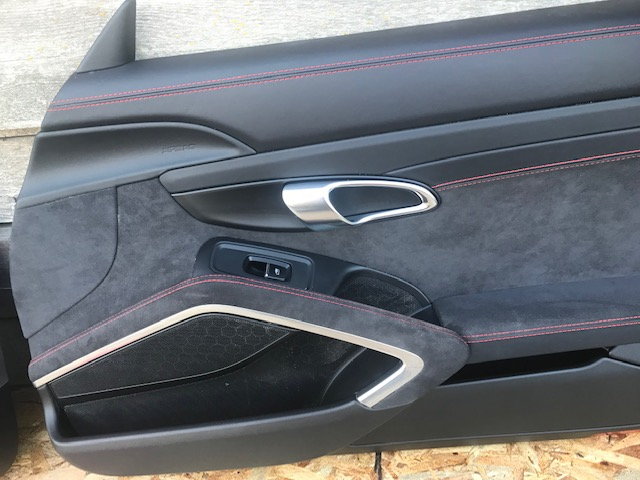
The new doors have alcantara inserts and new options come into play. The new doors have leather door trim strips, so I'll use the silver/red door trim from my old doors.
I looked at gt3's with alcantara and liked the look of it wrapping thru the glovebox and lower dash under the steering wheel. So, another investigation starts.
First I had to find a source for "real" alcantara. I wanted to make sure it was robust enough for a car. Other microfiber suede's might fade or stain in a car. You also have to choose an unbacked fabric to wrap the dash parts. Alcantara calls it "panel".
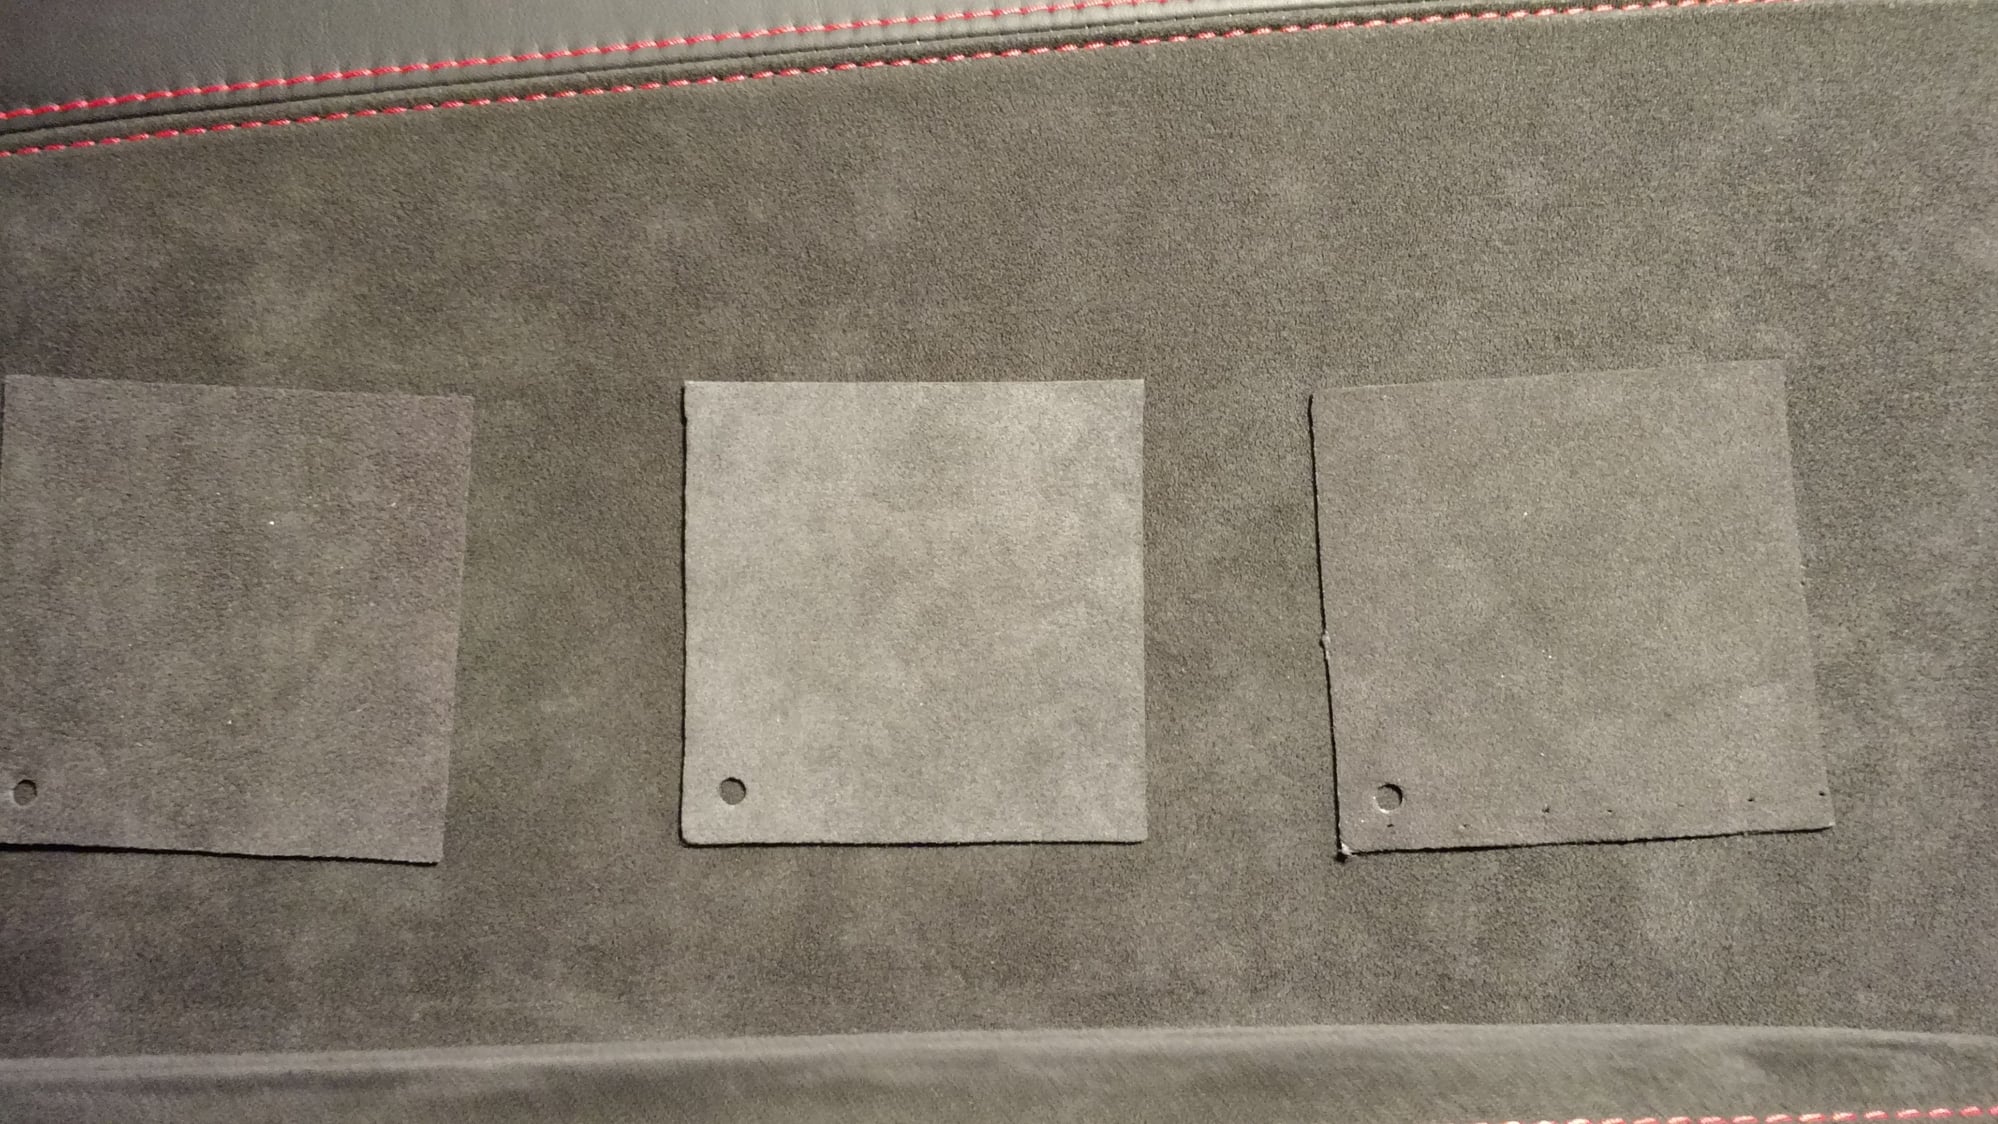
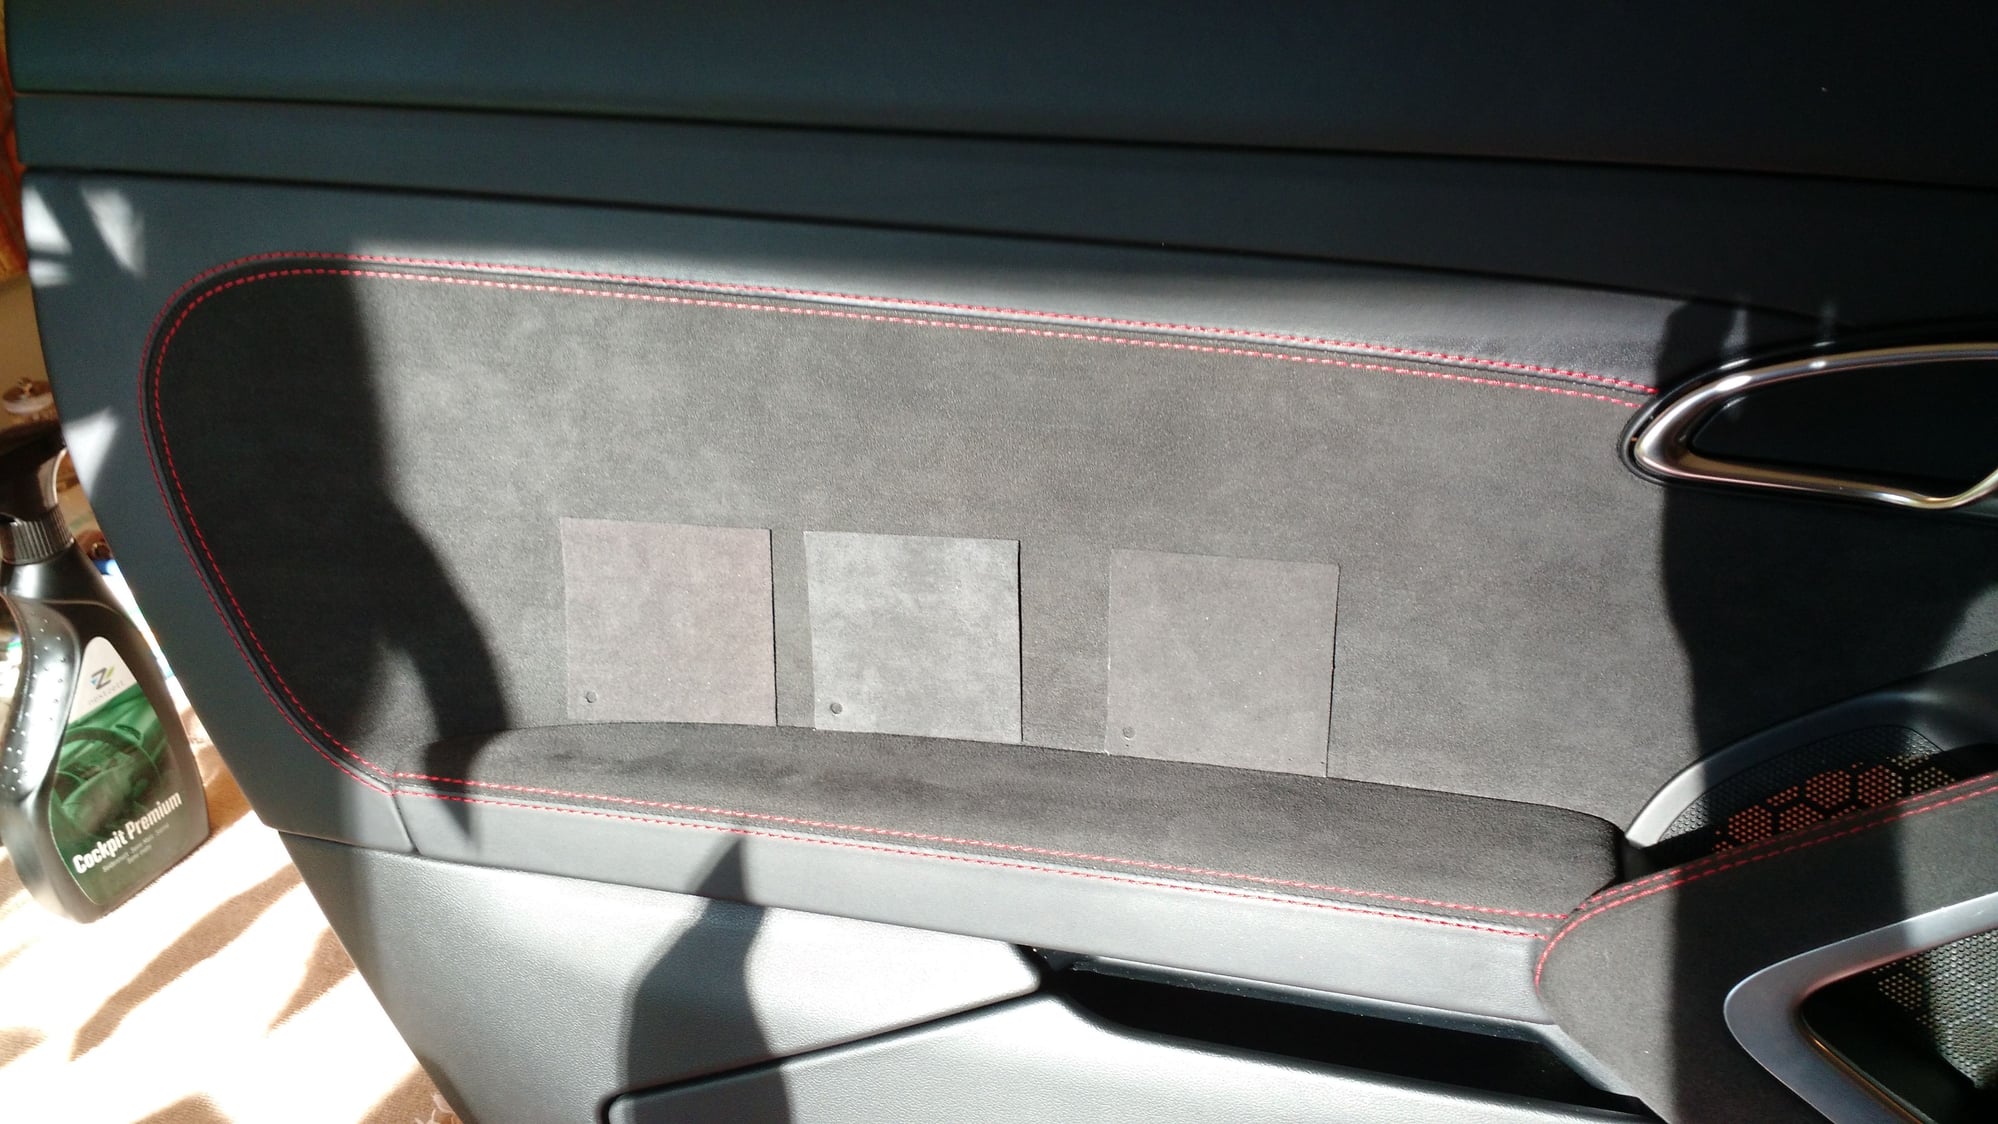
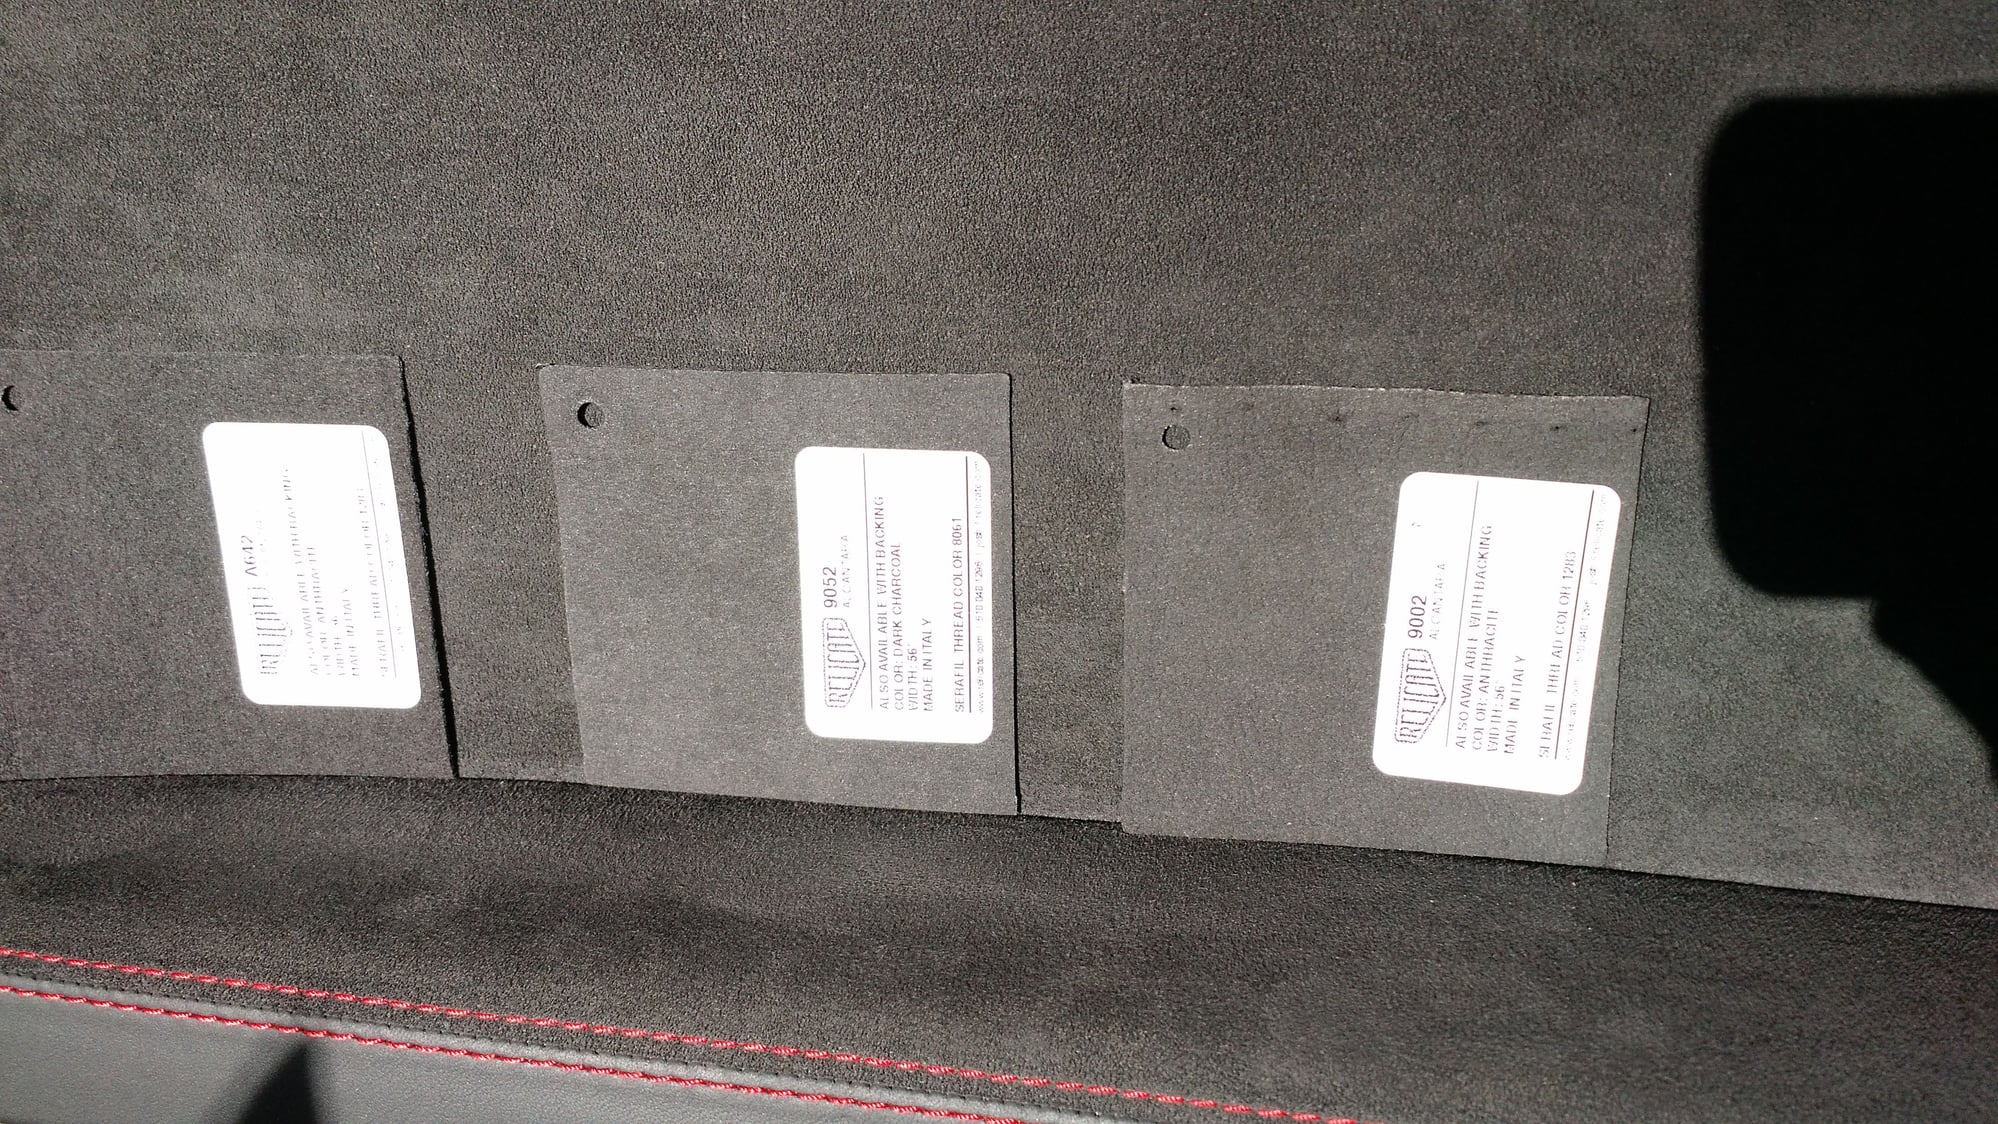
Next, what color to order? Most internet sources I found said they were using 9052 as a match to Porsche. I wanted to do my own investigation, so I ordered samples of all the shades of black and dark grey. Sorted from dark grey to black:
A640 Chic
9052 Dark Charcoal
A642 Anthracite
9002 Anthracite
9040 Black
Only 3 of these are close.
A642 left, 9052 center, 9002 right A642 left, 9052 center, 9002 right
To me, 9052 (center) looks too light, 9002 (right) was best match in light, bright sun, shade. A642 (left) is thicker and has a different (blue?) undertone. It's interesting, the grain / orientation has such a large effect. I bought a yard for $136 with shipping from Relicate.
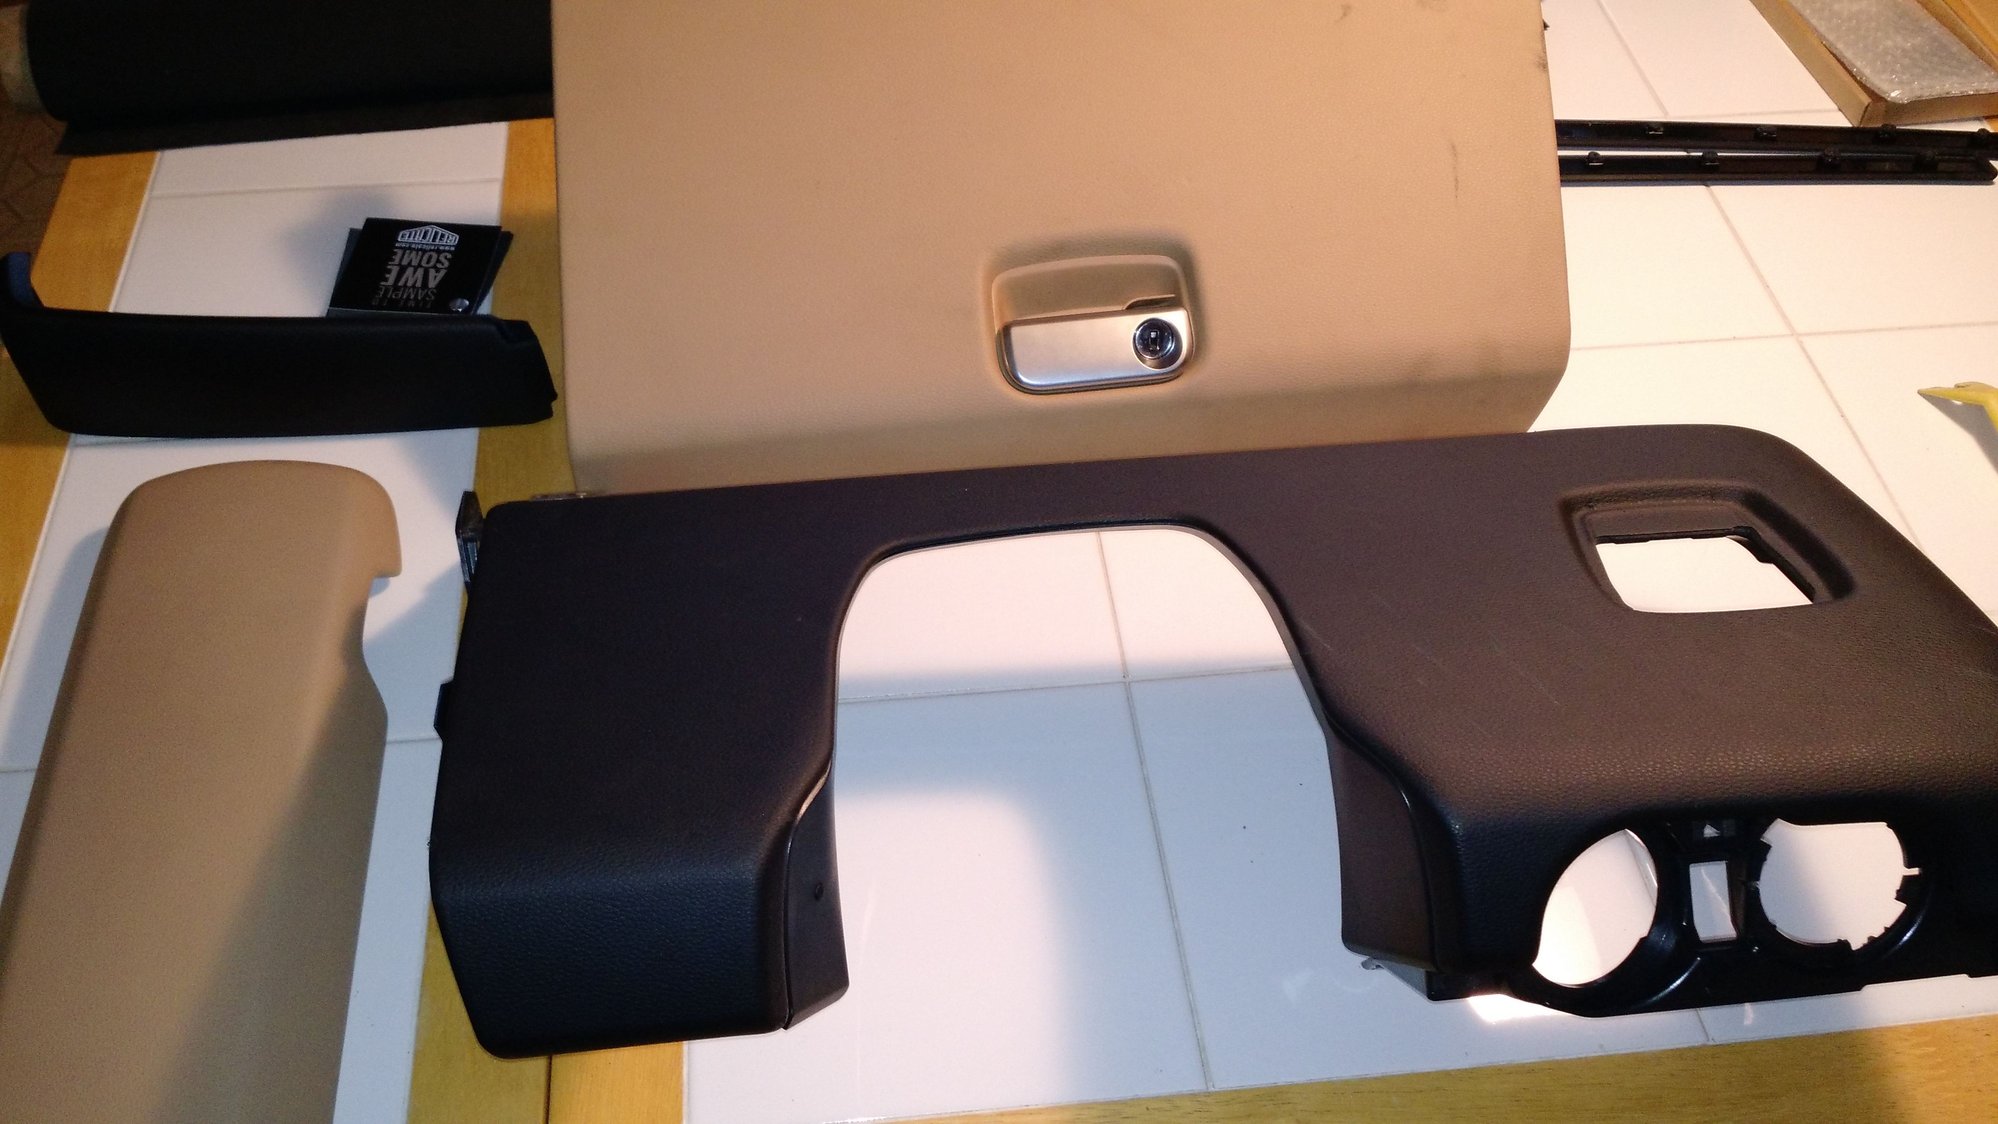
Sticking with my plan to retain all the stock parts, I went back on eBay and bought a donor glove box, right dash trim, steering wheel under dash panel, center console lid. Again 981 and 991 parts appear to be the same.
These parts vary wildly in price. An already wrapped dash set is $1300, console lid $250 or more. By shopping, I think I have $230 in donor parts. I don't care about the color or the condition as they will get wrapped.
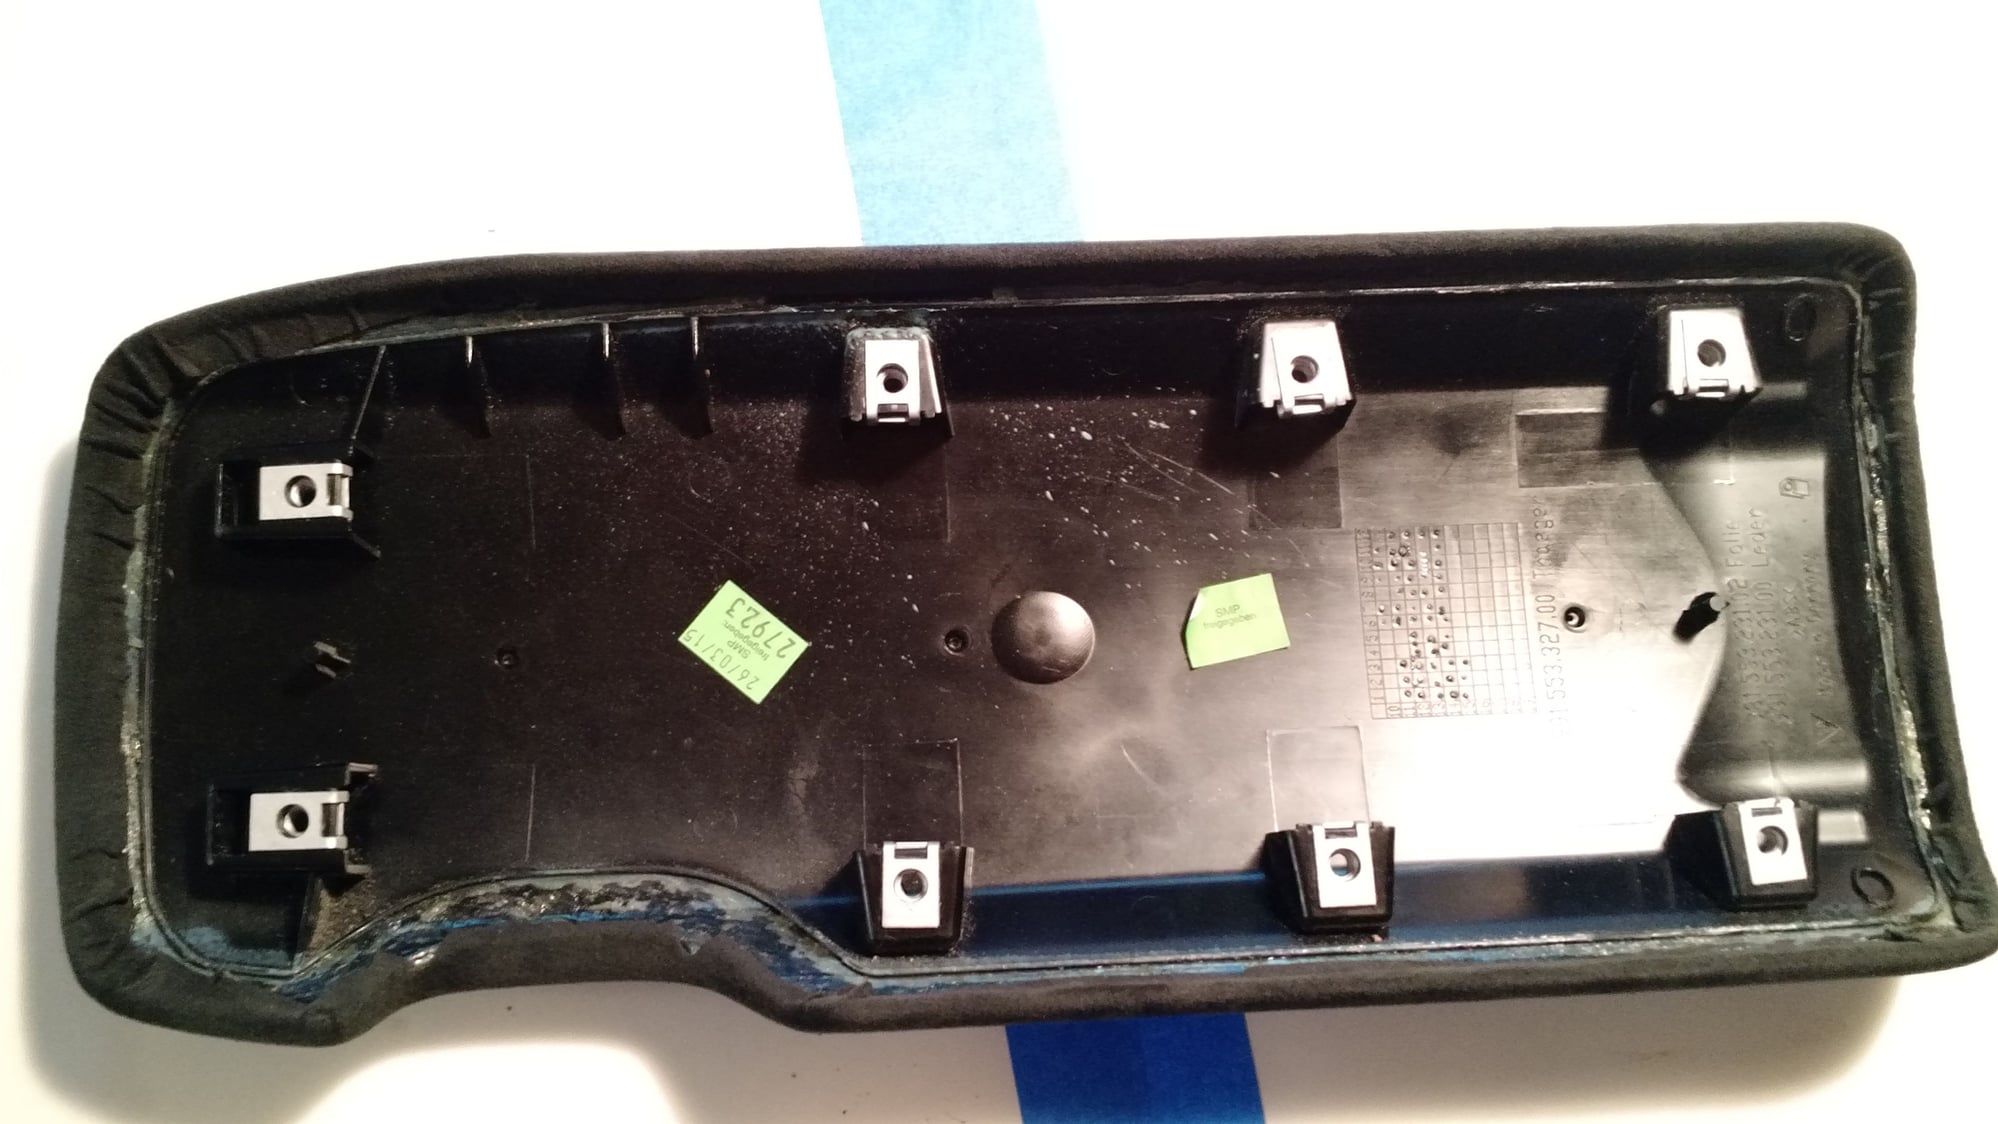
This where I stand today. I need to figure out how to split the glovebox lid to remove the lock and maybe rekey.
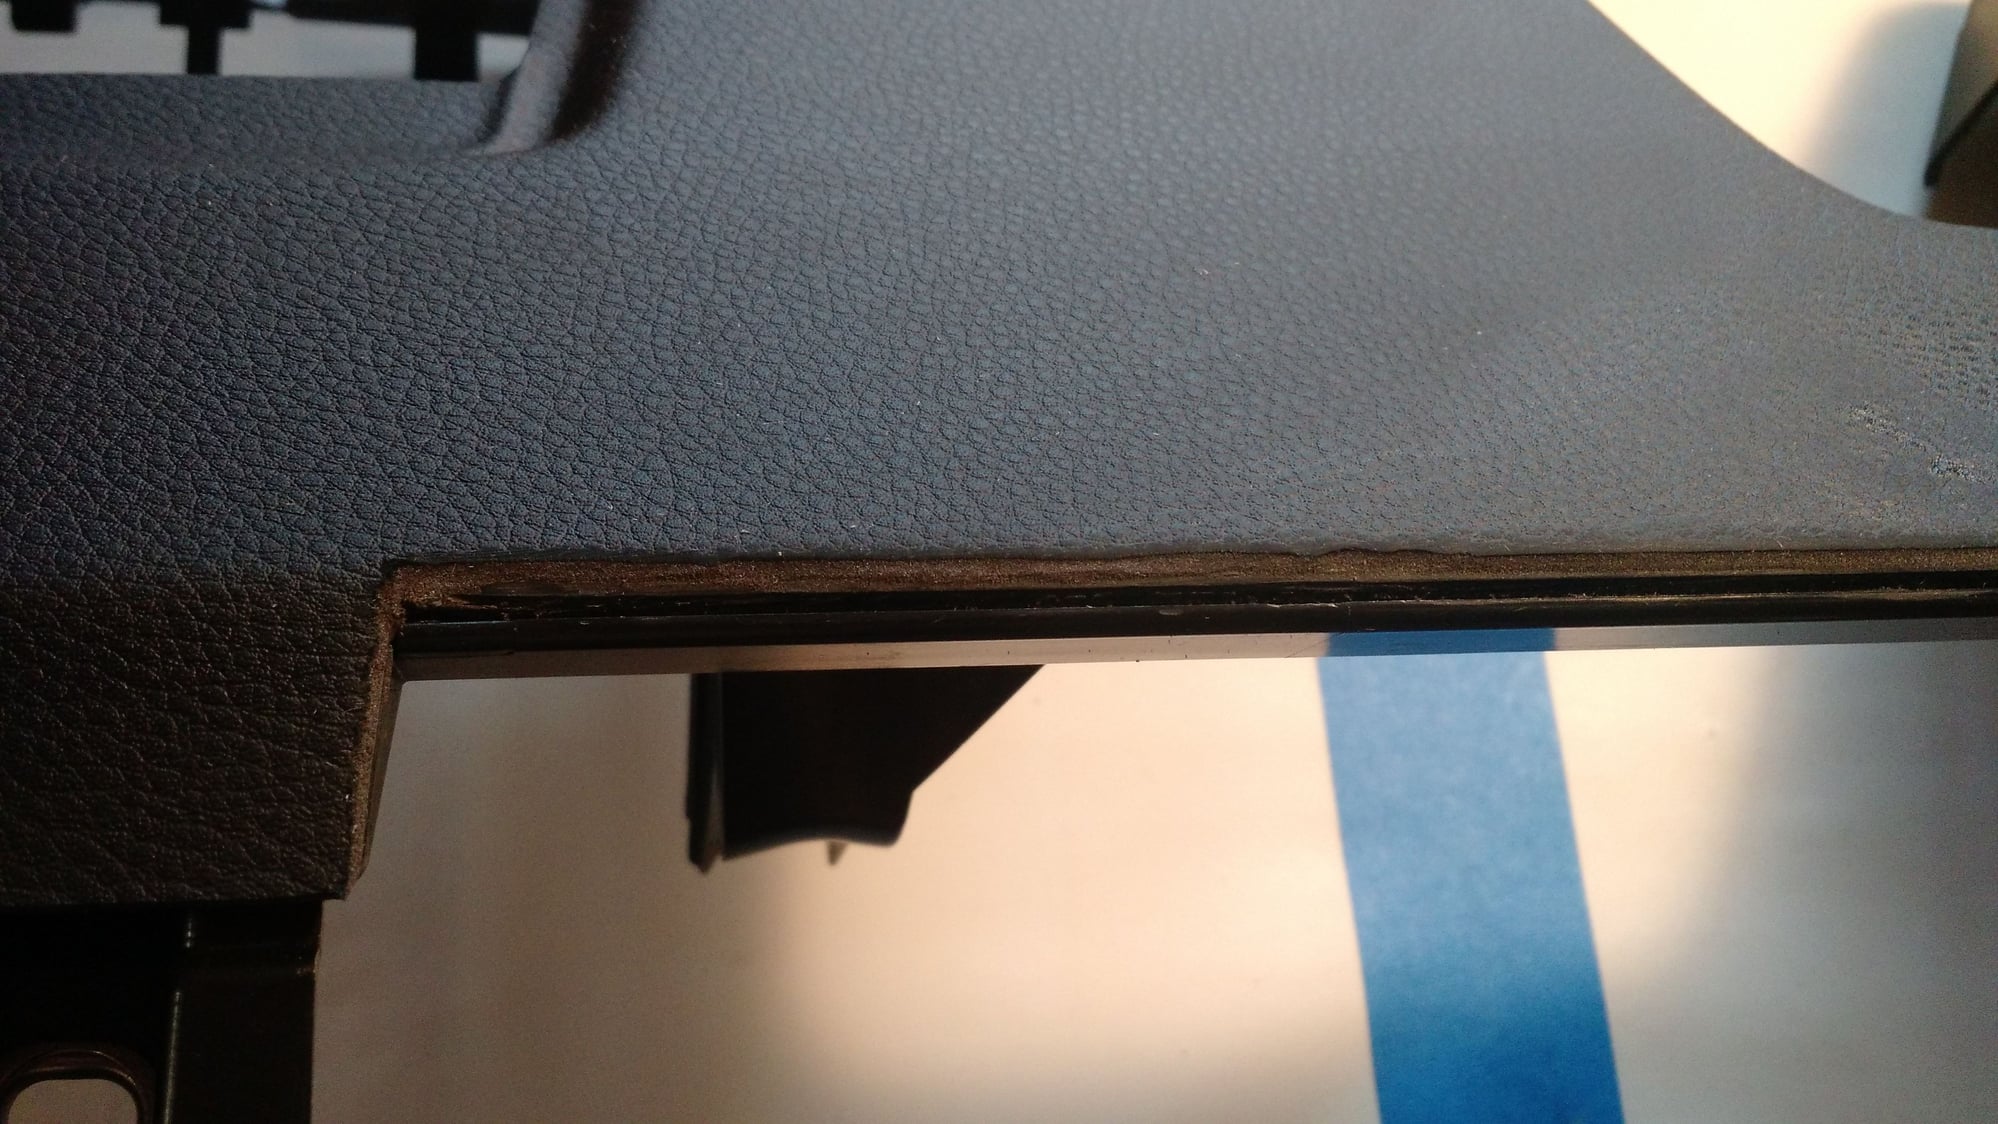
I couldn't find any info on splitting the glove box door and under dash area so I came up with a new approach. I tested the process on the arm rest. I want to keep the thickness of the alcantara wrapped parts thin enough to fit with factory gaps so I needed to remove some of the factory vinyl.
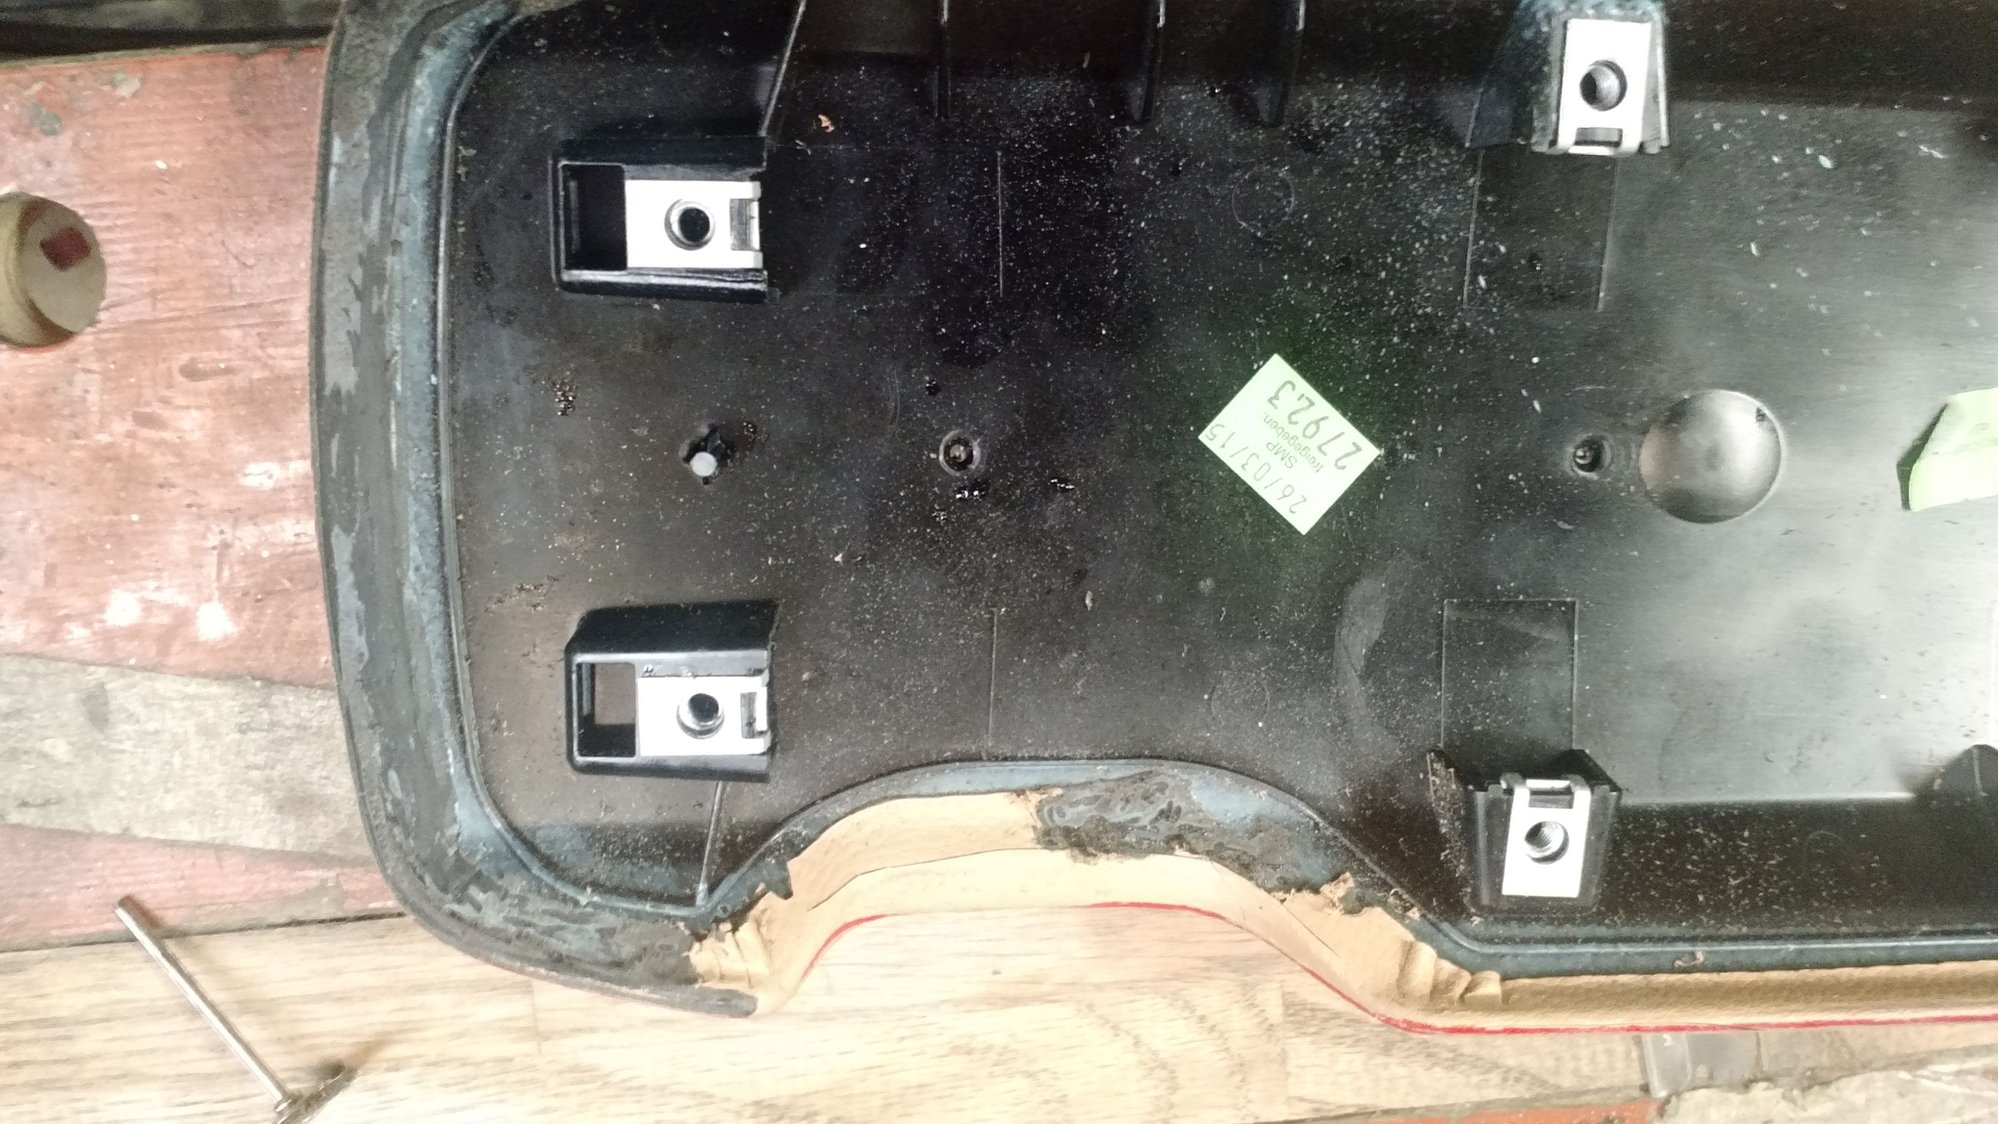
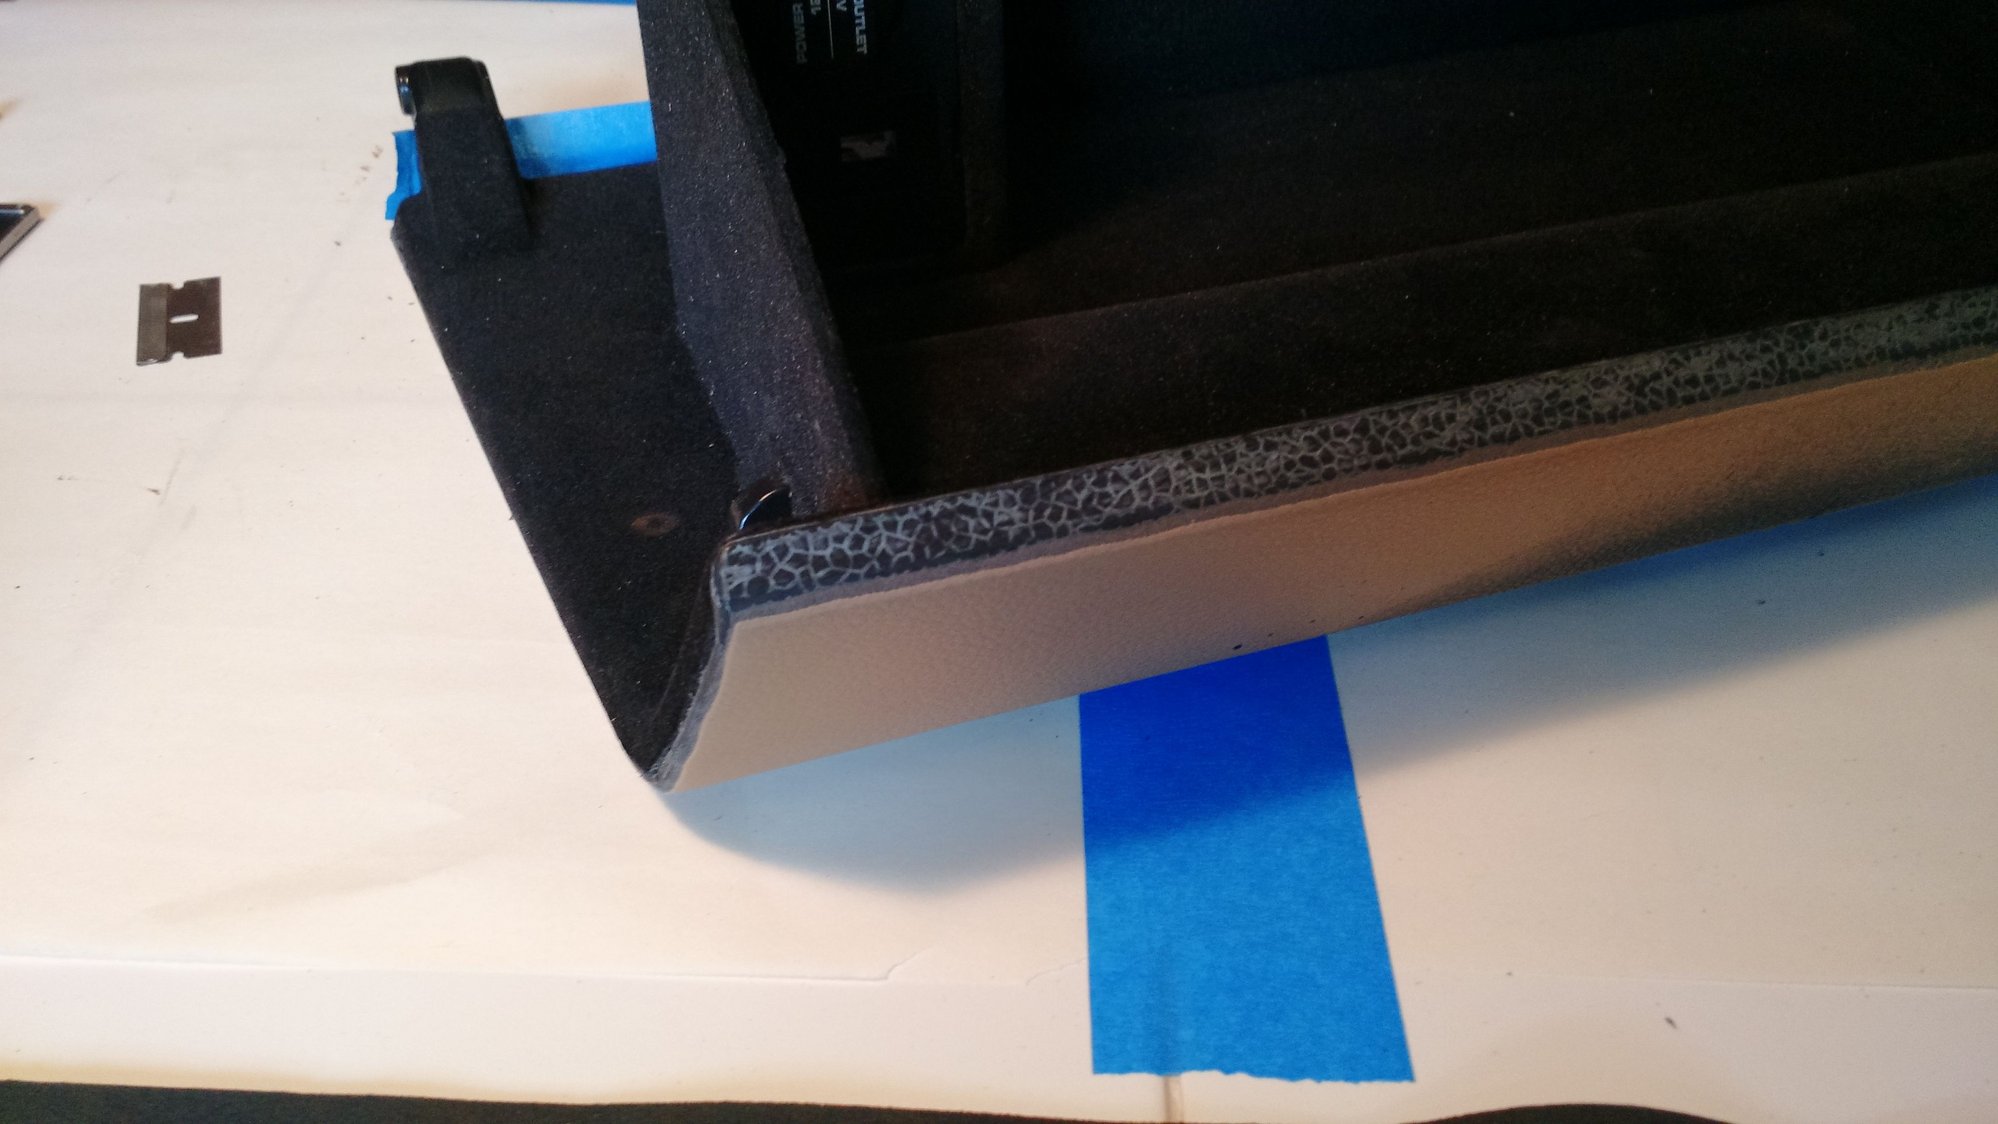
I used a Dremel drum sander on the red line to remove material down to the base plastic (thin black line between exposed foam, shown below). Then I used a heat gun and small screwdriver to scrape away the over lapped material.
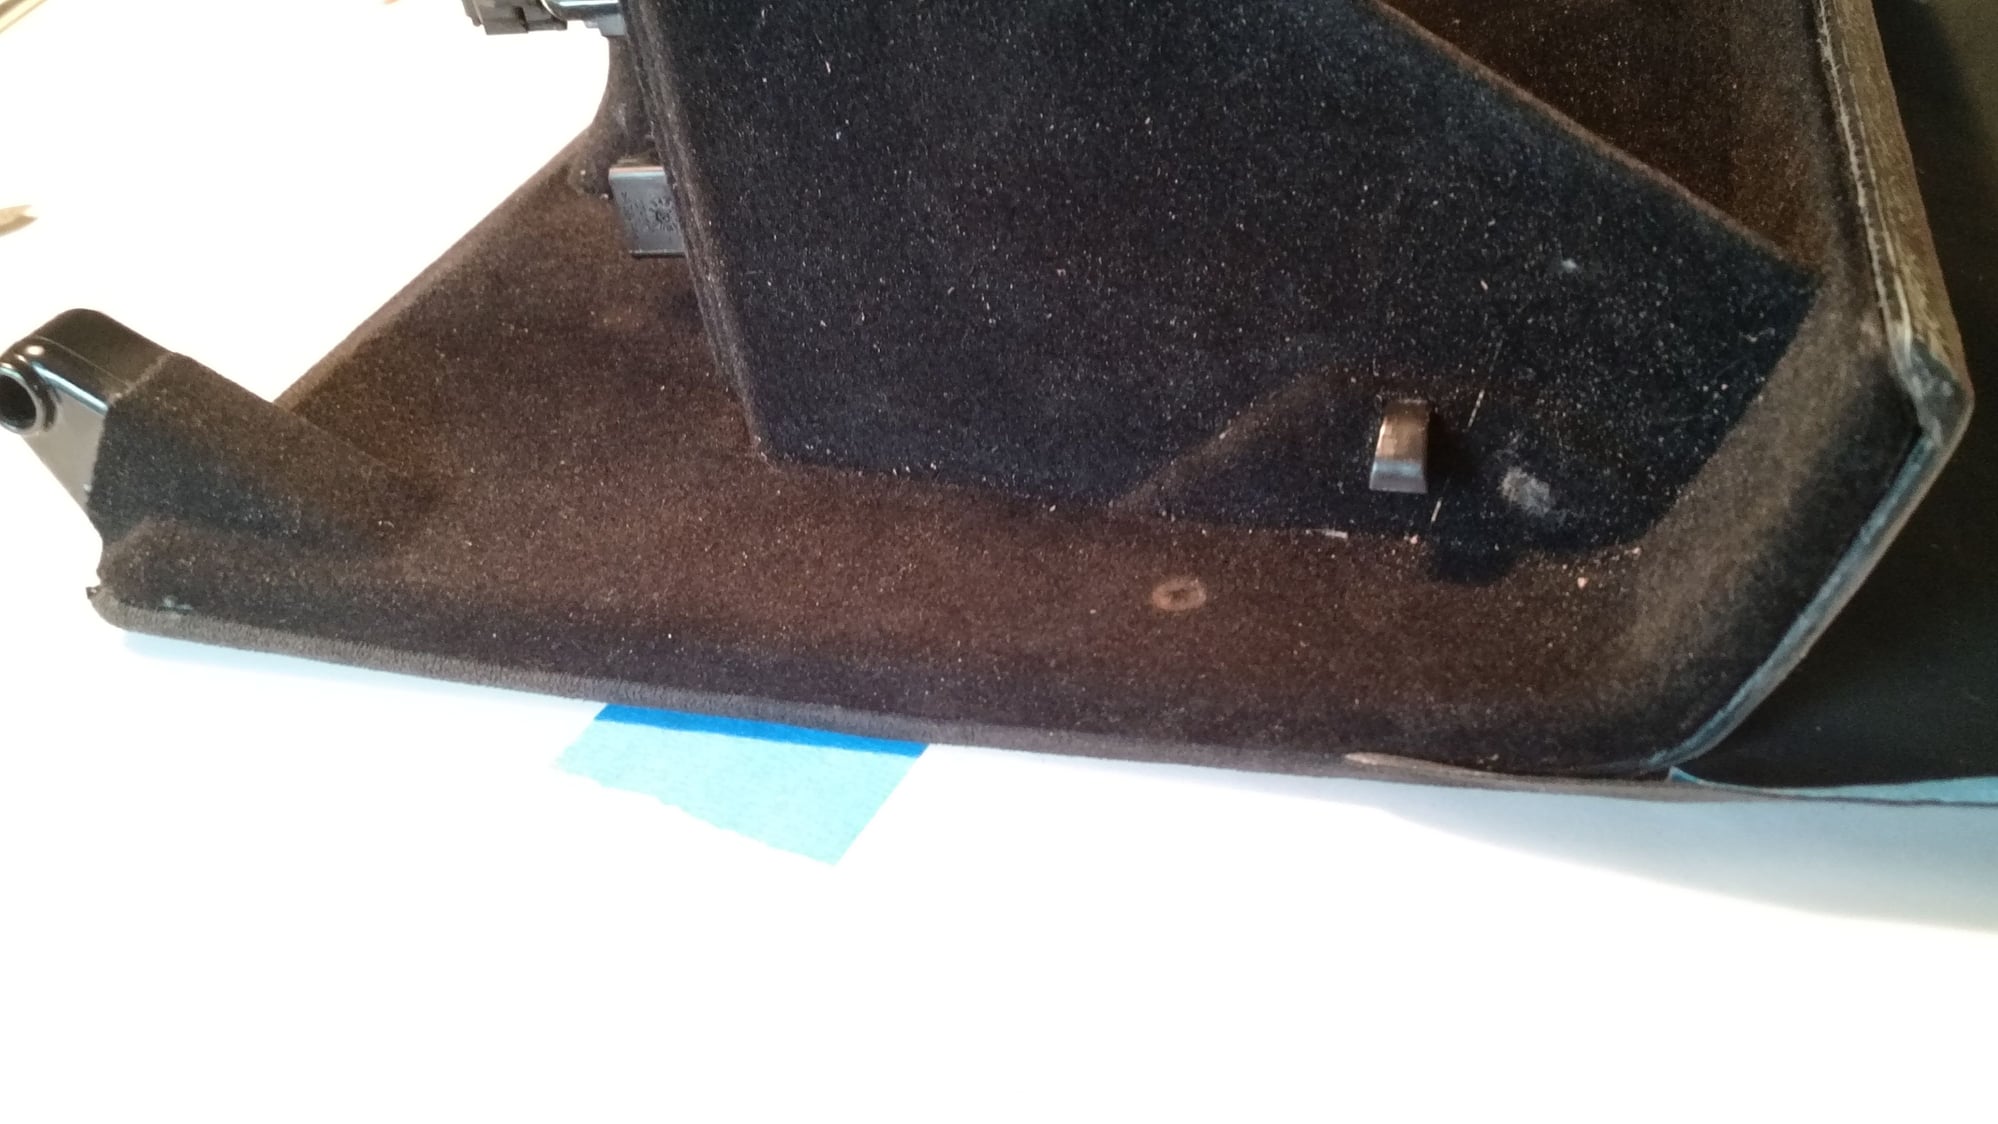
I used a dremel wire wheel to remove residual glue and foam. A sanding block cleaned up the edges of melted vinyl, and further thinned the edges.
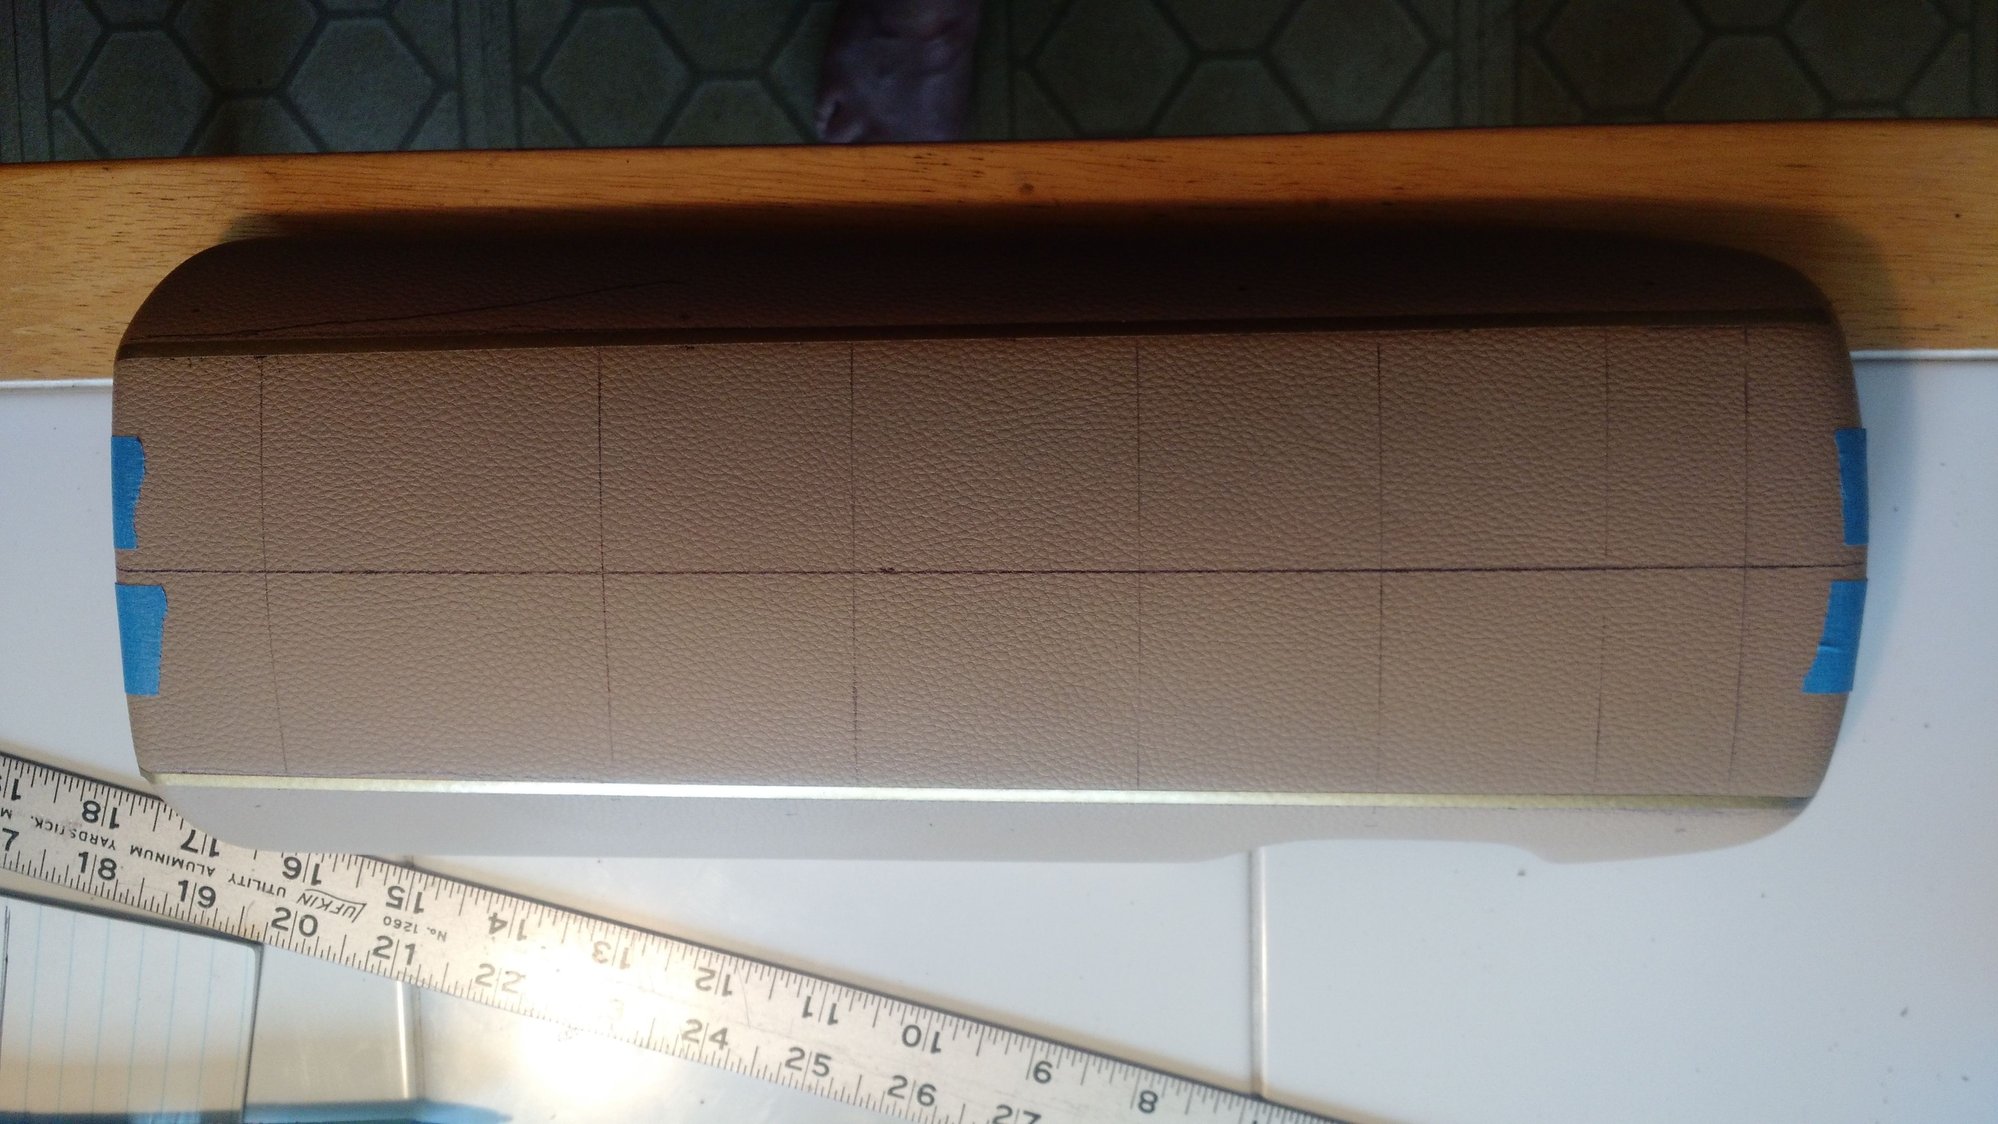
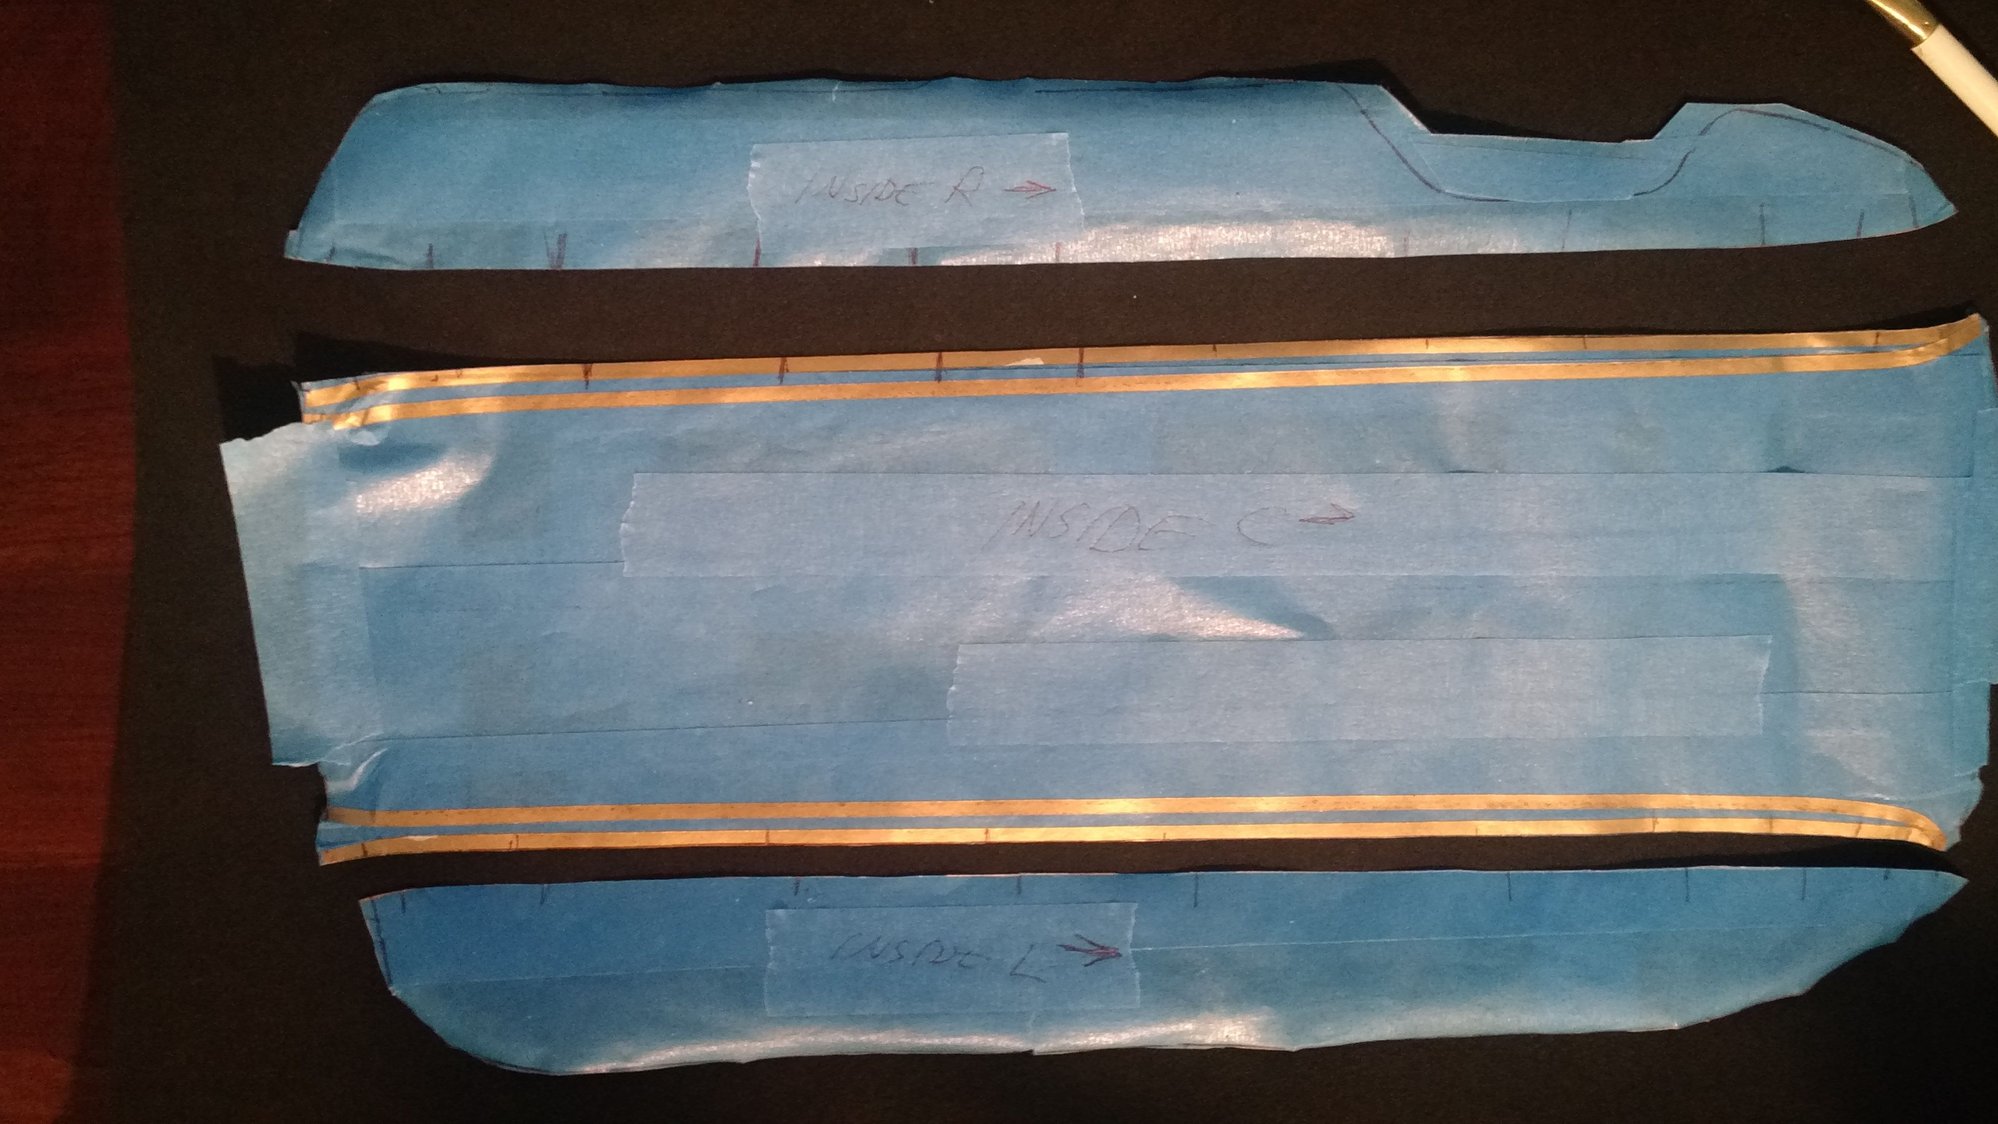
I wanted to have deviated red stitching on the arm rest so I made a pattern out of blue tape and old pinstripe tape.
Unfortunately, my sewing machine can't handle 5 stitches per inch and #138 large diameter thread, so it was a failed experiment.
I used contact cement to glue a one piece section on instead. It was pretty easy. Put glue on a section at a time. Center first, then one side, then the other side, then the edges. Finally, I wrapped and rolled the edges.
Thanks!
Next, I wrapped the glove box door. What a pain! This would have been an easy job if I would have been brave enough to sacrifice the door in hopes of splitting the interior from the exterior. I wasn't, so I did it the hard way.
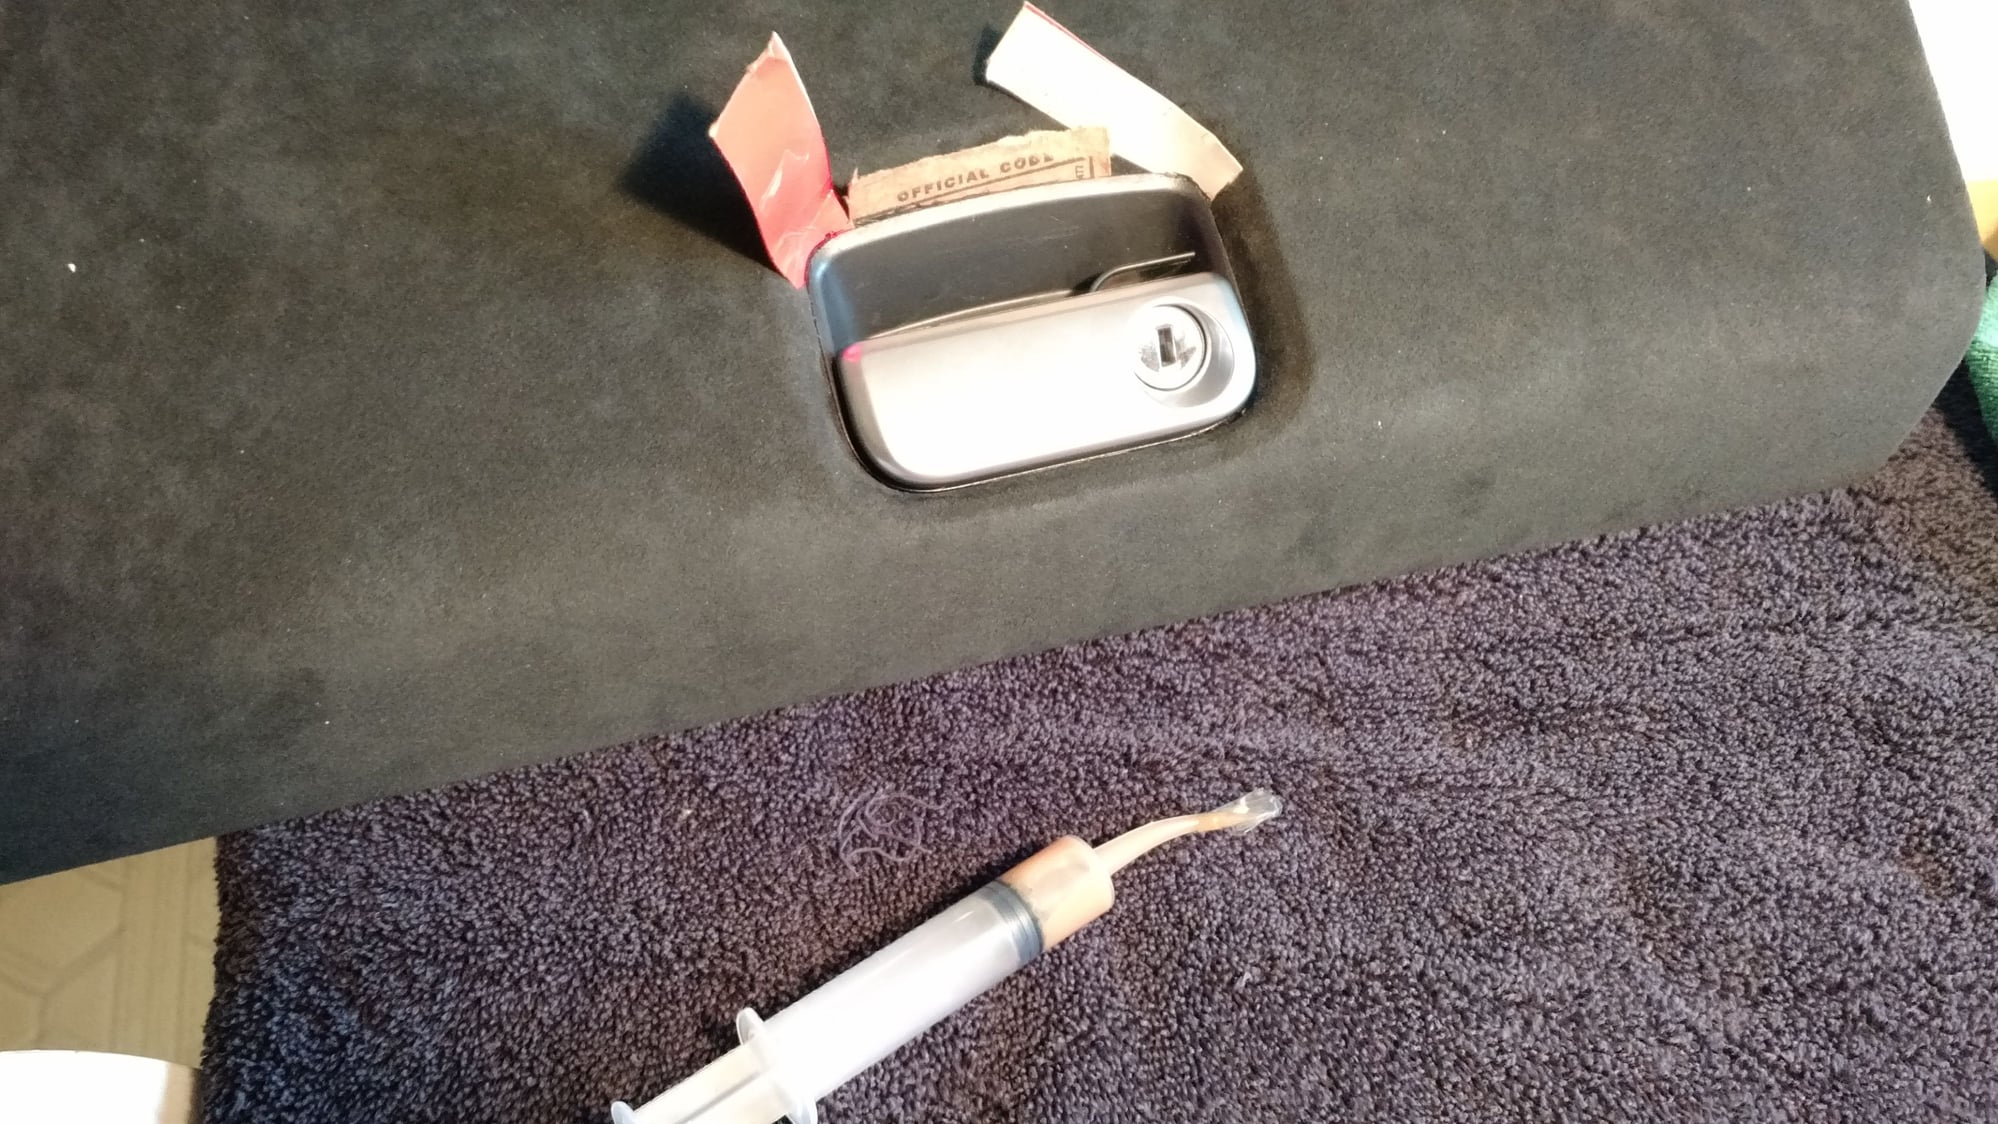
I removed the vinyl from the edges. I had to cut the bottom edge with the dremel saw to leave a kerf for the alcantara. I also had to remove the vinyl around the latch trim.
Then I re-dyed the latch surround. Again, it would have been better if I waited to find a black door.
I started at the bottom and inserted the alcantara in the kerf to keep the bottom nice and clean. Using a feeler gauge, the other edges were pushed into the gap left by the removed vinyl. I glued a small section at a time and had to spend a lot of time to trim around the latch.
The final results turned out pretty good.
I've got a couple of spots that need more glue under them but I'm afraid it might look worse if I try to fix them. I'll have to noodle on it a bit.
.... Noodle update....
After thinking about it, I used a curved glue injector I had around to get under the loose edges. It's a lesson to make sure you have enough glue on edges so the fabric tension can't pull up. Also make sure you rough up the surface getting glued. It looks great now.
I modified my method on this panel. Don't do it the way I did above! Use this method.
Instead of the drum sander to remove the vinyl edge, I used an xacto #18 wedge blade to cut the rounded edge off. Then used the same blade to cut the wrapped vinyl from under the flange. No heat gun. This was much faster and cleaner.
I did use the drum sander attachment to feather the cut edge. Then hand sanded the rest of the piece. The bottom edge was cut with the dremel saw blade to leave a kerf for the alcantara.
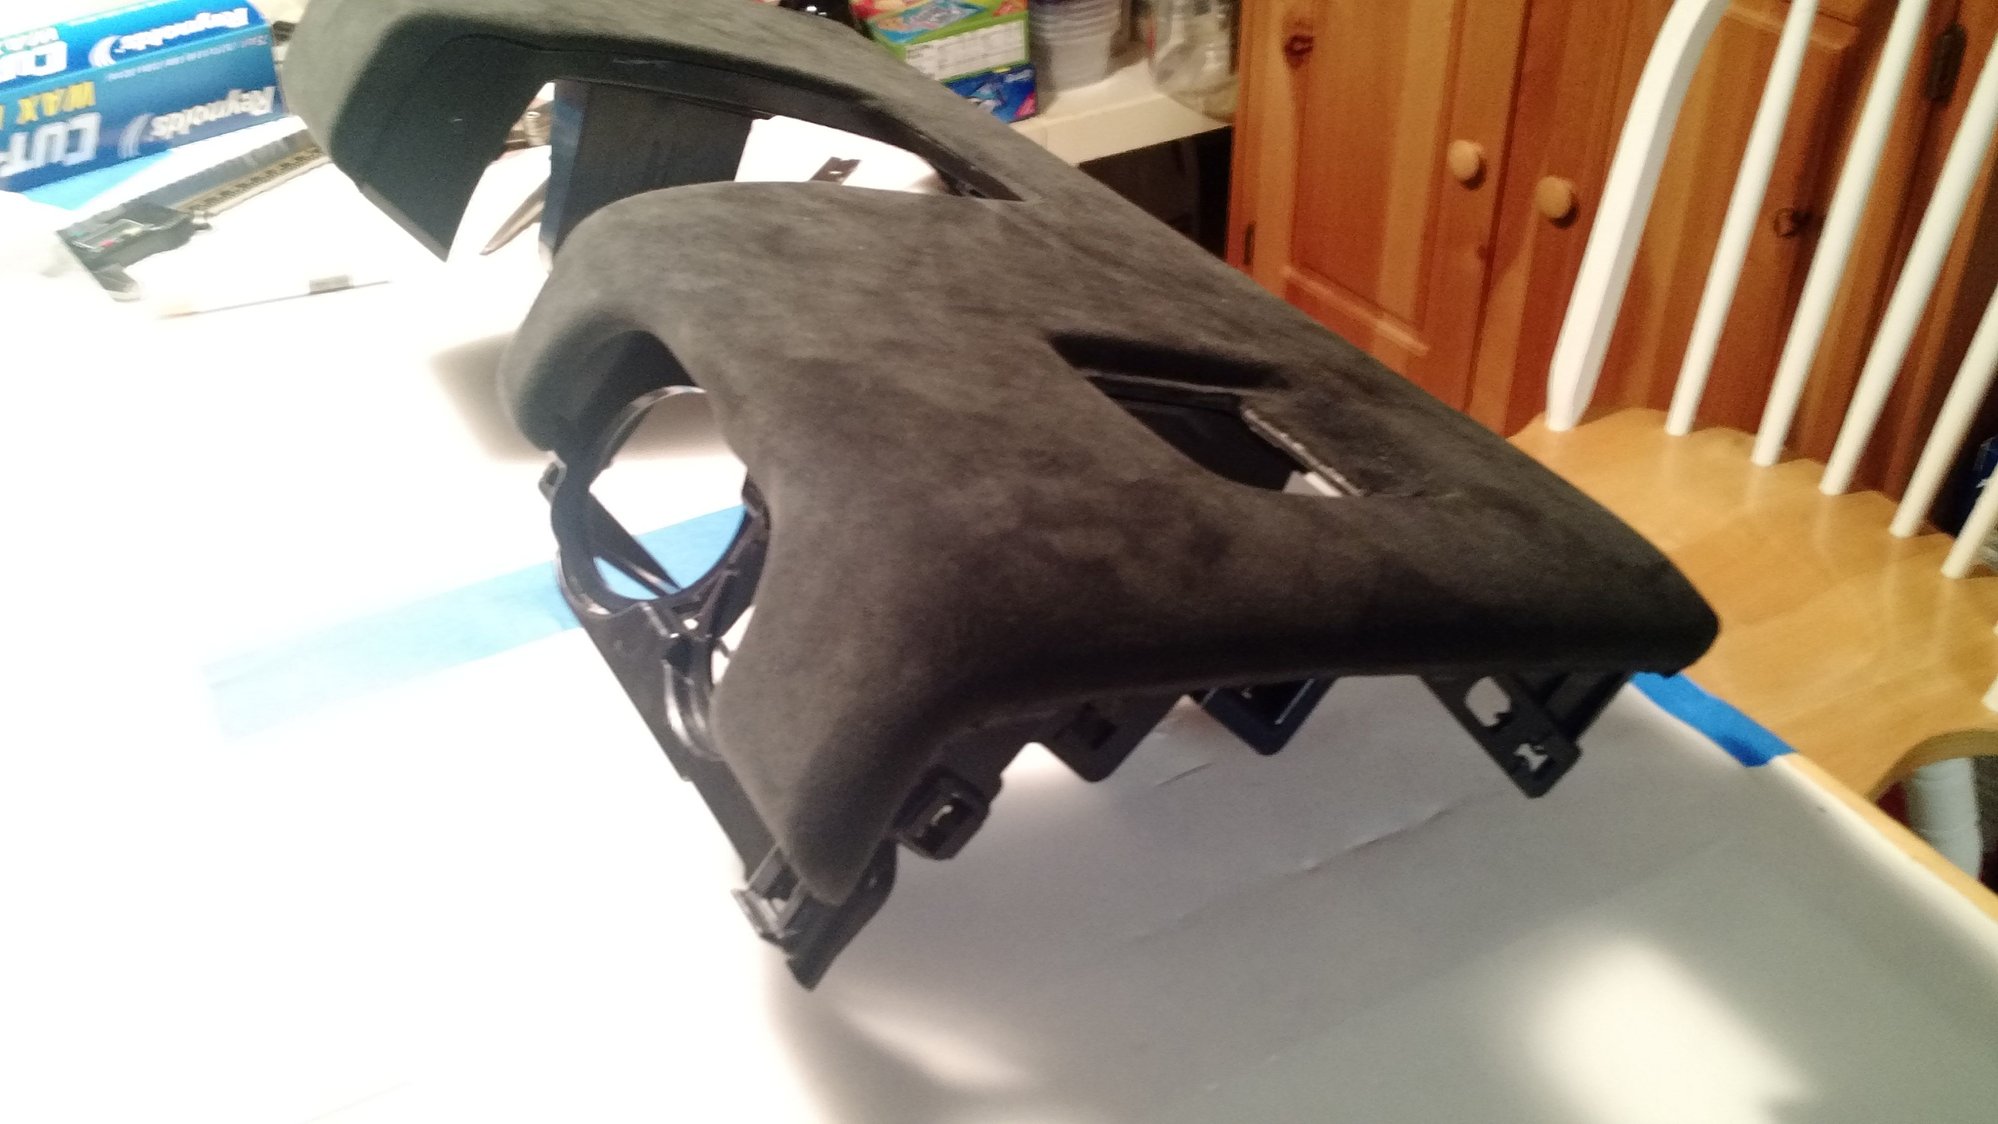
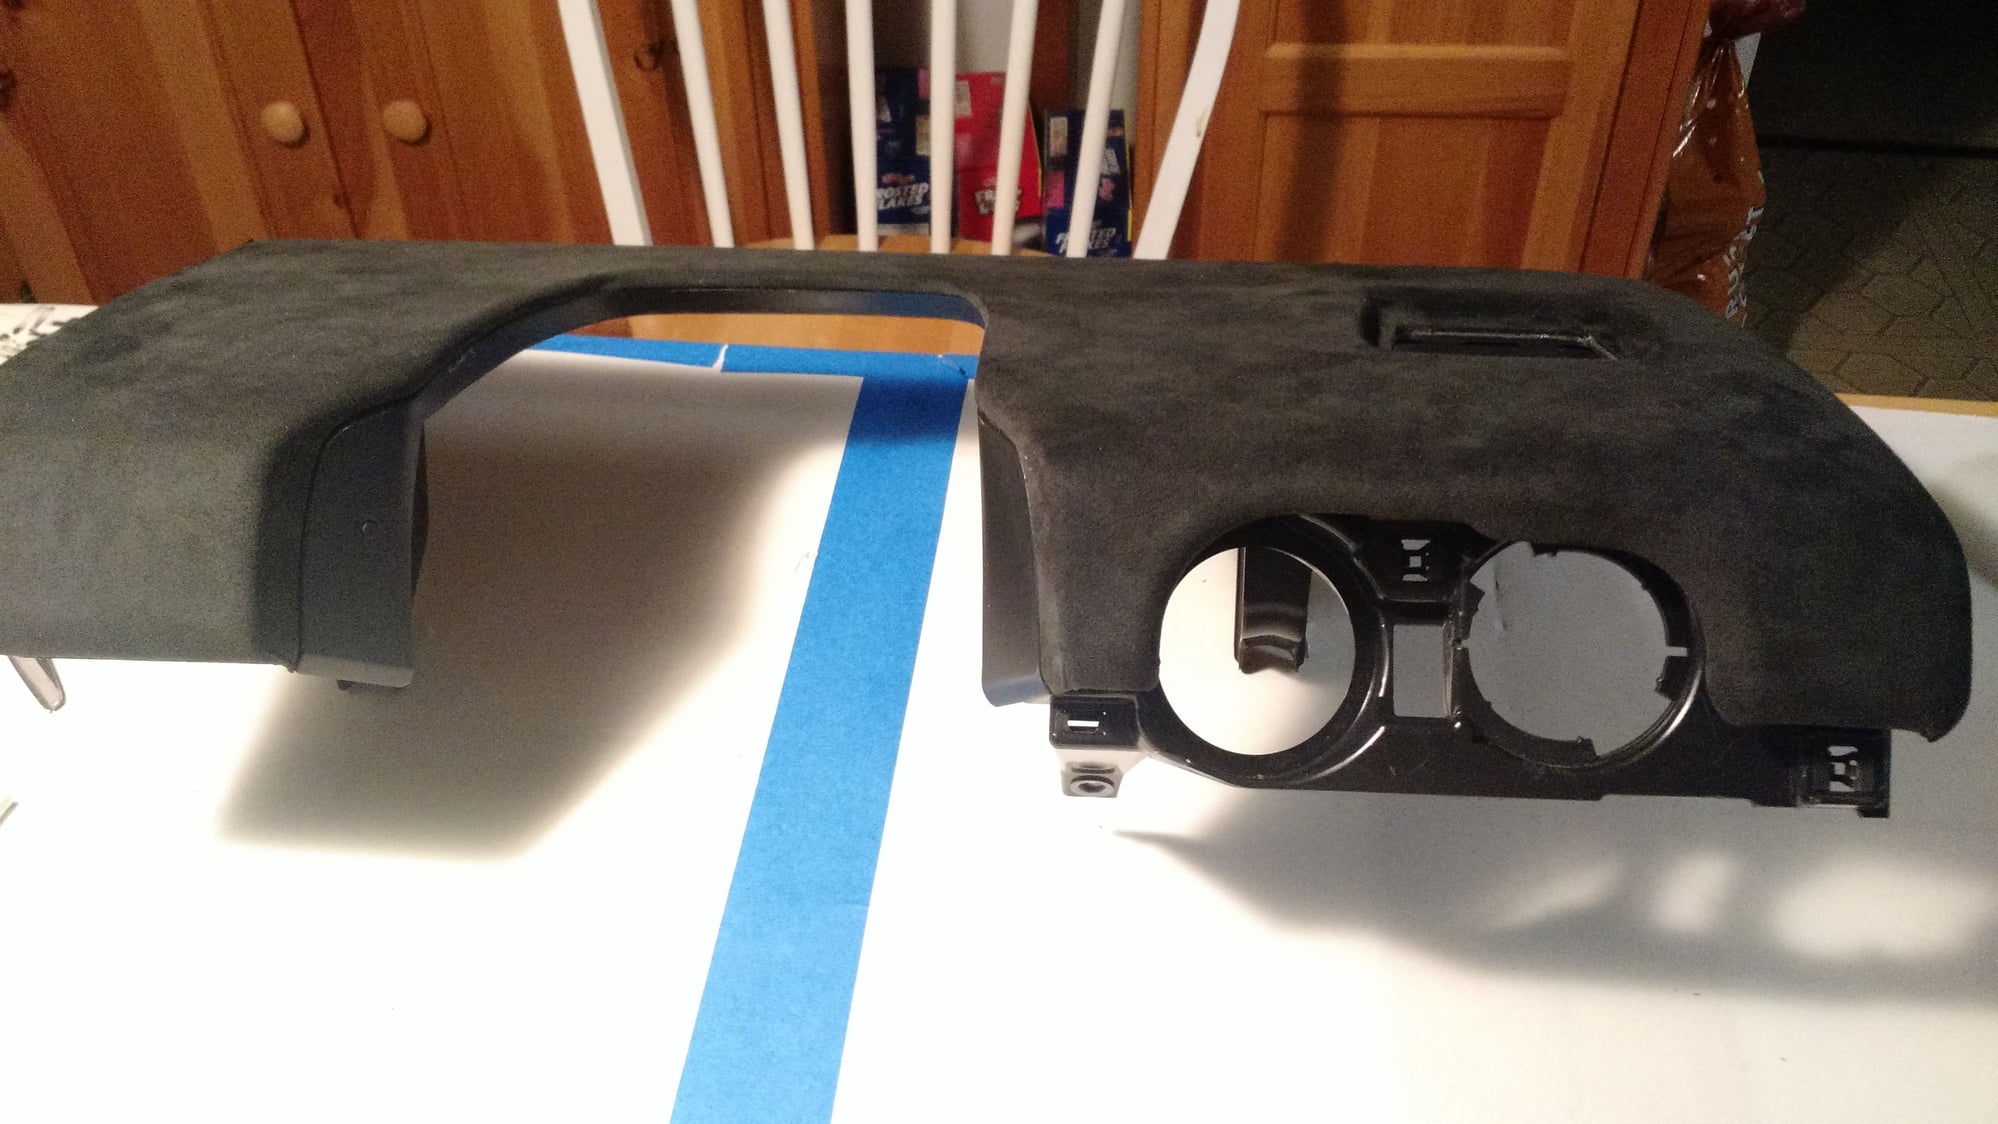
Finally the alcantara wrap.
Done with this piece. One more to go!
If you want to learn how to wrap dash parts watch
The leather seems to stretch easier than alcantara so complex curves are harder to do with alcantara. His videos were very helpful to me. It was also where I learned how to do a french seam for the armrest, but my machine isn't heavy duty so it didn't work out.

 12-12-2019, 09:41 AM