When you click on links to various merchants on this site and make a purchase, this can result in this site earning a commission. Affiliate programs and affiliations include, but are not limited to, the eBay Partner Network.
I don't think there is anything in the door specific for entry and drive. If there is, the small led for the alarm, (top of door toward the rear) a hole can be drilled into a door without it. If your door has special wiring, the harness can be swapped to the new door. Just use a pair of side cutters to snip the white zip ties, and pop the wire harness in or out as needed.
There seems to be only one panel mold for all leather configurations. The seat memory panel can be drilled out and swapped with your original part. The Bose tag can be removed/added as needed.
Hope this helps. If you have questions send me a PM and I'll contact you.
Thank you very much Dan. I heard from a knowledgeable Porsche guy here in LA that the red led light is in fact the distinguishing feature for E&D. But i did not realize I can basically make any door work - thank you very much. I will be ordering them without reservation and installing them myself - fingers crossed. haha. Thanks again Dan.
Thanks @Dan Q for showing how. Below are my notes on a similar interior door card trim upgrade.
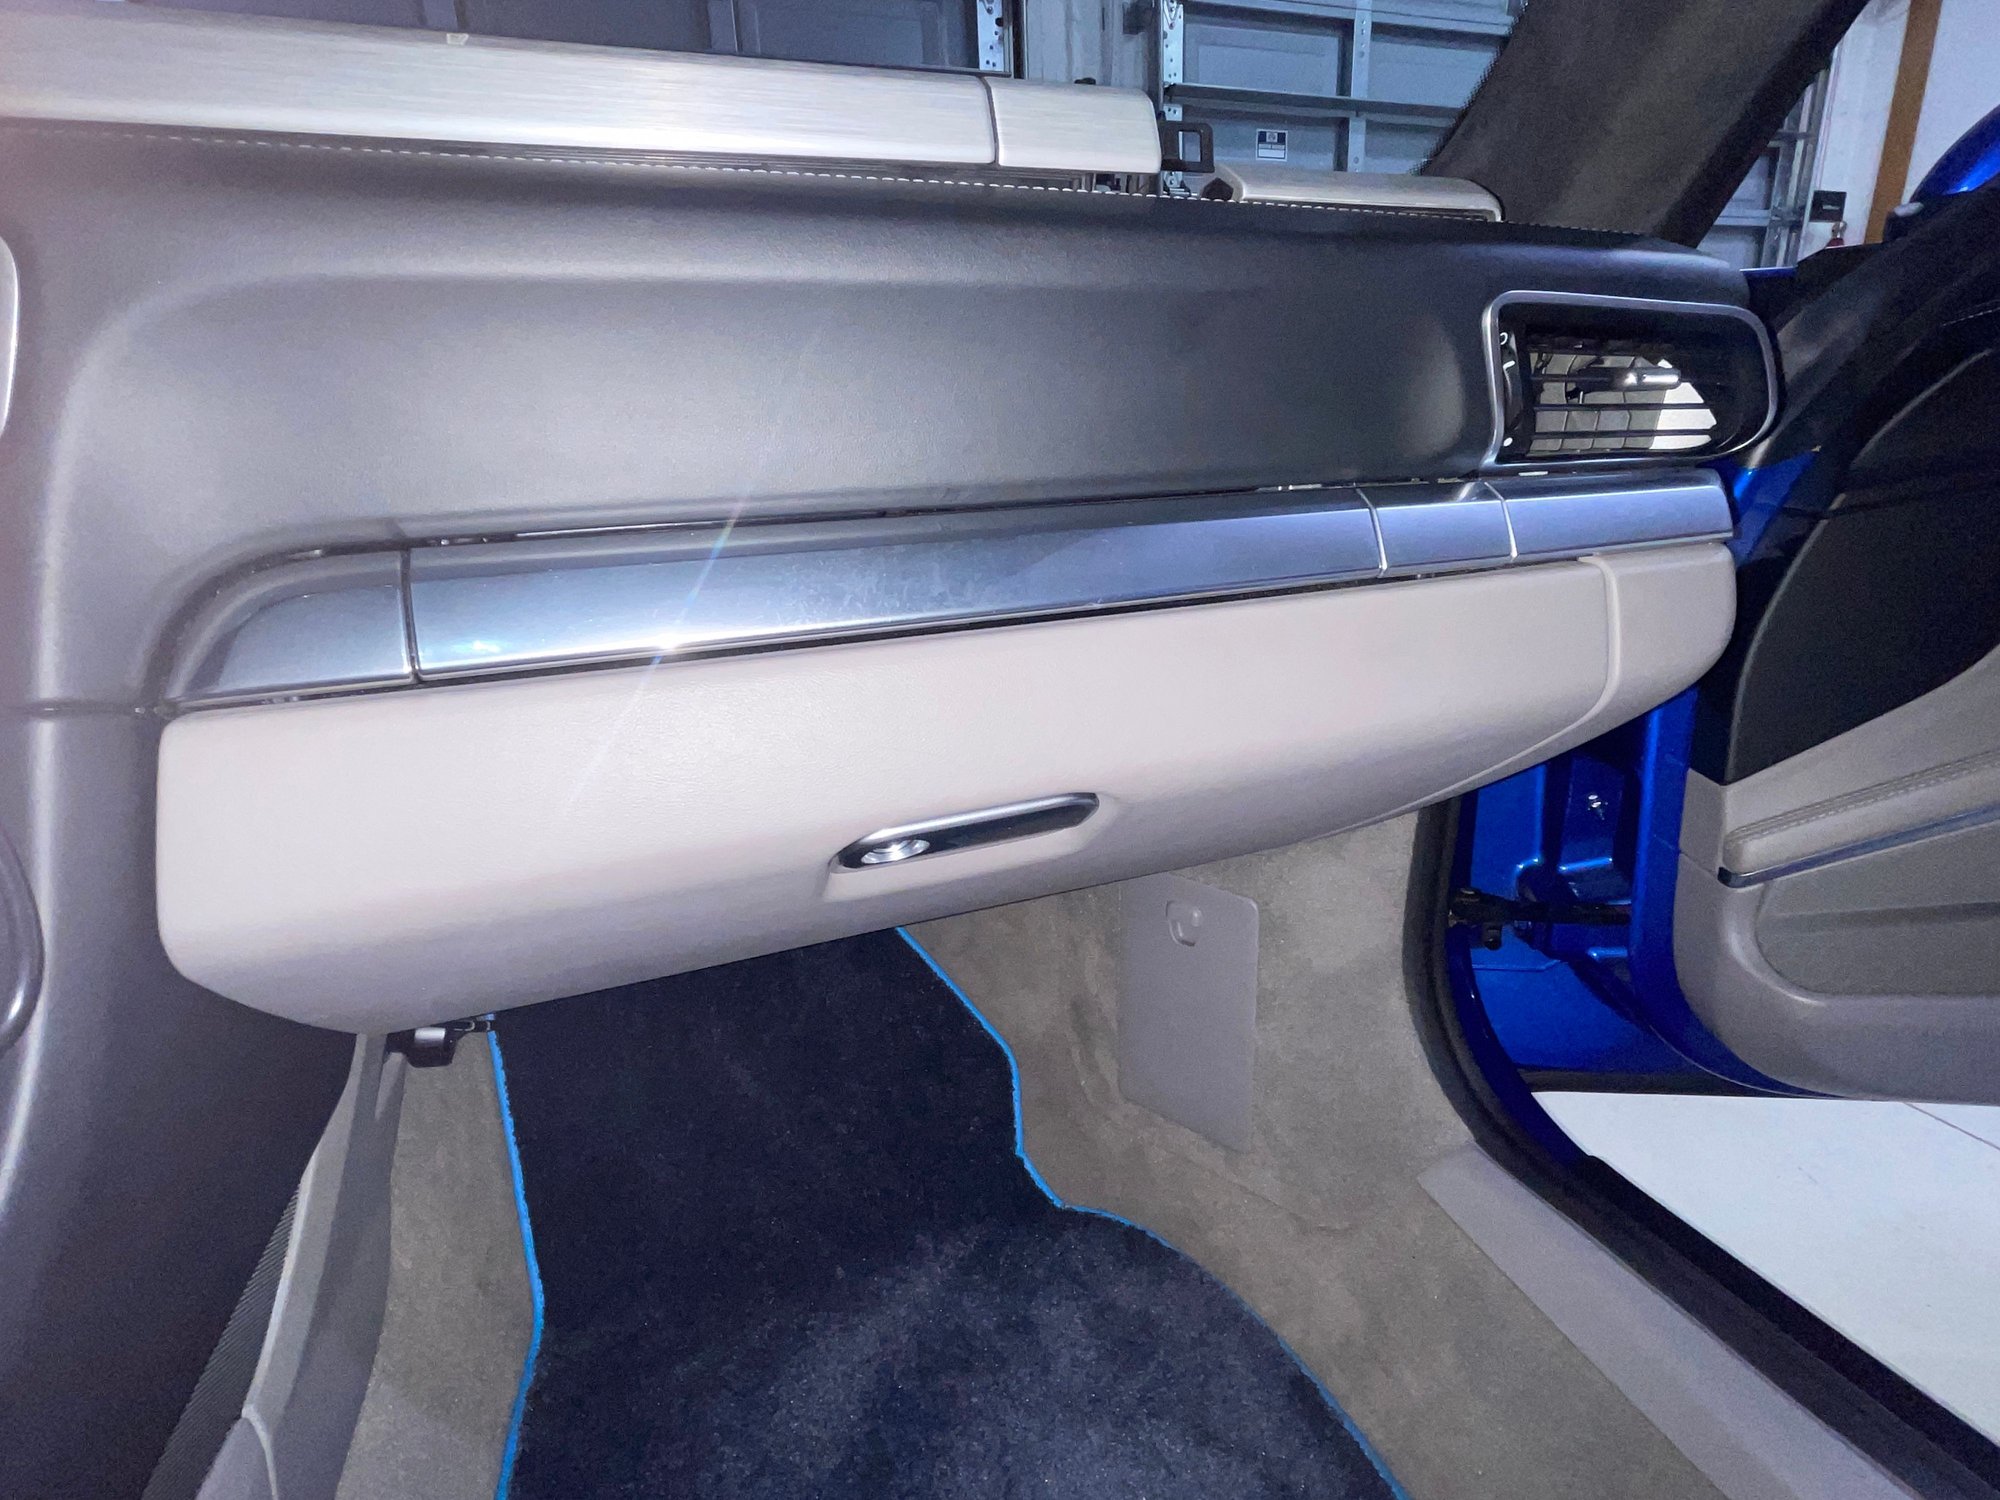
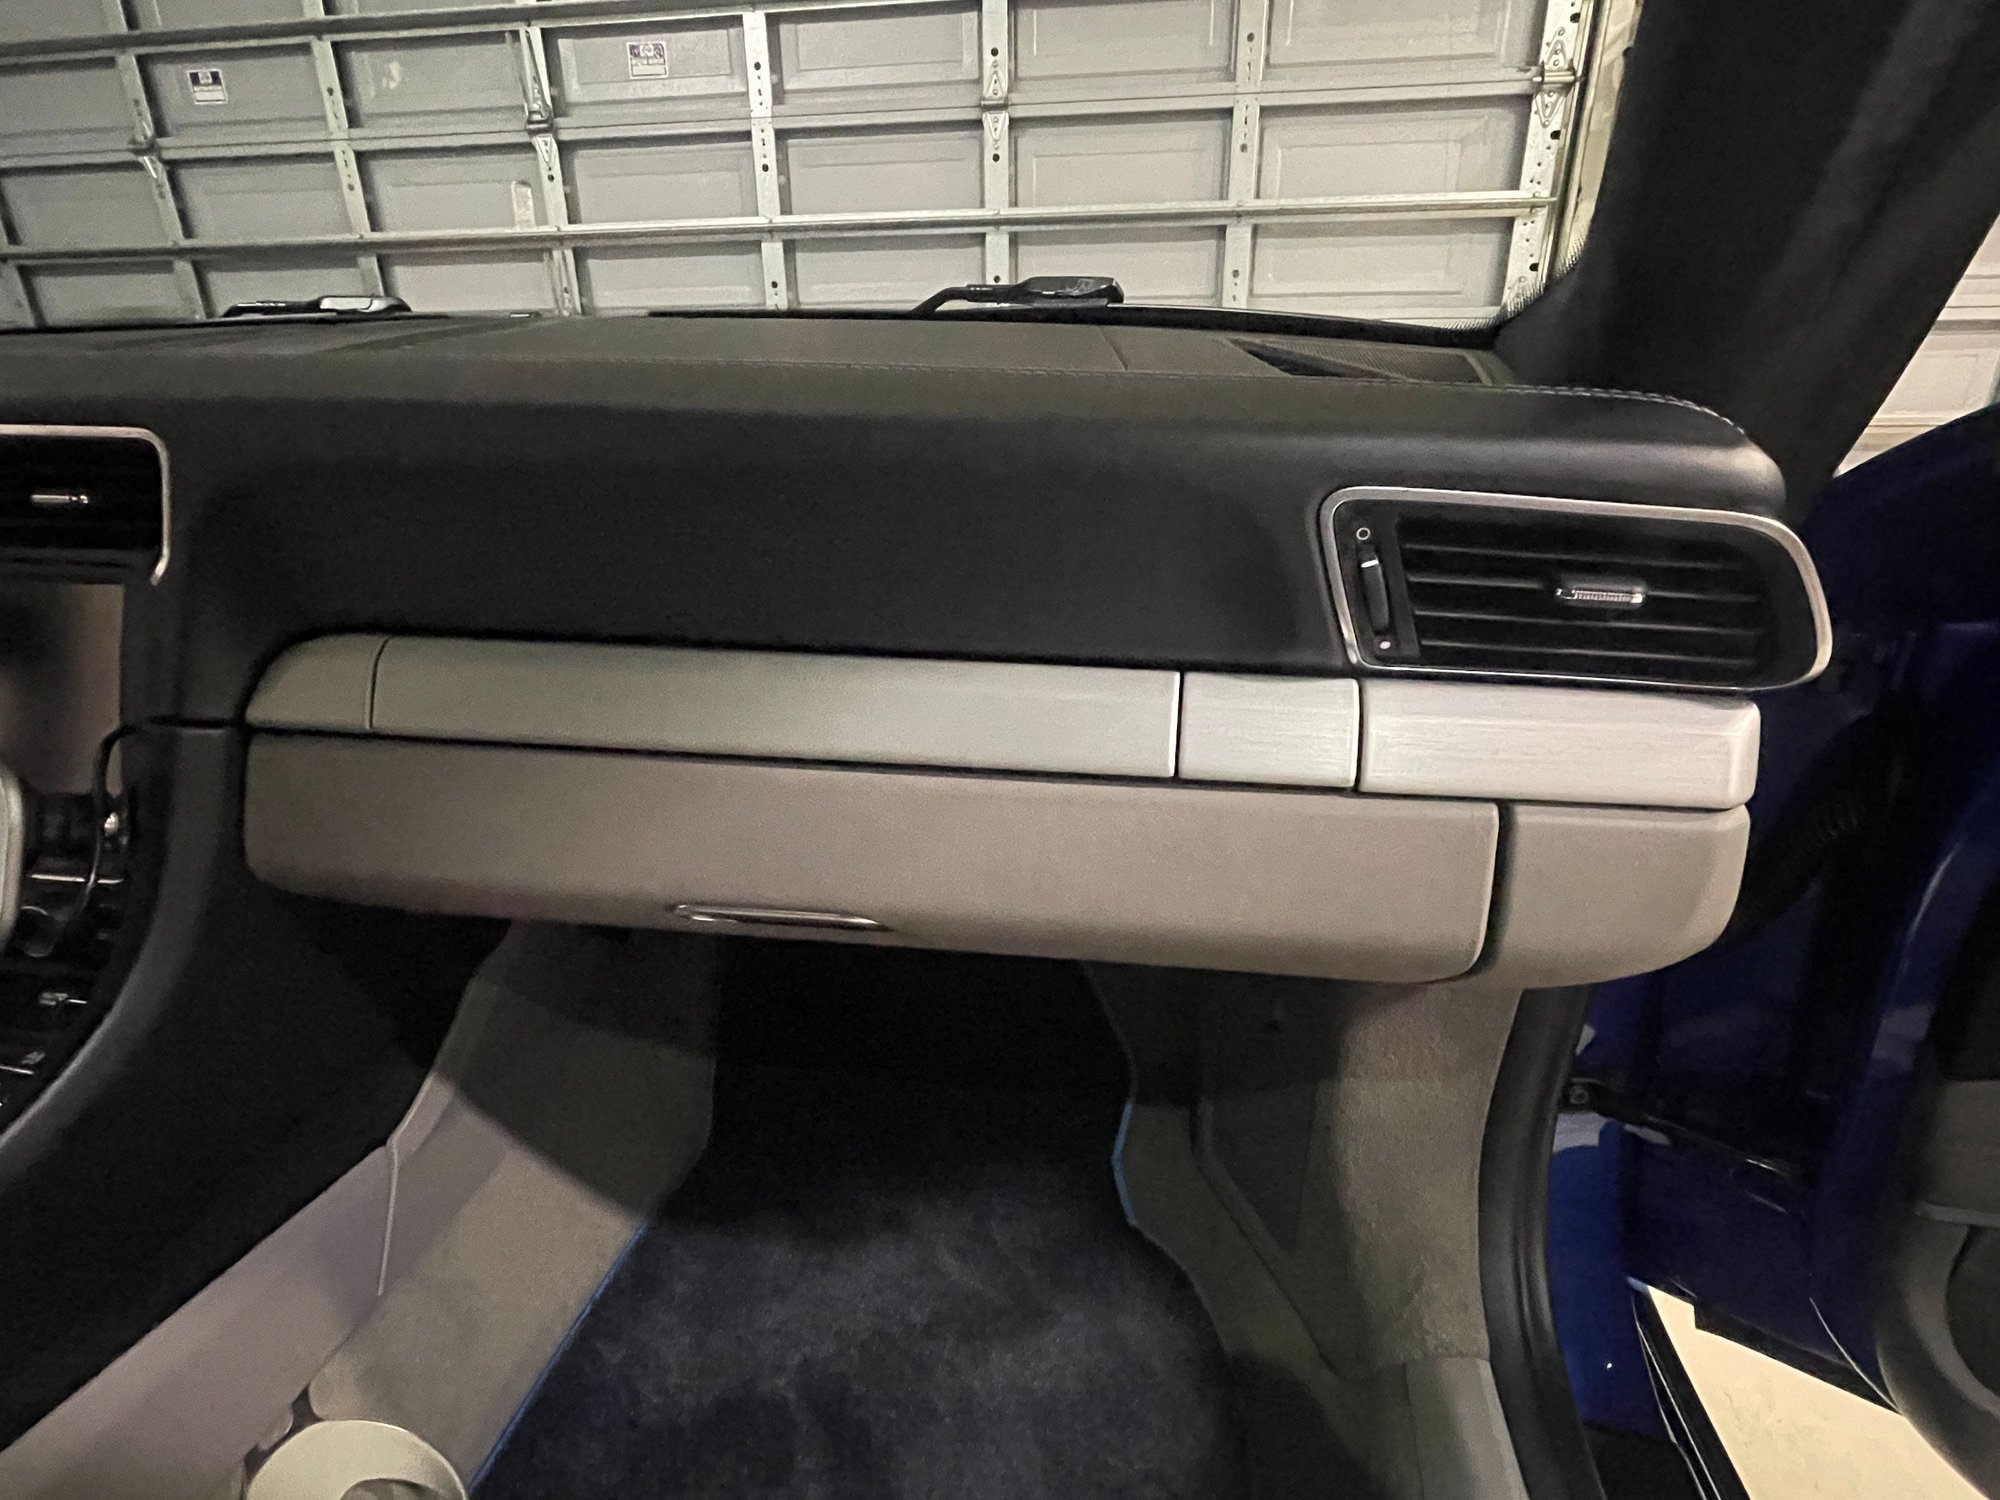
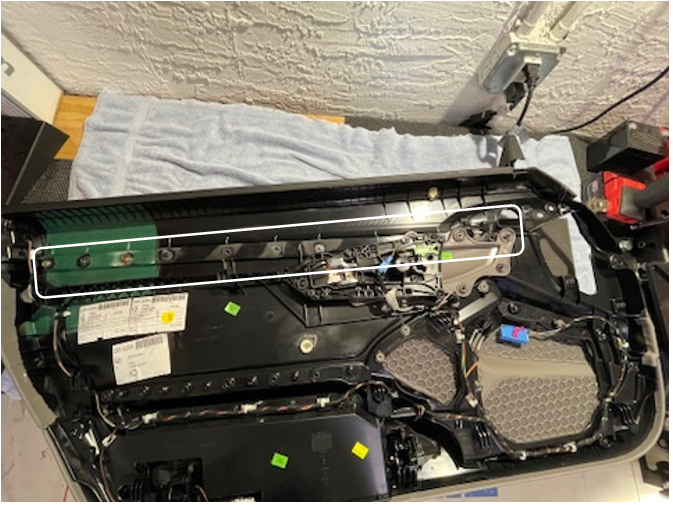
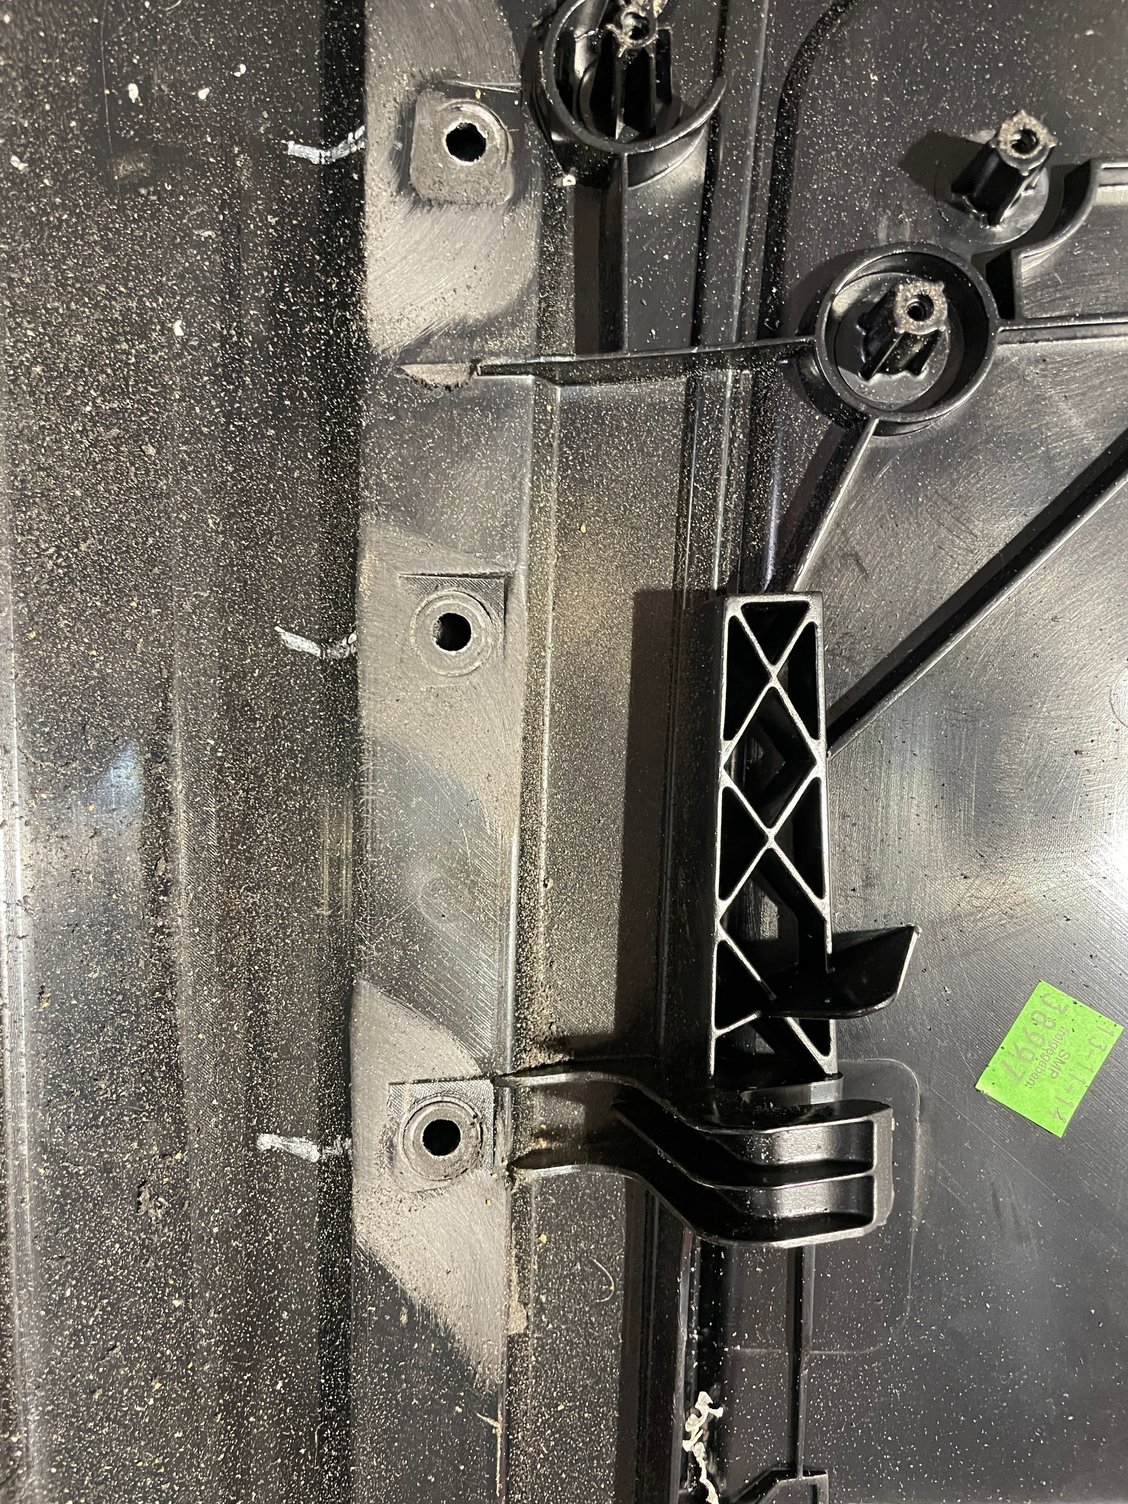
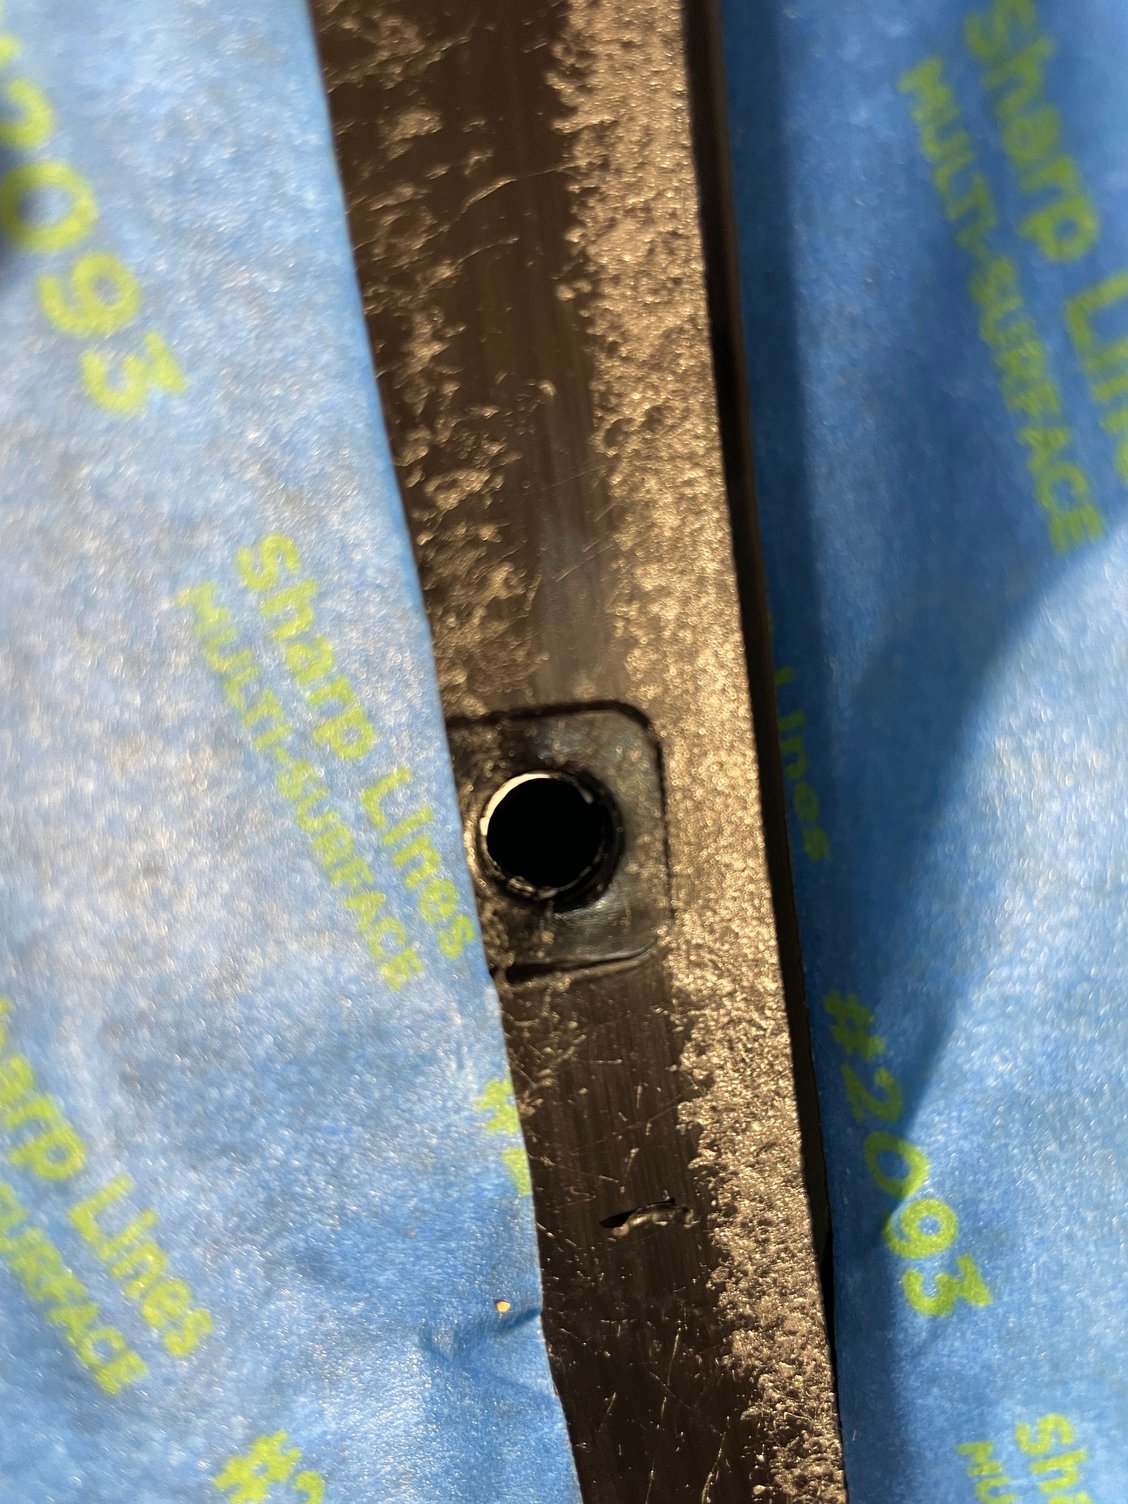
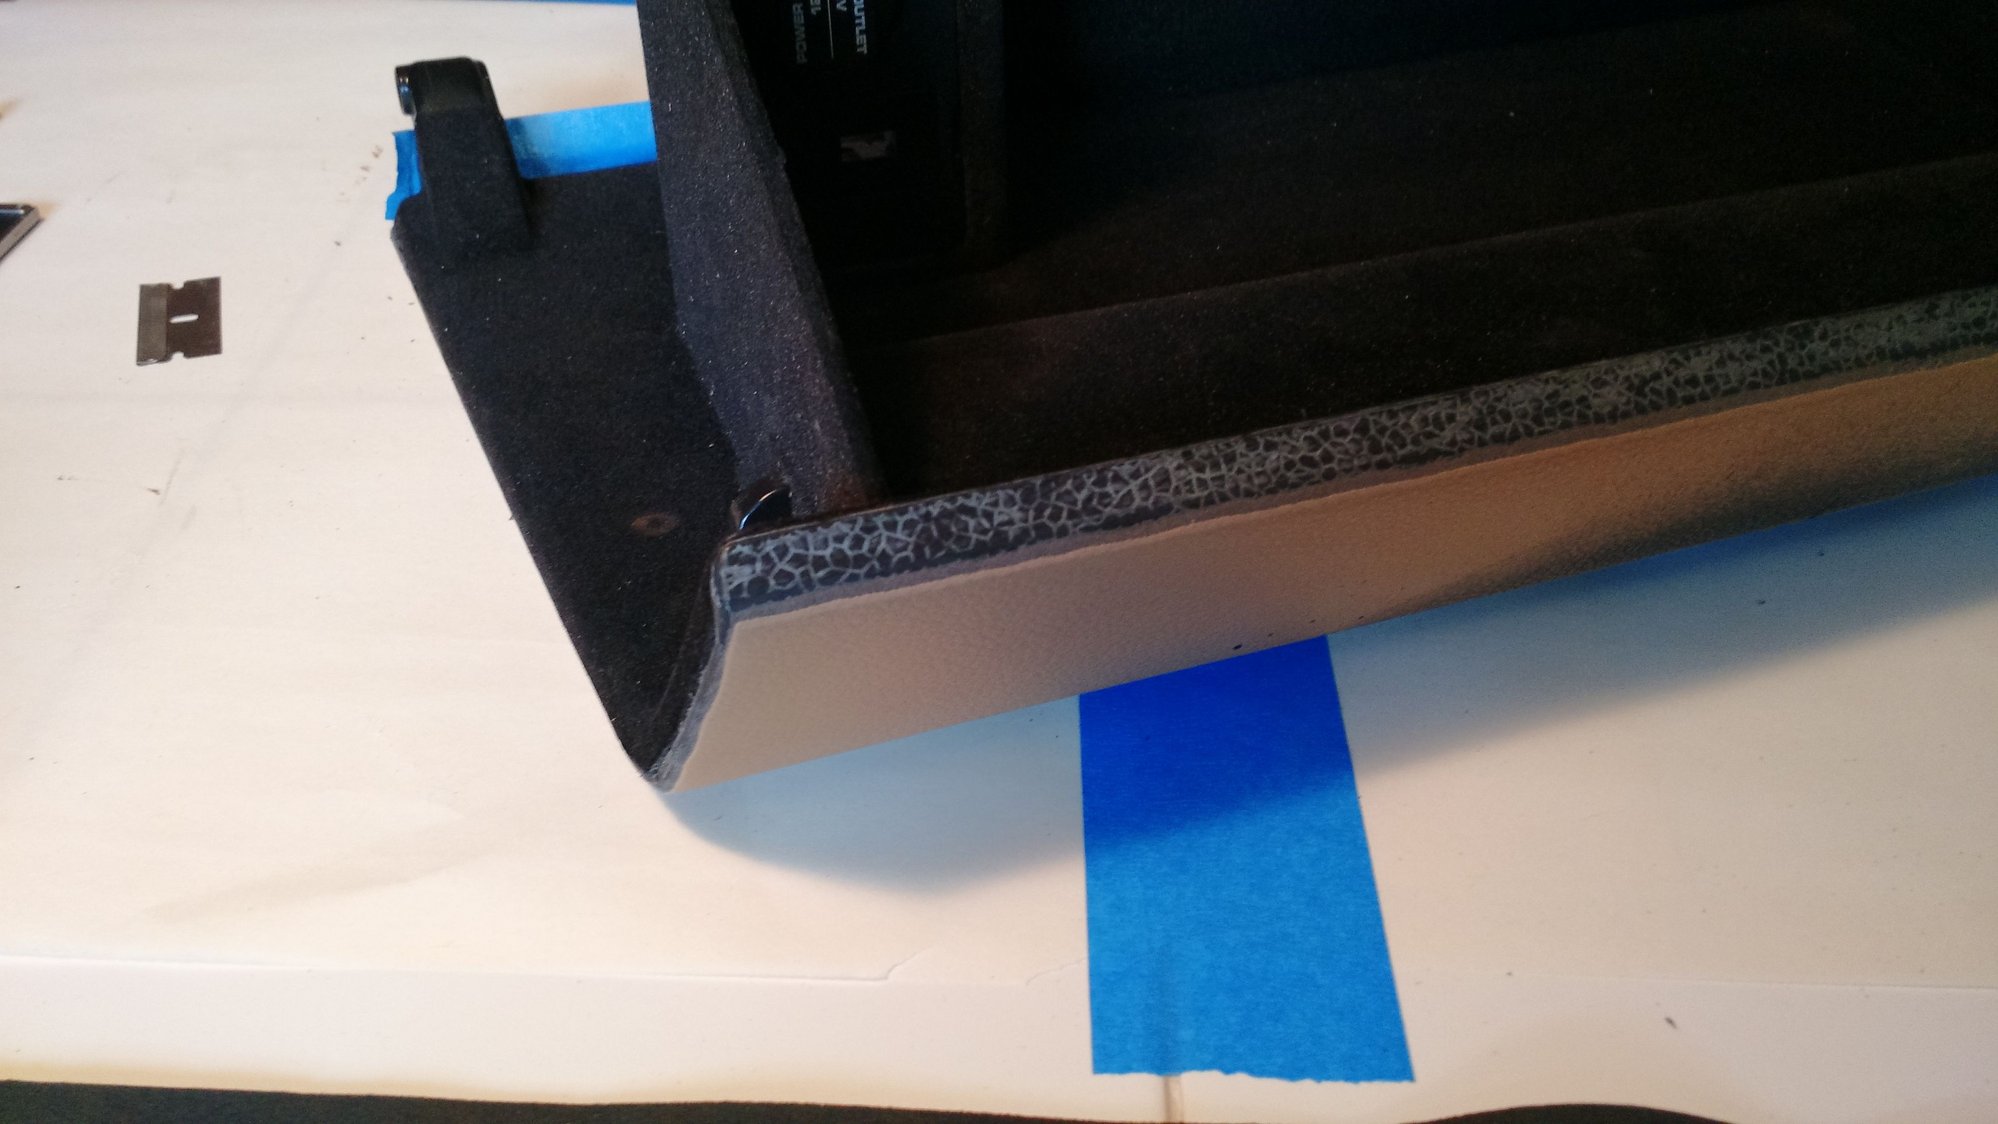
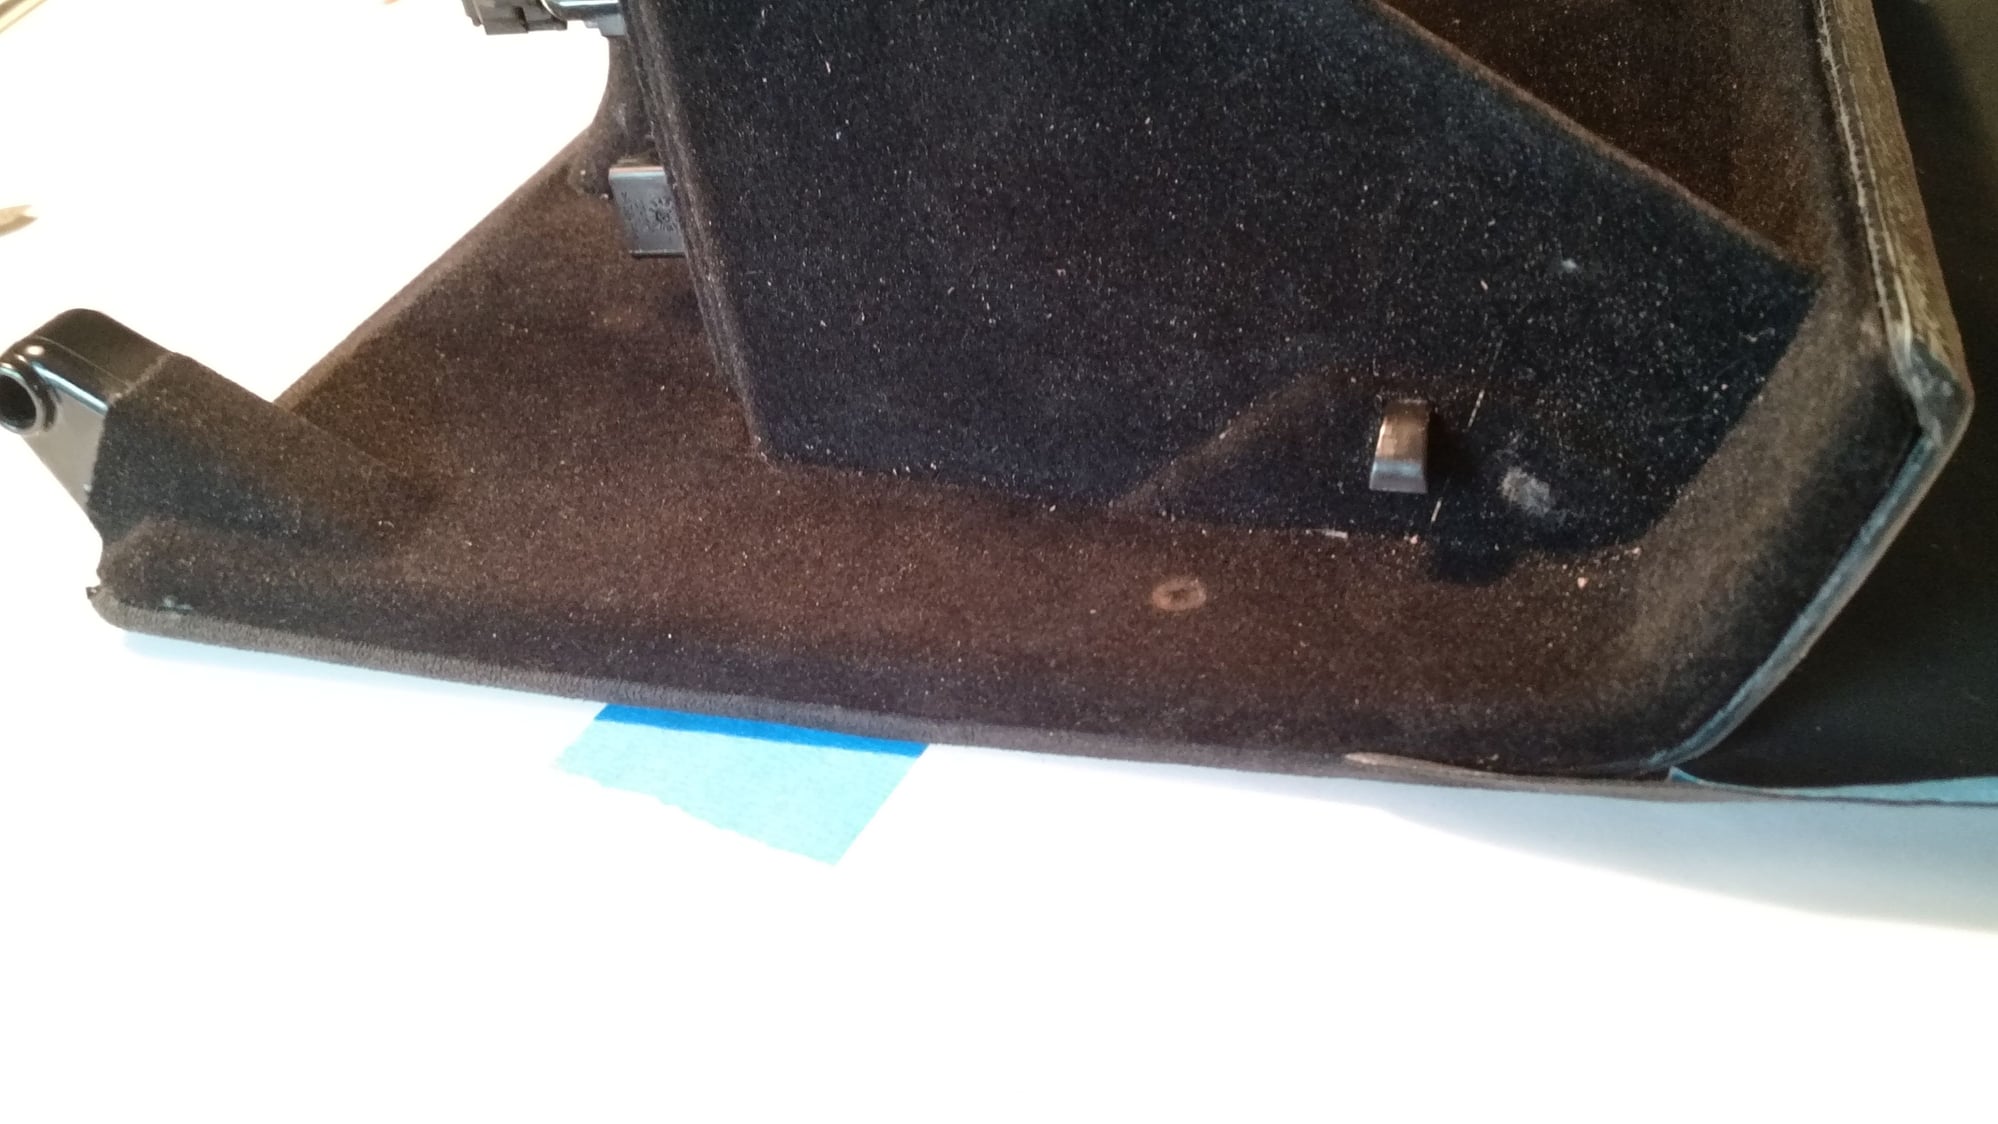
991.1 Door Panel Trim Upgrade on a 2015 Carrera Base 3.4L with Leather Interior (Leather dashboard and door panels (981) and painted plastic door panel components (788)). Possible with leather door cards onlyI bought a complete interior trim set out of a 991.1 GTS from eBay, in brushed aluminum. Installing the 3 dashboard pieces, cupholder, and center trim was a breeze. The original plastic trim pieces came off easily, and the brushed aluminum went in quickly. The new trim noticeably enhances the interior, both in aesthetics and durability. Original painted trim piece After with Brushed aluminum trim piece The row of plastic mounting points that need to be removed to release the door trim inlay. 1 is under the door handle so you need to remove door handle to reach it close up of the plastic mounts there might be an actual tool to melt these, but I drilled them out The plastic mounts can also be sanded down and punched out here you can see the rough surfaces remaining after removing the trim piece I cleaned them up, removing the rough edges and ridges, they were easy enough with a simple wood chisel I used 3-5 screws on each side with some trim tape to secure the trim pieces.
However, dealing with the door panels required effort and patience. Thanks to guidance from Dan Q on Rennlist, I had a good starting point. Yet, the detailed description of replacing the door card trim omitted some important aspects.
While there are numerous YouTube videos and articles on removing door cards, none precisely matched my situation. I discovered an additional electrical connection, leading me to remove the passenger side door card after completing the driver's side to correct the miss. This was a minor 5-minute delay.
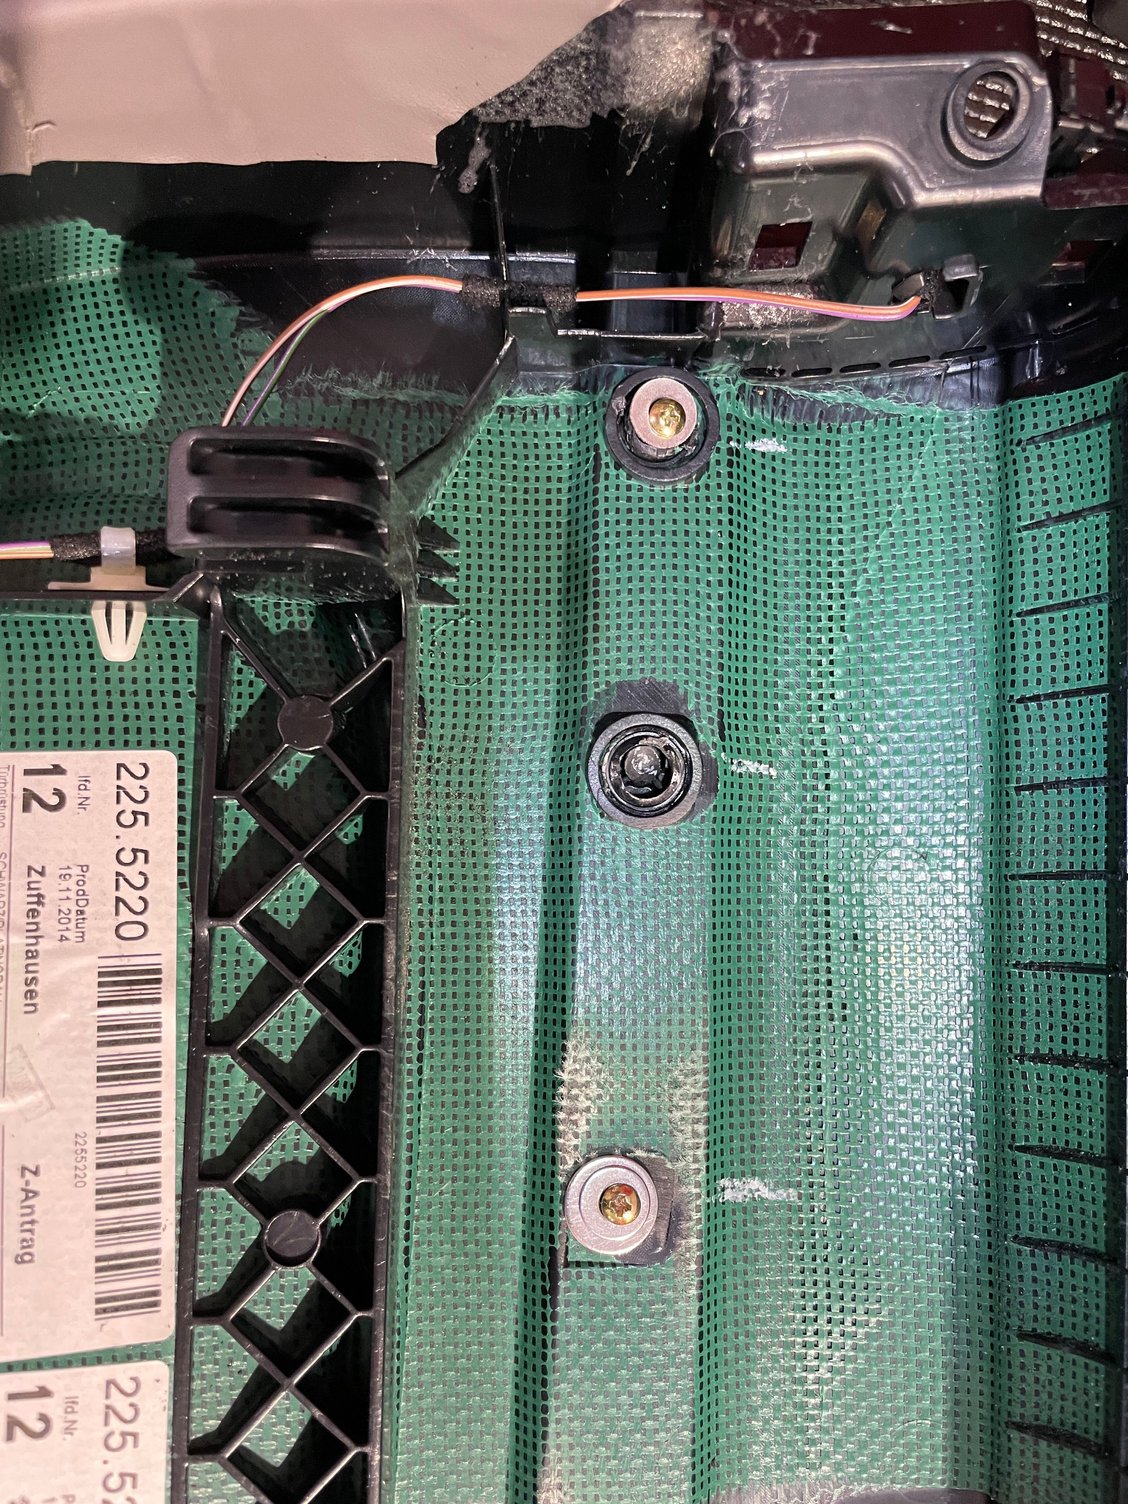
Removing the plastic "rivets" was straightforward with a drill bit, but significant cleanup was necessary afterward. The old and replacement pieces were challenging to remove cleanly due to glued/melted connections and mismatched heights. The front and back of the pieces exhibited varying degrees of roughness after trim removal. I resorted to using a � wood chisel to clean up the door pieces (front and back). If the replacement trim had been pristine, trimming the mounting surface might not have been necessary. However, uneven and broken mounting points required a clean surface for proper fitment.
To secure the trim, I used a combination of double-sided trim tape (not as a standalone solution) and small screws with washers in 1/3-1/2 of the mounting points that retained sufficient material for a pilot hole.
Despite the detailed work exceeding my expectations, I am pleased with the results. It became evident from the factory mounting solution that Porsche didn't anticipate owners engaging in this level of personalization or upgrades.
Thanks!
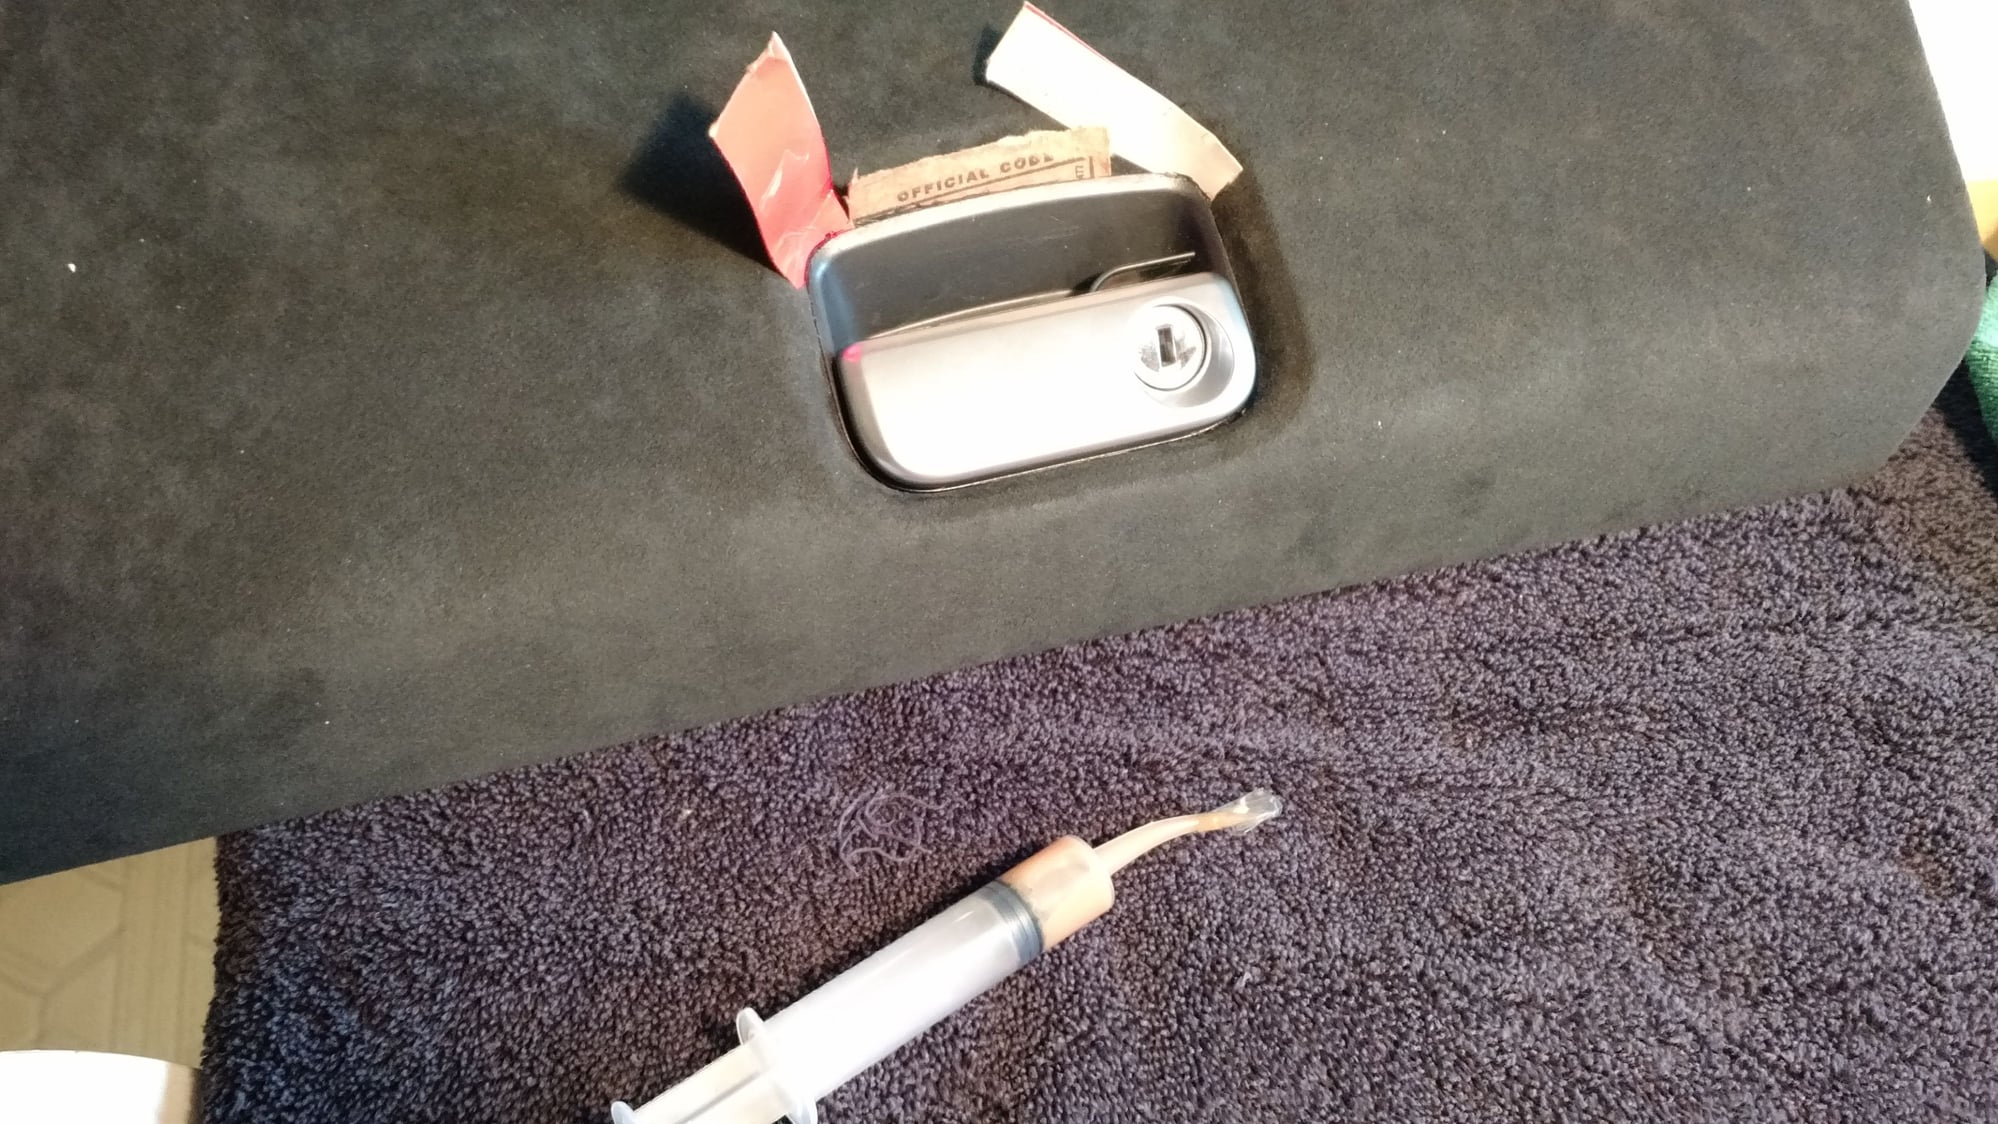
Next, I wrapped the glove box door. What a pain! This would have been an easy job if I would have been brave enough to sacrifice the door in hopes of splitting the interior from the exterior. I wasn't, so I did it the hard way.
I removed the vinyl from the edges. I had to cut the bottom edge with the dremel saw to leave a kerf for the alcantara. I also had to remove the vinyl around the latch trim.
Then I re-dyed the latch surround. Again, it would have been better if I waited to find a black door.
I started at the bottom and inserted the alcantara in the kerf to keep the bottom nice and clean. Using a feeler gauge, the other edges were pushed into the gap left by the removed vinyl. I glued a small section at a time and had to spend a lot of time to trim around the latch.
The final results turned out pretty good.
I've got a couple of spots that need more glue under them but I'm afraid it might look worse if I try to fix them. I'll have to noodle on it a bit.
.... Noodle update....
After thinking about it, I used a curved glue injector I had around to get under the loose edges. It's a lesson to make sure you have enough glue on edges so the fabric tension can't pull up. Also make sure you rough up the surface getting glued. It looks great now.
Any tips on removing the glove box latch housing? Mine recently broke and now I have to replace it. I see that you were able to remove it.
I was going to do my glove box latch a while back and I think I recall that DB Carbon sells one and they should have removal instructions on their website.
Any tips on removing the glove box latch housing? Mine recently broke and now I have to replace it. I see that you were able to remove it.
Sorry, I didn't remove the glove box latch. I worked around it. I haven't found anyone who removed it. You might have to buy a replacement door from ebay. Then go thru the pain of pulling the whole glove box to replace the door.
Sorry, I didn't remove the glove box latch. I worked around it. I haven't found anyone who removed it. You might have to buy a replacement door from ebay. Then go thru the pain of pulling the whole glove box to replace the door.
My Upholster did what you did too and basically just tucked it in. He didn't want to break my glove box.
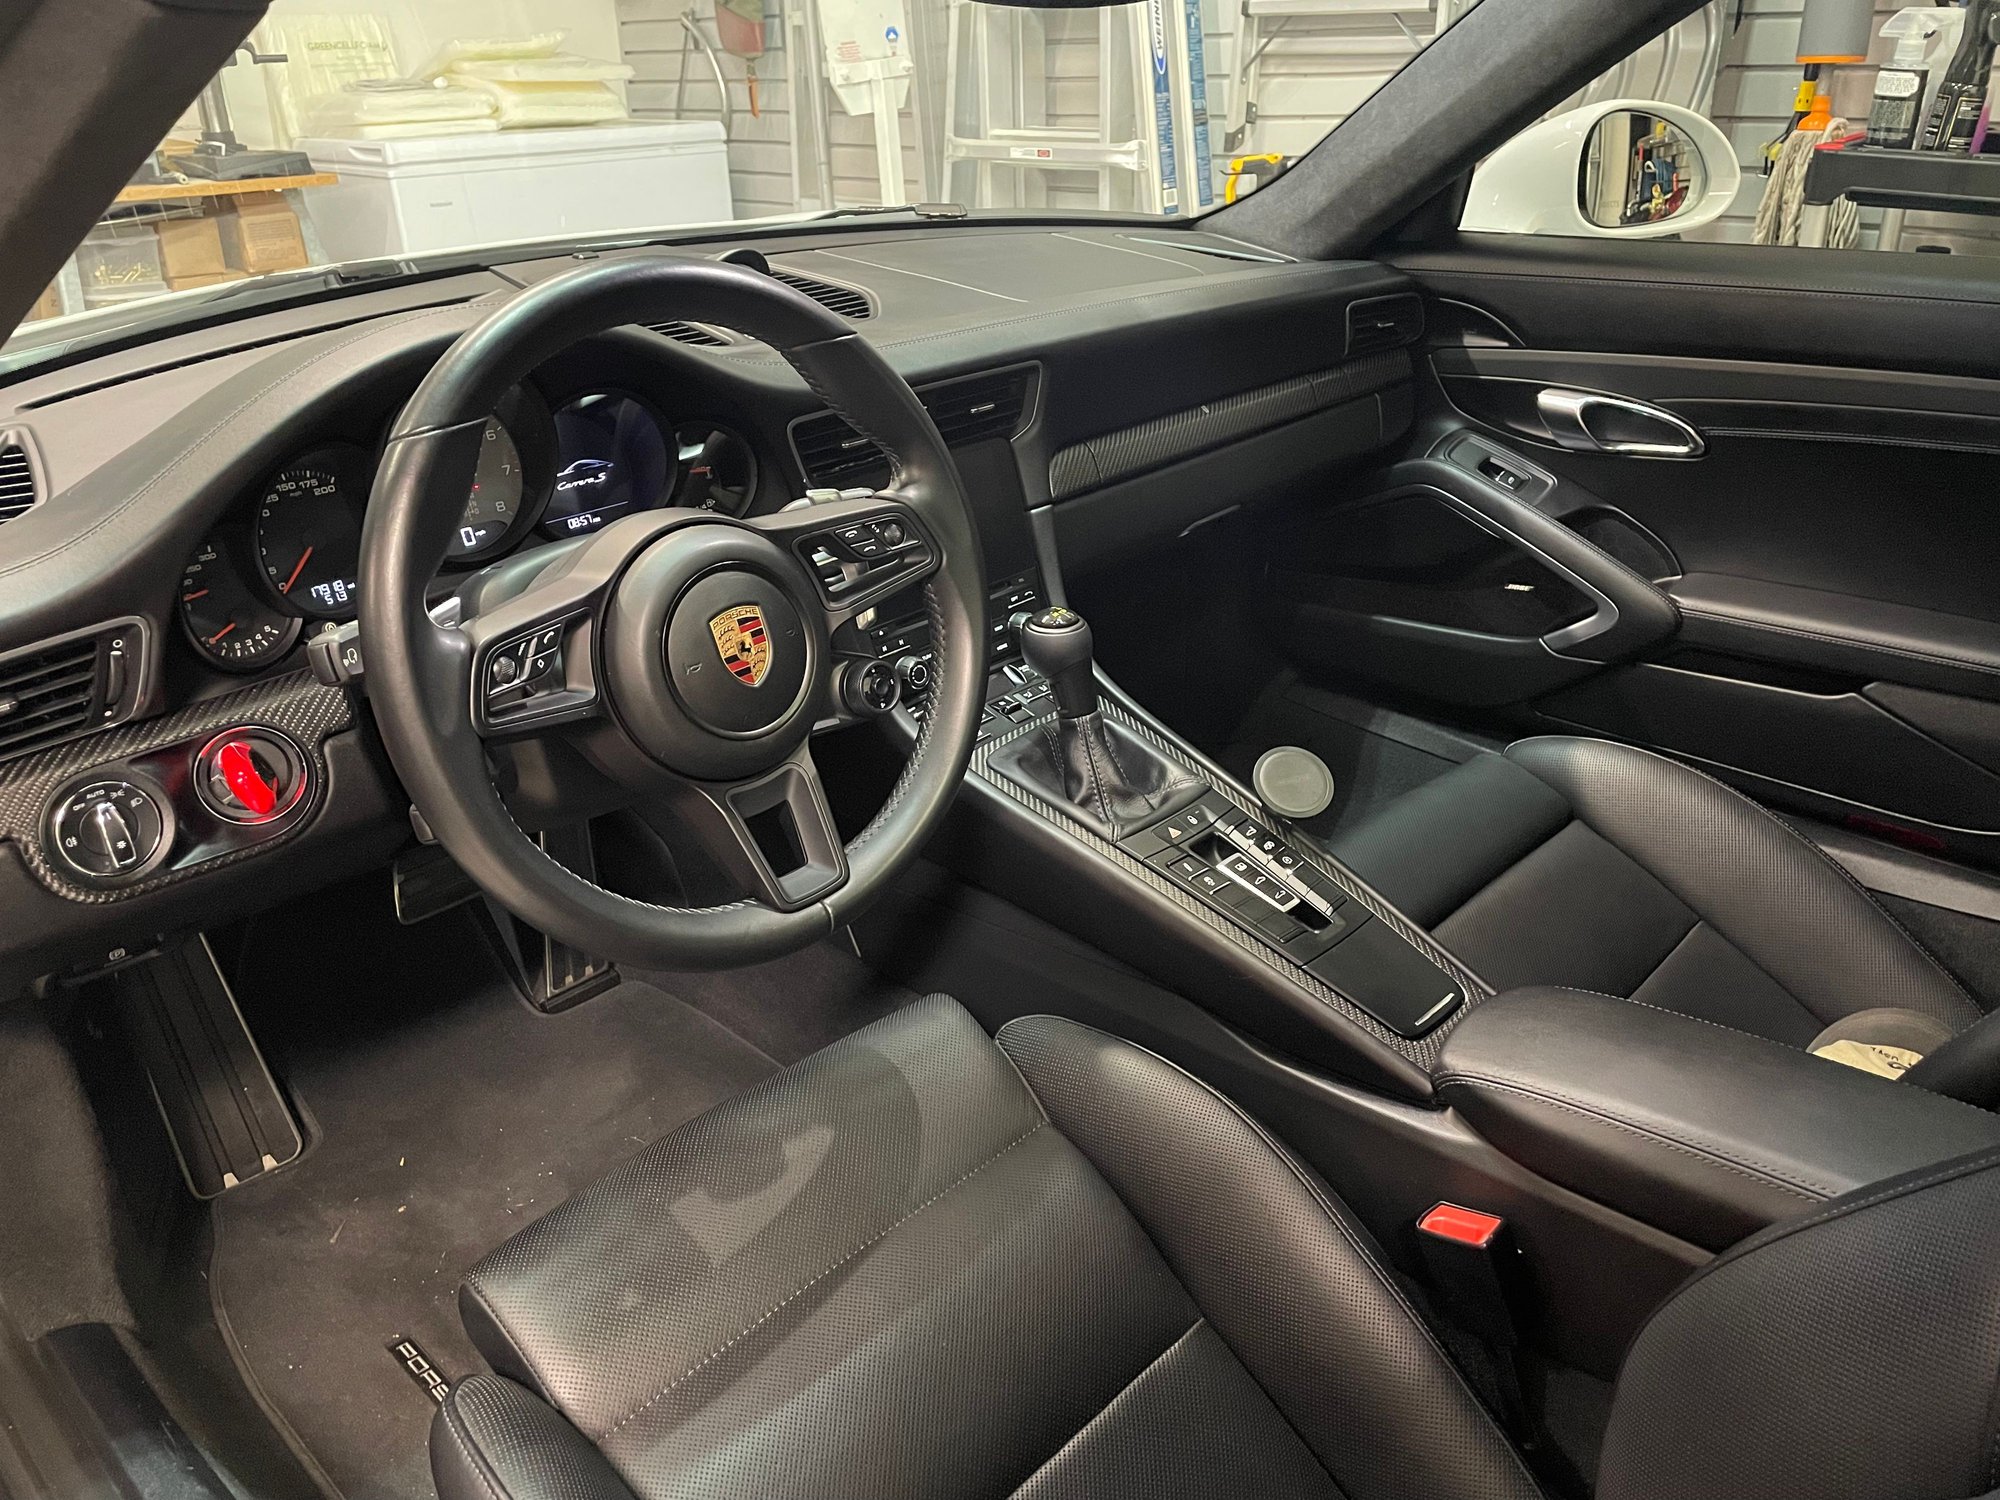
I did a simpler upgrade to my interior, but happy with how it came out. I basically removed as much of the (hated) plastic silver trim as possible, replacing it with flat carbon oem trim pieces or flat black plastic trim on the steering wheel, with flat black ppf over the door panel blades. And a GT3 PDK shifter. Very happy with the results. The fabric seat inserts would be a nice next step!


 03-30-2021, 10:54 PM