When you click on links to various merchants on this site and make a purchase, this can result in this site earning a commission. Affiliate programs and affiliations include, but are not limited to, the eBay Partner Network.
Okay its on this weekend, I wasn't planning to but plans changed.
Car is up on quick jack and both heat shields are already out.
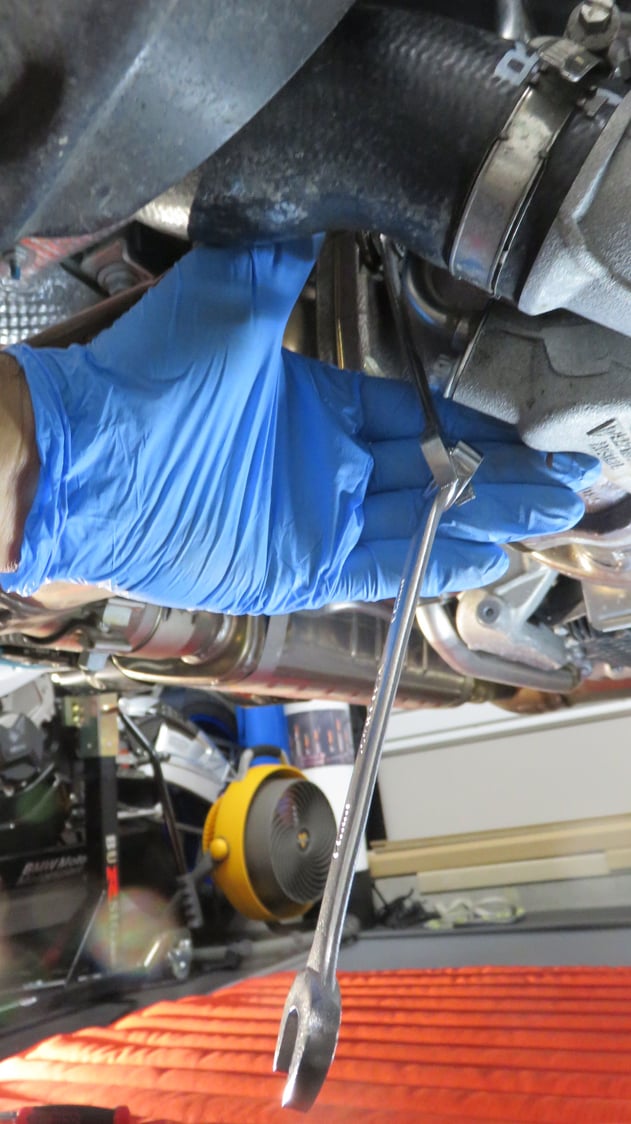
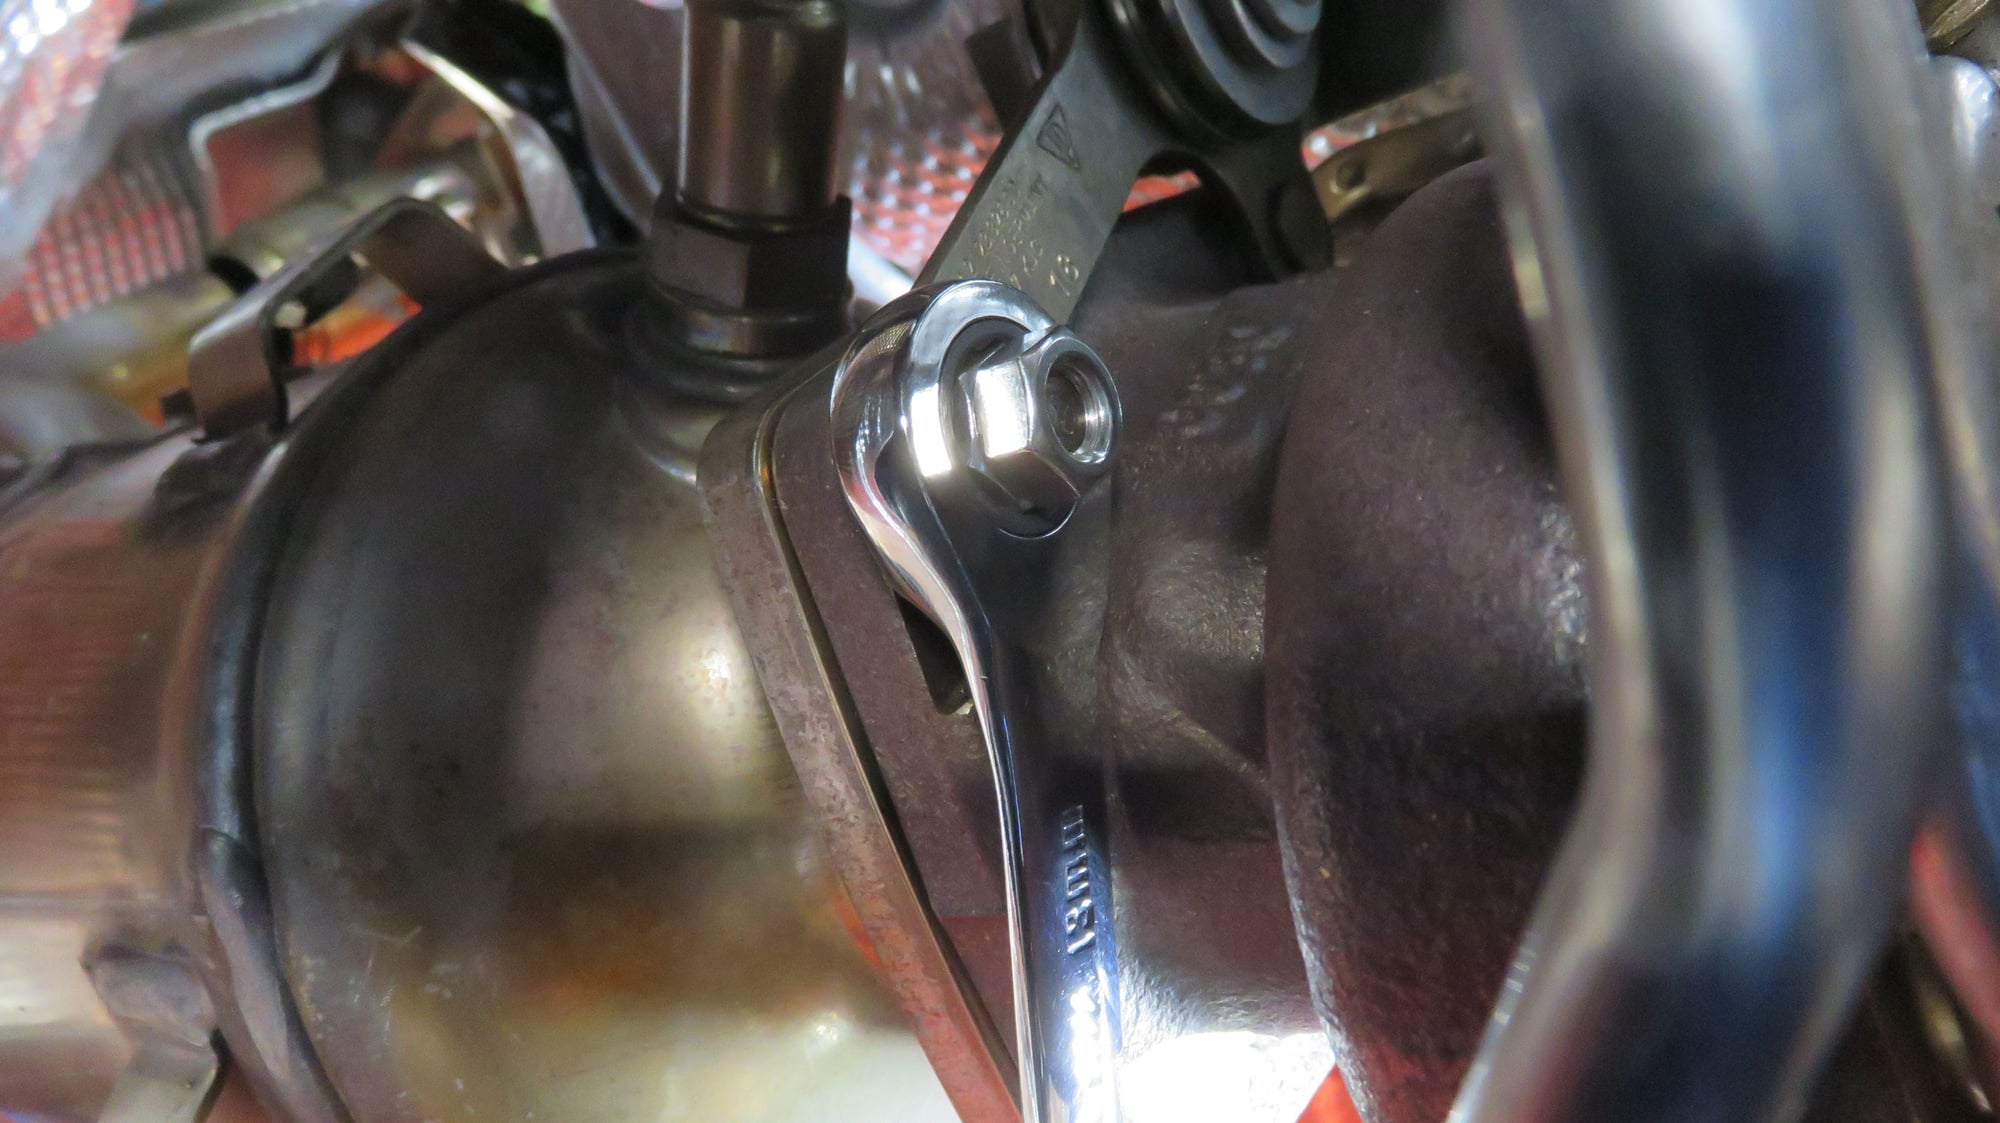
Having every possible tool helps. the screws are tight and you will need leverage for the top one. a 84Tooth wrench helped as well as the stubby one, all 1/4"
I will add pictures as soon as the phone cooperates, If anyone has questions this would be the time to ask.
You really don't need instructions for this. but taking both wheels out first helps with getting the heatshields out easily. The good thing is that both is identical so once you do one side the other becomes much easier.
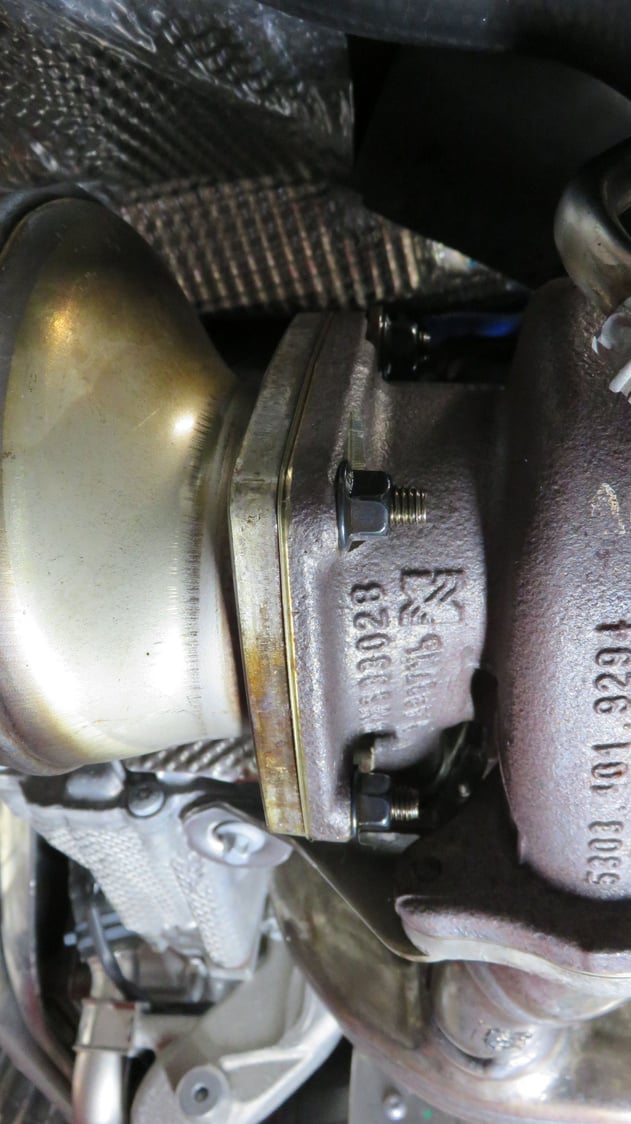
The plan is to loosen the exhaust and take the cats out first. I can already easily feel all four bolts between the cat and turbos.
The nuts are tight, I have to check on the torque for these.
Anyone know the torque for the Turbo to Header/Cat bolts.
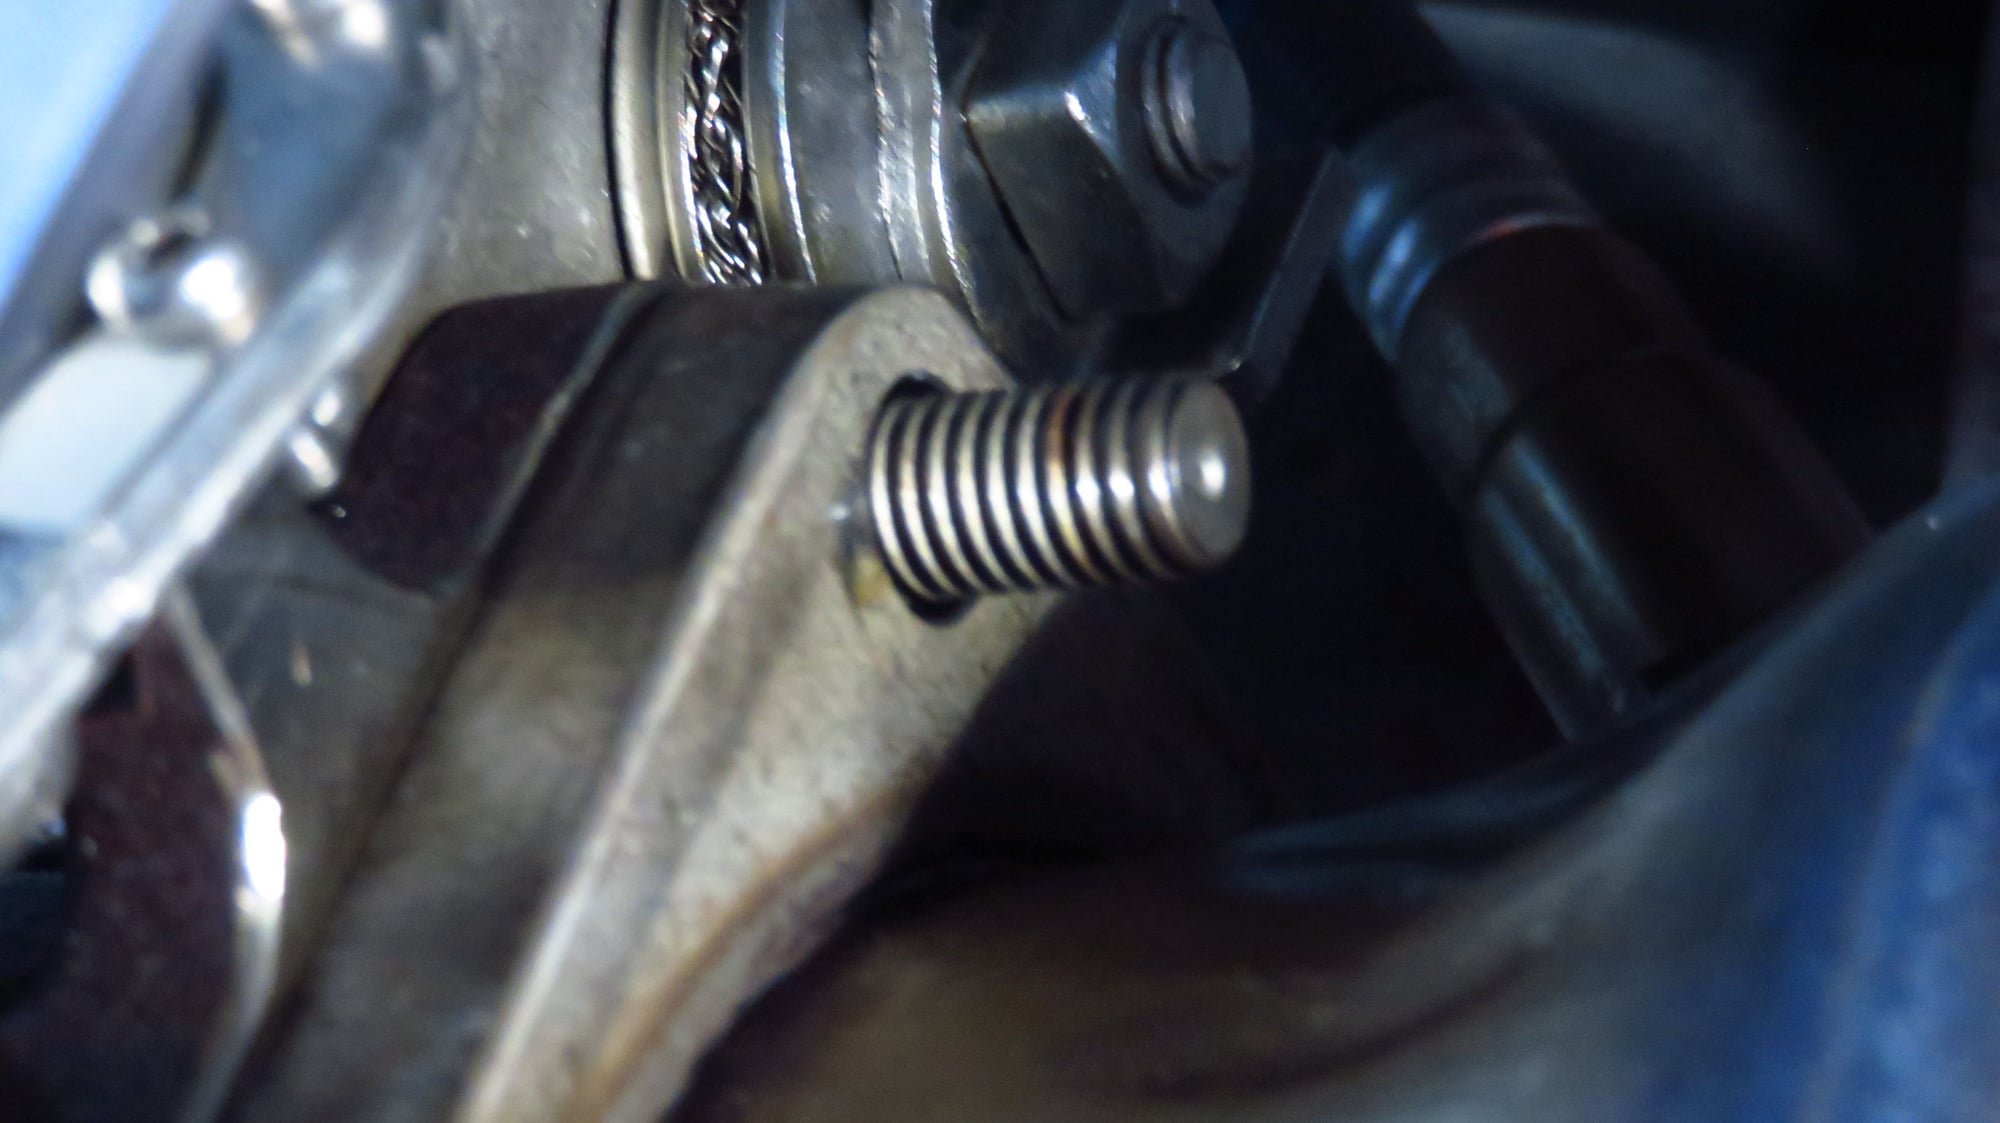
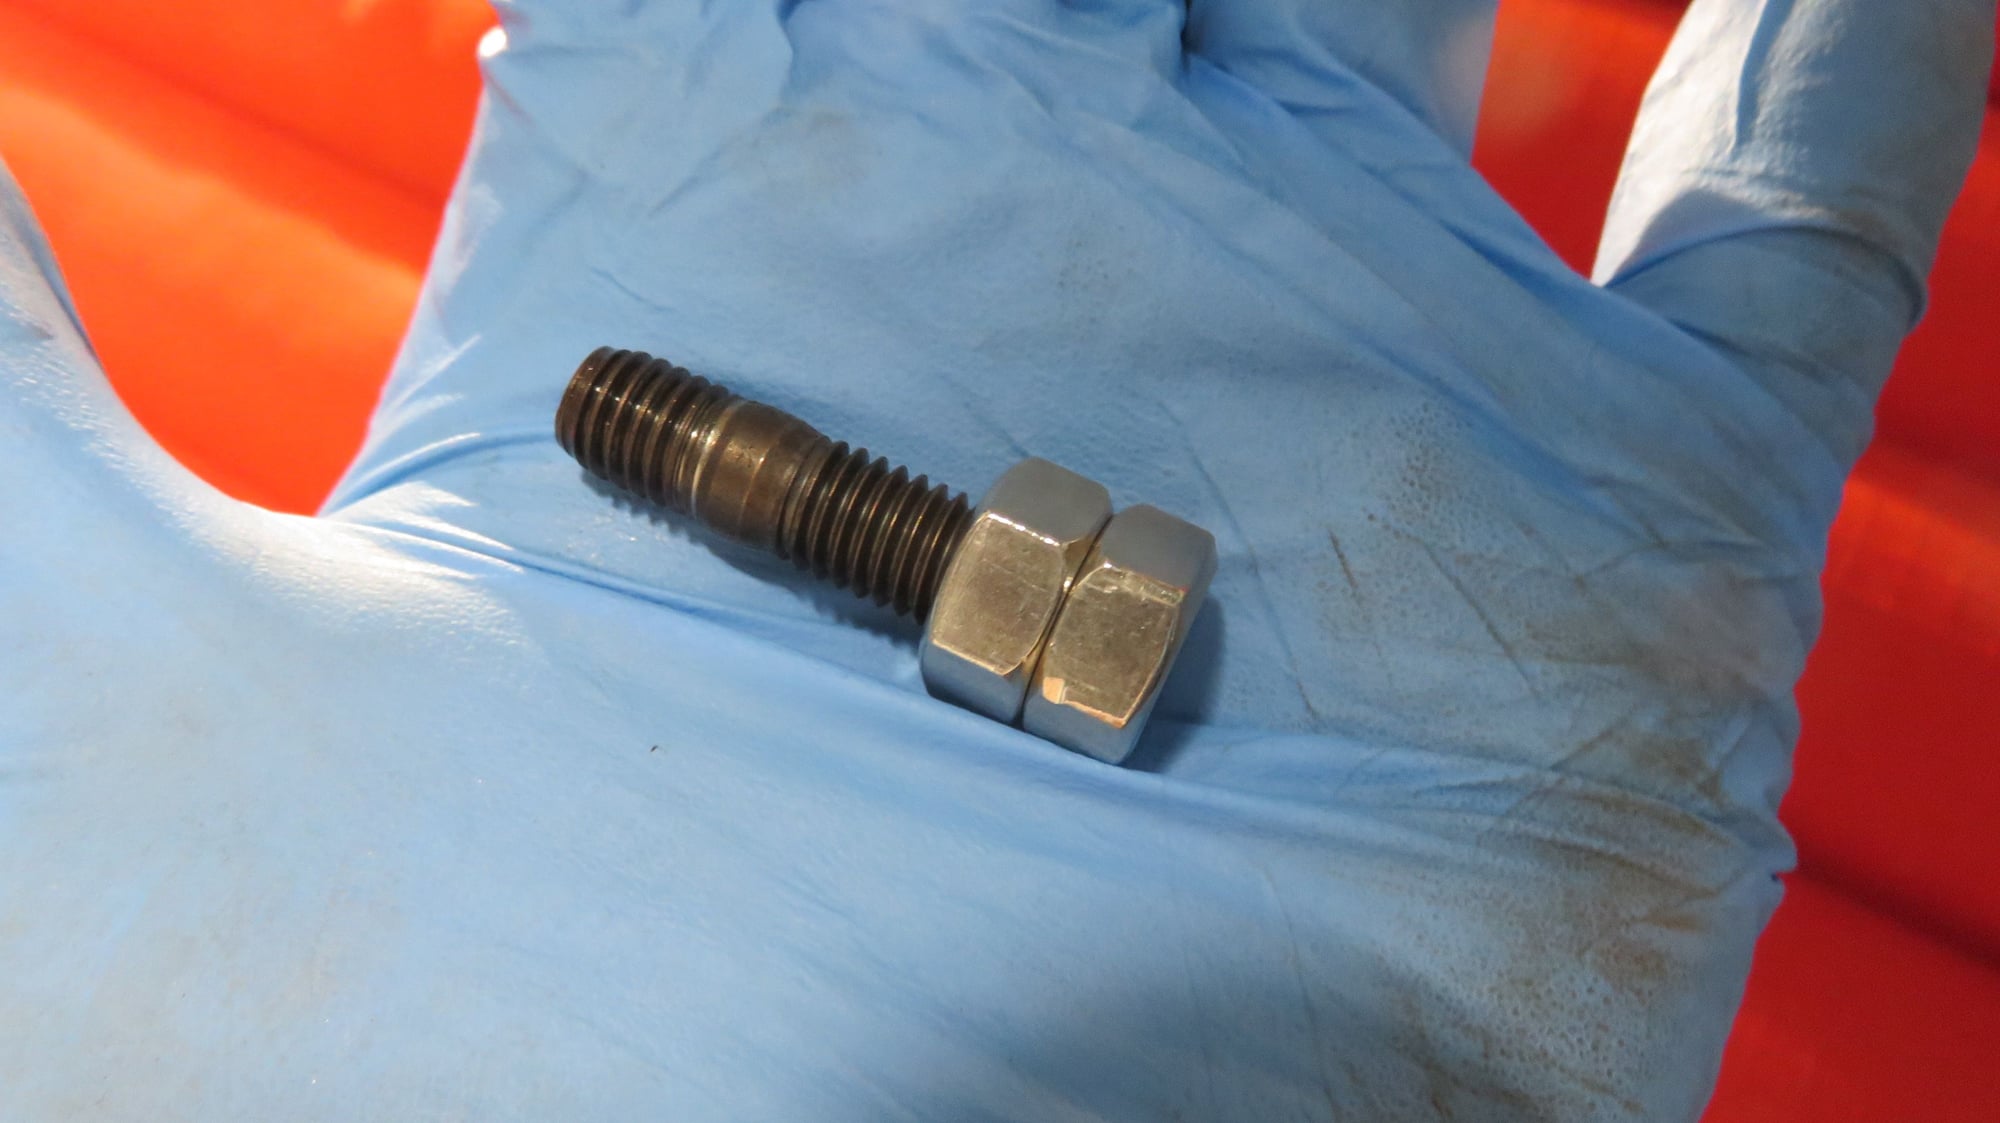
It would be easy to break a stud so be careful, I soaked them with PB blaster and will let it be over night. I can't start taking them out until tomorrow afternoon anyway. McMaster has promised to have 12mm width M8x1.25 nuts delivered by Noon.
you need 12mm/13mm to get the studs out by double nut method. I was lazy in ordering these, I did not find any 12xM8 at lowes, only 13mmxM8
I asked this in another thread but if anyone is wondering the thread is M8x1.25 (Coarse) on the studs
I'll keep adding notes and tips as I go along.
I will weigh everything tomorrow as well. I think I will be adding weight overall.
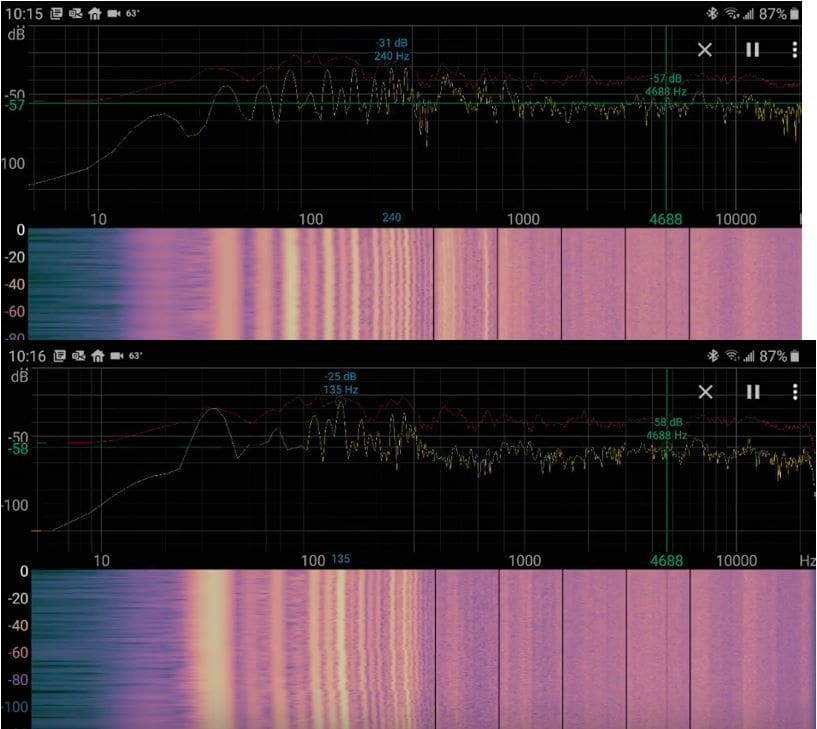
This is going from normal mode with the valve closed to valve open. It gets MUCH louder and you can see/hear the exhaust pulses more distinctly.
This is normal mode with the cold start high idle and then settling down to warm idle I think in normal mode with the valve open. Notice the big fat noise band around about 50hz as the idle speed came down. It got quieter above around 200hz too.
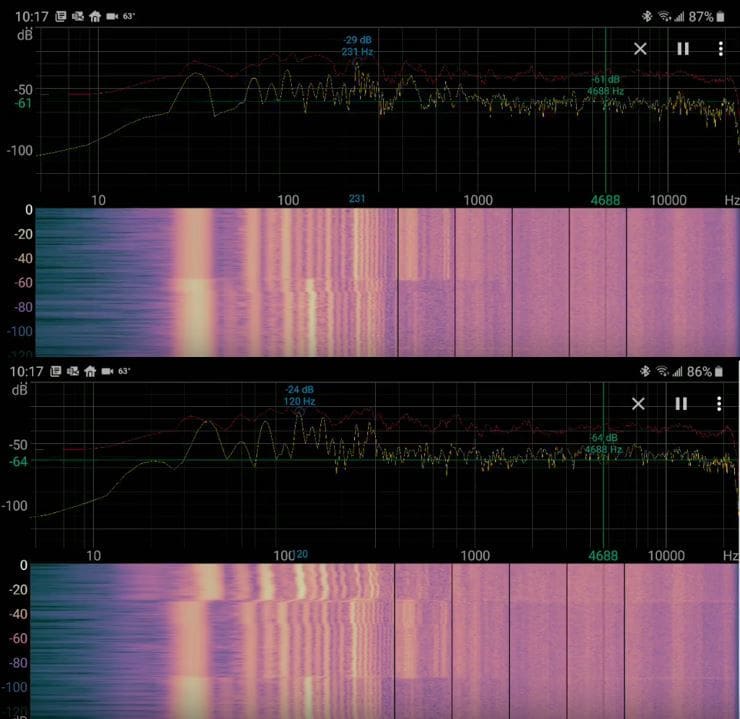
The upper one is sport mode, going from valve open to valve closed. You can see how it gets quieter below ~250hz but a bit louder from 250hz-1000hz. The bottom one shows the transition to sport plus mode with the valve open. It seems it bumped up the idle speed some and also made the exhaust pulses a bit more distinct.
Notice how there's like a dozen bands below 250hz or so. My hypothesis is due to the stock headers design where the flows run into each other, it creates all these resonances. With the Vektor headers, it should create fewer and much more distinct pulses.
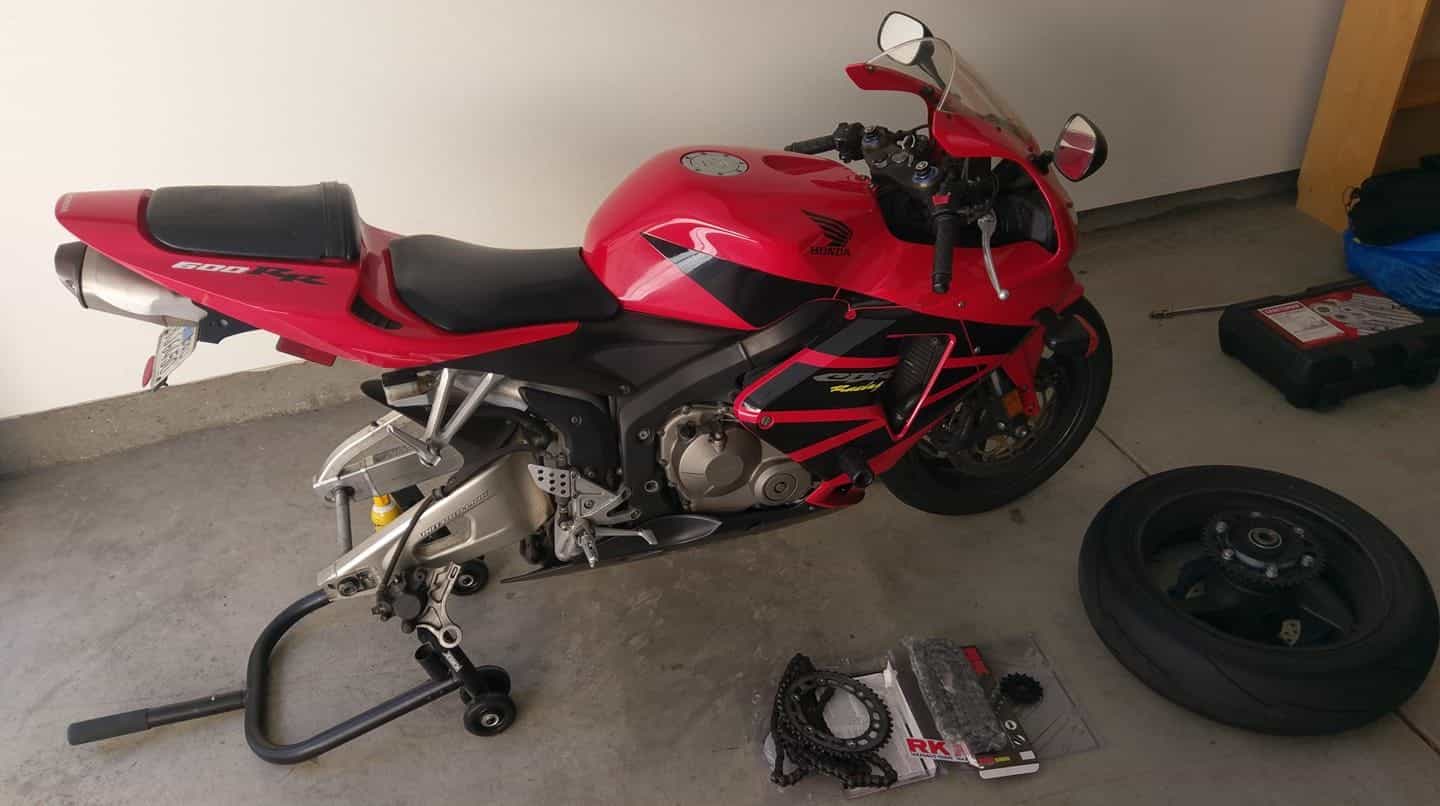
Very nice garage and tool setup. This is what I'm in the middle of wrenching on. Original chain finally reached end of life. Going down a tooth on the front sprocket and going with 520 size chain and sprockets vs. stock wider and heavier 530 size.
Nice! The 600rr feels slow on the track, but fast enough for the street. One tooth down on the front will have to do. The damn thing cranks up every time, so no excuse to upgrade.
Miata looks great! I have a few friends racing spec and super miata out here. A couple others that are national level solo II guys. Been a looooooong time since I've done competitive autox.
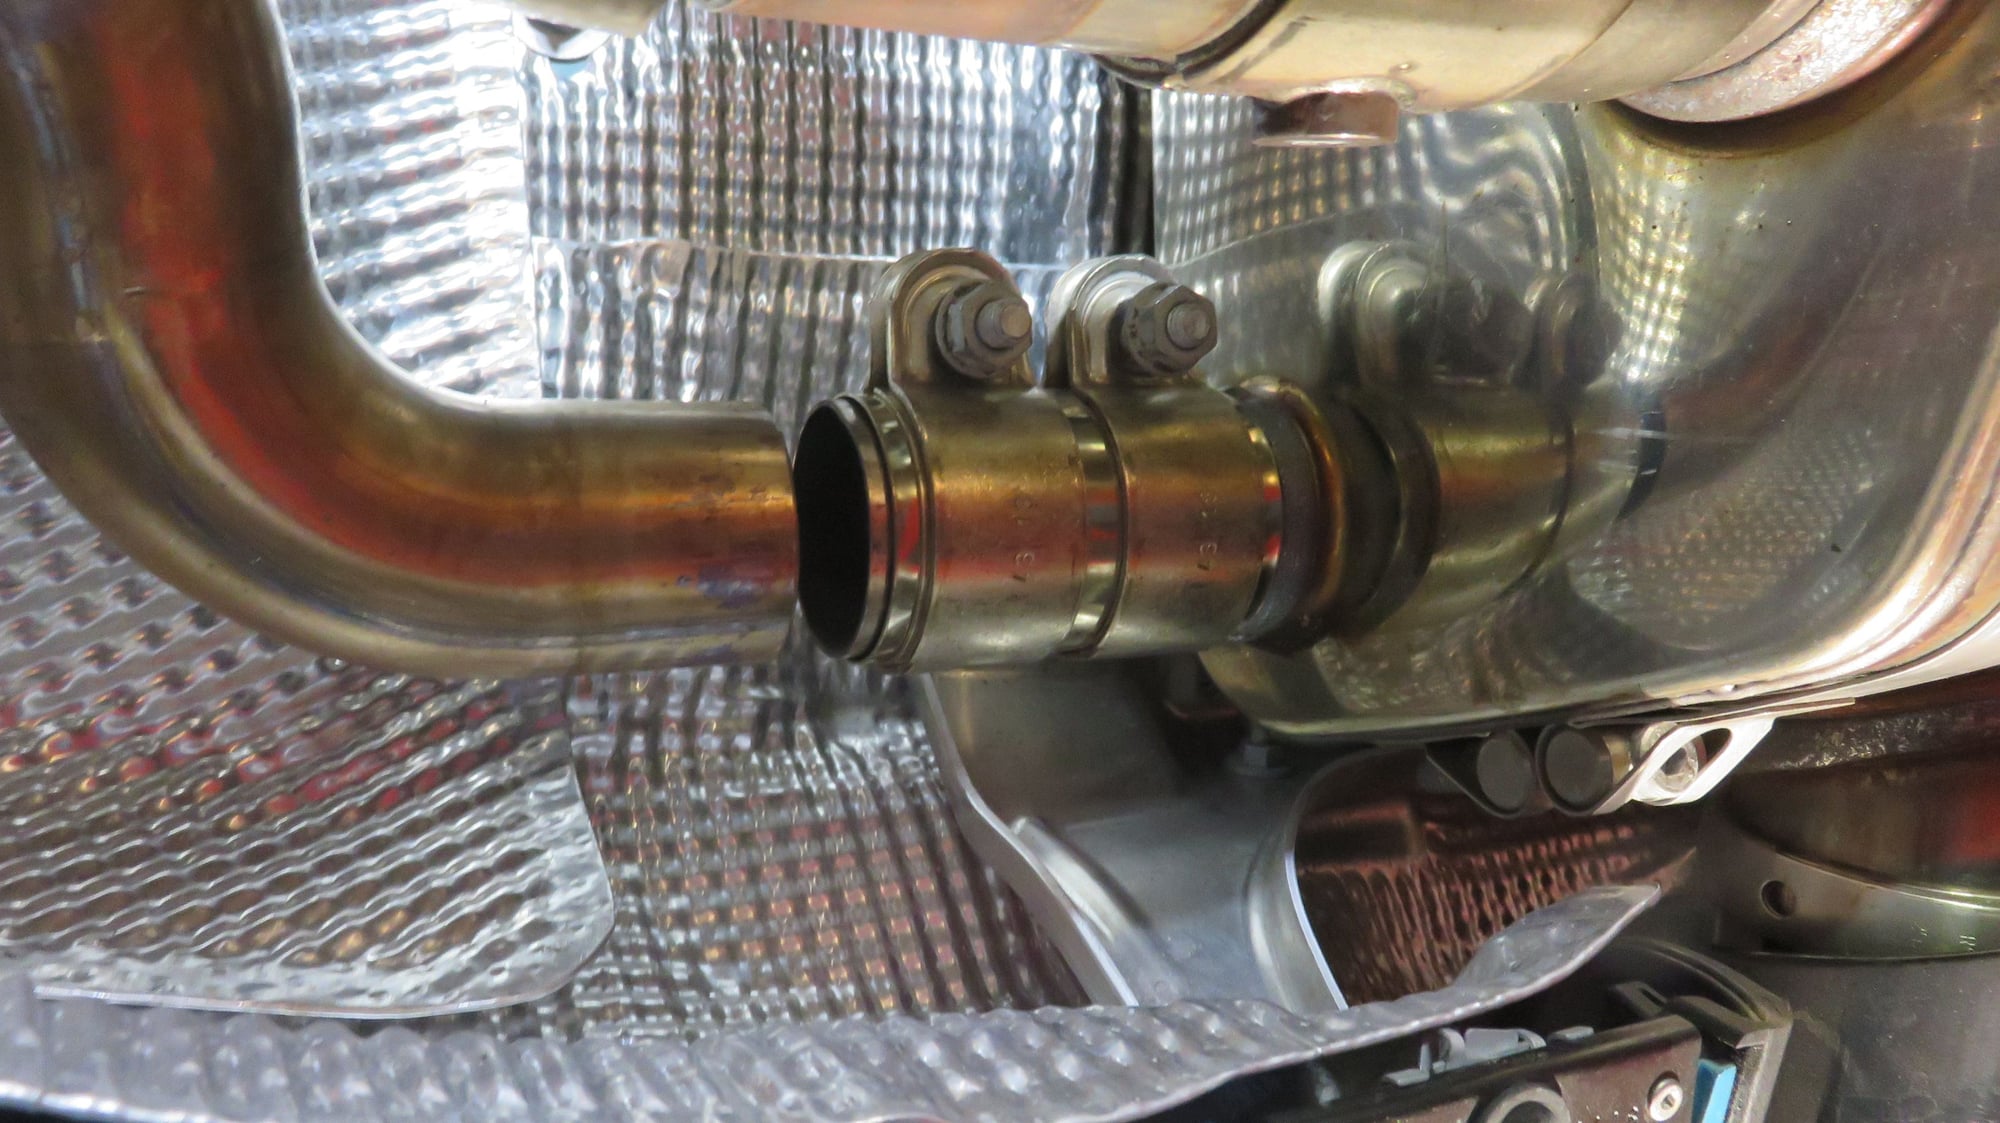
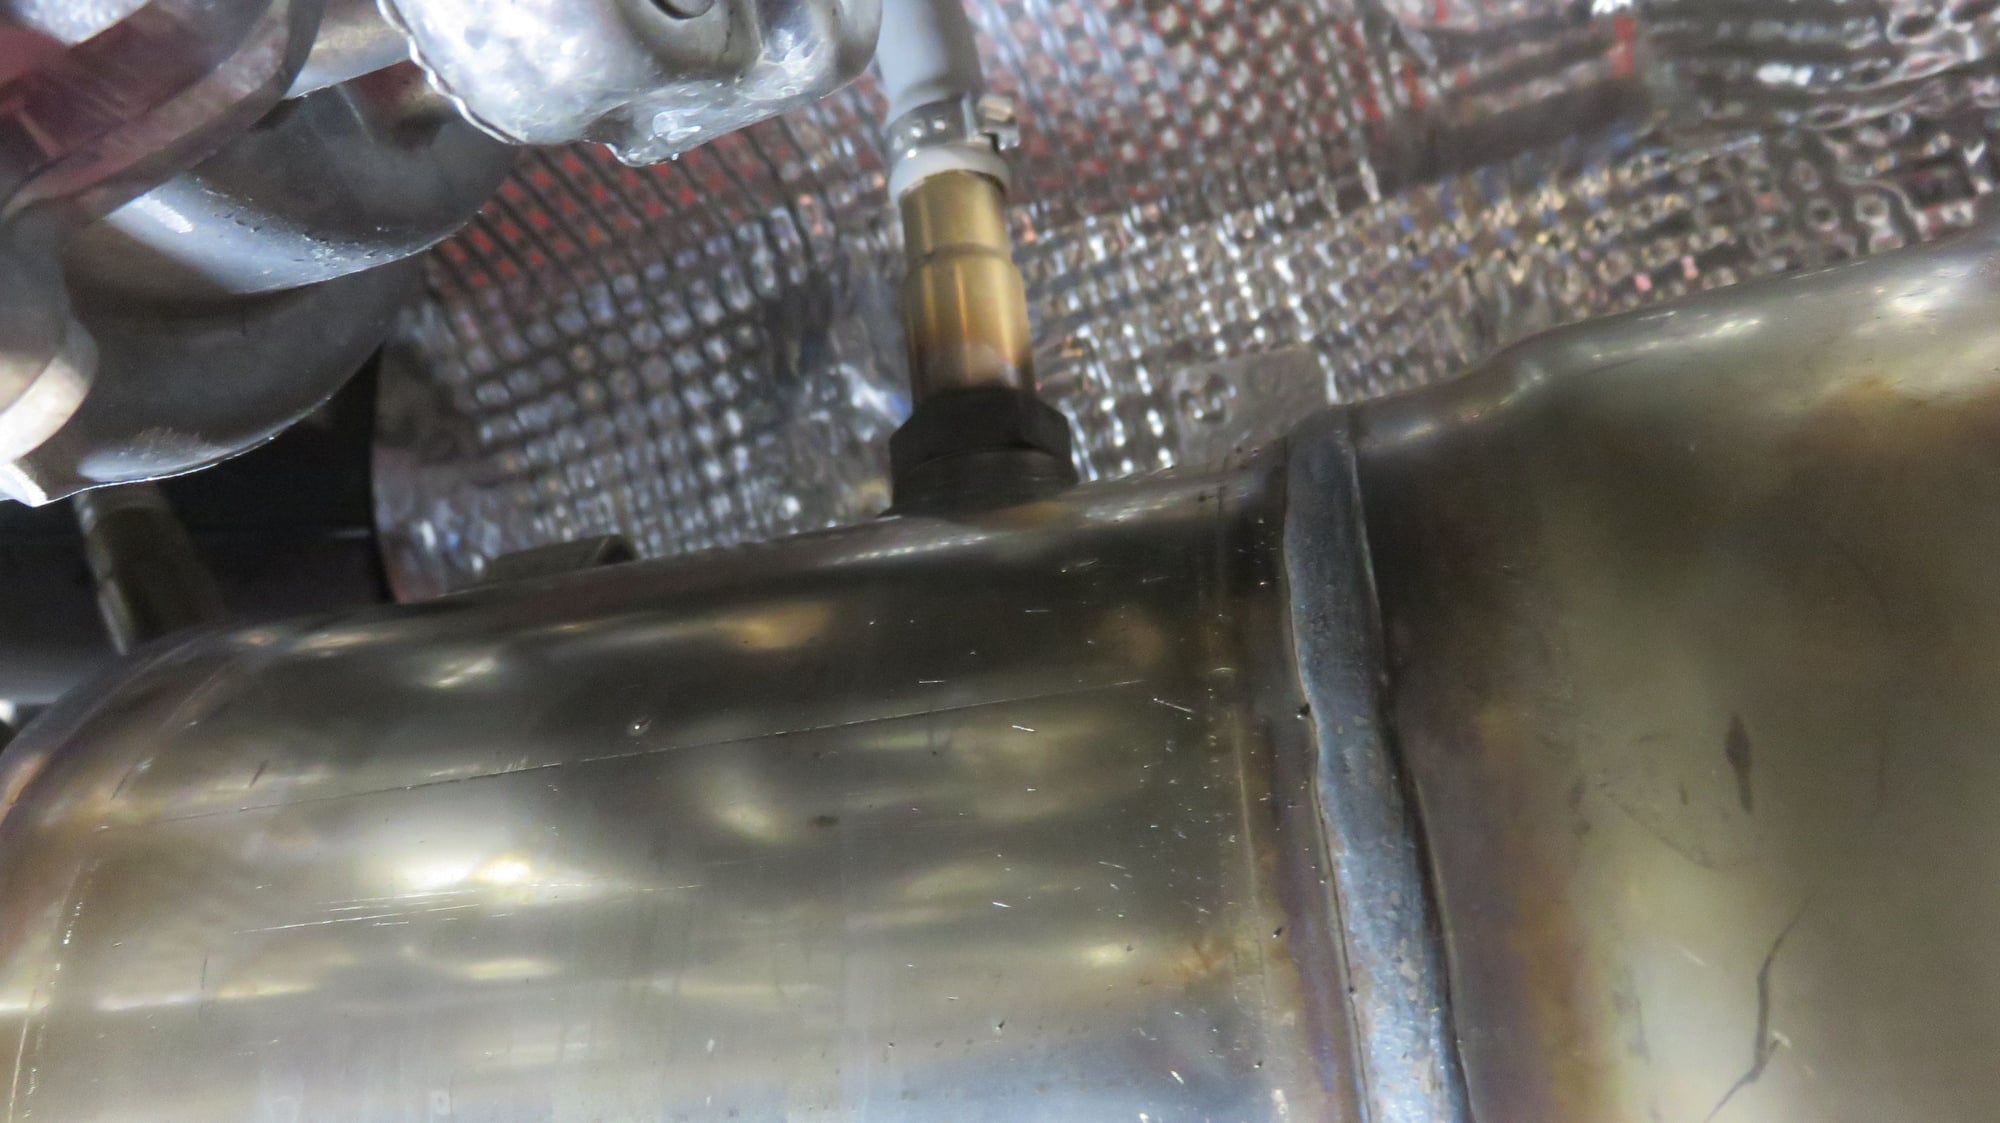
everything is out less than 3 hrs. I ended up dropping the exhaust, which is very light. It made it easy to get the second O2 out easily.
no issues, no head scratchers etc. I was well prepared. I did take my time with show and tell for the wife and had figuring out the extensive combination of tools to work in the tight spaces. The stock cats weigh in about 7.5lbs each, the replacement sport cats from cargraphics weigh the same.
the stock headers also weigh in at 7.5lbs each. The vektor headers weigh I at about 5lbs each. I was expecting to gain weight but lost a bit.
my digital scale doesnt work without a human on it so I used the analog, close enough.
i will add more tips etc. and tons of pictures I am taking.
it will take me about the same time or less to put it all back, as I can help my self with cleaning every inch I lay my eyes on.
i will not put stainless steel bolts on but high strength steel bolts with anti seize. The studs had a lot on from factory.
vektor sent me new seals which I’ll use, no hardware came with cats, don’t need it either I have the bolts I want to use.
i can finish it up right now, but I rather enjoy the weather and smoke a cigar. I’ll finish it up tonight or tomorrow.
easy project.
oh and I am tempted to install the Sharkwerks too but it would be too loud, the PSE as some nice baffles built in it, I’ll take pictures
everything is out less than 3 hrs. I ended up dropping the exhaust, which is very light. It made it easy to get the second O2 out easily.
no issues, no head scratchers etc. I was well prepared. I did take my time with show and tell for the wife and had figuring out the extensive combination of tools to work in the tight spaces. The stock cats weigh in about 7.5lbs each, the replacement sport cats from cargraphics weigh the same.
the stock headers also weigh in at 7.5lbs each. The vektor headers weigh I at about 5lbs each. I was expecting to gain weight but lost a bit.
my digital scale doesnt work without a human on it so I used the analog, close enough.
i will add more tips etc. and tons of pictures I am taking.
it will take me about the same time or less to put it all back, as I can help my self with cleaning every inch I lay my eyes on.
i will not put stainless steel bolts on but high strength steel bolts with anti seize. The studs had a lot on from factory.
vektor sent me new seals which I�ll use, no hardware came with cats, don�t need it either I have the bolts I want to use.
i can finish it up right now, but I rather enjoy the weather and smoke a cigar. I�ll finish it up tonight or tomorrow.
easy project.
oh and I am tempted to install the Sharkwerks too but it would be too loud, the PSE as some nice baffles built in it, I�ll take pictures
stay tuned
I will be getting my Sharkwerks exhaust next week but likely won't be able to install until Saturday unfortunately. Hopefully it won't take more than 2 hours to get the stock muffler out as I should have every tool needed. I know you backed off this piece but I am curious to test it out and measure the sound difference vs stock PSE.
Easiest way is to drop the cats and muffler together.
so I couldn’t wait till tomorrow and installed the headers tonight, it went smoothly.
i will be posting pictures, lot of them. Which will give future explorers idea of the tools I used and everything else.
the headers come with new gaskets and two allen bolt and two nuts, all are different. I only used the smaller bolt on the driver side, there is one header to turbo area where you should use stock stub ot this small screw, no room for anything else, you’ll see it in the pictures, its a blue screw.
on the driver side clearance is tight and thats where having a 1/4’ swivel attachment pays for it self, still there is one stud you cannot get to due to the header design. The headers come with a nut that fits there. The other nut and bolt I did not use as I used my own.
Tomorrow fresh I will finish it up, I will post videos of sound, dB readings and spectrum analysis as well.
Its all done, no issues. Just take your time and put things in reverse.
A tip on heat shields- start from the back difficult screw and don't' tighten any one until all are in. I will start posting pictures in order of the install. Sorry I didn't have time to post commentary with pictures but feel free to ask me any questions about the install.
I haven't had a chance to start it up yet. I won't tonight, its pouring outside and I don't want to open the garage door. but I will make video of first install with the dB meter set same as before.


 06-13-2019, 04:51 PM