When you click on links to various merchants on this site and make a purchase, this can result in this site earning a commission. Affiliate programs and affiliations include, but are not limited to, the eBay Partner Network.
Just read through the whole thread. Enjoyed the build! Good luck with the future projects and that fun 993. I am particularly jealous of your garage space.
Thanks! It's come a long way since the day I started this thread. Whenever they allow home construction to resume in NJ, I'll have an update to share there as well.
Still looking for an answer to the question above.
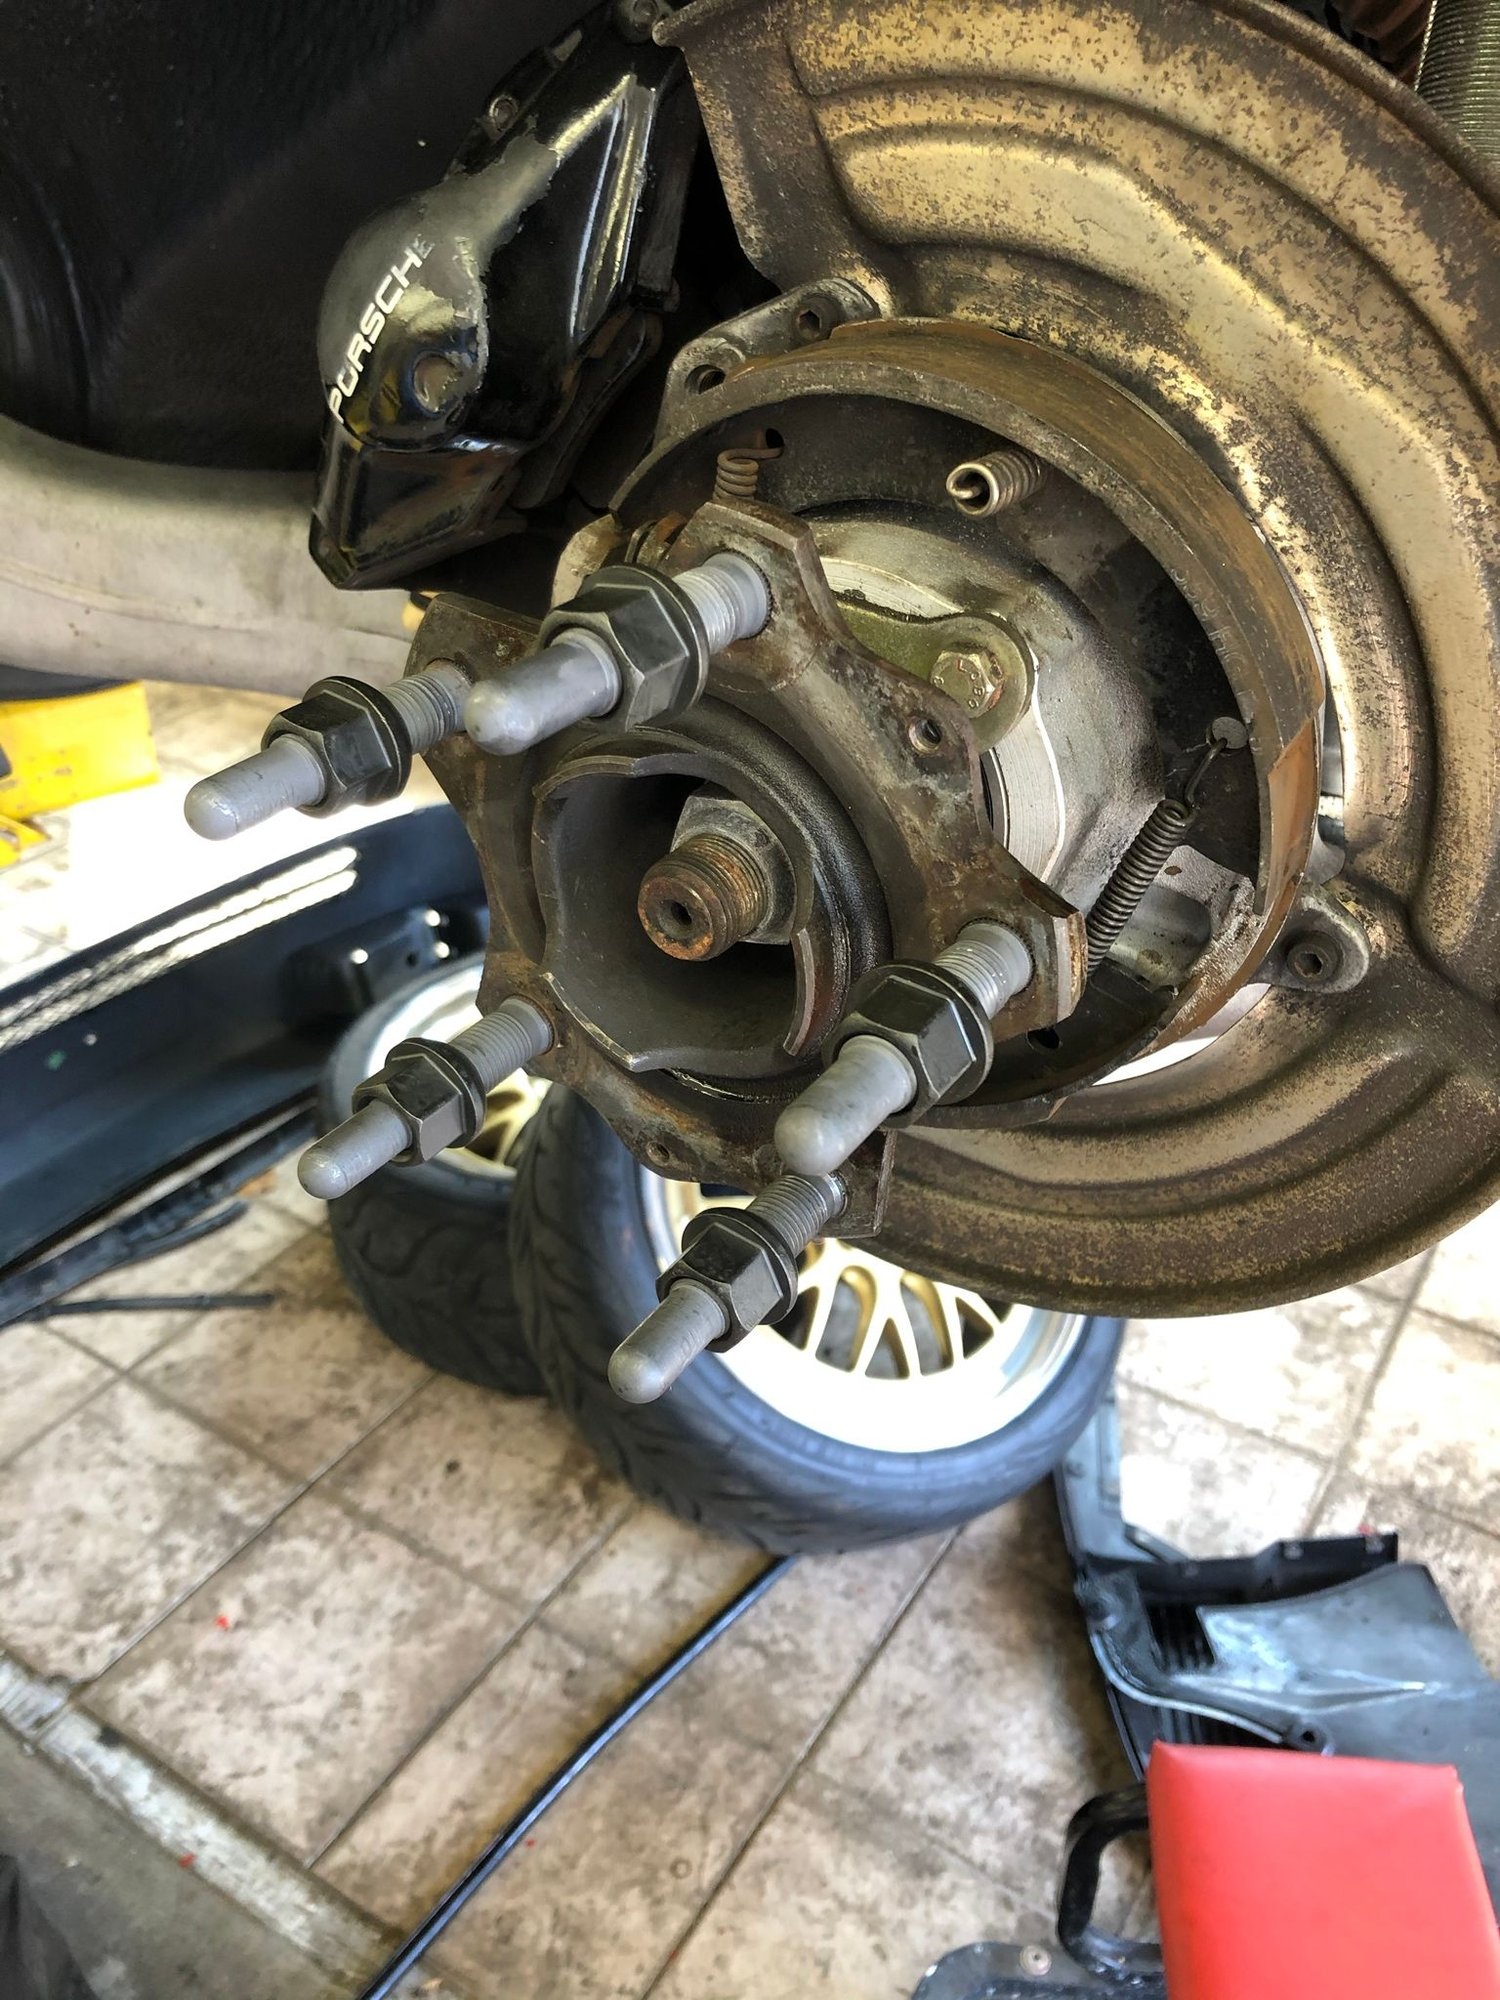
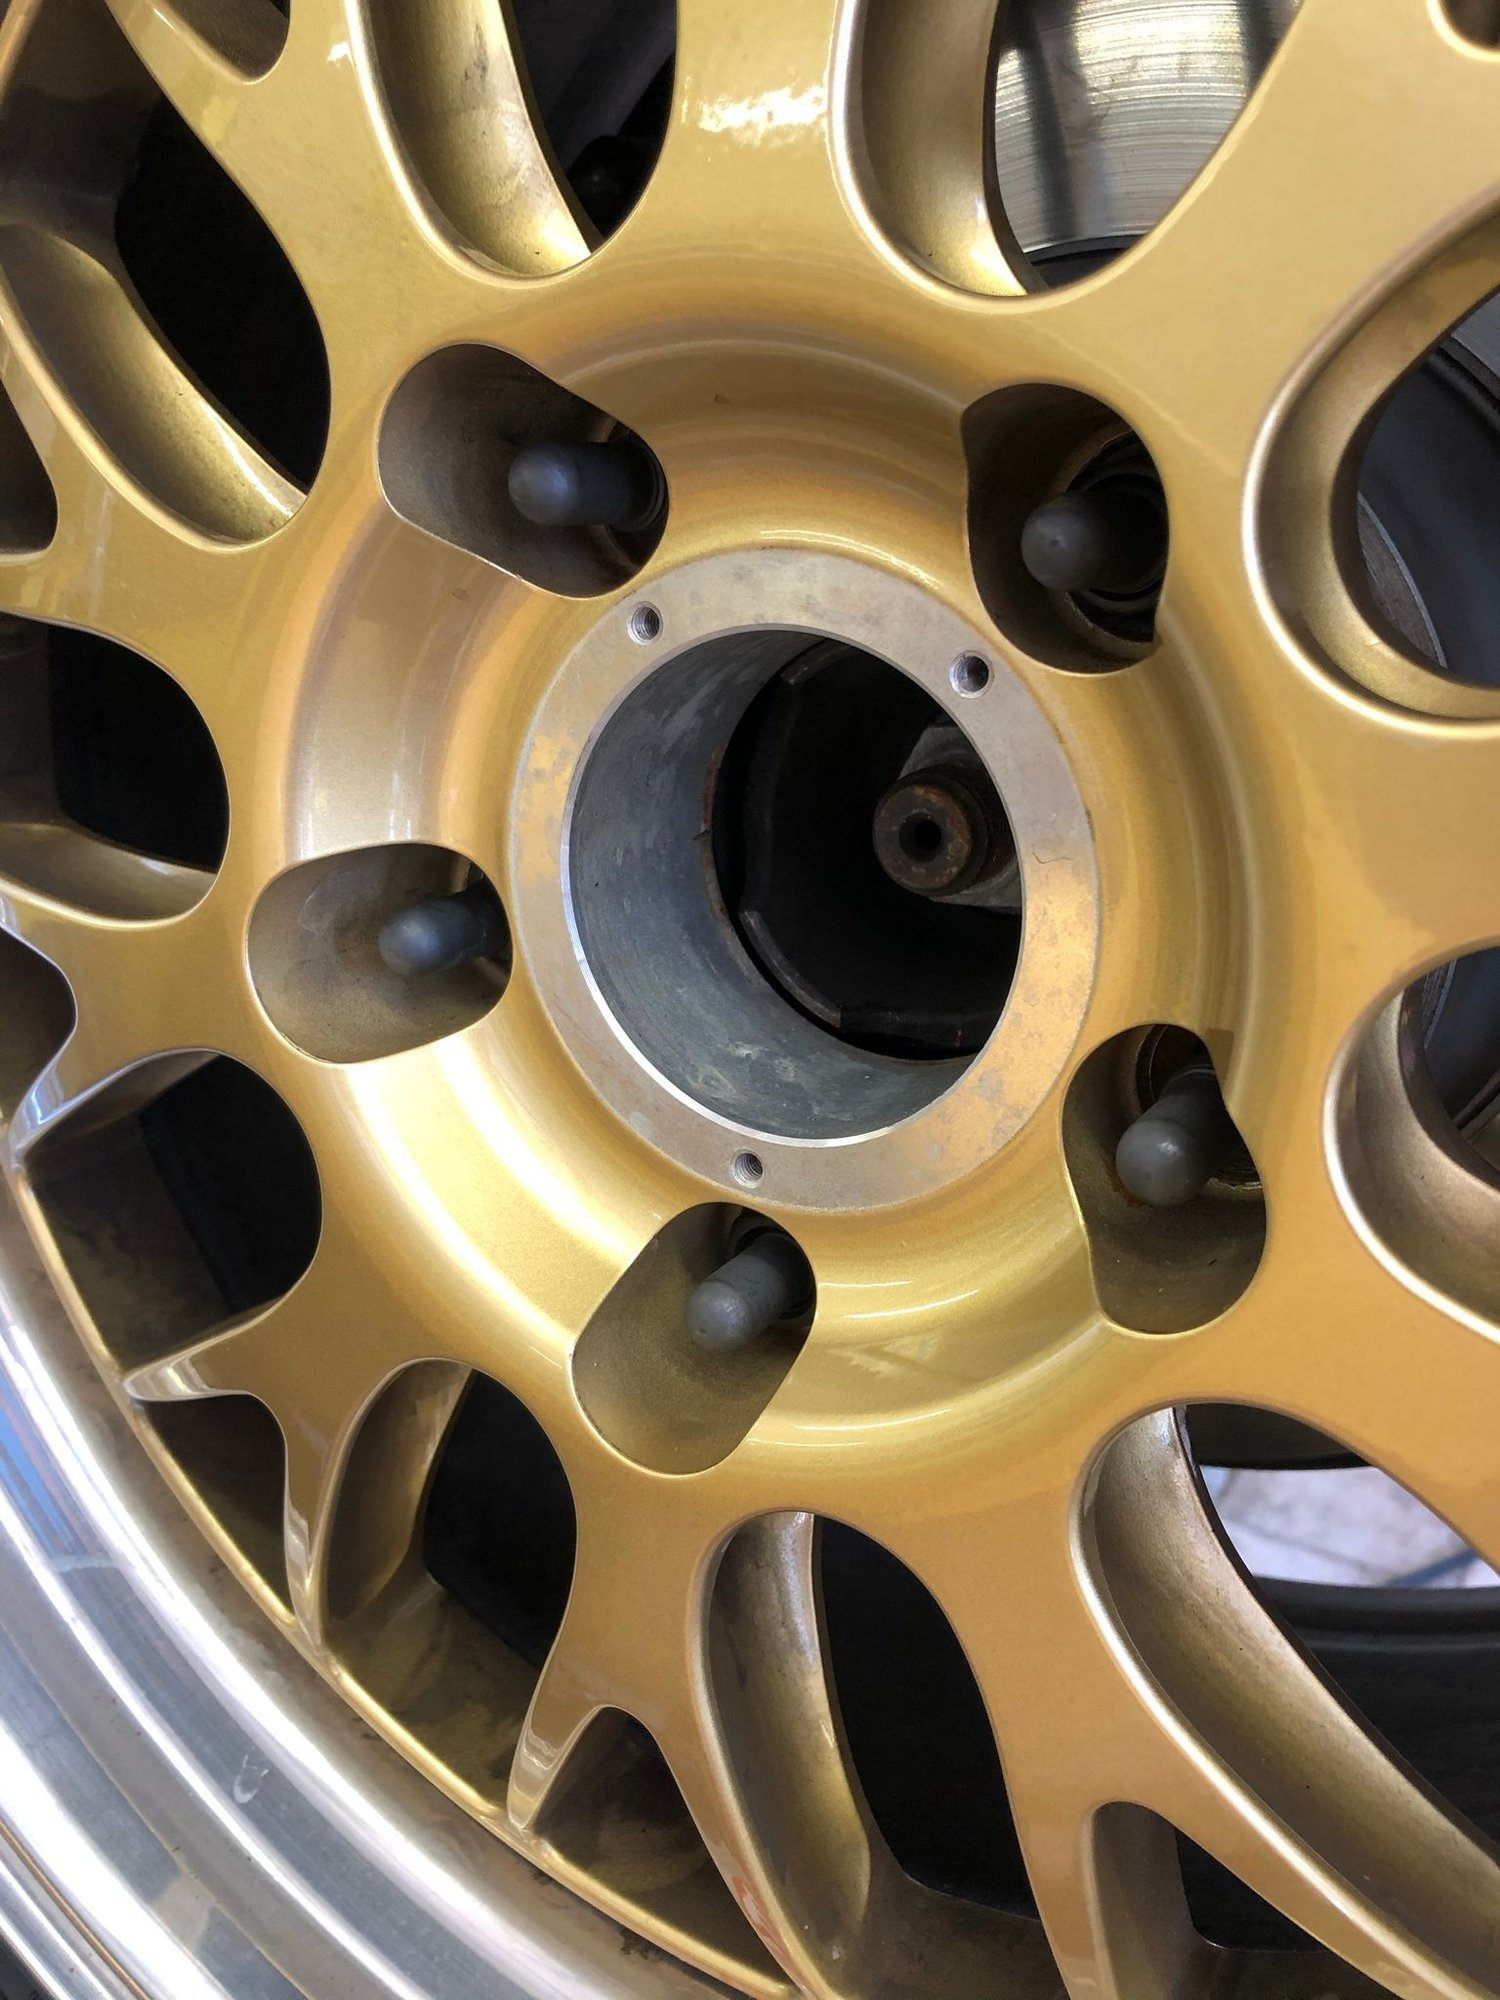
Today, I installed the rear lugs. Blatantly stole Spyrex's specs from his thread for MSI studs as we have the same spec E88s. Thanks! I highly recommend MSI to anyone considering a stud upgrade. Great quality, great service, and less expensive than a lot of other offerings in the category. One thing worth noting, they DO sell nuts in black (pictured) even though only pink and yellow are listed on the site.
For these 52mm lugs, I only had to remove the rear ebrake adjuster to slide them in. Kept them in the freezer overnight, which honestly didnt help much for install, but they are done.
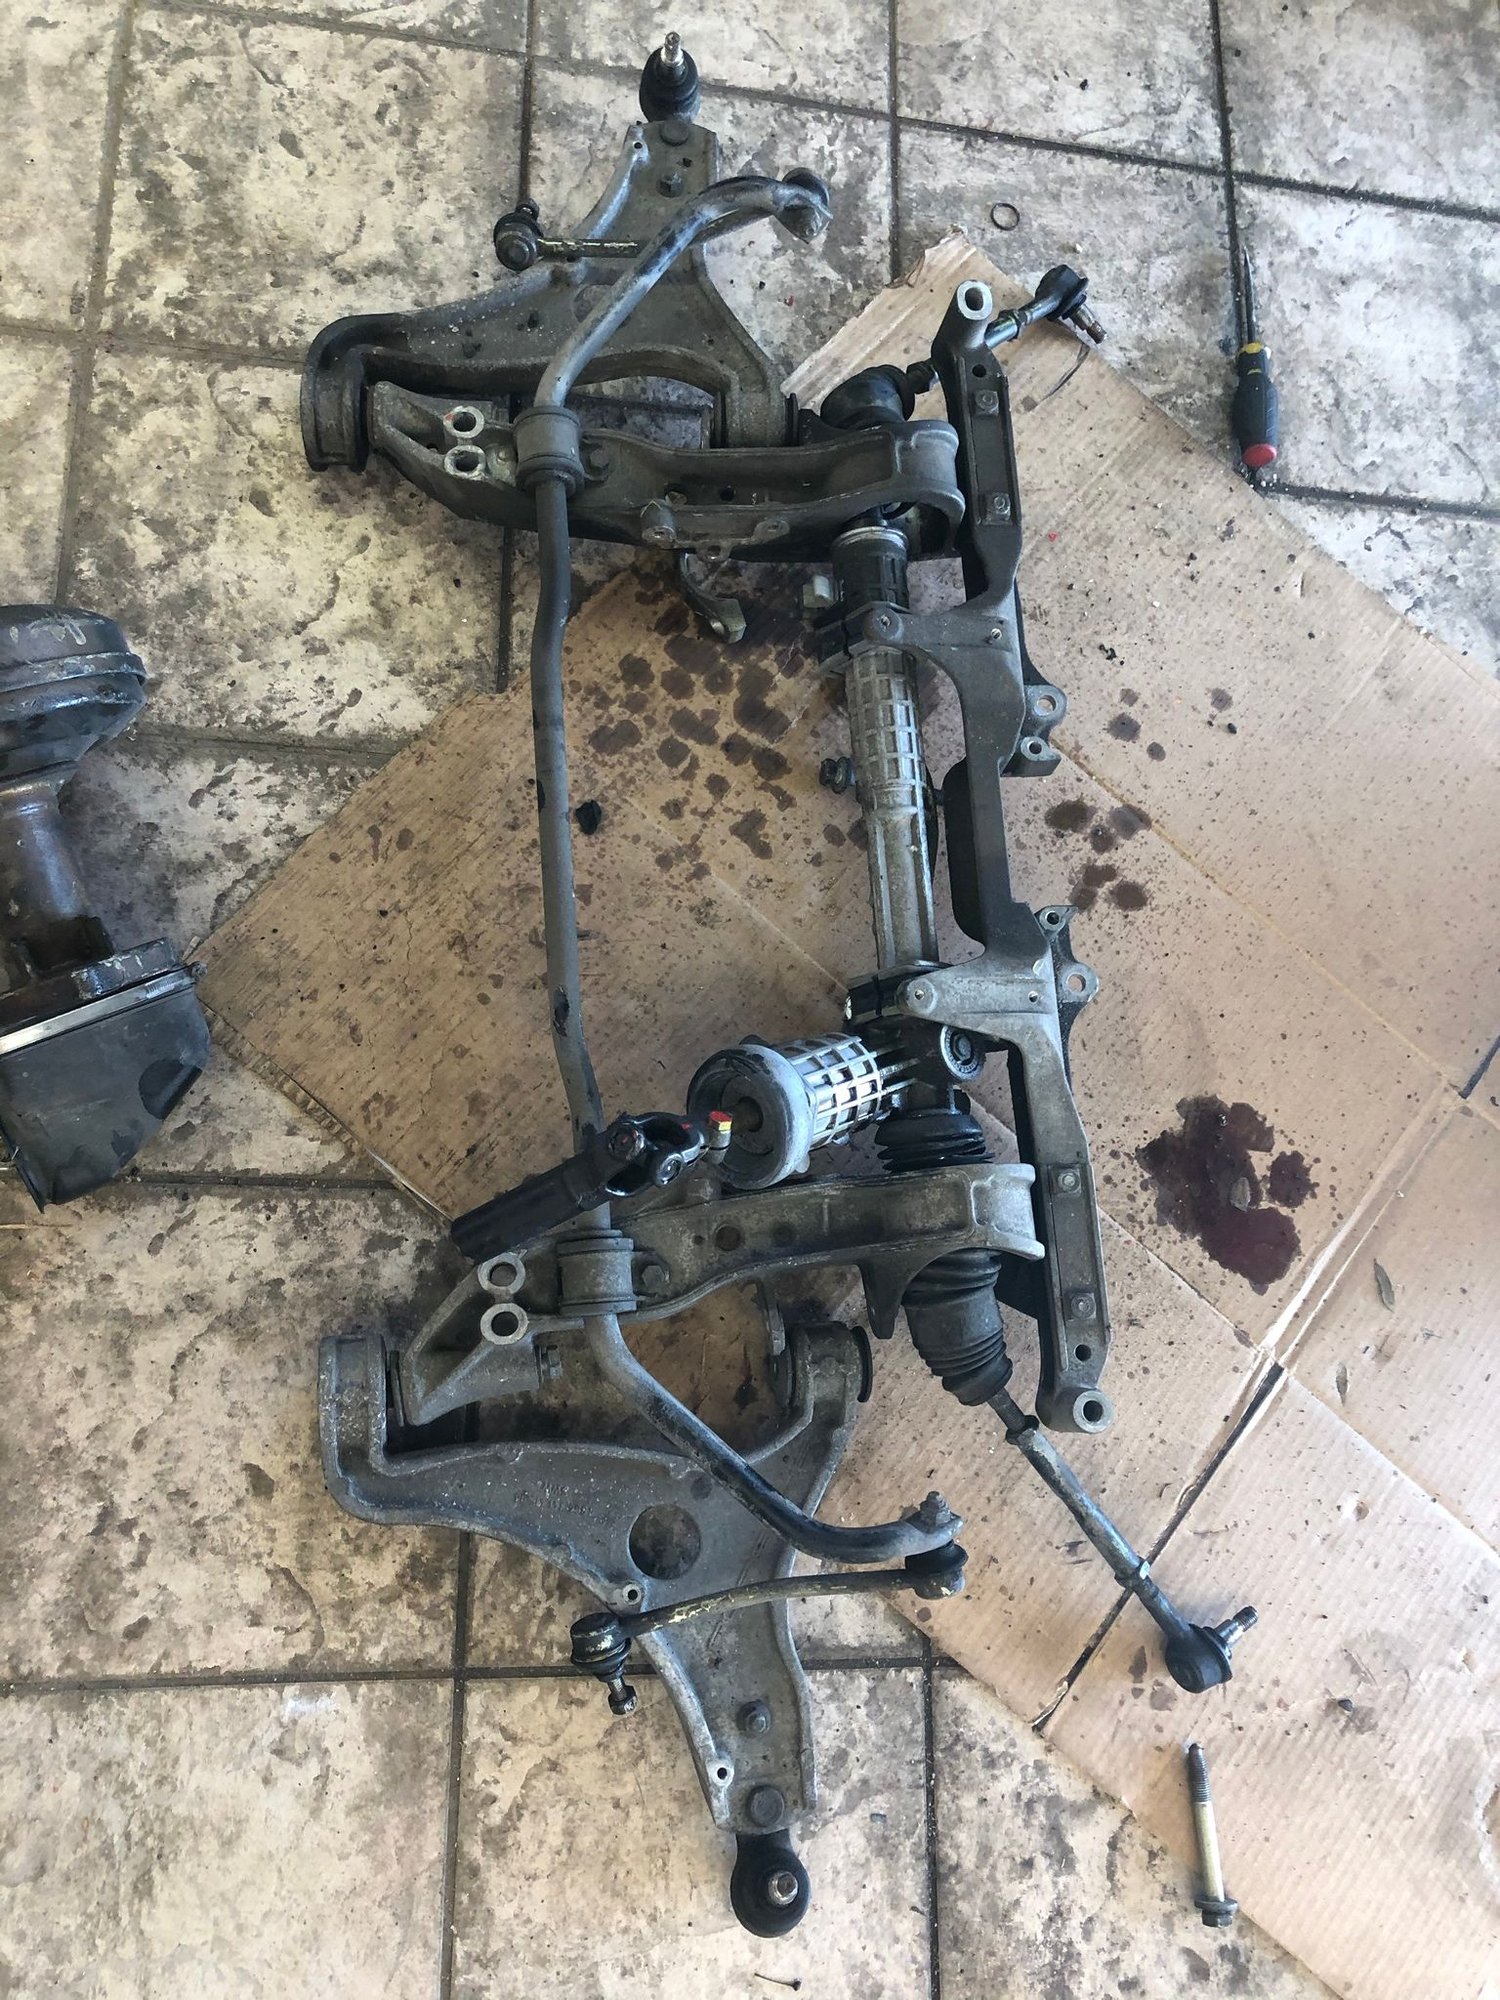
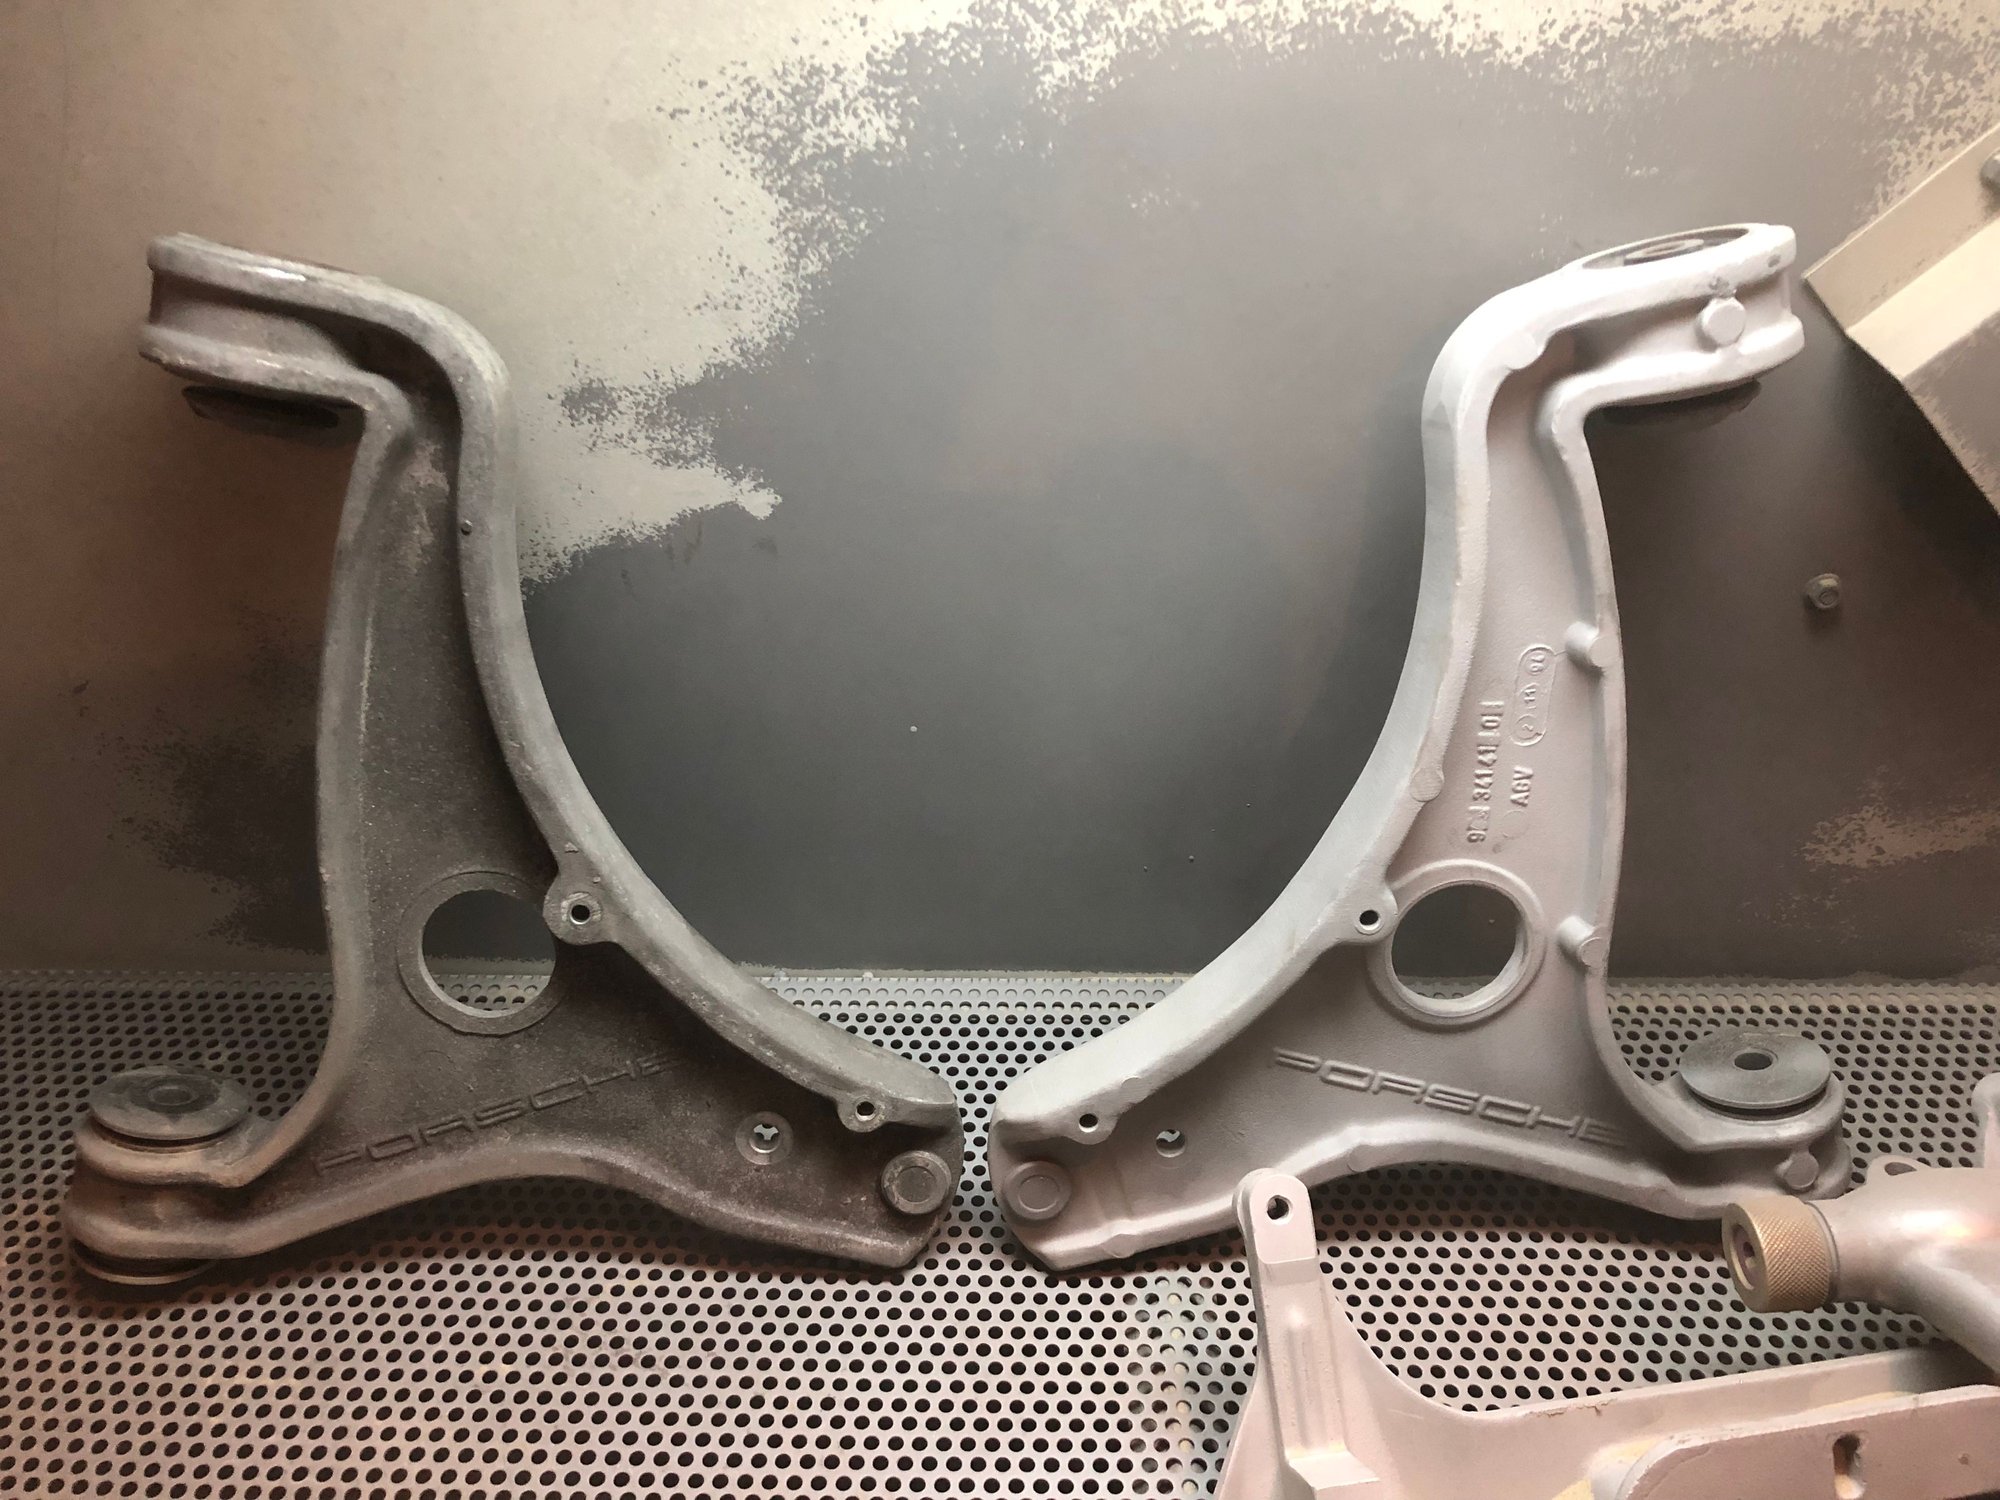
After making a total mess of my driveway soda blasting the rear suspension parts, I took my front end parts to a friends sand blast cabinet and filled it with fine glass. Well, that was taking waaaay too long and I was fighting to get consistency from the machine. Fortunately, another friend bought a "vapor blaster." Water + glass beads creates an incredible finish.
1. How it came out (gross.)
2. Crushed glass in a sandblast cabinet.
3. Everything "vapor" blasted.
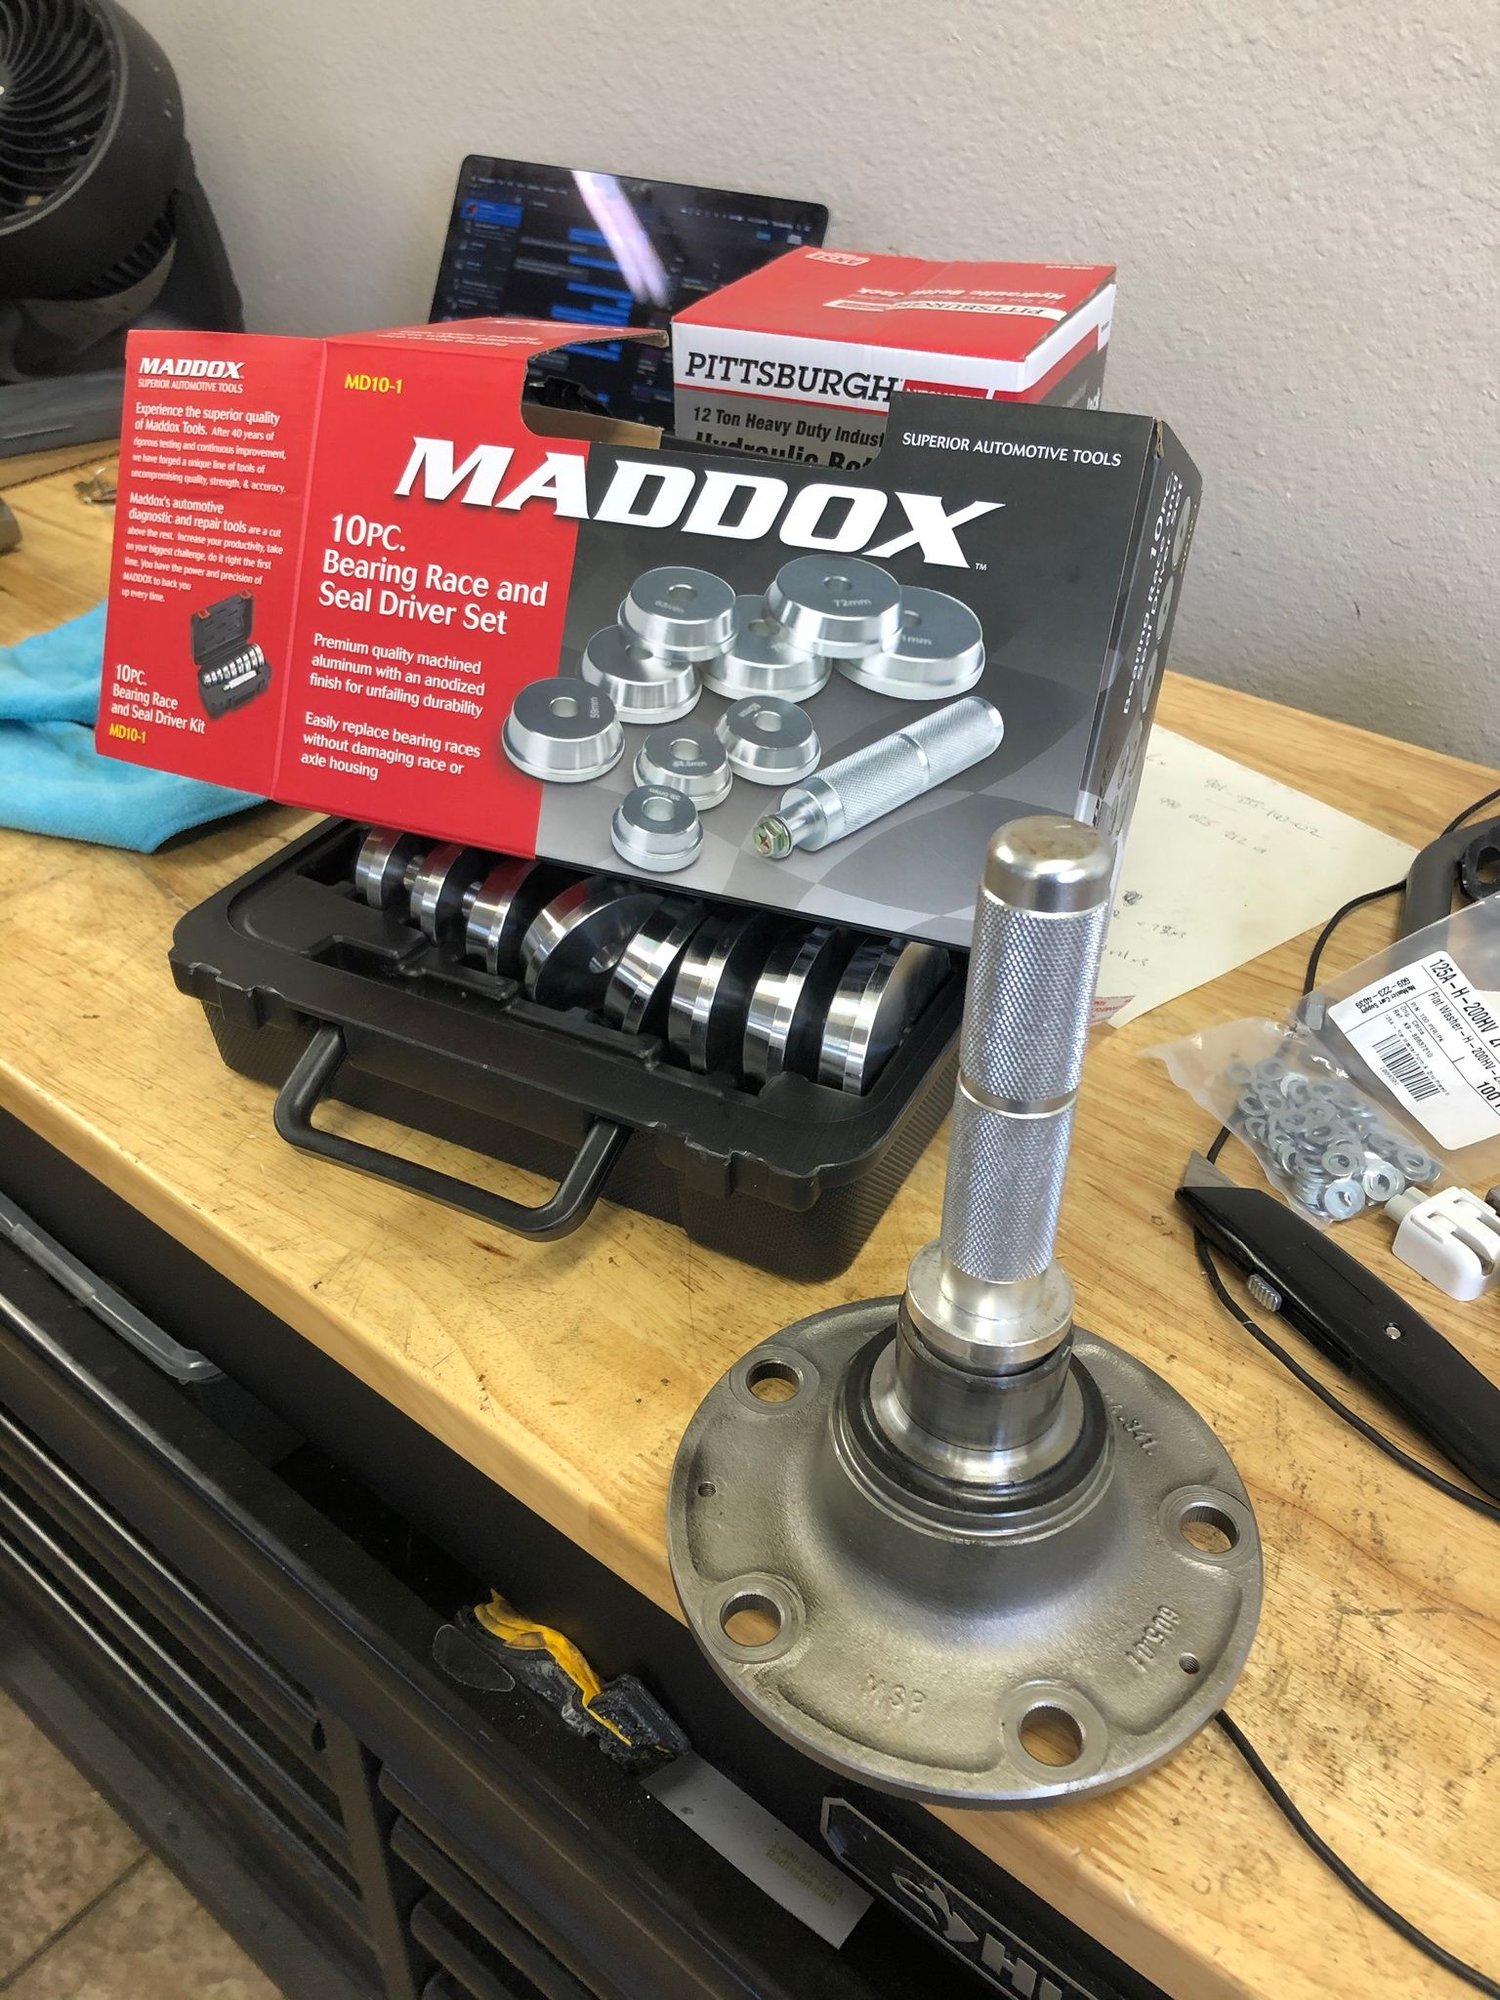
Time to swap the 964 hubs into the 993 RS uprights. After a complete failure of an attempt to set up a press when Harbor Freight delivered one with bad seals in the pump, they redeemed themselves with this "Bearing Race & Seal Driver Set" which I don't remember them offering in the past. The smallest cup is the perfect size for driving hubs out of uprights in the 964 and 993. Hubs popped out without much of a fight.
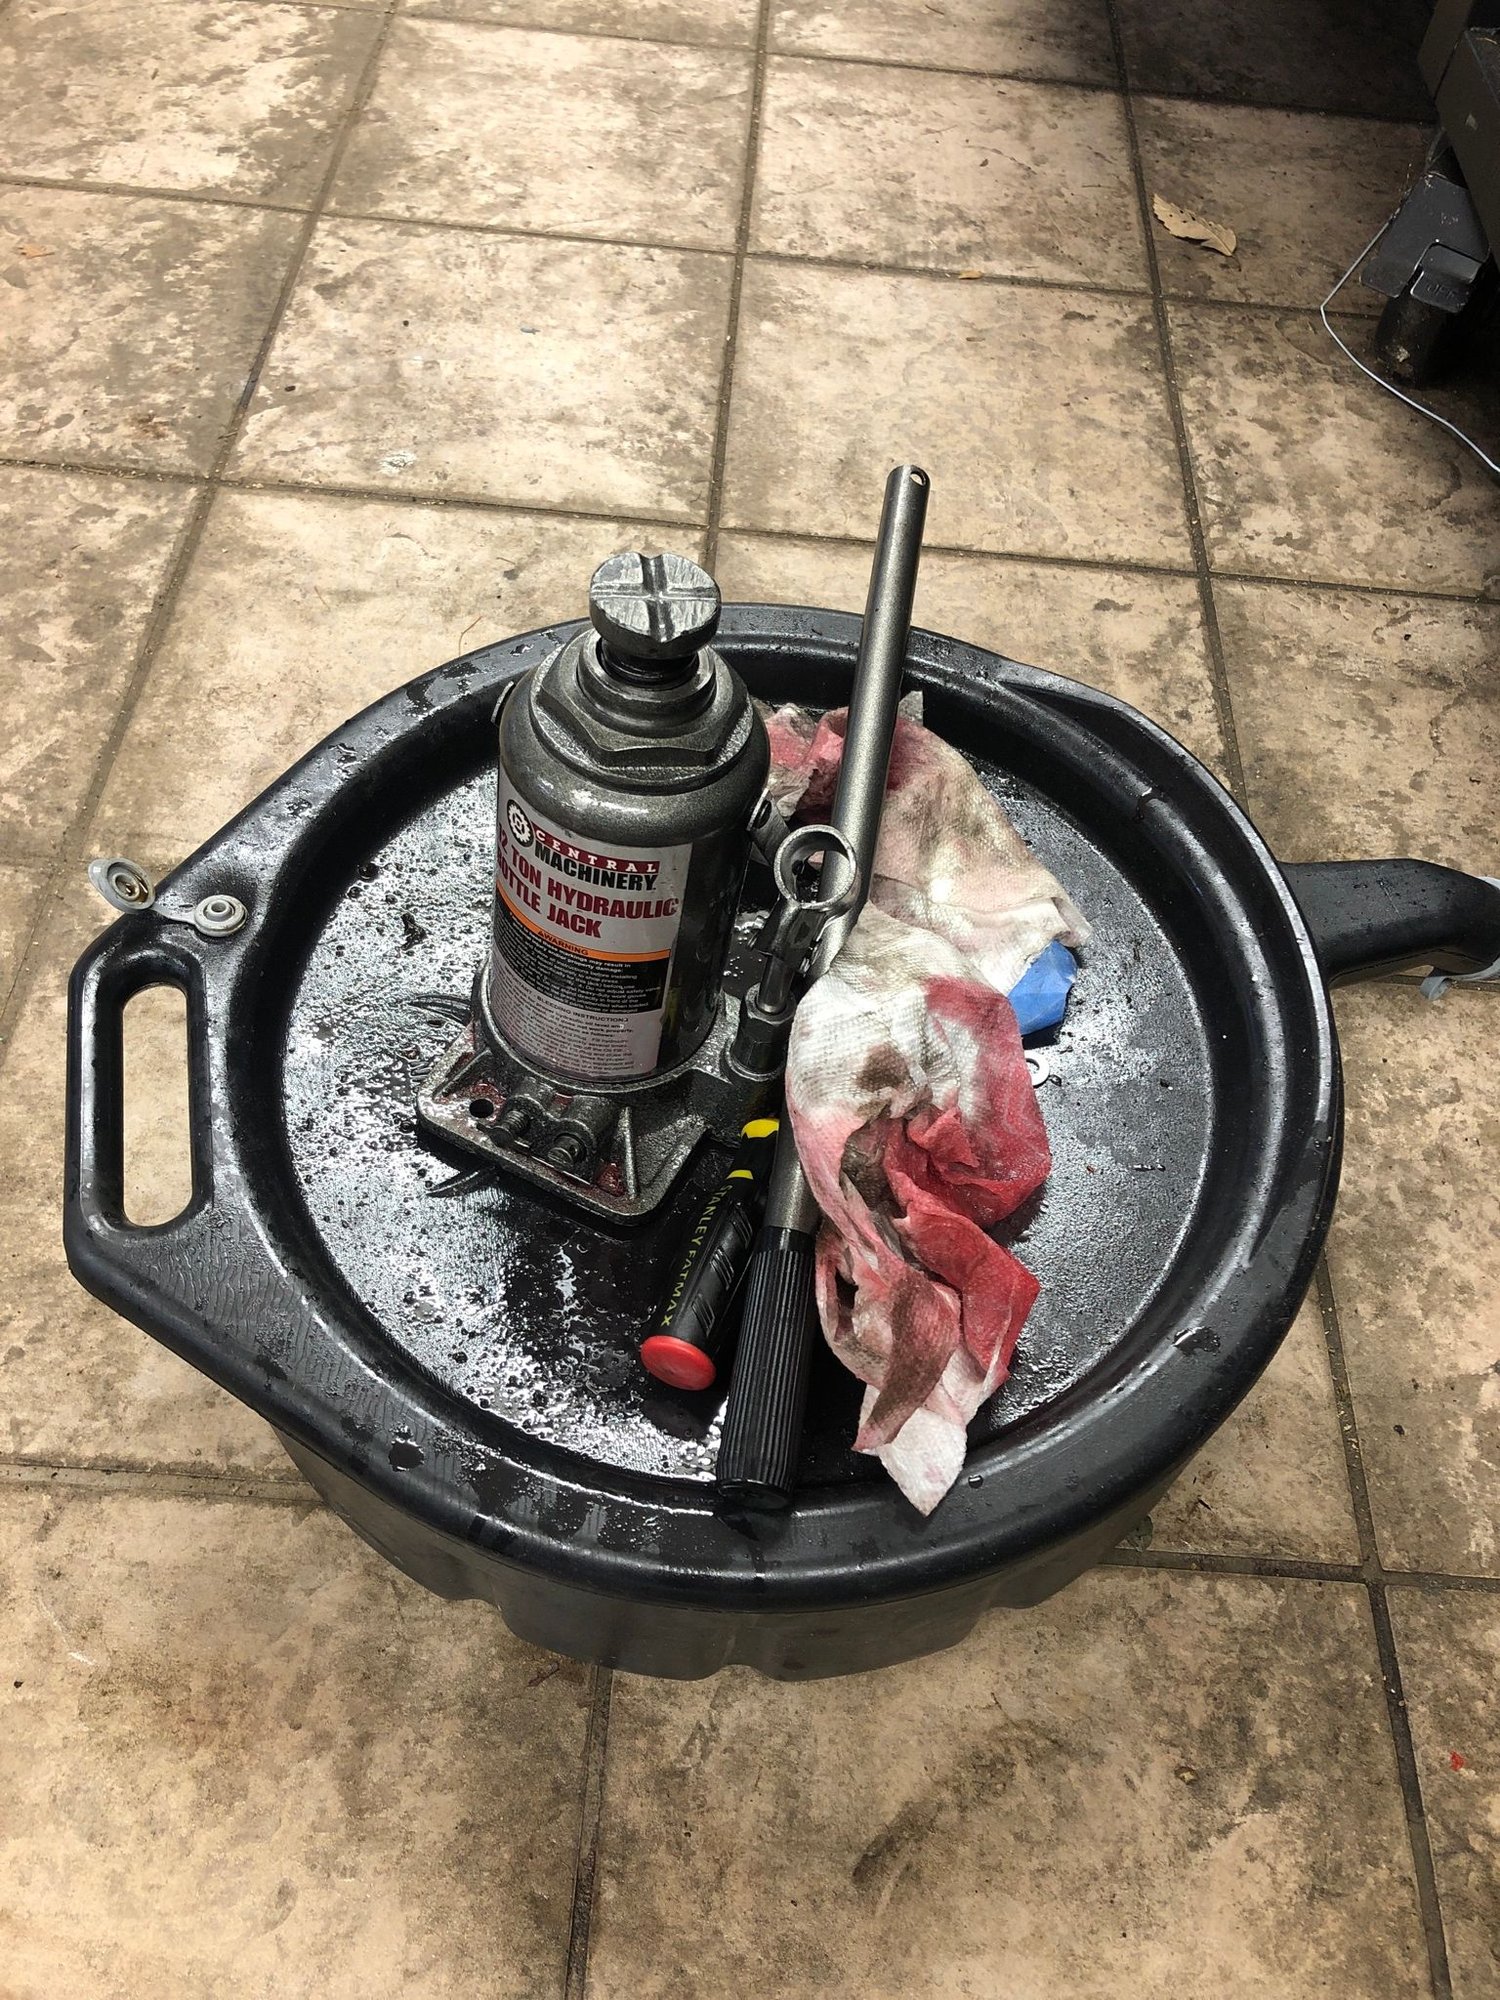
4. Crap bottle jack.
5. Seal driver kit.
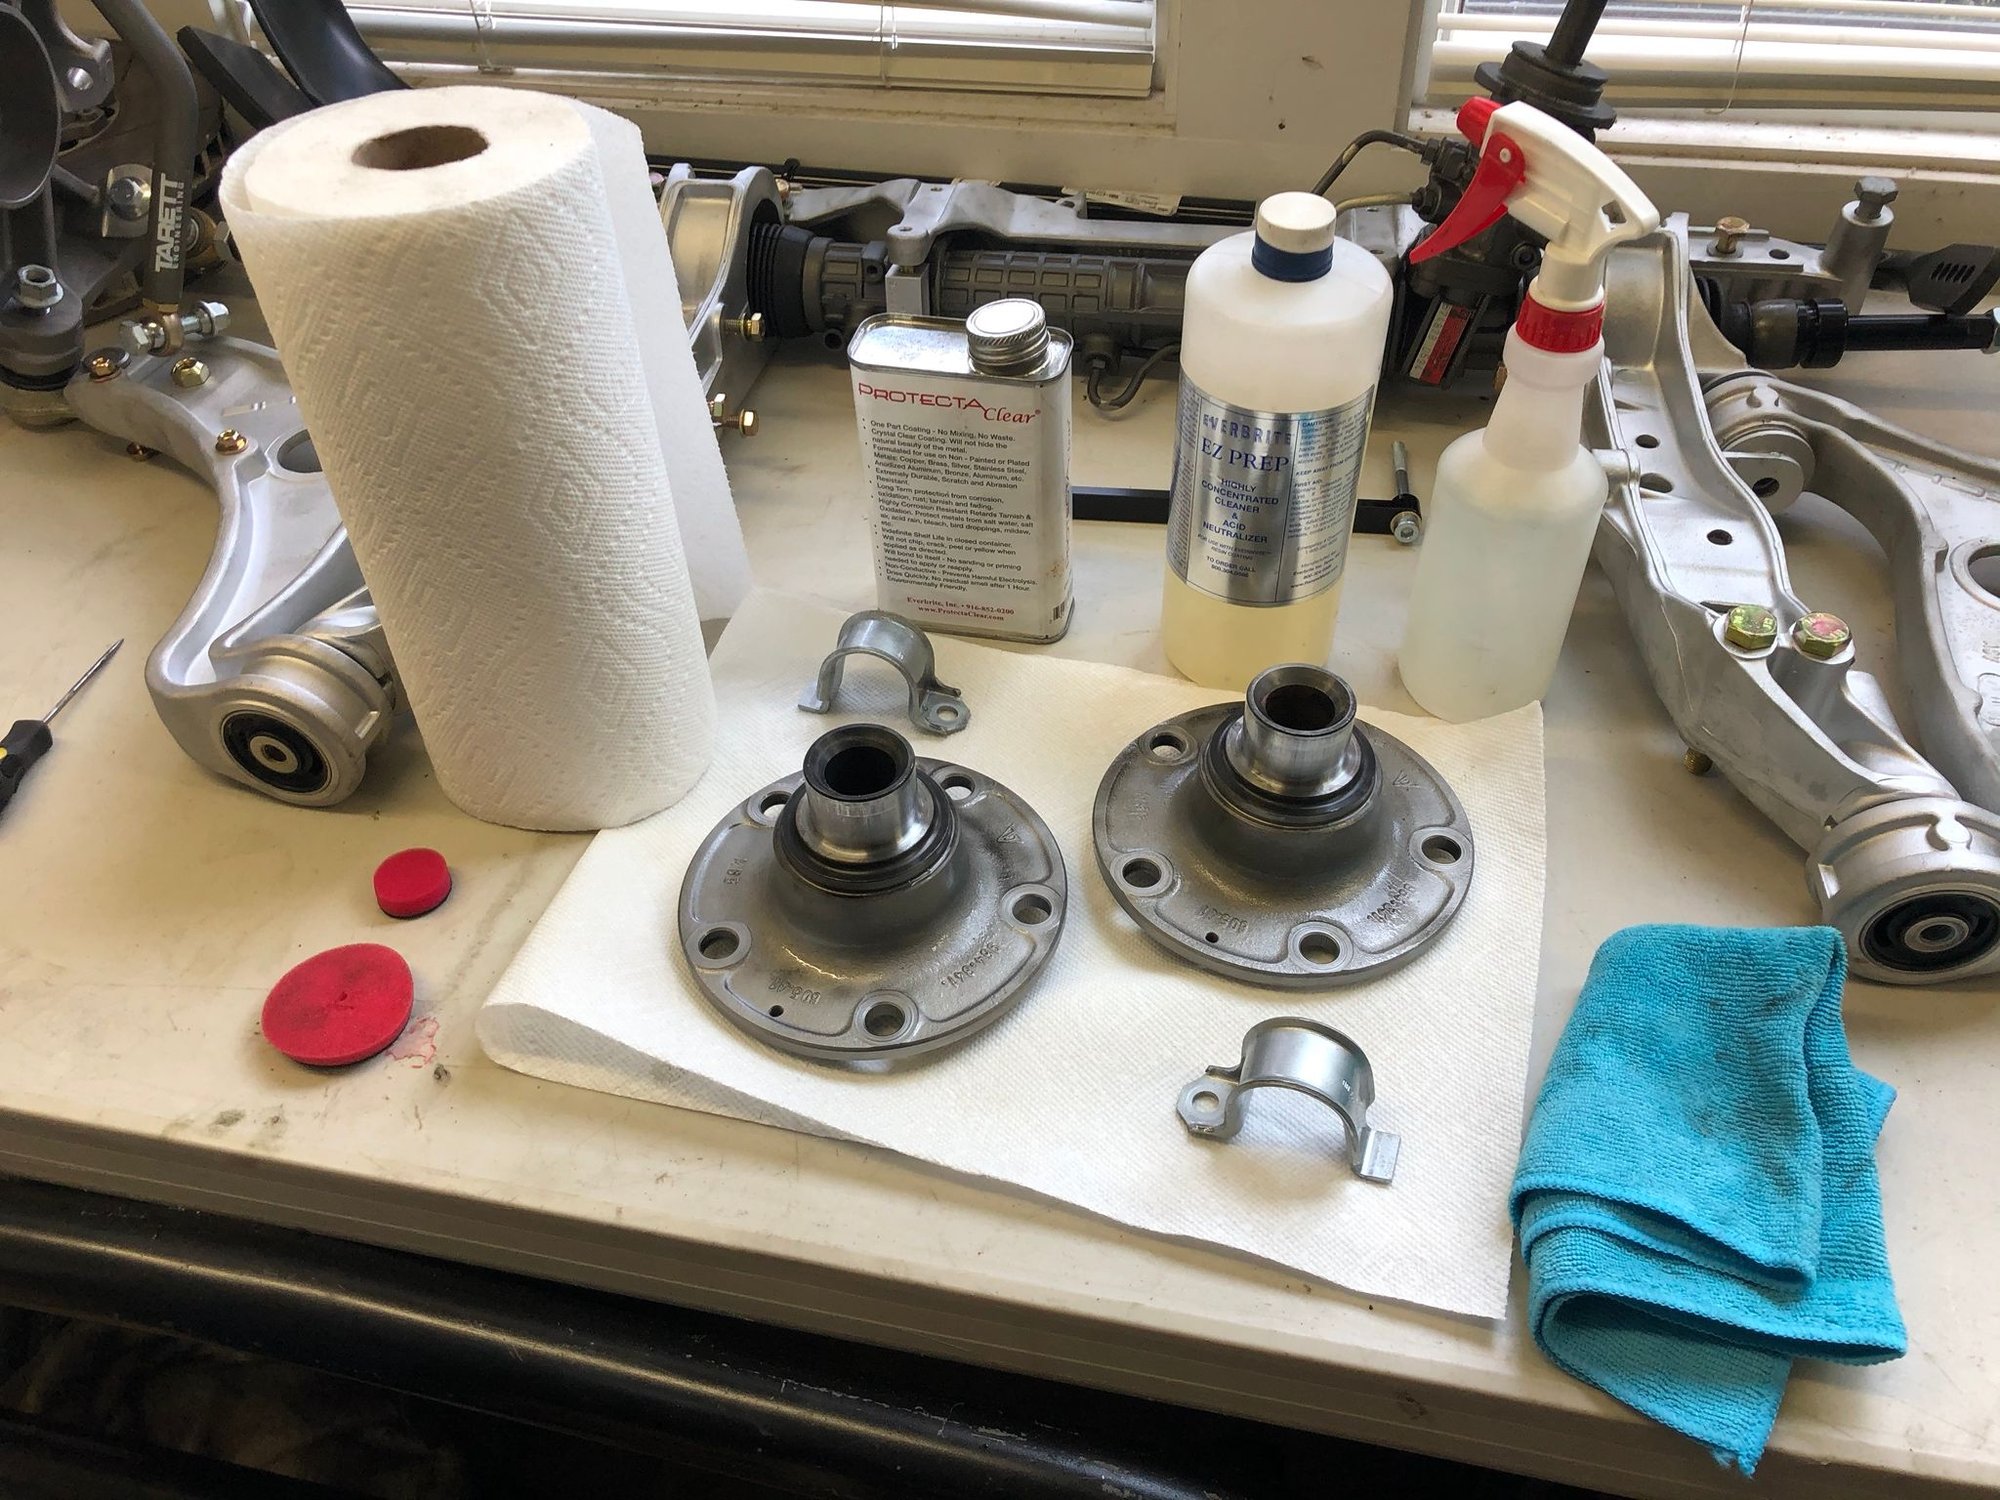
Now since the steel hub (and some smaller parts) have been stripped, I wanted to protect them from corrosion. I went with Everbrite products and applied with a polish pad. Interested to see how it performs.
Adding this post from another thread as I sort the final assembly details.
Originally Posted by tjb616
Ok here's what I got:
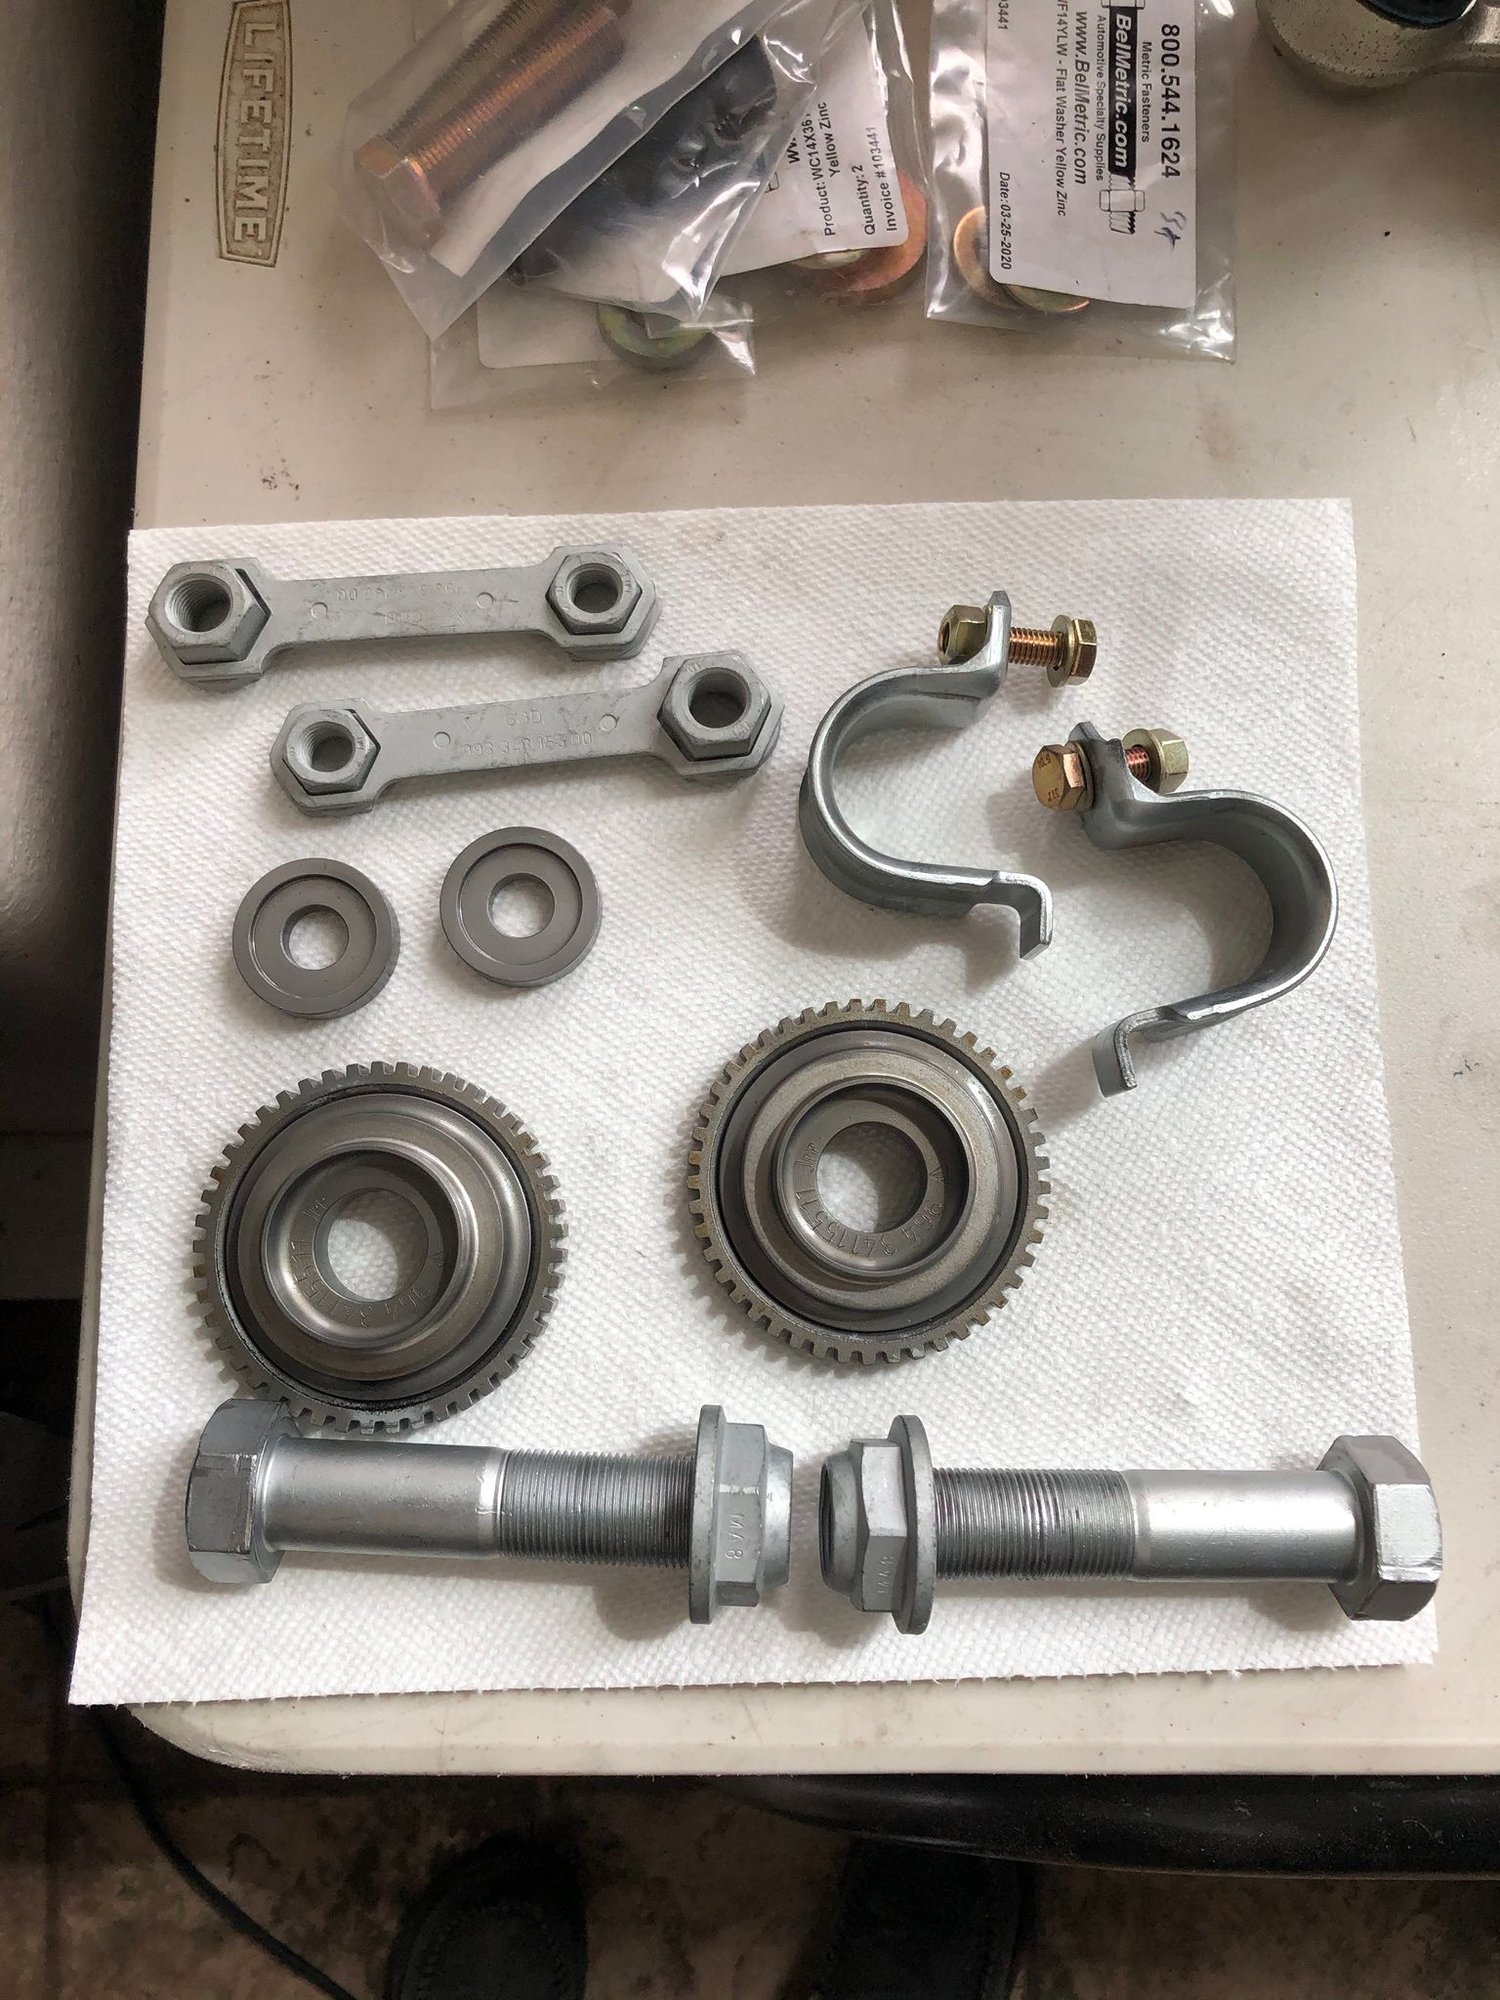
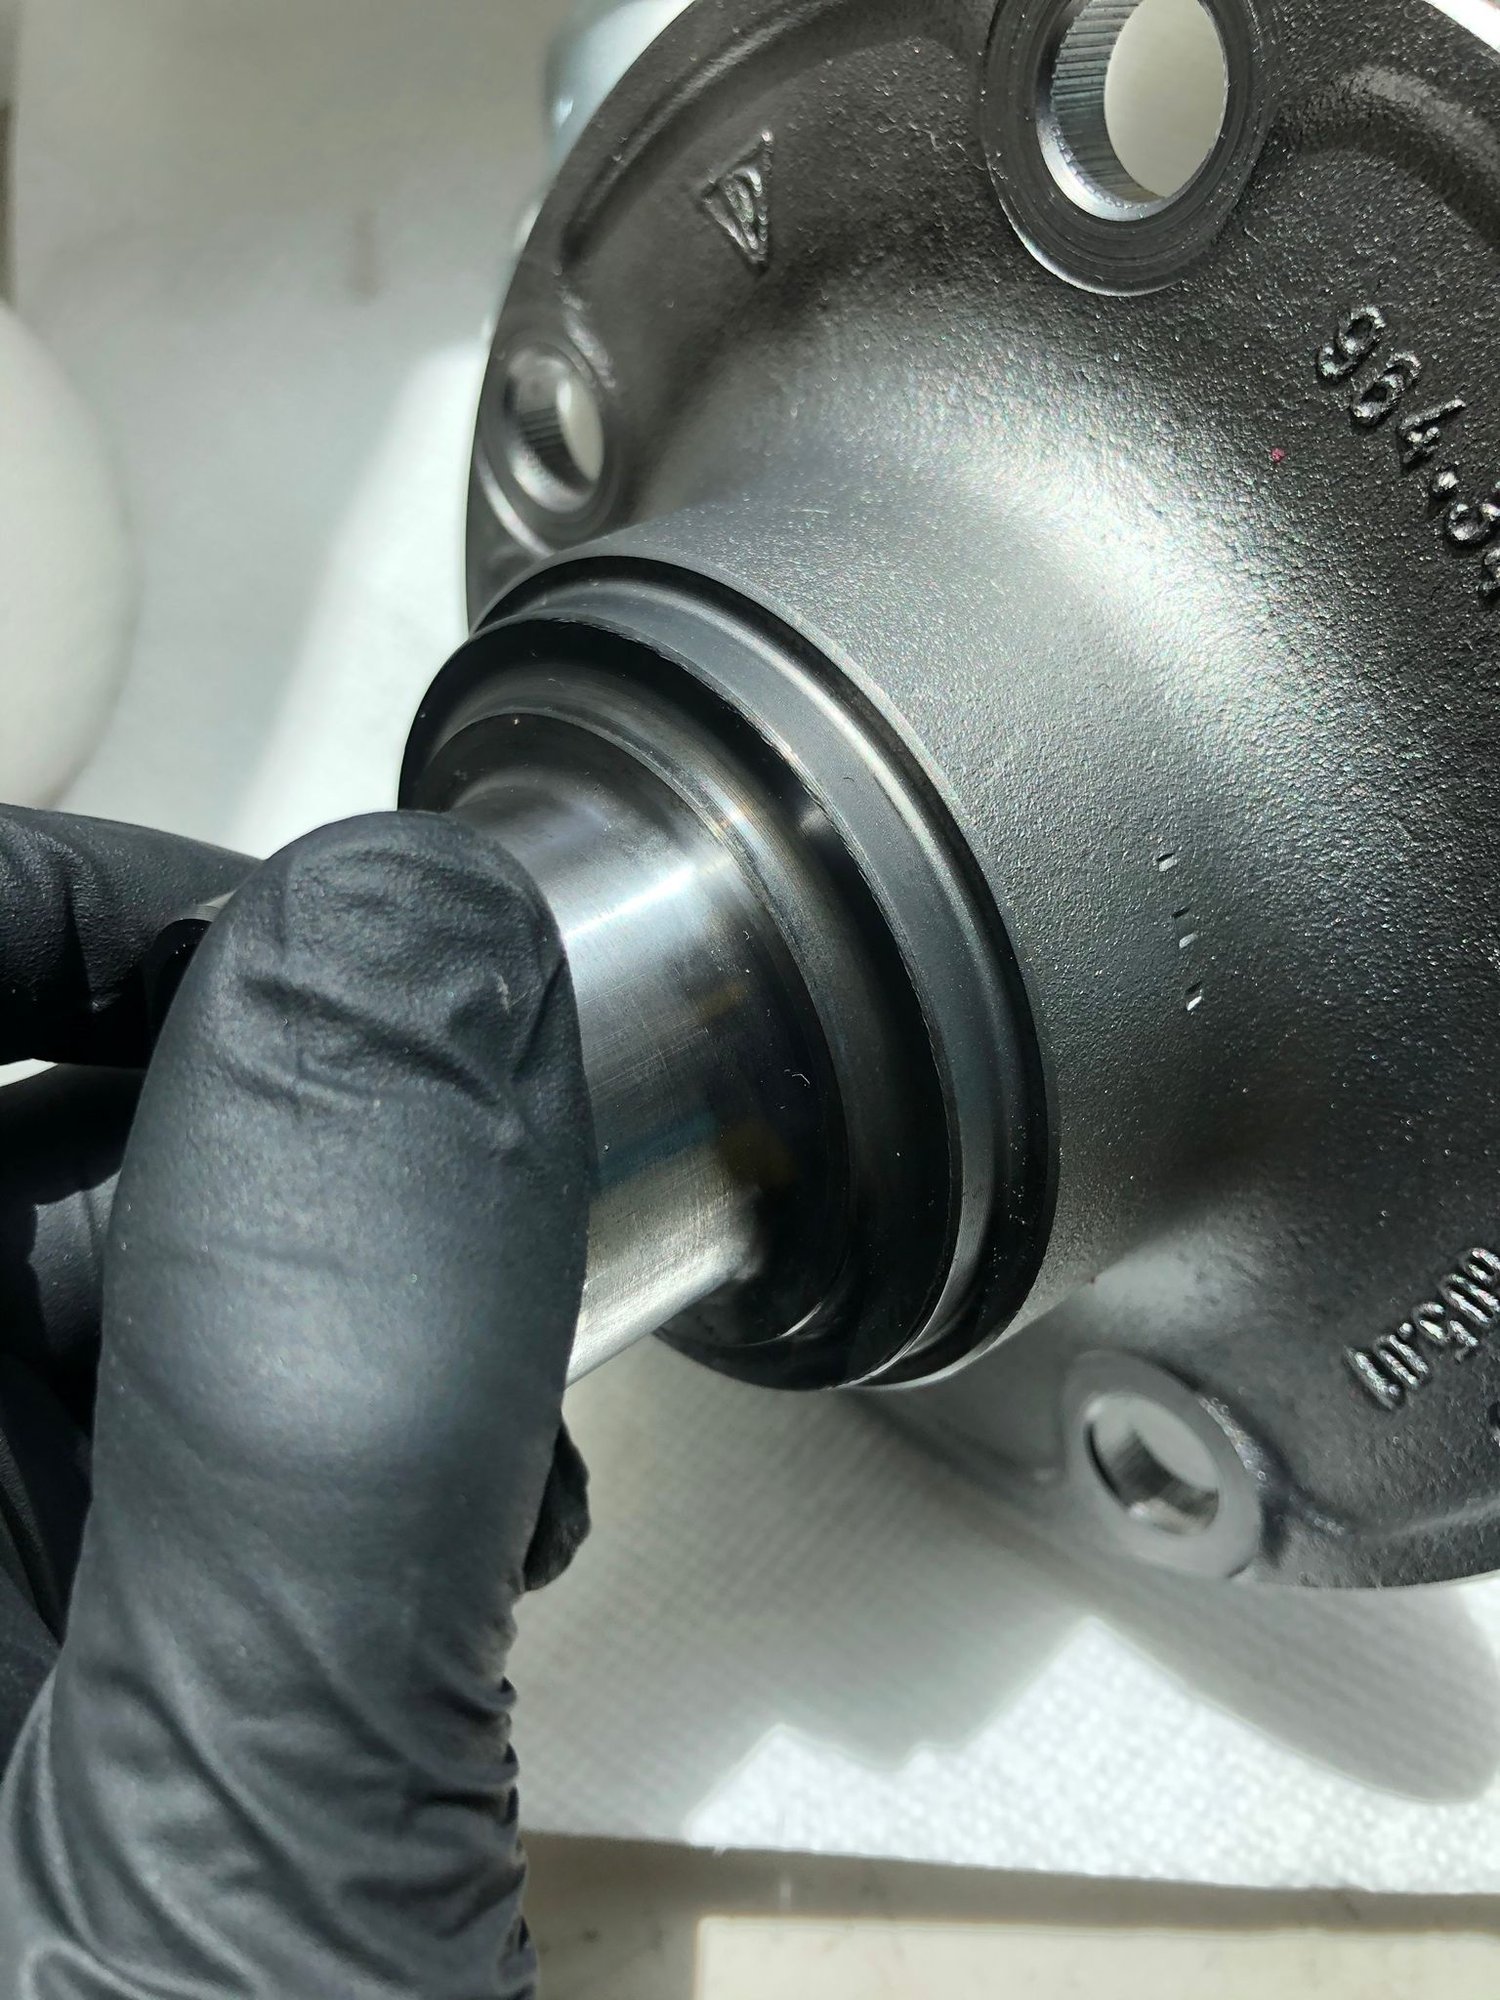
Anthony, to answer your question from Pelican, no that is not a rubber gasket and there is no circlip or seemingly a provision for one. It is just a metal lip cast into the hub. Detailed photo below. My car did not appear to come with #10 or #3 from the PET. It is a Nov '90 build MY91, but is a bit of an oddball as it had 2 piston (early) rear calipers with late rear struts.
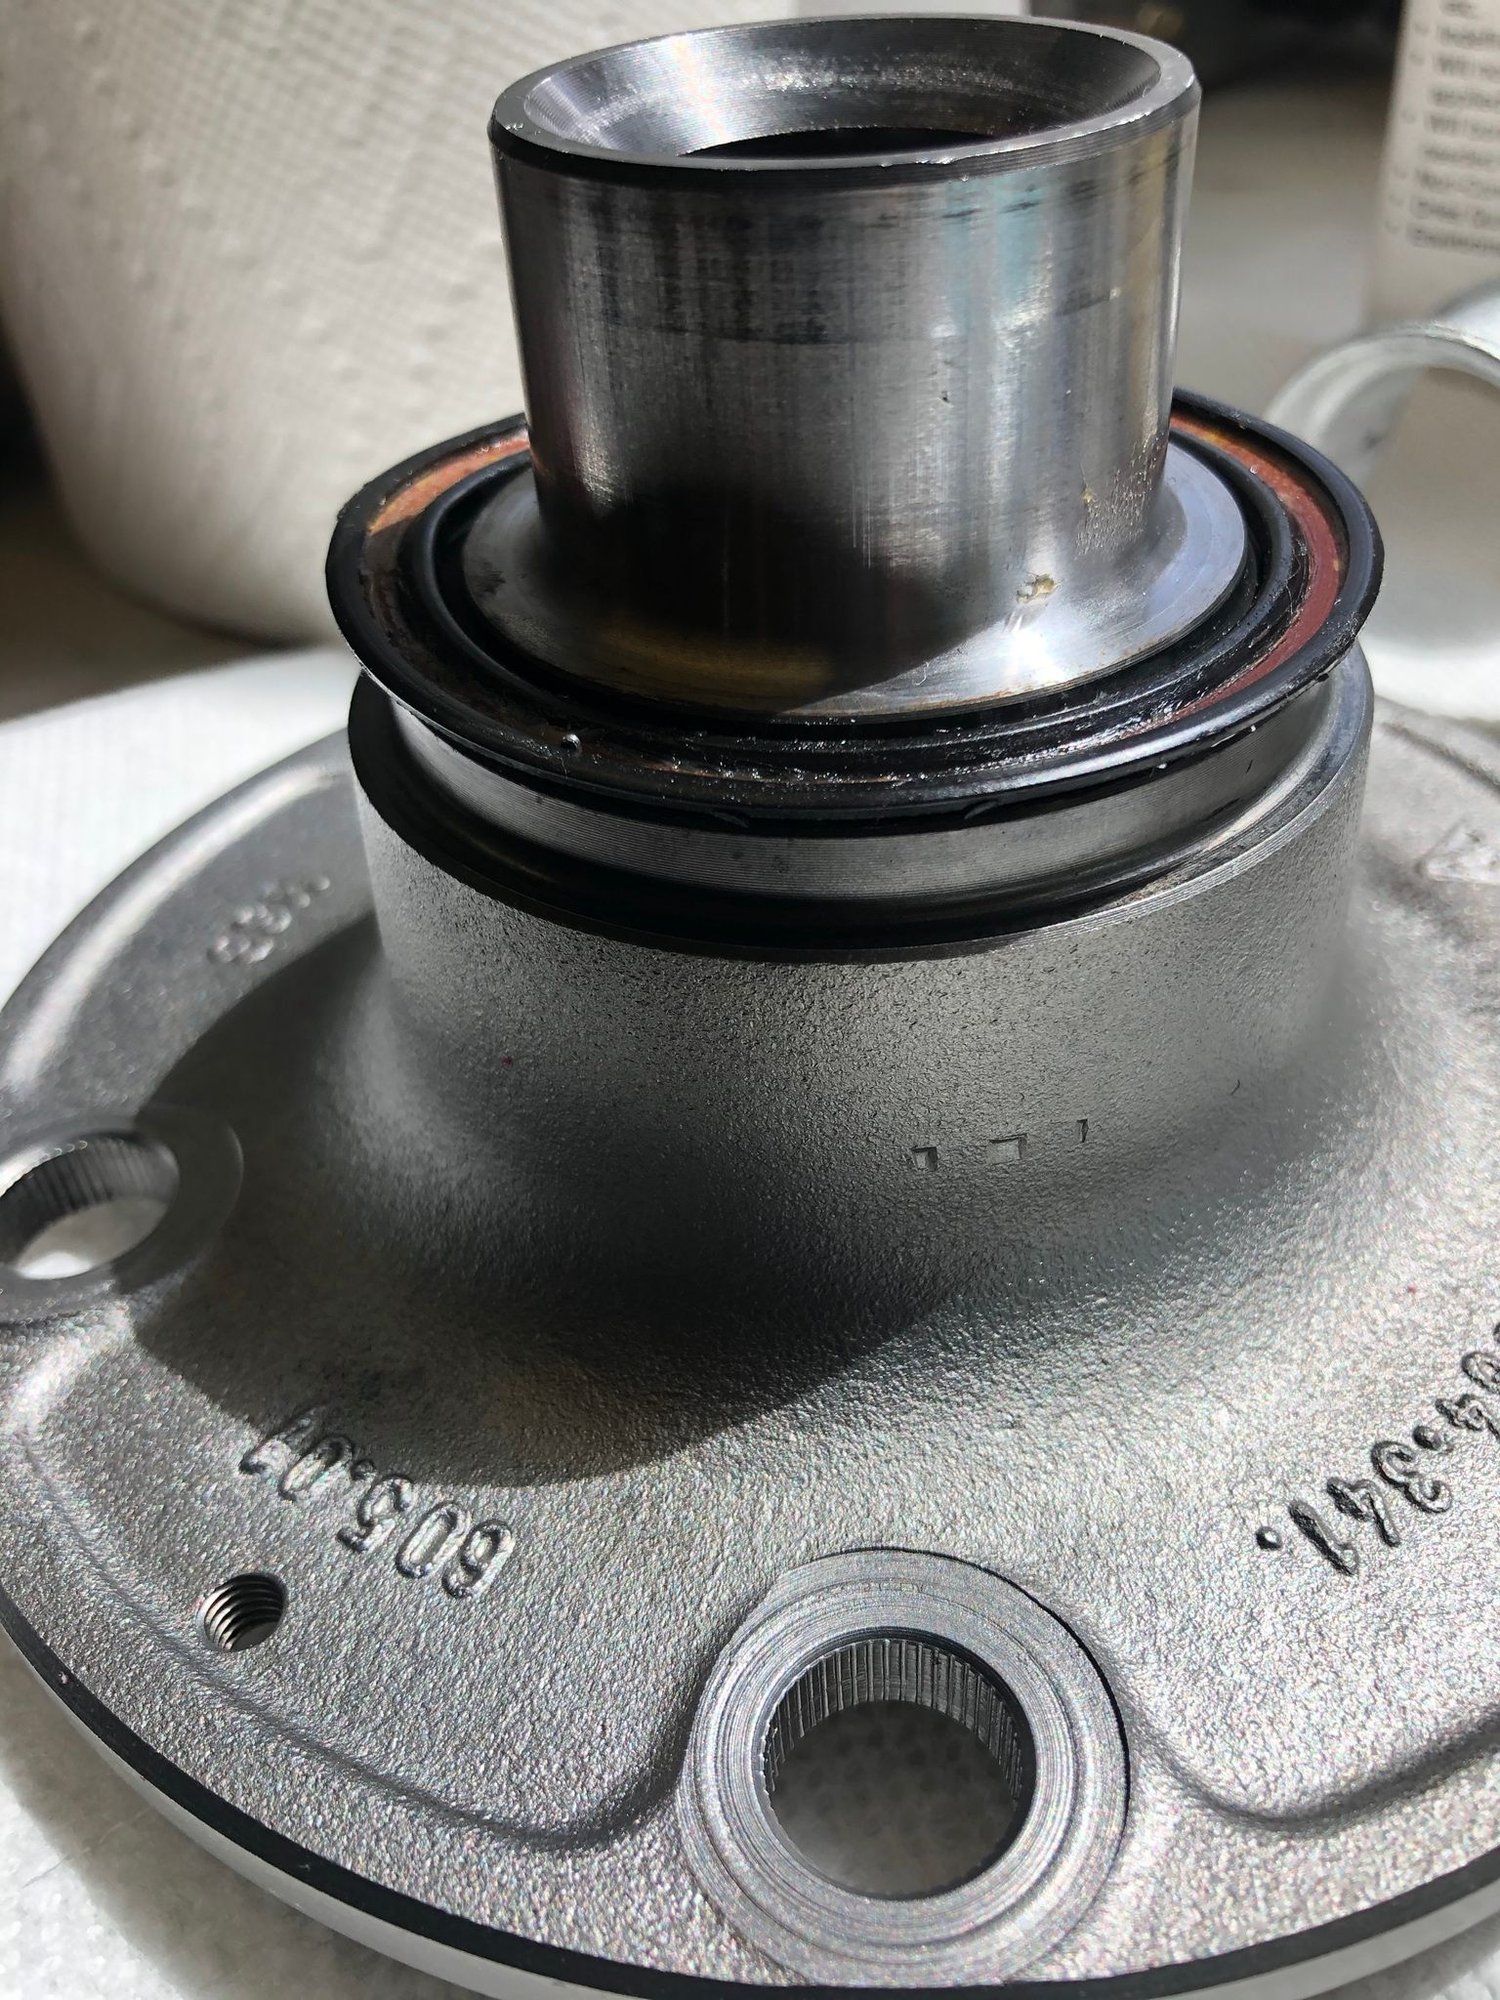
Attached also is a photo of a spare 993 upright and hub I have on hand, it doesn't appears to have these parts either, which makes sense as they're not noted in the 993 PET. It has new bearings so Id prefer not to take it apart.
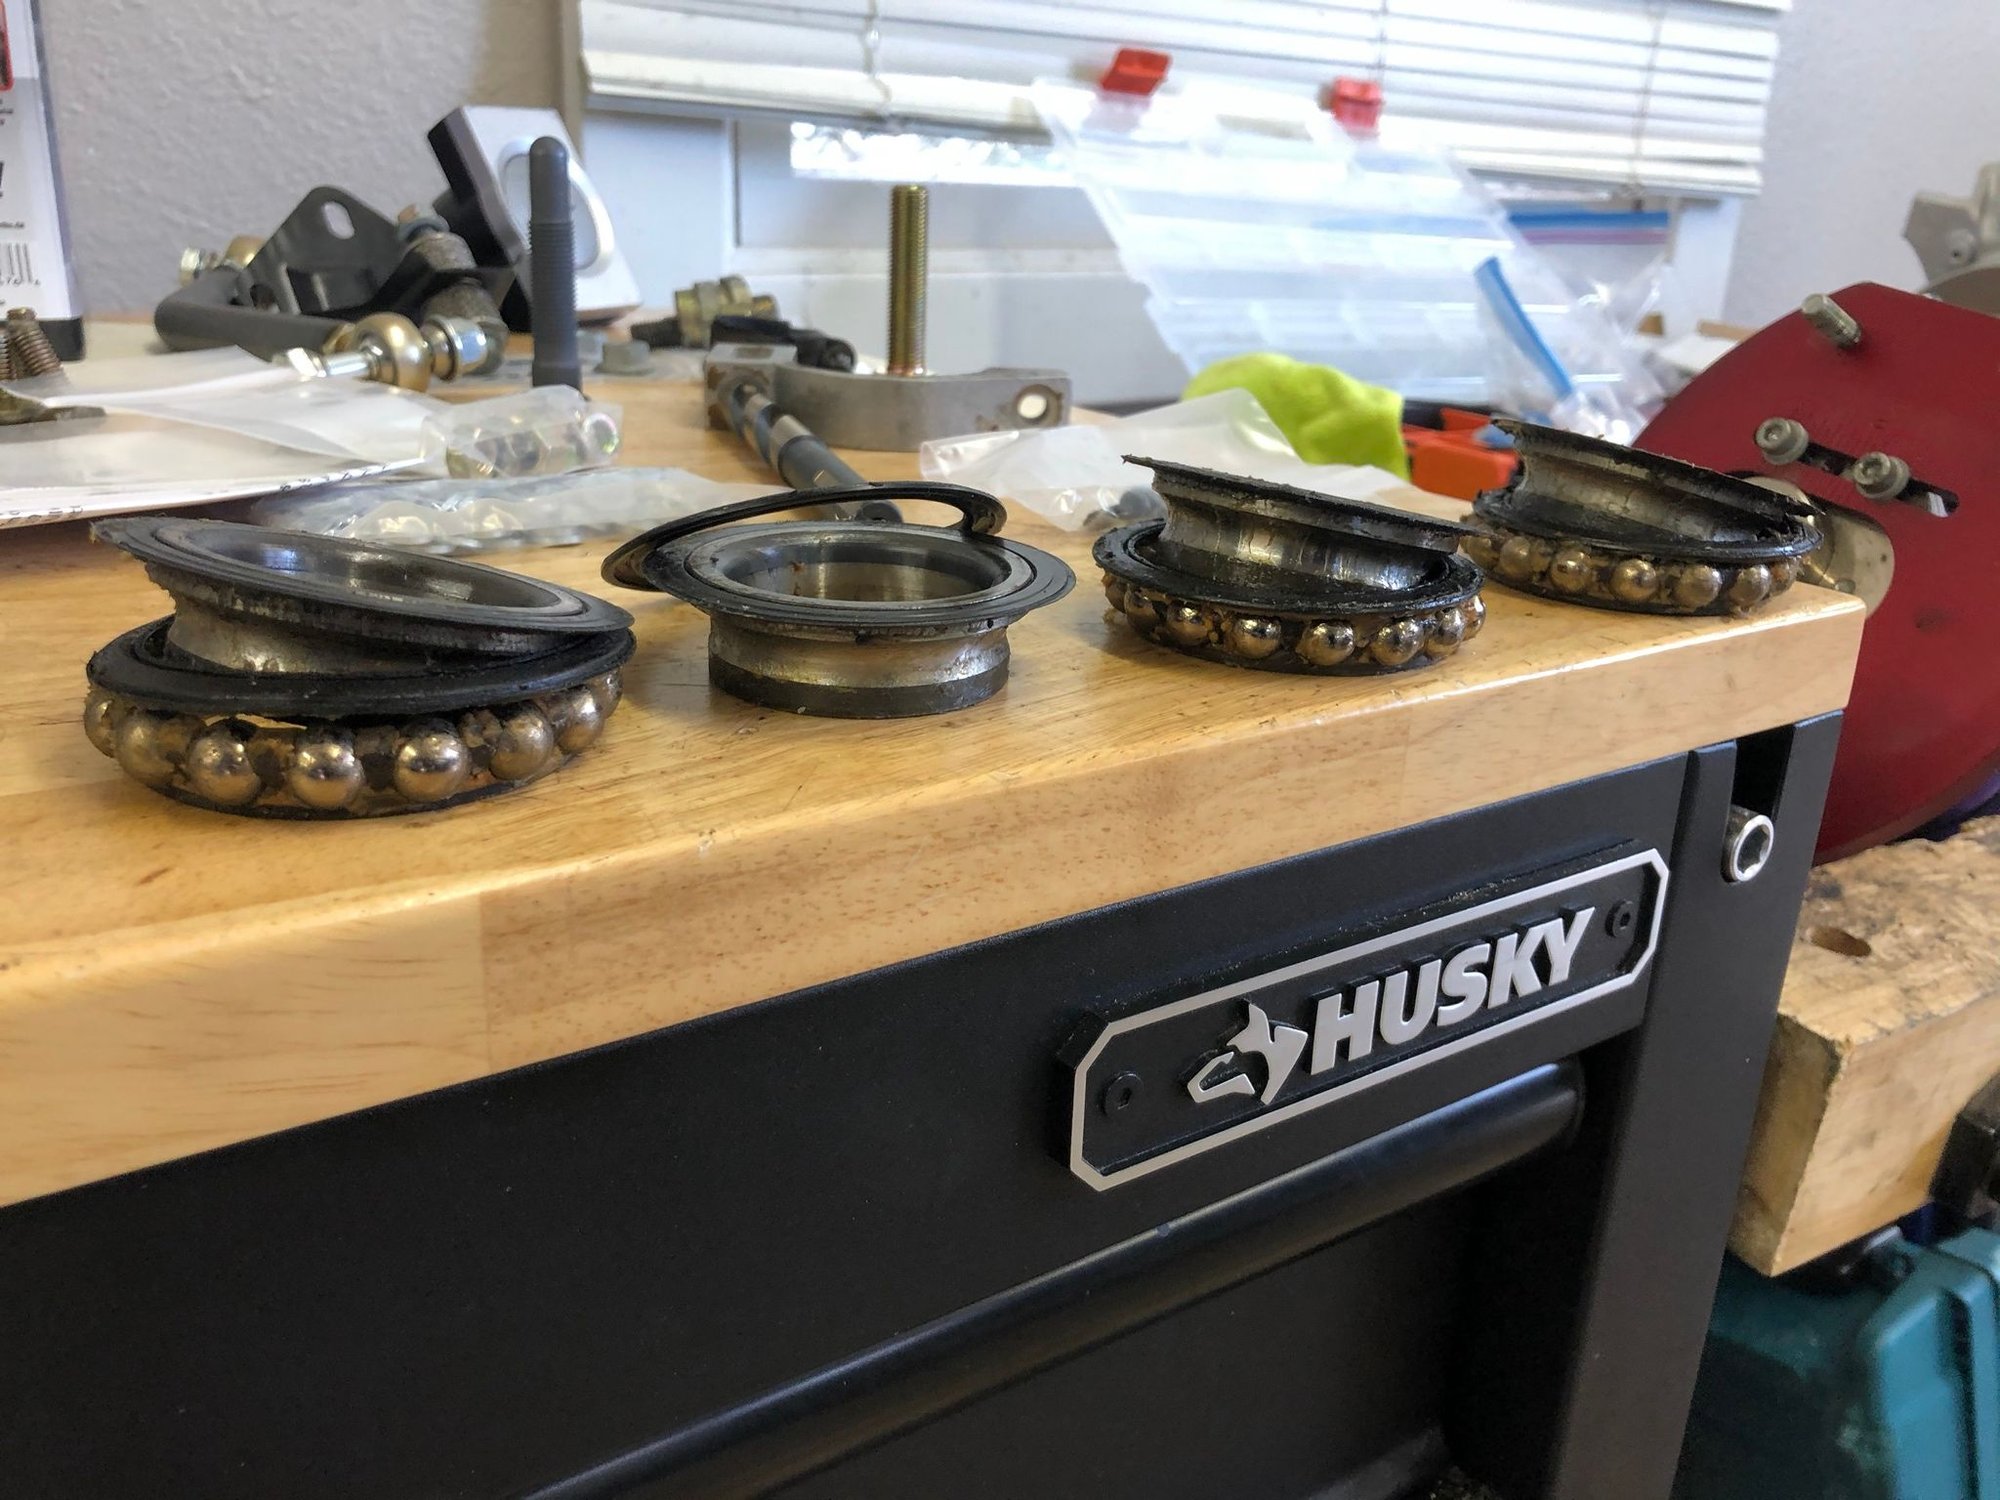
Possibly worth noting, the bearings each have 2 seals on the face, shown separated. When I pulled the bearing "lid," the outer one came with it on one side. Attached is a photo of where it would rest on the hub.
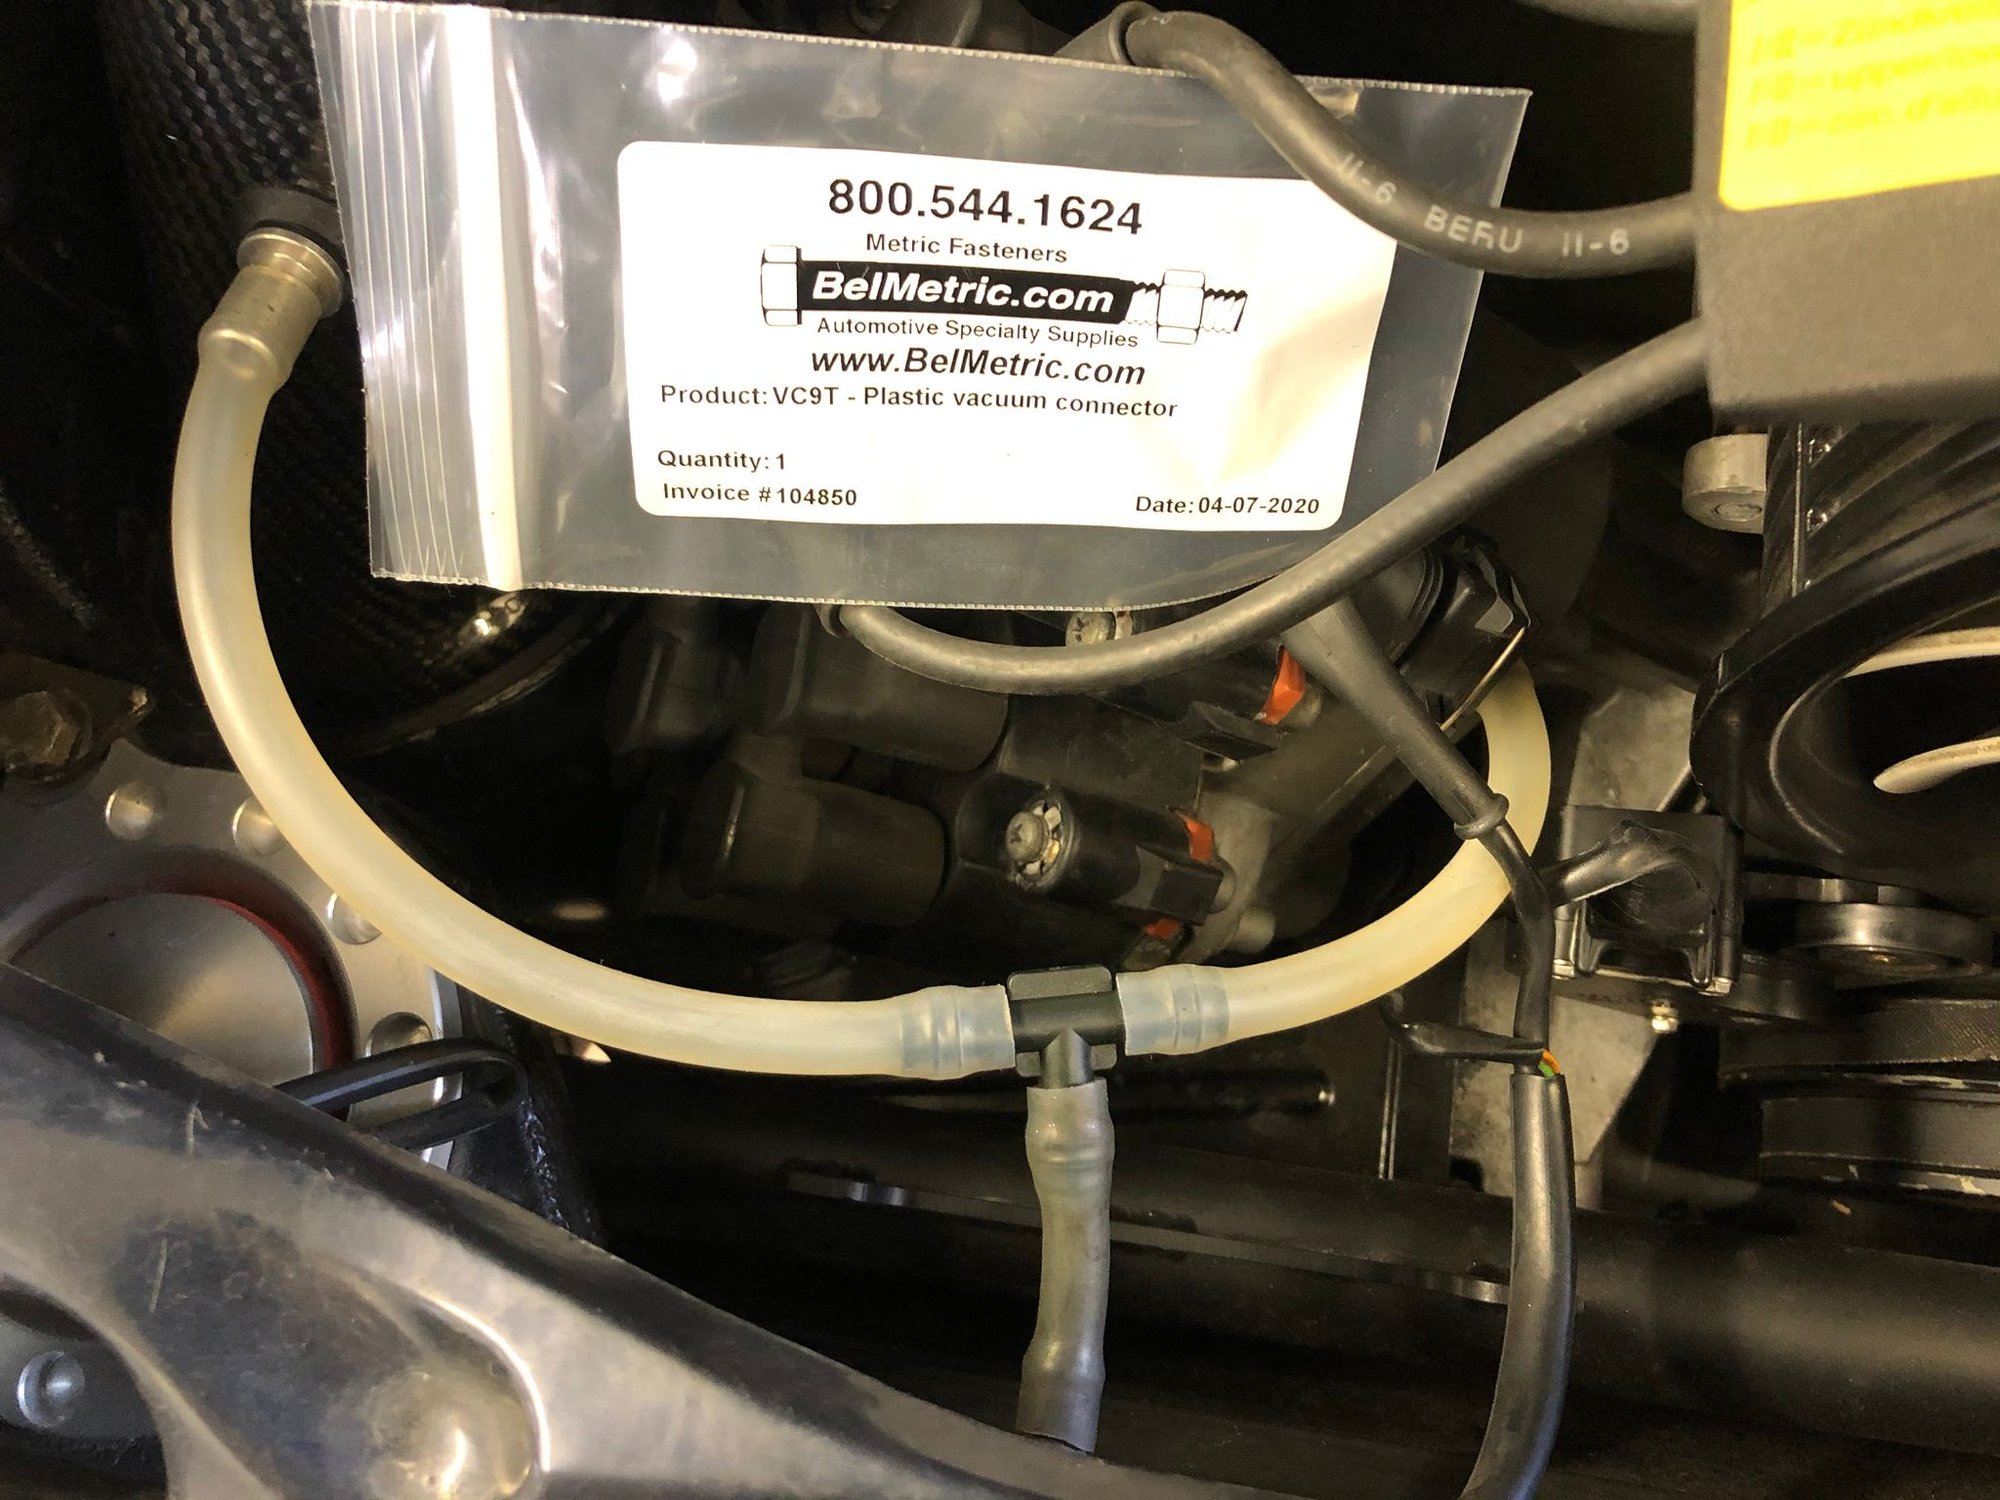
And one other small detail while waiting for parts, hopefully someone will find useful. I ordered 4 different T and Y vacuum fittings before I found one that fit perfectly for the distributor and tail light hoses. Parts number is on the bag: VC9T.
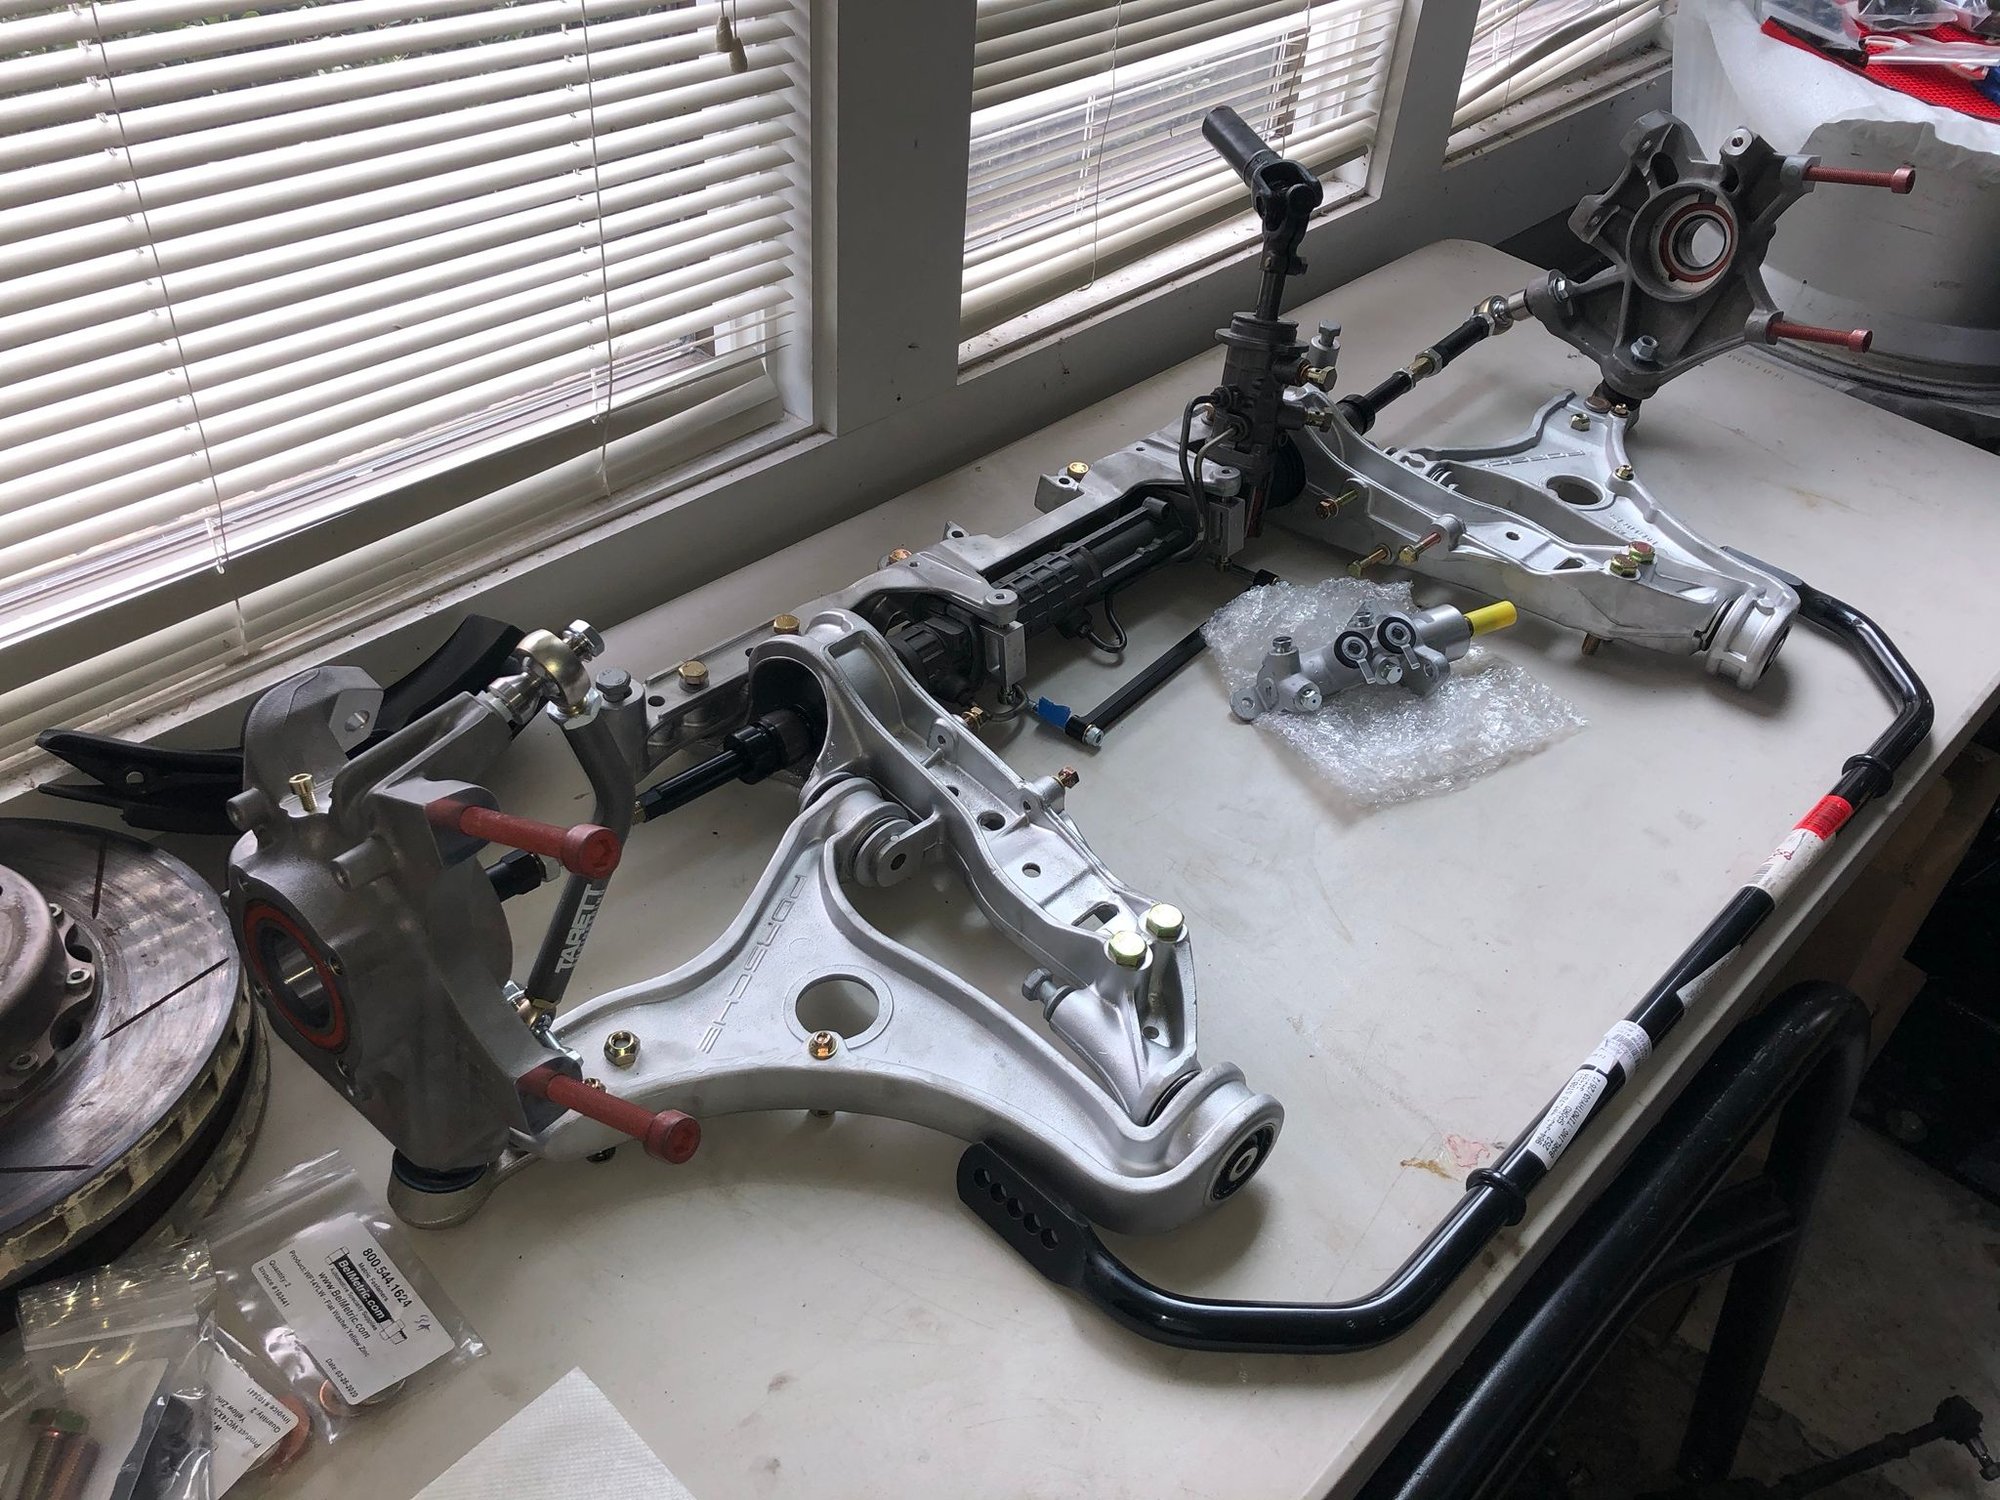
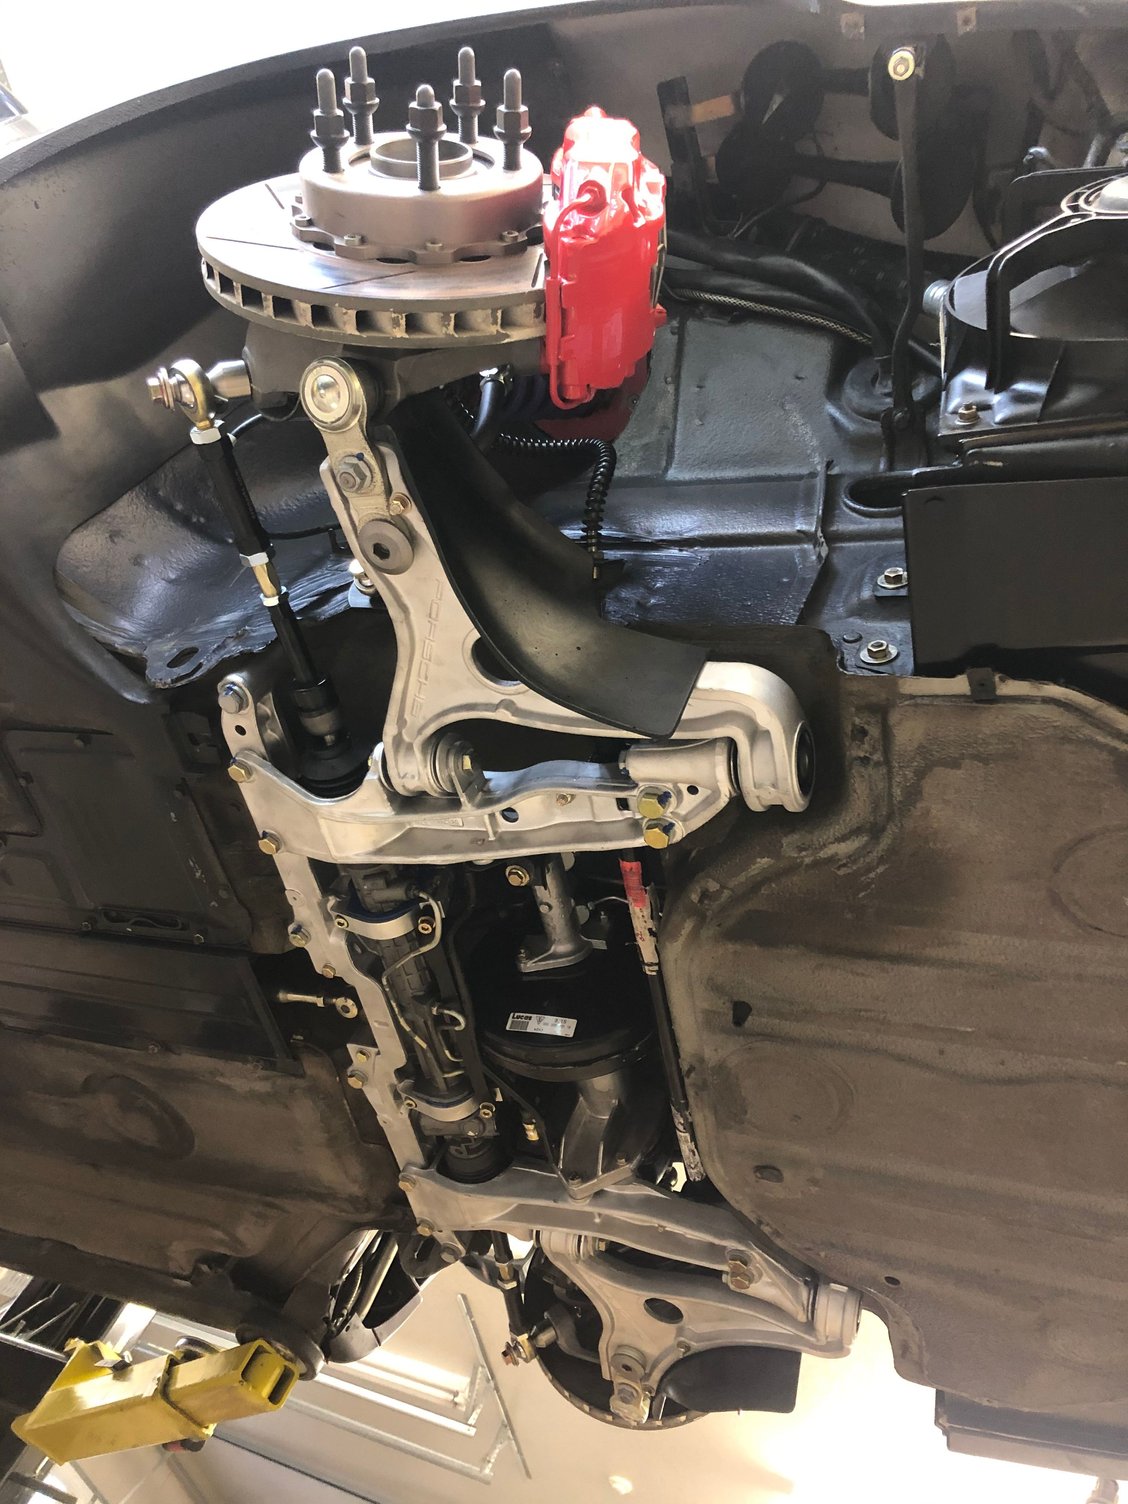
Here are a few shots and notes from final assembly:
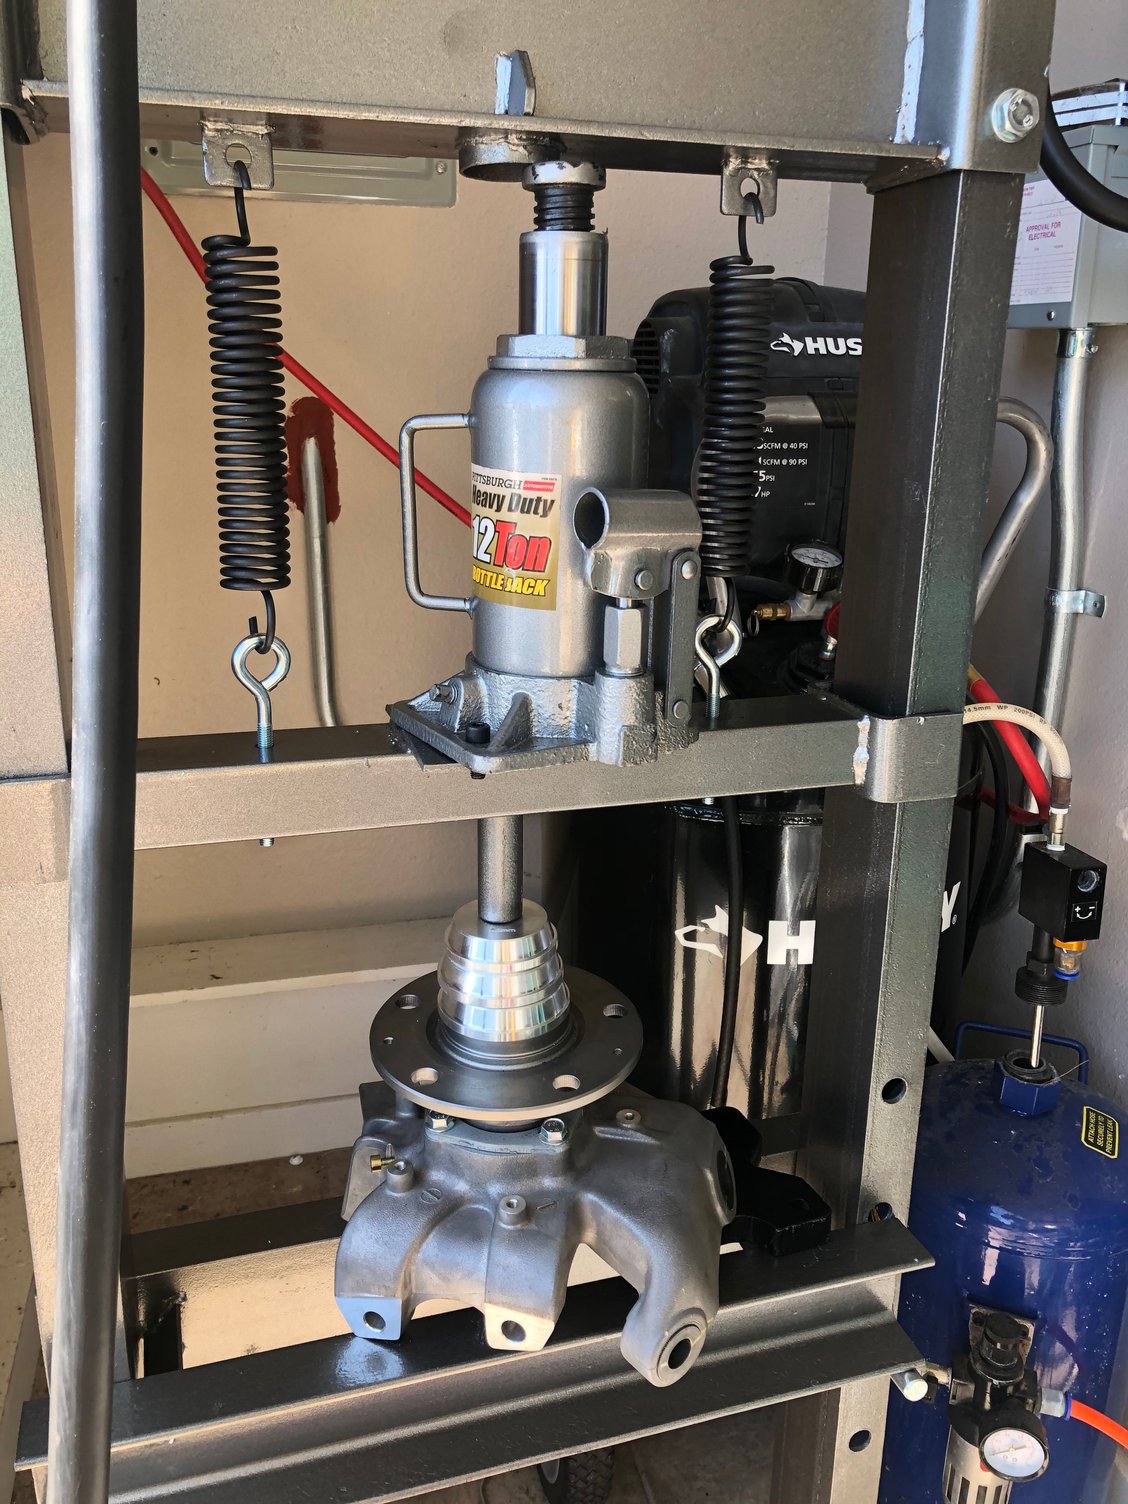
- HF 12 Ton press works really well for pressing front hubs in. Even when they send you a botched bottle jack and you have rig something up from off the shelf parts.
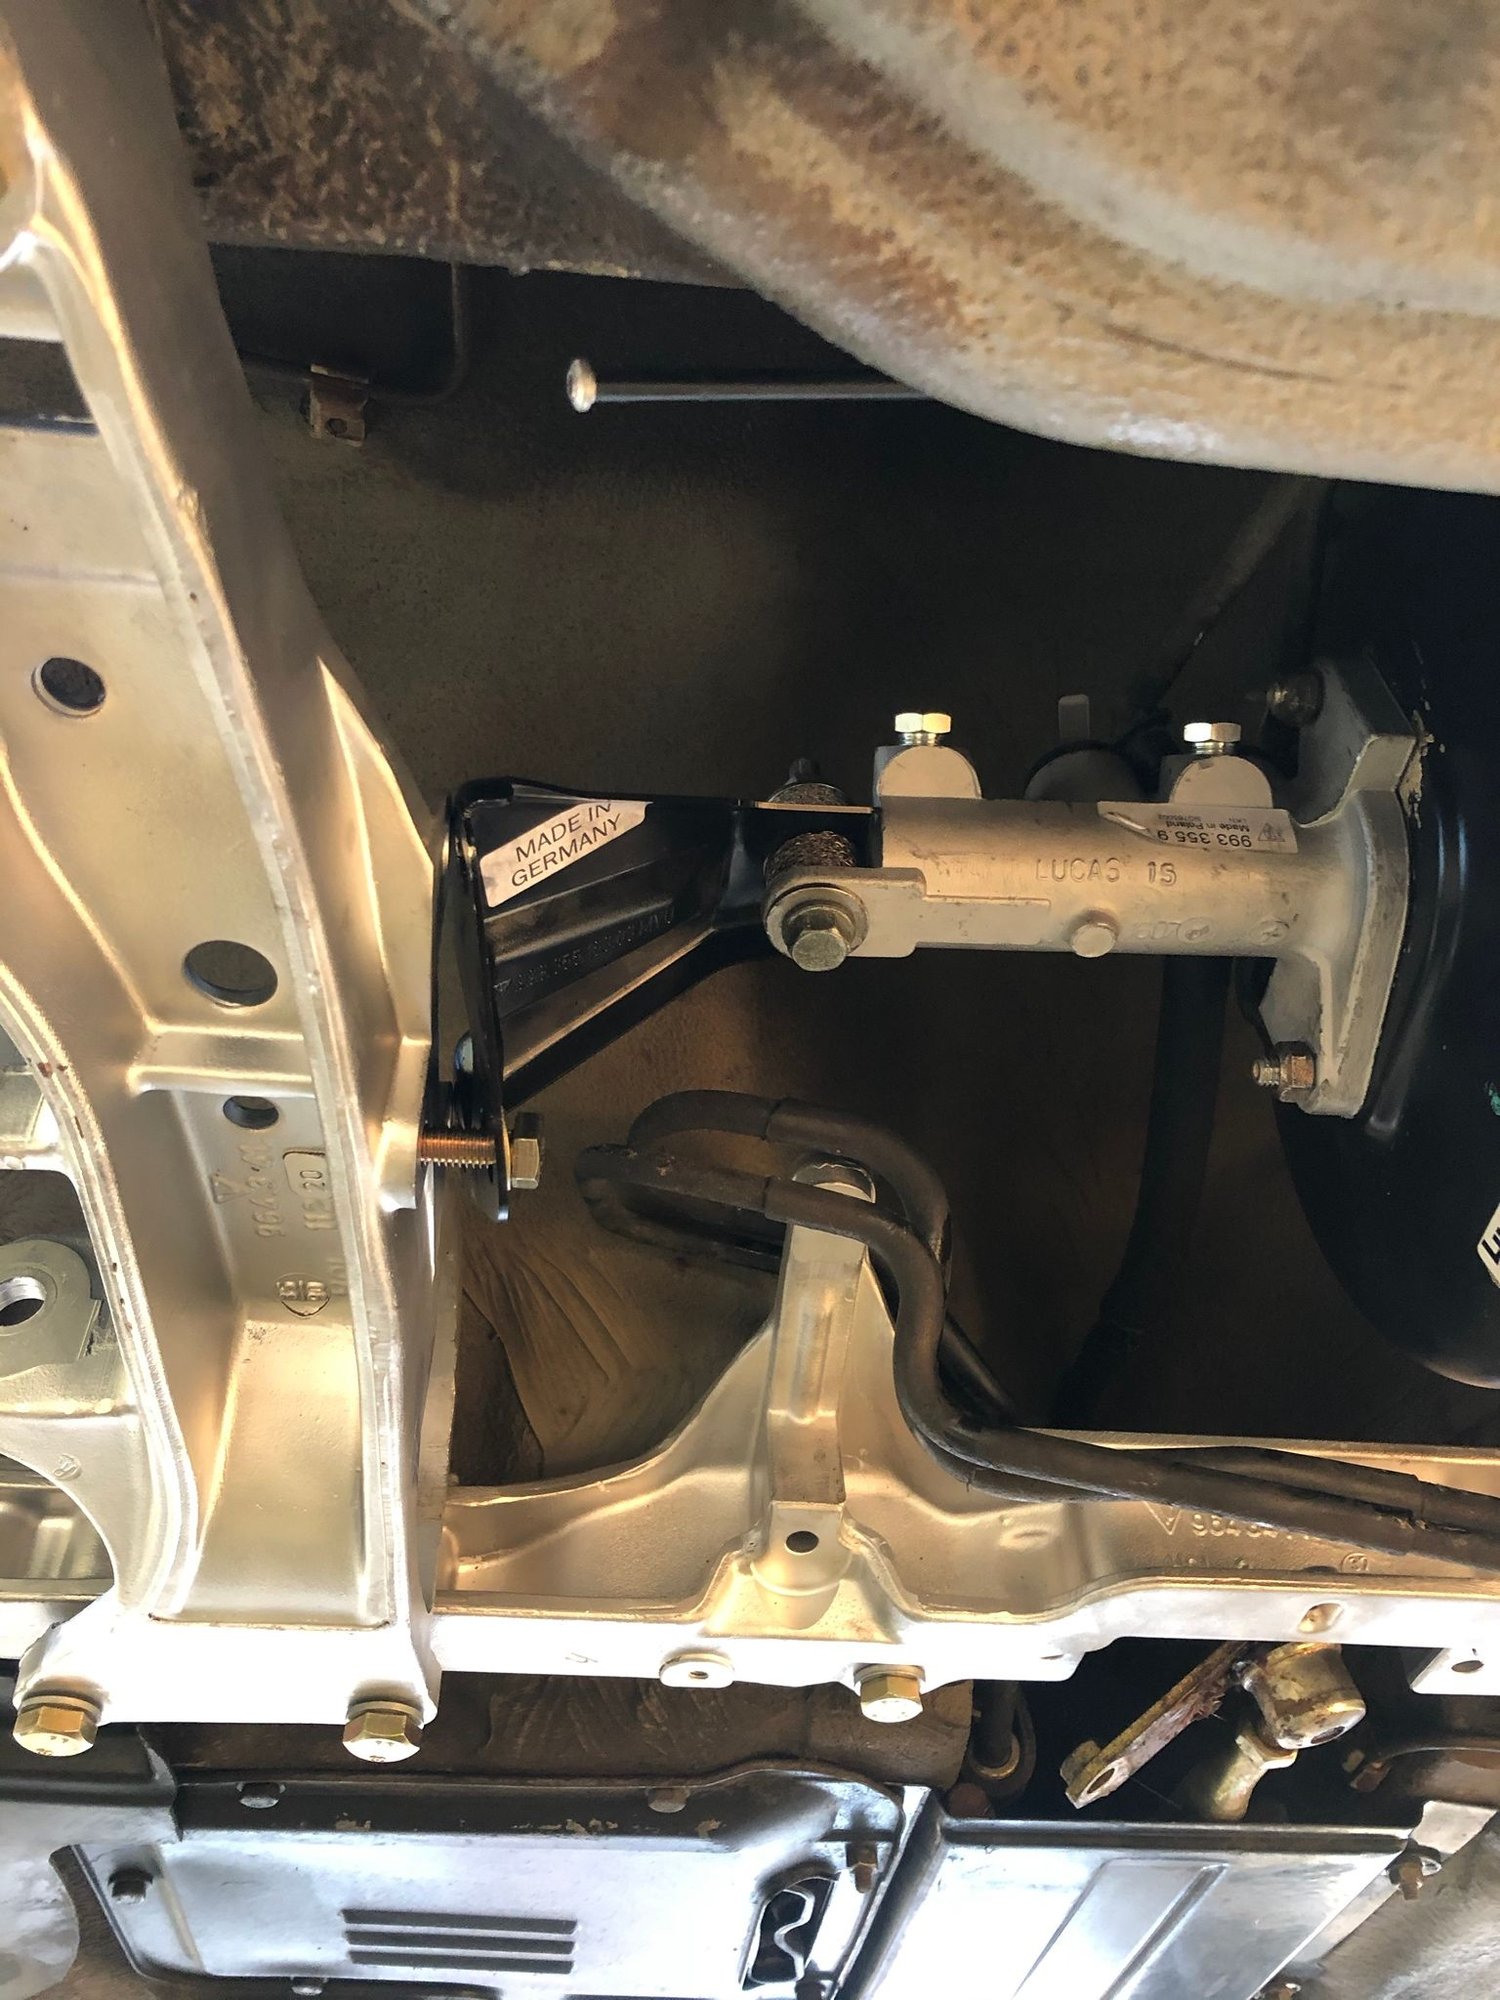
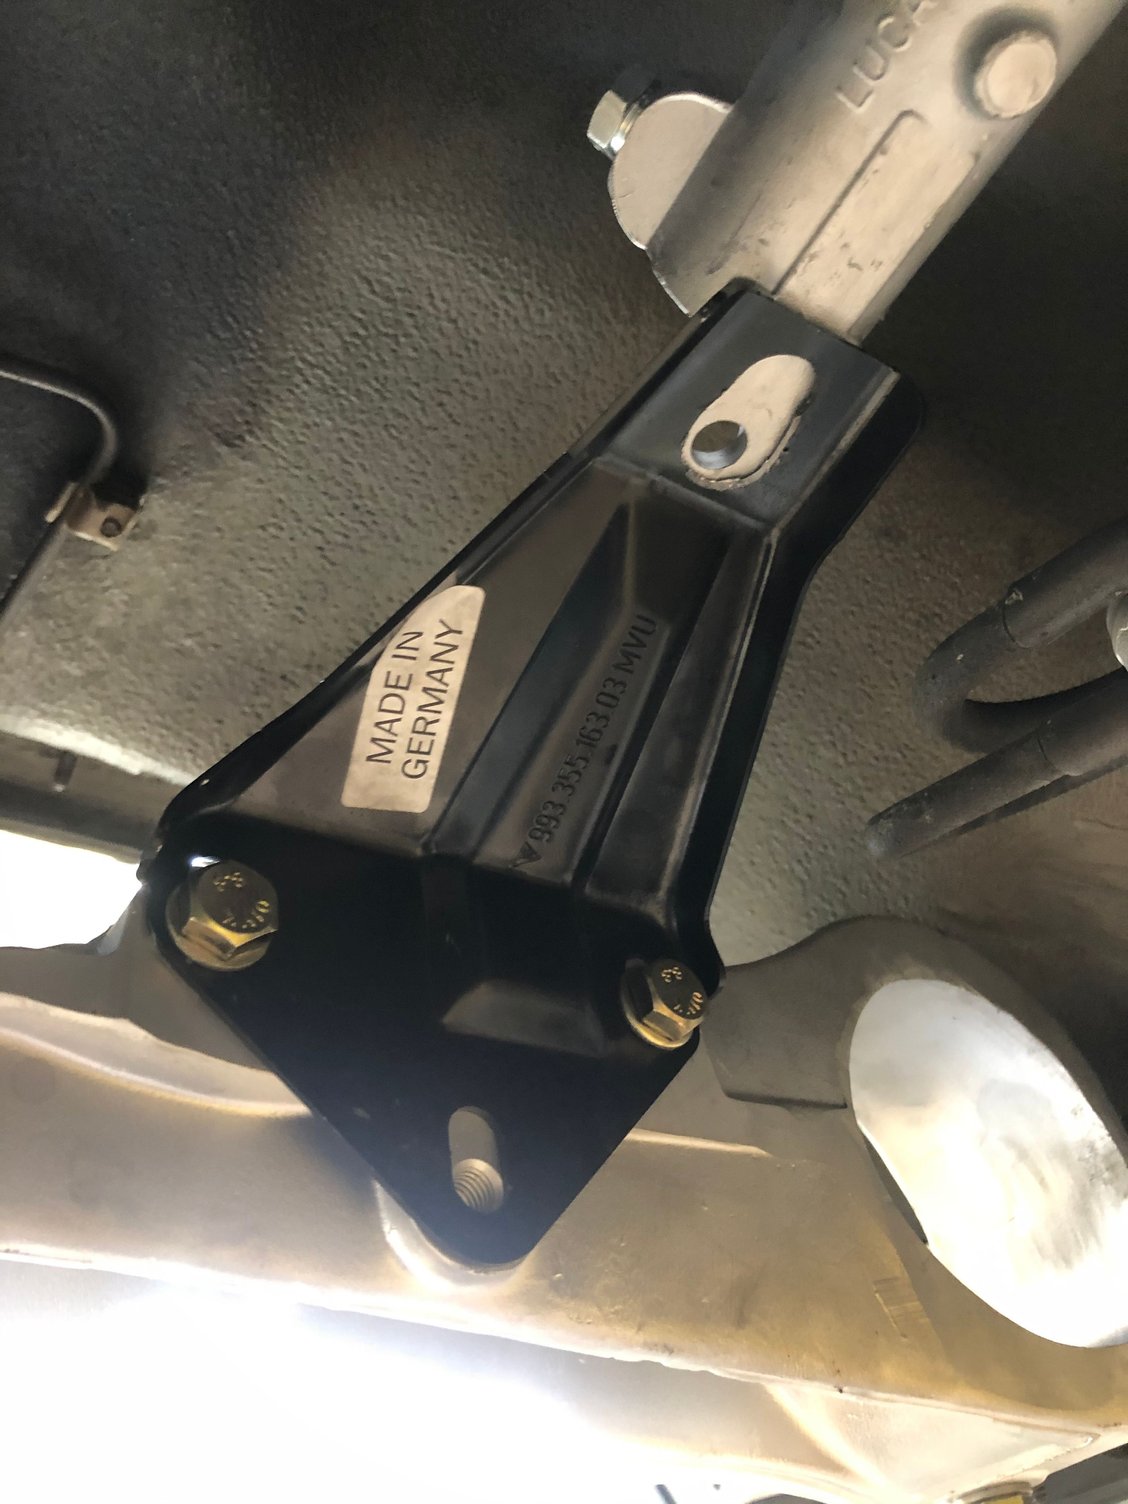
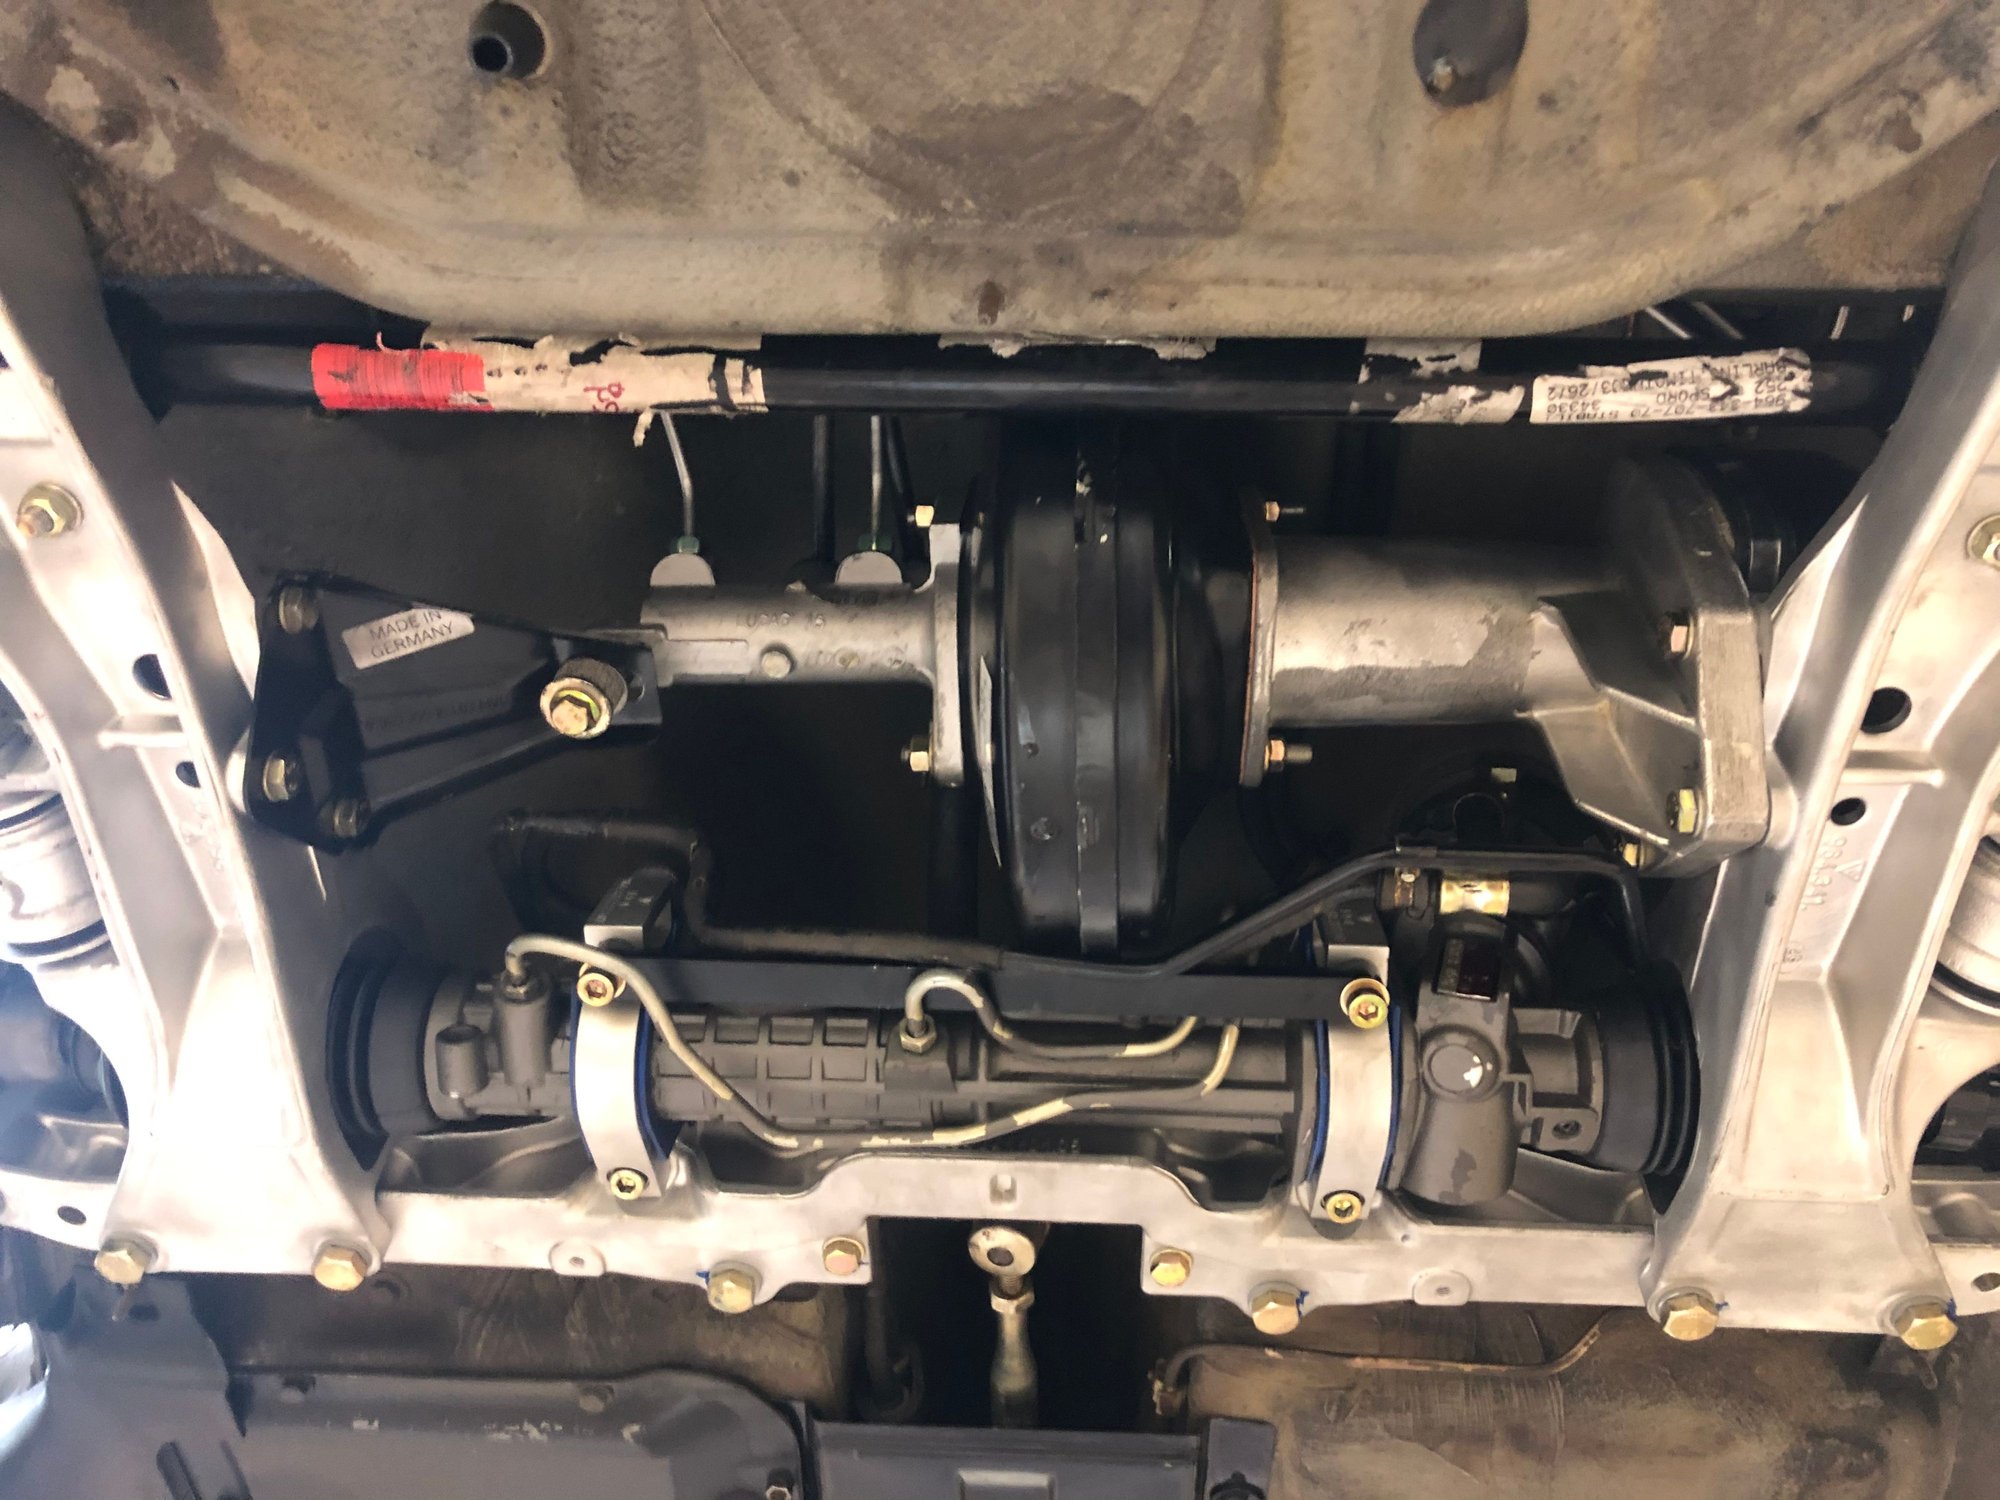
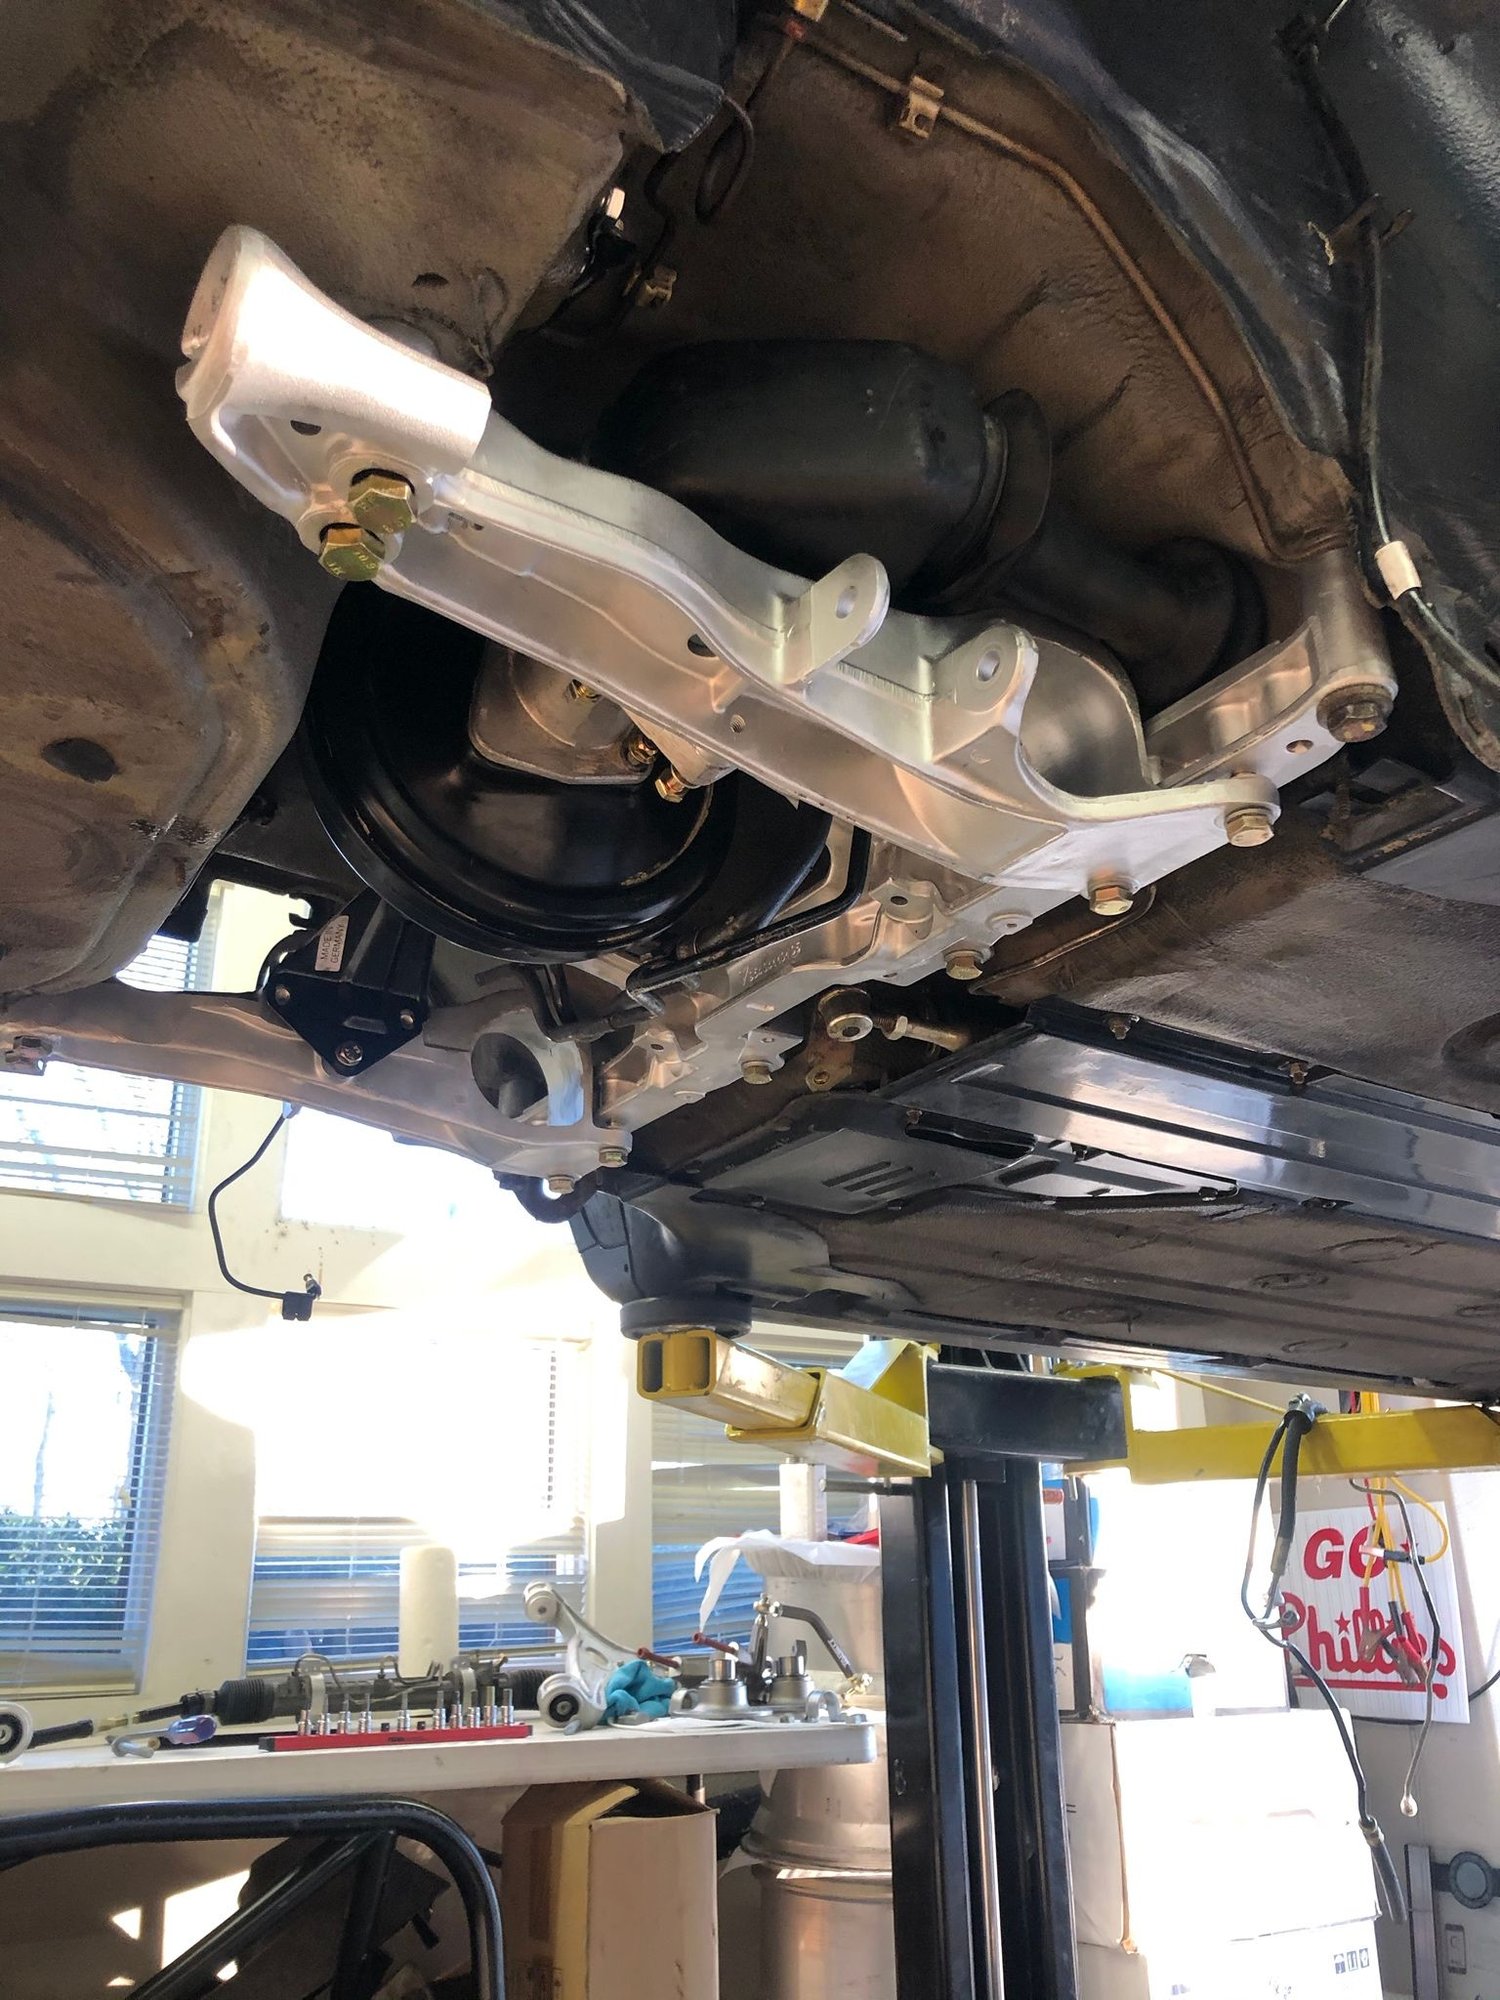
- The 993 m/c bracket to the right subframe requires clearancing the m/c side hole and trimming the washer. This whole assembly requires some fiddling to get to fit, especially with an 964 RS front bar and a 993 brake booster. My post from another thread is quoted below. Not mentioned, I had to remove the assembly at some point after that post, and when I put it back in, I found even more clearance for no apparent reason. So like I said, play with it a bit if you're attempting this.
- If you're using Powerflex Black front sway bar bushings, buy some 5mm longer bolts to hold them down. It will make assembly MUCH easier.
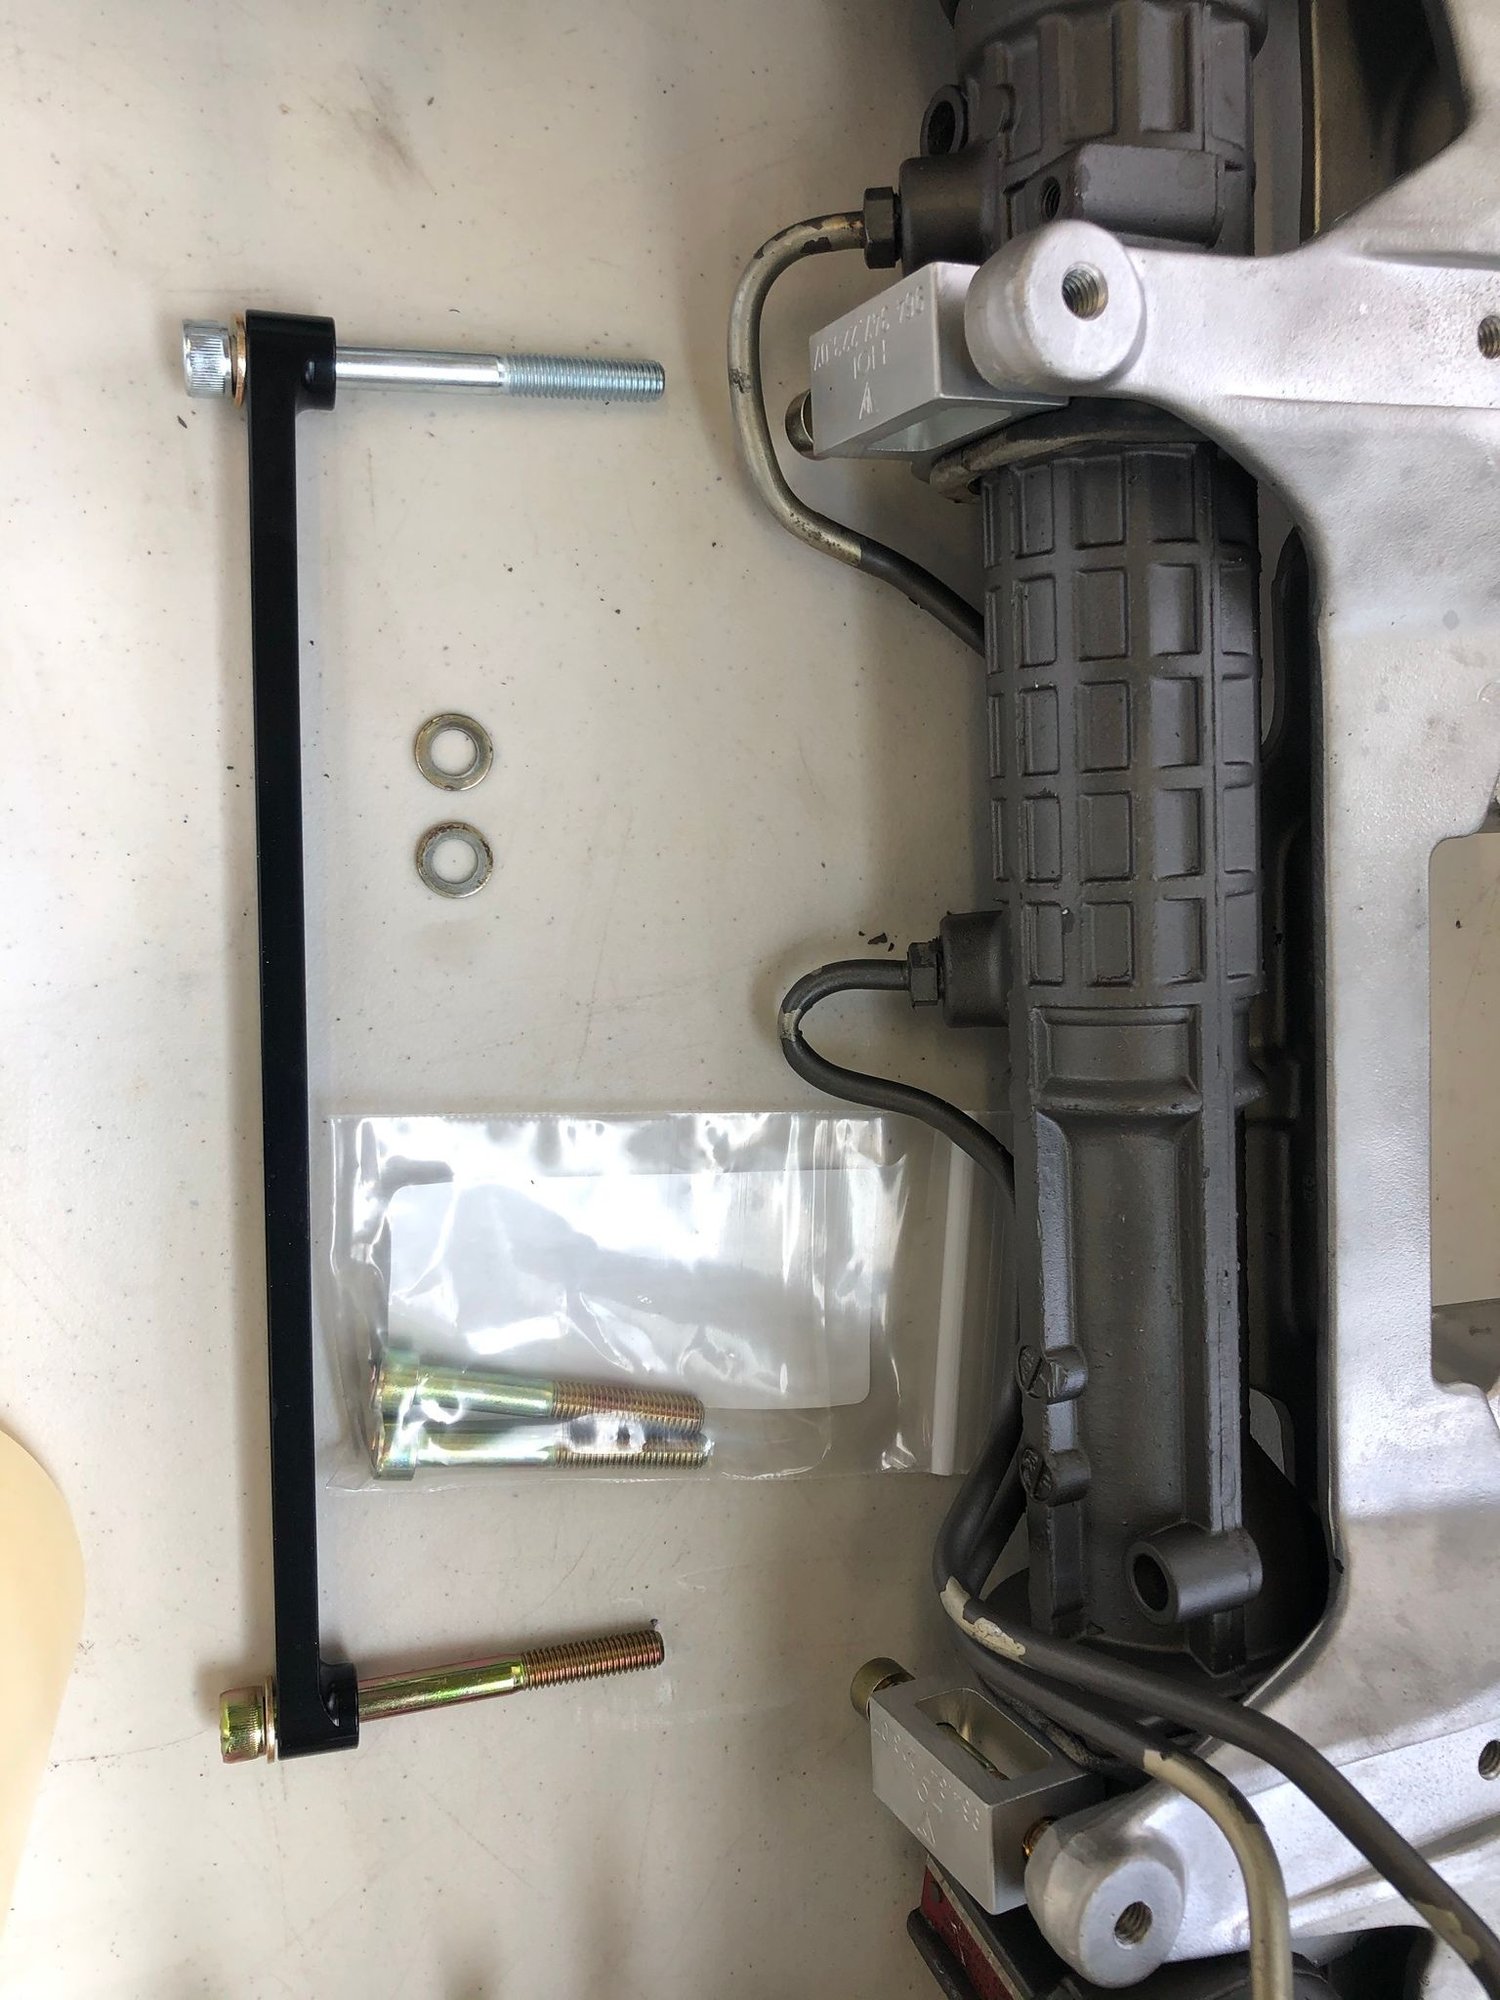
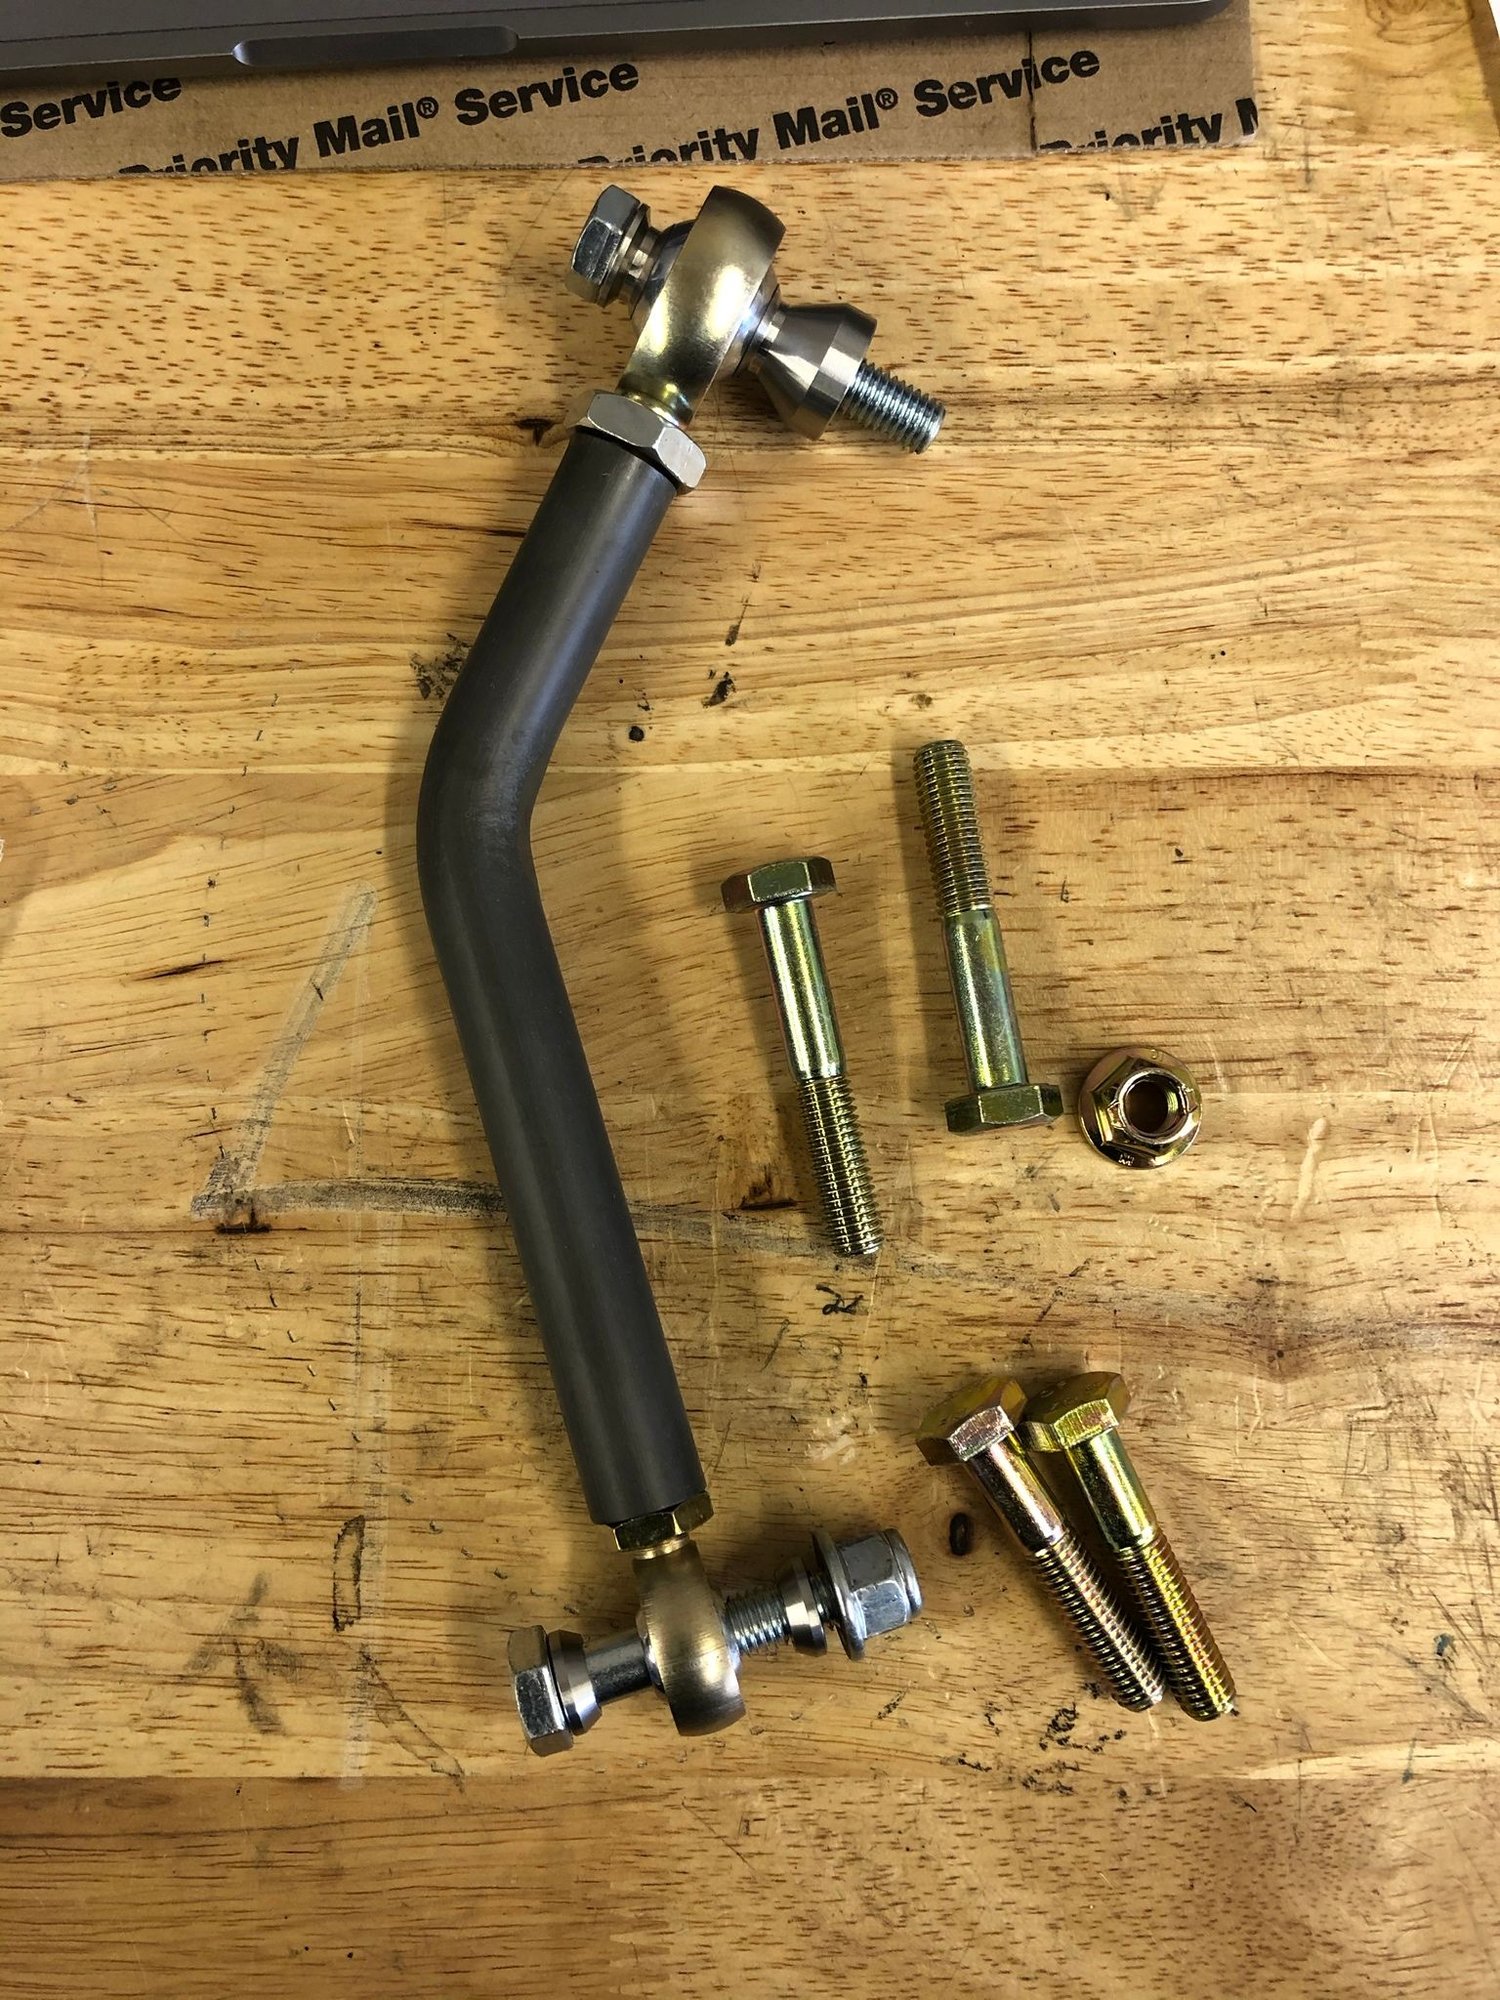
- The Rothsport steering rack brace does fit (993 rack) but requires some maneuvering of the lines. I ordered yellow zinc plated longer hardware, to match, but those small OD washers are impossible to find in yellow zinc for the other side. More on hardware in an upcoming post.
- Brakes and brake lines were the worst part of this whole project. They will get a post of their own.
Originally Posted by tjb616
Here's what I ended up doing for future reference. It was a cringeworthy process, but hopefully all good.
964 RS Bar
24mm Powerflex Black Bushings
993 Master Cylinder, Booster, etc
964 Longitudinals and Crossmember
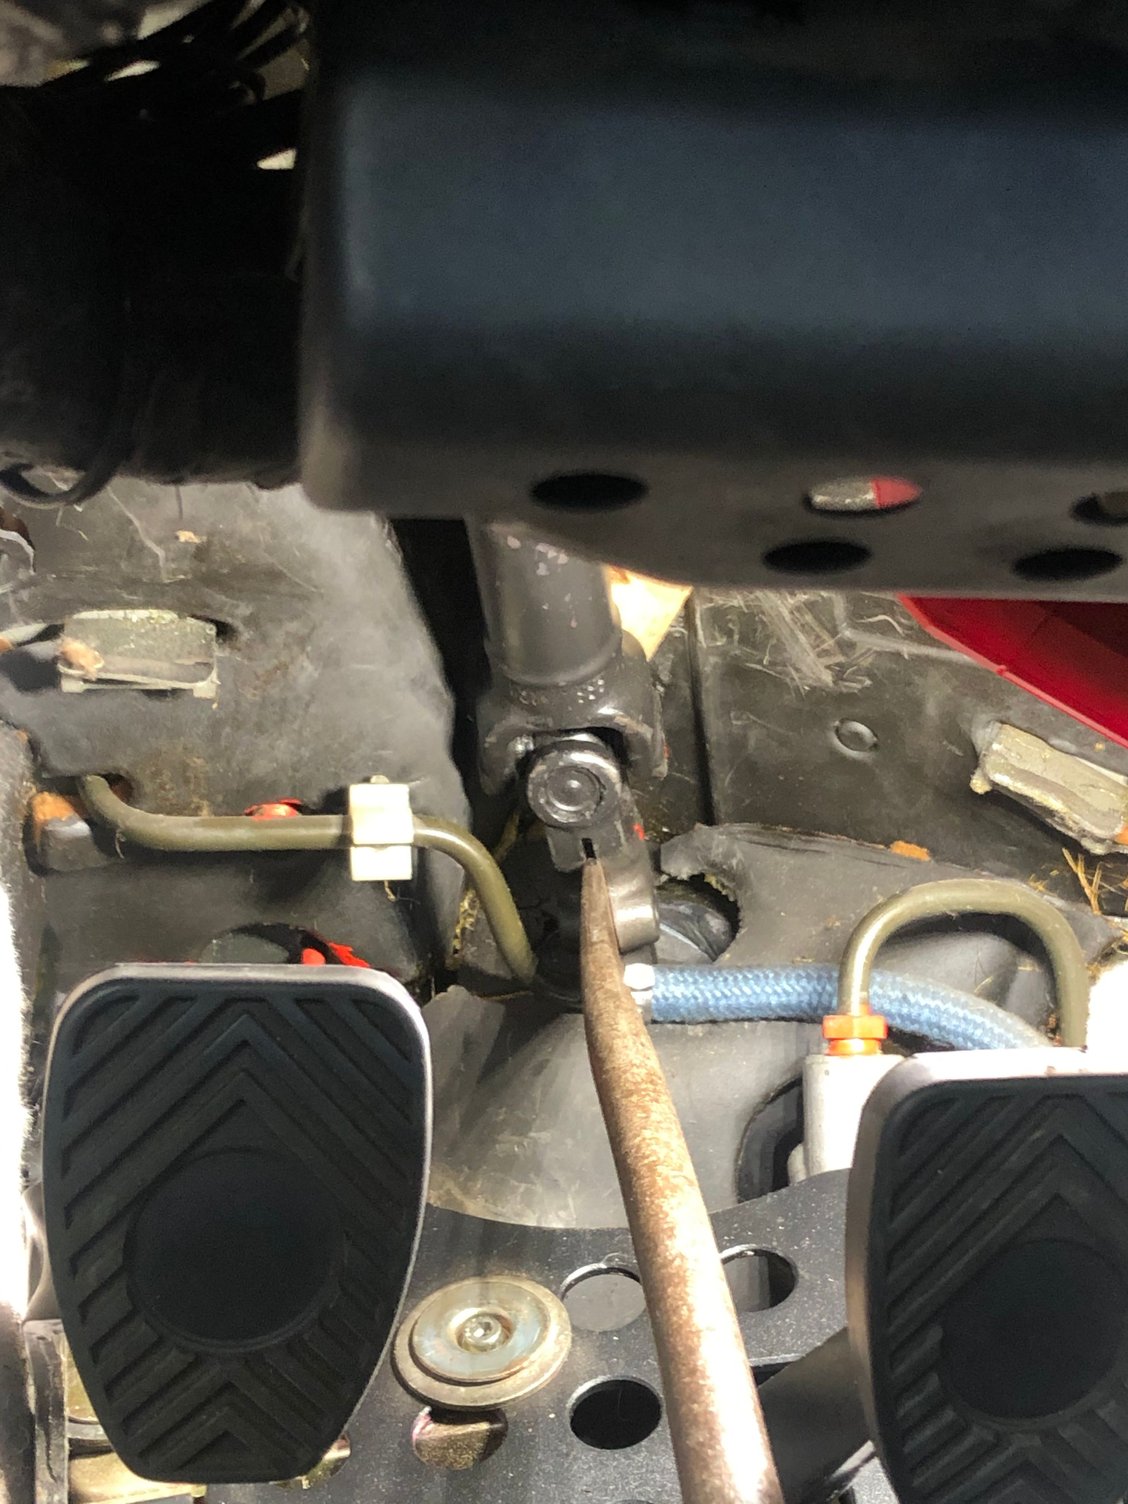
Ah, another note, the steering rack spline refitting SUCKS. If anyone is struggling with it, PM me and I'll hop on a call to discuss on the different things I tried, but essentially what worked was aligning it to start while wedging wood behind the joint in the foot well, then using a rubber mallet to get it started straight. Took quite a few tires. Then I used the rack bolts to tighten it down to seat the to halves fully. Getting the wood out also wasnt fun at the end, but this whole process took a solid hour to figure out.
It will be interesting to see how you make out with the camber. Spyerx was fine with 964 longitudinals but Foxman and others have had to go to 993 units to get full adjustment for hard cornering. I'll be going though all this during the coming winter so thanks for posting it all!
It will be interesting to see how you make out with the camber. Spyerx was fine with 964 longitudinals but Foxman and others have had to go to 993 units to get full adjustment for hard cornering. I'll be going though all this during the coming winter so thanks for posting it all!
Pete
Full adjustment of what? Camber? Between the camber plates and the strut/upright adjustment, it was no problem getting camber where my shop suggested it. Unfortunately, I'm not particularly thrilled with the setup, but Im thinking that has more to do with the springs and struts than anything.
I do have 993 longs and was originally going to install them, but ending up finding the wheels first, and didnt want to rebuild them to the adjusted offset. I believe I have the exact same assembly of OEM parts and wheel specs as Spyrex, with the key difference being his BBI Uprights vs my OEM RS. Of course he also has better shocks and Mr. Seeley, so I imagine his car drives quite a bit better than mine at the moment.
The setup plan, based entirely on advice from members of the community:
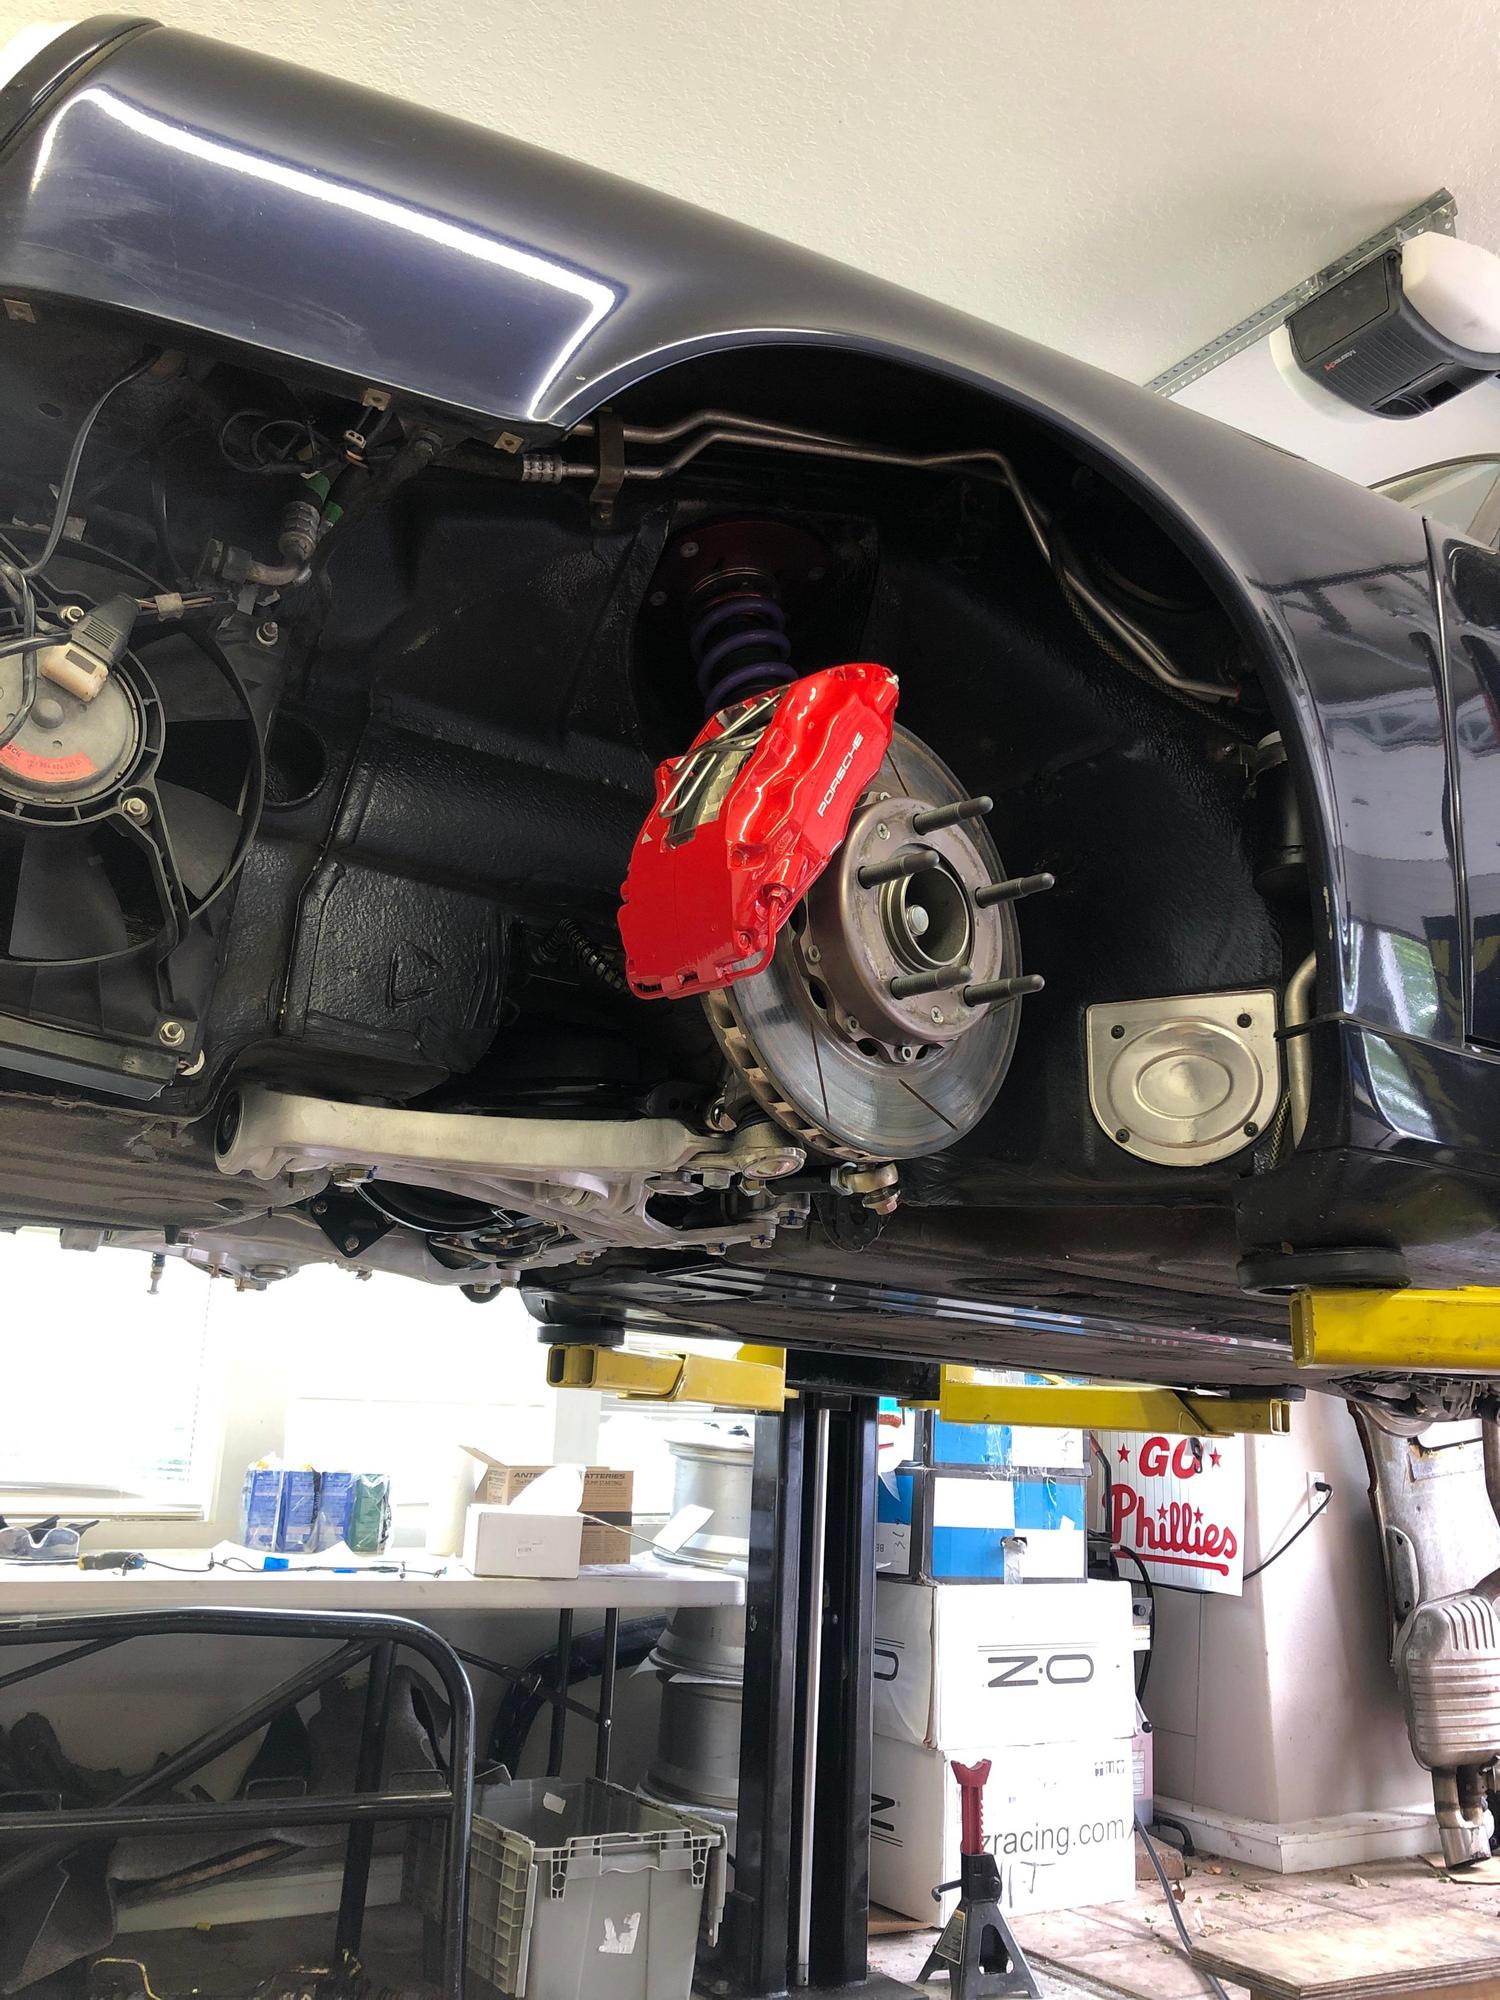
993 Big Red Fronts (Forum Purchase)
993 C2/4 Rears (Hershey Swap Meet)
Racing Brake Seals and Boots
Racing Brake Stainless Front Pistons
Girodisc Front Rotors (PCA Member)
Pressure Limiting Valve Delete
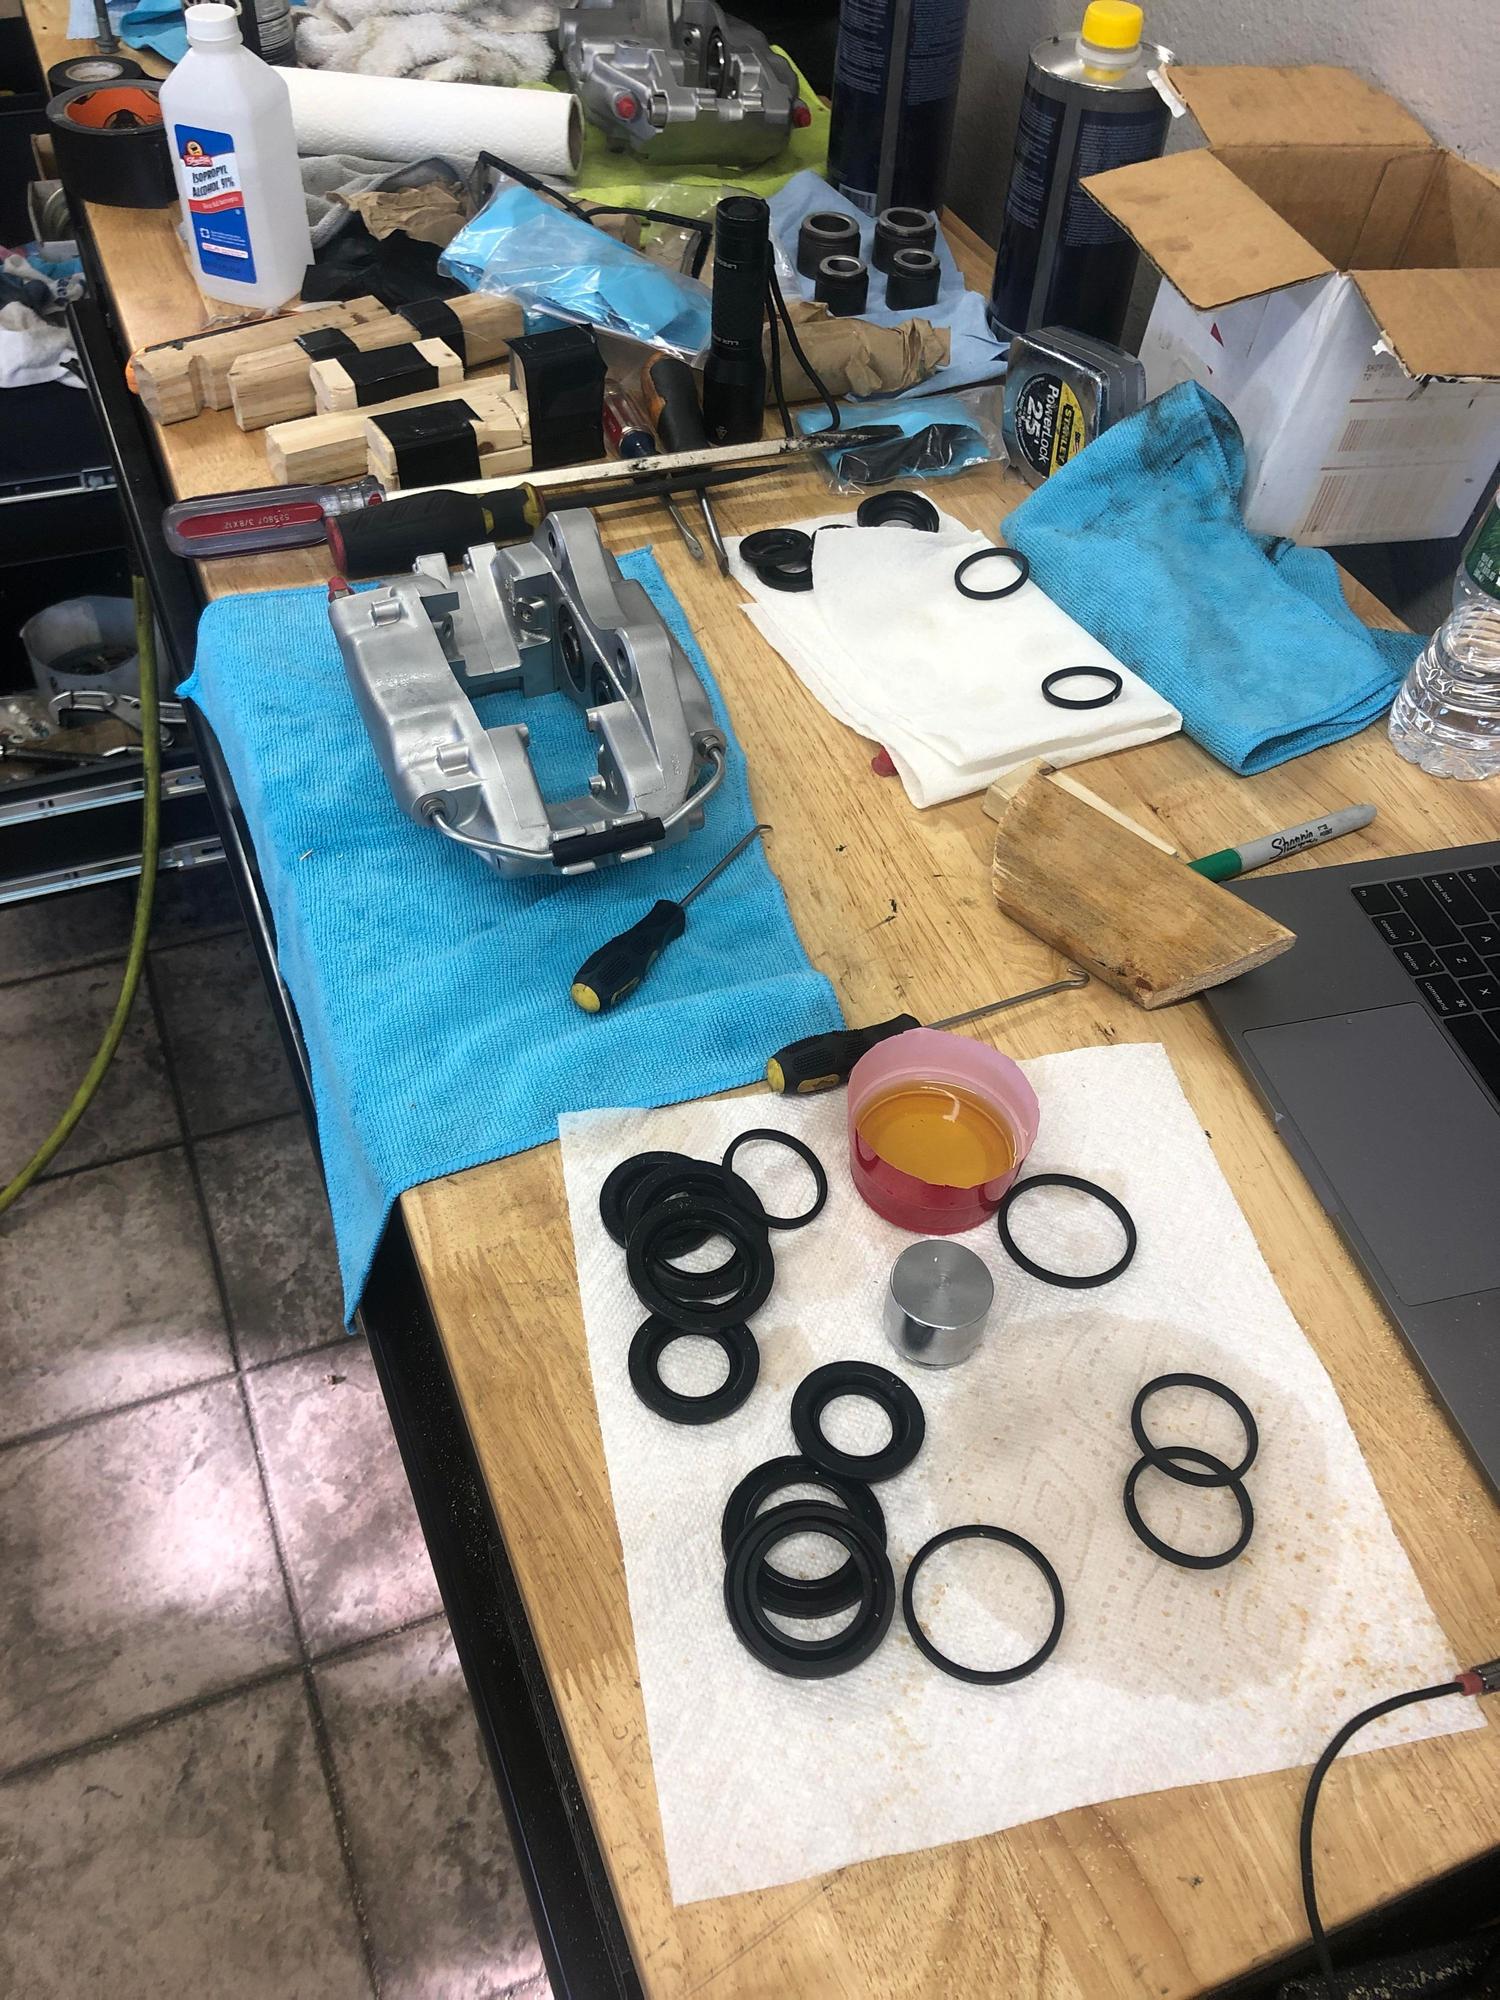
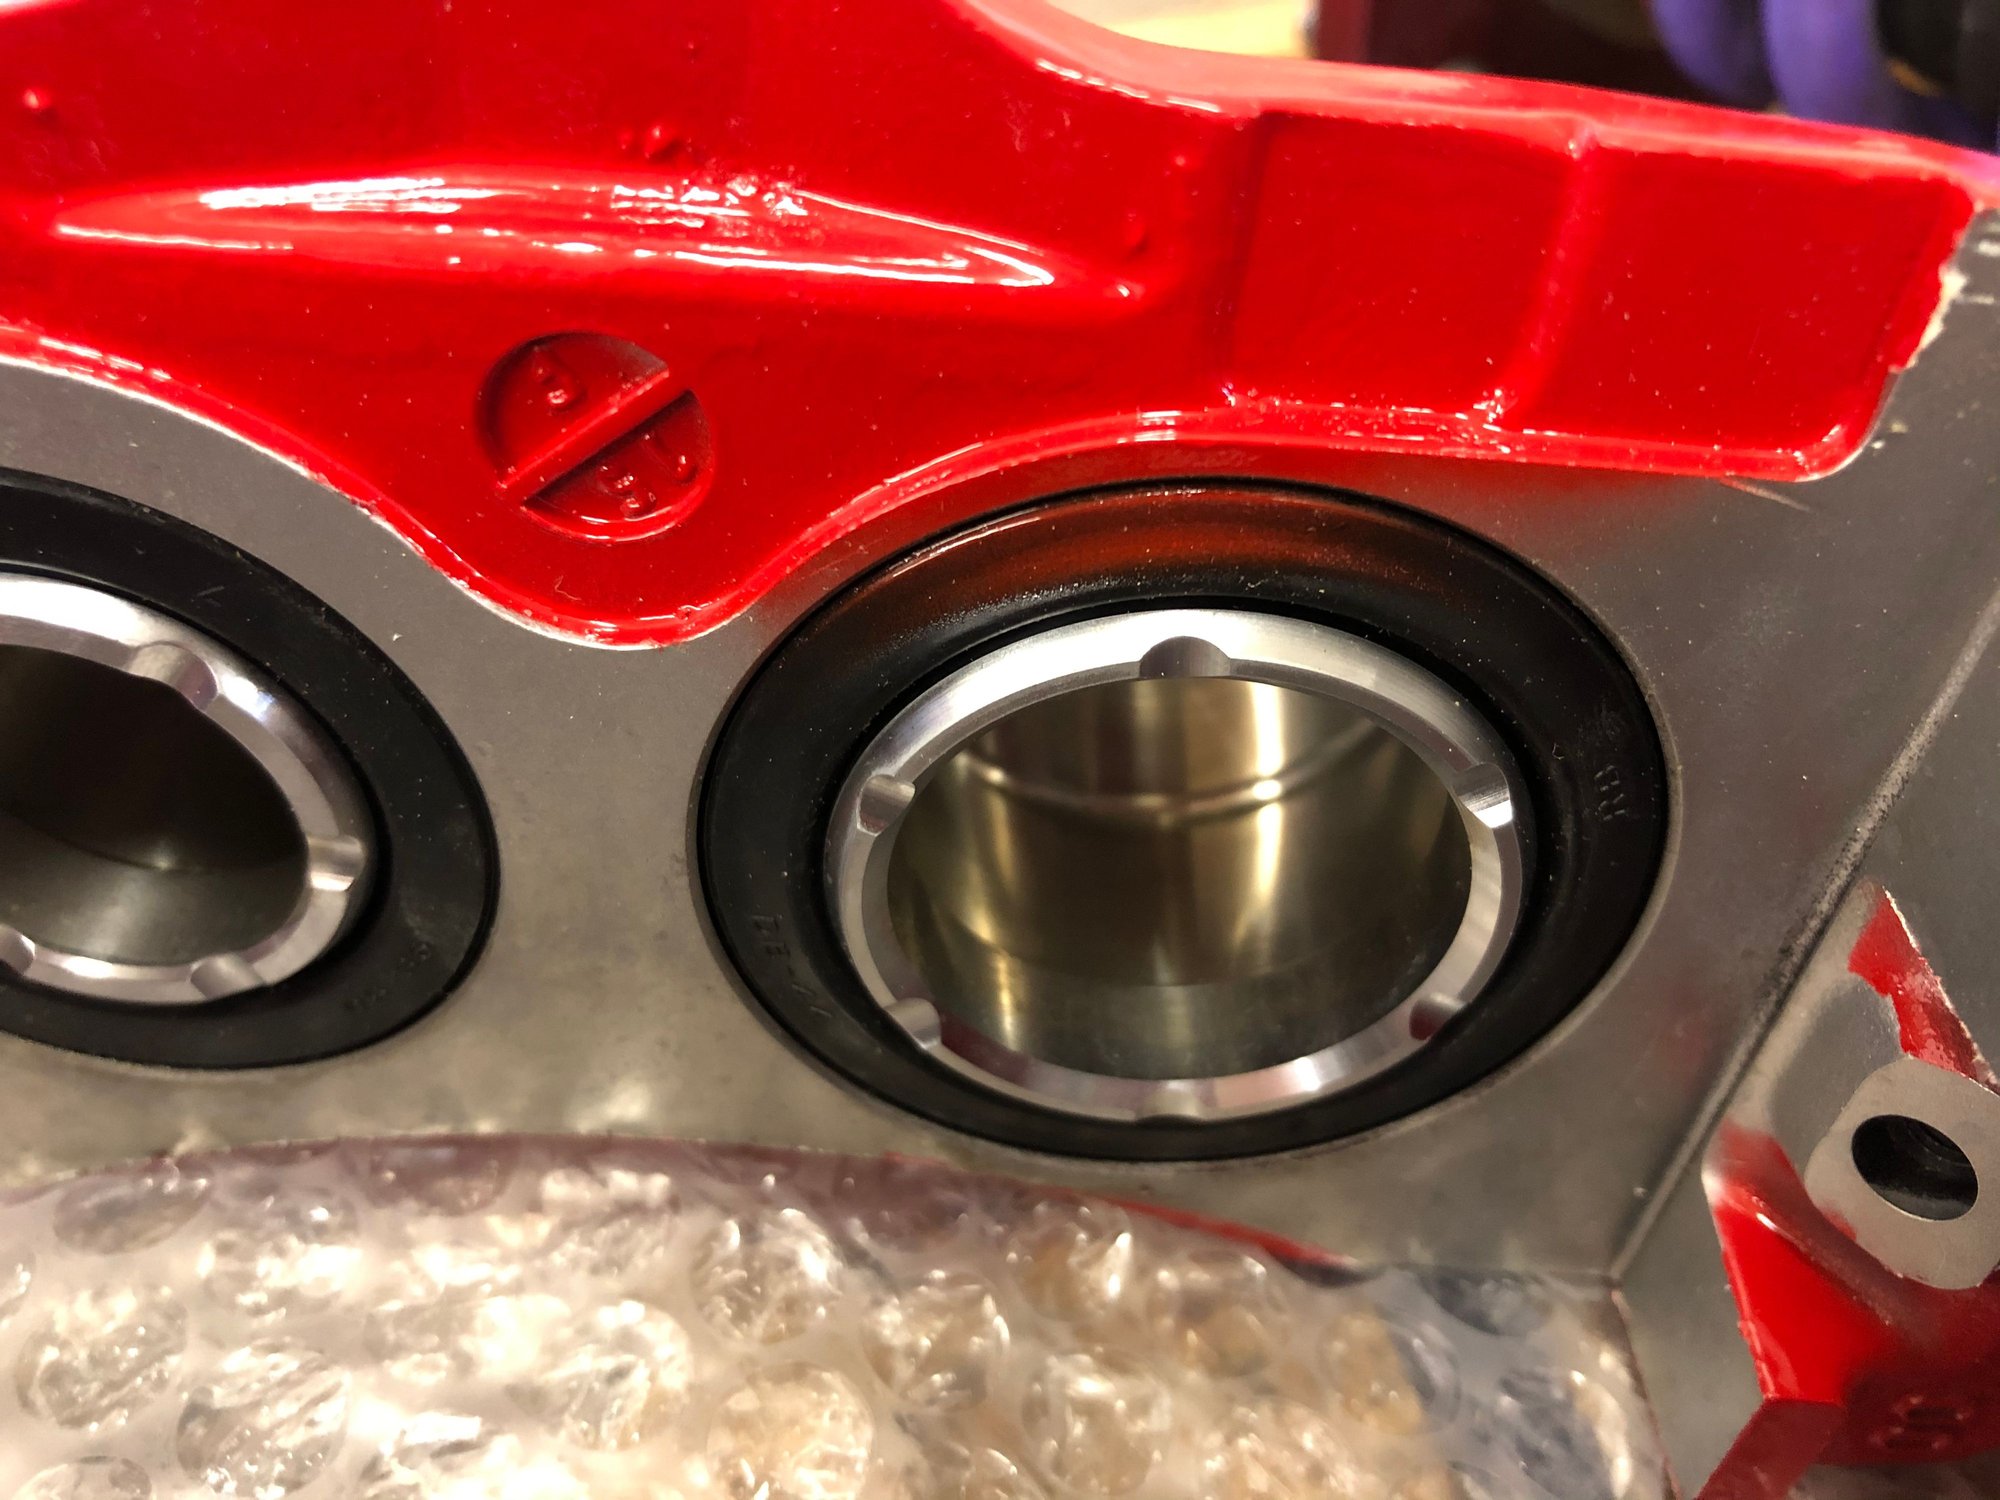
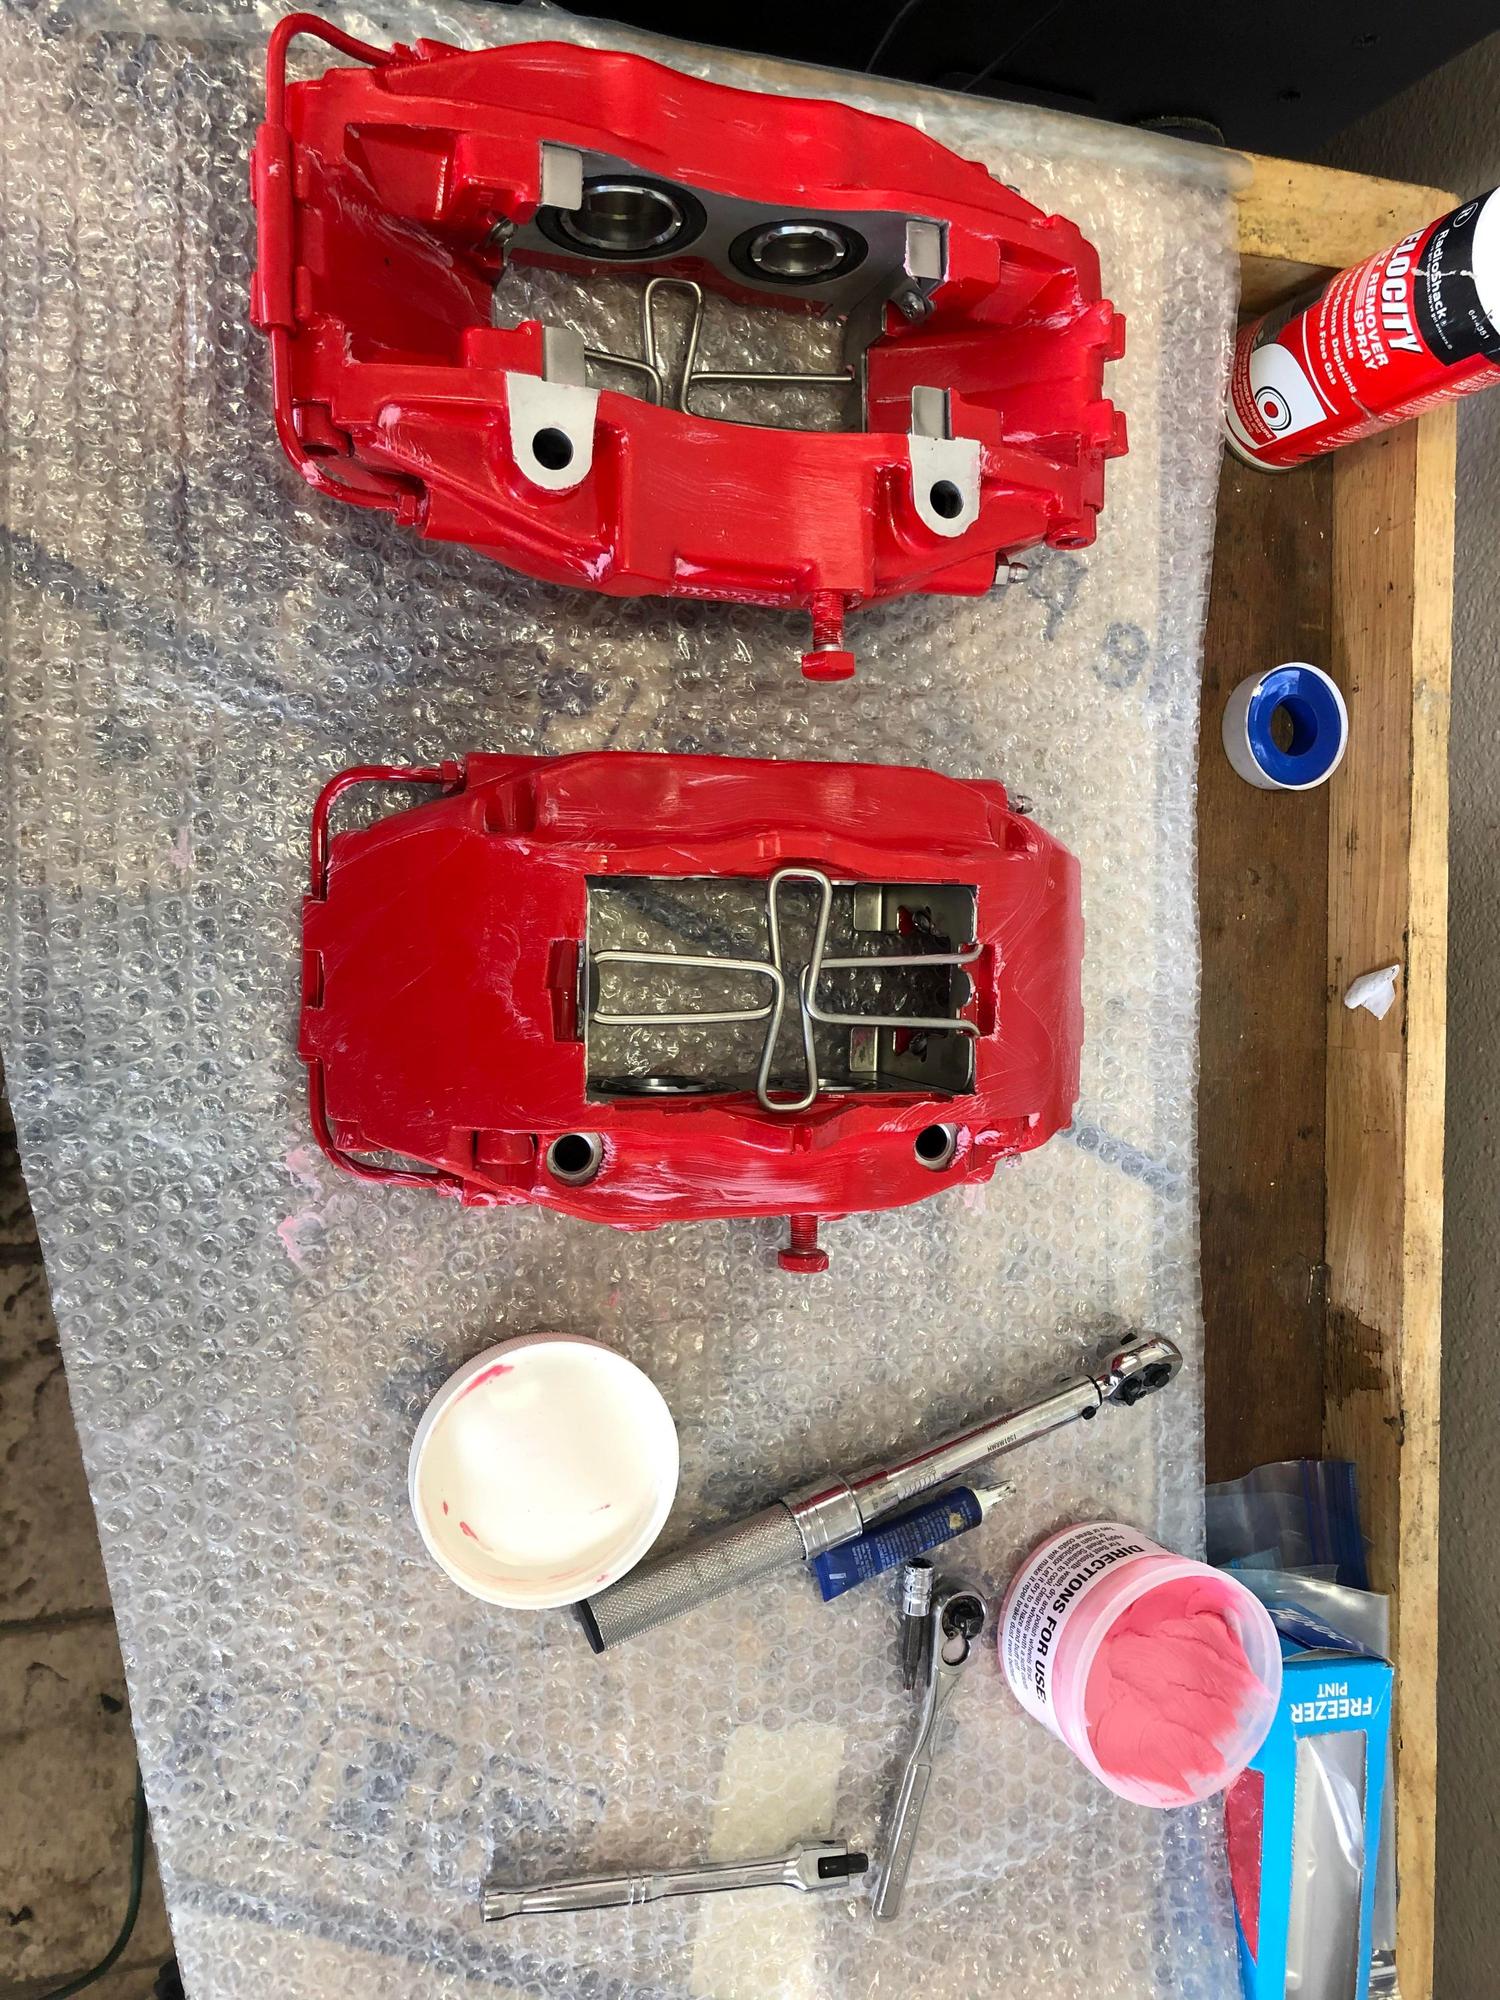
Had the calipers all vapor blasted first. If anyone needs the service in the Philly/SNJ area, feel free to reach out and I'll send you my guys info. He mostly does dirt bike engines and parts, but he was actually a former Porsche tech and is happy to work with anything that fits in his cabinet (20" wheels fit, for reference.)
Next came the rebuild, it was very straight forward. The part that required the most patience was actually cutting different sections of wood and assembling to get the pistons all out. See my contraptions at the top of the first photo. Once they were all out for the first time, it was much easier. I used compressed air in the brake line hole, but the calipers had been sitting and it took quite a bit of pressure. Put a big towel over everything before you try this!
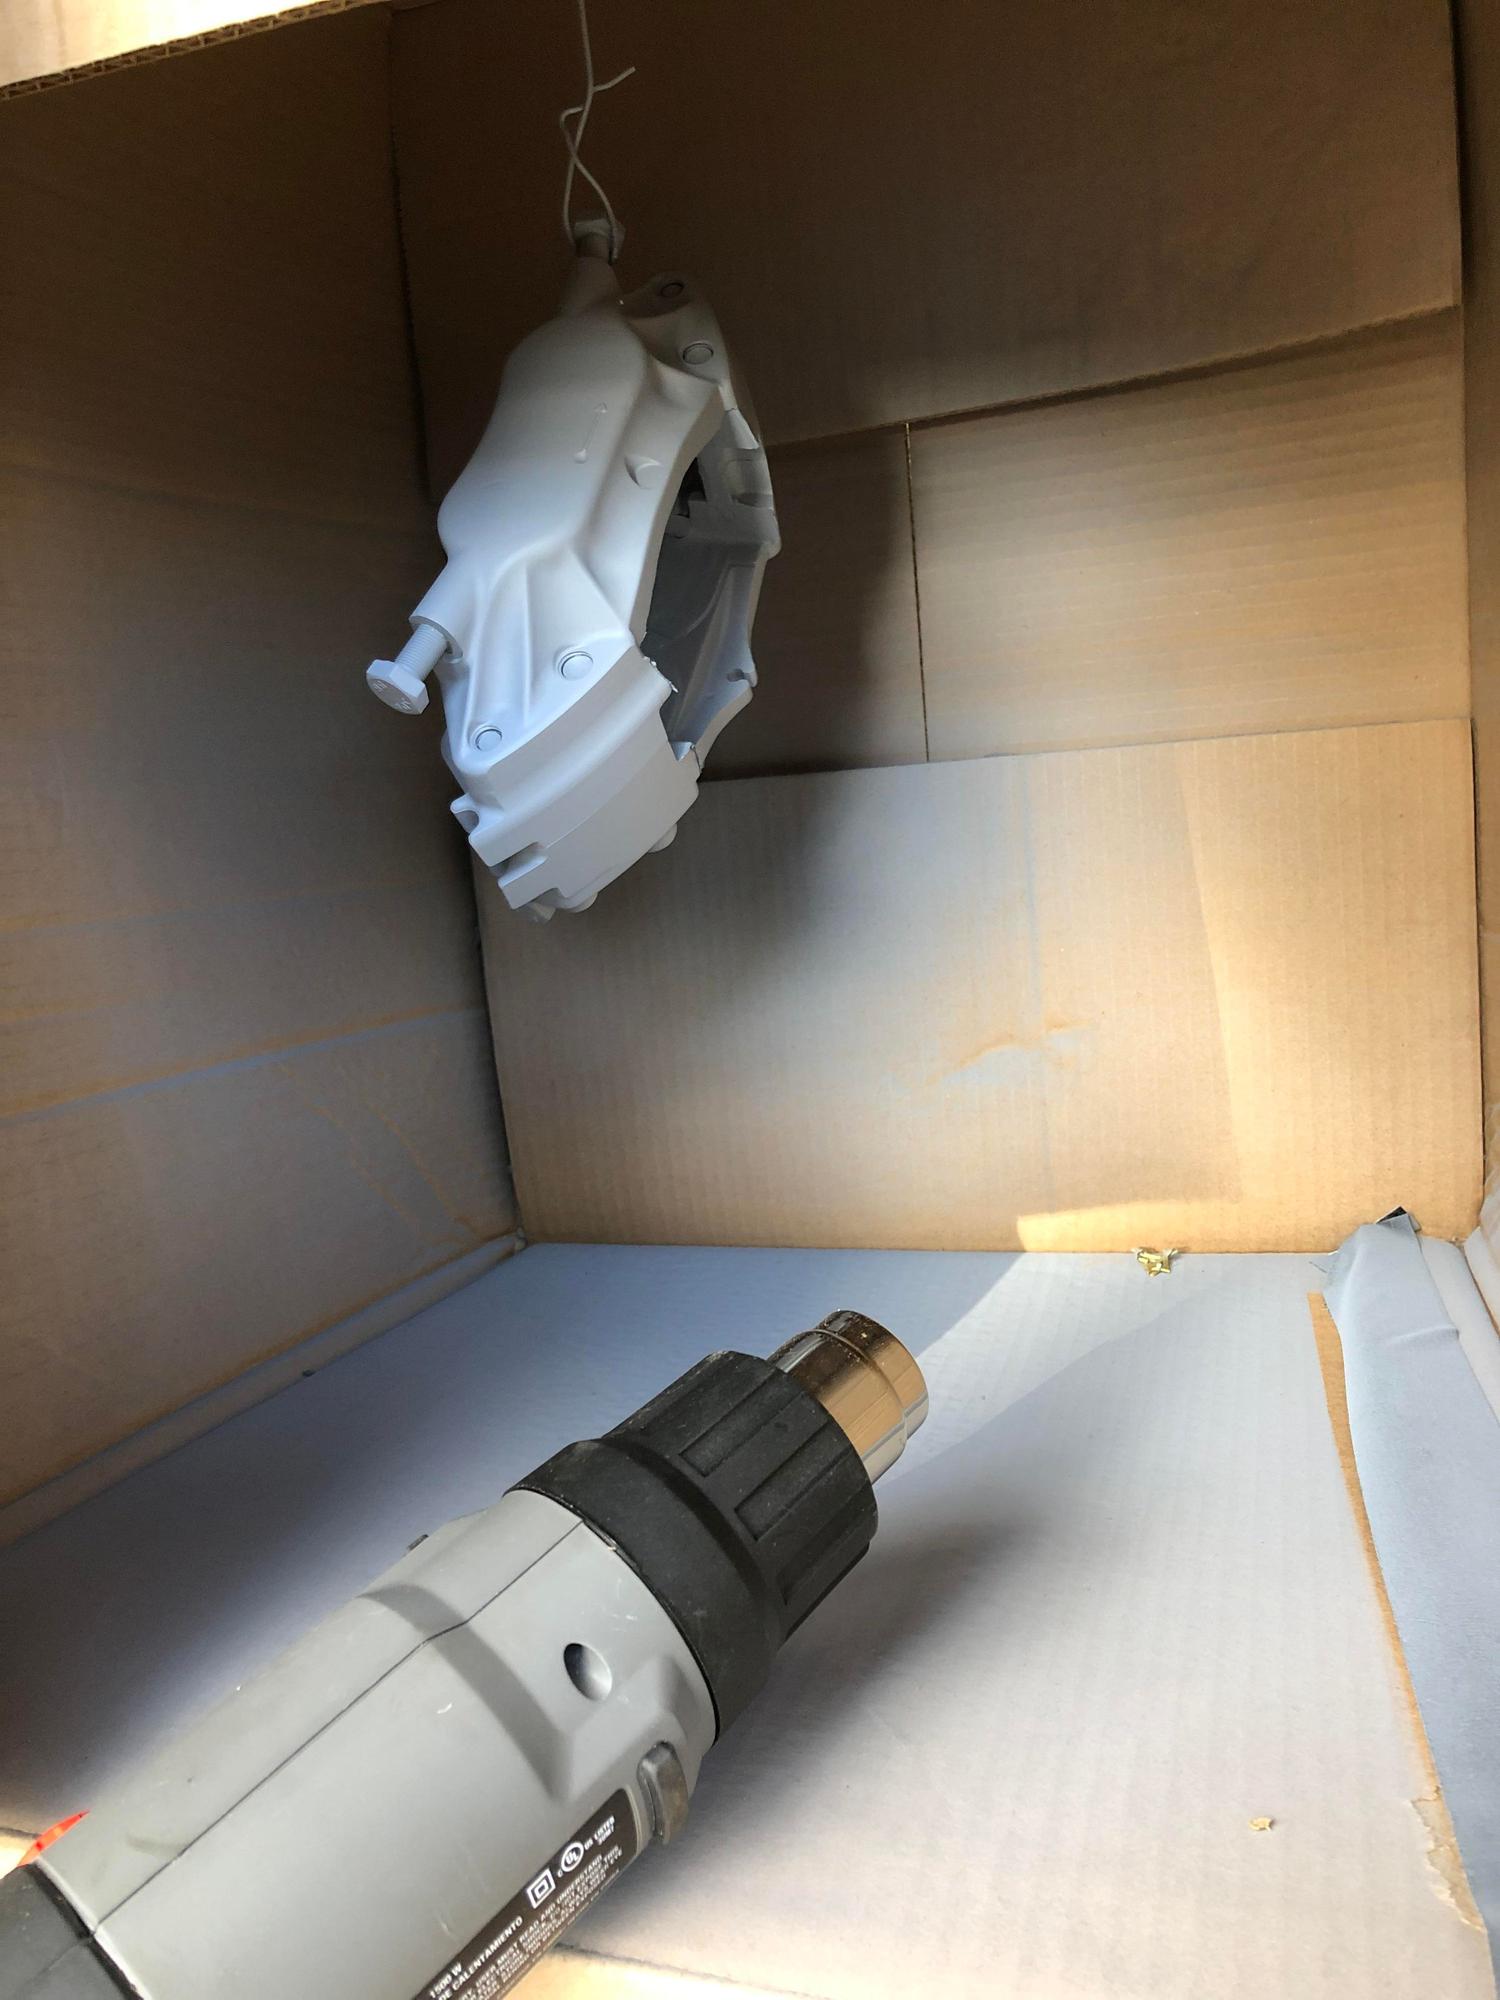
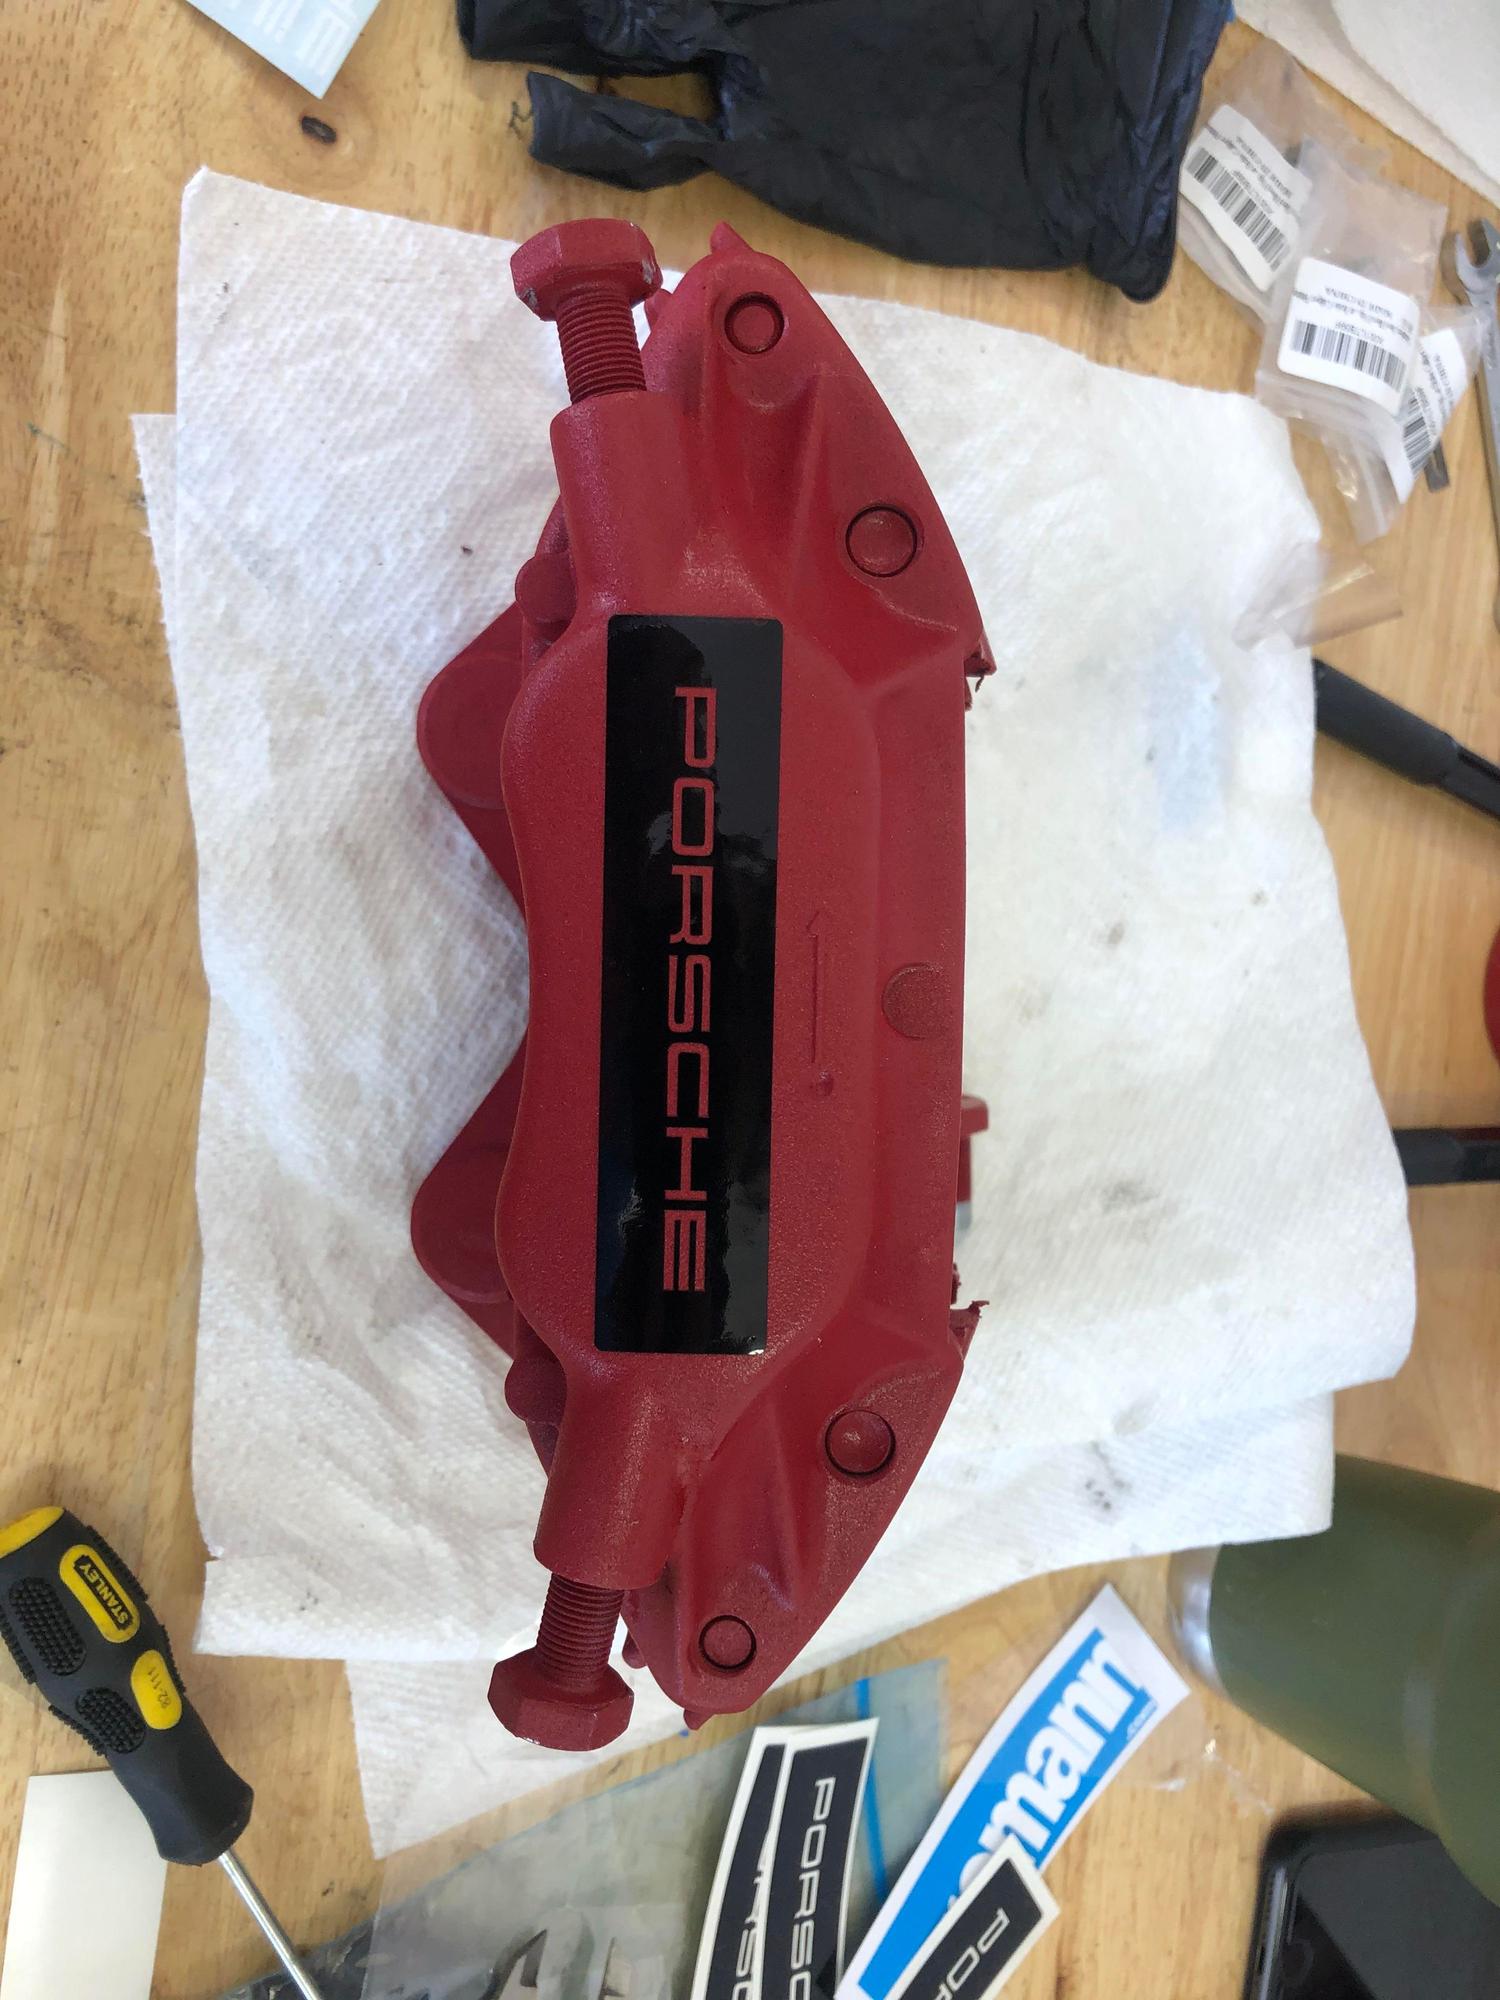
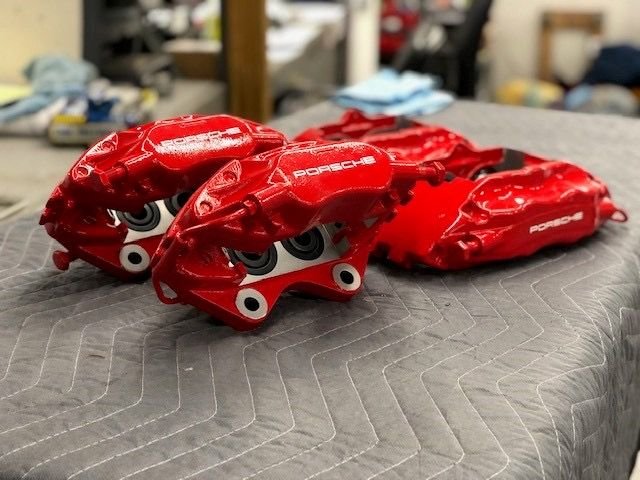
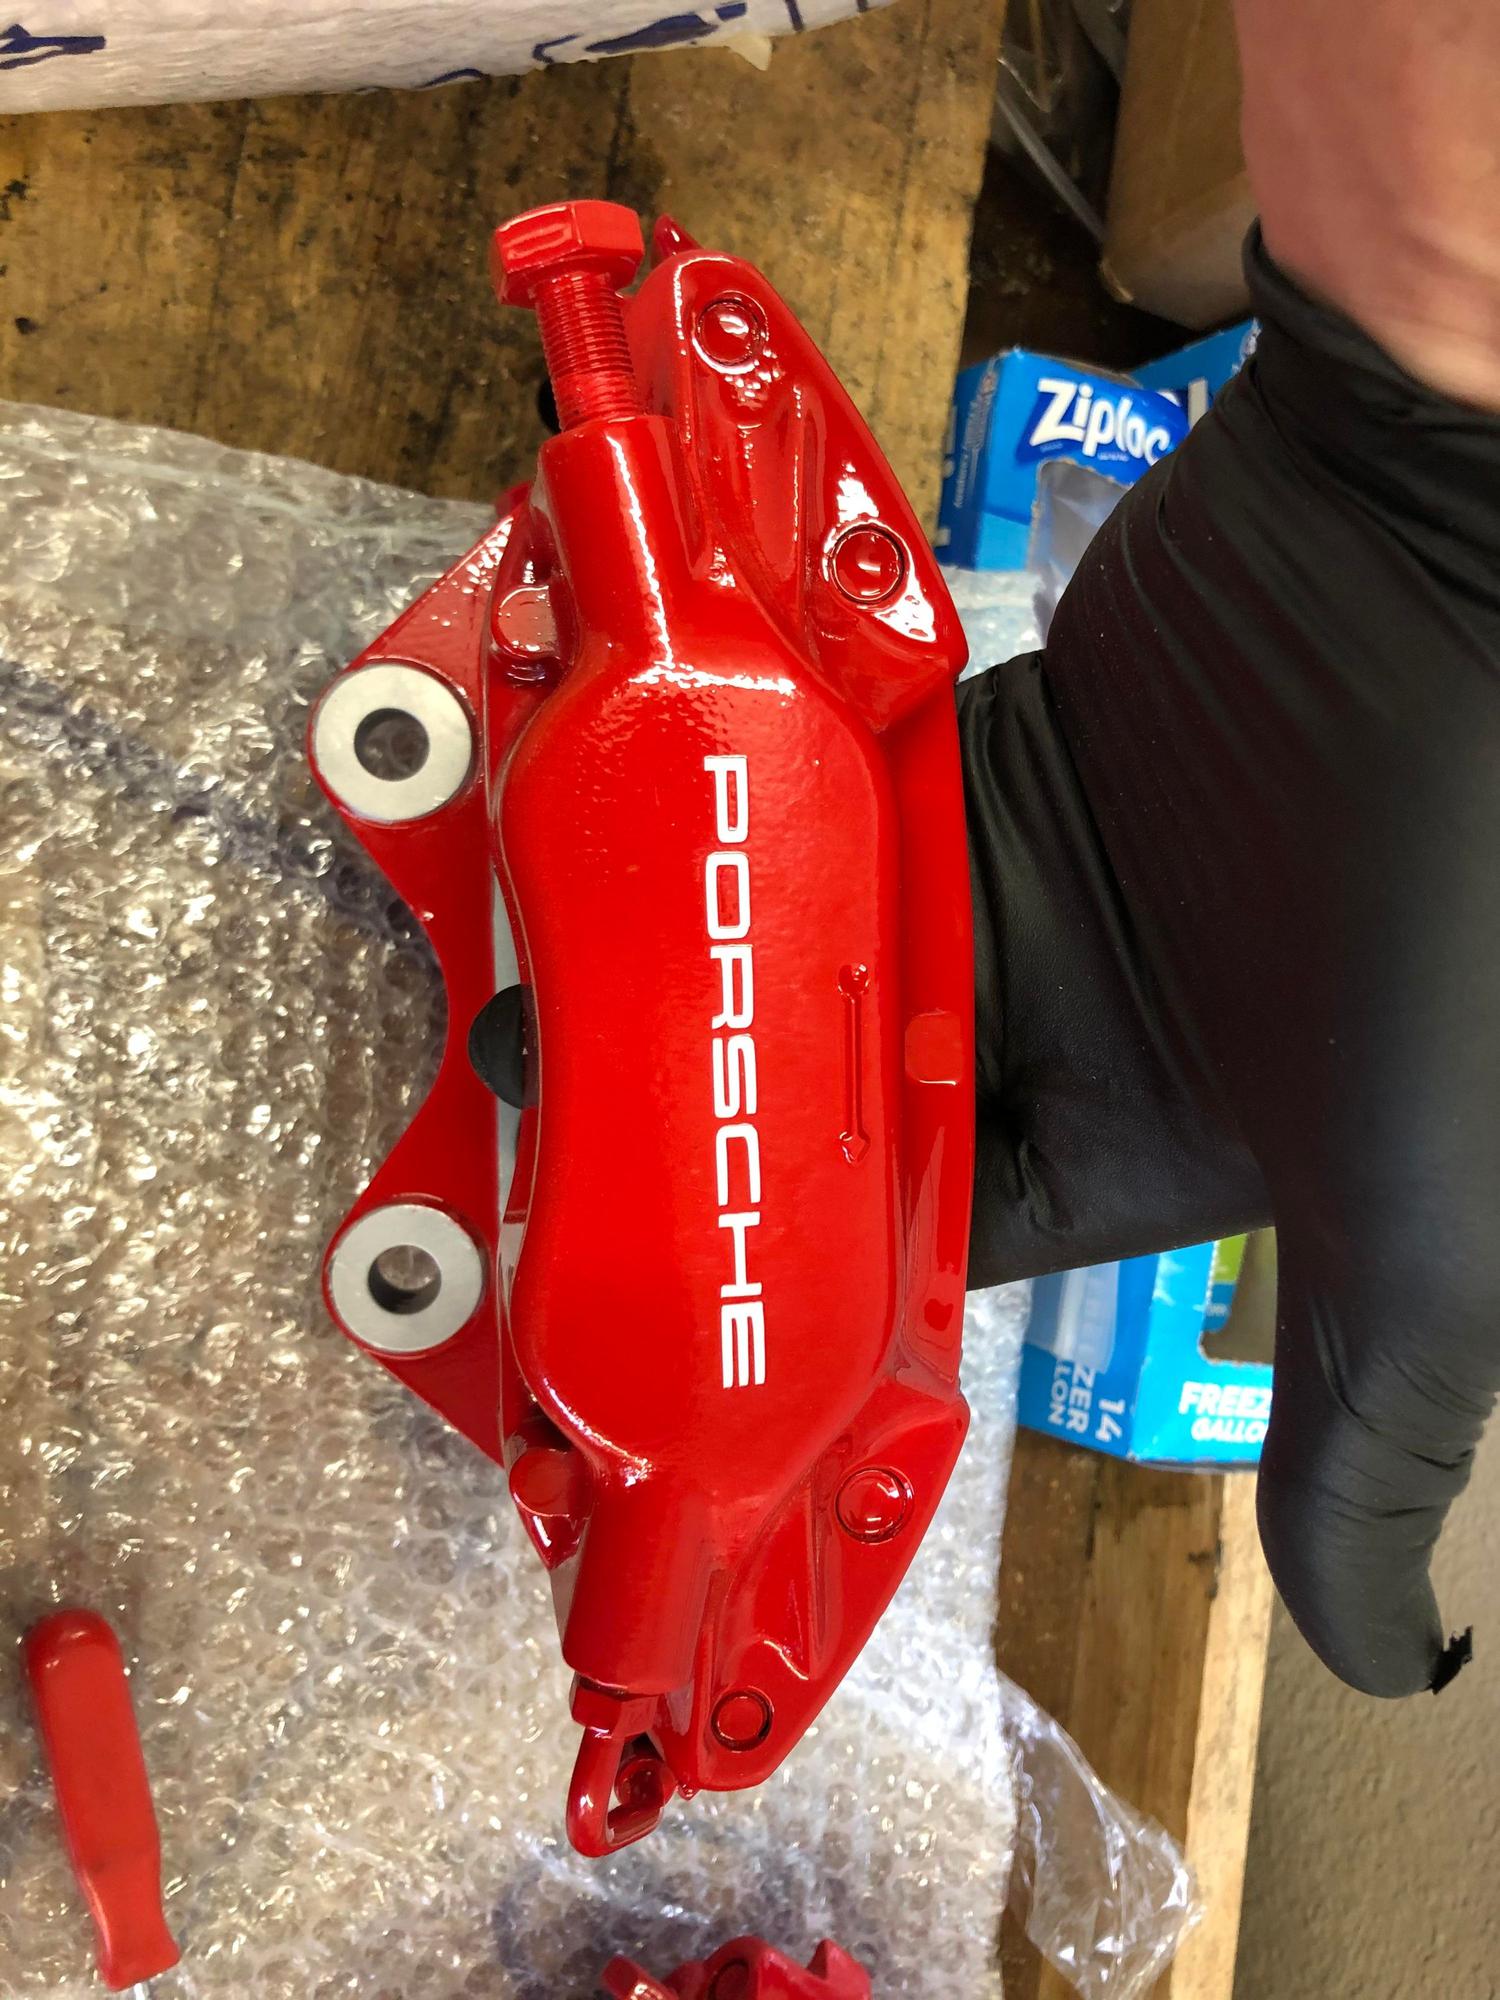
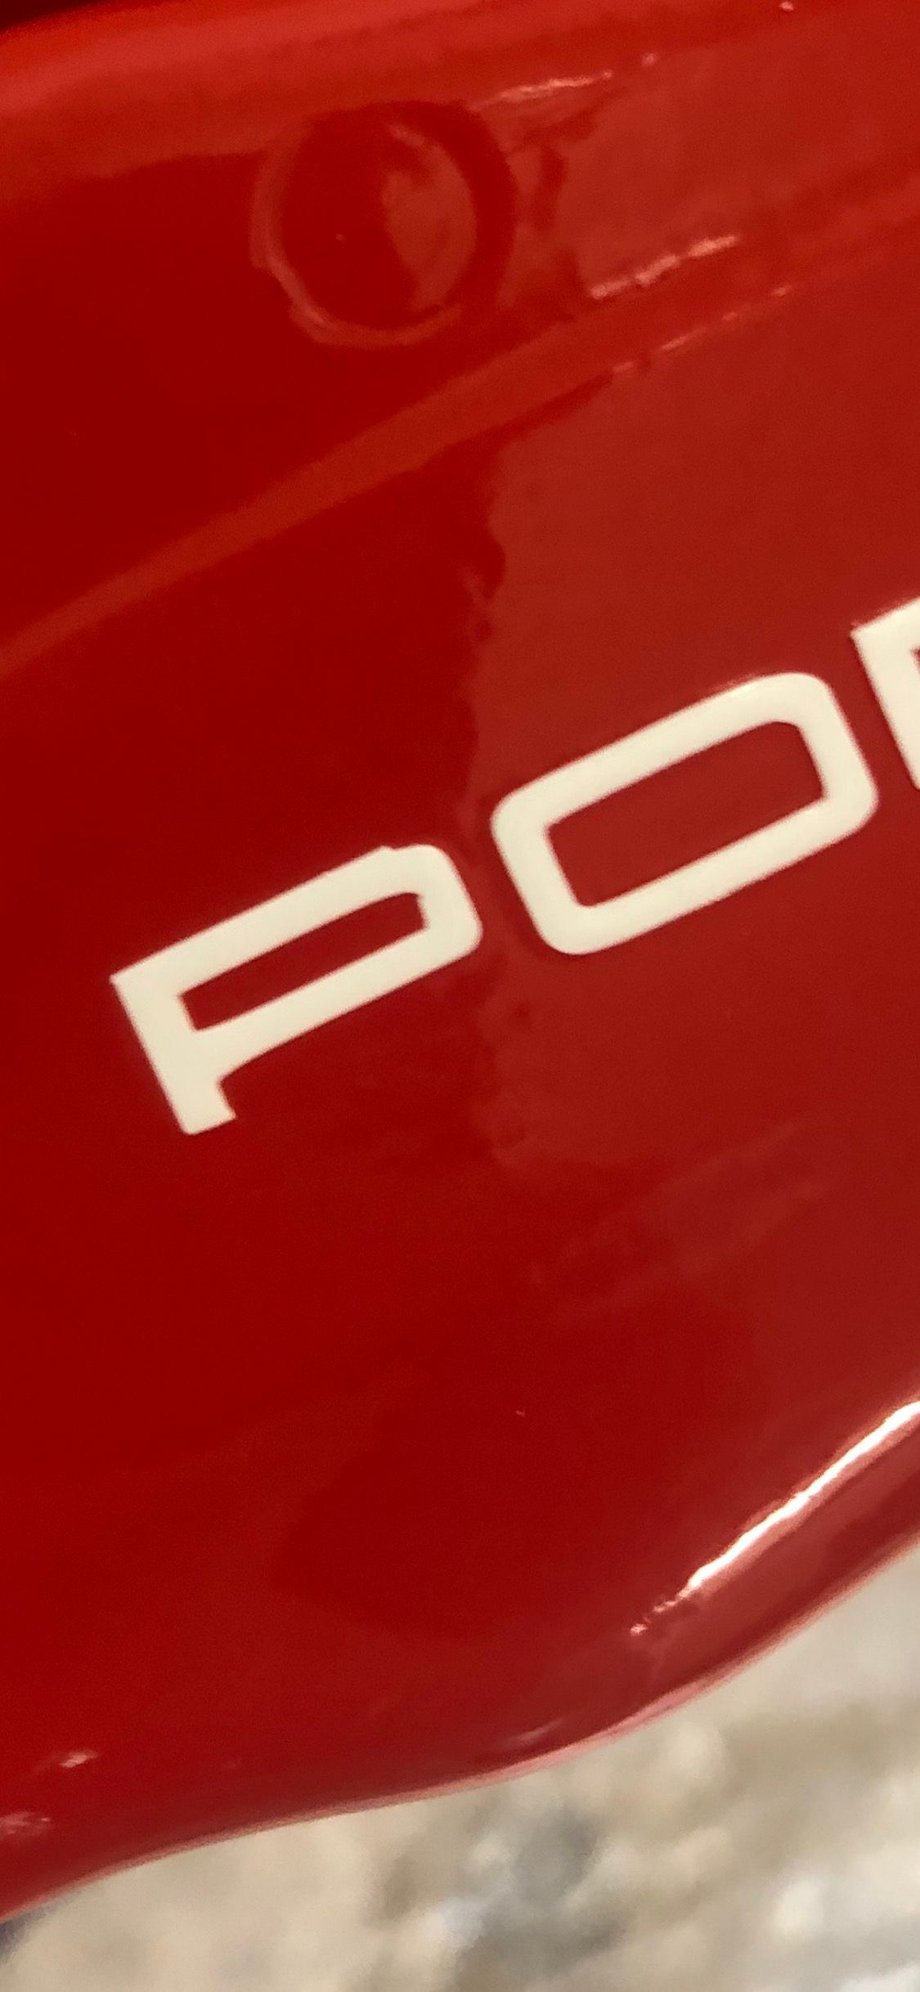
Now, let's try to paint them. Whipped up a paint booth (box), ordered a VHT kit, and went to work. Primer? Easy. Paint? Ehh, acceptable. Then the decals wouldn't stick to the paint to stencil the logo. Major failure. Lets try clear, then decals... complete failure of clear application. Know when to call the pros! I did some searching for refinishers. WheelDynmaics was closed for Covid. PMB didnt respond, so I reached out to GMP. I have too say, it was some of the best customer service I've ever had in this industry. They made custom decals based on my measurements from another car with original logos (caliper photos below for reference.) They sent me the pretty family photo before sending them back. I was happy to spend the money up to that point. And then they arrived... Chipped paint, overspray on the brand new dust boots and plate surfaces, the decal quality was terrible, and worst of all they were crooked! I'm pissed, but Im not waiting another month. They went on the car as is. GMP was very apologetic, but no partial refund was offered.
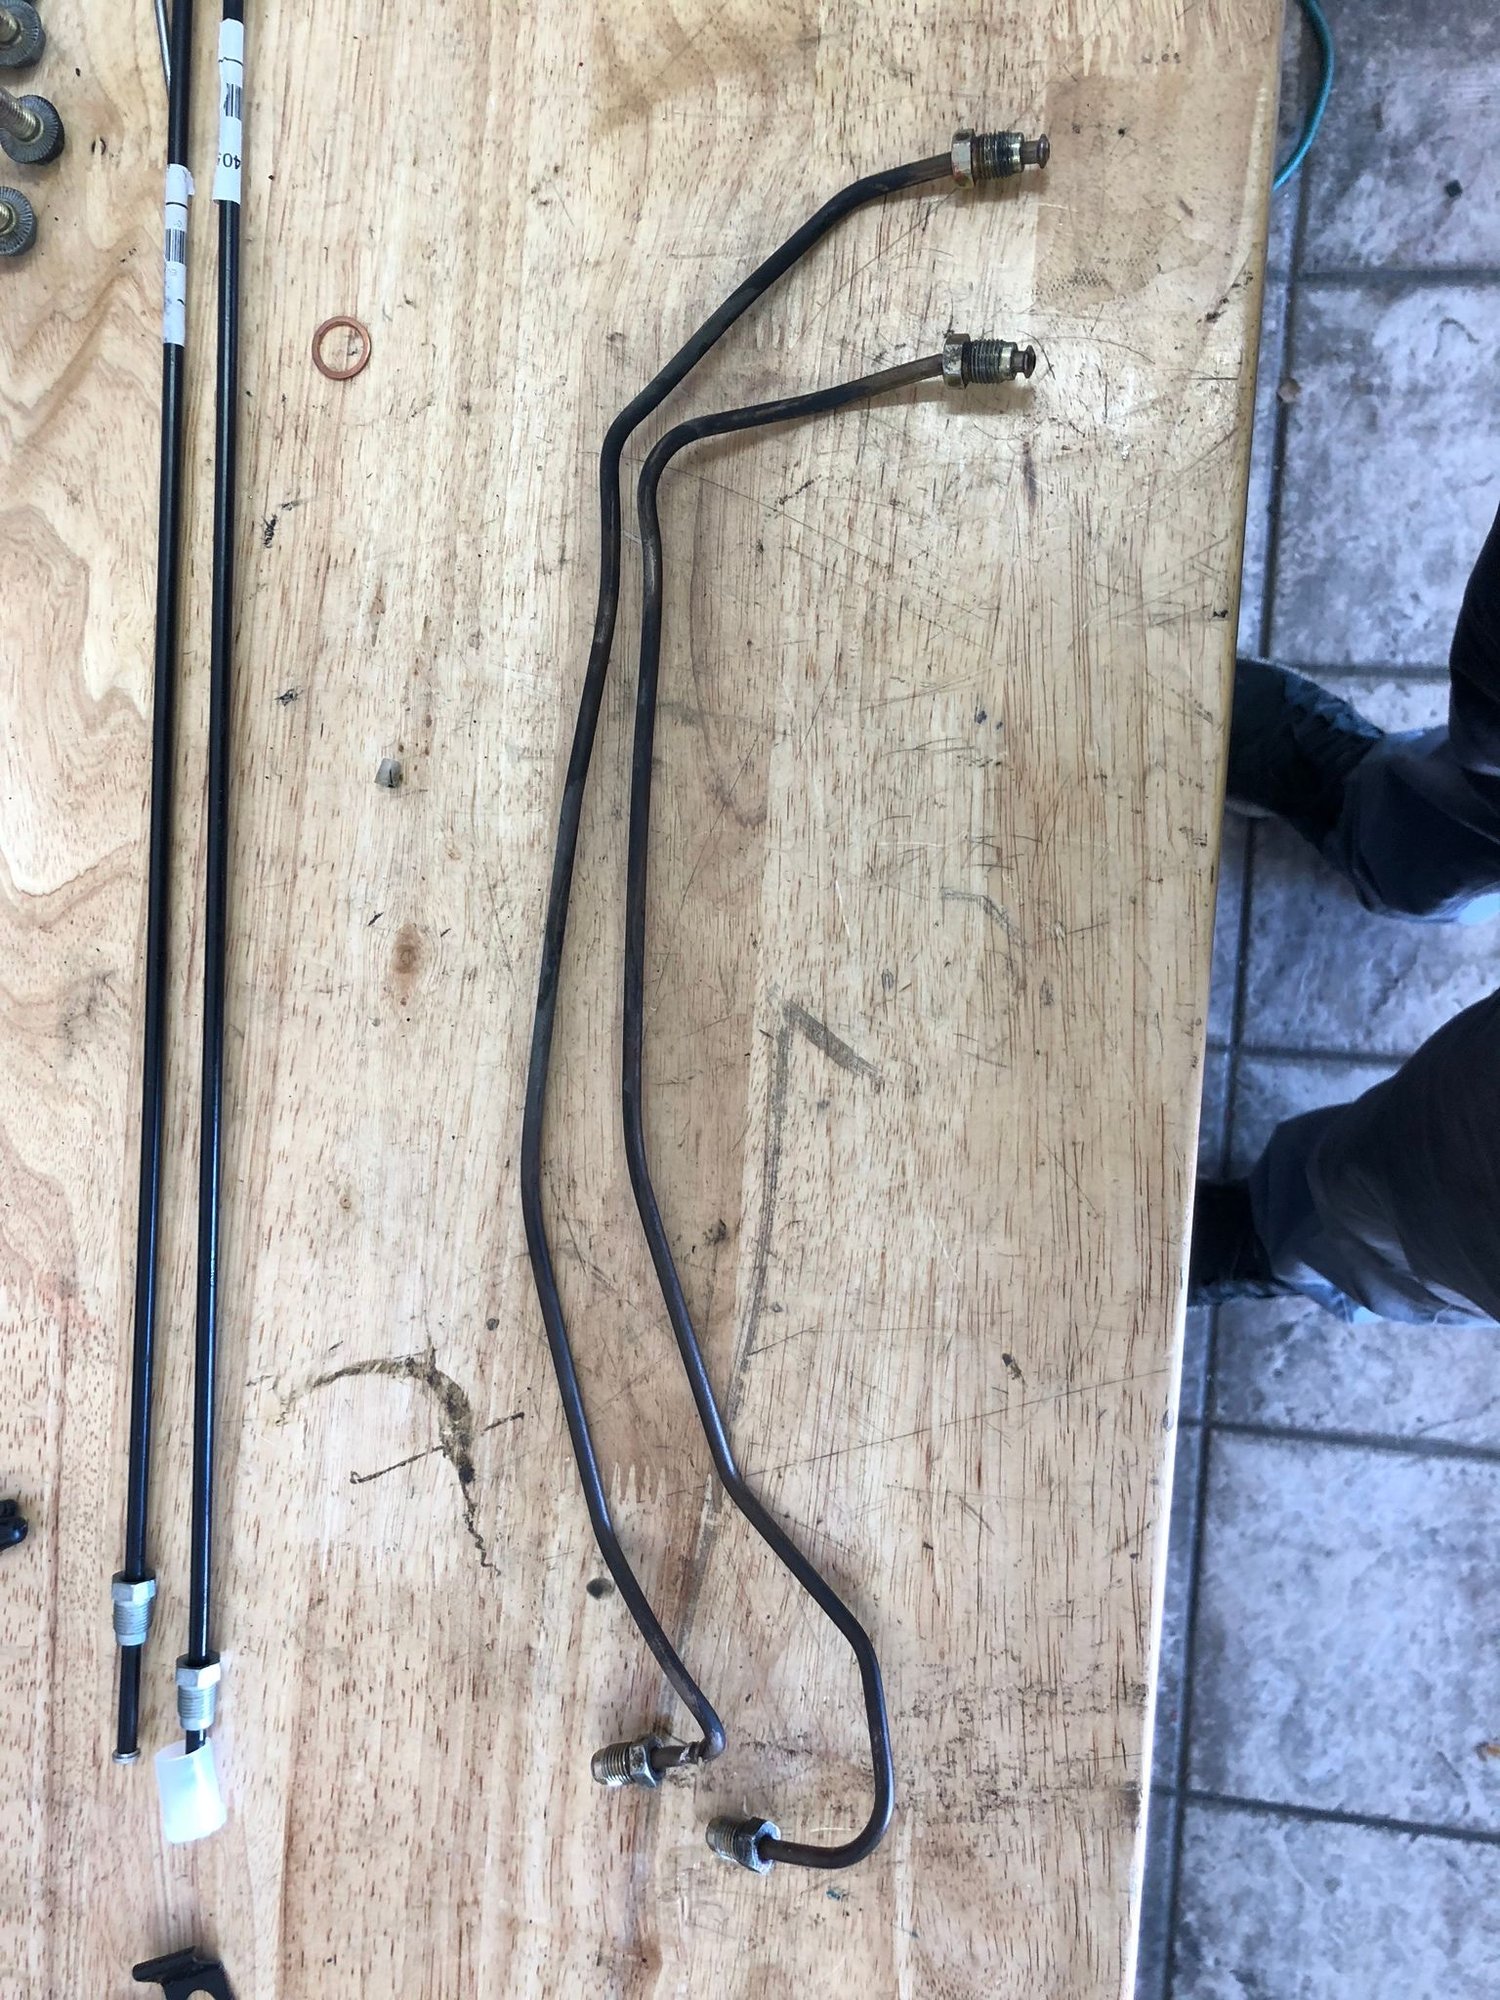
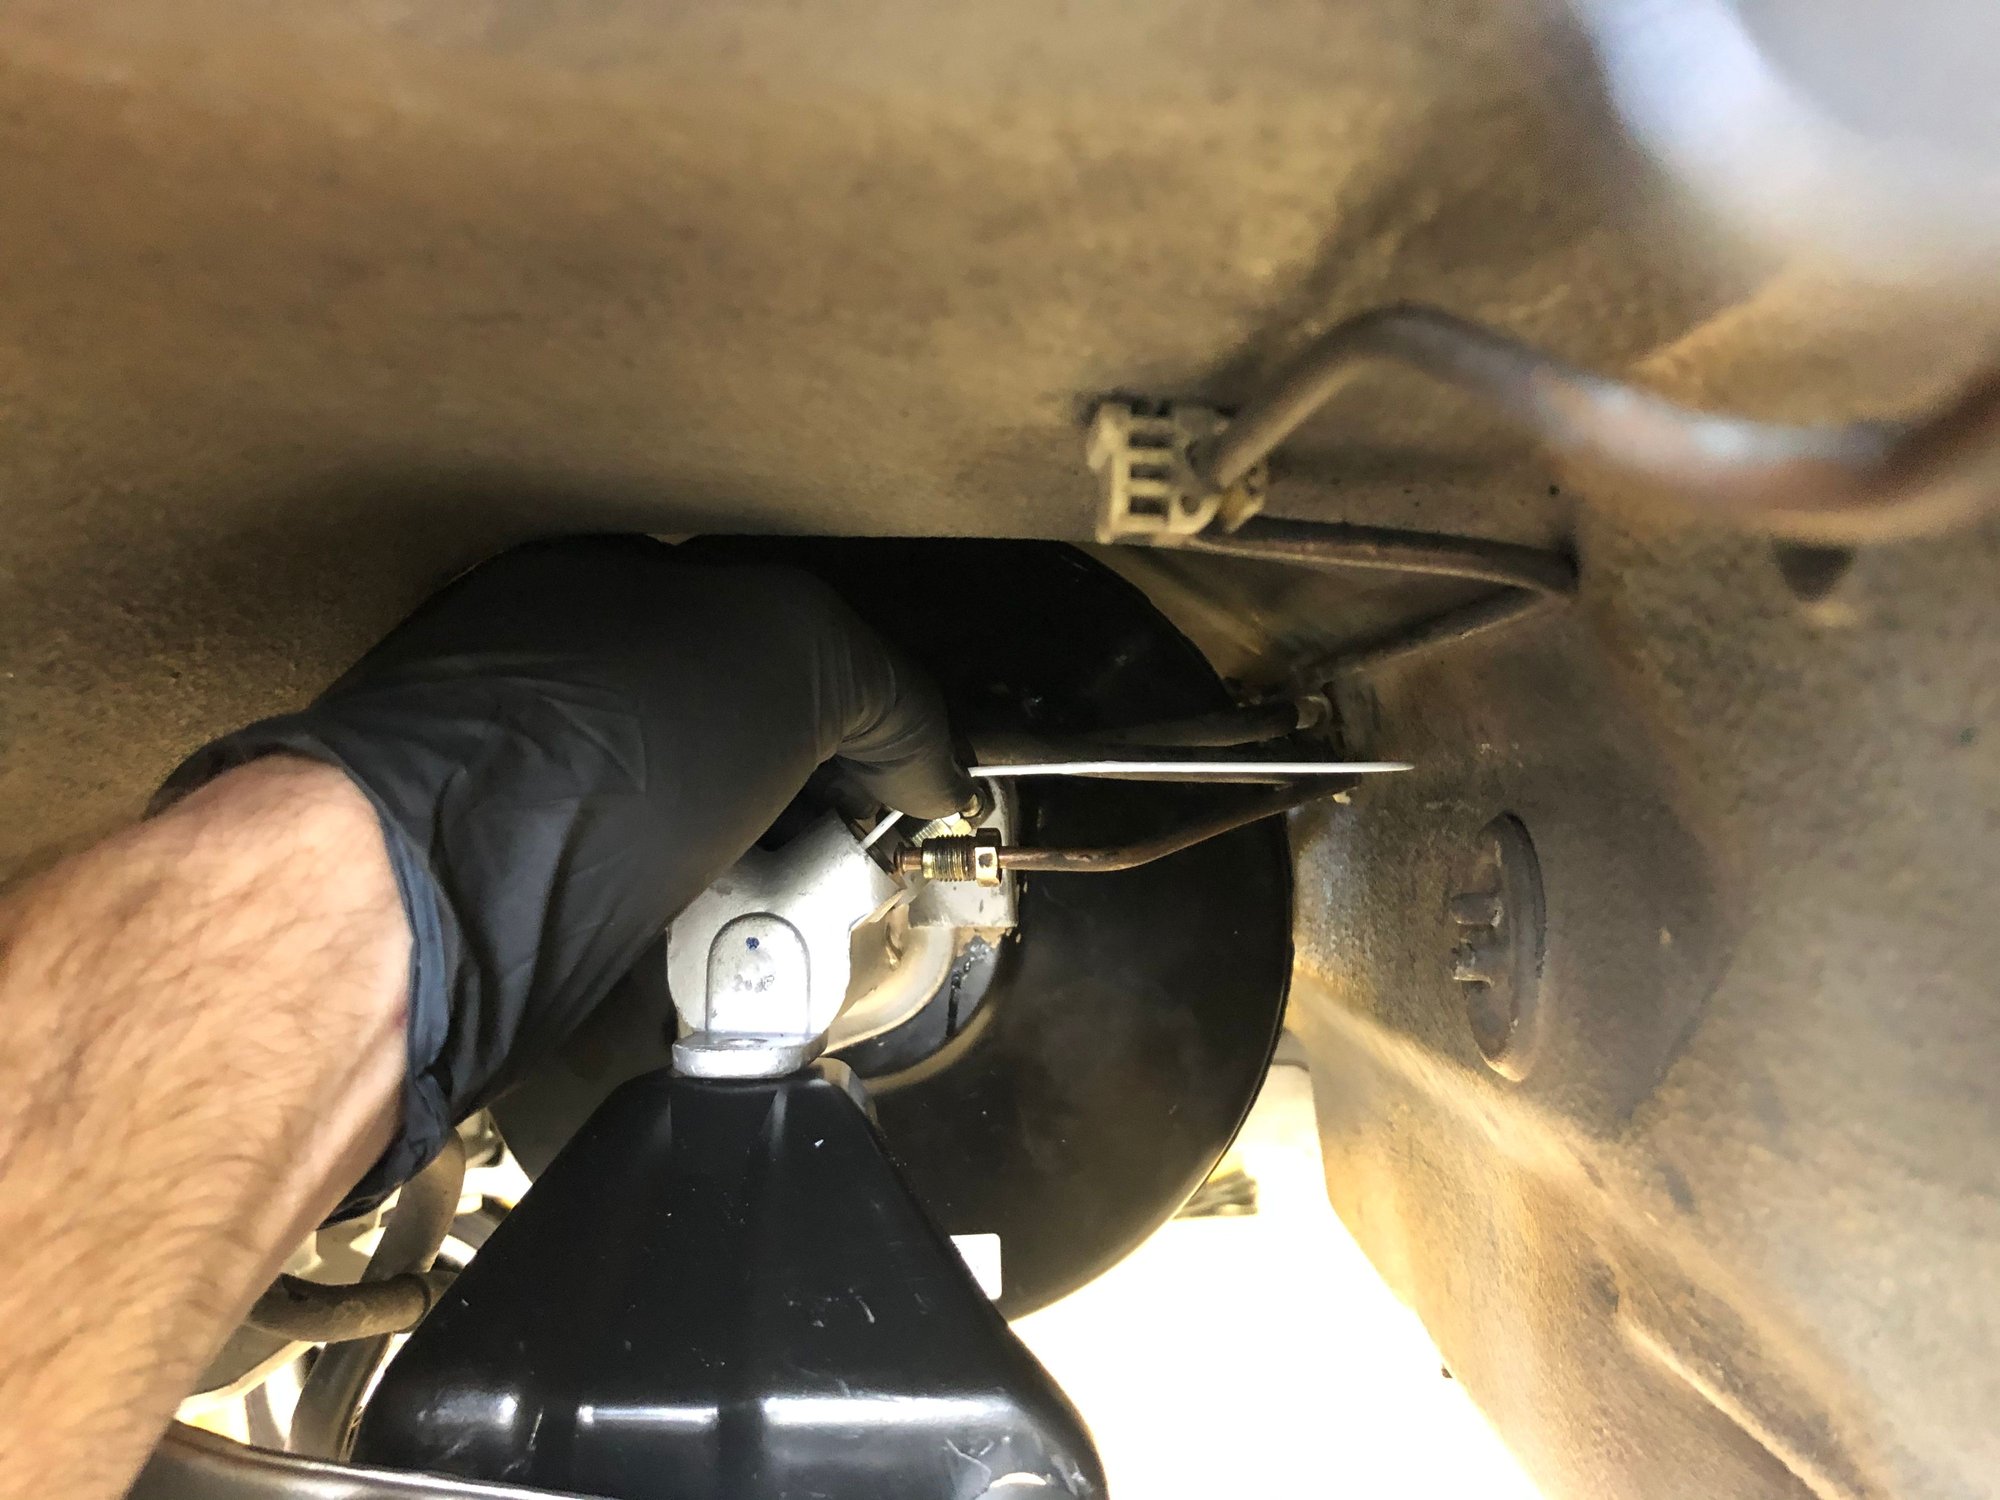
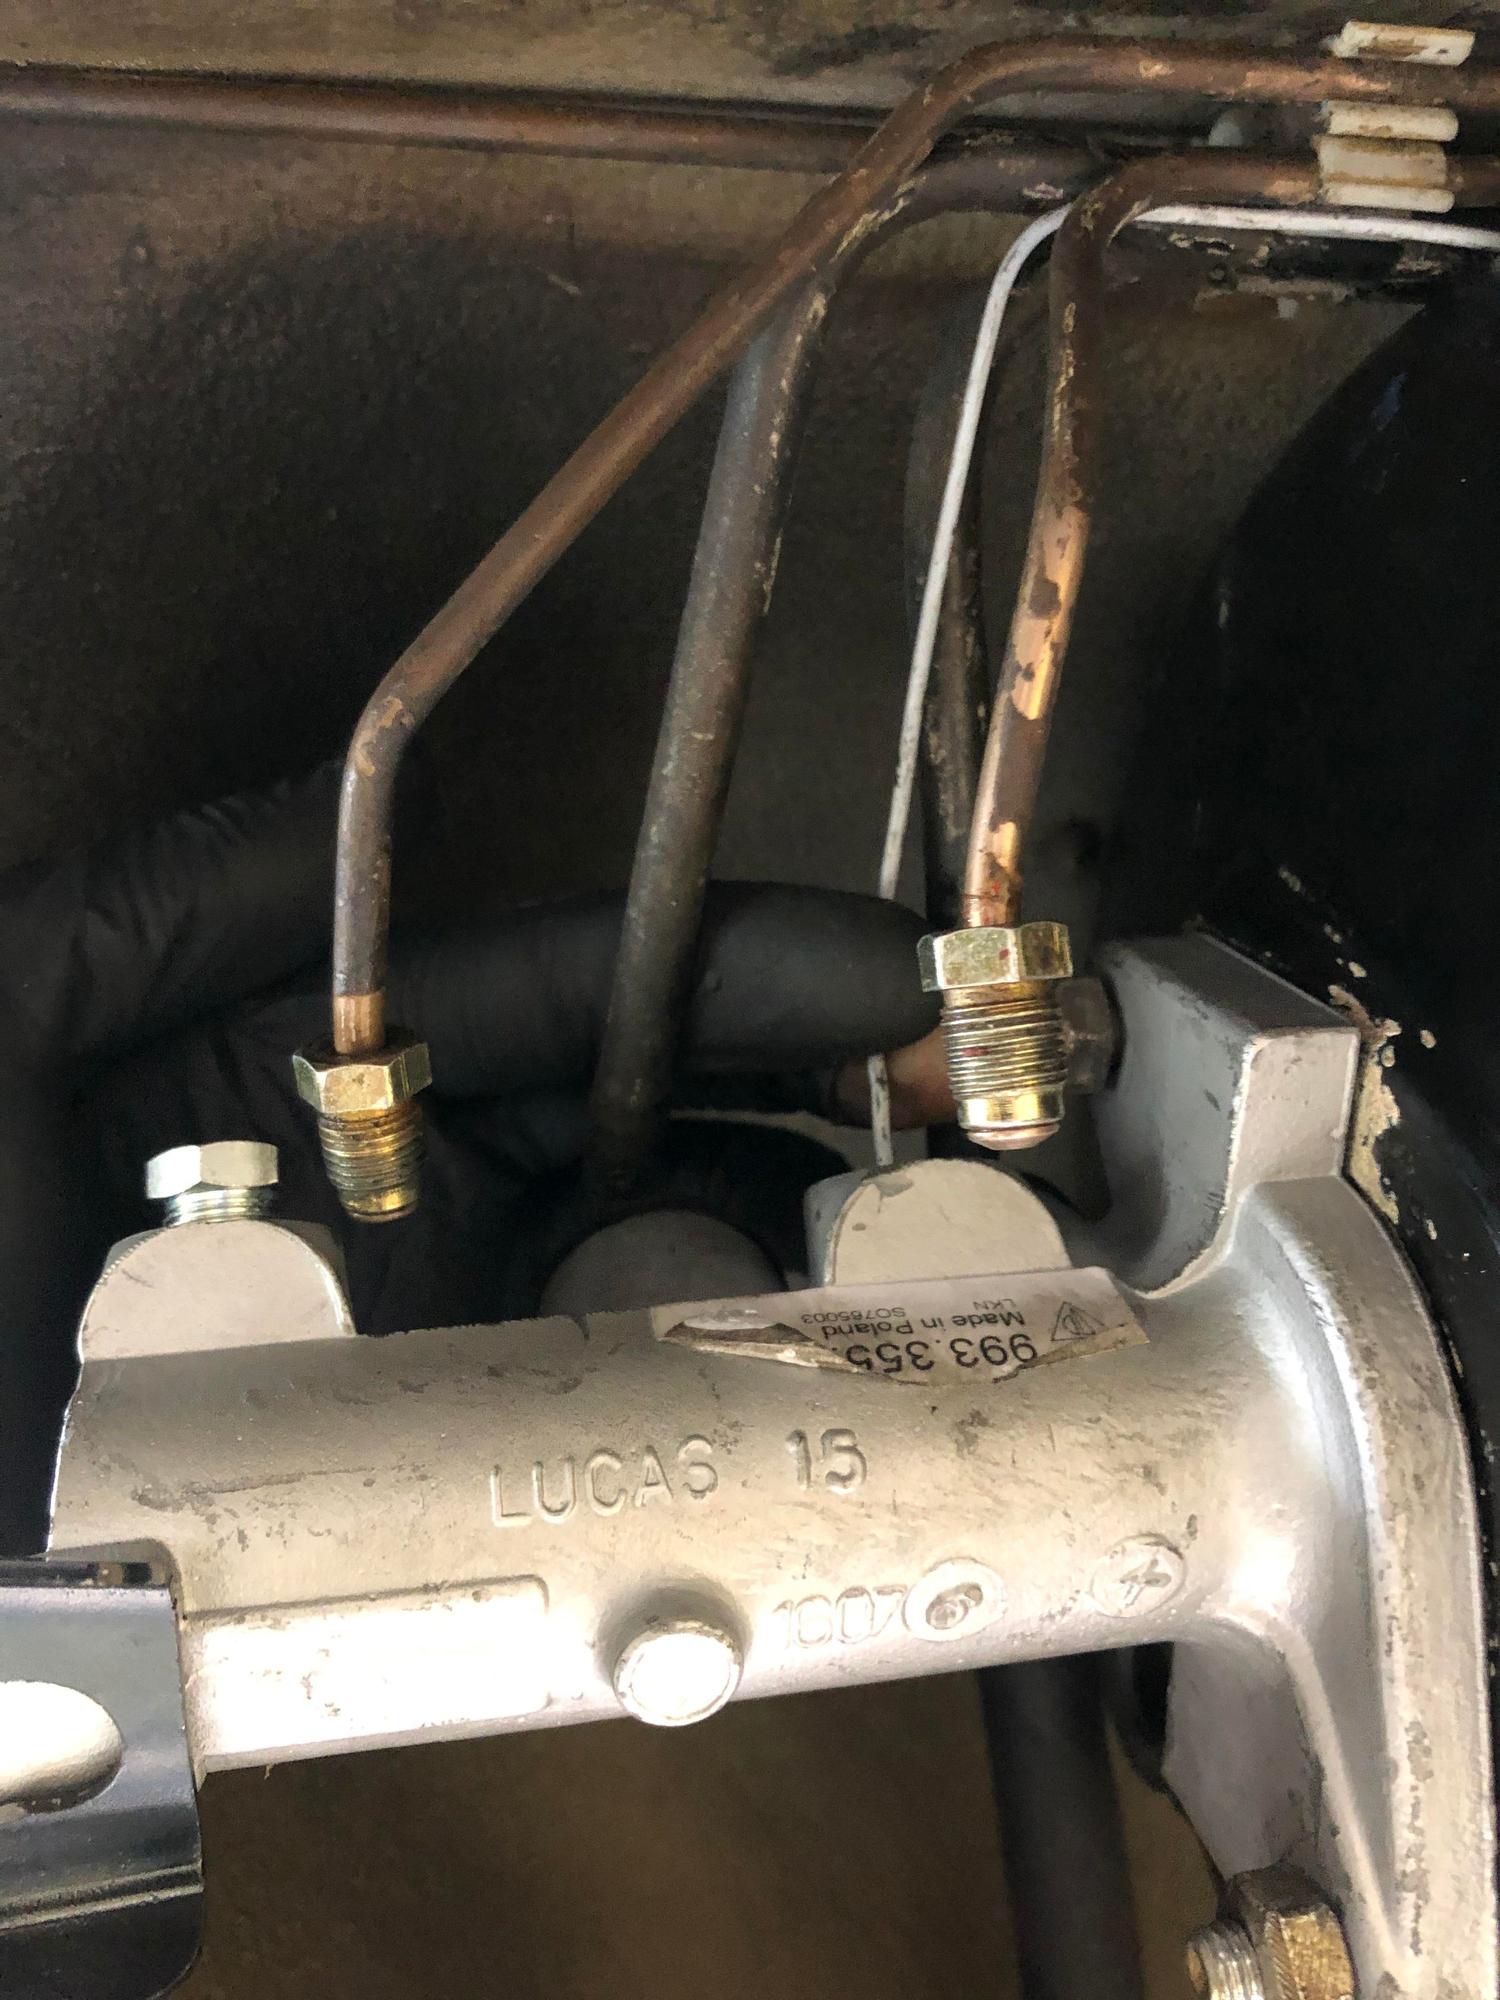
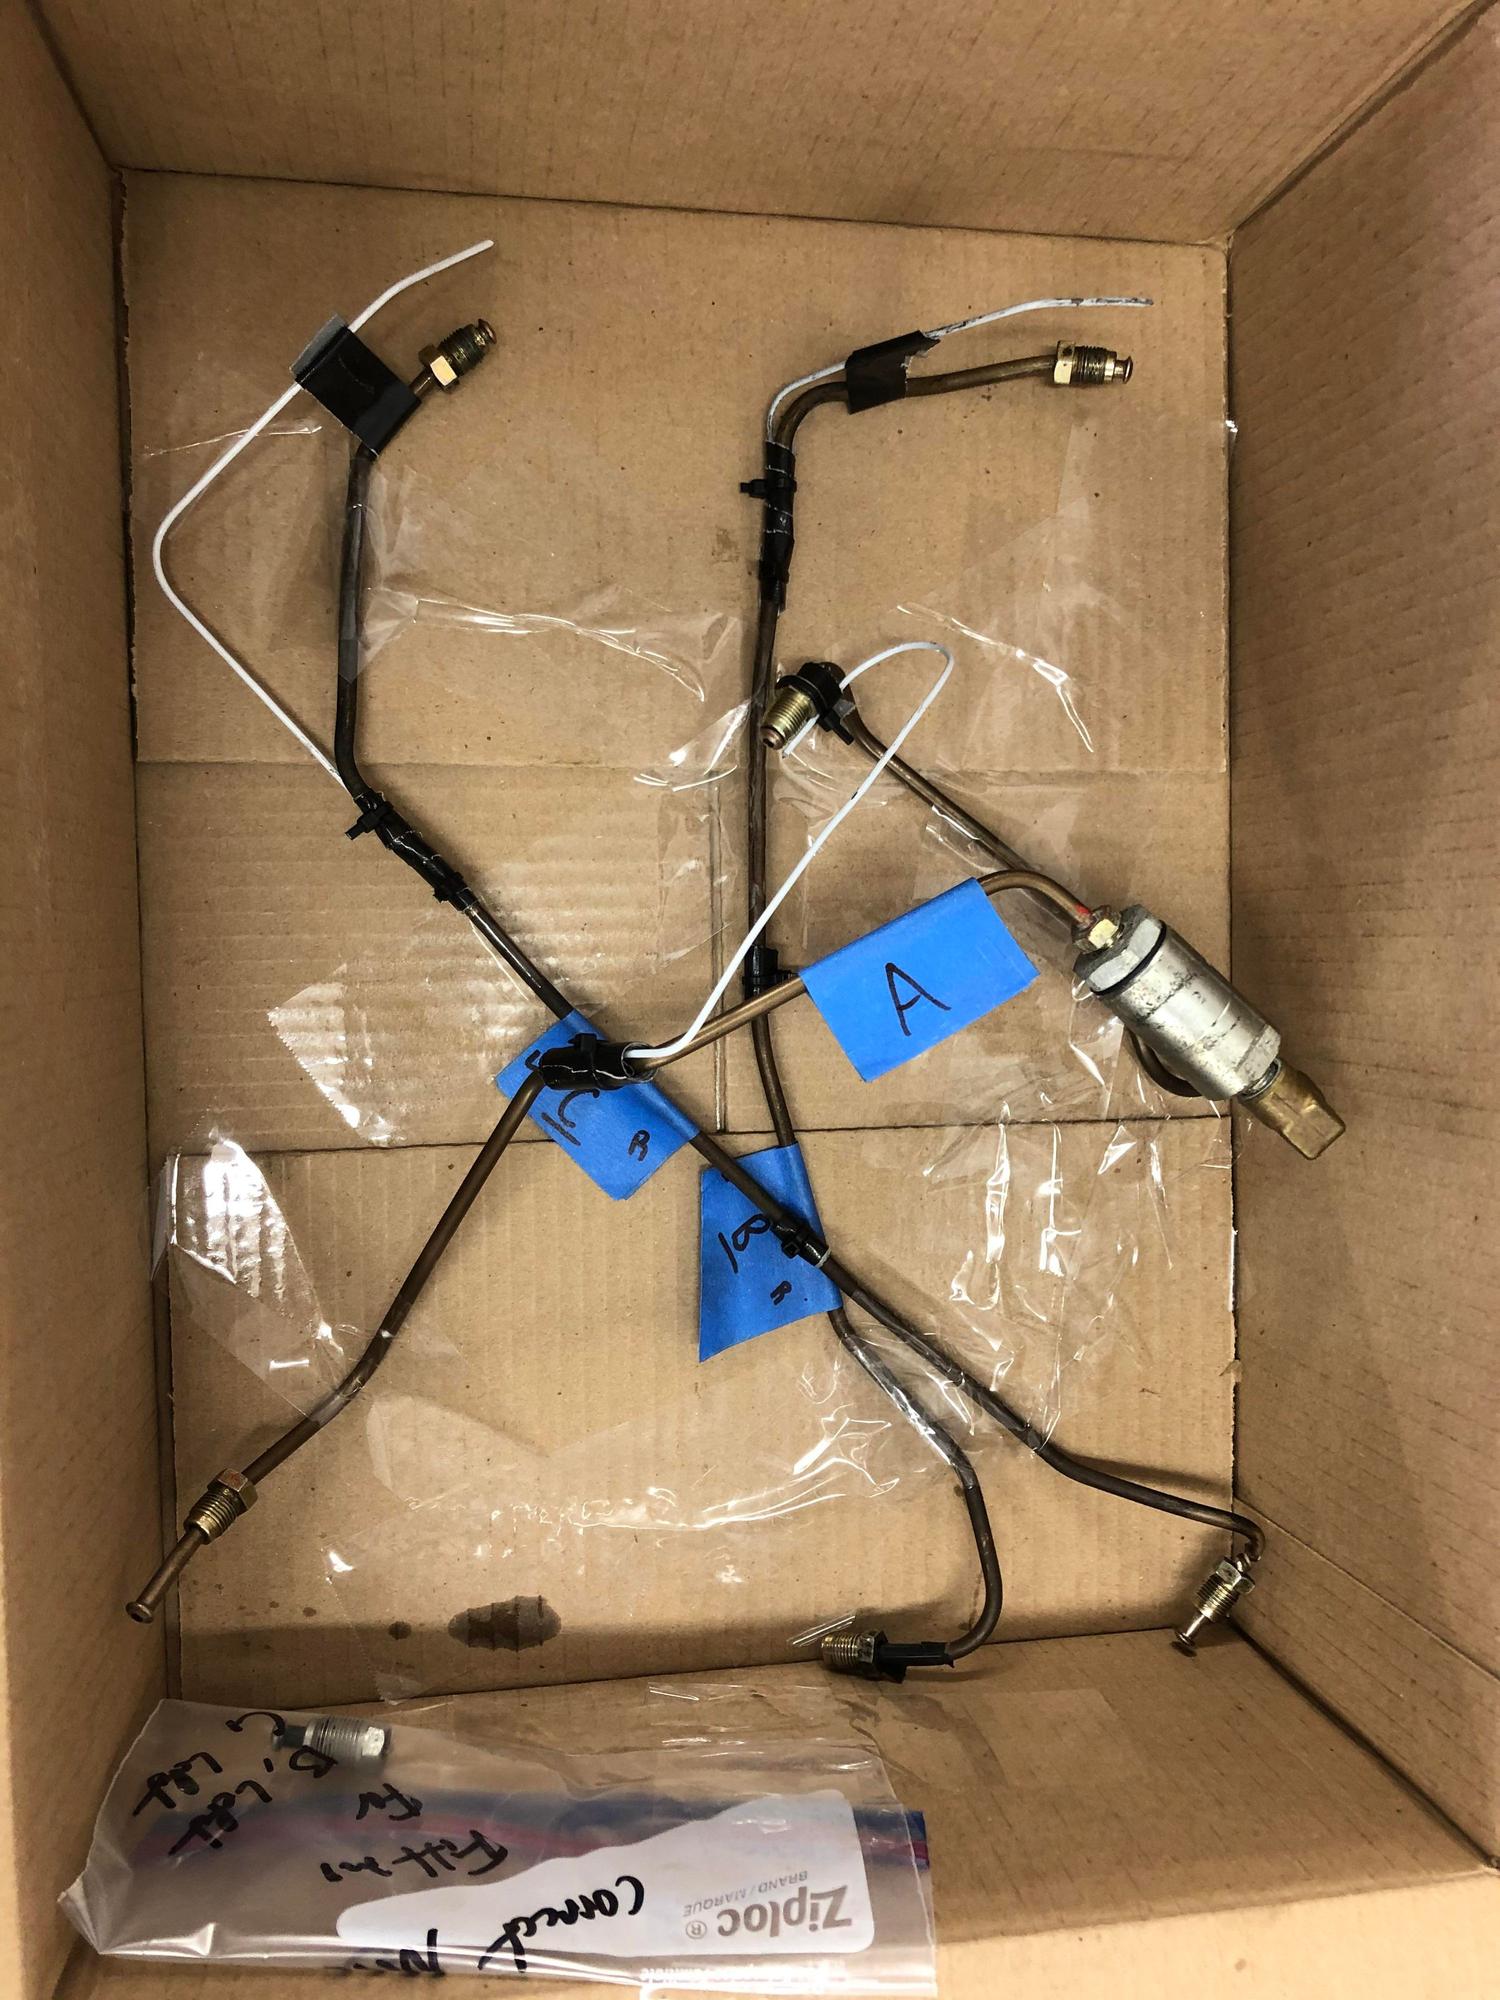
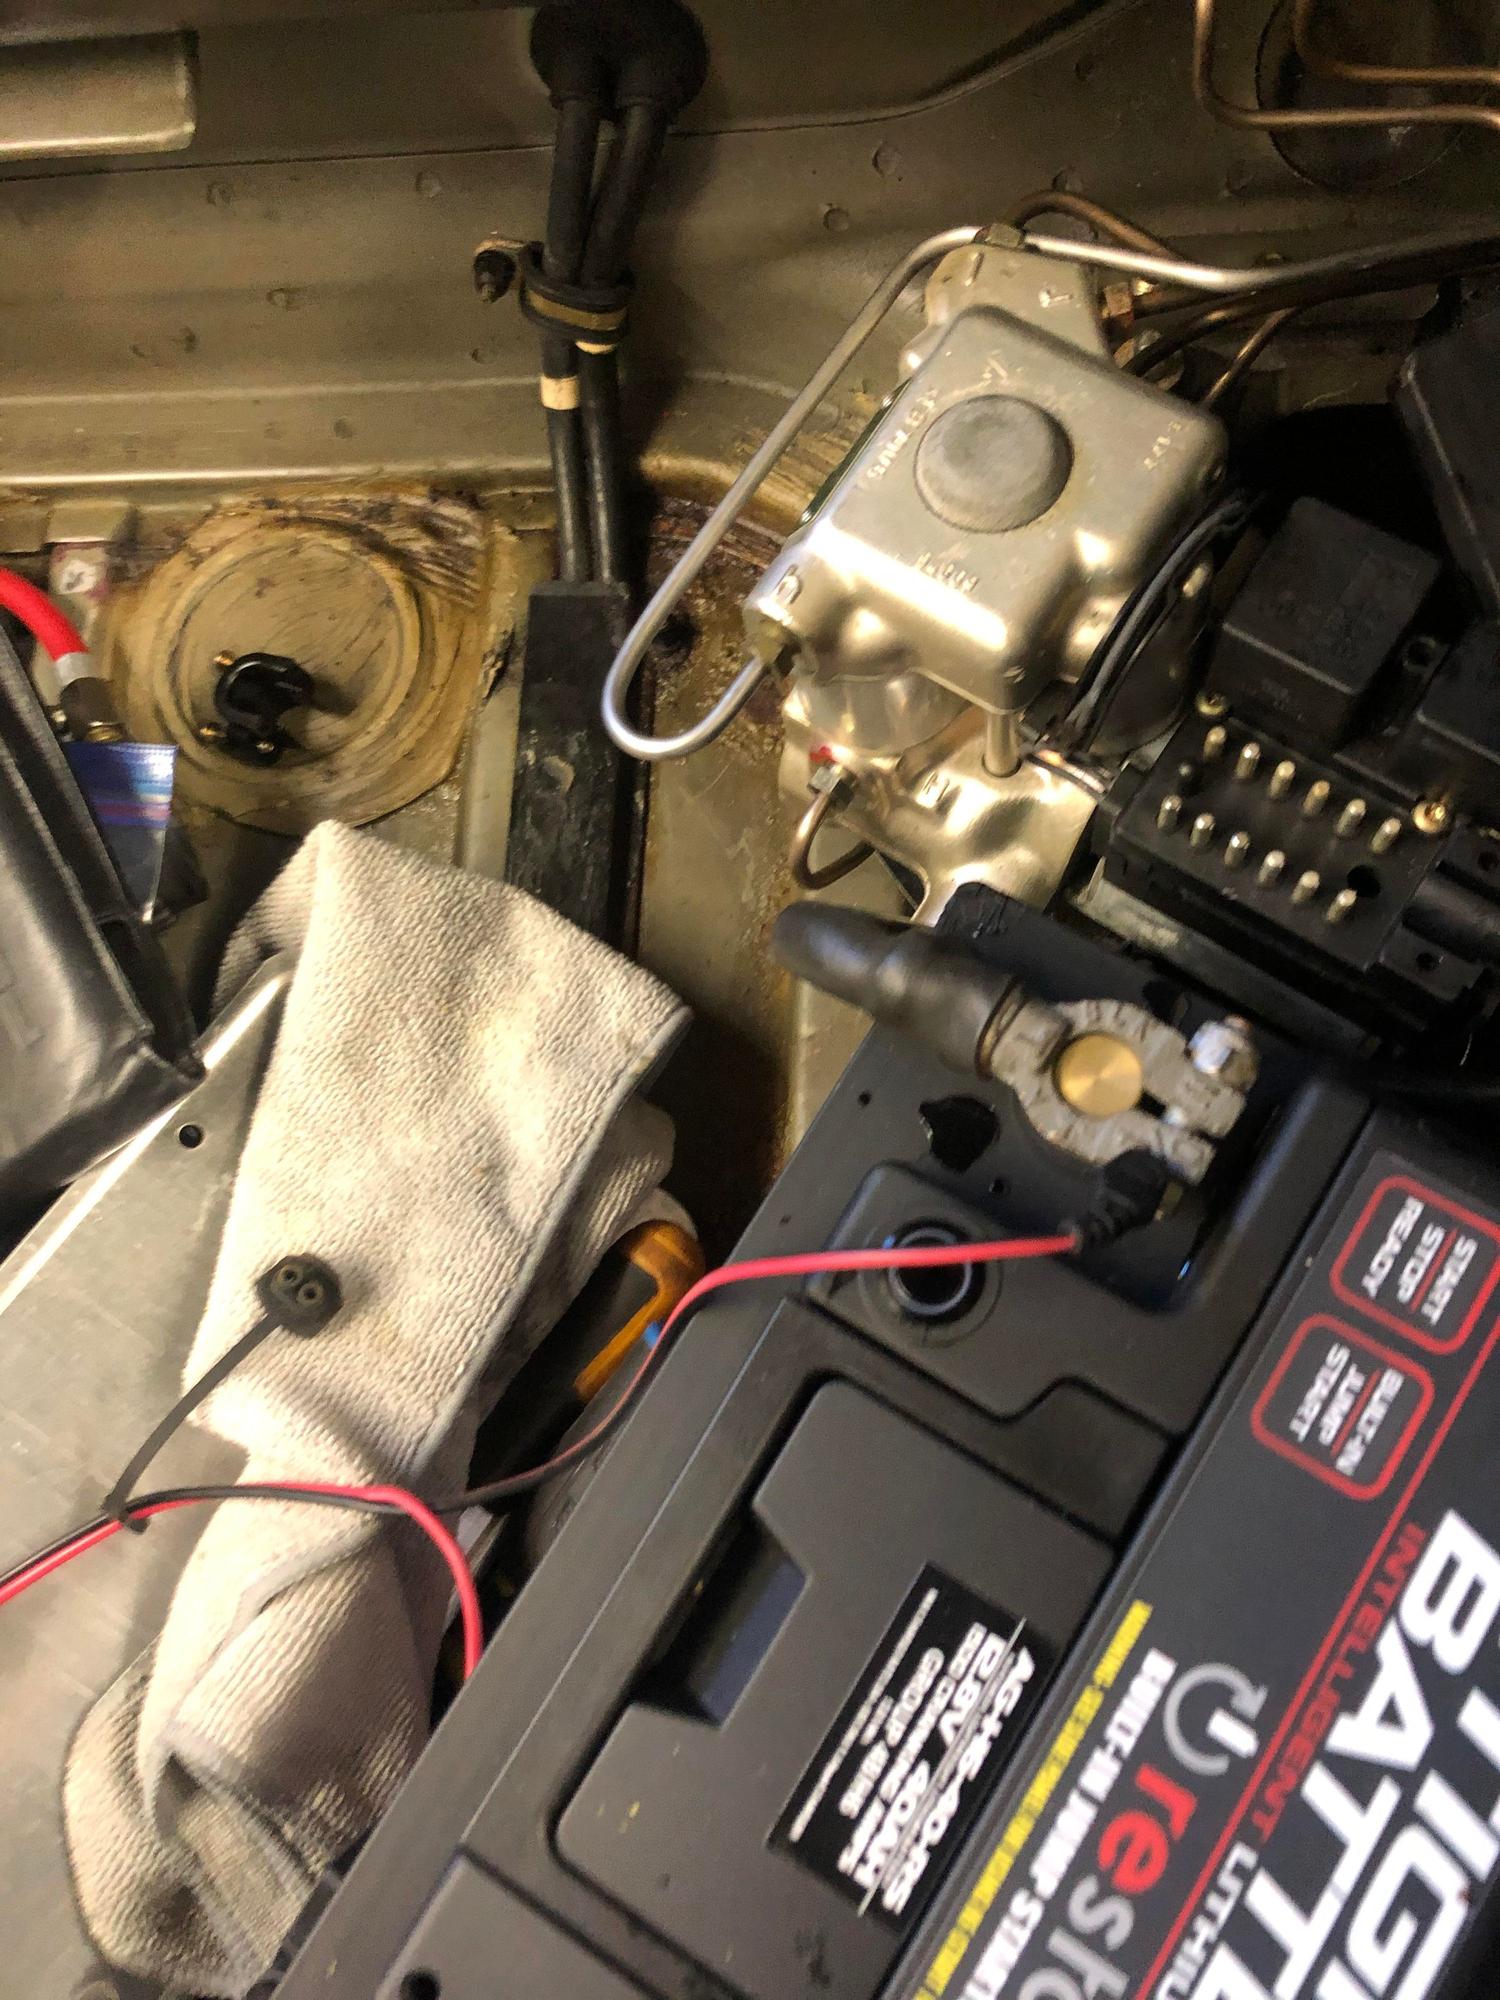
To install the 993 MC, booster, etc, you need to replace the ABS to M/C lines from the point where they meet the body through the bulkhead fitting in the frunk. Firstly, YOU NEED TWO PEOPLE TO REMOVE/INSTALL THE LINES. Don't be and idiot like me and destroy one of your bulkhead to ABS pump lines (see first photo for pretzel) because you're twisting it to hell wondering why the M/C side line isnt breaking free. Have one person secure they bulked from inside the frunk (17mm IIRC) while you remove the side under the car.
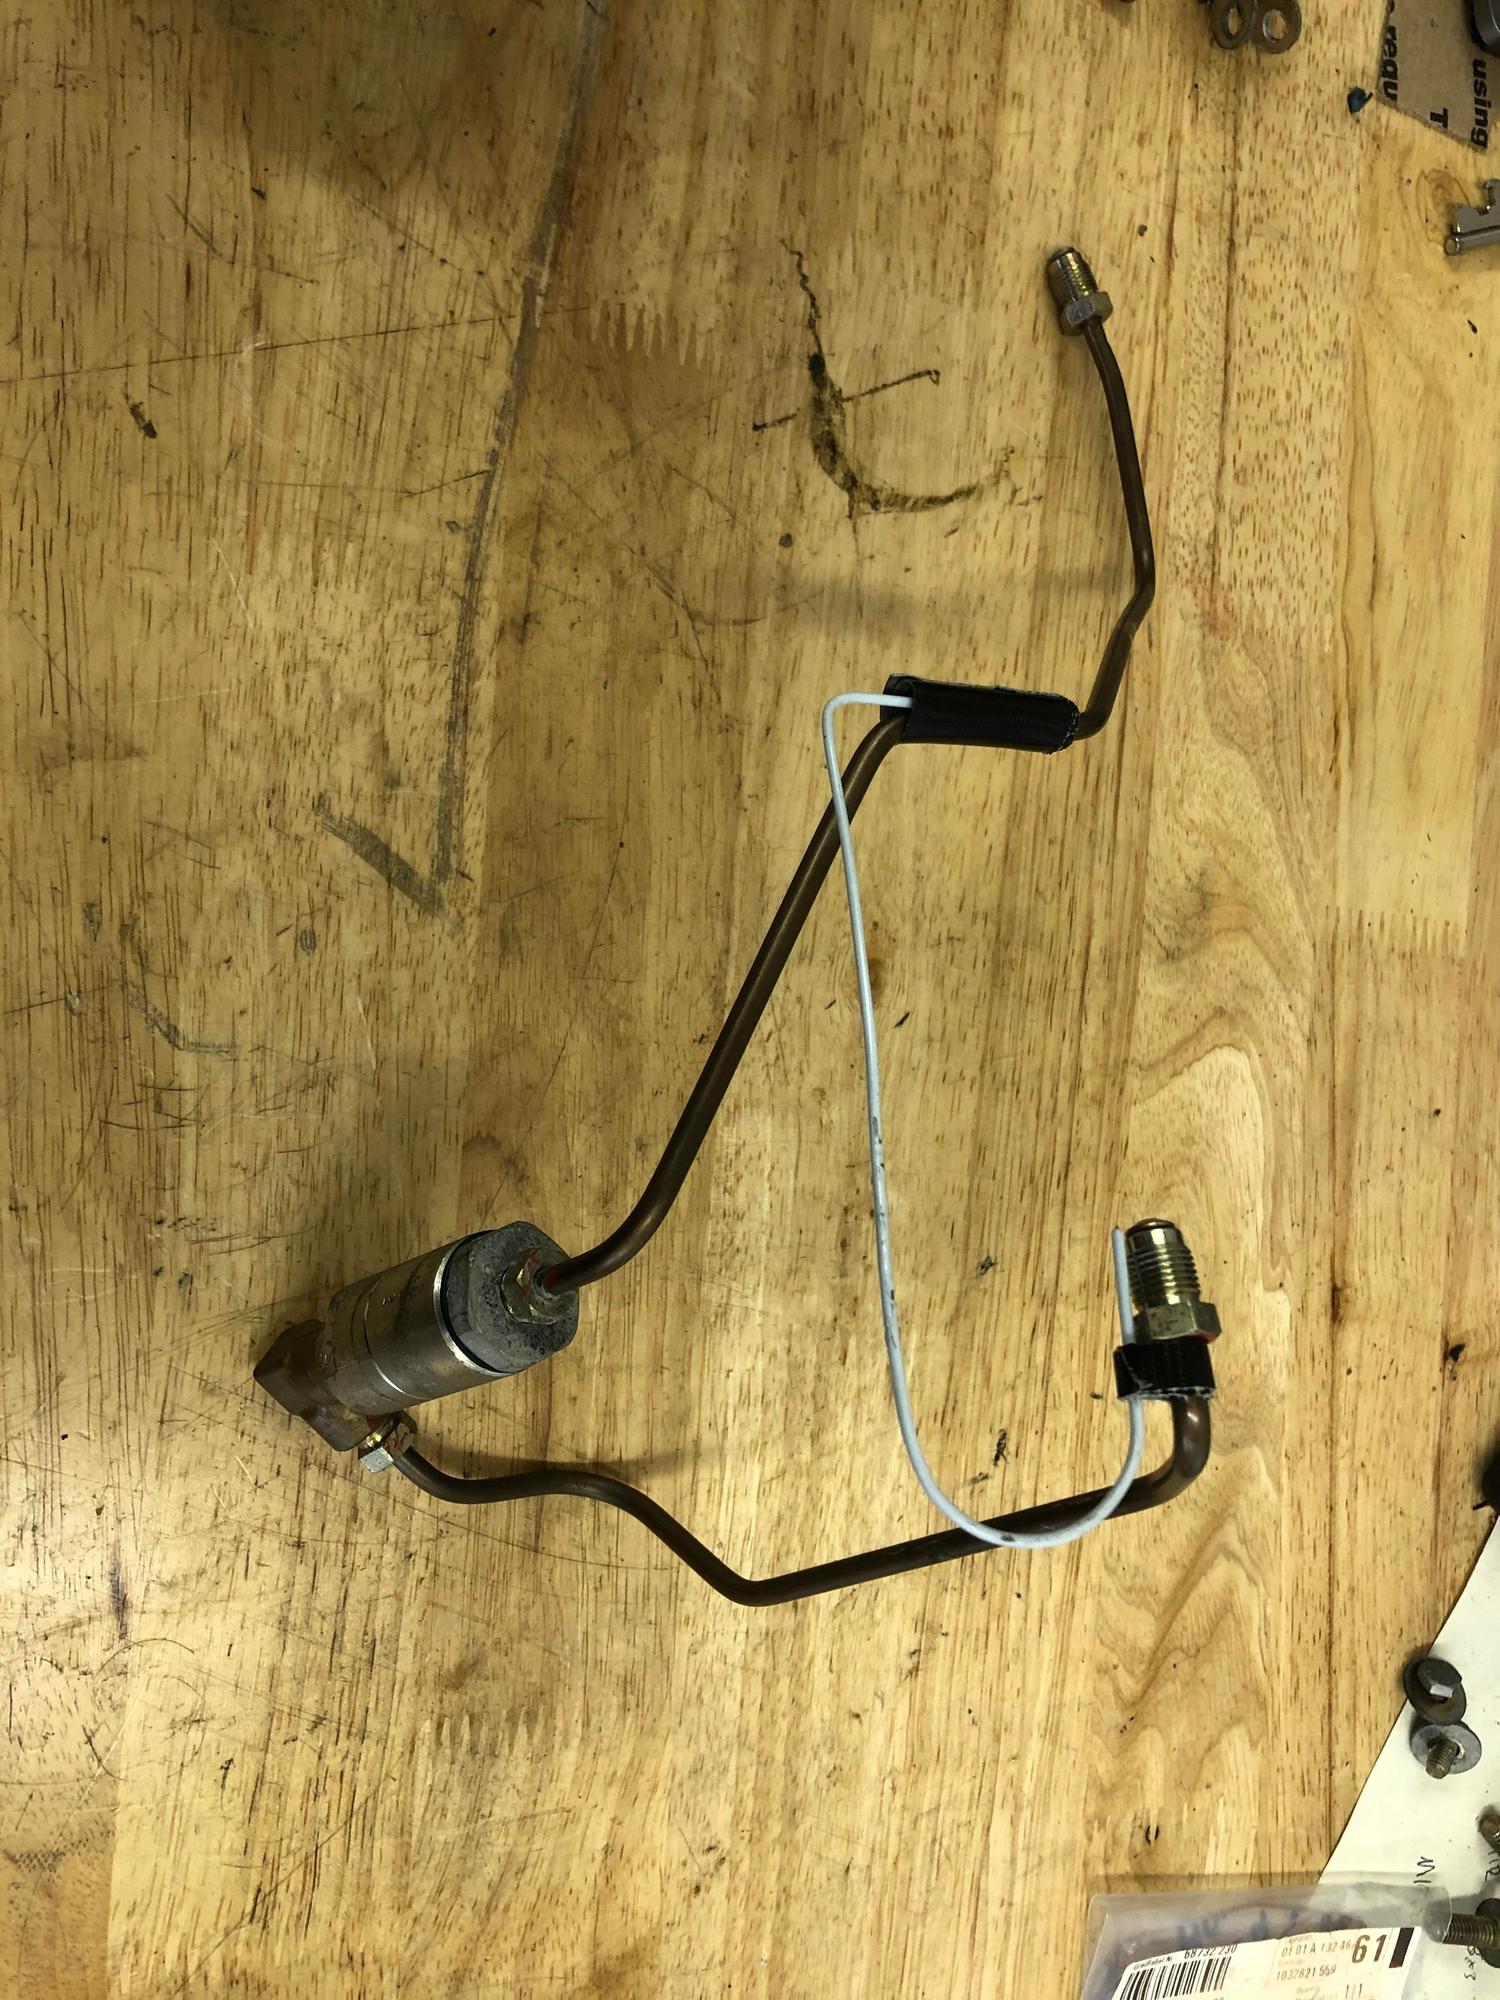
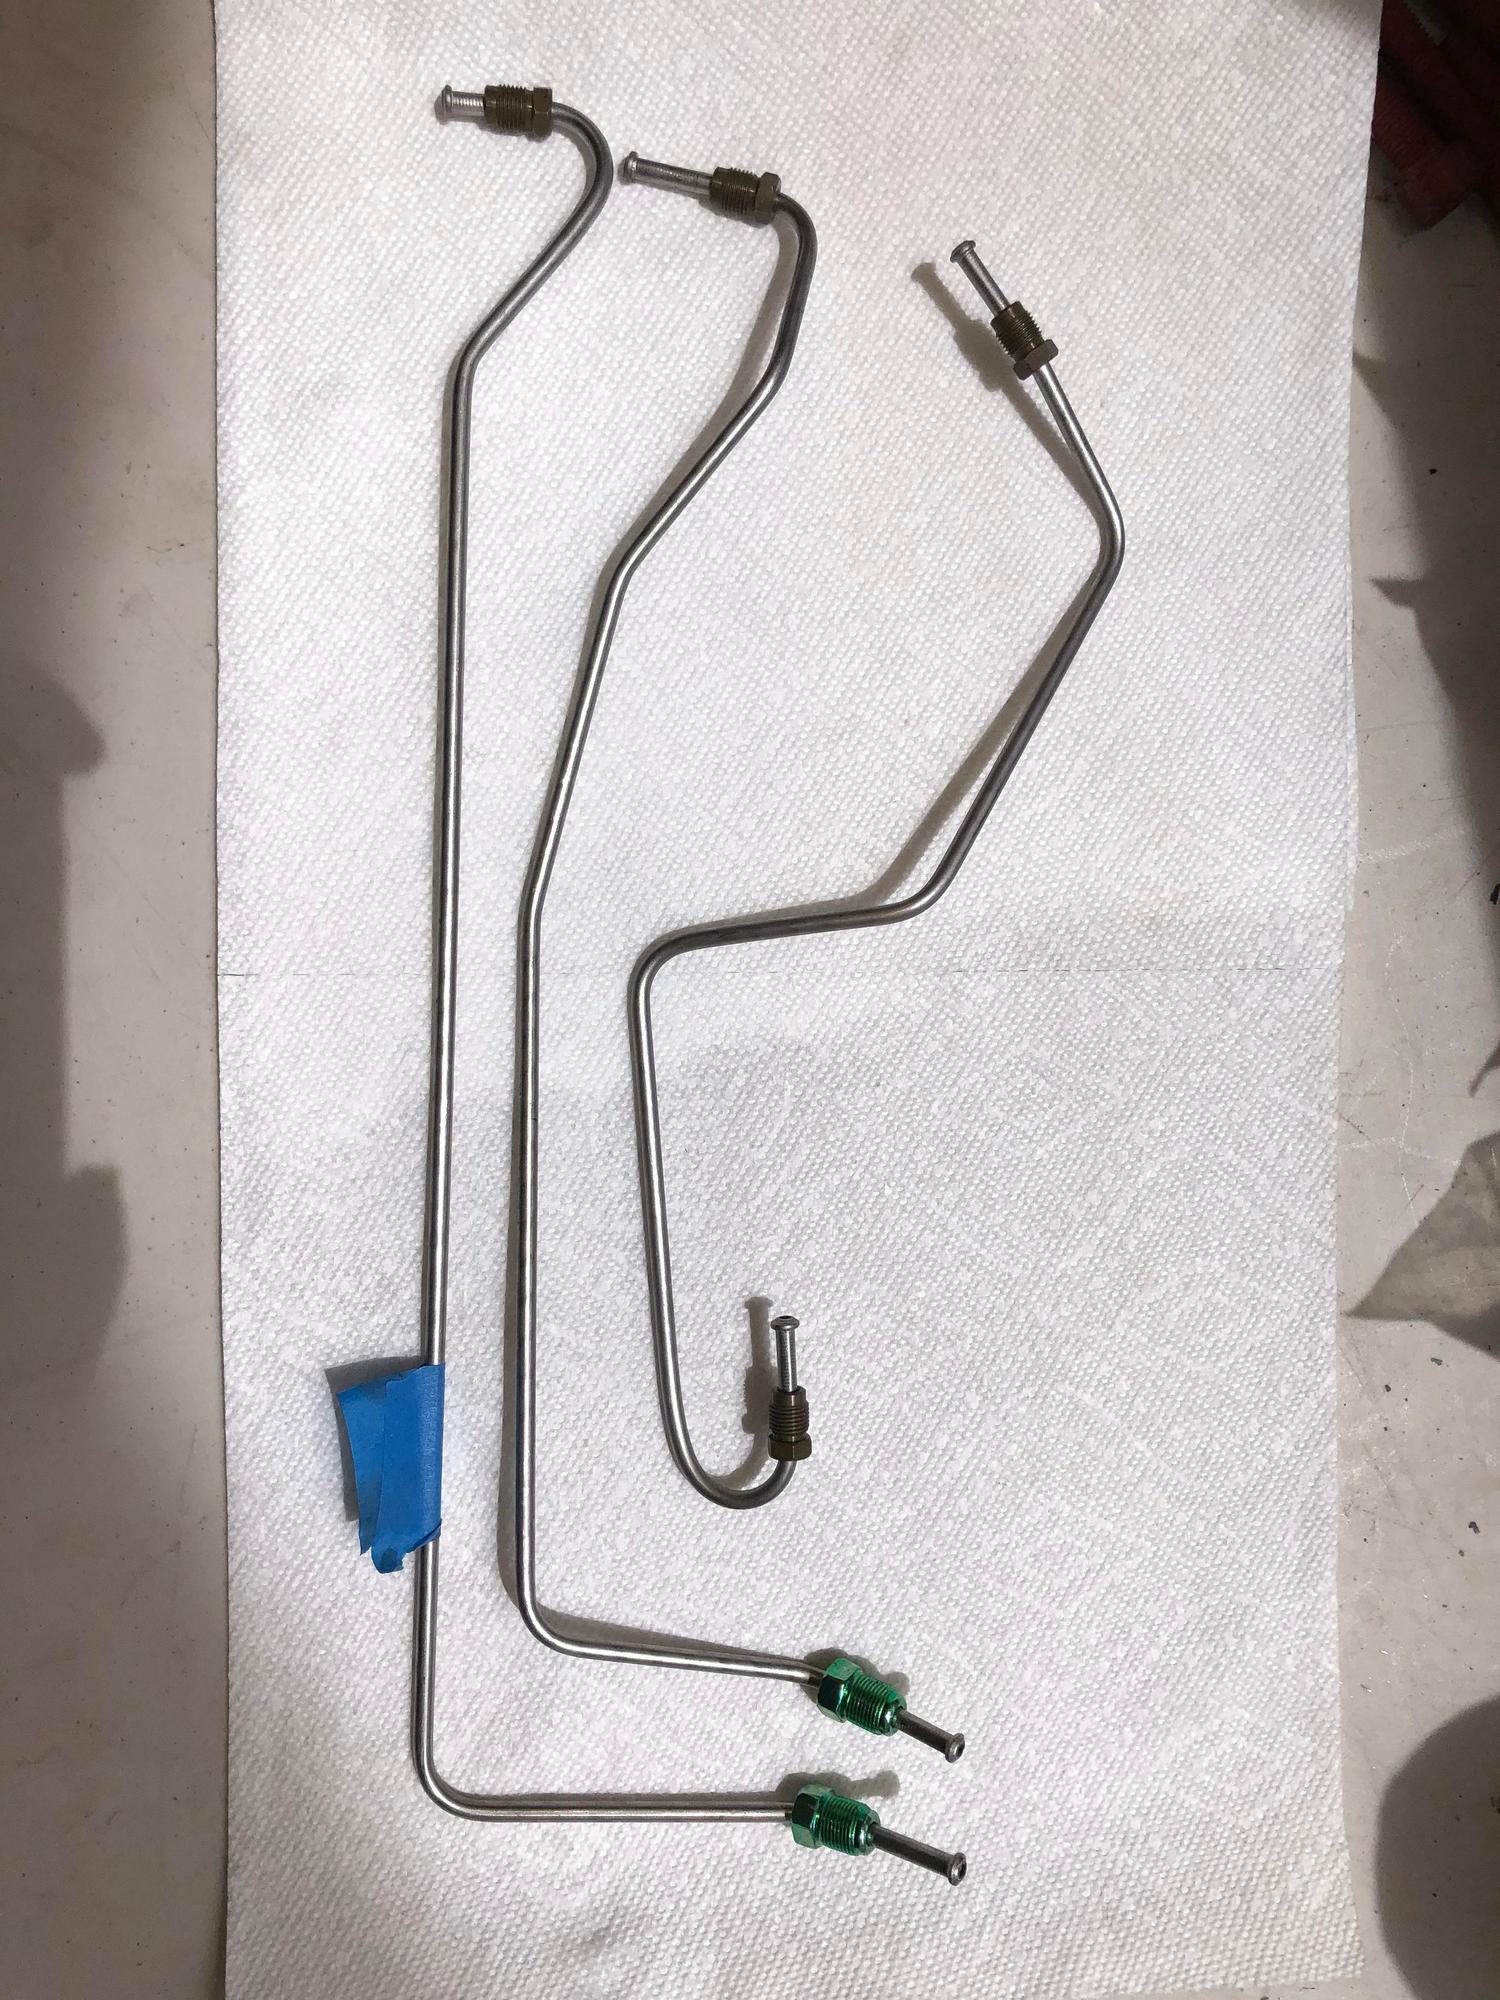
Its often suggested to use the BMW lines. Well, bending them ain't easy, and they're too long. I botched 4 of them before looking for better options. I tried tube bending tools you can buy on Amazon, they aren't precise enough. Tried making my own benders from wood pegs of various diameters, got close but no dice. This became infuriating, so I turned to the pros, Classic Tube in upstate NY. I mocked up what I needed with wire on the originals, then sent them off to be bent. In addition to the MC lines, I mocked up a pressure limiting valve delete tube. It took a while, quoted 2 weeks, took 6, thanks covid! But they came back nearly perfect.
Here's the fun part, I paid them to make a second set and keep them in inventory. You can call up Classic Tube, reference this order number (251854) and order these 3 lines for $185 total. Trust me, I seriously considered ordering a set of 5-10 and flipping them to pay for part of my project, but I've saved thousands of dollars via this community and learned so much, I decided to go this route instead. I hope you all take advantage.
I owe you all better photos of them installed, and I will update the thread with them. Unfortunately I cant seem to find them on my phone and the car is at the detailer. They fit nearly perfect. the MC line to the end further from the ABS is about 1/4 too long to be called perfect, but it certainly didn't bother me enough to have it redone. If you want to address this with Classic Tube, reach out and I'll offer a better description of exactly what I would change.


 04-07-2020, 07:55 PM


 Have one person secure they bulked from inside the frunk (17mm IIRC) while you remove the side under the car.