

TJ's Intro, Build Thread, & Questions
 04-22-2017, 05:33 PM
#31
Rennlist Member
Thread Starter
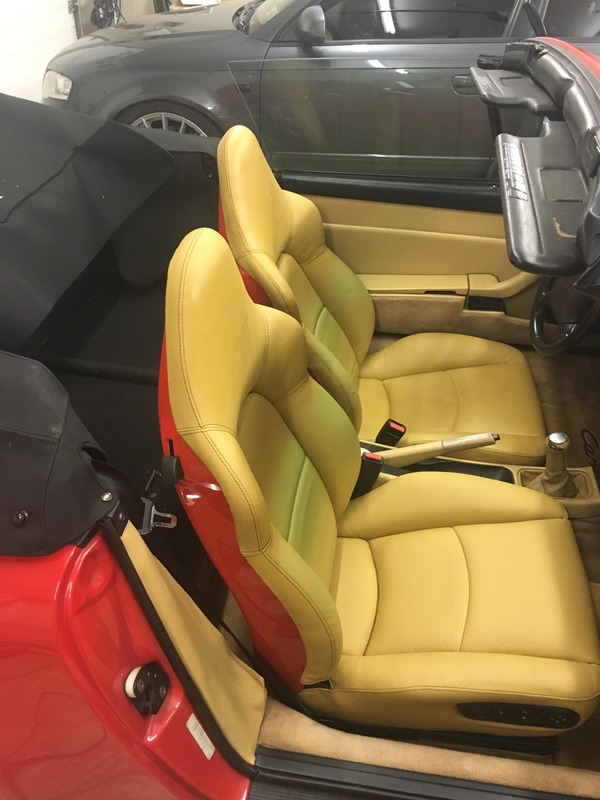
So in classic form, a 20 minute instal of some Wademar Hardback Sport Seats I bought for my old mans 993 turned into a 5 hour debacle, so the 964 is where I left her sans some minor stuff not worth posting about. So, here are a couple shots of the 993 with the hardbacks I stole to drive to Hershey today. Where, by they way, I scored some great stuff for the 964.
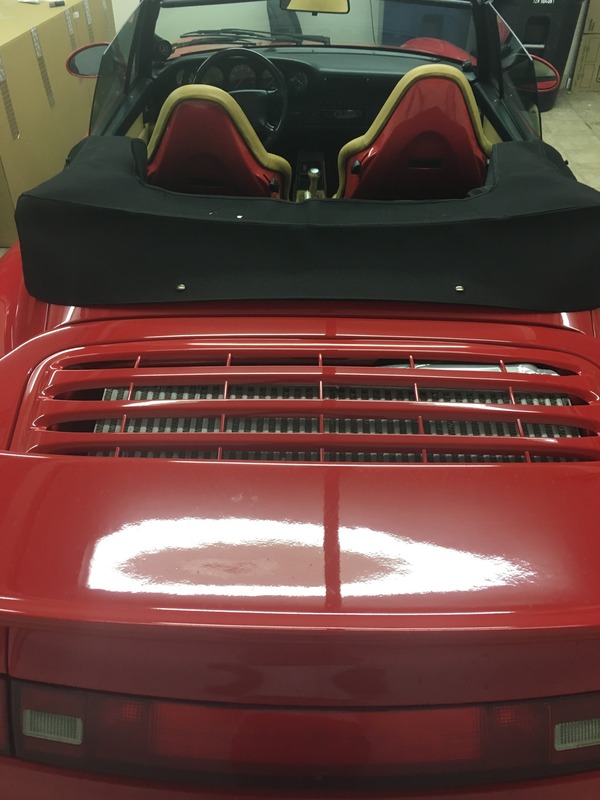
Oh, the big box in the second picture is a full Euro Turbo conversion for the 993. She goes to the body shop on Monday.
And for the 964:
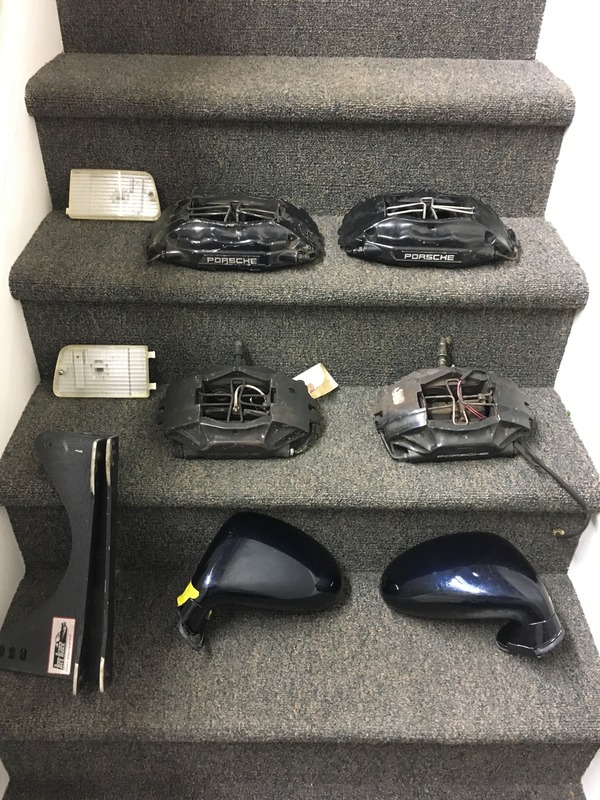
993 rear calipers, thanks Rick!
I was going to go with 993 fronts as well, but I found some 964RS/Turbo/928GTS big boys that were too good of a deal to pass up. Thanks Trevor!
BK Recaro seat mounts, sorry I forget the sellers name, I have your card in the car though. Thank you! I was going to order a set of these this week. You saved me big time.
Clear reflectors. Struck out searching for my #1 item, full clear corners, but Rick hooked me up with a great deal on the reflectors to get my started. Now to find some turn signals...
And finally from the boys that drove all the way from Ann Arbor MI (didn't meet the seller, his friend made the deal), a pair of manual Aero mirrors IN MY COLOR! An honest miracle and maybe my best score at Hershey to date. Stoked to be able to put these on the car until the whole thing goes for paint (don't hold your breath.)
Oh, the big box in the second picture is a full Euro Turbo conversion for the 993. She goes to the body shop on Monday.
And for the 964:
993 rear calipers, thanks Rick!
I was going to go with 993 fronts as well, but I found some 964RS/Turbo/928GTS big boys that were too good of a deal to pass up. Thanks Trevor!
BK Recaro seat mounts, sorry I forget the sellers name, I have your card in the car though. Thank you! I was going to order a set of these this week. You saved me big time.
Clear reflectors. Struck out searching for my #1 item, full clear corners, but Rick hooked me up with a great deal on the reflectors to get my started. Now to find some turn signals...
And finally from the boys that drove all the way from Ann Arbor MI (didn't meet the seller, his friend made the deal), a pair of manual Aero mirrors IN MY COLOR! An honest miracle and maybe my best score at Hershey to date. Stoked to be able to put these on the car until the whole thing goes for paint (don't hold your breath.)
 04-24-2017, 10:37 PM
#32
Rennlist Member
Thread Starter
Here I go again, working on cars other than the 964. Oh well, when you get an opportunity to wrench on one of these beauties, you don't turn it down.
And a quick shot from Hershey of a local car.
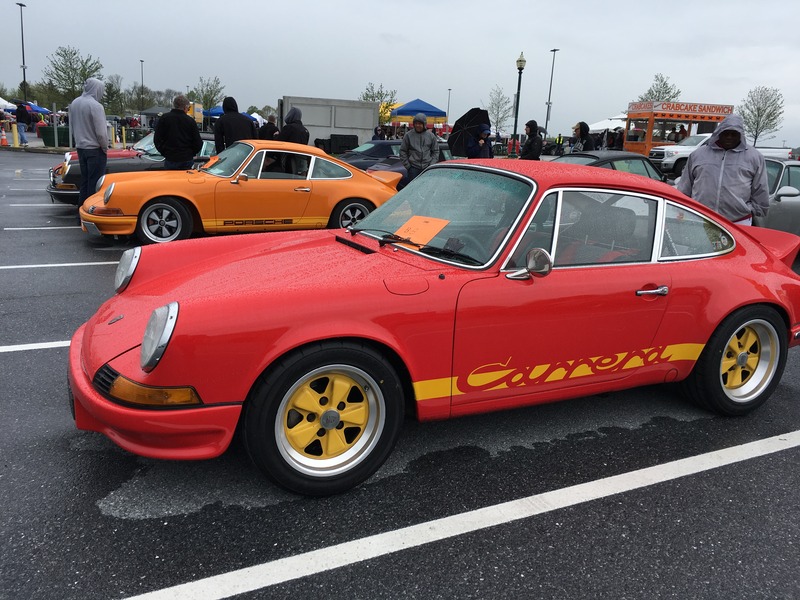
And a quick shot from Hershey of a local car.
04-29-2017, 10:32 PM
#33
Rennlist Member
Thread Starter
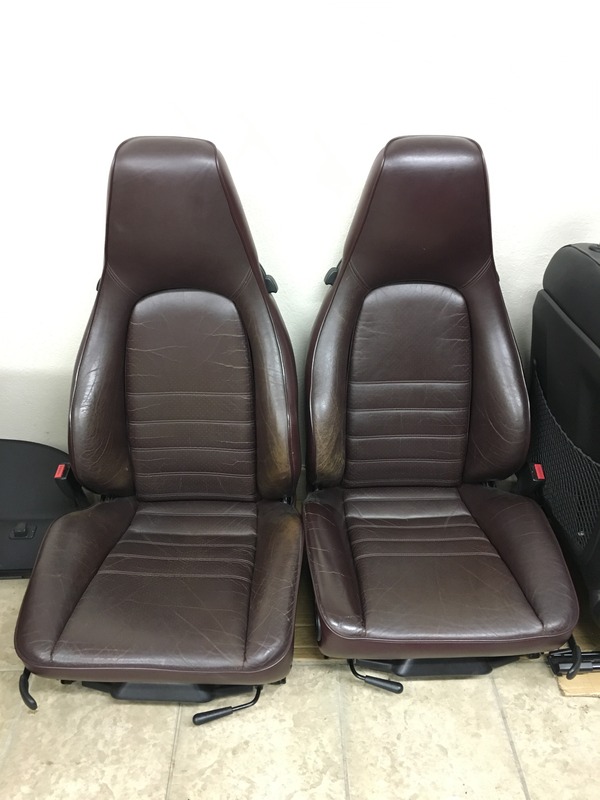
Well, I invested a solid 4 hours into the 964 on Friday, but I didn't turn a wrench. I was lucky enough that my dream street seats found me. 4-way power sport seats with HEAT. Lightest possible "street" combo in my eyes. I can delete heat in the car, seats are mostly manual, still great comfort for driving around town.
I honestly didn't know 4 way heated seats were made. I thought heat only came on 6 or 8 way seats. But alas, a set found their way to me via NoVA. Took a ride to meet a Hamed, a great guy from the 944 community.
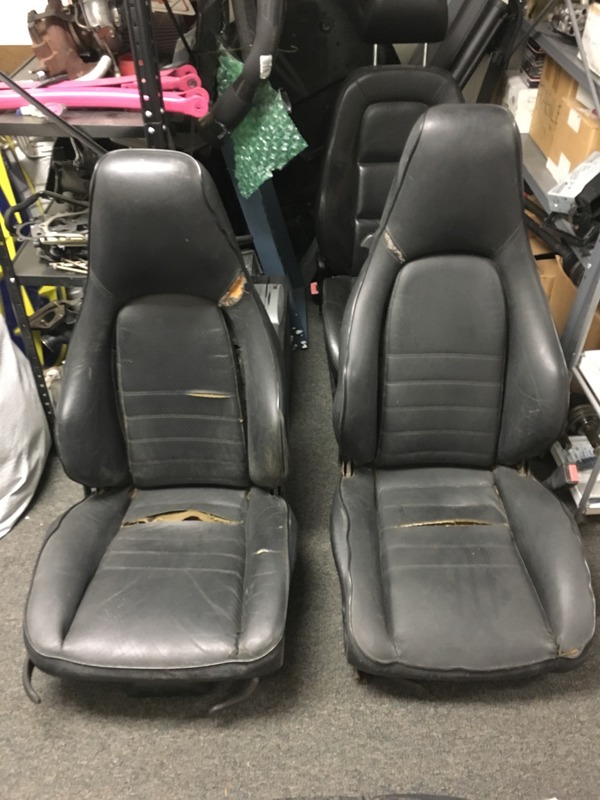
They are in good shape (better than my original comfort seats that came in the car) and will probably make their way into the car before I get everything reupholstered. This also means the 4 way sport seats I was going to build a heated set out of are now up for sale. Message me if you're interested. One picture below. More available.
The new pair.
For sale.
I honestly didn't know 4 way heated seats were made. I thought heat only came on 6 or 8 way seats. But alas, a set found their way to me via NoVA. Took a ride to meet a Hamed, a great guy from the 944 community.
They are in good shape (better than my original comfort seats that came in the car) and will probably make their way into the car before I get everything reupholstered. This also means the 4 way sport seats I was going to build a heated set out of are now up for sale. Message me if you're interested. One picture below. More available.
The new pair.
For sale.
04-30-2017, 11:00 PM
#34
Rennlist Member
Thread Starter
So today, after getting a few tips from Colin of 9M in another thread, I decided to go through my oil lines one more time before final install. And damn, am I glad I did.
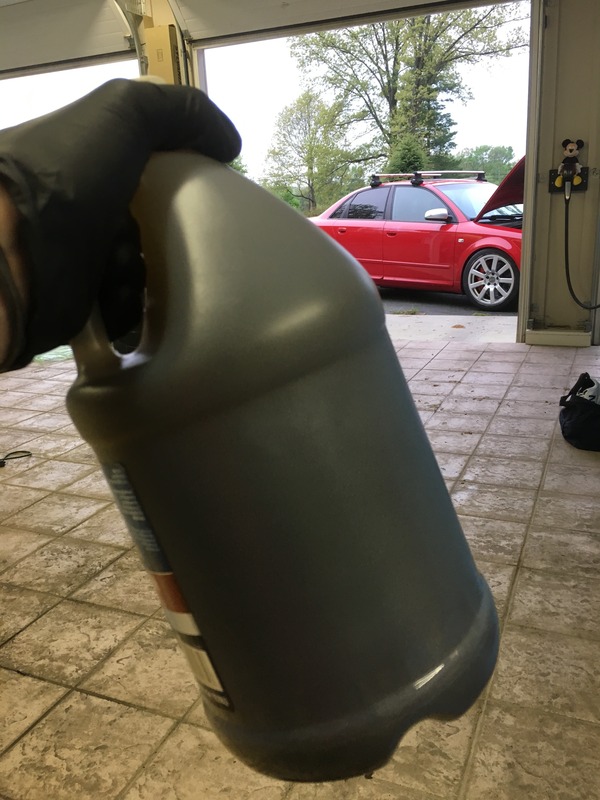
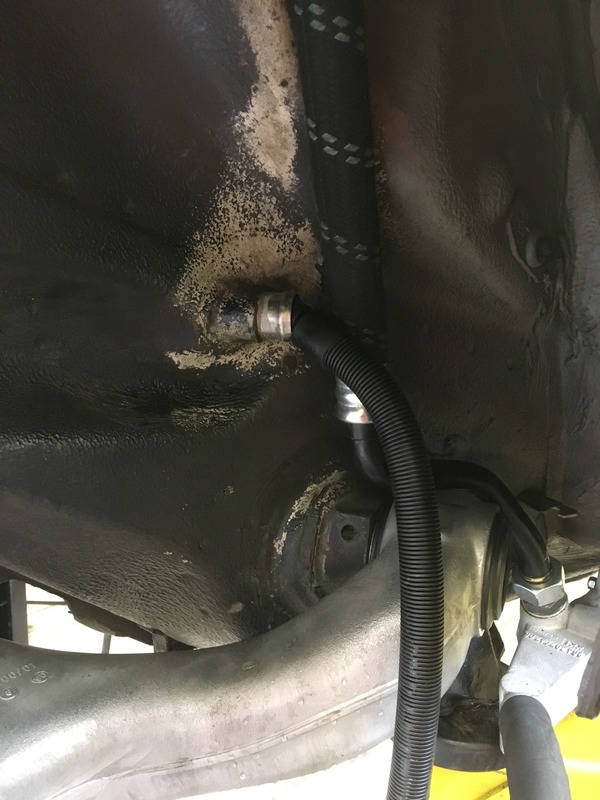
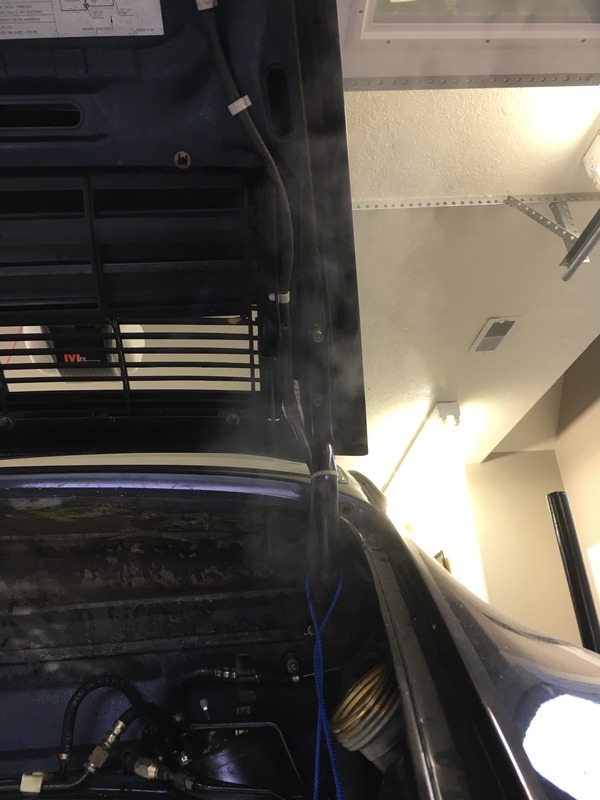
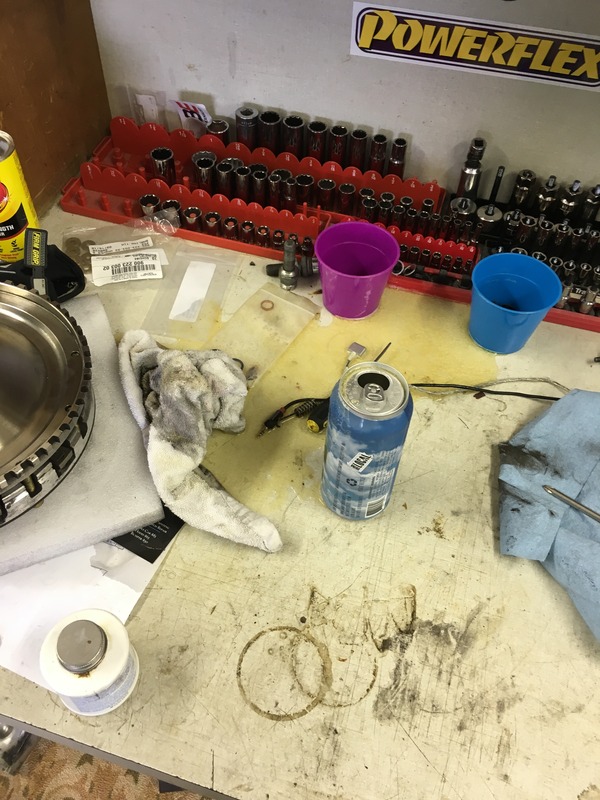
Lowe's wallpaper steamer ($50) and a creative rig using an old rally car. I wasn't sure how long to steam them, but I figured I couldn't hurt them since the steam won't be significanty hotter than the oil that would pass through them. I gave it about 20 minutes each of steam before running 3/4 of a gallon of gasolie (Colin's recommendation) through them. The fuel went in clean and clear... check out what color it was when it came out.
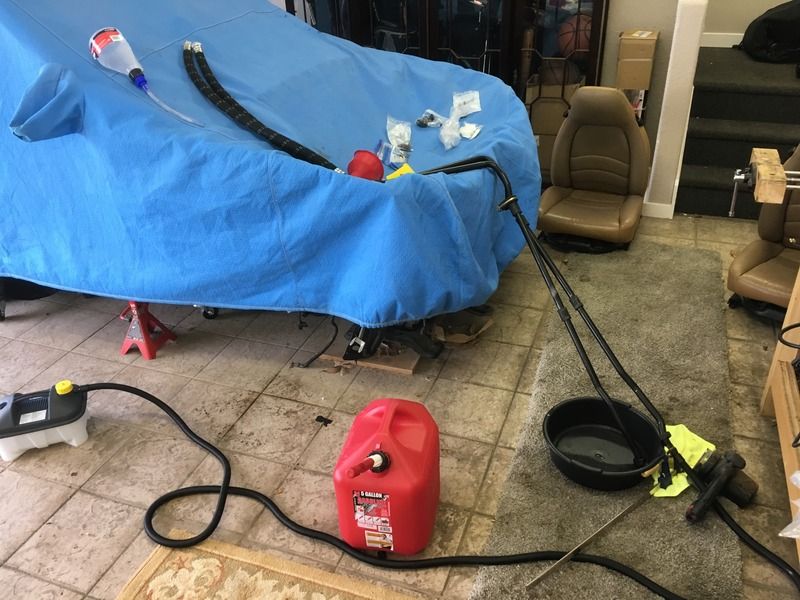
This is only gasoline....
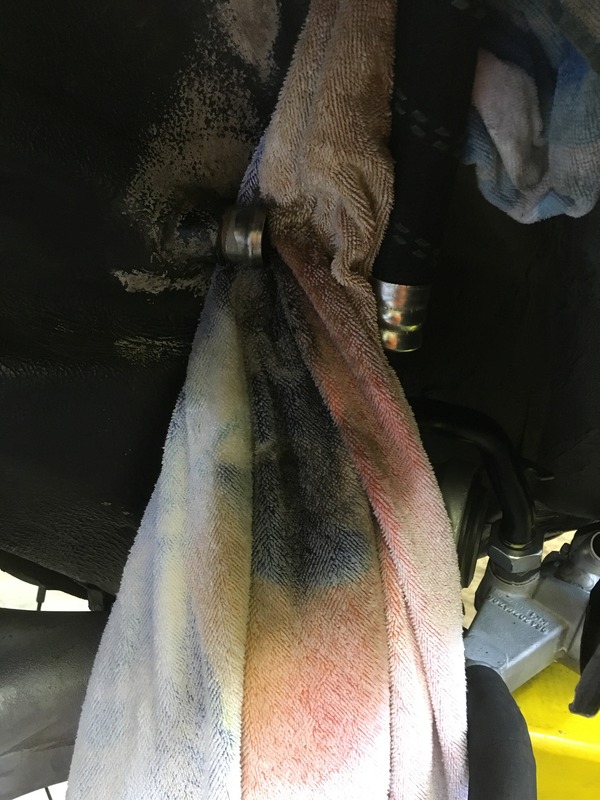
For the oil filler to oil tank section that passes through the frame rail I steamed it for 20 minutes then ran a full can of brake cleaner through it. What came out on the (formerly) white towel was not pretty. Again, glad I did it! It's funny how much easier getting the oil tank is the third go-around.
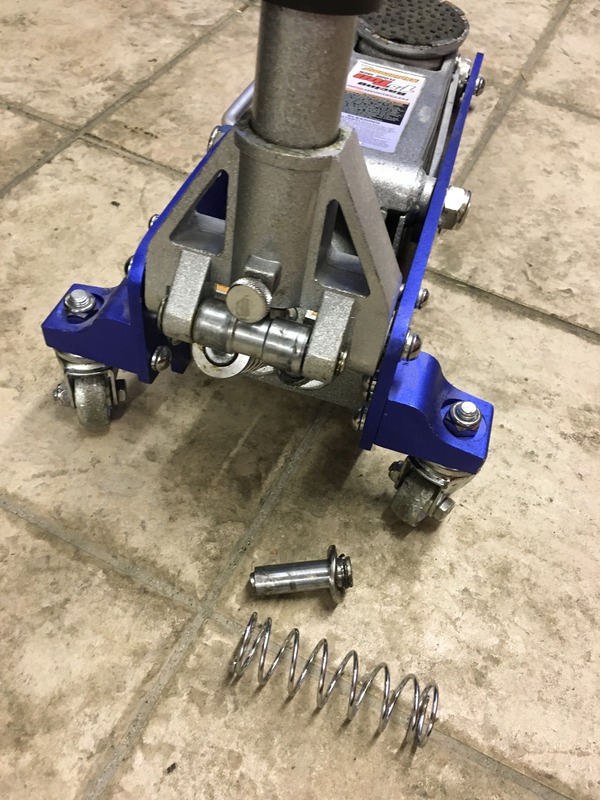
And to wrap up my night while chasing a coolant leak in my work car, I broke my Harbor Fright jack with the car up on a stand. Fun times... Any recommendations for a low profile jack that will last me a lifetime?
Lowe's wallpaper steamer ($50) and a creative rig using an old rally car. I wasn't sure how long to steam them, but I figured I couldn't hurt them since the steam won't be significanty hotter than the oil that would pass through them. I gave it about 20 minutes each of steam before running 3/4 of a gallon of gasolie (Colin's recommendation) through them. The fuel went in clean and clear... check out what color it was when it came out.
This is only gasoline....
For the oil filler to oil tank section that passes through the frame rail I steamed it for 20 minutes then ran a full can of brake cleaner through it. What came out on the (formerly) white towel was not pretty. Again, glad I did it! It's funny how much easier getting the oil tank is the third go-around.
And to wrap up my night while chasing a coolant leak in my work car, I broke my Harbor Fright jack with the car up on a stand. Fun times... Any recommendations for a low profile jack that will last me a lifetime?
05-01-2017, 02:15 AM
#35
Rennlist Member
very cool thread- love seeing your progress.
Really would love to start a deep cleaning like you've done in certain areas. One day!
I also really need to get to Hershey-- would love a set of aero mirrors!
Really would love to start a deep cleaning like you've done in certain areas. One day!
I also really need to get to Hershey-- would love a set of aero mirrors!
05-03-2017, 10:16 PM
#36
Rennlist Member
Thread Starter
Thanks 'jager. It's more of a functional "clean" than anything near a "Concours clean" as I plan to put quite literally as many miles on her as I can afford, but it's still fun seeing her turn the corner from neglected to road and track worthy.
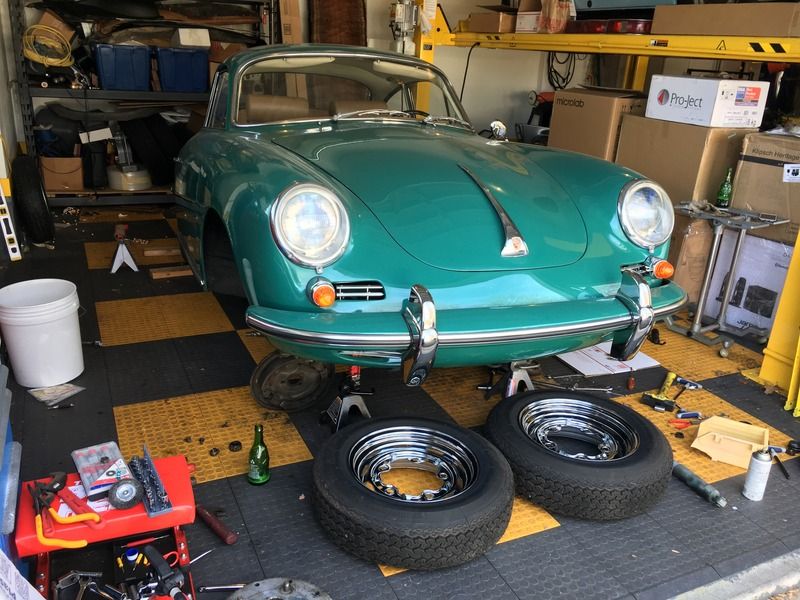
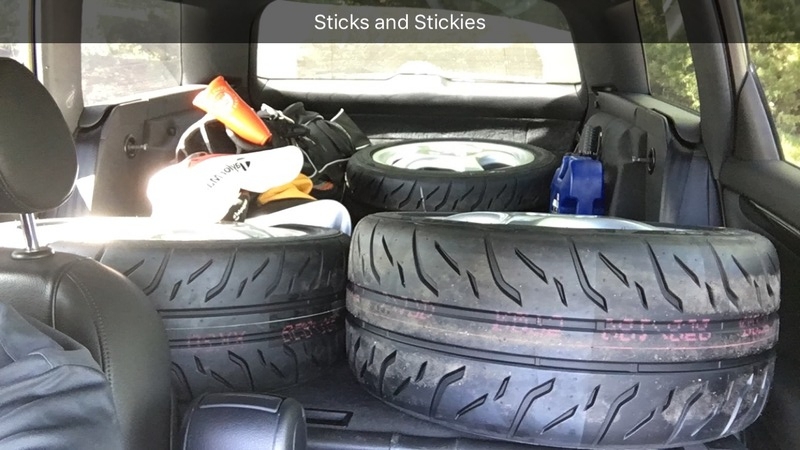
Picked up and mounted the tires yesterday. Decided to mount my 7.5/9 Cup 1 replicas rather than the real Cup 8x9.5s for a few reasons. Mostly I want to rack up some miles without worrying about damaging an irreplaceable set of wheels. Went with 225/255 RE71R's. I haven't ran a Bridgestone in almost a decade, but I was a fan of the RE01R's 10 years ago so I'm optimistic. Forgive the snapchat comment in the picture. Golf and pcar progress makes for a happy TJ.
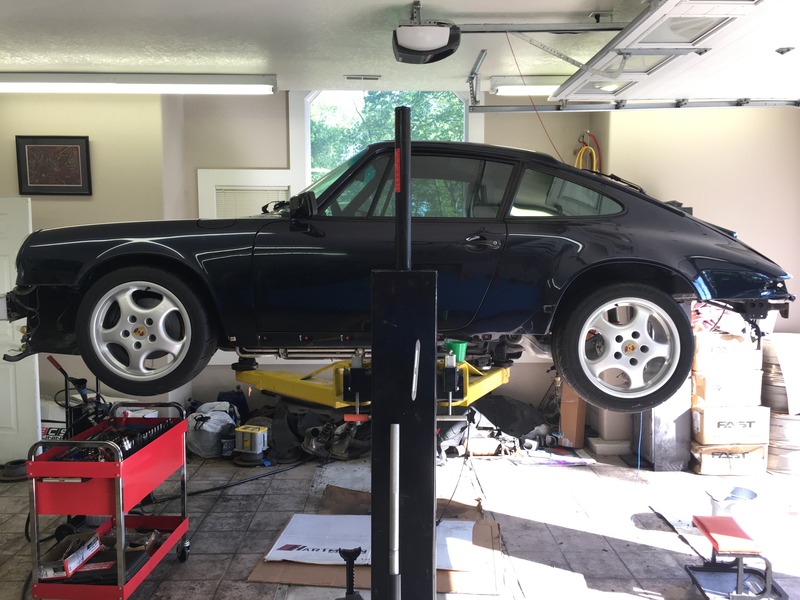
A little mockup to check fit and offset. Should've went with the 9.5s and 275's
Finished today installing the rear ebrakes (not fun, but could've been worse), rotors/calipers, etc. Added hose clams and did a final tightening of all the oil lines. Cleaned and installed the dip stick tube and dip stick. More time tomorrow.
Picked up and mounted the tires yesterday. Decided to mount my 7.5/9 Cup 1 replicas rather than the real Cup 8x9.5s for a few reasons. Mostly I want to rack up some miles without worrying about damaging an irreplaceable set of wheels. Went with 225/255 RE71R's. I haven't ran a Bridgestone in almost a decade, but I was a fan of the RE01R's 10 years ago so I'm optimistic. Forgive the snapchat comment in the picture. Golf and pcar progress makes for a happy TJ.
A little mockup to check fit and offset. Should've went with the 9.5s and 275's
Finished today installing the rear ebrakes (not fun, but could've been worse), rotors/calipers, etc. Added hose clams and did a final tightening of all the oil lines. Cleaned and installed the dip stick tube and dip stick. More time tomorrow.
05-05-2017, 05:44 PM
#37
Rennlist Member
Thread Starter
Well, I was really excited to post updates today, but it turns out they aren't going to be positive.
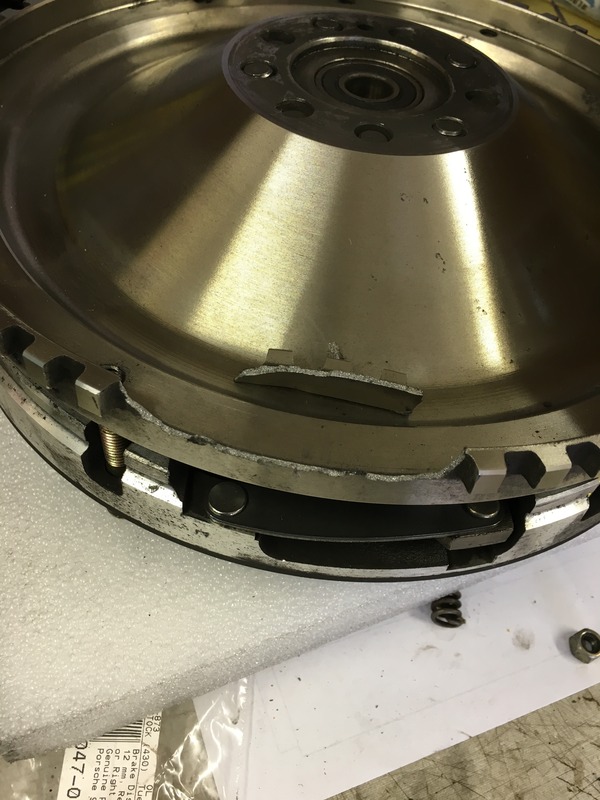
My RS clutch, pressure plate, and flywheel arrived today, but USPS somehow managed to destroy this flywheel. It was fully insured and the seller has been great so far about getting it resolved, but Im still not looking forward to the claim and I'll be REALLY upset if this holds up me driving the car.
To make things even more fun, my complete 993 front end arrived very much INcomplete. Missing control arms. The seller has been awful with communication and Im only a few days away from the 45 day Paypal window, so I had to open a case there. Not nearly as time sensitive as the flywheel but ****ty nonetheless.
To top it all off, digging for flywheel shrapnel, I spilled my damn beer. When it rains it pours!
05-14-2017, 10:37 PM
#38
Rennlist Member
Thread Starter
Ok back on track. Good news, my engine builder said we can throw a new flywheel (courtesy of USPS, hopefully) in without any adverse effects (I don't need a new $450 clutch plus $50 worth of pressure plate refinishing.)
Second, my new control arms that were missing are on the way.
Third, progress! Last couple days I've wrapped up the mechanicals of the car.
Rear suspension and oil lines are all locked in and torqued. Just need to throw the new breather lines in.
Got the missing ebrake pin and assembled and set the tension on the e-brake.
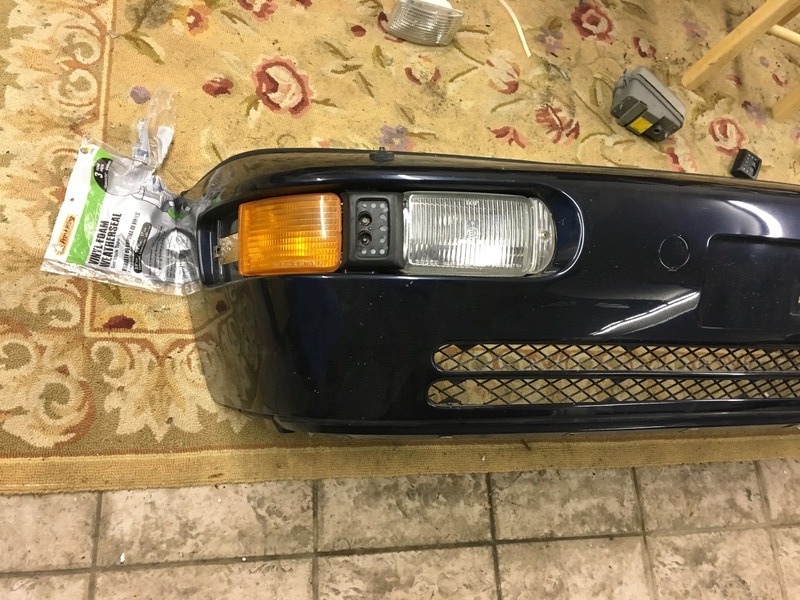
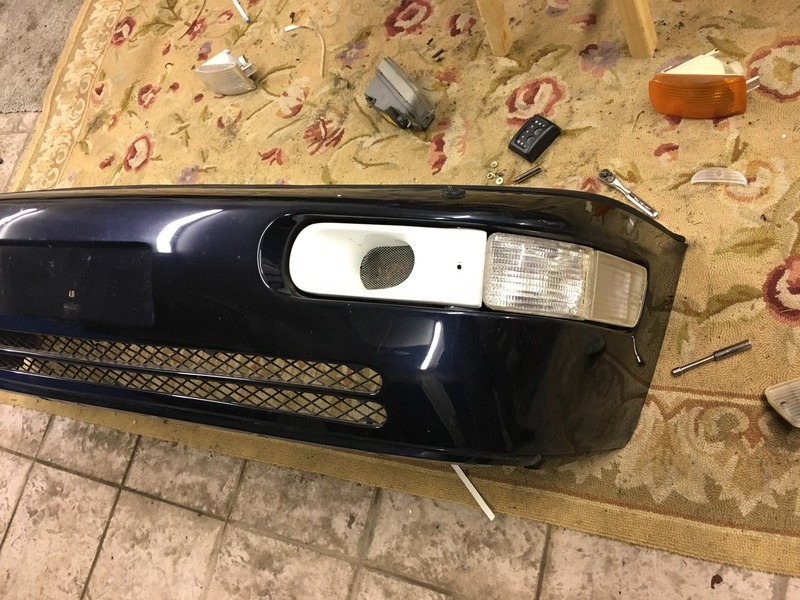
Started putting all the fender liner and under body panels back on after a deep scrub with APC and a heavy brush. Front bumper go the clear corners and ducts installed (none of it is in good shape, new or old, but for now it will do.)
Before
After
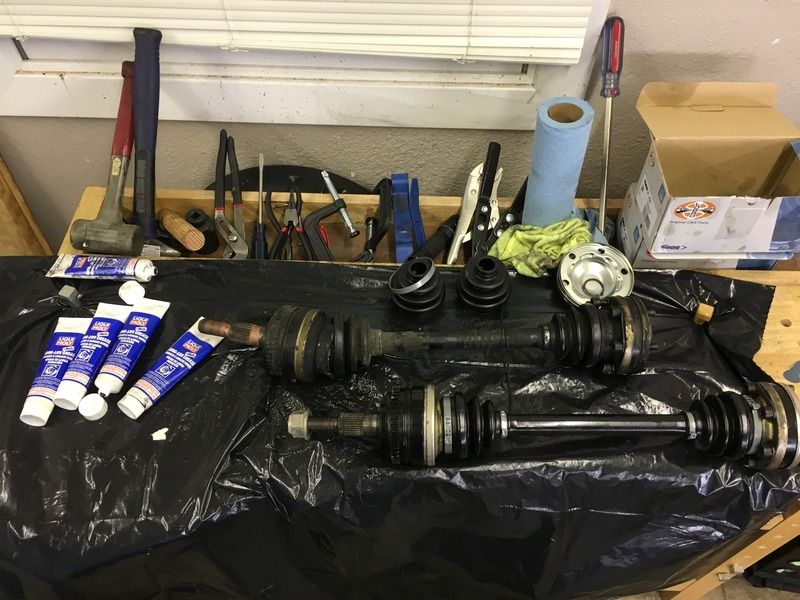
Tackled a job I've really been dreading, rebuilding the CV's. I couldn't find anywhere that could tell me how much grease goes into each CV and I've never rebuilt one before, so based on some estimates from different threads I winged it.
Outer CV's took about 100g of grease. I did not use a solvent to get out every last drop of the old grease so there was some small amount of the old stuff left in there. Inner CV's took 75g. Pics below. All the tools I used are in the back rail of the bench. Any questions on the method feel free to ask, but I mostly followed this DIY. (although it is missing some critical info I had to dig up elsewhere)
Bottom one is finished. Top is what I was starting with.
http://forums.pelicanparts.com/porsc...servicing.html
Got into some cosmetic stuff next. There was a ton of gunk in the heater pipes so I soaked them in the garage sink overnight in dish soap and then sprayed and brushed them out with brake clean. Then I started to polish everything. 400 grit sand paper and some metal polish from Amazon that had good reviews. Nothing crazy, I didn't want a "chrome" look, just a cleaned up shine.
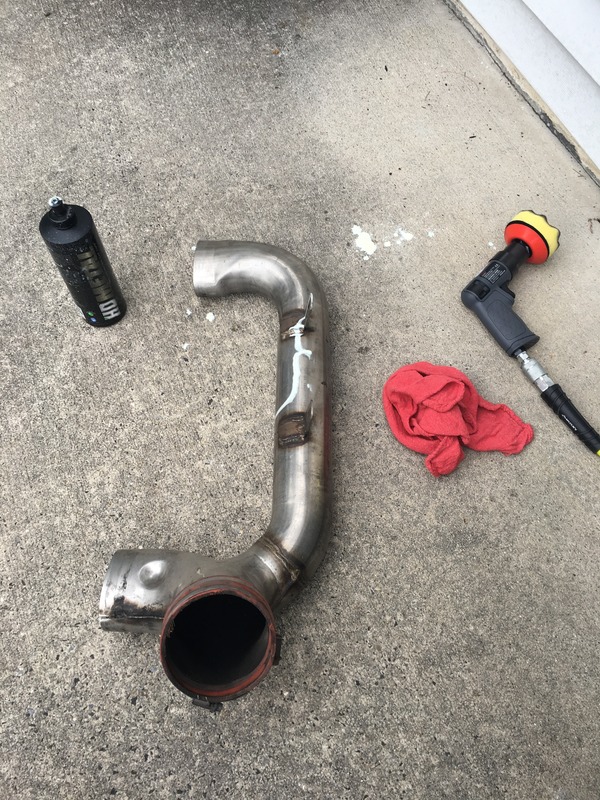
Left half just about done, right half is basically what I started with. Think it got a quick wipe down, but that's about it.
More pictures coming in the next couple days as I get ready to drop the chassis off to have the motor put in. Getting excited
Second, my new control arms that were missing are on the way.
Third, progress! Last couple days I've wrapped up the mechanicals of the car.
Rear suspension and oil lines are all locked in and torqued. Just need to throw the new breather lines in.
Got the missing ebrake pin and assembled and set the tension on the e-brake.
Started putting all the fender liner and under body panels back on after a deep scrub with APC and a heavy brush. Front bumper go the clear corners and ducts installed (none of it is in good shape, new or old, but for now it will do.)
Before
After
Tackled a job I've really been dreading, rebuilding the CV's. I couldn't find anywhere that could tell me how much grease goes into each CV and I've never rebuilt one before, so based on some estimates from different threads I winged it.
Outer CV's took about 100g of grease. I did not use a solvent to get out every last drop of the old grease so there was some small amount of the old stuff left in there. Inner CV's took 75g. Pics below. All the tools I used are in the back rail of the bench. Any questions on the method feel free to ask, but I mostly followed this DIY. (although it is missing some critical info I had to dig up elsewhere)
Bottom one is finished. Top is what I was starting with.
http://forums.pelicanparts.com/porsc...servicing.html
Got into some cosmetic stuff next. There was a ton of gunk in the heater pipes so I soaked them in the garage sink overnight in dish soap and then sprayed and brushed them out with brake clean. Then I started to polish everything. 400 grit sand paper and some metal polish from Amazon that had good reviews. Nothing crazy, I didn't want a "chrome" look, just a cleaned up shine.
Left half just about done, right half is basically what I started with. Think it got a quick wipe down, but that's about it.
More pictures coming in the next couple days as I get ready to drop the chassis off to have the motor put in. Getting excited
05-16-2017, 03:14 PM
#39
Rennlist Member
Thread Starter
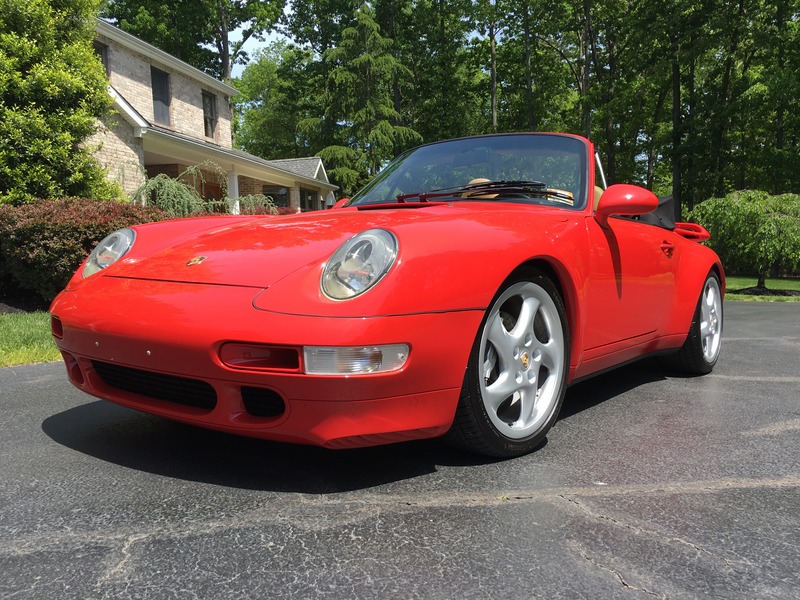
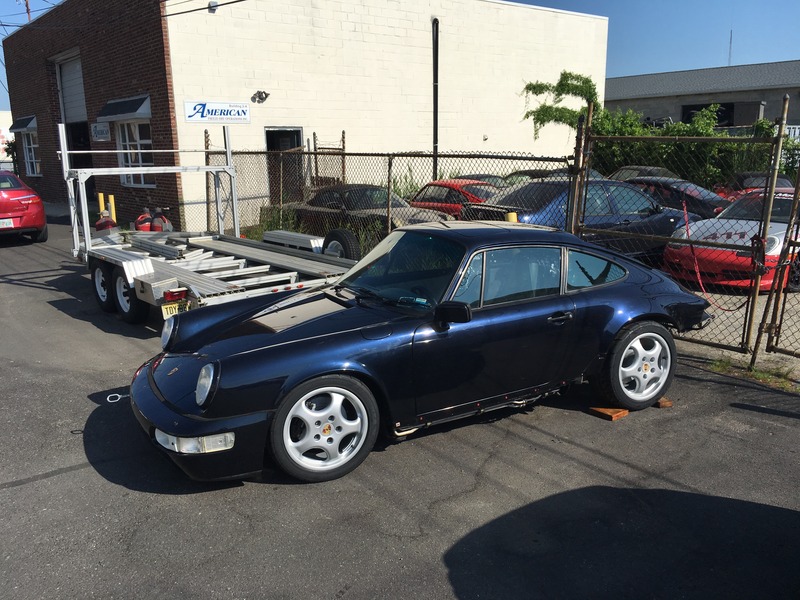
More off topic content. I picked up my old mans 993 from the shop with the new Euro Turbo front end conversion and some fresh paint on the hood, fenders, rear bumper, and mirrors. Shaved the useless headlight washers and deleted the equally useless fog lights in favor of some Better Bodies vents. Really impressed with the fitment on these. Will probably use them again for future projects.
I'm so stoked with how it came out and I can't wait to give it back to him.
I'm so stoked with how it came out and I can't wait to give it back to him.
05-18-2017, 11:32 PM
#40
Rennlist Member
Thread Starter
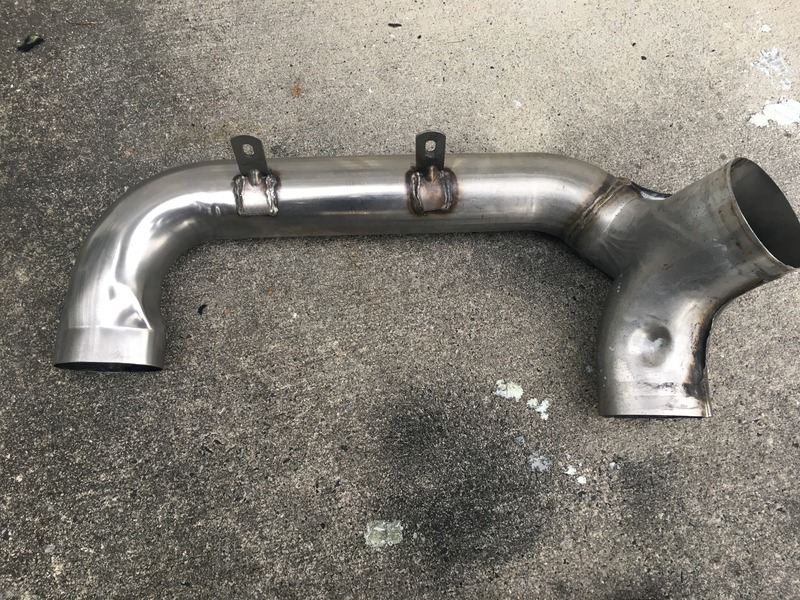
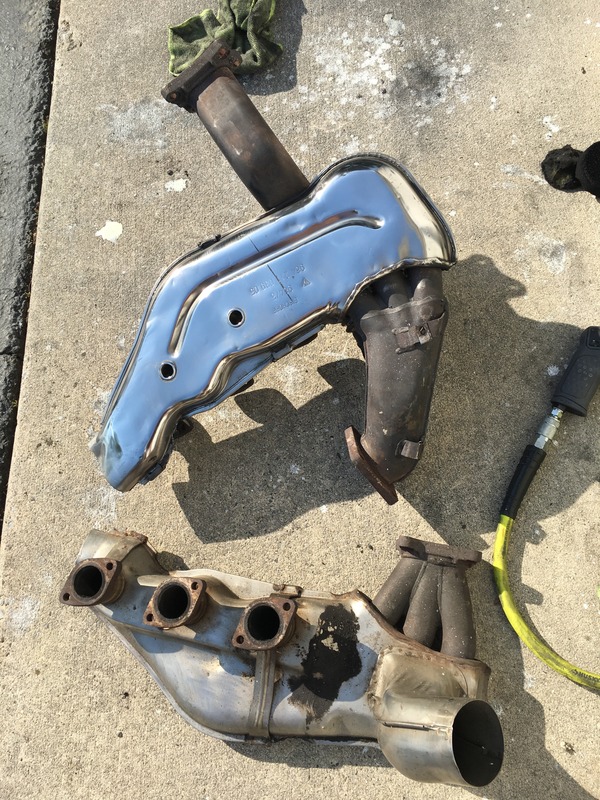
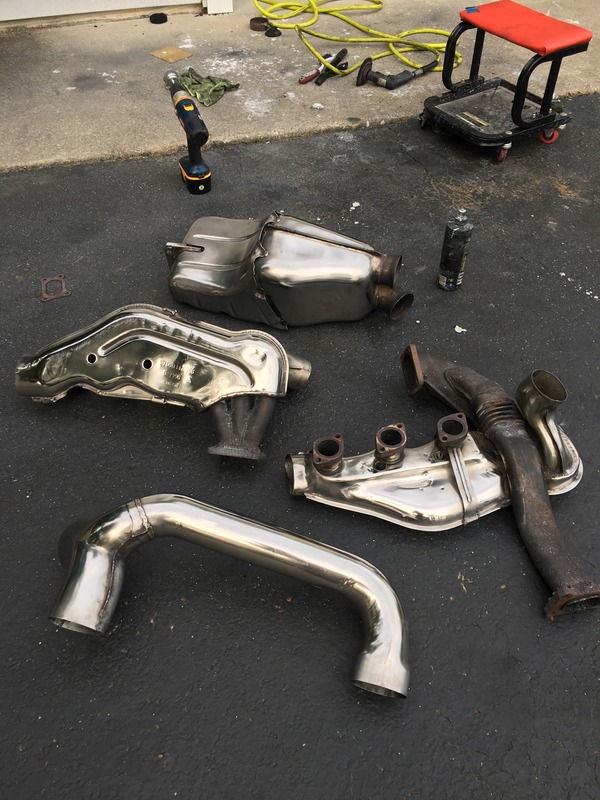
Well I know I said I didn't want a chrome-like polish on my heater ducts, but I went a little too far on one spot and thus there was only one option. I took them all the way. Cleaned up the manifold flanges with a wire brush on an electric drill (helped with the welds and tar/rocks stuck to the secondary muffler as well.)
Ia lso finished cleaning the old glue from the sound pad off the engine bay wall. NOT fun. I would not want to do that job without a lift. Forgot to take a picture but I'll add a before/after tomorrow.
The girl goes to get her heart tomorrow. Up at 5am for some final prep work then off she goes on the trailer. Exciting stuff!
Before/After
All finished.

 At least you will know it's nice and clean/shiny!
05-19-2017, 11:54 AM
At least you will know it's nice and clean/shiny!
05-19-2017, 11:54 AM
#43
Rennlist Member
Thread Starter
Thanks everyone.
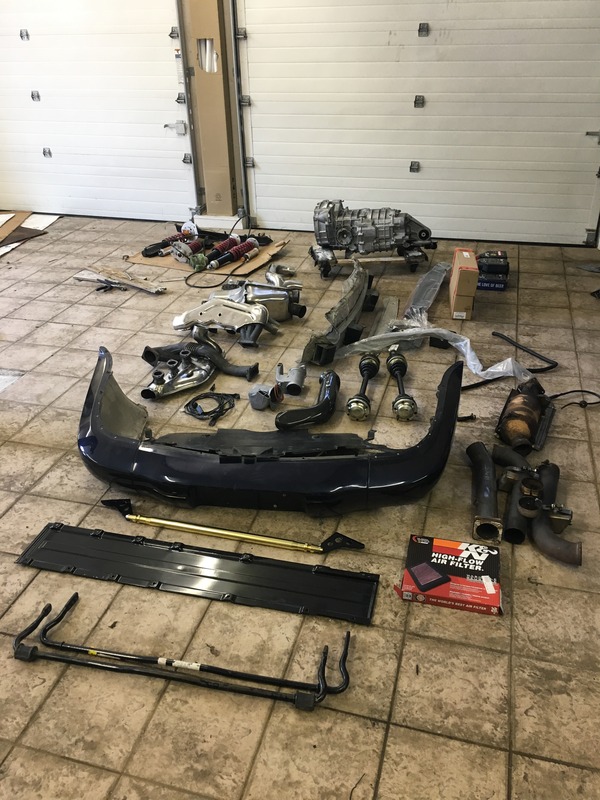
I woke up early this morning to get the car over to the shop to get the motor put in. I'll probably do the next motor pull and install, but I'm not interested in putting together everything having never taken it apart, given that I bought the car motor-out in pieces. Plus, Im anxious.
Now time to load up the car with all this junk and take it over this afternoon. Well, everything except the Motons. I bought those recently and will have them rebuilt, maybe put new springs on, etc, after this season when I know exactly what I want out of my dampeners. For this year, the JIC's will do.
05-19-2017, 10:12 PM
#45
Rennlist Member
Thread Starter