When you click on links to various merchants on this site and make a purchase, this can result in this site earning a commission. Affiliate programs and affiliations include, but are not limited to, the eBay Partner Network.
Thanks KK. If everything goes *perfectly* (it will not) I'll be driving her this weekend for our Memorial Day holiday weekend. Thinking mid week next is the more likely scenario as most everyone at the shop is off for a race at Watkins Glen this weekend and I've told them to prioritize the race cars that need prep over my car.
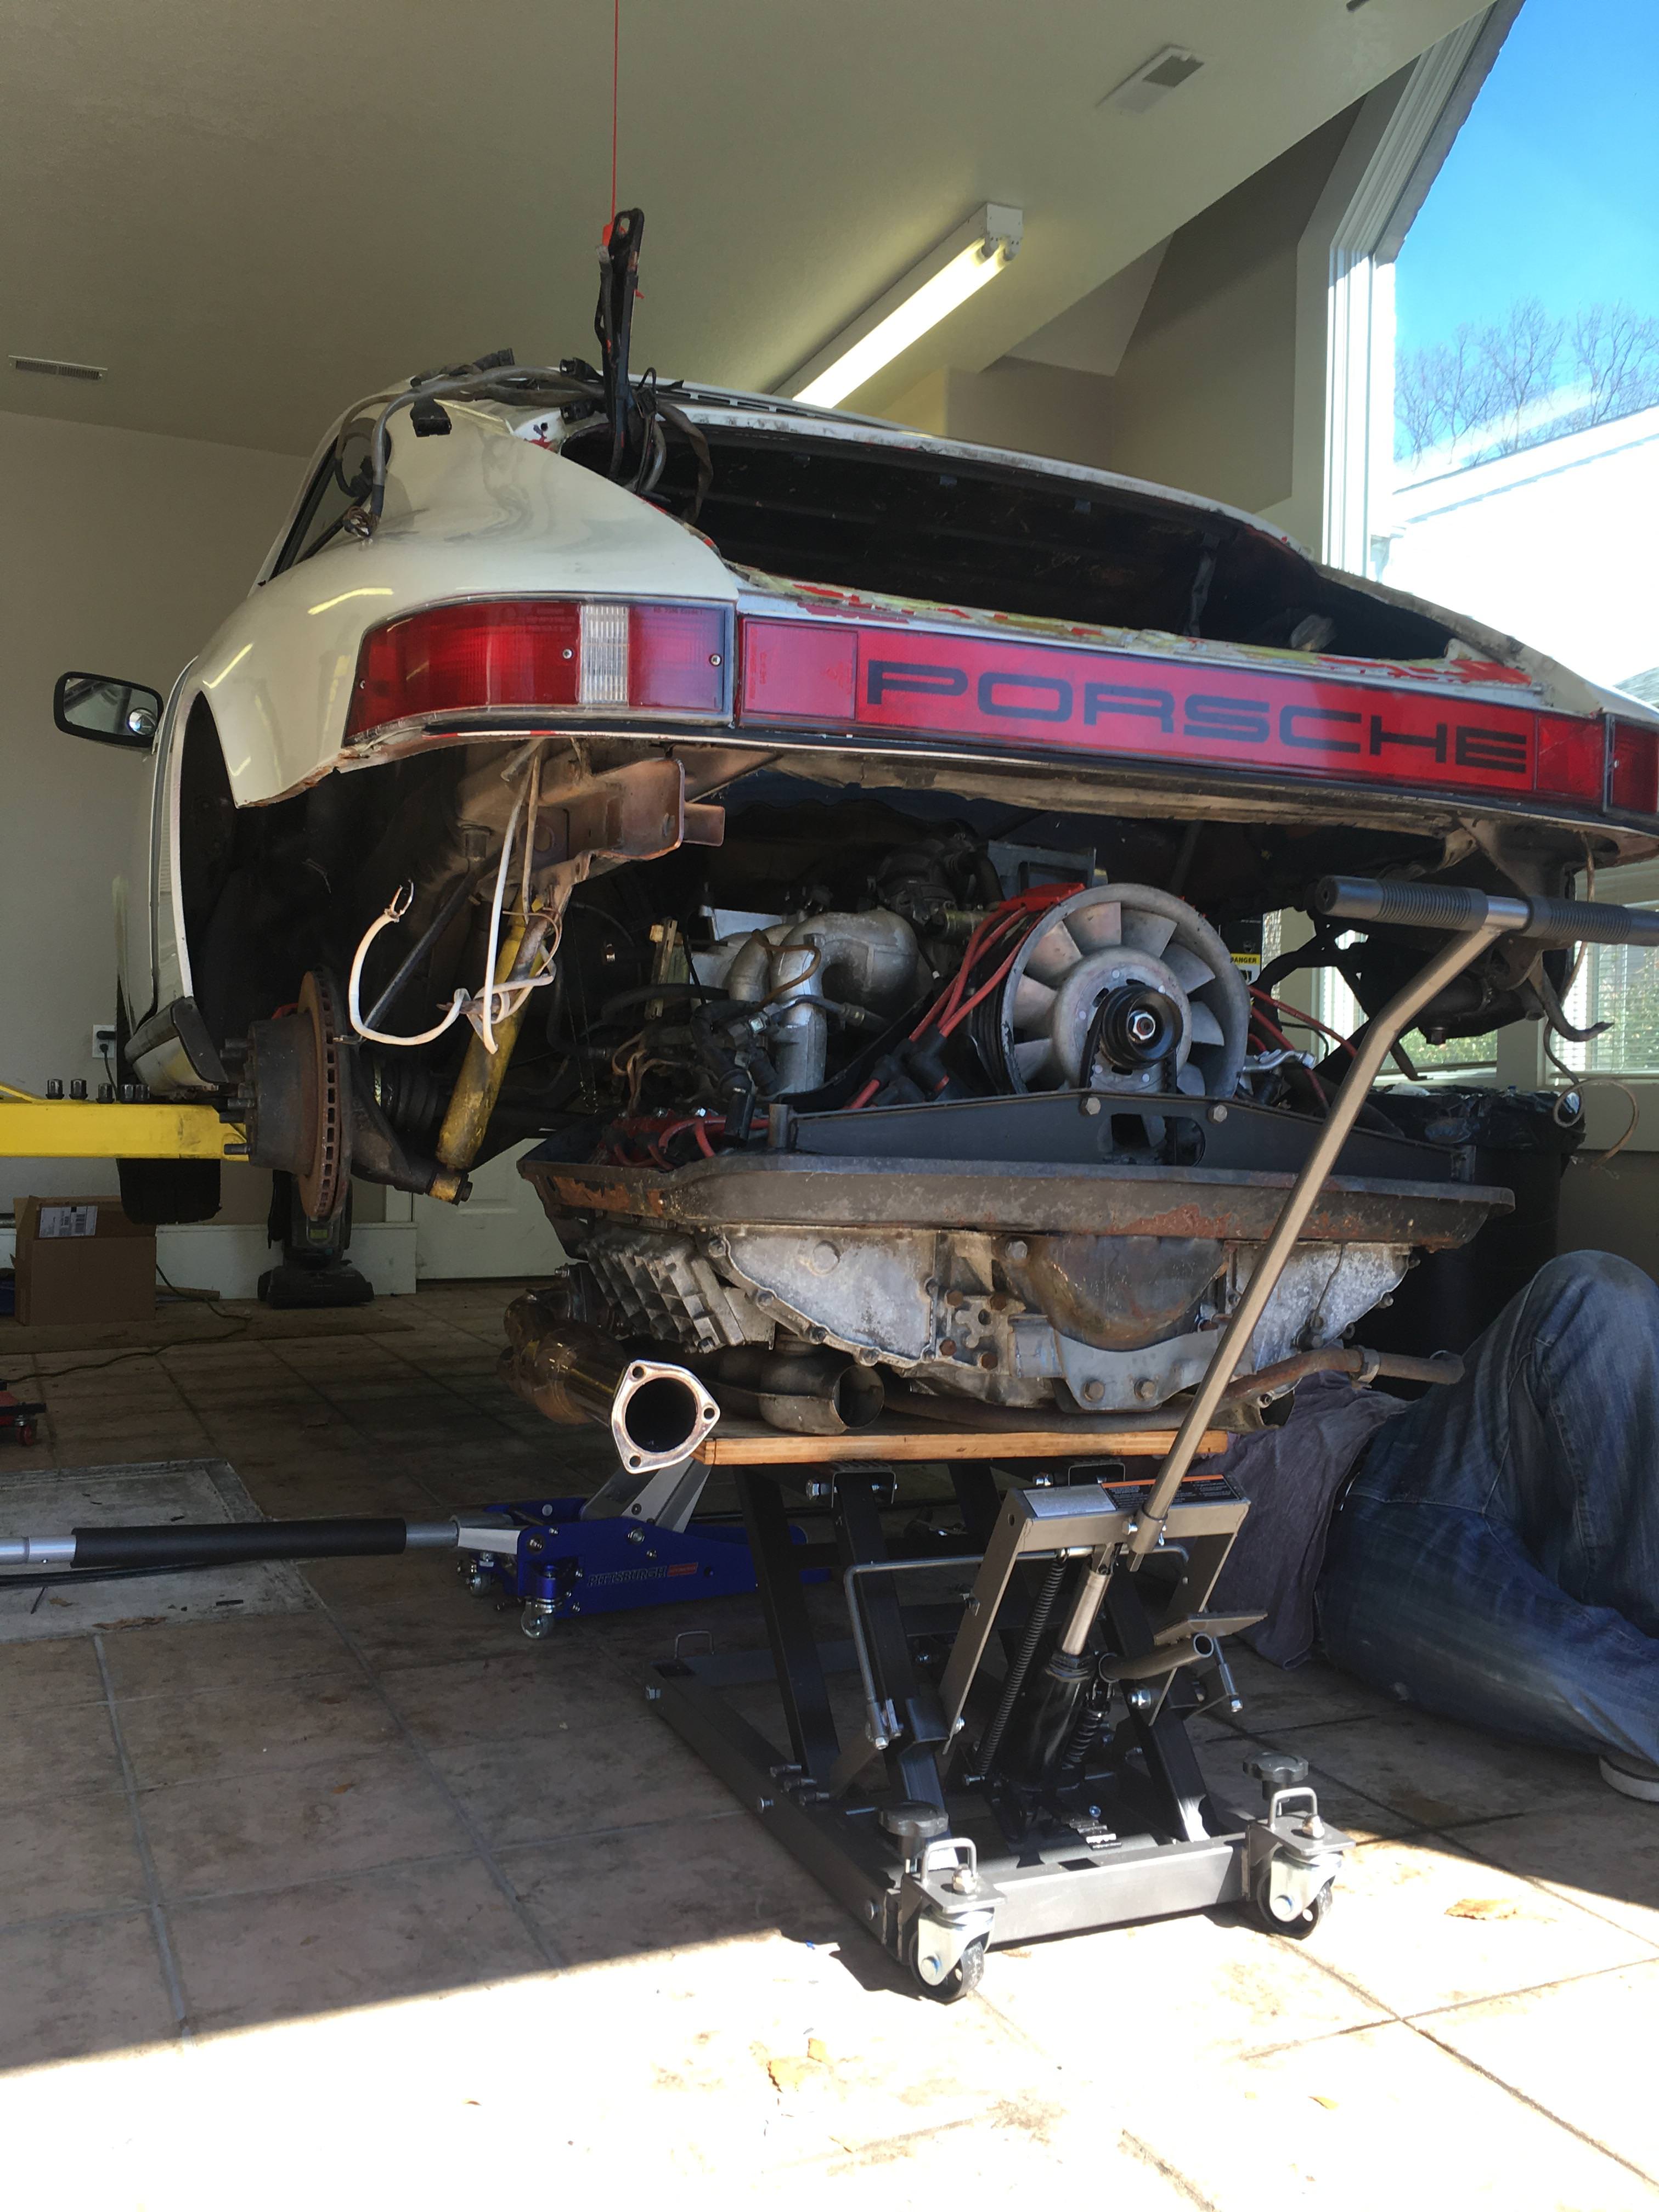
Last time I checked in I had dropped her off to have the motor installed. Next time she comes out I will be doing the work myself. However, I bought the car with the motor out and in pieces, so I had no reference as to how to put her back together NOR the patience to figure it out. SO, last Wednesday was a true highlight, I picked her up and went on my first drive home.
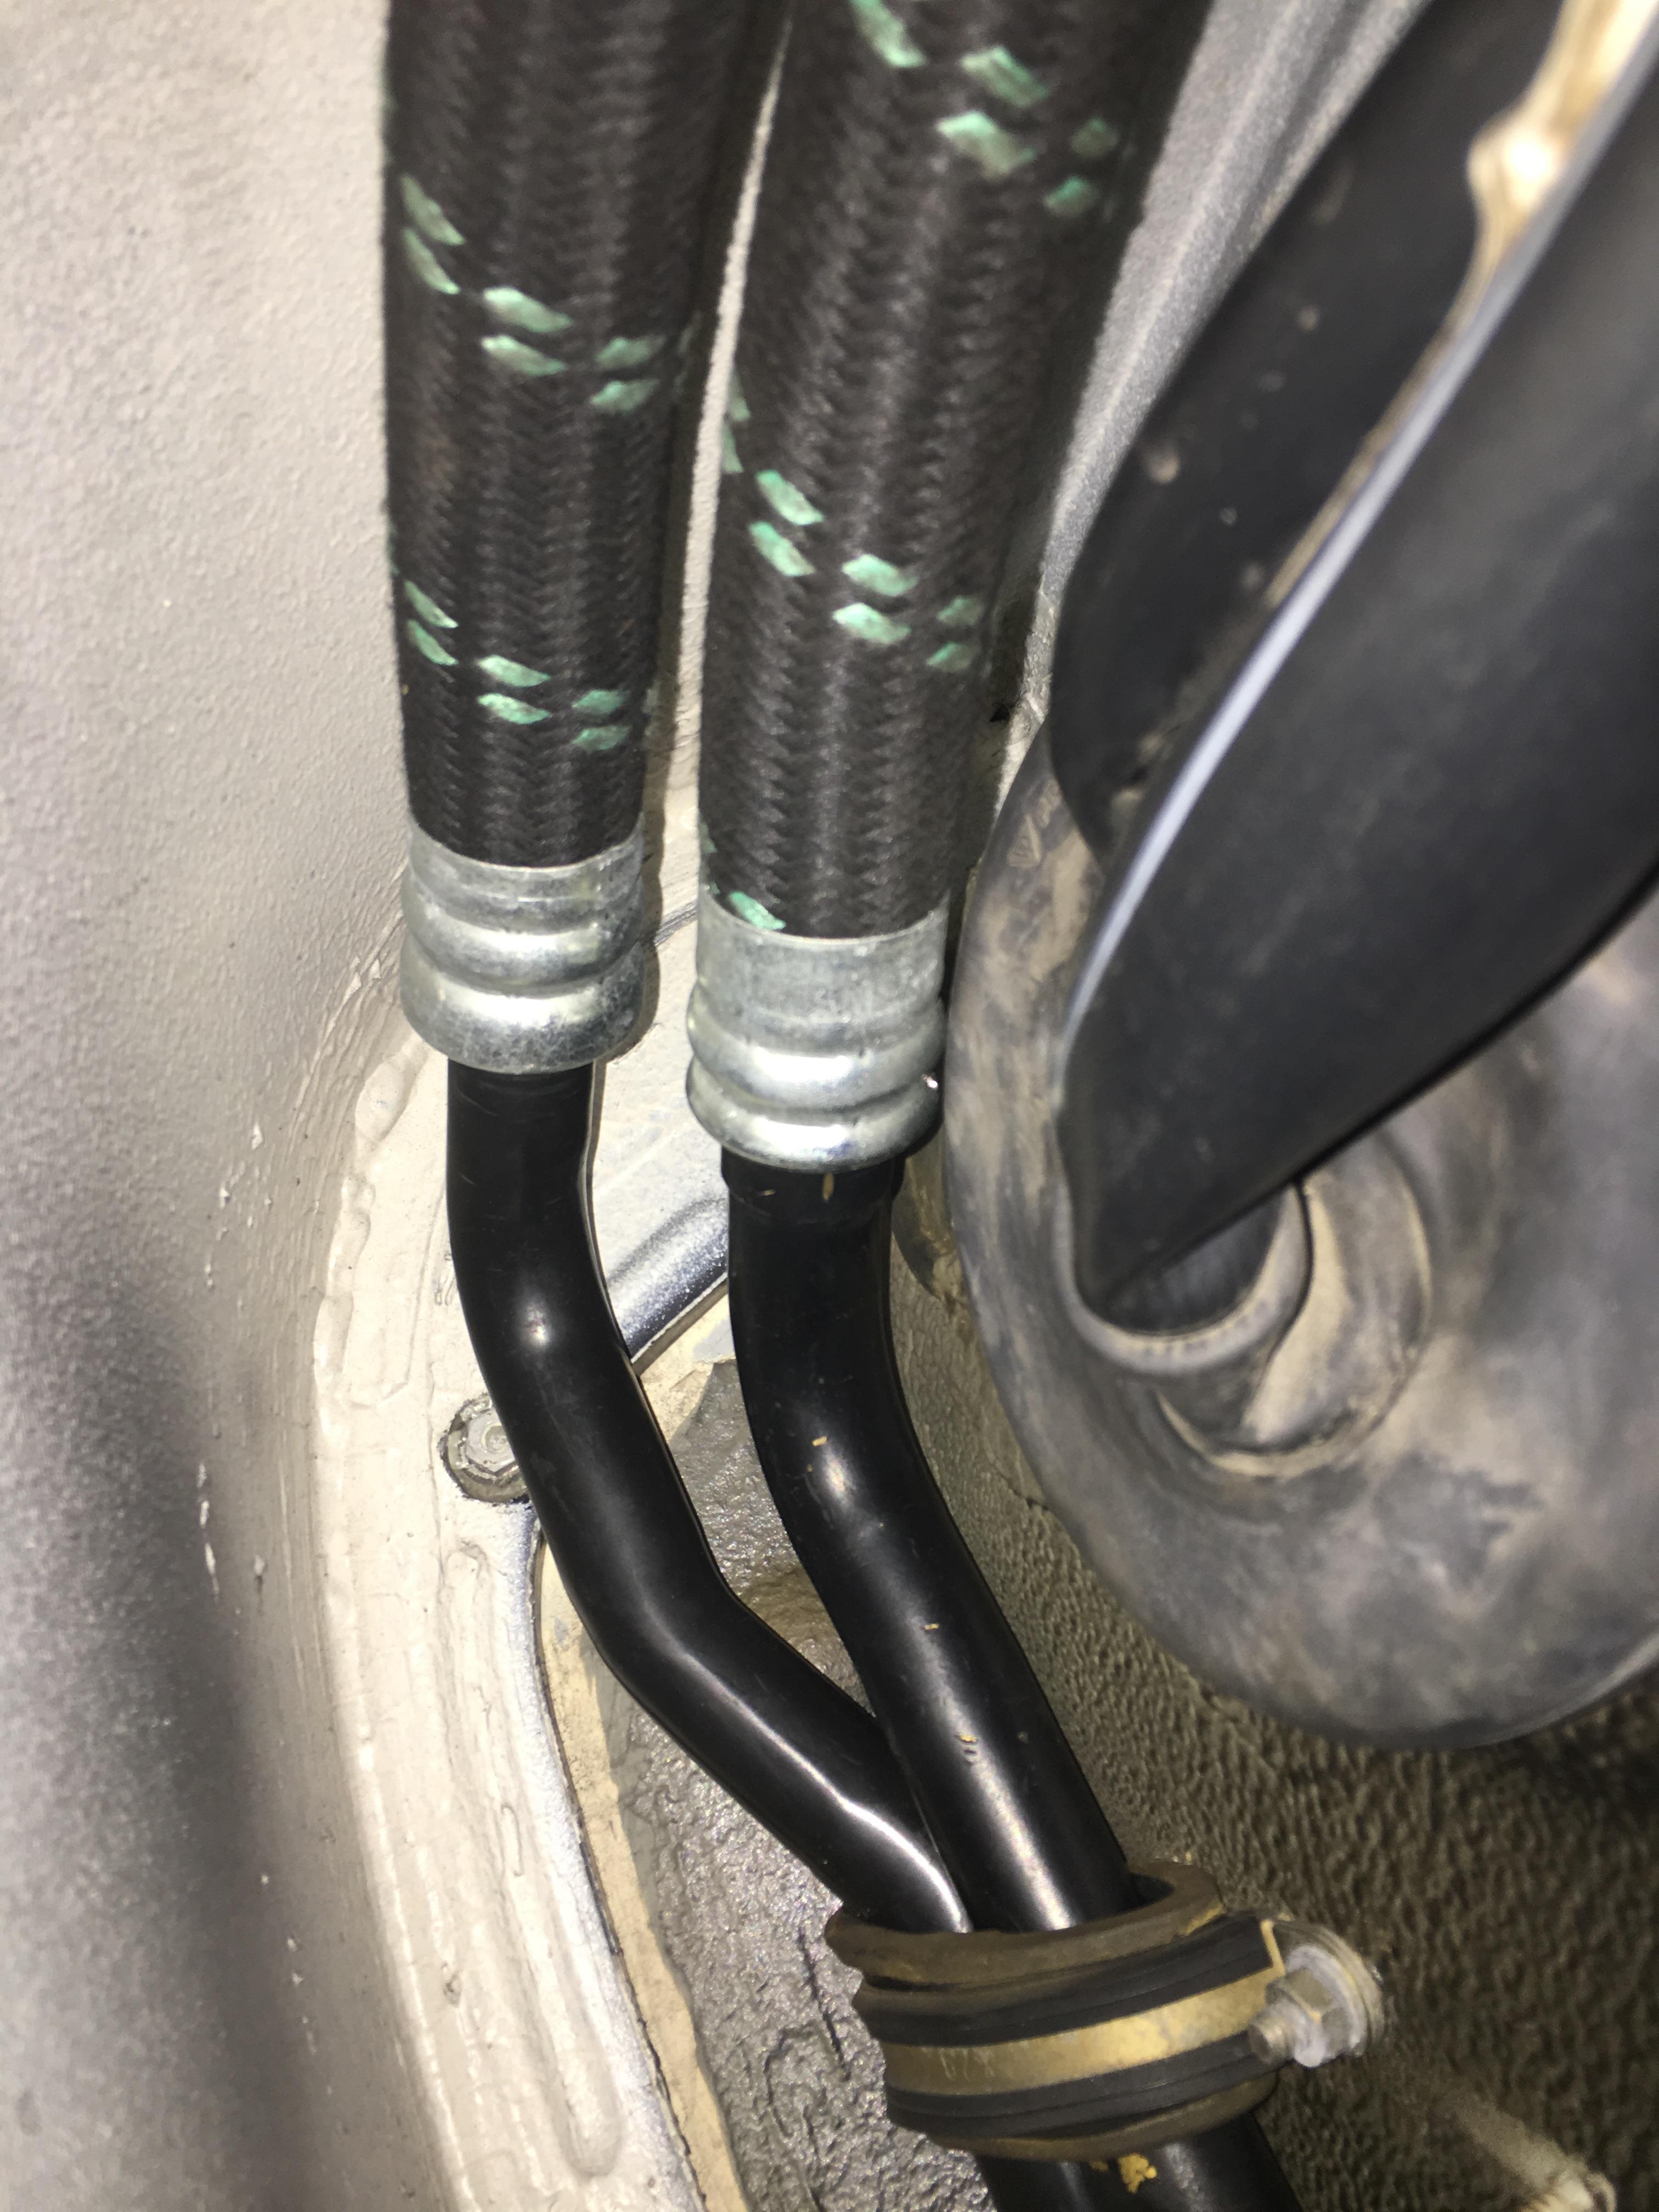
I left the rockers off because I replaced all the oil lines myself, and I wanted easy access to make sure they stayed dry.
After a couple hundred break in miles, it looks like I might've done this right!
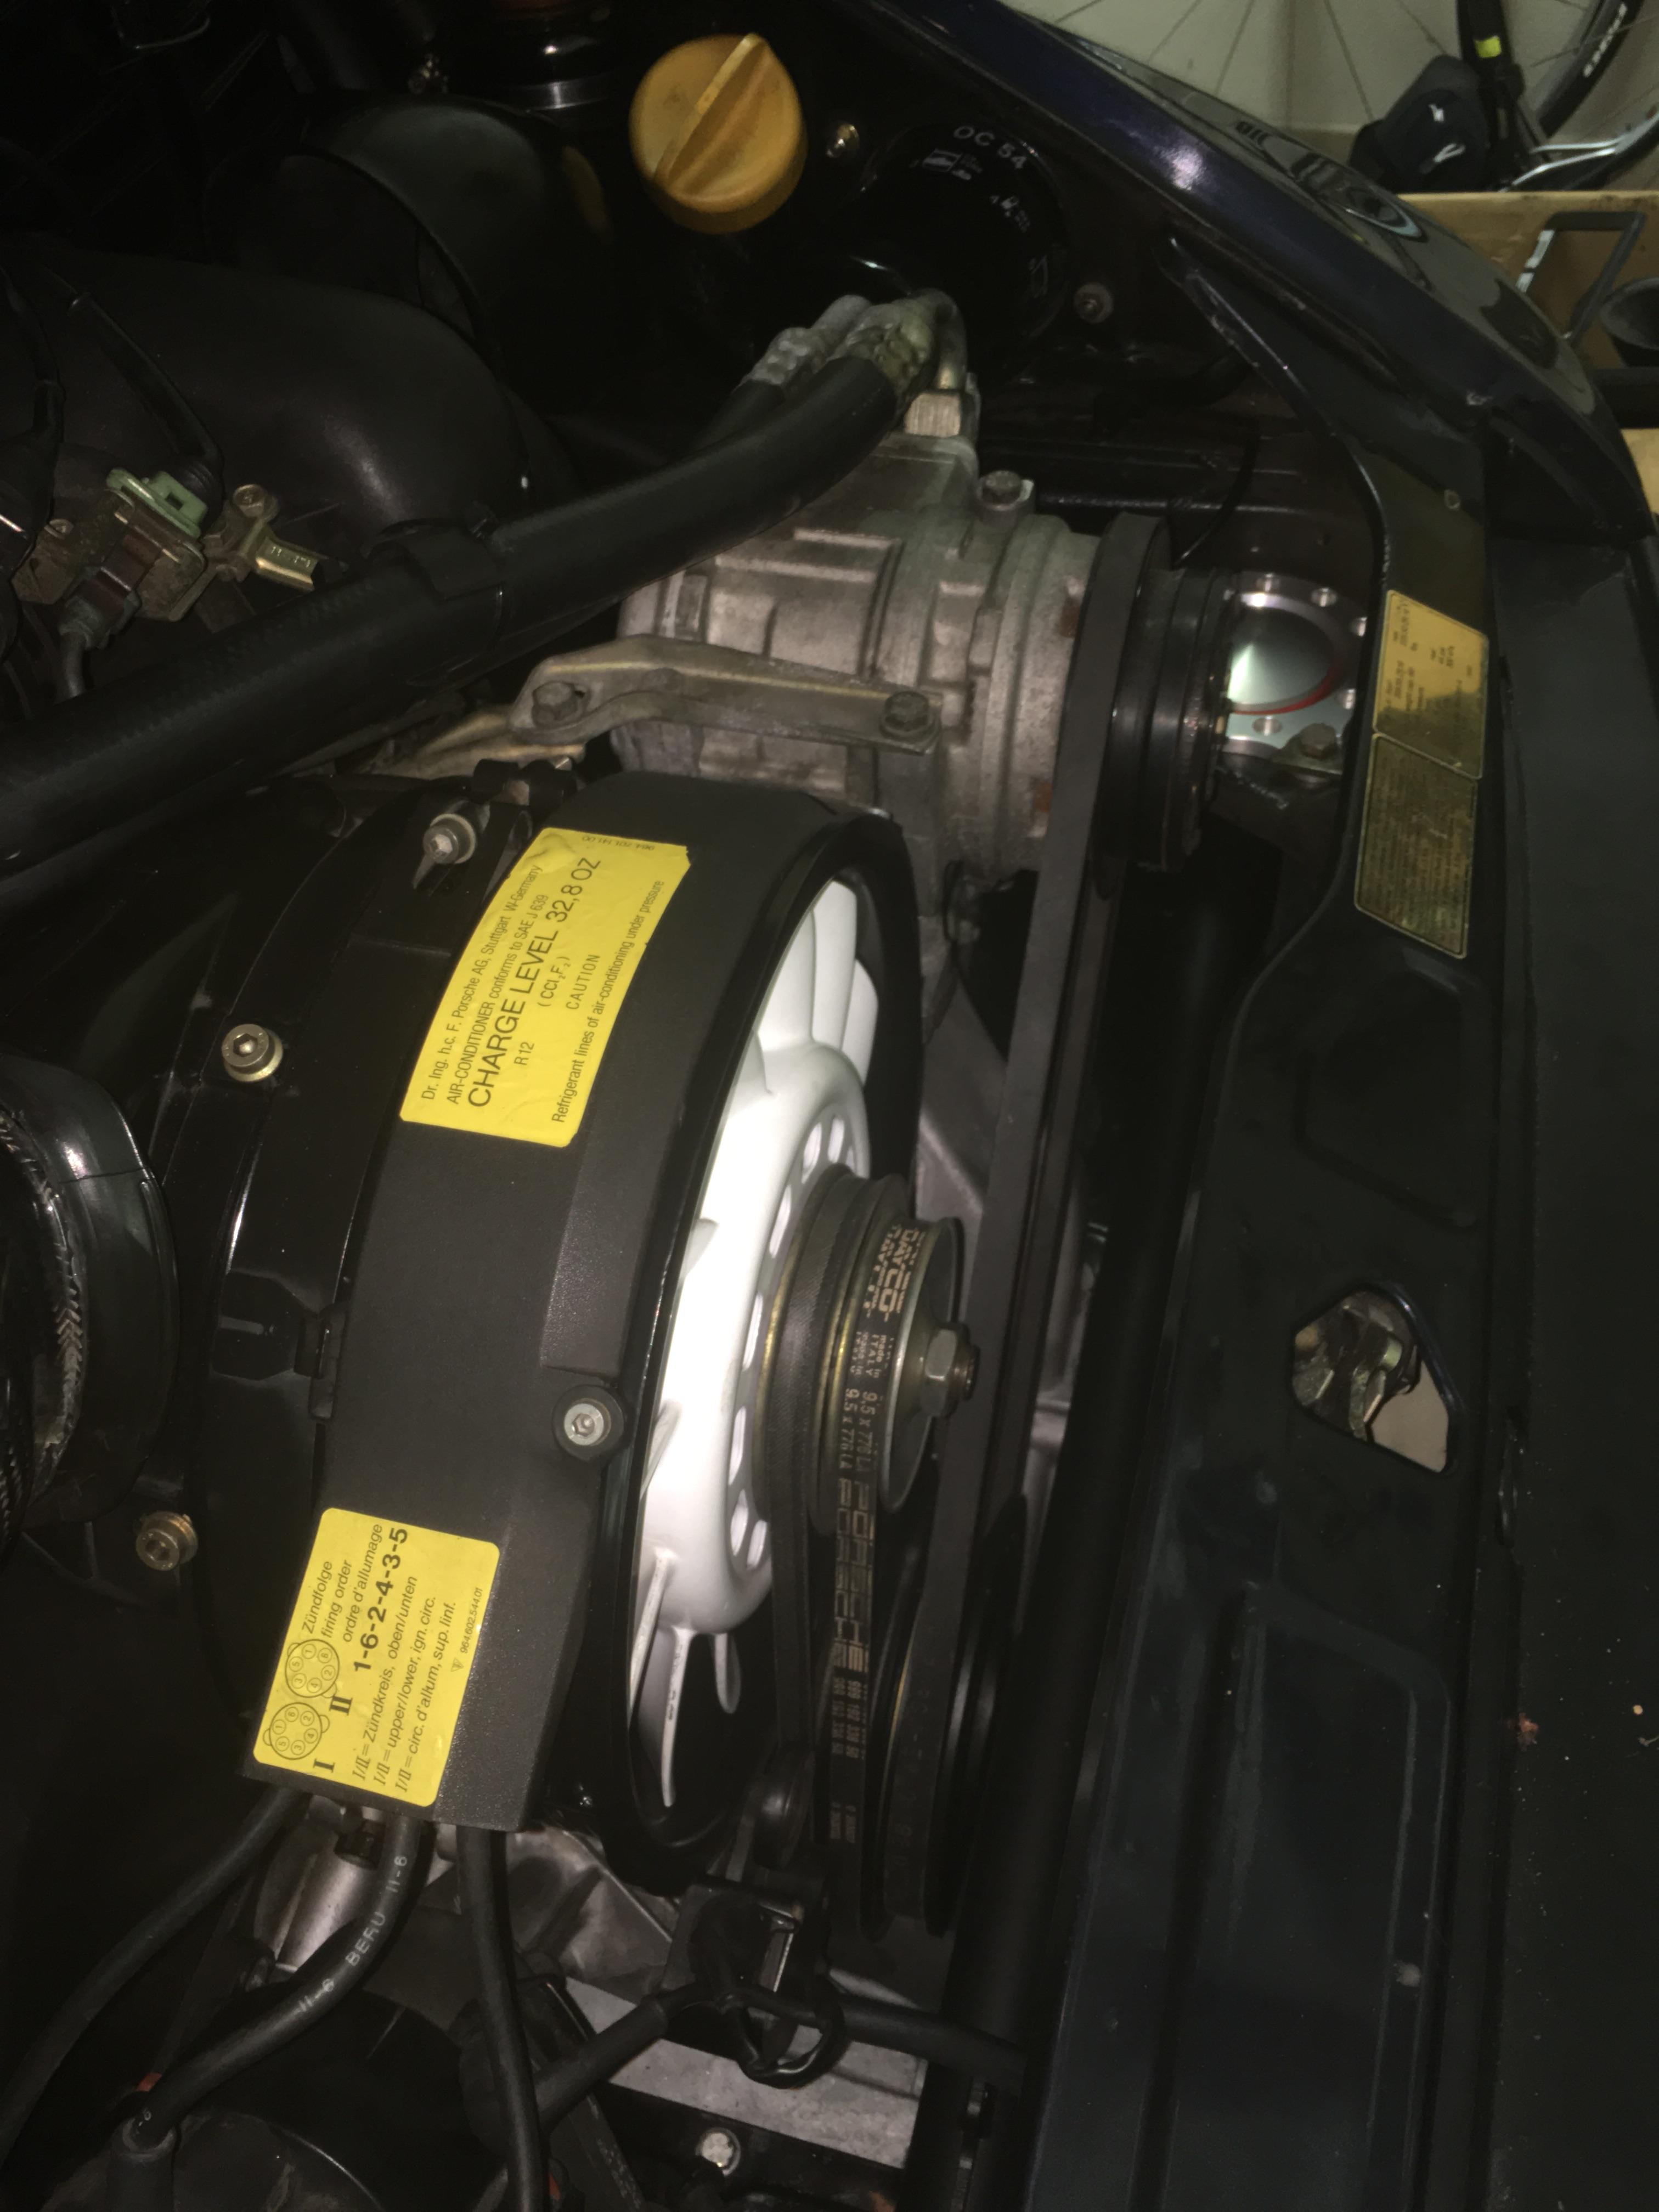
At the last minute, I splurged on some Rennline bits. Tubular engine carrier and "adjustable" motor mounts, stiffest setting to start. The carrier is a really nice piece of kit. Myself and my mechanic were very impressed. If anyone needs a weld-in support, I have one on the shelf I don't need. The original carrier was still powder coated and will be wrapped, stored, and preserved.
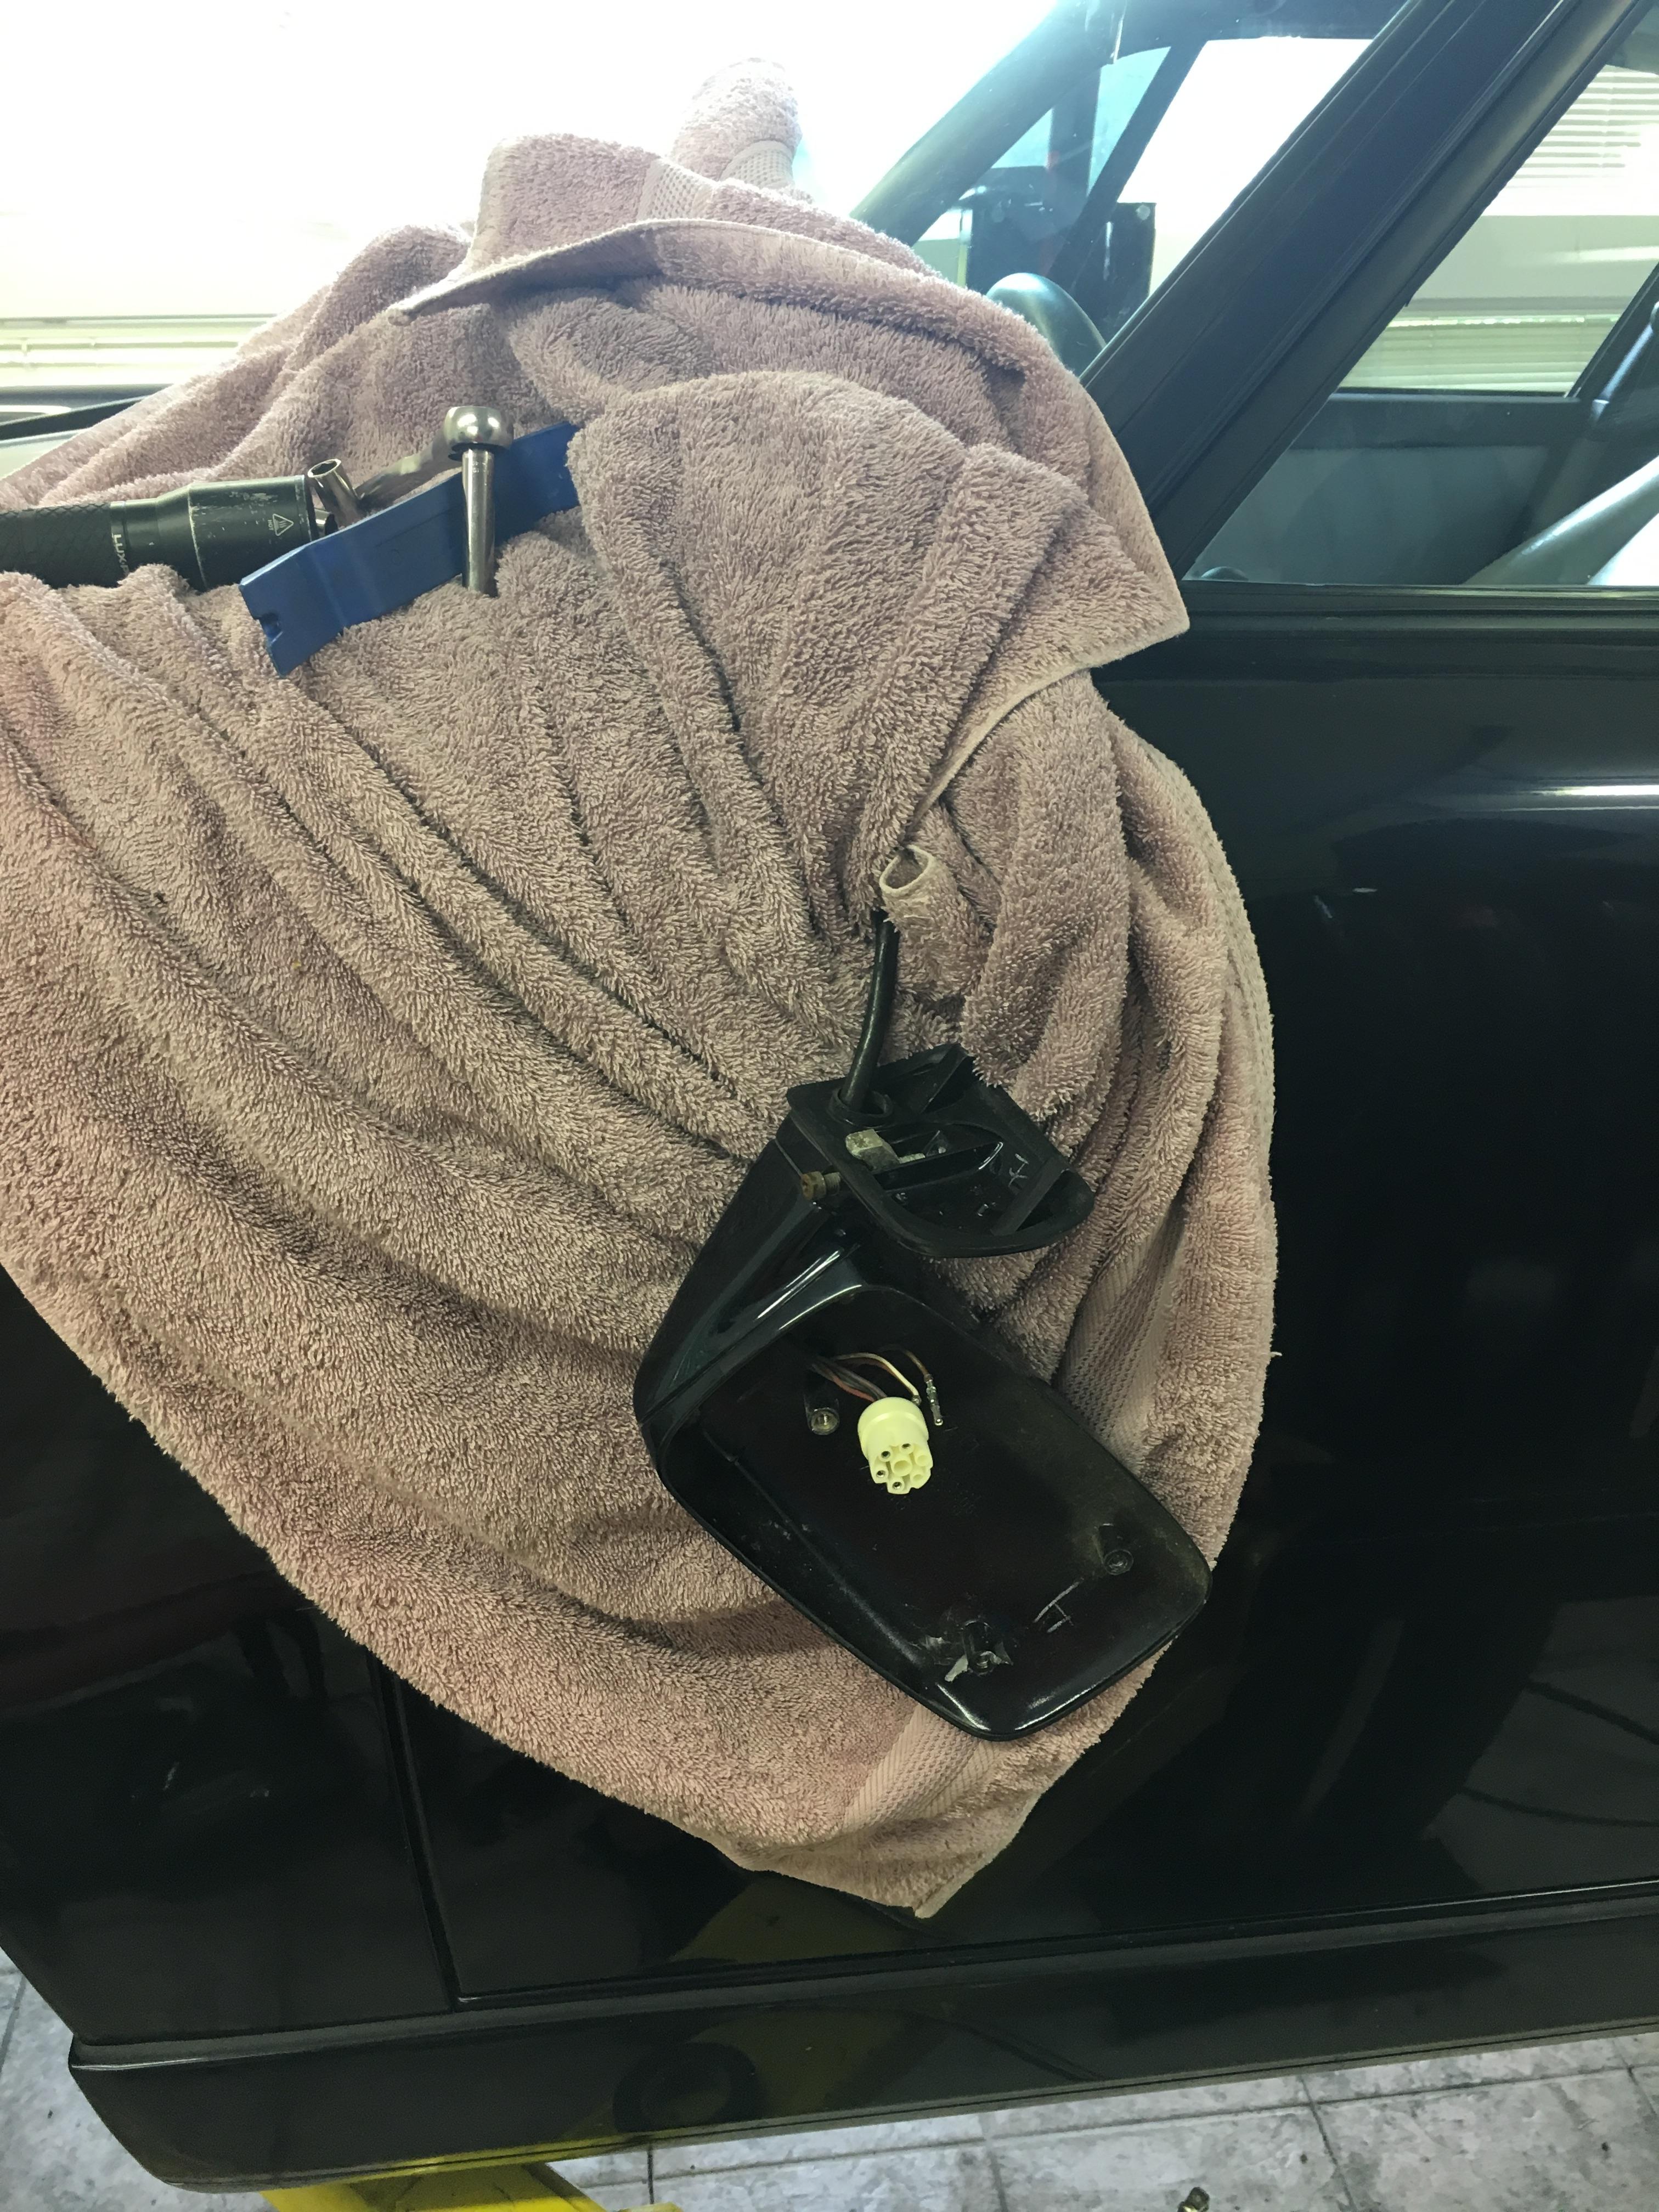
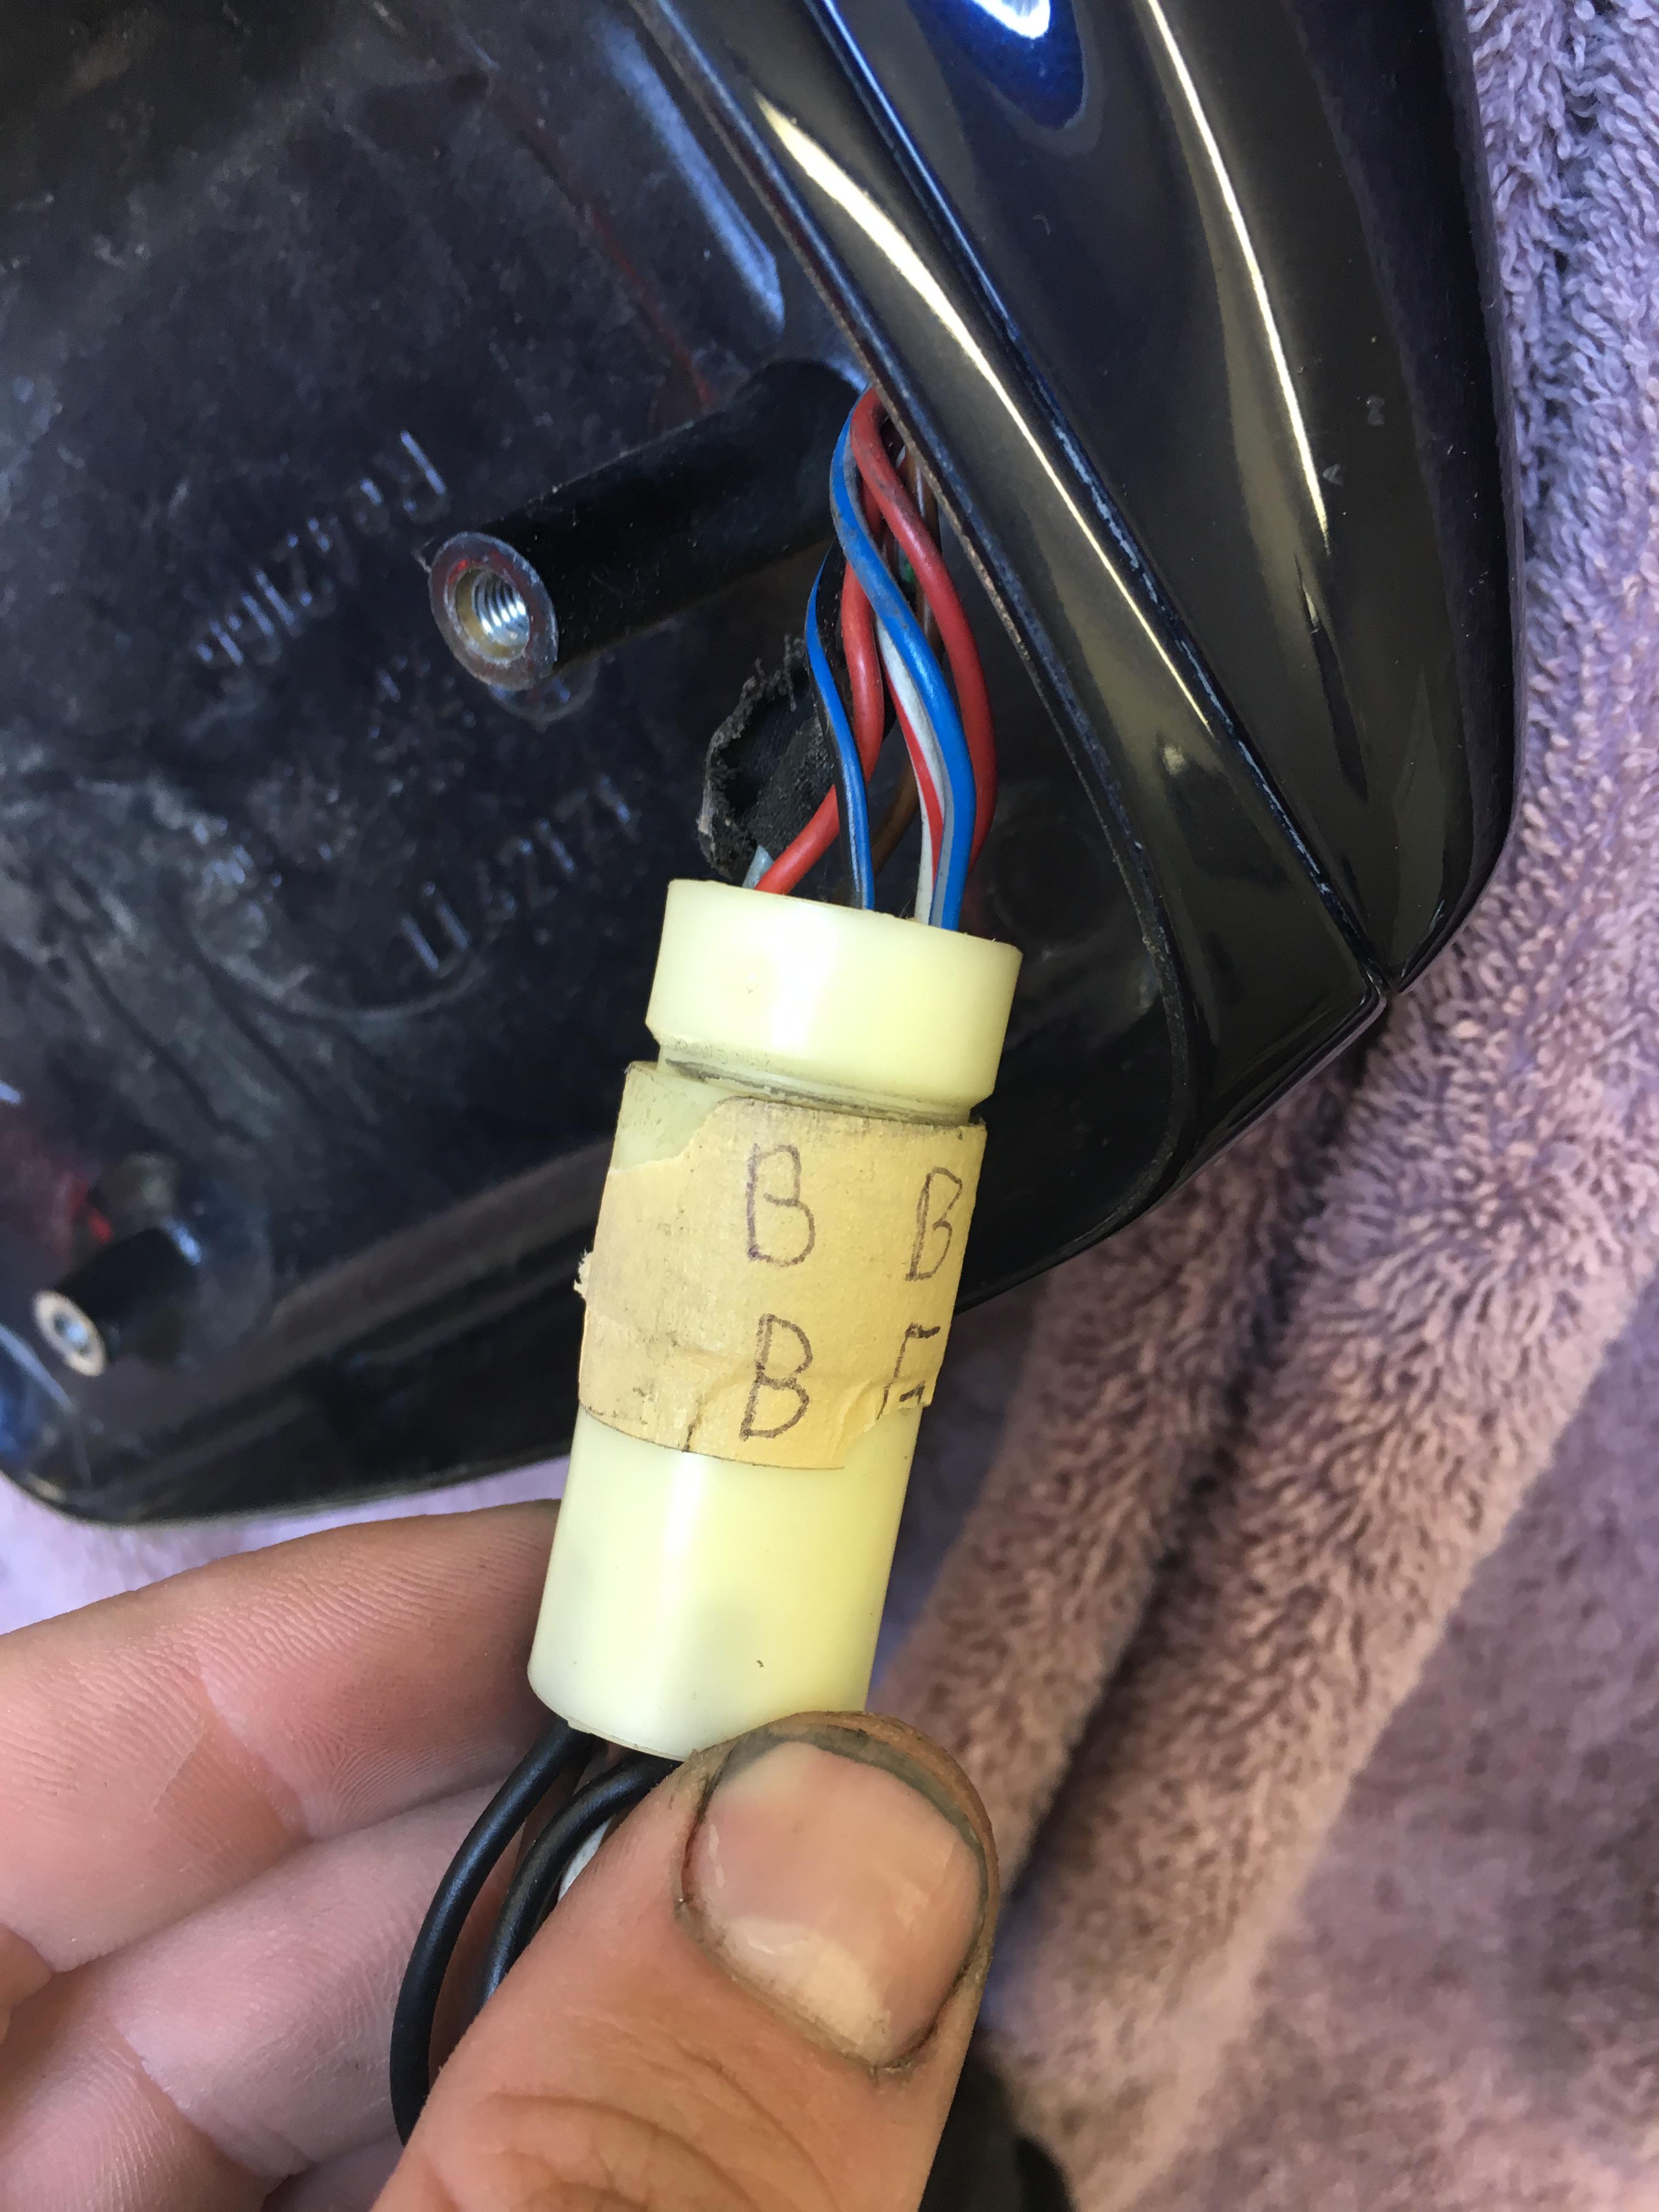
First order of business was to throw on the manual Aero mirrors as the driver side flag had broken glass. It's amazing how light they are compared to the steel power flags.
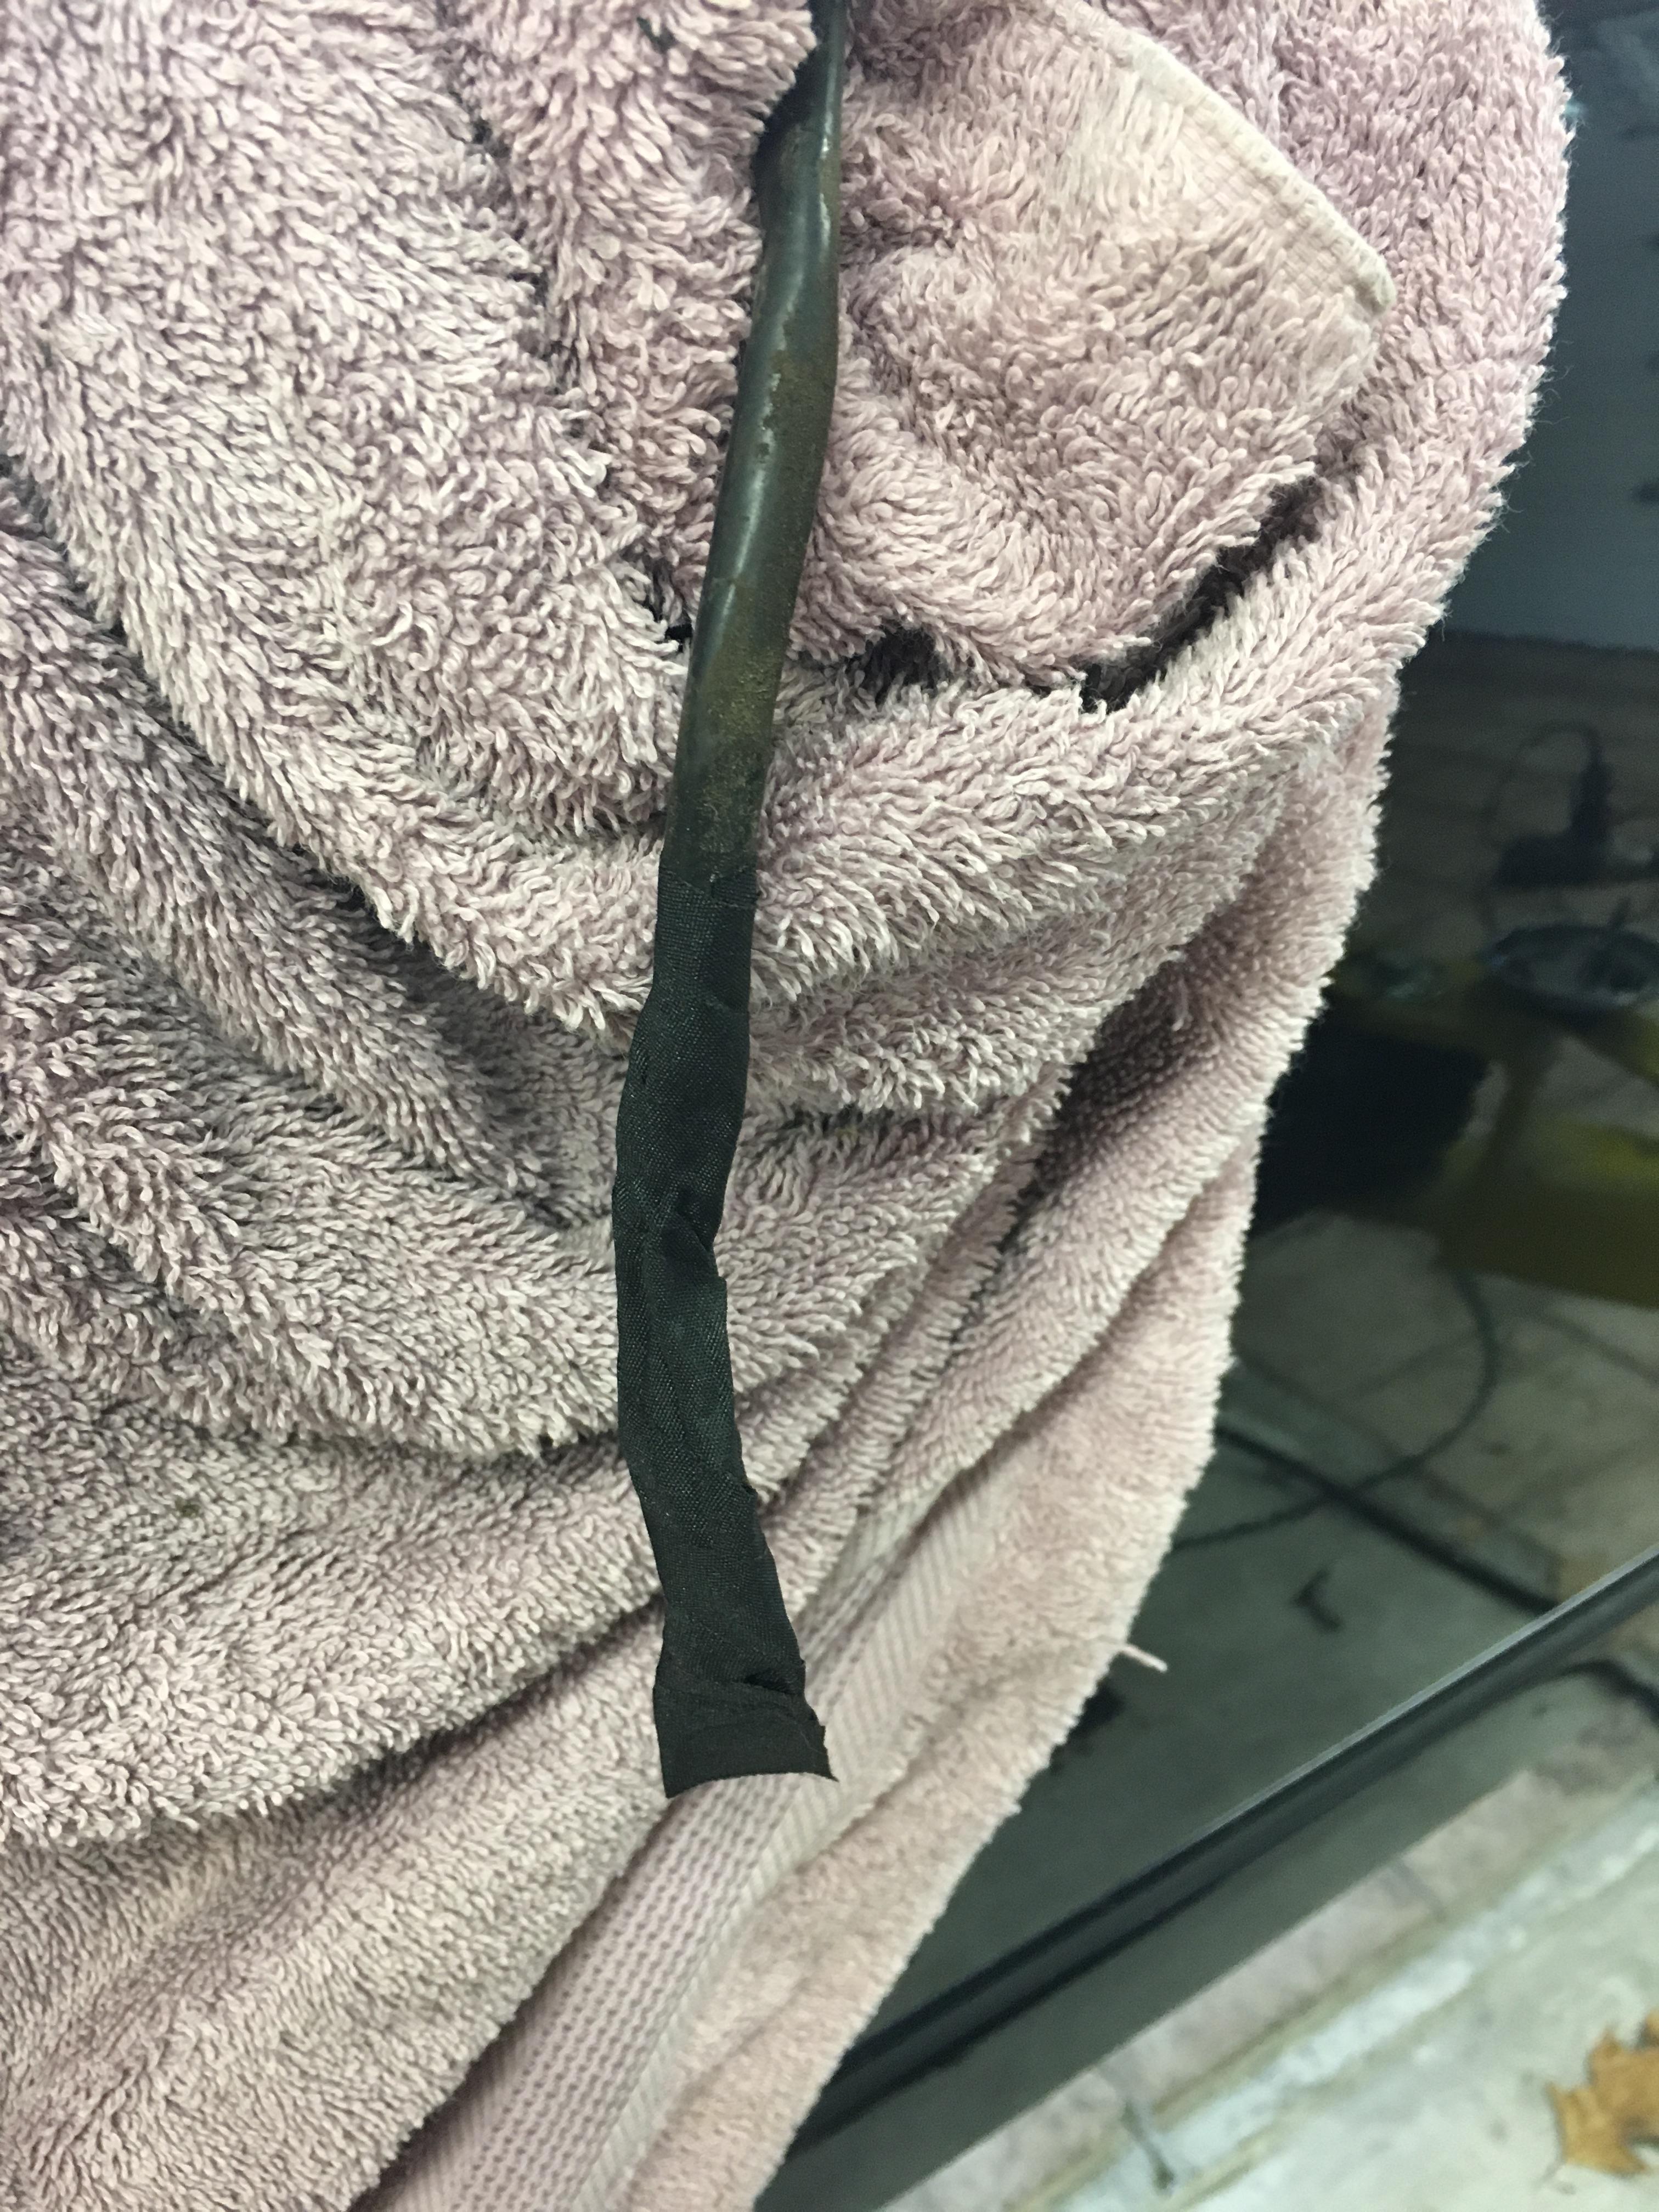
Looks like someone has been in here before! I popped the pins out of the connector, wrapped each pin in electrical tape, then wrapped the whole thing in wiring harness tape and tucked it into the door.
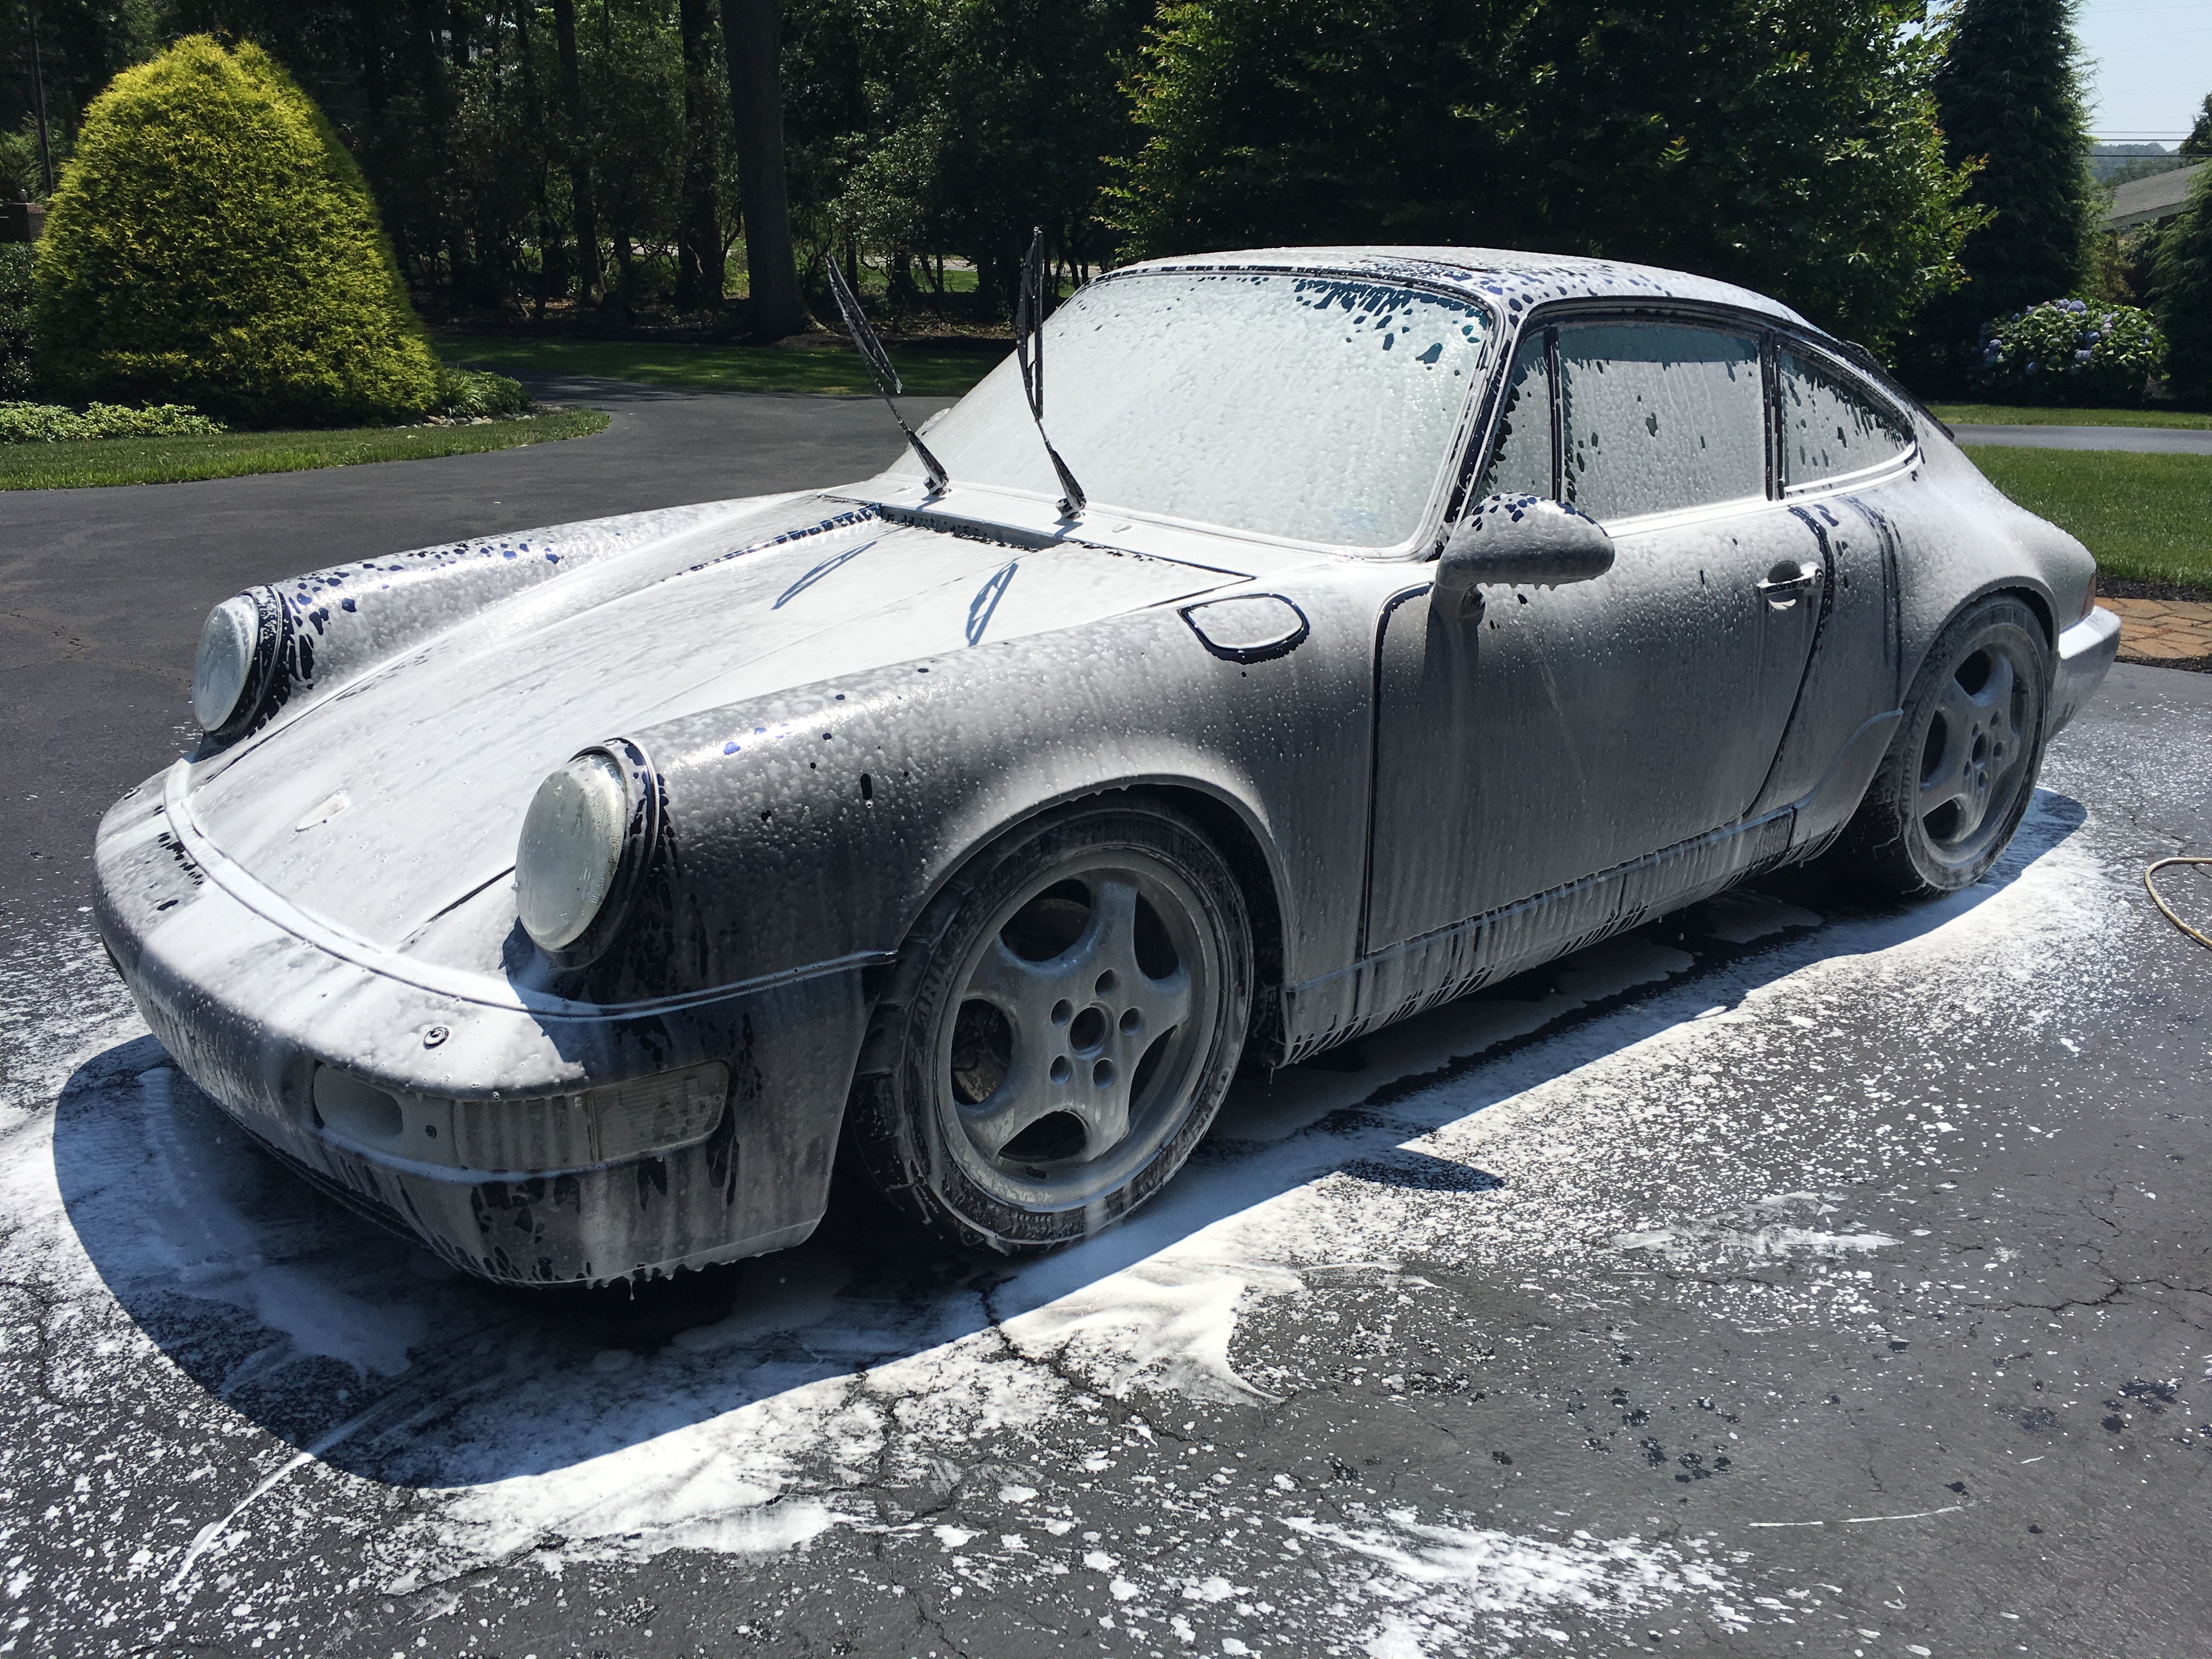
First bath in probably 5 years for this car. For the Aero mirrors, who knows?
So today, after getting a few tips from Colin of 9M in another thread, I decided to go through my oil lines one more time before final install. And damn, am I glad I did.
Lowe's wallpaper steamer ($50) and a creative rig using an old rally car. I wasn't sure how long to steam them, but I figured I couldn't hurt them since the steam won't be significanty hotter than the oil that would pass through them. I gave it about 20 minutes each of steam before running 3/4 of a gallon of gasolie (Colin's recommendation) through them. The fuel went in clean and clear... check out what color it was when it came out.
at the same place - thanks for this steam/gasoline/brake cleaner idea!
So, last time I updated this thread I guess I didn't foresee how much more I would love driving this car that working on it. Most of the last nine months updates have been small, but I'll add them here over the next few days.
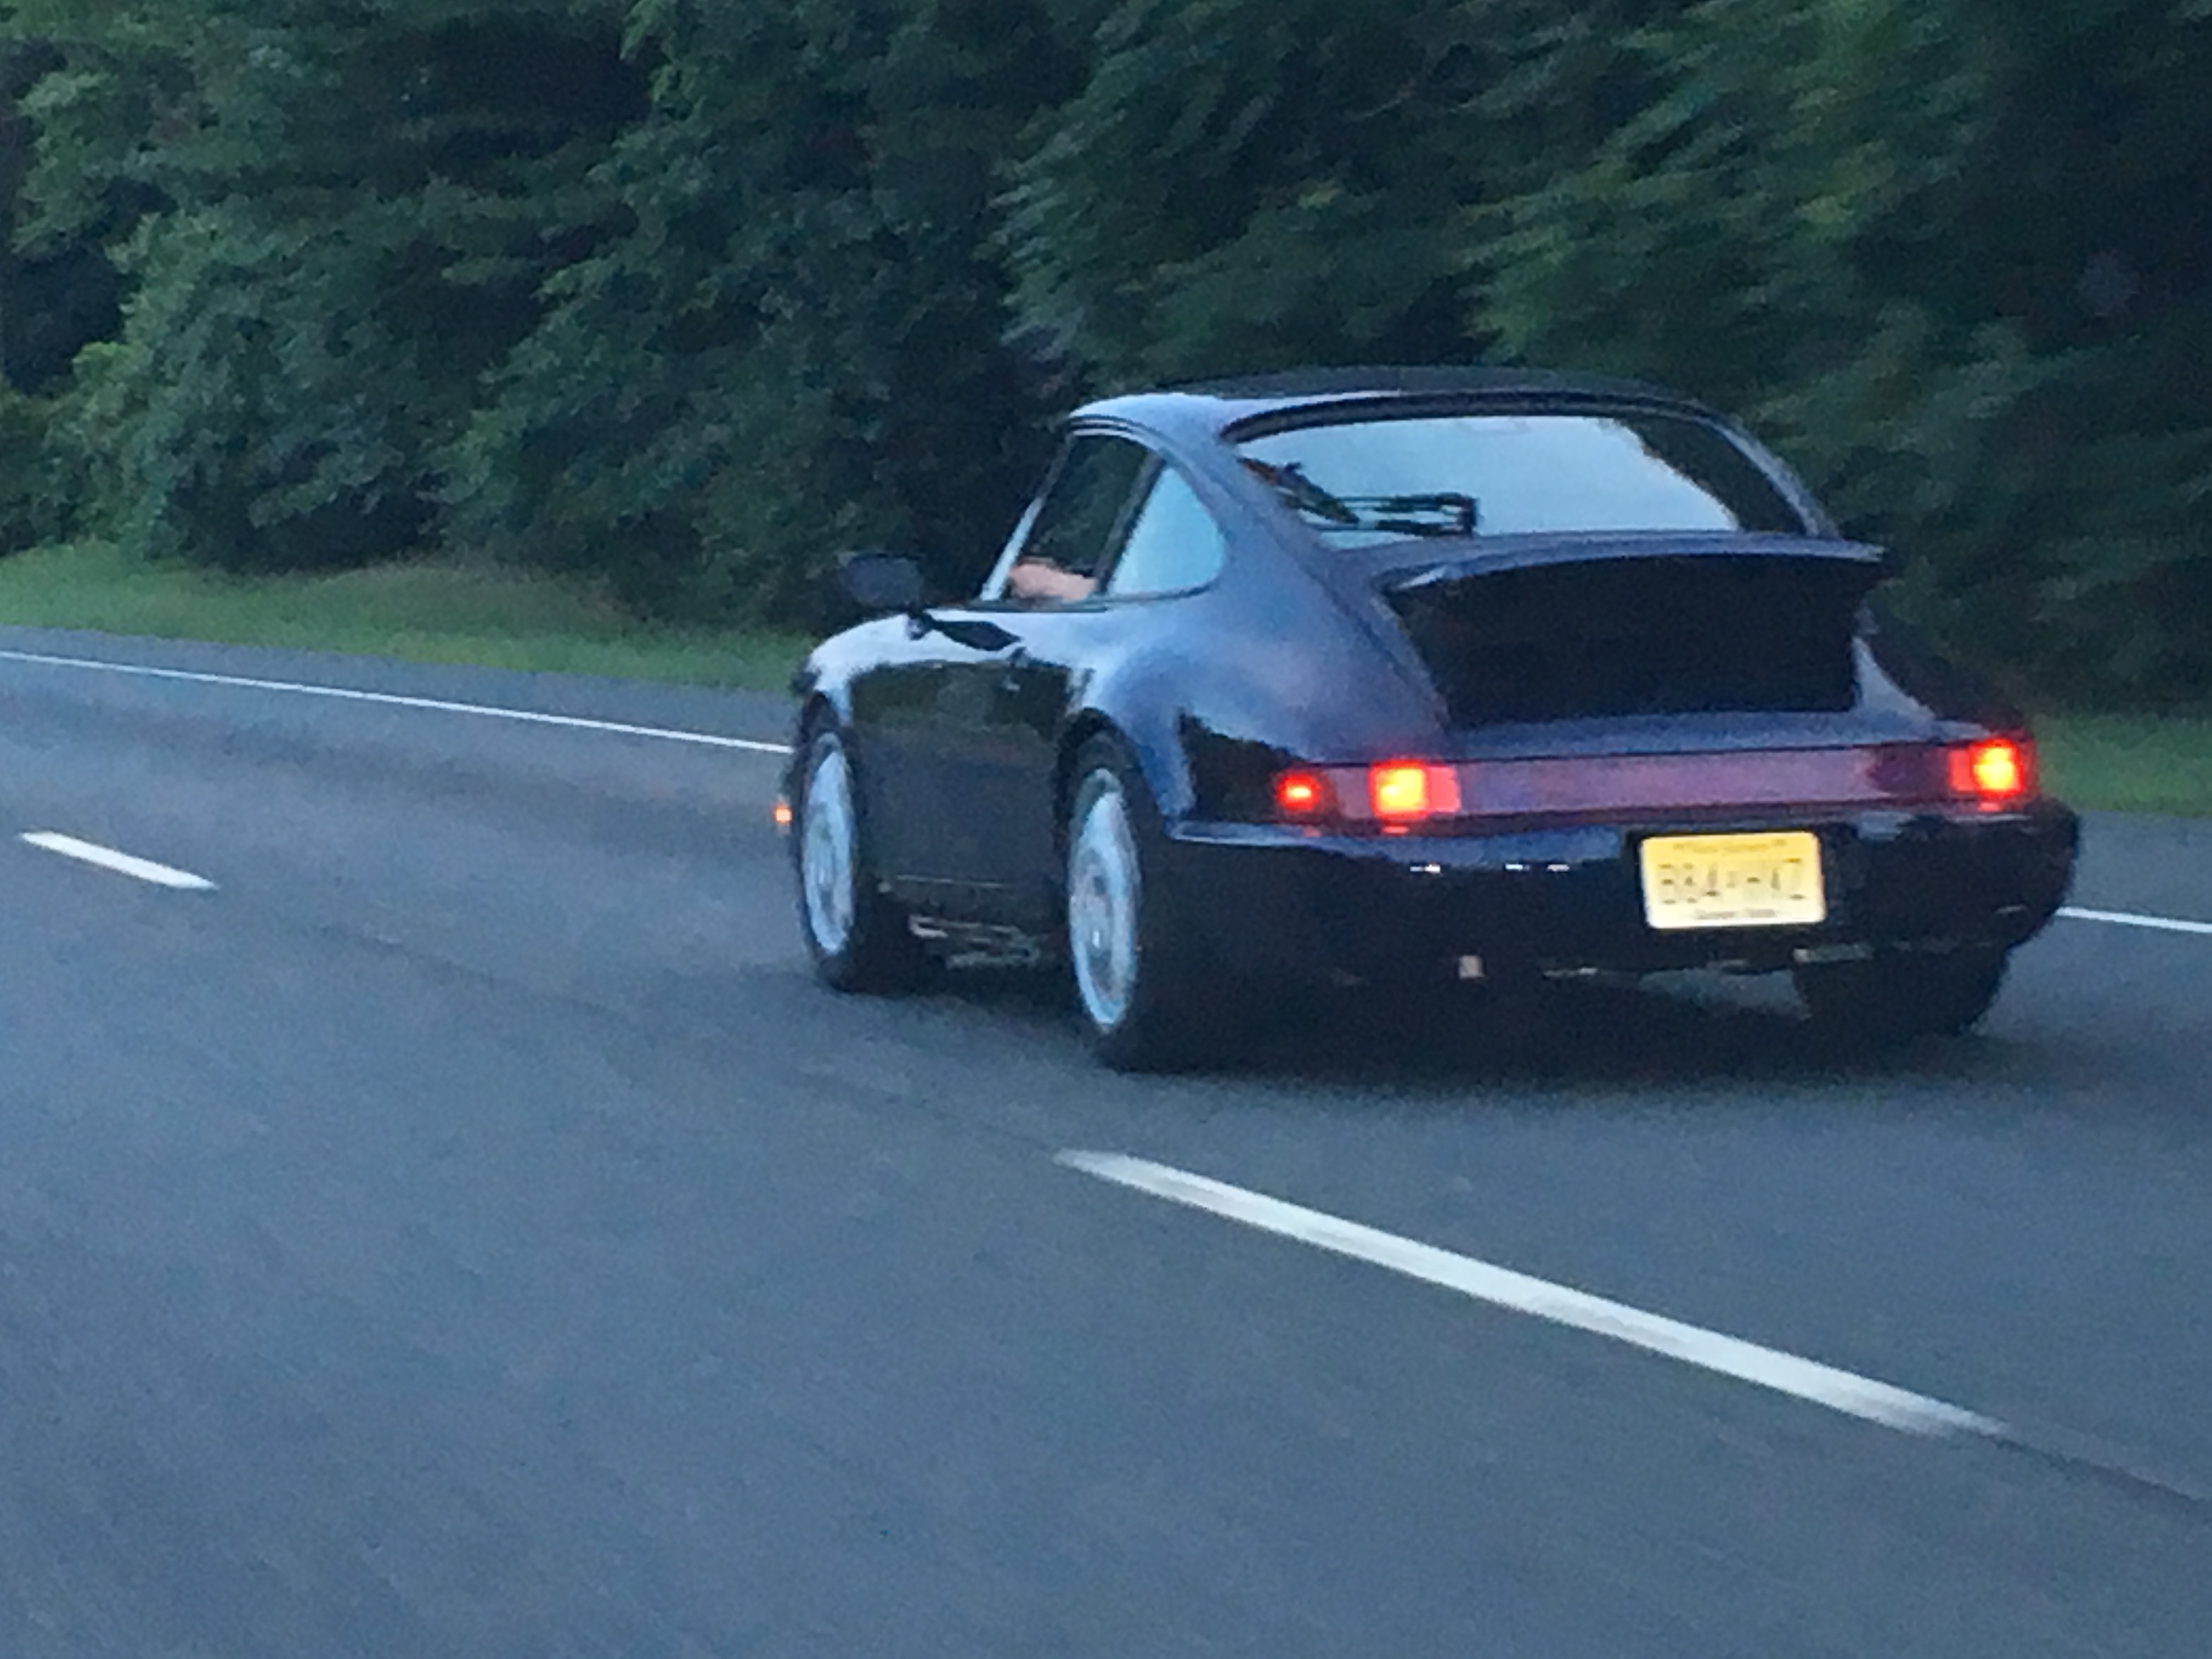
The obvious changes have been to the exterior. I lucked out to find a tail and decklid painted in my color. As if that wasn't lucky enough, it was for sale in a town four hours away, midway through an eight hour road trip I had planned for the upcoming week. Fate? Close enough, I bought it last June. We swapped decklids in the parking lot (THANK YOU BUTZI GEAR for the assist) and I drove the remaining four hours with the original decklid in the passenger seat.
Fast forward to the PCA August DE day at NJMP... remember those white brake ducts I bought at Hershey a few years ago? Well... I ran into someone that was in need of white brake ducts for their 964. They currently had the Midnight Blue Metallic brake ducts from the same car I bought the wing from! Crazy world, awesome community. We swapped in the parking lot and both went home happy.
New wing:
New brake ducts and chrome turn signal bulbs, which were awful. Back to OEM.
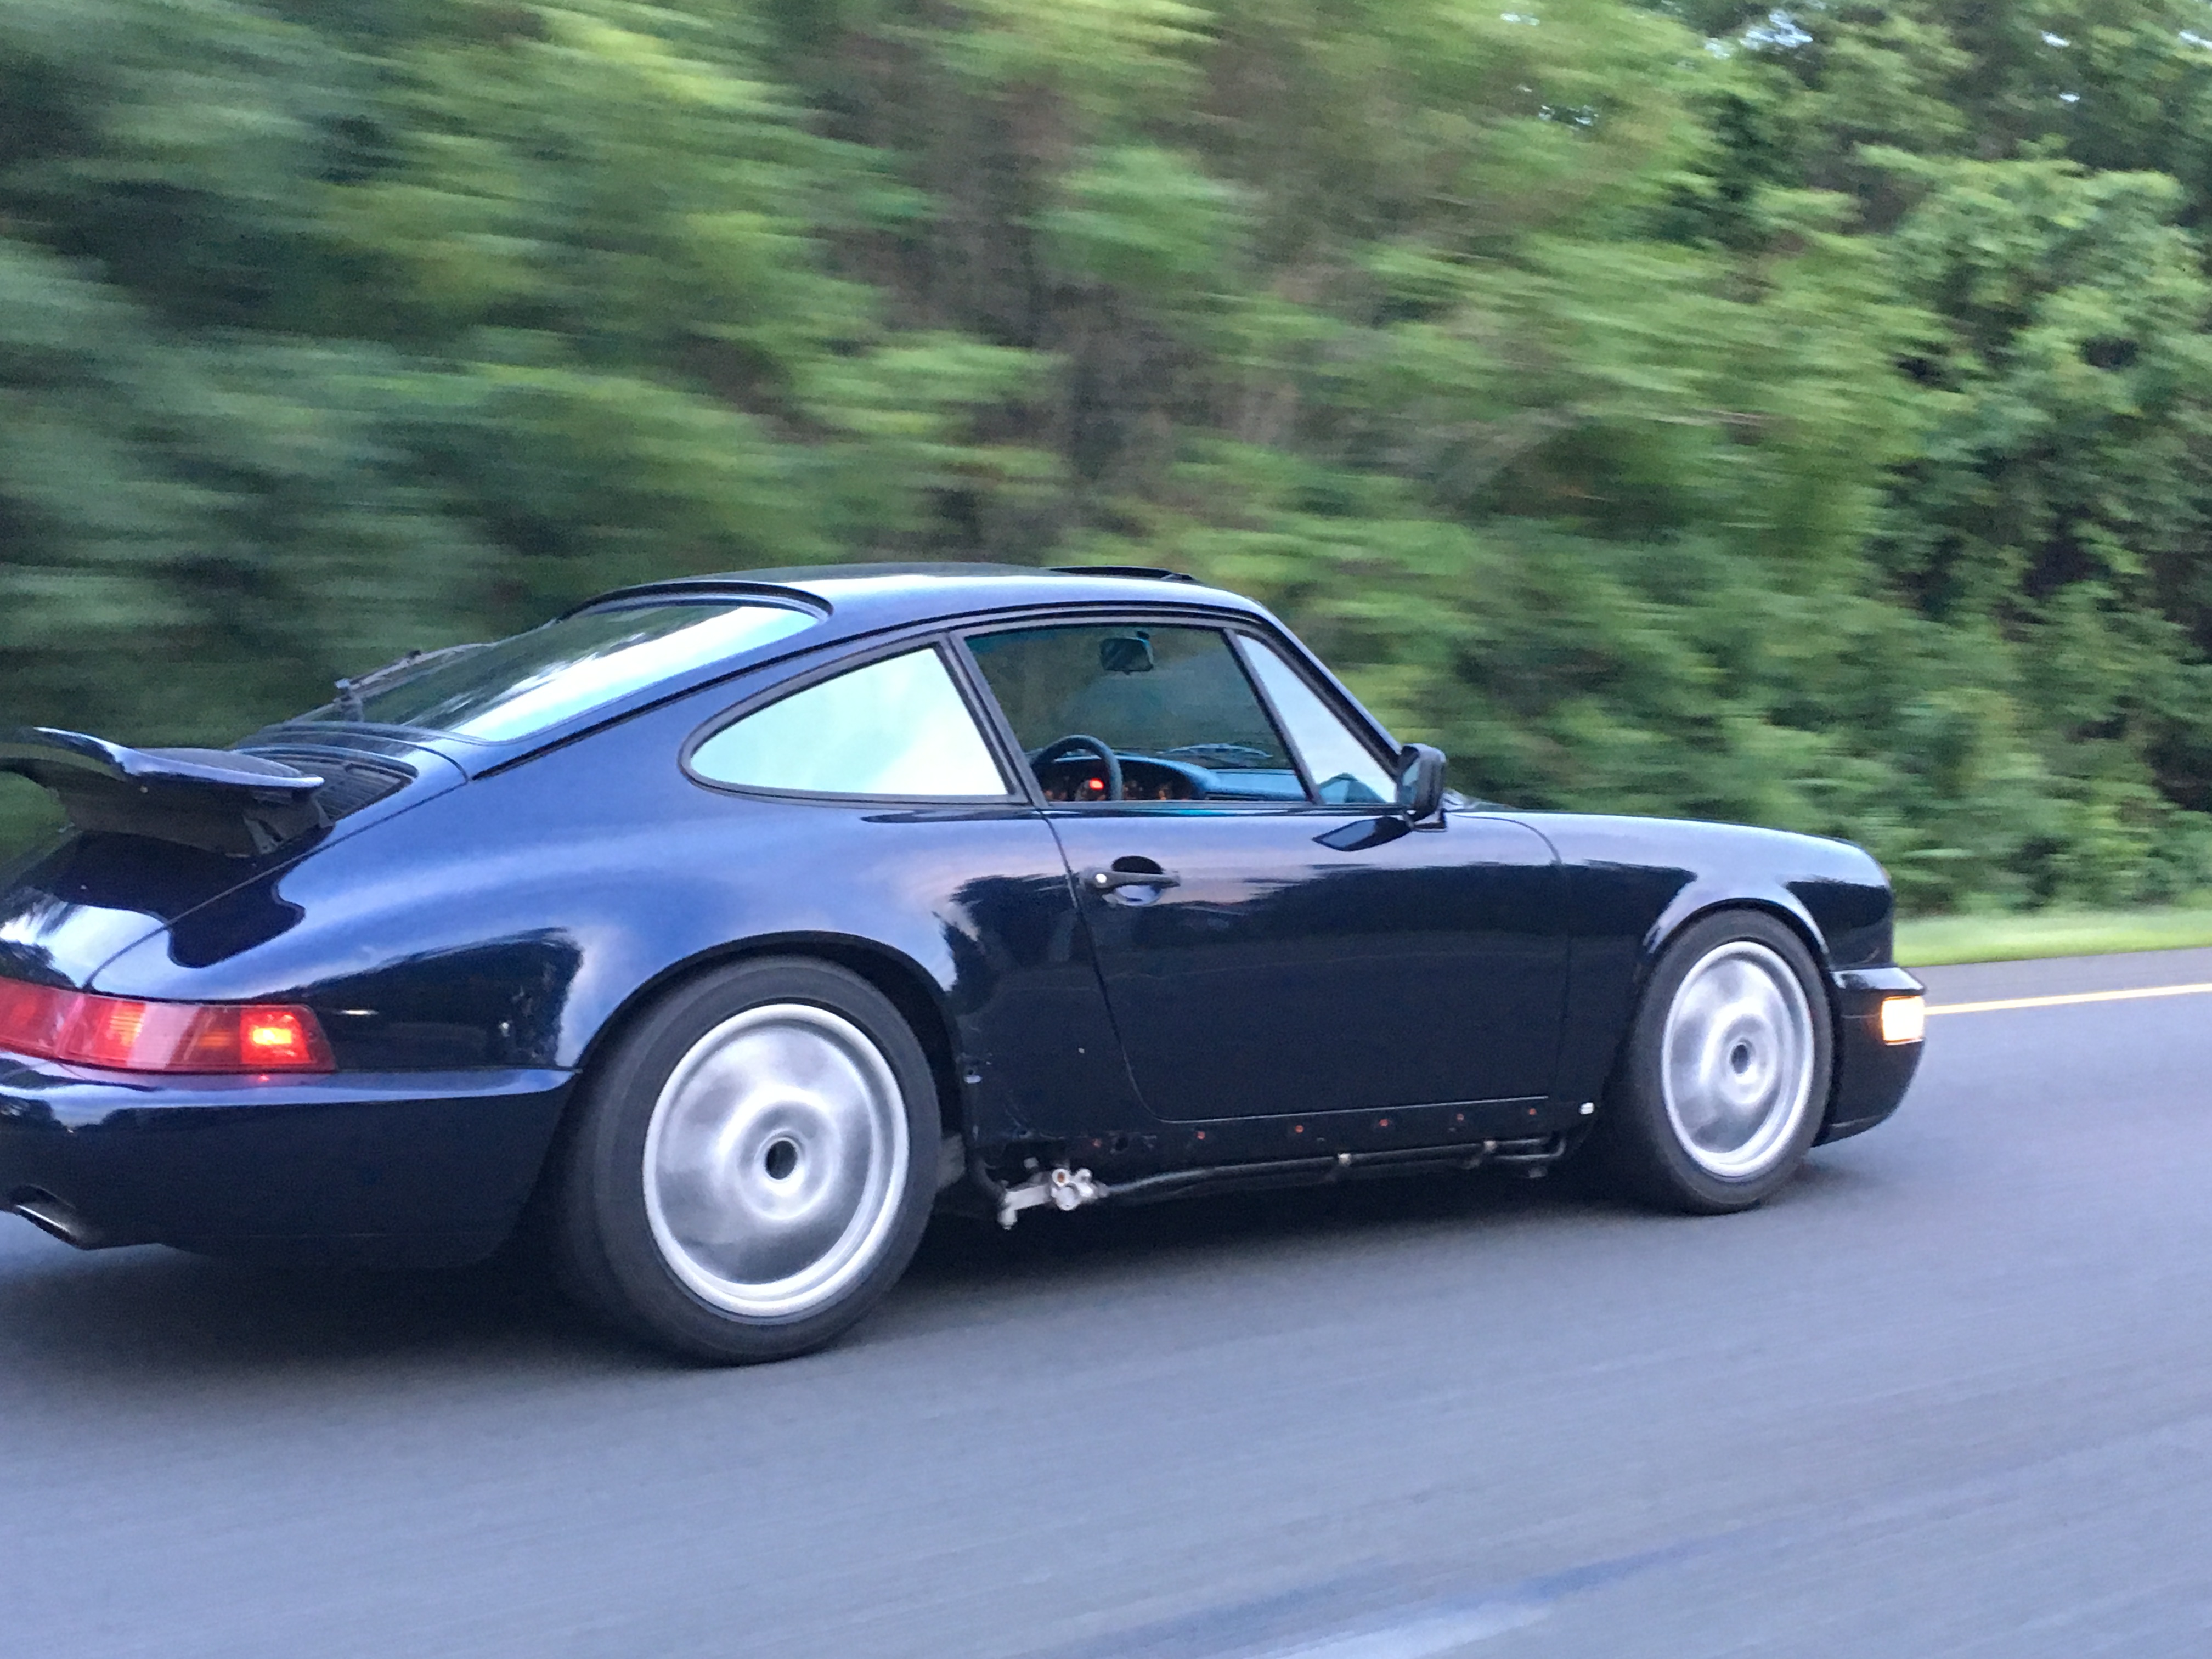
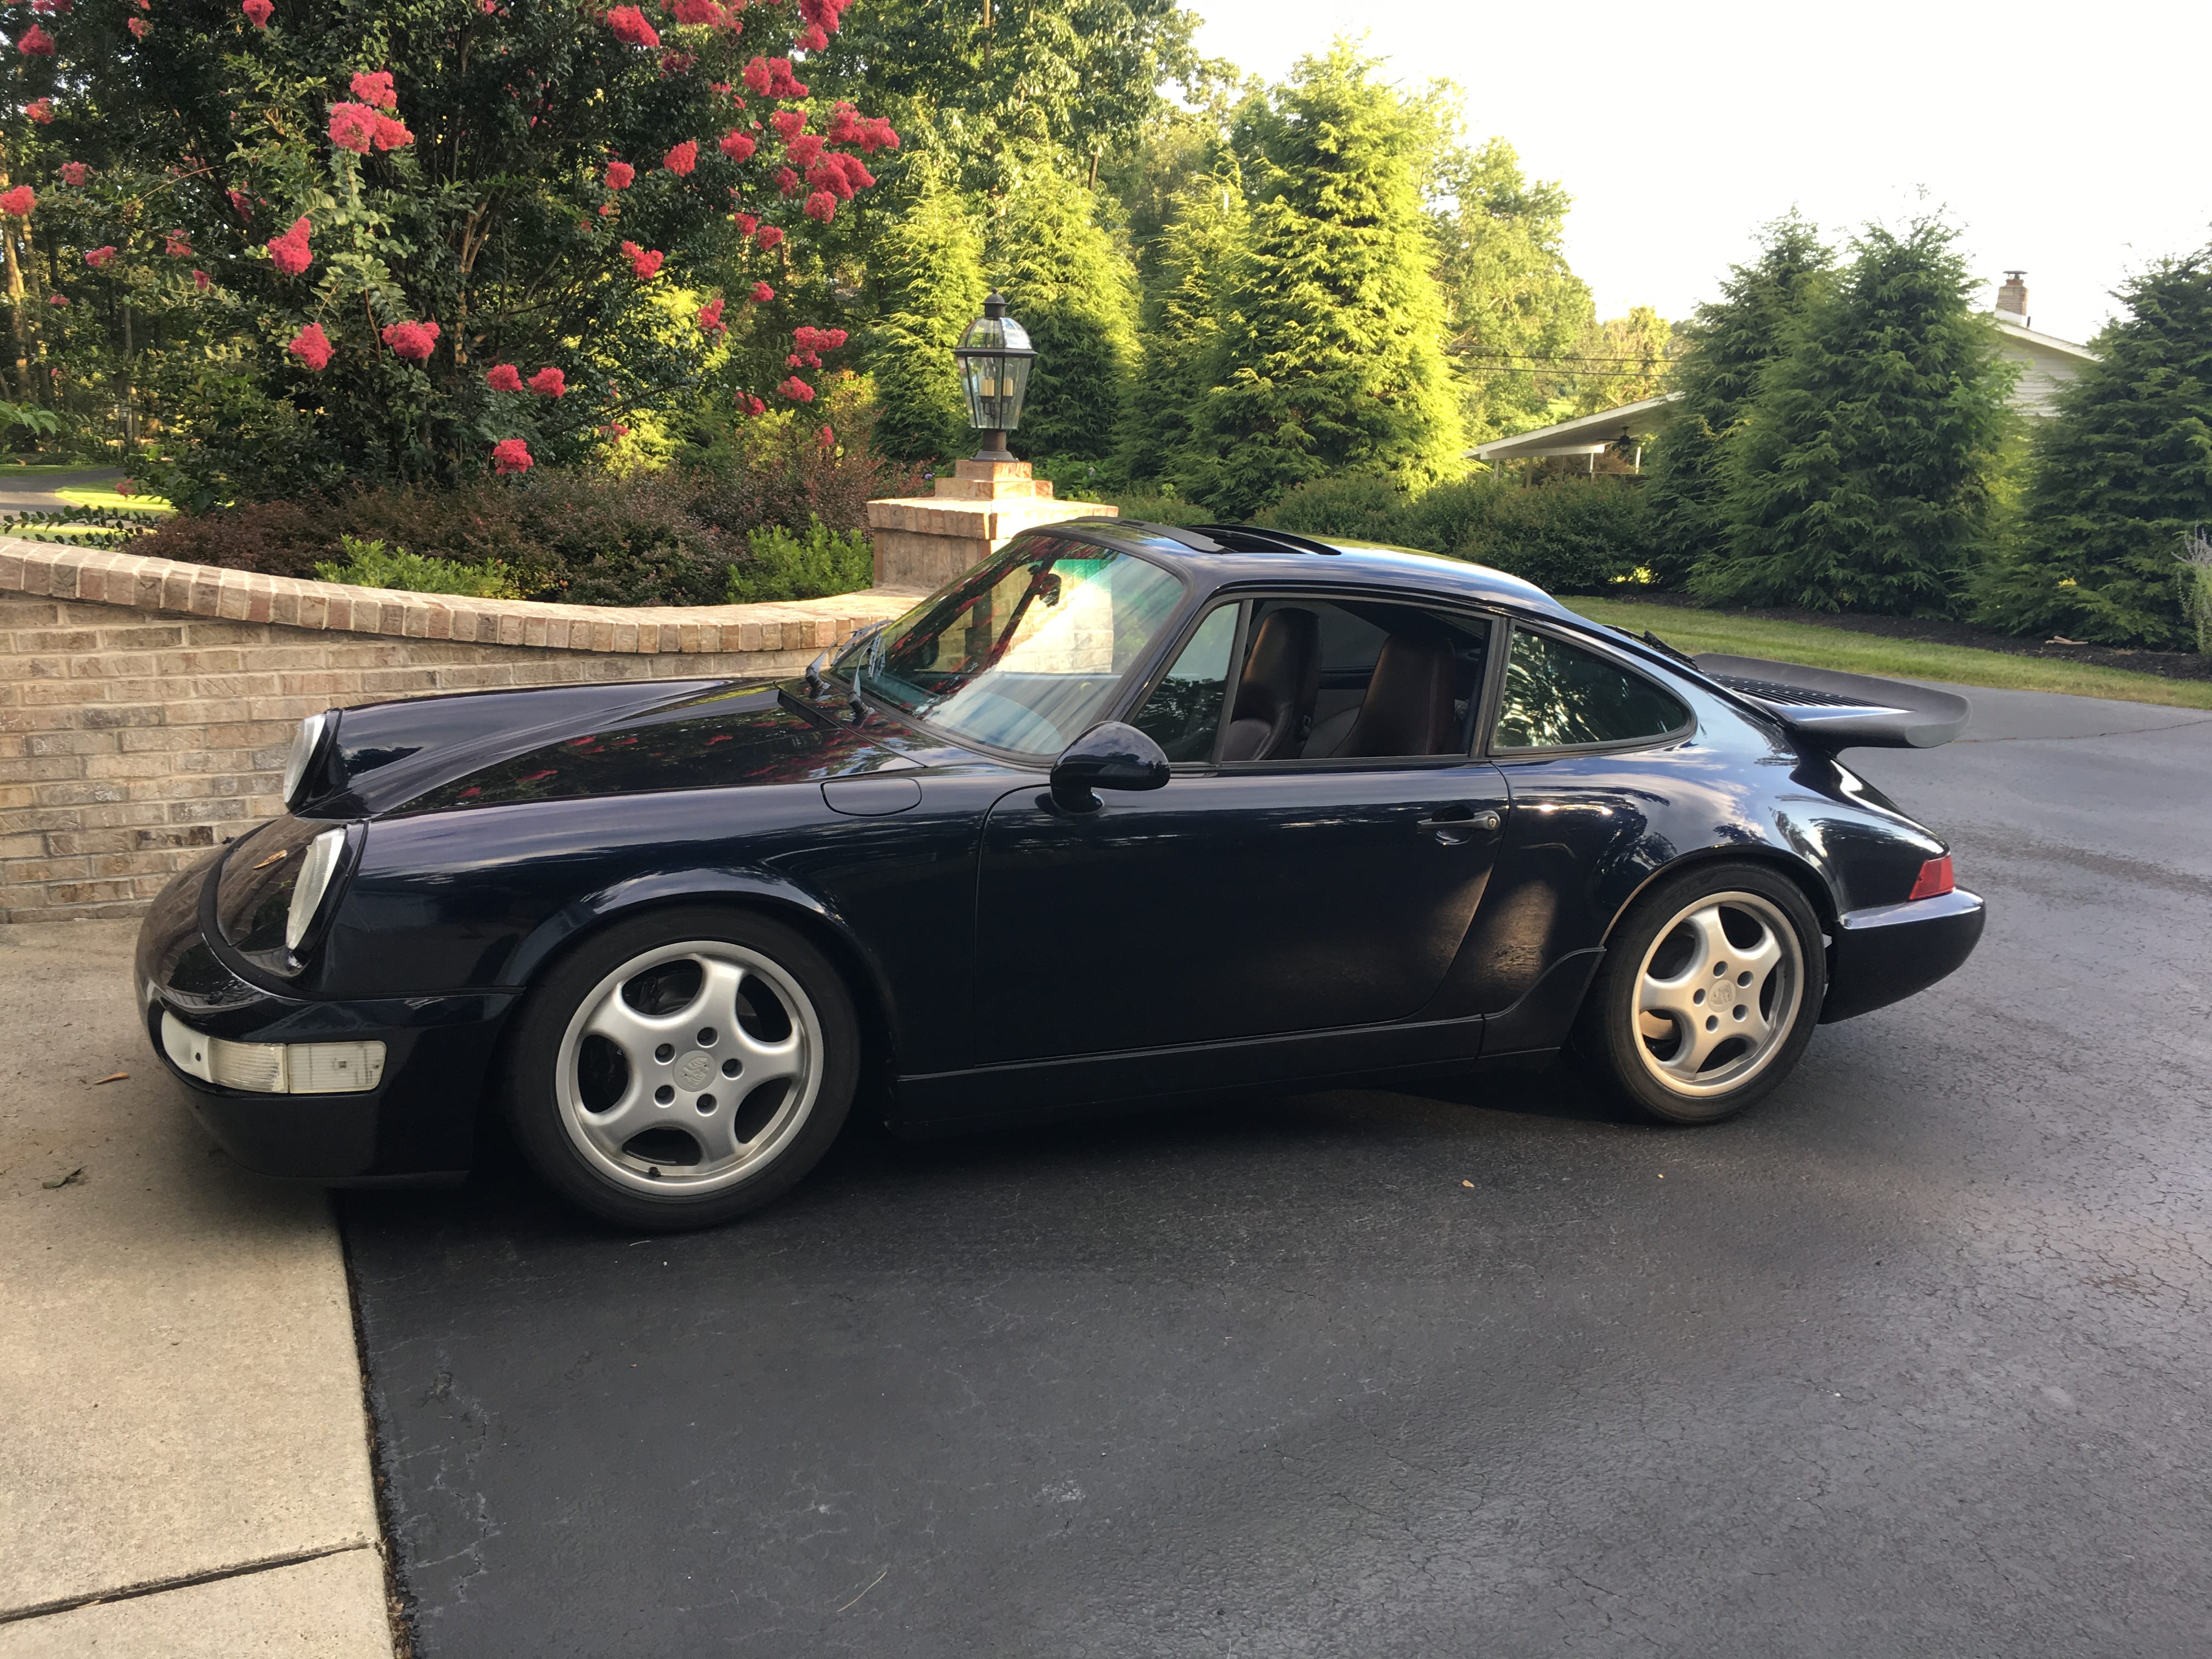
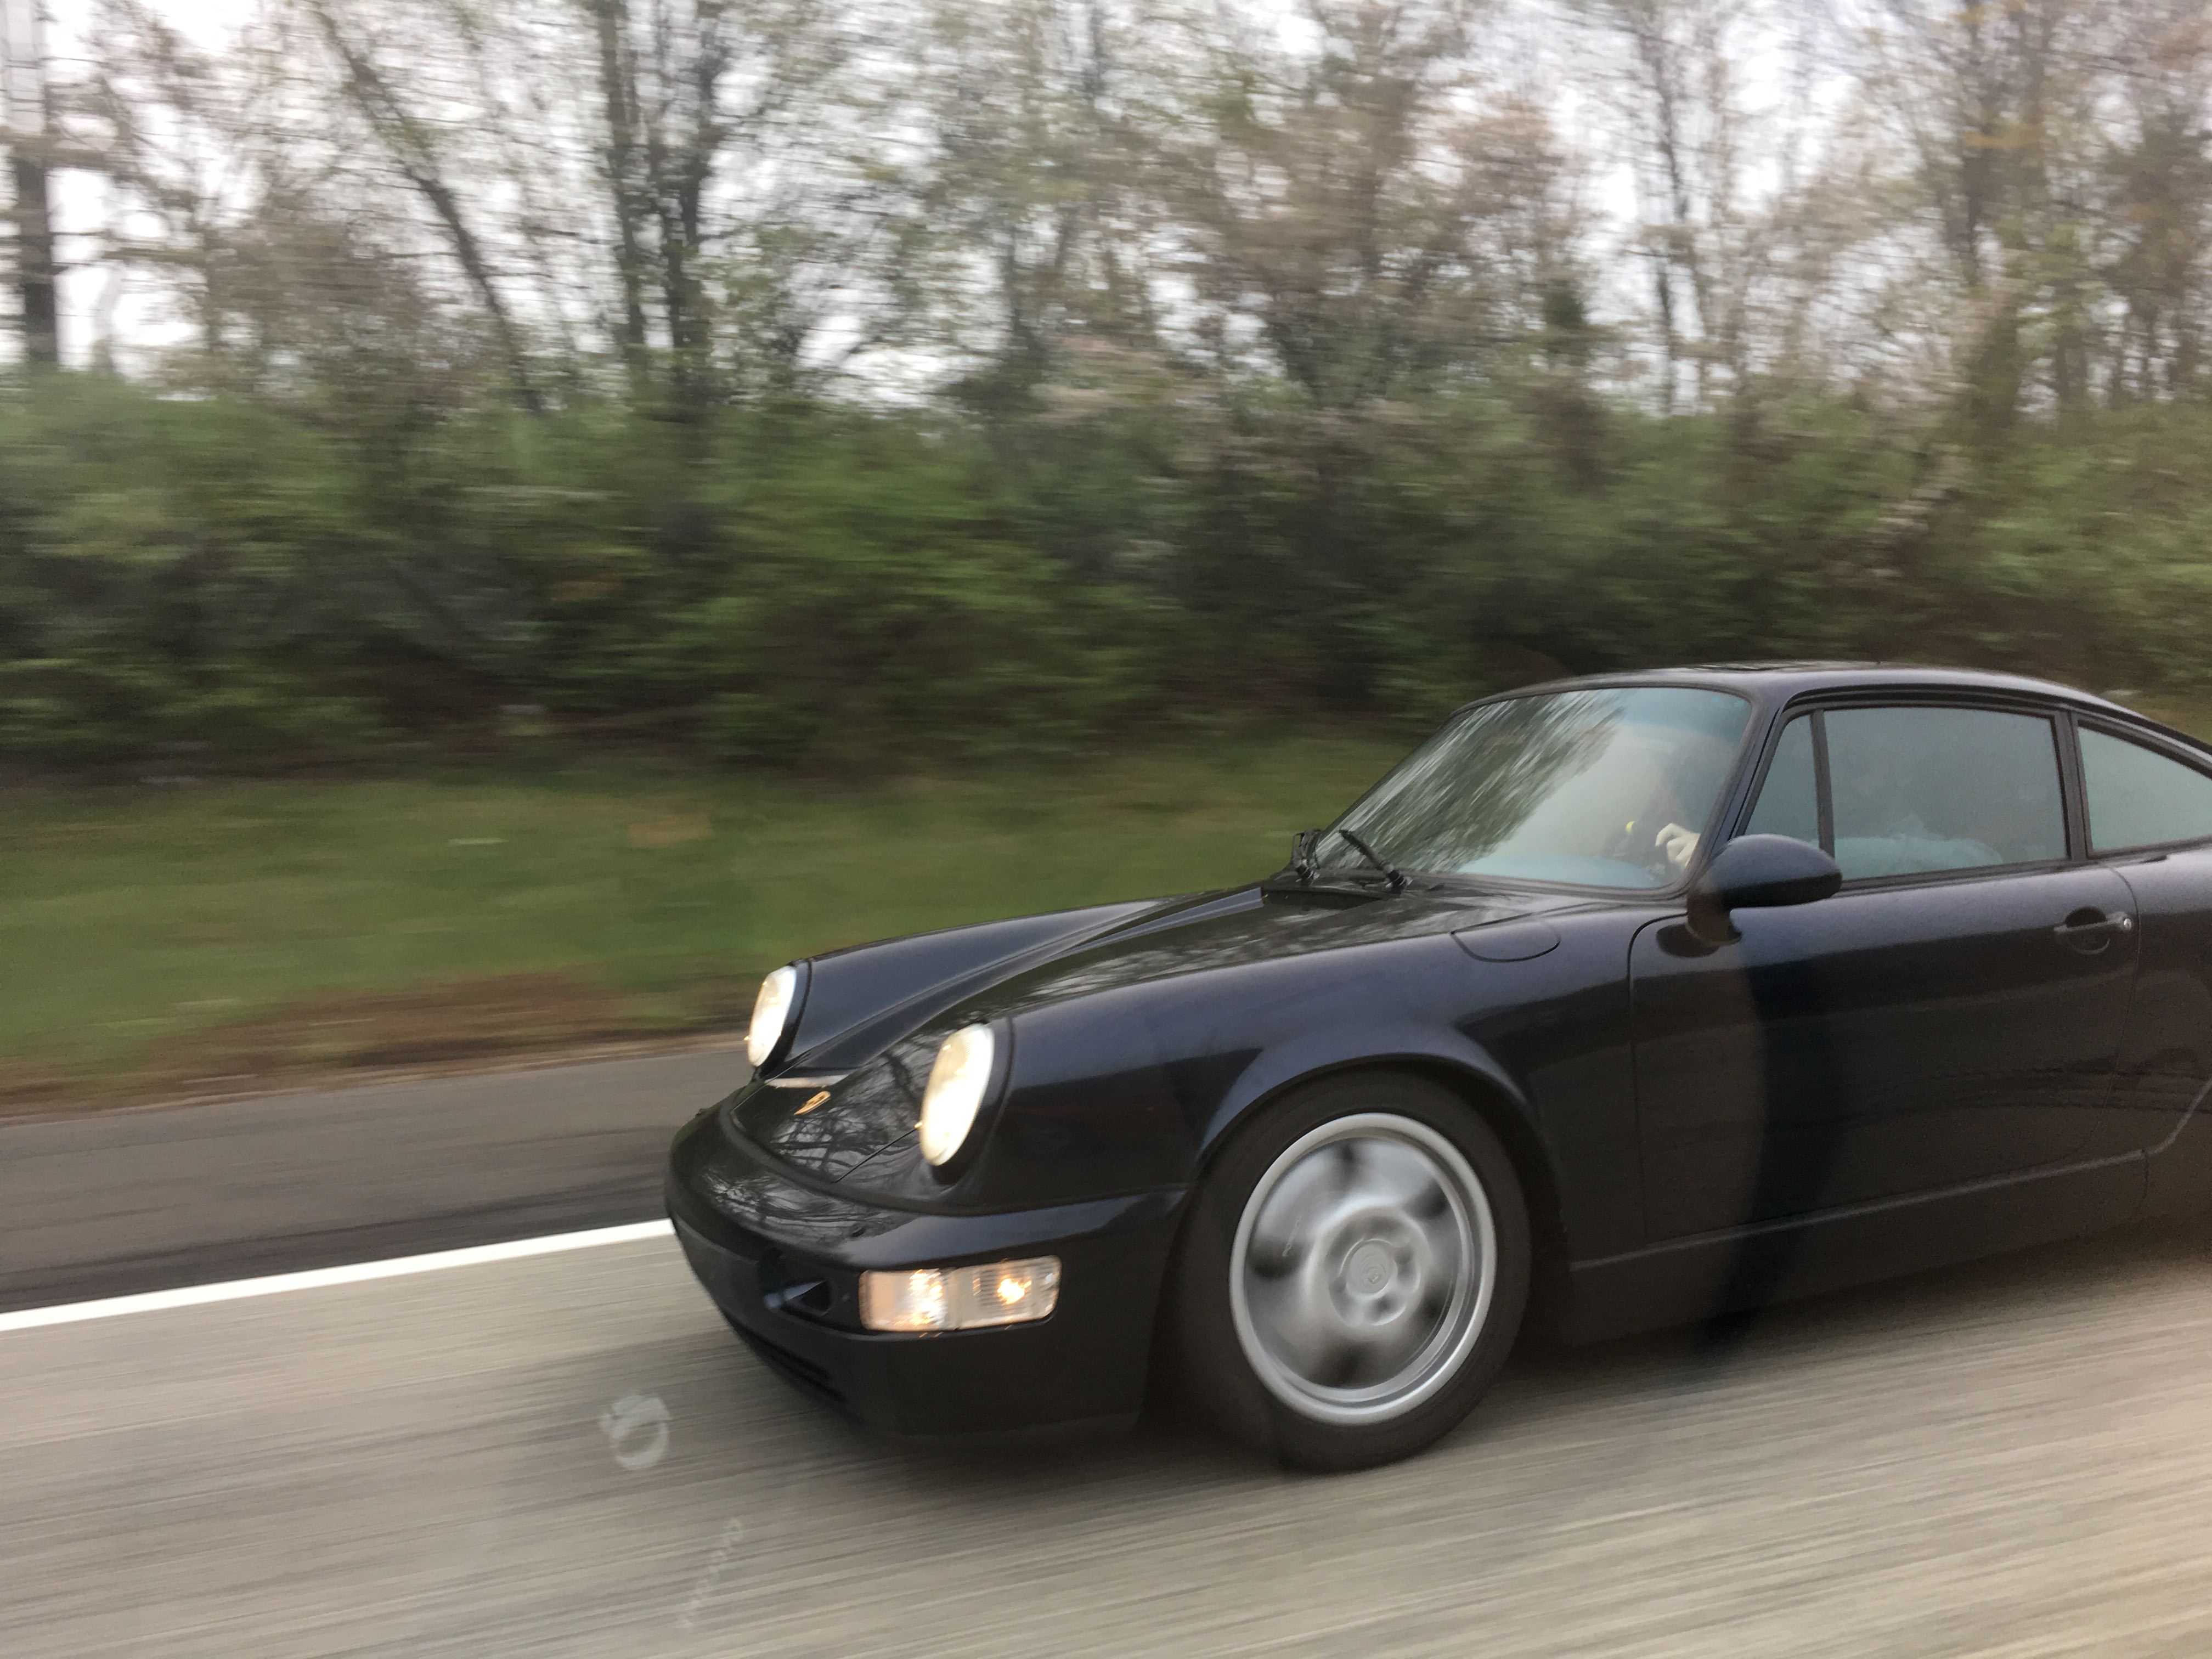
It's almost embarrassing how few decent photos I have of this car. But why go to a photo shoot when you can go for a drive? Here is (half) of one from last weekend.
Final comment: Impressions on the wing.
I really prefer the wingless look. But this car is downright scary beyond highway speeds with the OEM pop-up wing. I was shocked how much more stable the car is with the addition of the RS style wing. I have no intention of going back as this is a drivers car, after all.
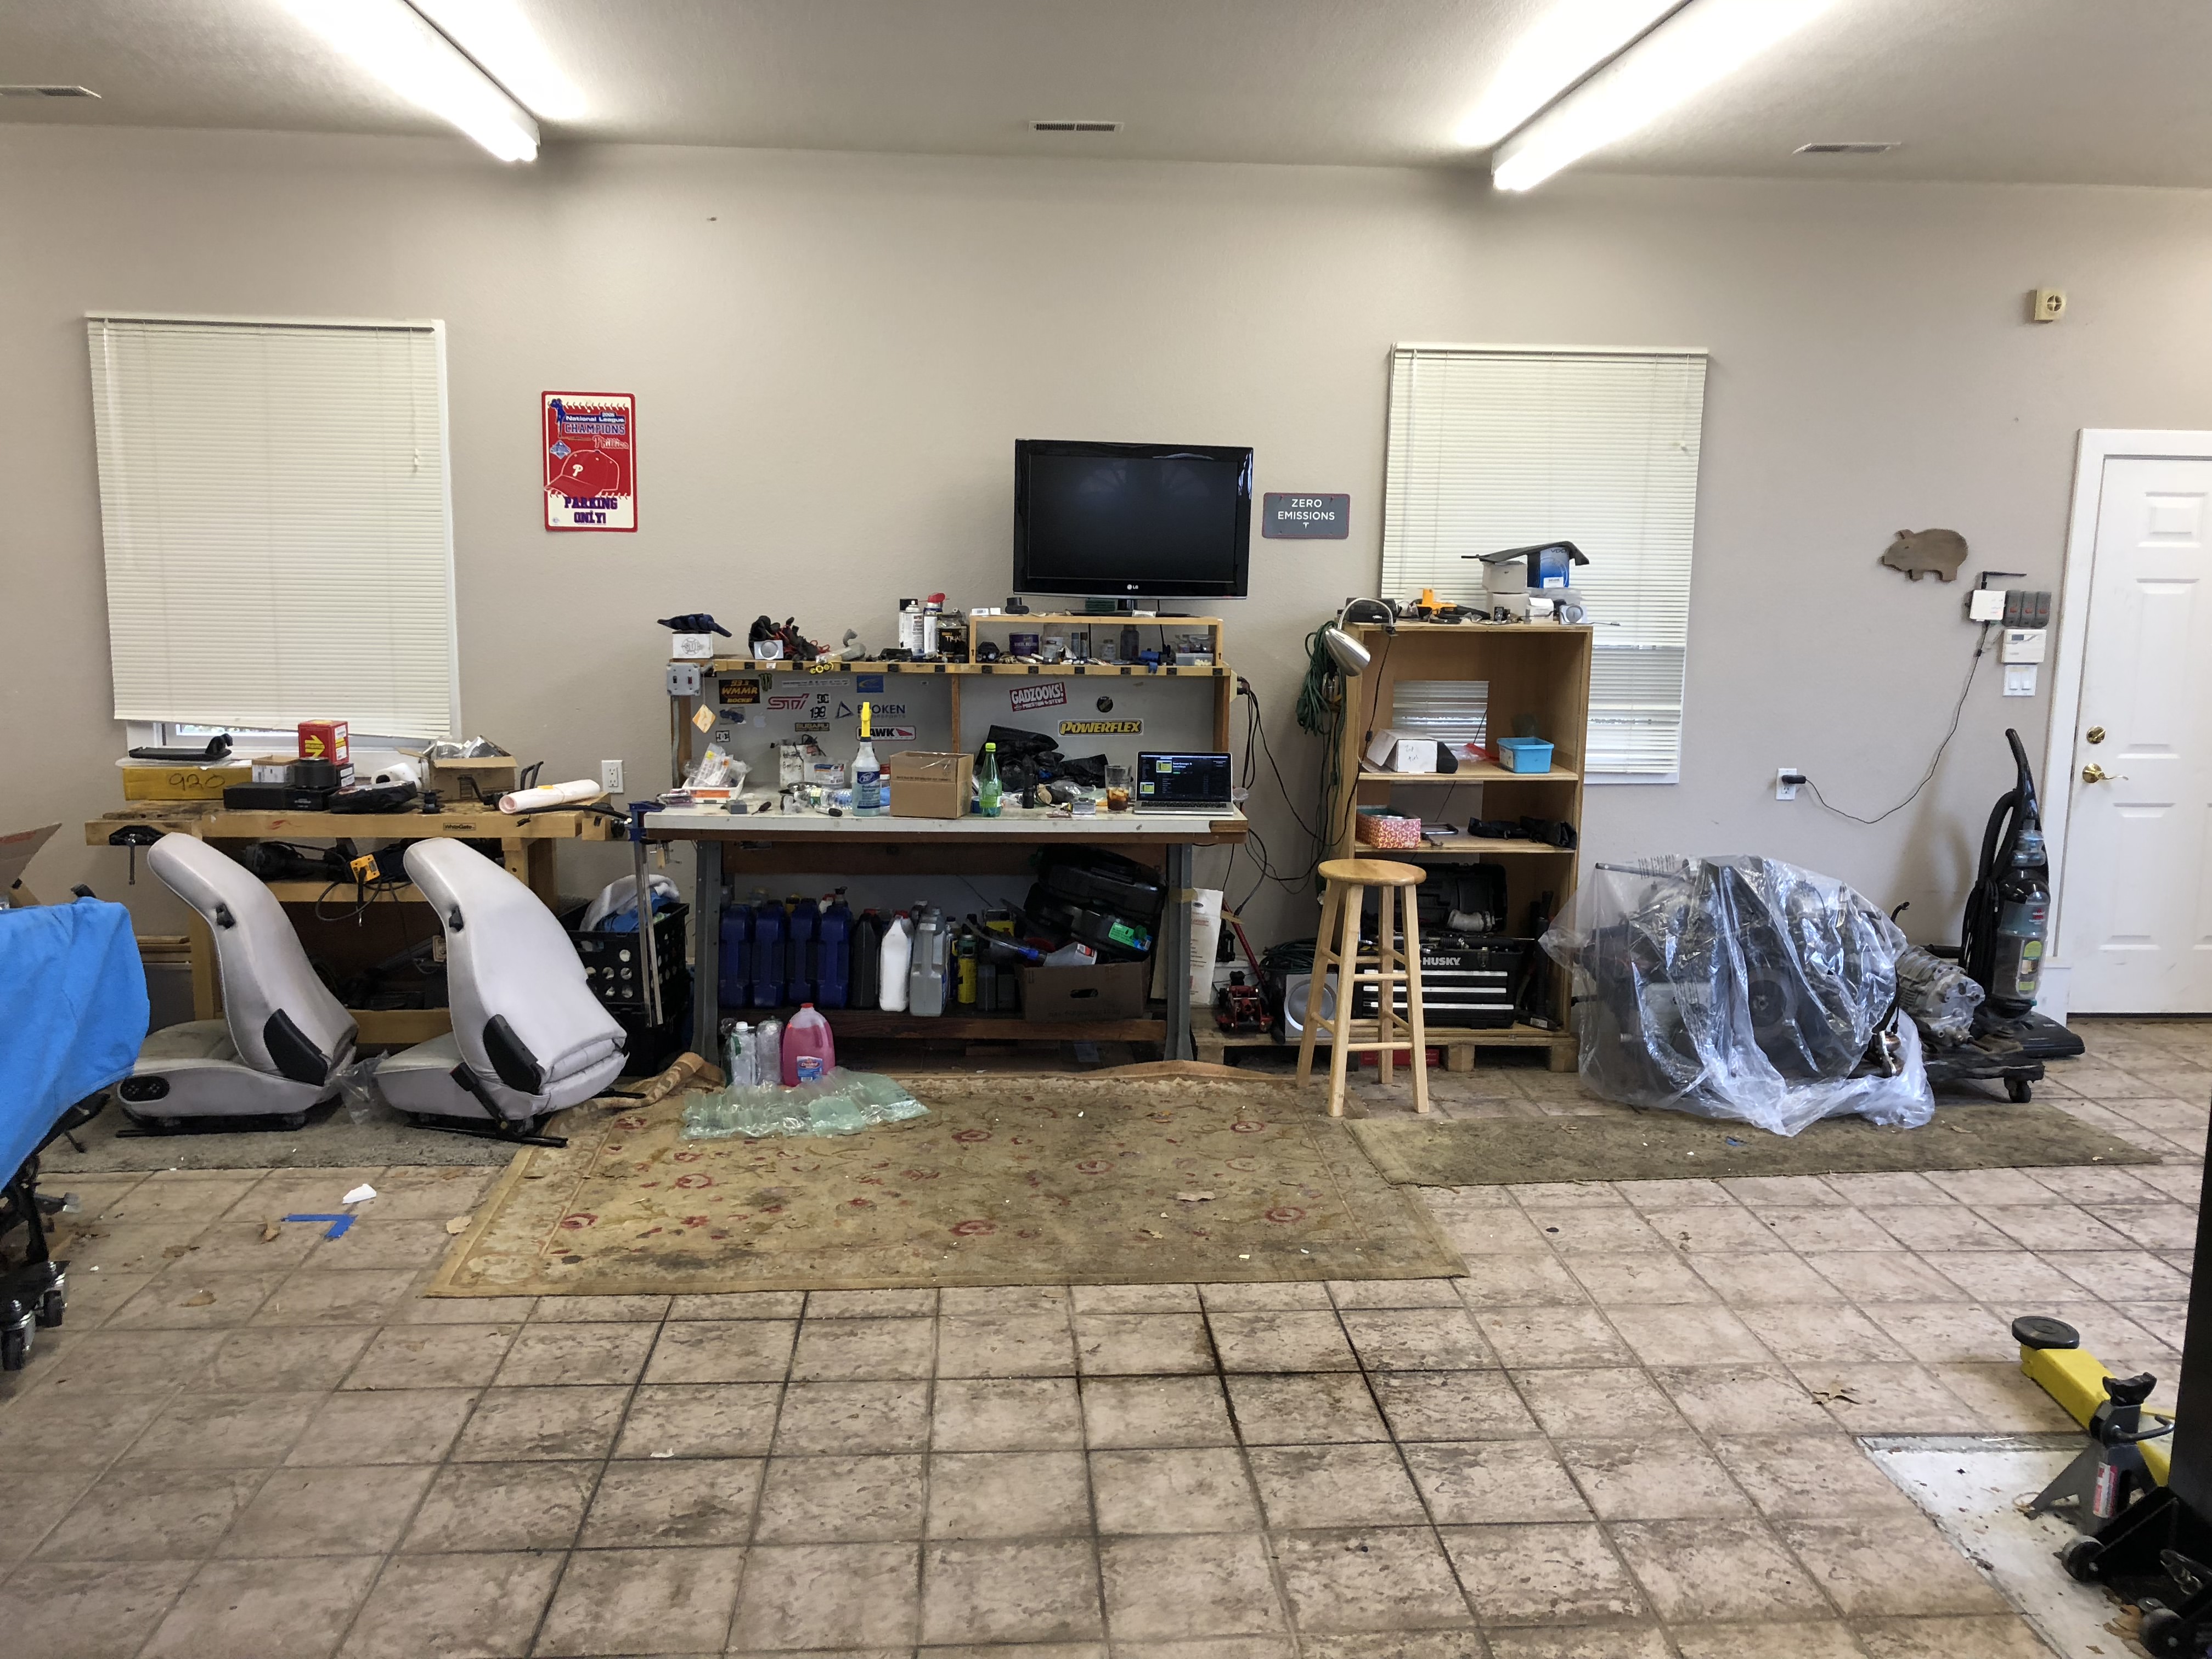
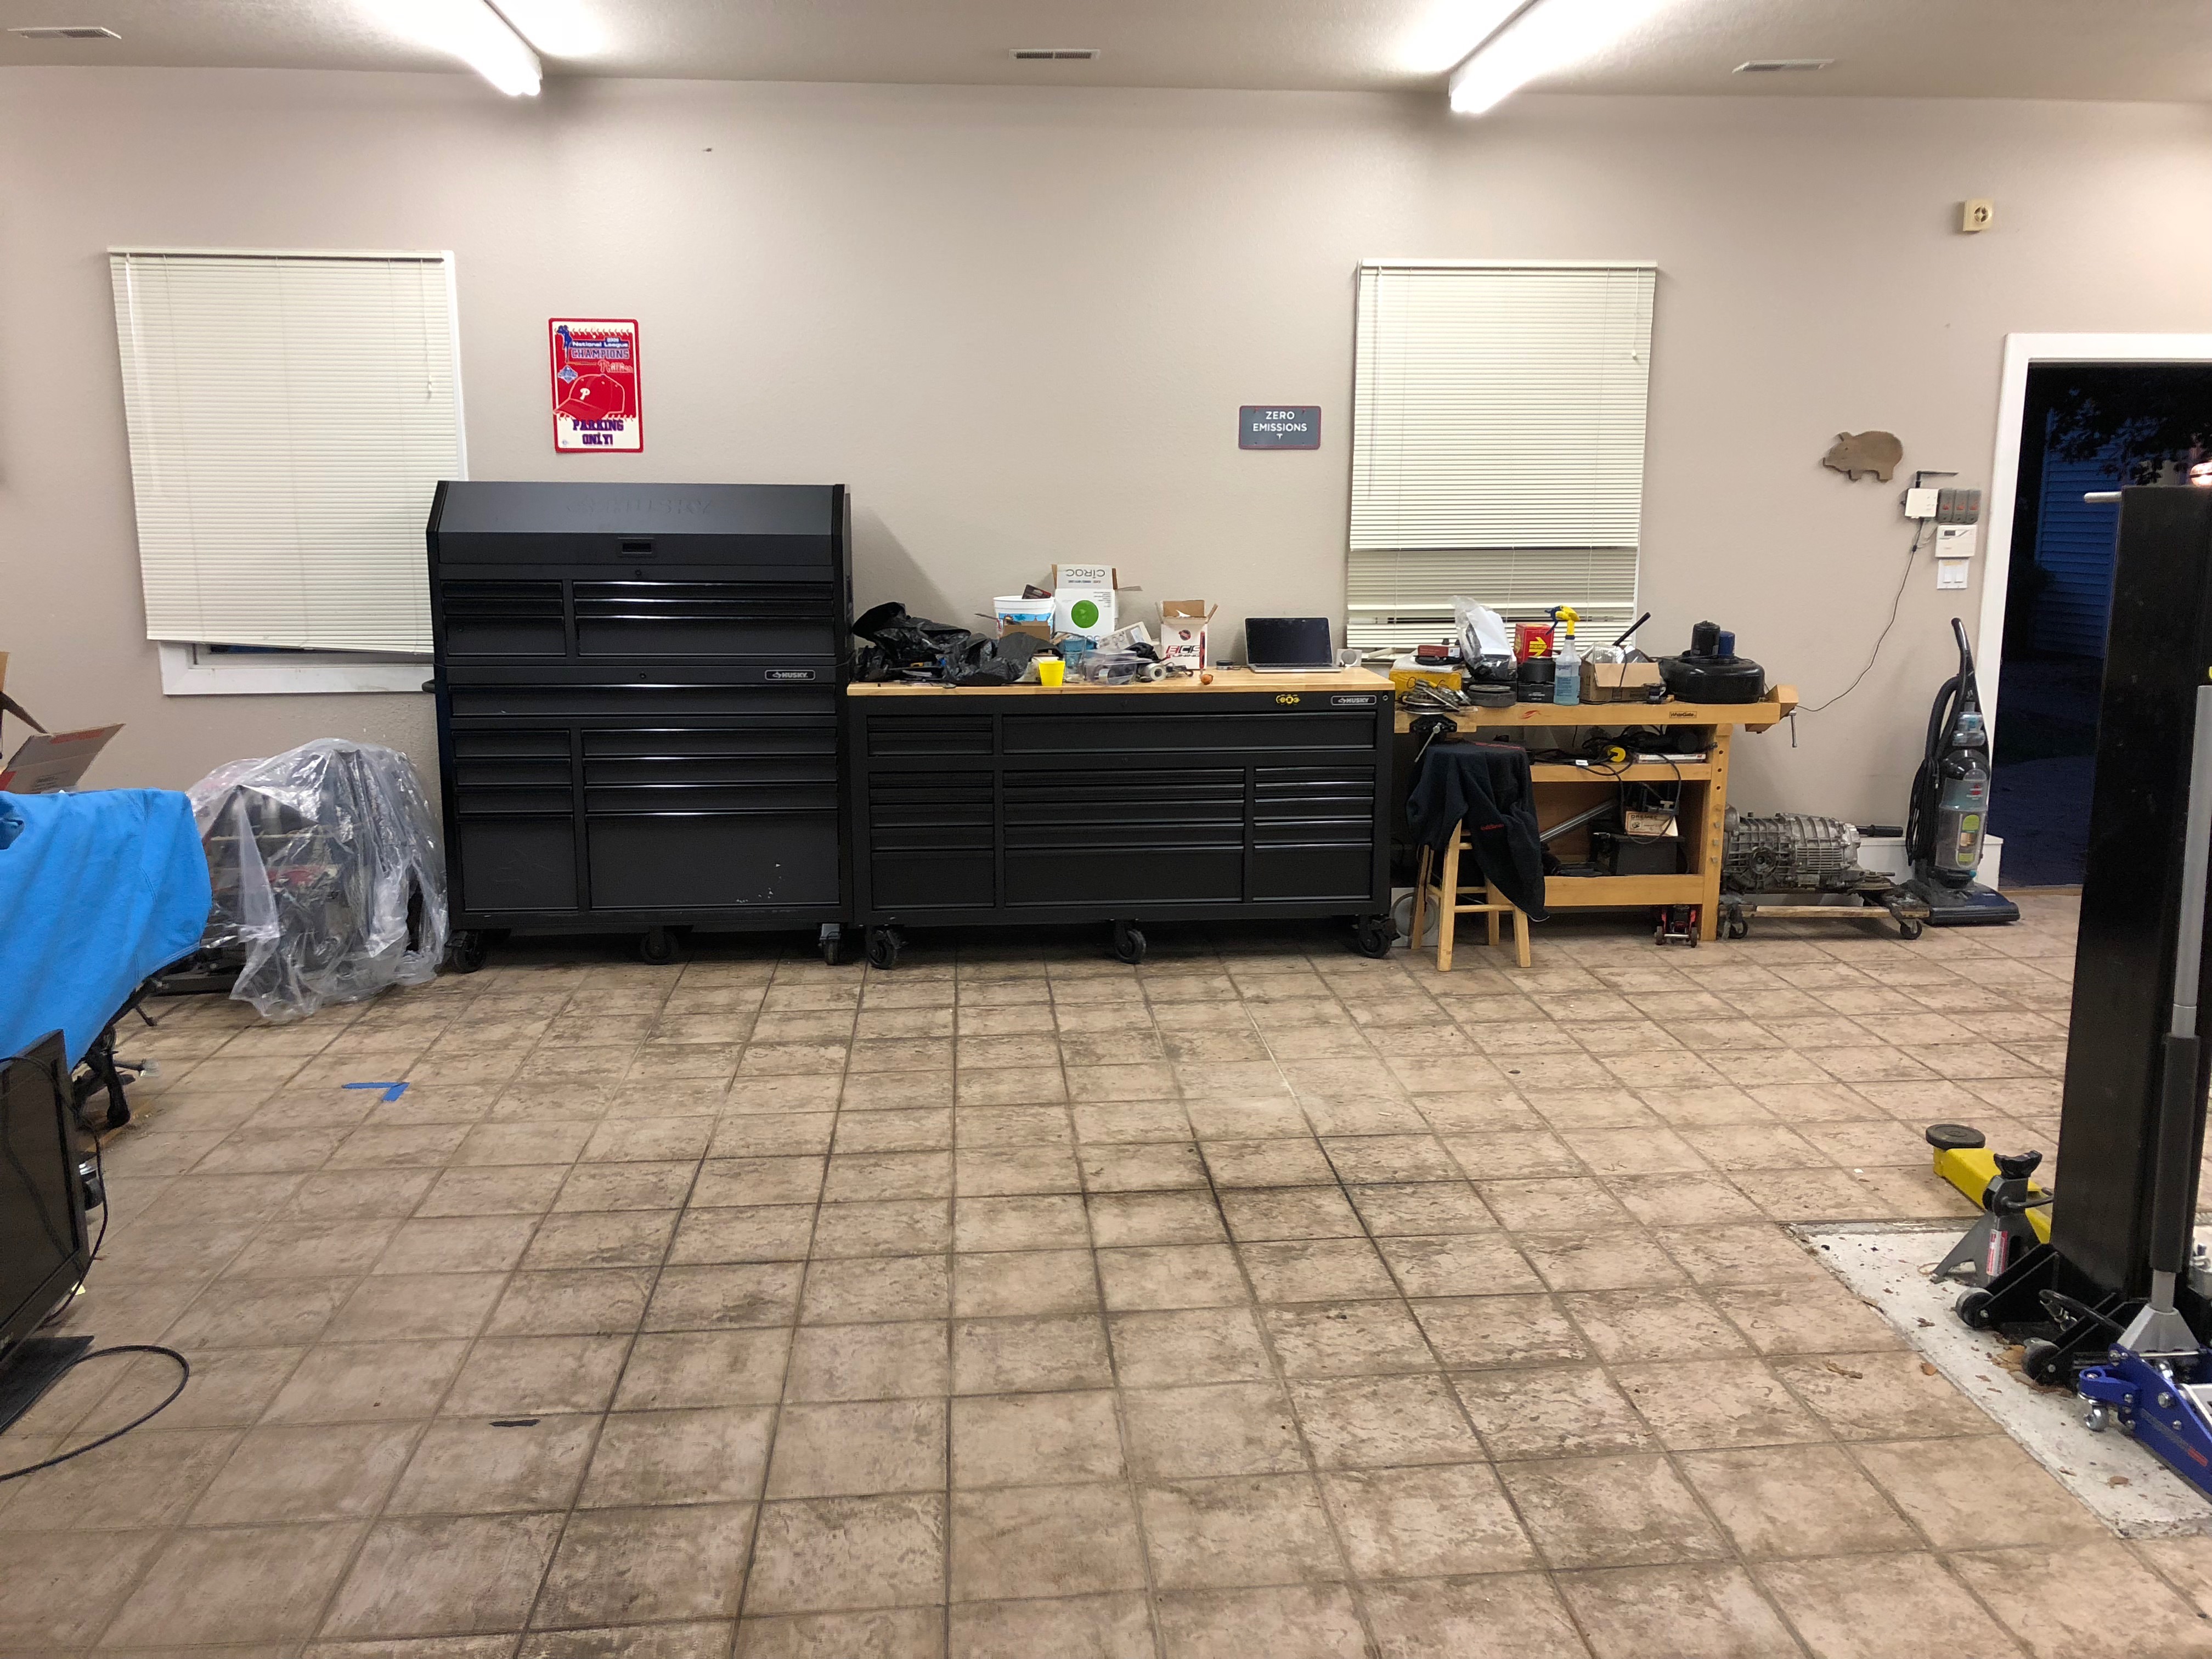
New tool boxes and some garage cleanup this weekend. Just have to sort and box the parts on top and power wash the floor.
Before:
After:
And the 3.2 and 915 came out of a (now sold) 77S we pulled a week or so ago.
So far Im really impressed with these boxes. They're no SnapOn, but I'm no professional wrench. For less than 2k total they should do the trick, and they're a joy to work with compared to a lot of more expensive boxes Ive been around.
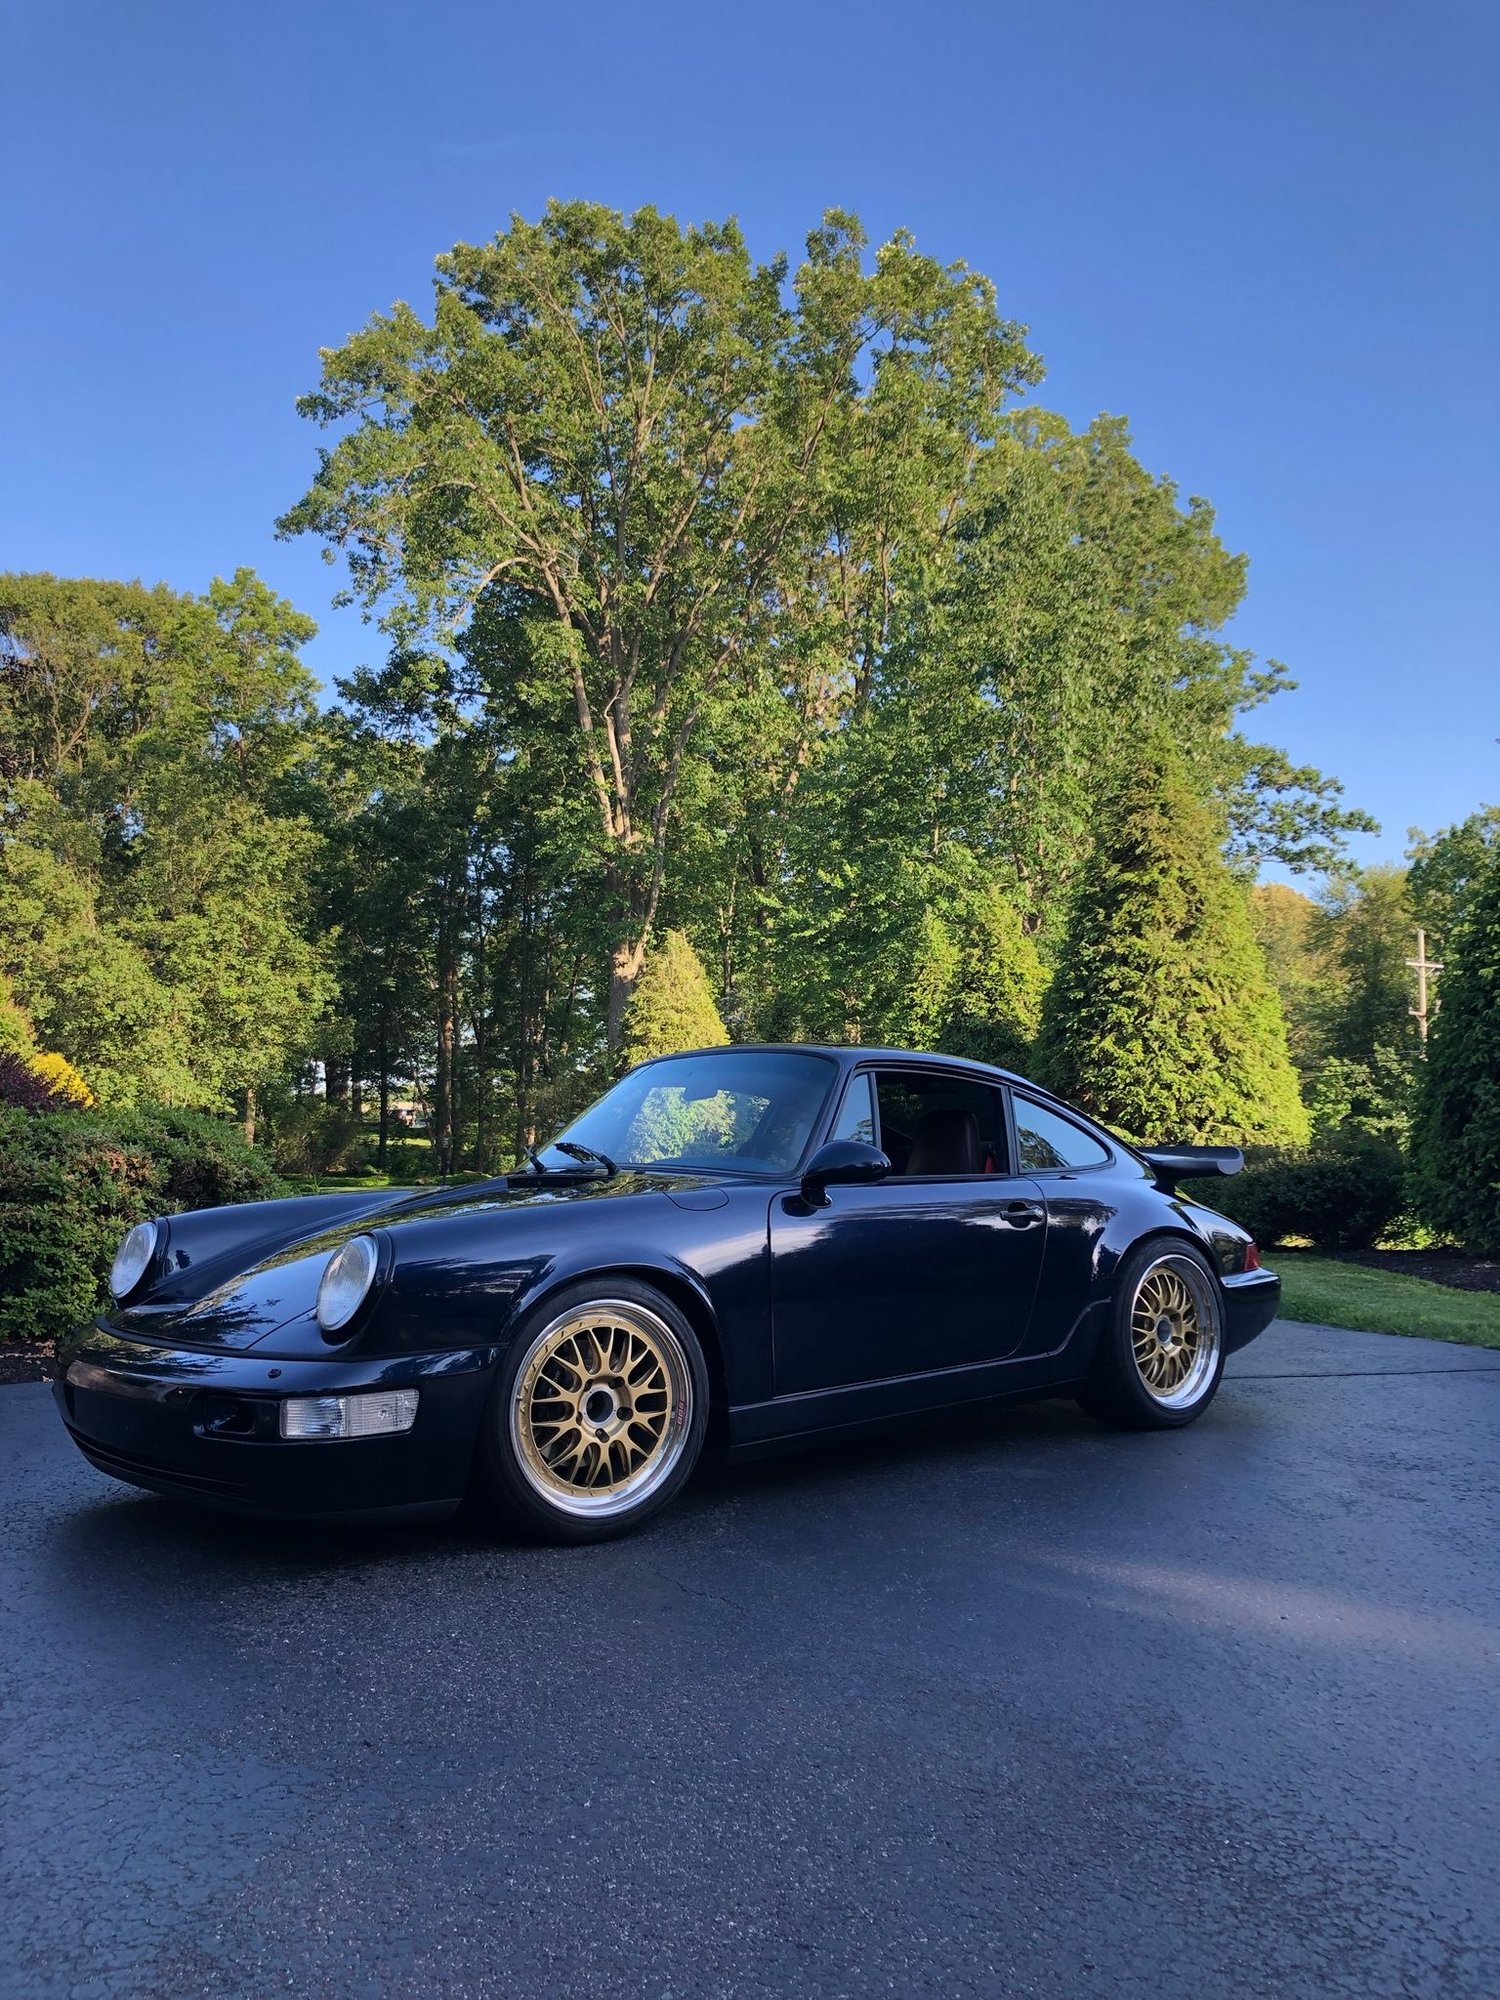
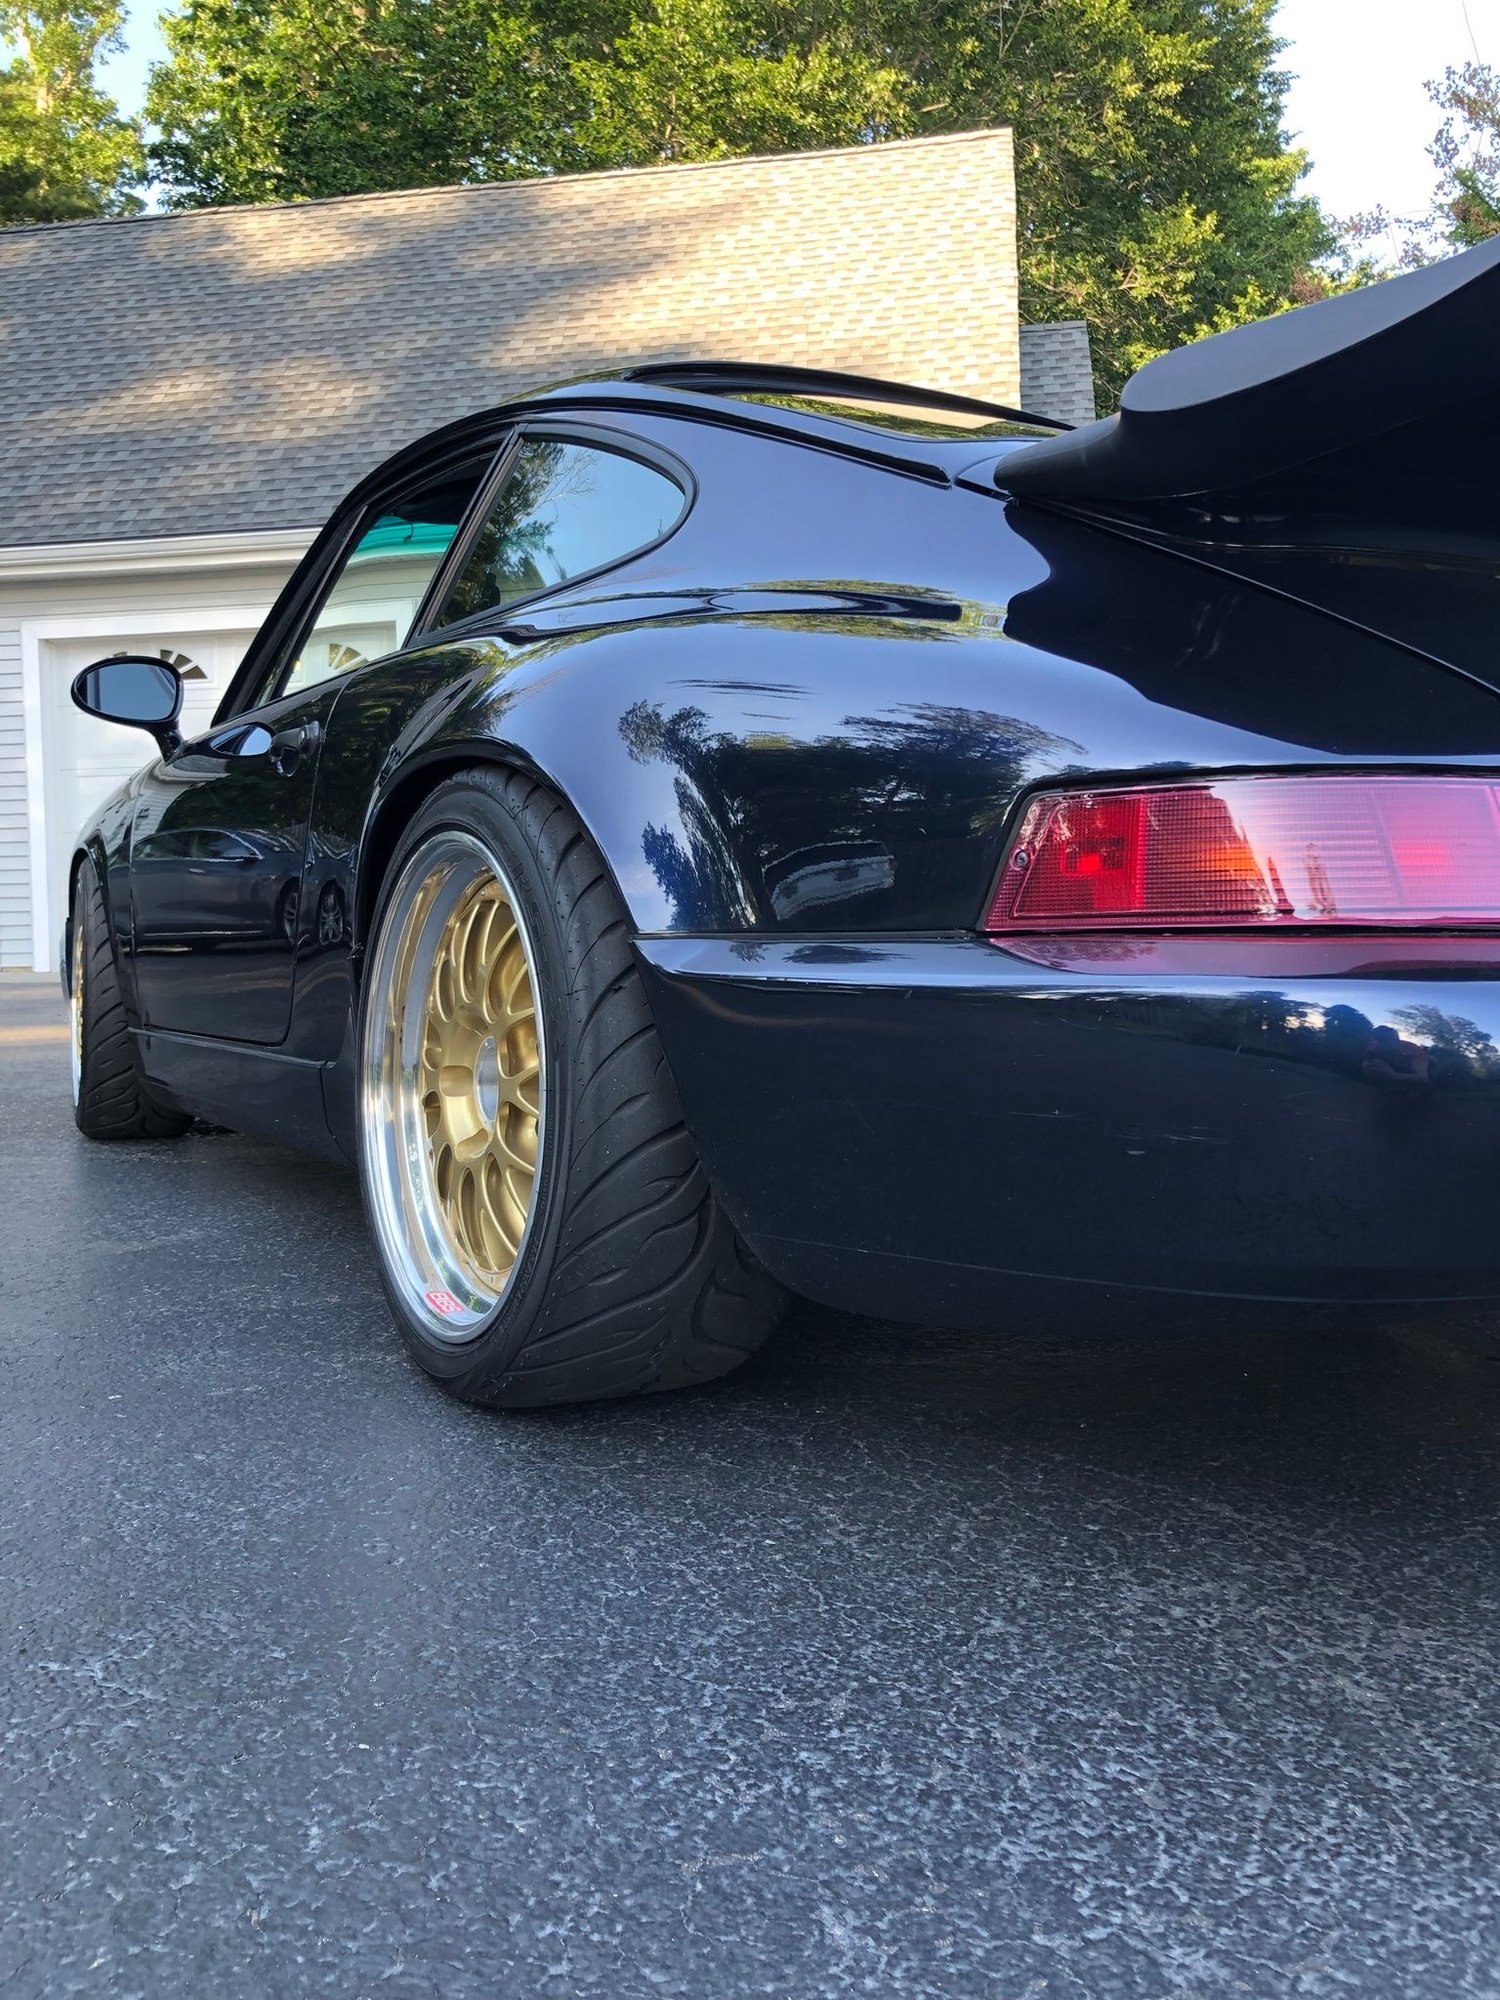
Wow, I knew I was behind on this thread... but May of 2018!? I'm ashamed. One bonus of this quarantine is LOTS of time to wrench and type. I started a new job about a year ago and did a lot of traveling, so truthfully, there hasn't been much of an update to give. I bought my dream wheels last summer, shown below. Otherwise, I've just been driving it. That changed a couple weeks ago. The front end rebuild is a full go and Im knee deep, just awaiting parts coming on Monday. I promise to update this thread over the next few days with the last couple weeks projects.
For now, a photo of the wheels I bought last summer, perfect spec E88. They came with these tires which I detest. Louder than a slick, honestly. The completely shot front suspension bushings which Im currently addressing kept from really testing them, but I will never buy theses again even at a 75% discount. Before Luft East was postponed, I was seriously considering replacing them at 80% life just so I didn't have to drive there listening to them. Once this suspension project is done, I'll be able to quickly thrash and repalce them with MP4S or 71Rs.
There is also now a very real need for ERP adjustable spring plates, which Im currently trying to track down as ERP are closed for quarantine and my local distributor, Stable, is OOS.
Alright, found a couple photos of some small things I addressed in the last year, and some mildly relevant photos worth sharing.
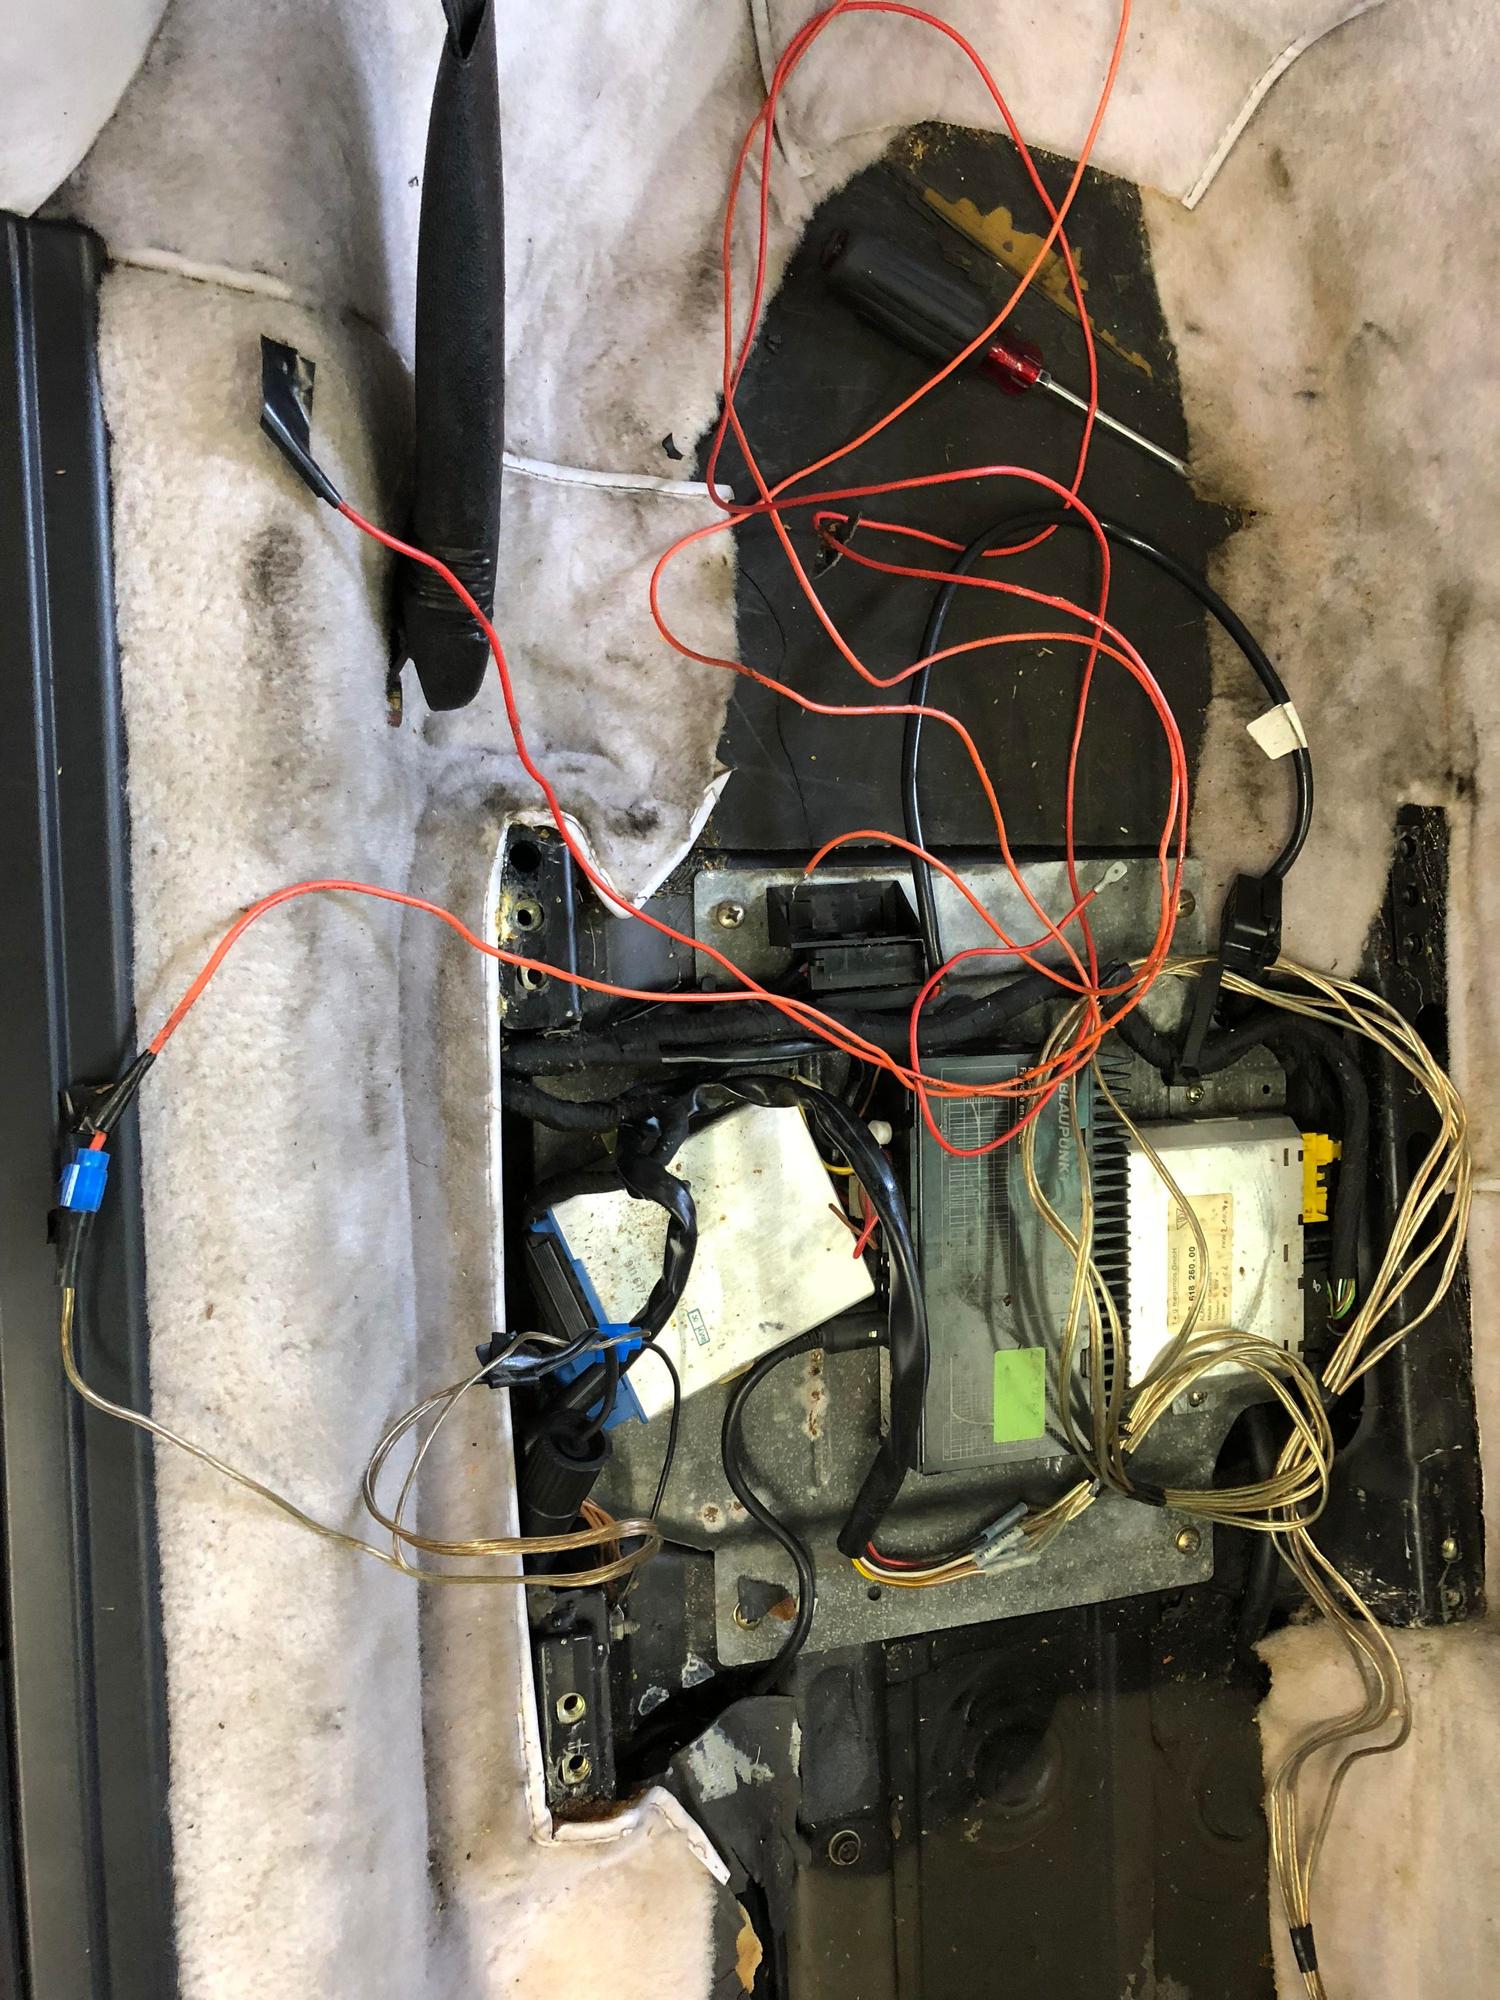
1. This mess of alarm/stereo wires. Currently no stereo in the car. More wiring fat to be trimmed when this nasty carpet comes out.
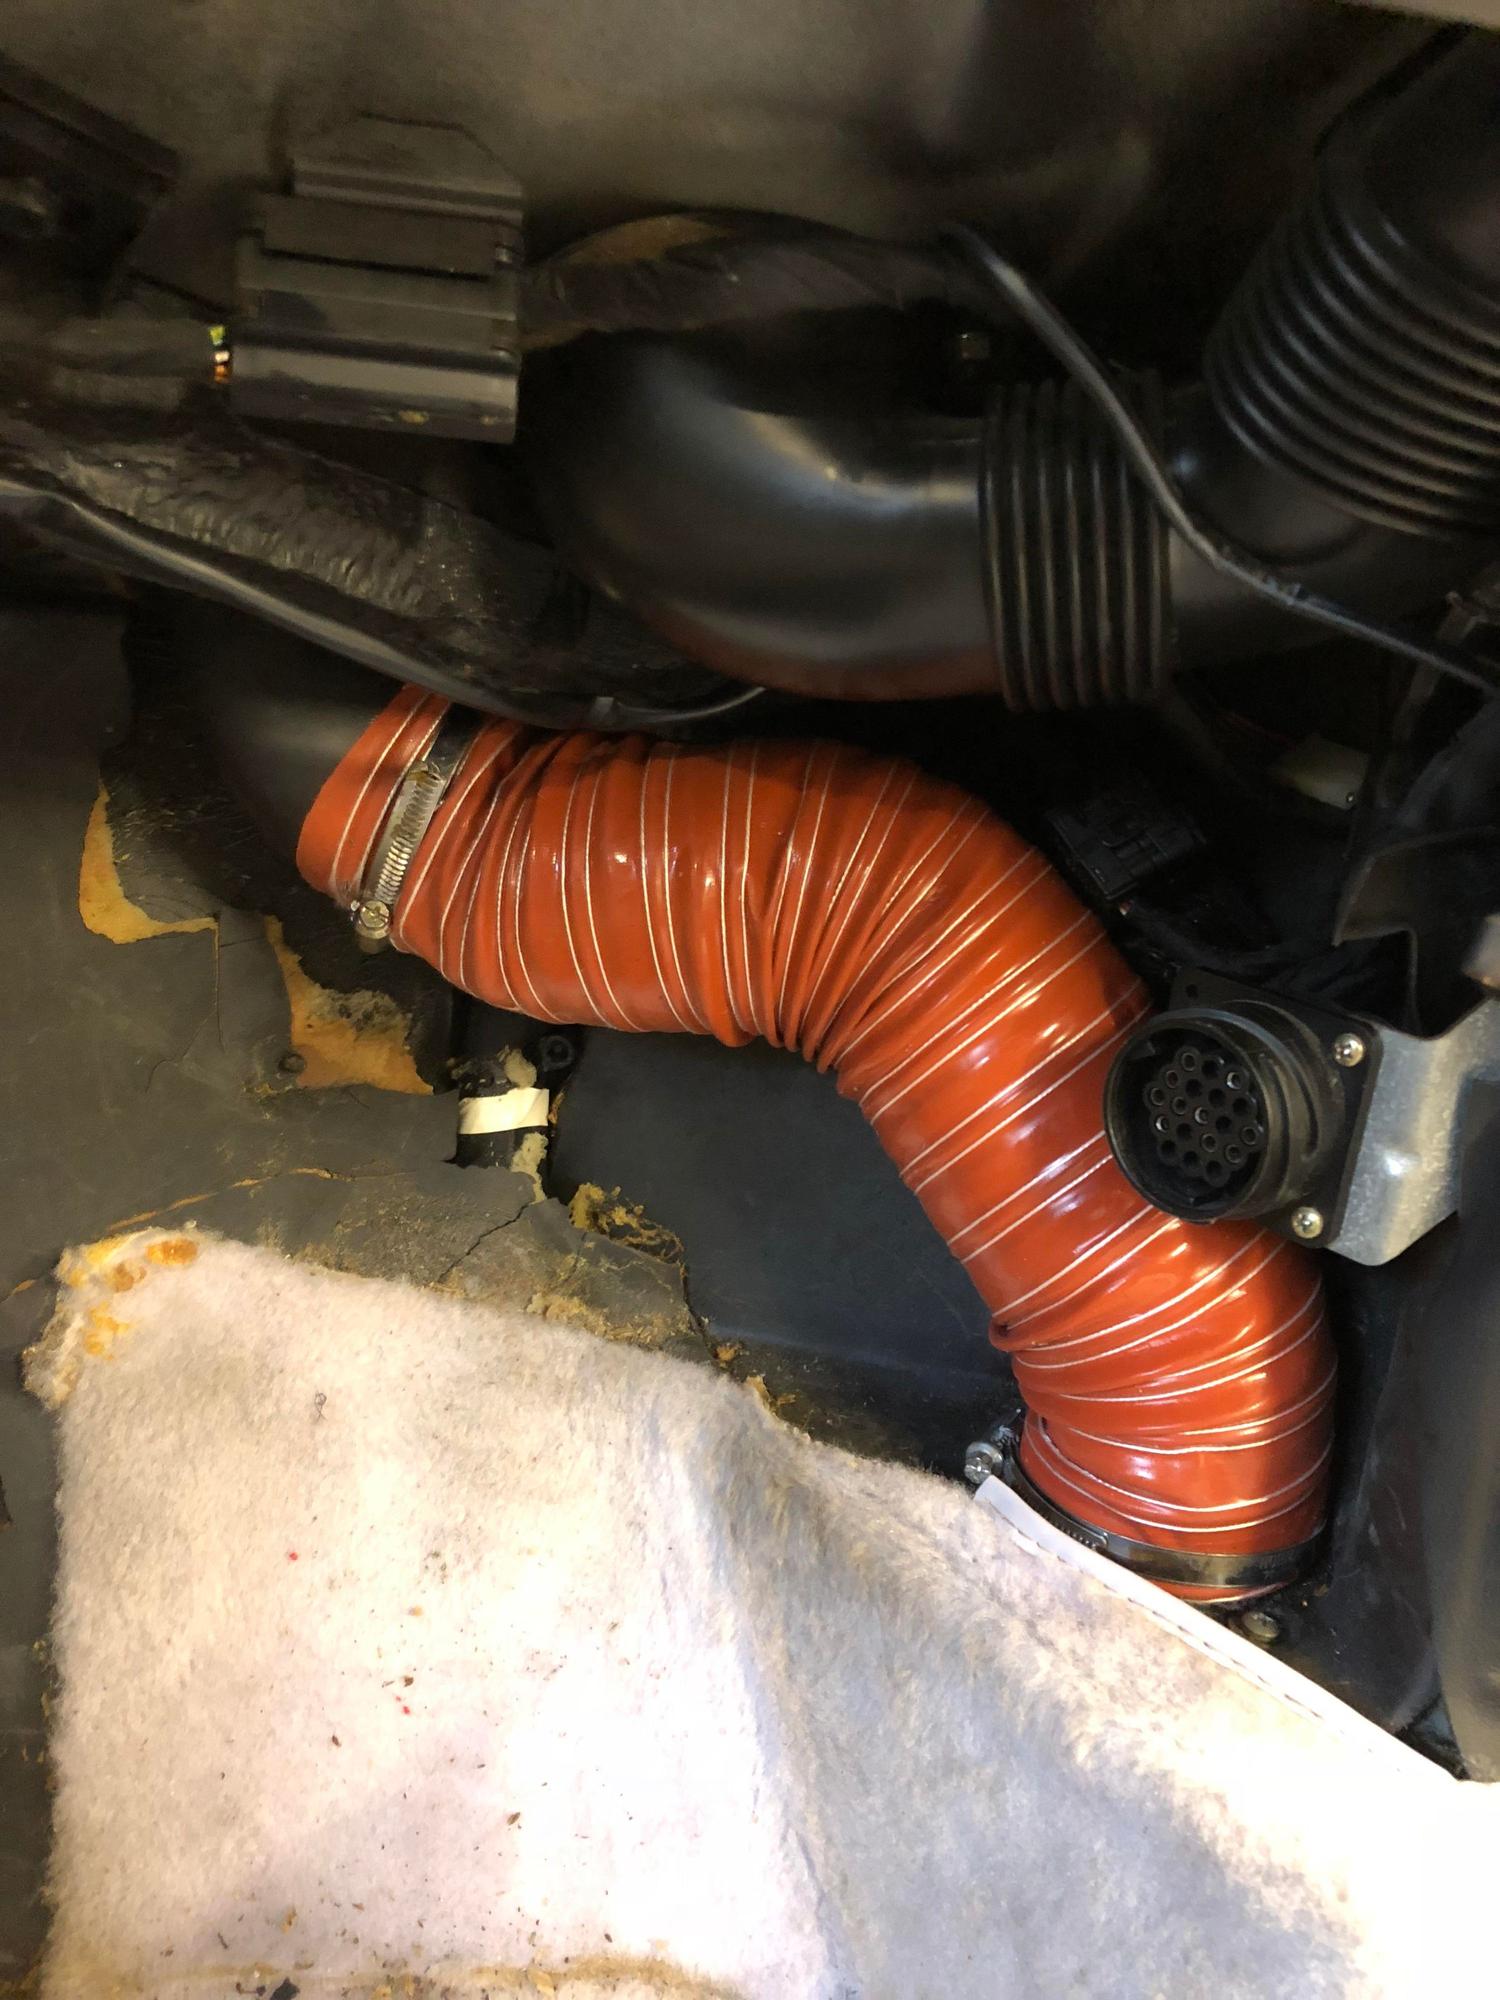
2. New heater blower pipes. First one took 45 minutes, the second took 5.
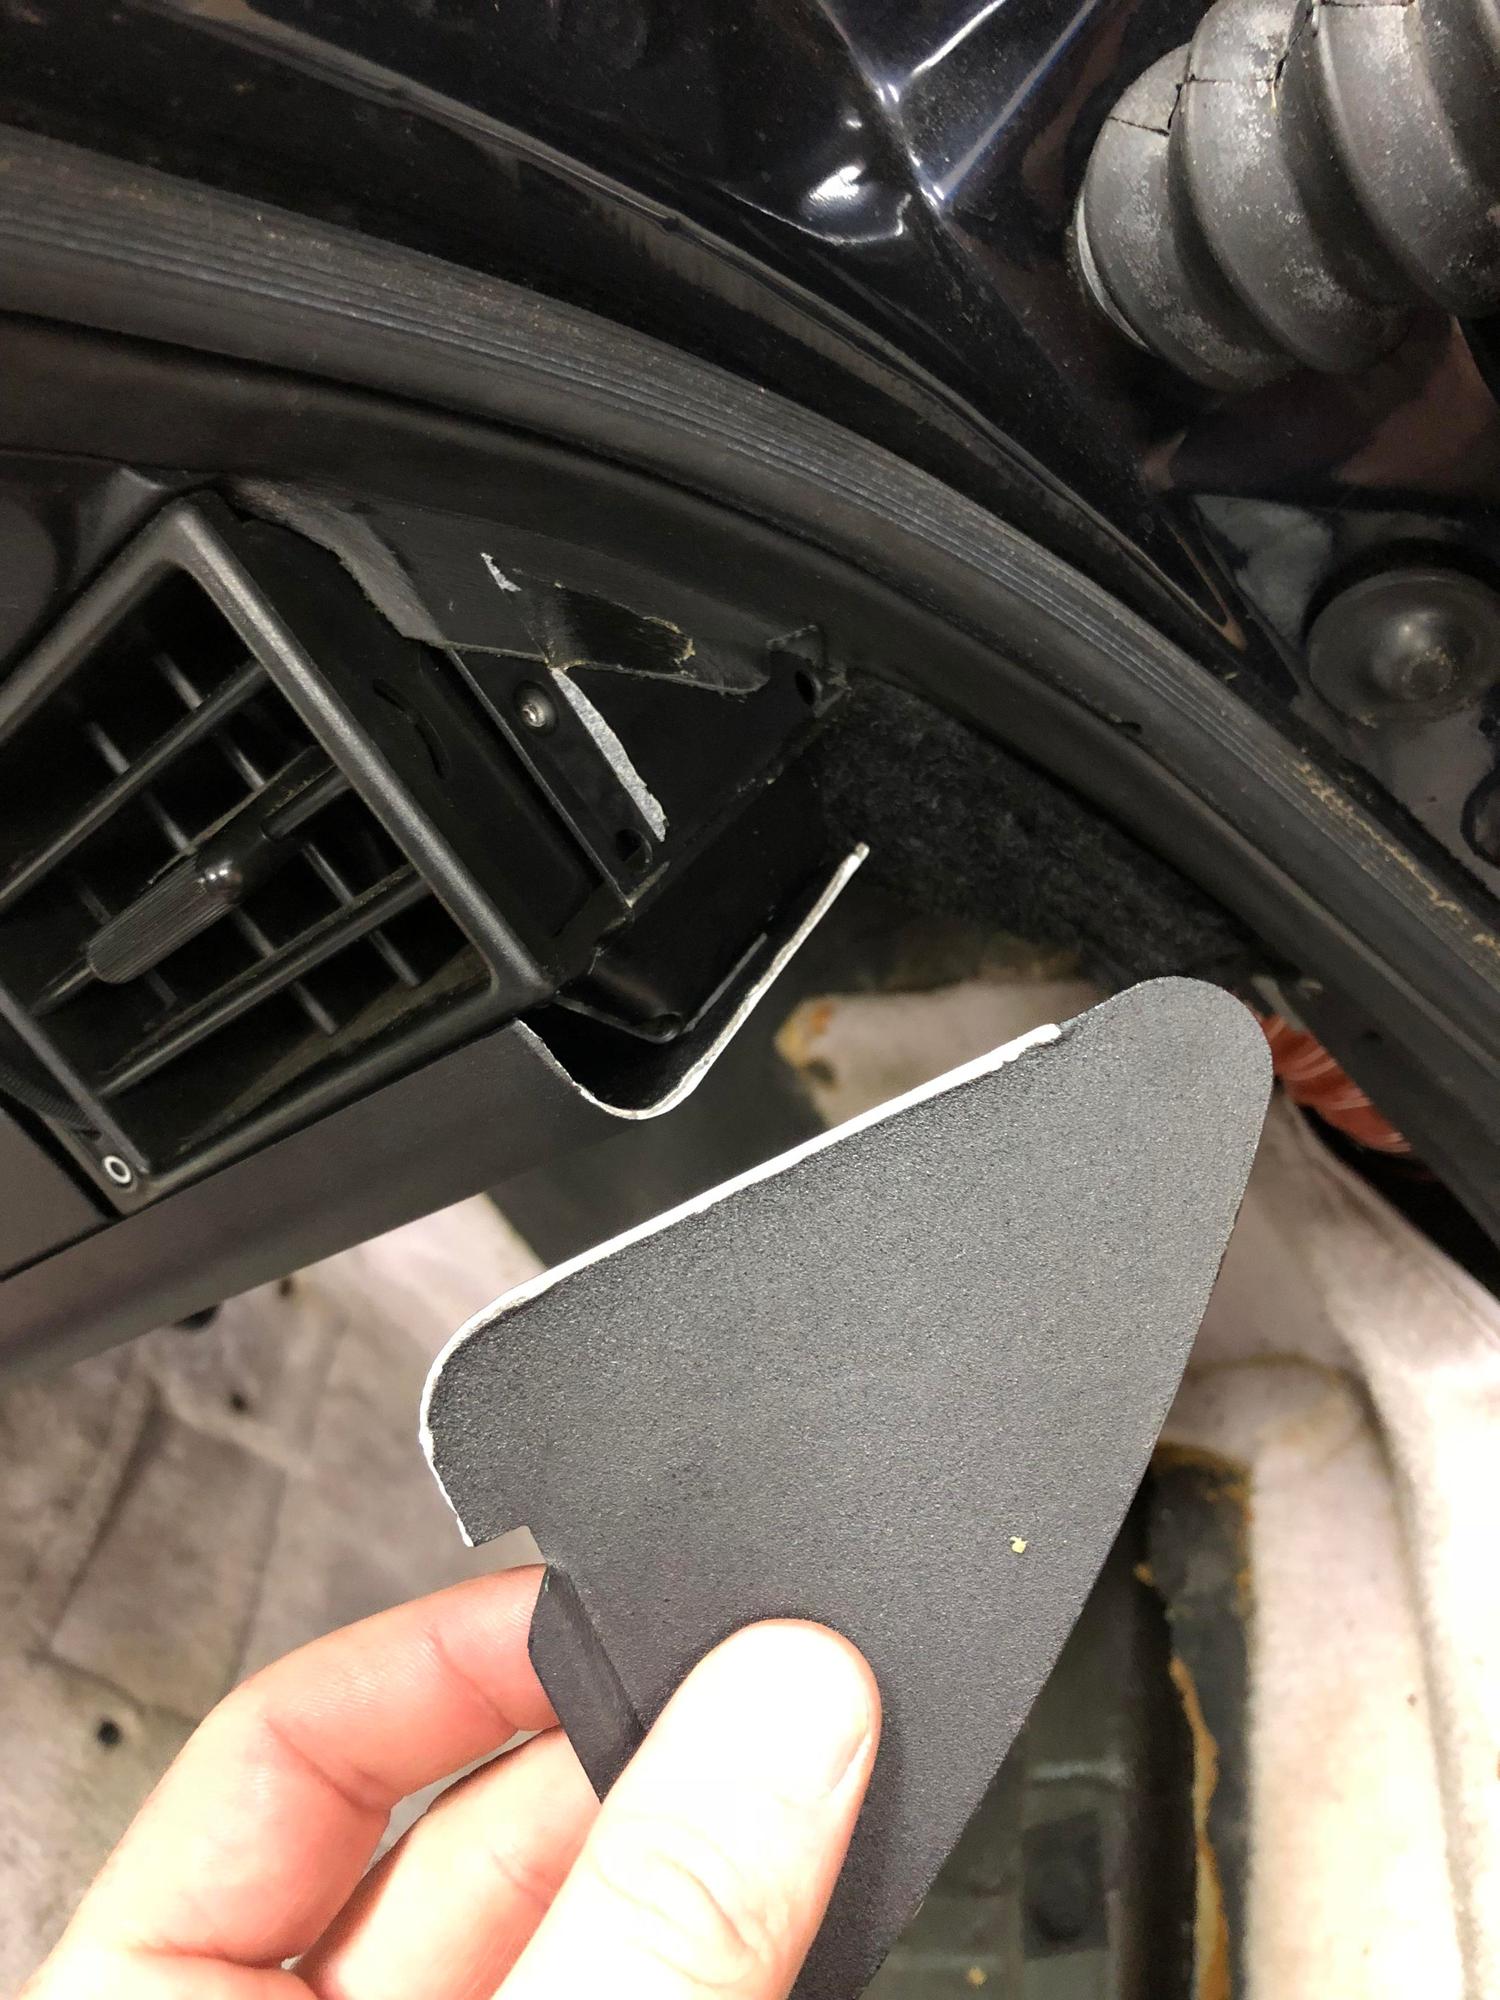
3. Im a big fan of Rennline in general, but their lower dash delete and air bag replacement are definitely track car parts. Both fit terribly the lower dash piece broke. Ive since replaced it, but Im looking for pre-airbag OEM lower dash pieces to replace it with.
4. And this girl joined the stable. Another absolute basket case that deserves it's own thread. But in short, its a 30k mile 97 C2 coupe in my favorite 993 color, with genuine RS CS body work and an RSR spec cage. Full suspension goodies down to the Motons. It will be a fun track toy if they ever let us back out.
5. Part of my promise to address the interior this year. A surprise to come.
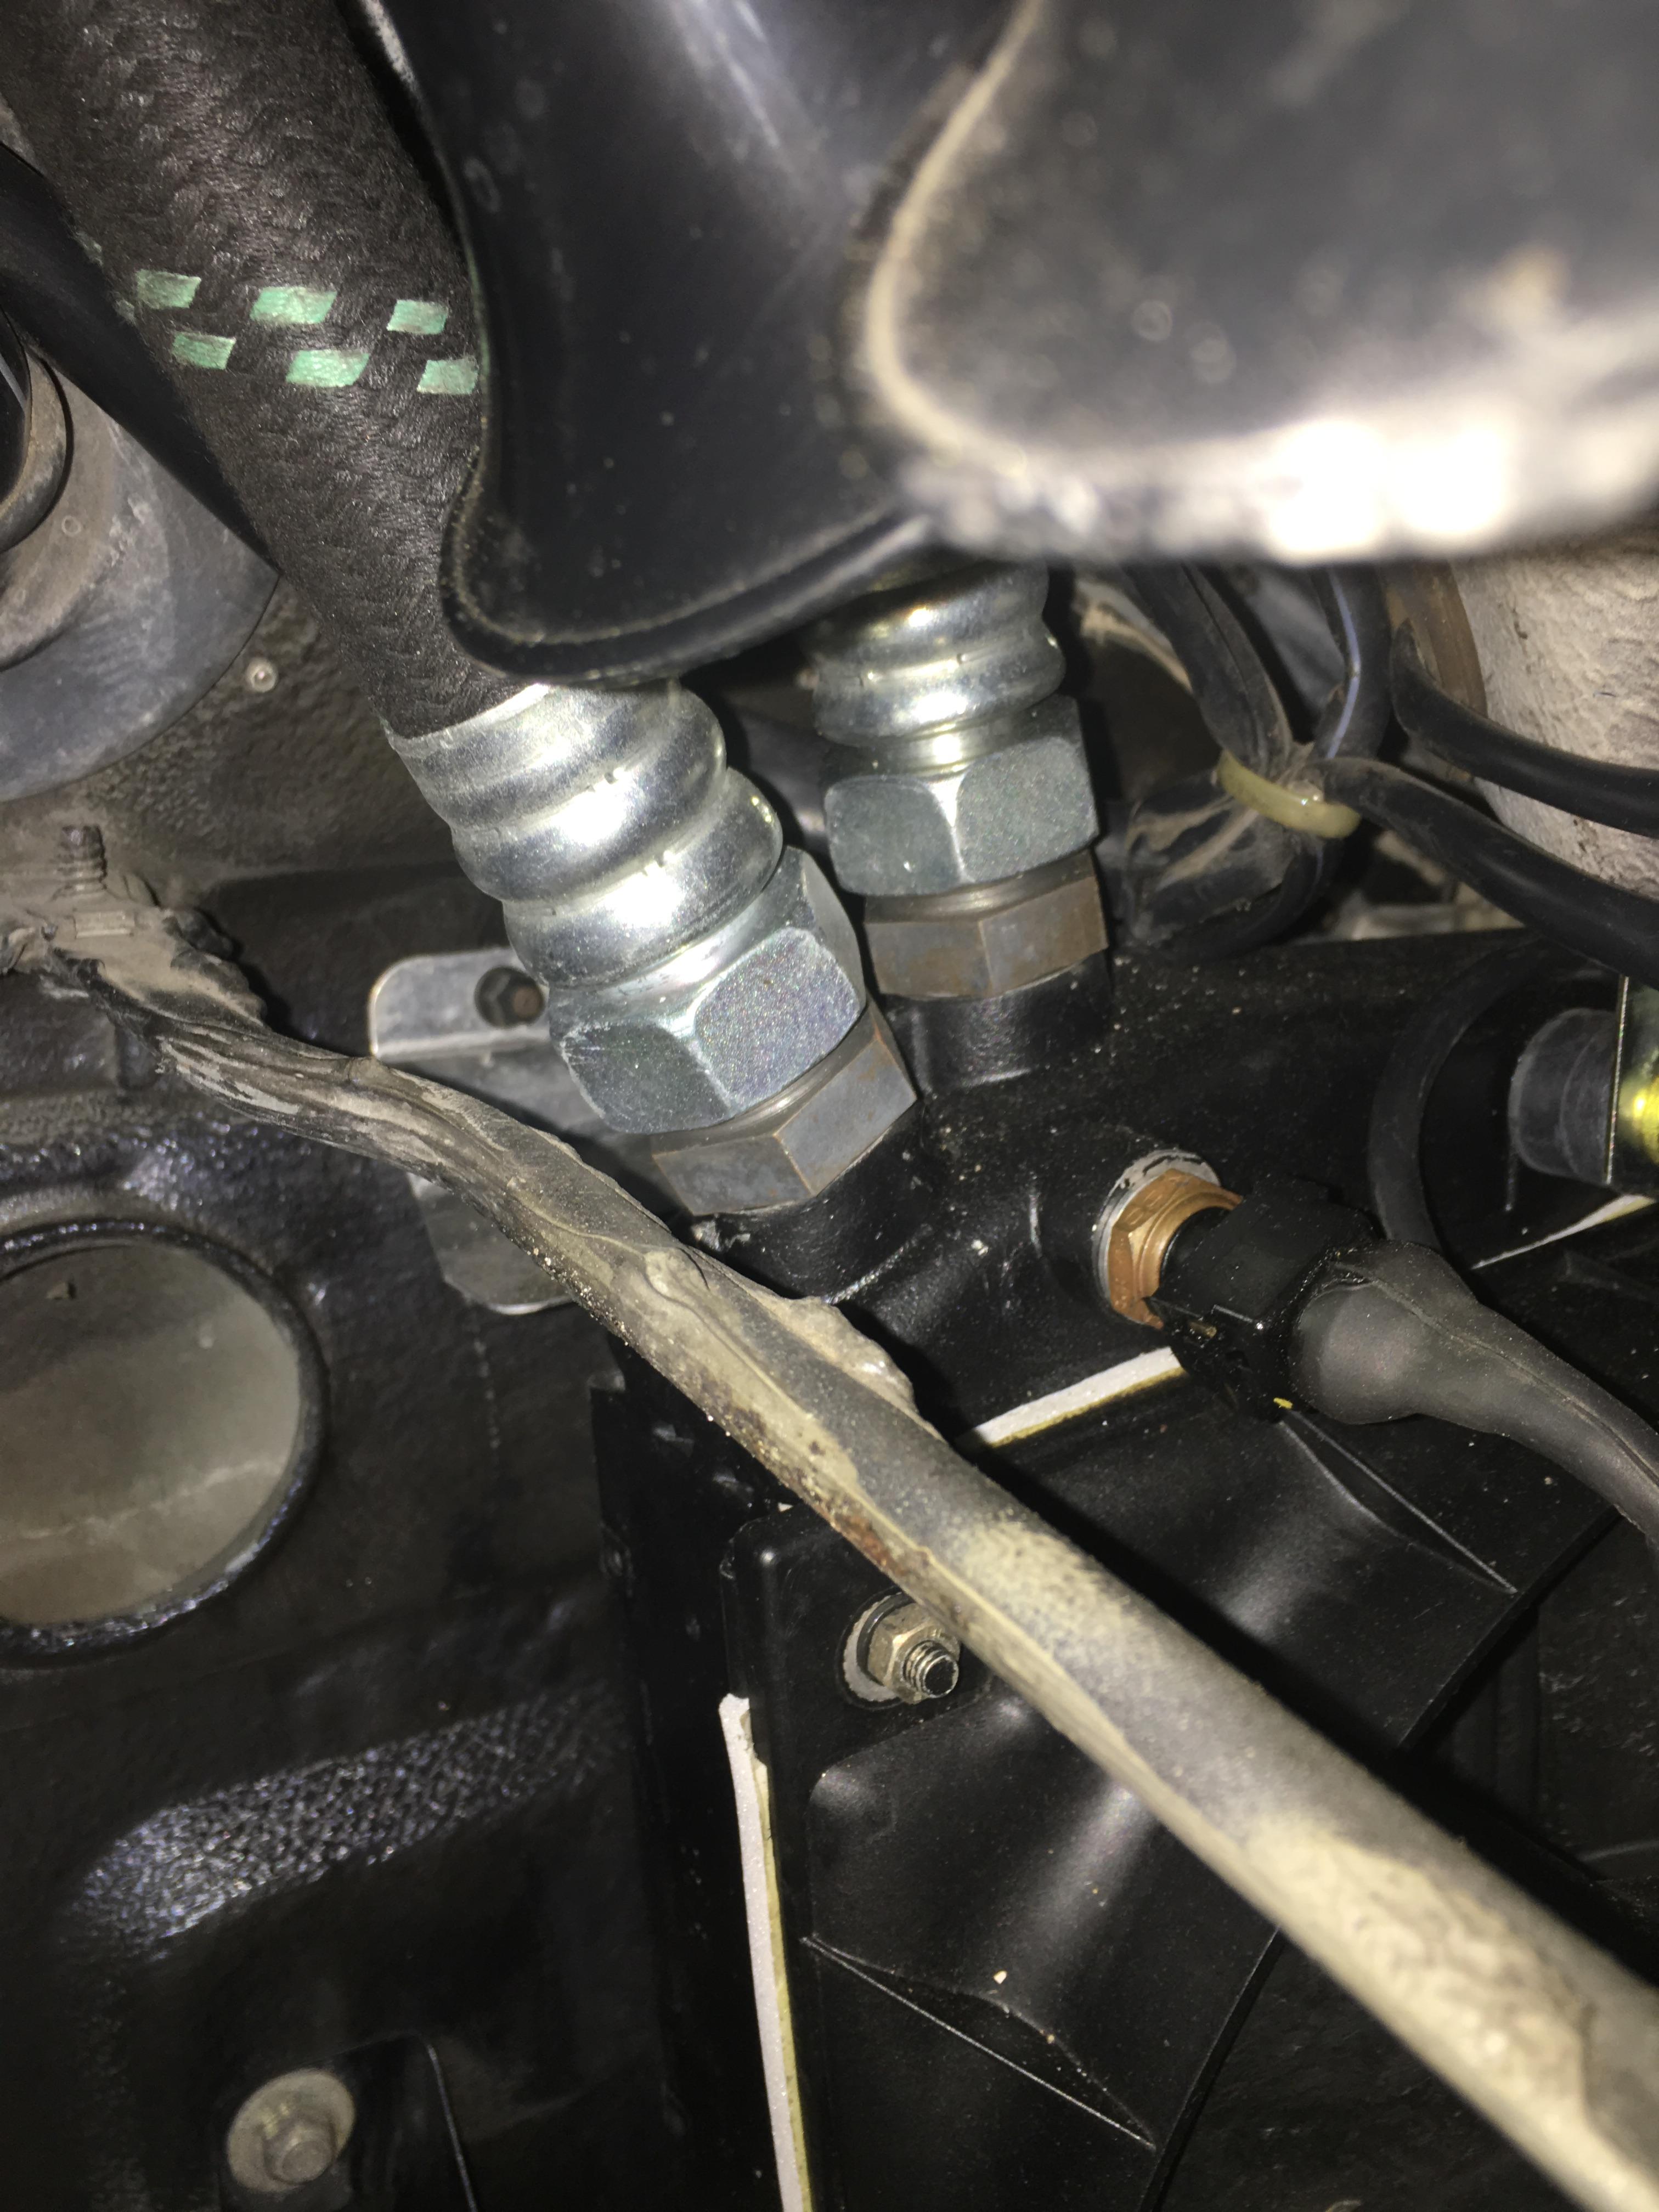
EDIT: I ended up using loc tite and torquing them the standard spec for the thread diameter and pitch. Will edit this post again if it becomes an issue down the line.
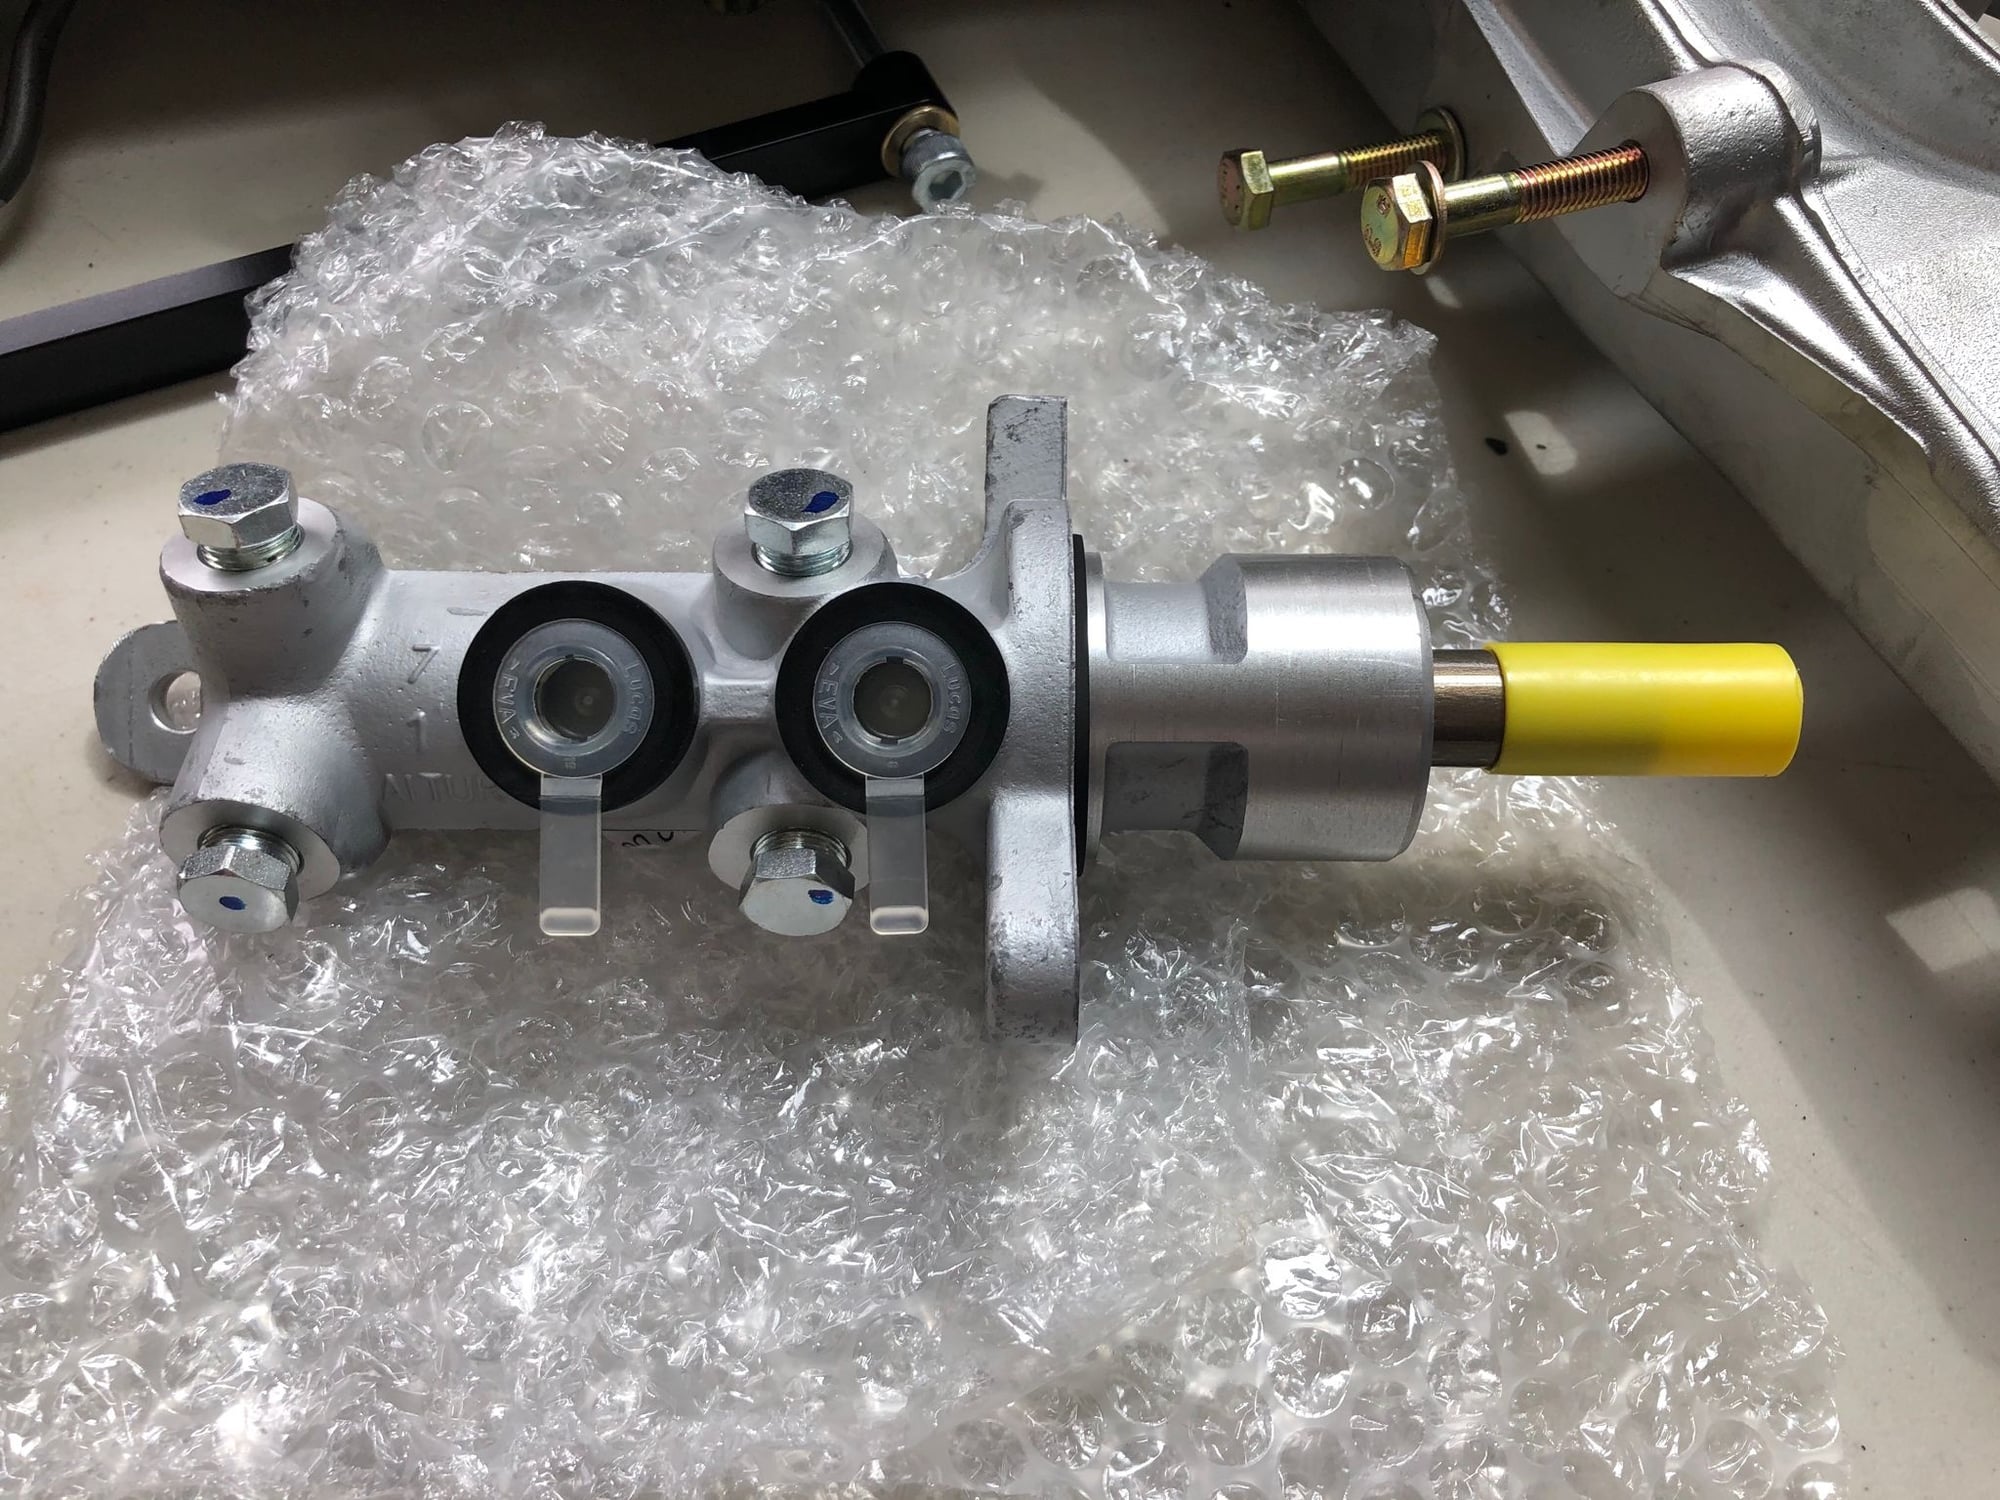
As part of the brake upgrade, a 993 MC is going in. It came with four ports for lines, the 964 only has 2. For the two I won't be using, is it OK to leave the plugs that came in them to block the off, or should I removed and put lock tite, or replace with another plug? Is the blue dot on the plug a hint (blue loc tite already used?)
Just read through the whole thread. Enjoyed the build! Good luck with the future projects and that fun 993. I am particularly jealous of your garage space.


 05-21-2017, 04:04 PM