When you click on links to various merchants on this site and make a purchase, this can result in this site earning a commission. Affiliate programs and affiliations include, but are not limited to, the eBay Partner Network.
been reading up more about wear & tear on the rockers, cams and valve guides - starting to realise how much I missed in threads a few months/years ago that I know I read (i'm sub'd) but really seemed to be reading them and seeing stuff there for the first time!
Now this is good - means I'm learning but it also highlights how little I know - bit scary! I can't imagine how much Steve/9m/sml/quad must see in the pics etc.. that the weekend warrior misses.
Anyhoo .. glad to say the rocker faces and cams show very little wear for 112k kms - one rocker on cyl6 has some pitting in the top corner which will need to be addressed.
After messing around with the vice/wood/fragile fins for a while decided I need a better approach to hold the heads - here is the way to do it (yes requires some holes in the desk) .. makes it much easier to compress the springs, as did a little tap with a hammer on the spring end piece of the compressor. Just need 4 bolts (same size as those used for the heads) and a piece of scrap tube - weld those in to make it perfect.
checked all the valves for play as i removed them .. marked those 4 (mostly exhaust) and will take that to the guy engineering the heads for the gaskets for new sleeves although he'll advise.
here are the happy helpers - key is the magnetic pic (leave it on some magnets for a while) as getting the collet (valve keepers) out while keeping the (too big) spring compressor steady is the key task.
Surprised at the number of shims on the base around the top of the valve stem ... also handy to have the magnet to get them out ... but I imagine (correct me if I'm wrong please) that likely makes sense considering the aggressive cam.
Also noted that while the lapping on the intake valves looked solid, most of the exhaust valves had variation in the quality of the seating/sealing, differing degrees of carbonation etc.. this is as they came out, no cleaning etc..
all packed and ready to go .. keeping things numbered so shims don't get mixed up - x = play, 1 = no play
All of your rocker arms really should be reground so the pads are parallel with the camshafts since they very rarely come that way from the factory and I see issues with yours.
thanks Steve .. I take it the Cam & Rocker should be rectified in that type of situation
... will mail you later once I clean the faces more carefully and take some detail pics.
I'd imagine matching pressure wear/'varigation' would be evident on the cam lobe too right?
so here is the test fit of the breather/catch can .. basically where the PS pump reservoir used to be - I think it will fit with the fuel pipe from filter to rails back in place, right?
so crankcase still routes to oil tank via the join on the back of the rubber intake piece attached behind the throttle body ...
will need to make a L bracket to attach can to the strut of the oil filler neck .. to be able to drain the can might require loosening the braket to access the drain plug (as slightly short, stockier unit likely better ITR)
the other two breather pipes - thin one to intake after butterfly & moose large one to the air box side of TB - both feed into the catch can now. I used the cut-off from the thin pipe to link the can to the moose which I will step-down (25mm'ish to 12mm) in the wheel arch .. still baffled as to why the right hand side arch has no liner .. messing with those pipes is always so messy! Maybe to provide cooling to pipes?
Ps - I see only 15 views on the valve play vid - any comments appreciated re other experience in that respect .. ?
While I wait for Steve W's super sealing kit, a clutch and for the engineer to clean, mic & prep heads for gaskets, check rockers mating with cam and fix the few valves with play etc... I did some accessory removal .. anyone need some barely used aircon pipes, brackets & parts from engine bay to suitcase area? I know have pretty much the whole 964 aircon system (ex the fan in the suitcase) ex the car - maybe a G series guy will need them
found this 300deg C rated hose going begging .. have replaced the heat shield I used previously
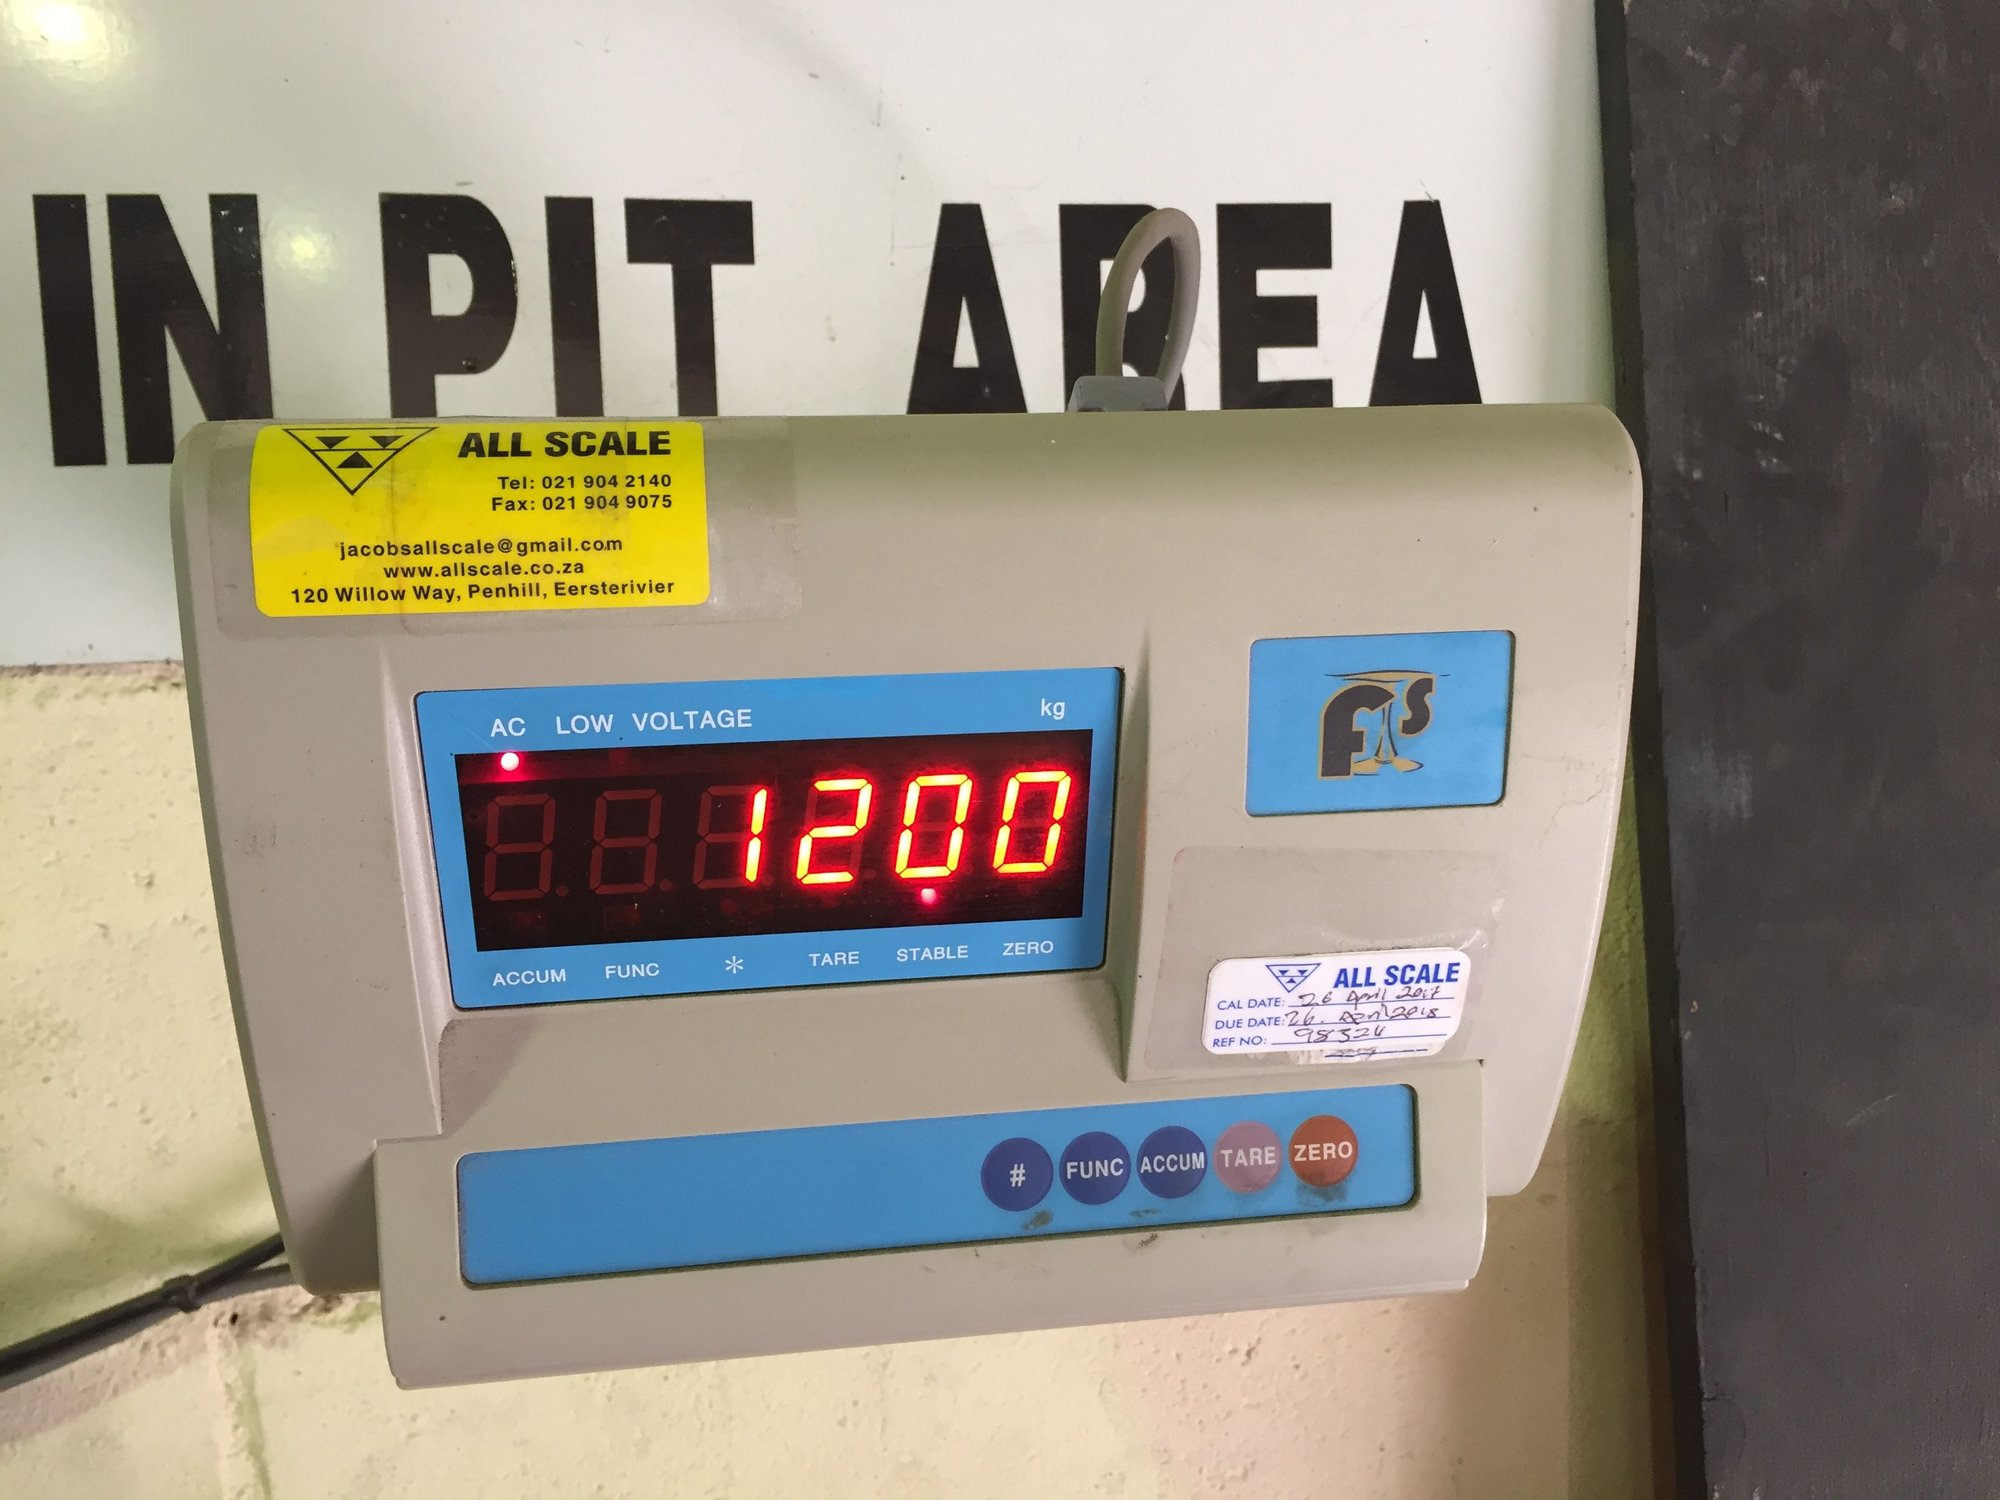
some empty space where the aircon hoses and large reservoir pump lived .. need that out tomorrow too (and a scale #LongLiveAhab
superceded crank position sender plug fitted properly with some solder to ensure it and heat wrap to try preserves it better.
To get the terminals out of the plug - if you don't get it right first time - just use some welding wire as prongs - you need one on top and bottom of the terminal and that depresses the 'fin'/catch so it can be removed from the plug
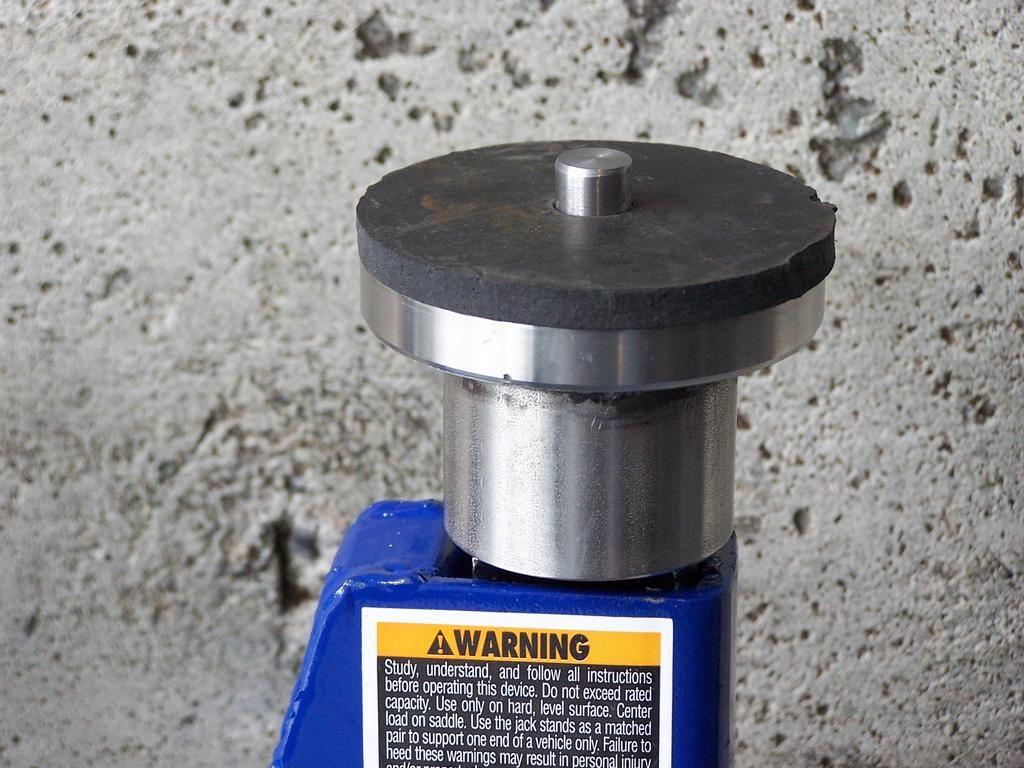
after cleaning it looks like the jackpoint has a not-so-little crack - worth worrying about?
They are made to break away in the event you bottom out behind the front wheel...weld it up and coat it with paint and undercoating...
Thanks GG much appreciate the input - I had a feeling i needed to review it - will clear up the paint around that and see - would prefer the point was a few more mm proud of the plastic/rocker panels so lift pad positioning could be easier/less hairline .. maybe that's how it came from the factory but a couple bumps have made it too high/cracked the seam.
Check in the suspension madness thread - I posted there semi-permanent pads that mount into the holes. I have them on mine. Nice product. You just need to be careful not to jump a curb!
thanks - saw that but they looked too much for my ride height!
will try find a thin mild steel flange I can add a piece of bar to inorder to help it locate like I did for my pre-lift jacks ala steen's super neat ss jack stands
I pmed Gus. the install seems straight forward. I would be very interested to find out how i can get the speed signal to the pump. The pump itself has internal ECU to control the assist supplied. Should be useful on high way. Was the line hard to route? did you need to drill holes for hoses?
sorry I missed that question FT ... no drilling, ran the line through a grommet (always seems to be one eh!) towards the back of the frunk ... pipes arent perfect but not messy ... dont think you need to worry about passing speed etc... to pump ... works fine
so quick update .. apologies not many engine build pics as I lost my phone on xmas day (pickpocket at the horse races meh) so only now moving to cloud.
Anyway .... so my m48 started giving problems - weird ECU temp (internal) would start flipping out and cause all sensors to revert to default (see on the lower right - apologies for the youtube music!)
Sent it off to Oz and put another motec (M84) in from 2005 Cup car which worked fine - I only use that motec once a month so it makes for an easy 10min swop. Got top end engine sealed up nicely - new rings, engineered gaskets for heads, RSR rocker shaft seals etc...
Car started first time and runs well and after a 2500km road trip and 4 track days my perfectly clean engine had a leak! Luckily it turns out on lower cyl1-3 valve cover which turned out to be a pinched seal .. replaced it dry this time (without sealant, thanks Rob) and all dry and neat post a track day a couple days ago ...
so that's nice ie the head seals, RSR rocker seals etc.. making sure there isn't any leaky oil on the head fins any more. Interested to see what oil consumption is like going forward but still seems to be 0.5-1L per 1000km.
Great feeling to see the engine working well again after my first top end job in the new garage which is invaluable.
1. removed the front suitcase and replaced it with a home-made FG airbox mounted in place with Toyota Vito Van double fans (much stronger) so I have air but no CCU etc...
2. put on a Ali front bonnet (will paint when I do sunroof delete paint) and FG rear duck and weight now at 1,160 kg ... I need to remove the sunroof (as soon as Fennlane piece arrives) and add the rear roll cage and then I think the only things I'll do are the bumpers and front fenders in CF which I think is achievable in time. The doors are super heavy but the front cage makes no sense to me for a canyon carver/breakfast runner with the occasional track day, si I'll live with them and the likely 1100kg dry weight.
3. I went a different route from above re breather and oil/air separator .. working well but yet to check inside of intake for 'proof' - will post pics later oil lines and breather catch can pics
Maybe Steve W will talk me into the ITB setup at some point
my instagram (ninexi_cap) has more pics - struggling w iPhotos right now
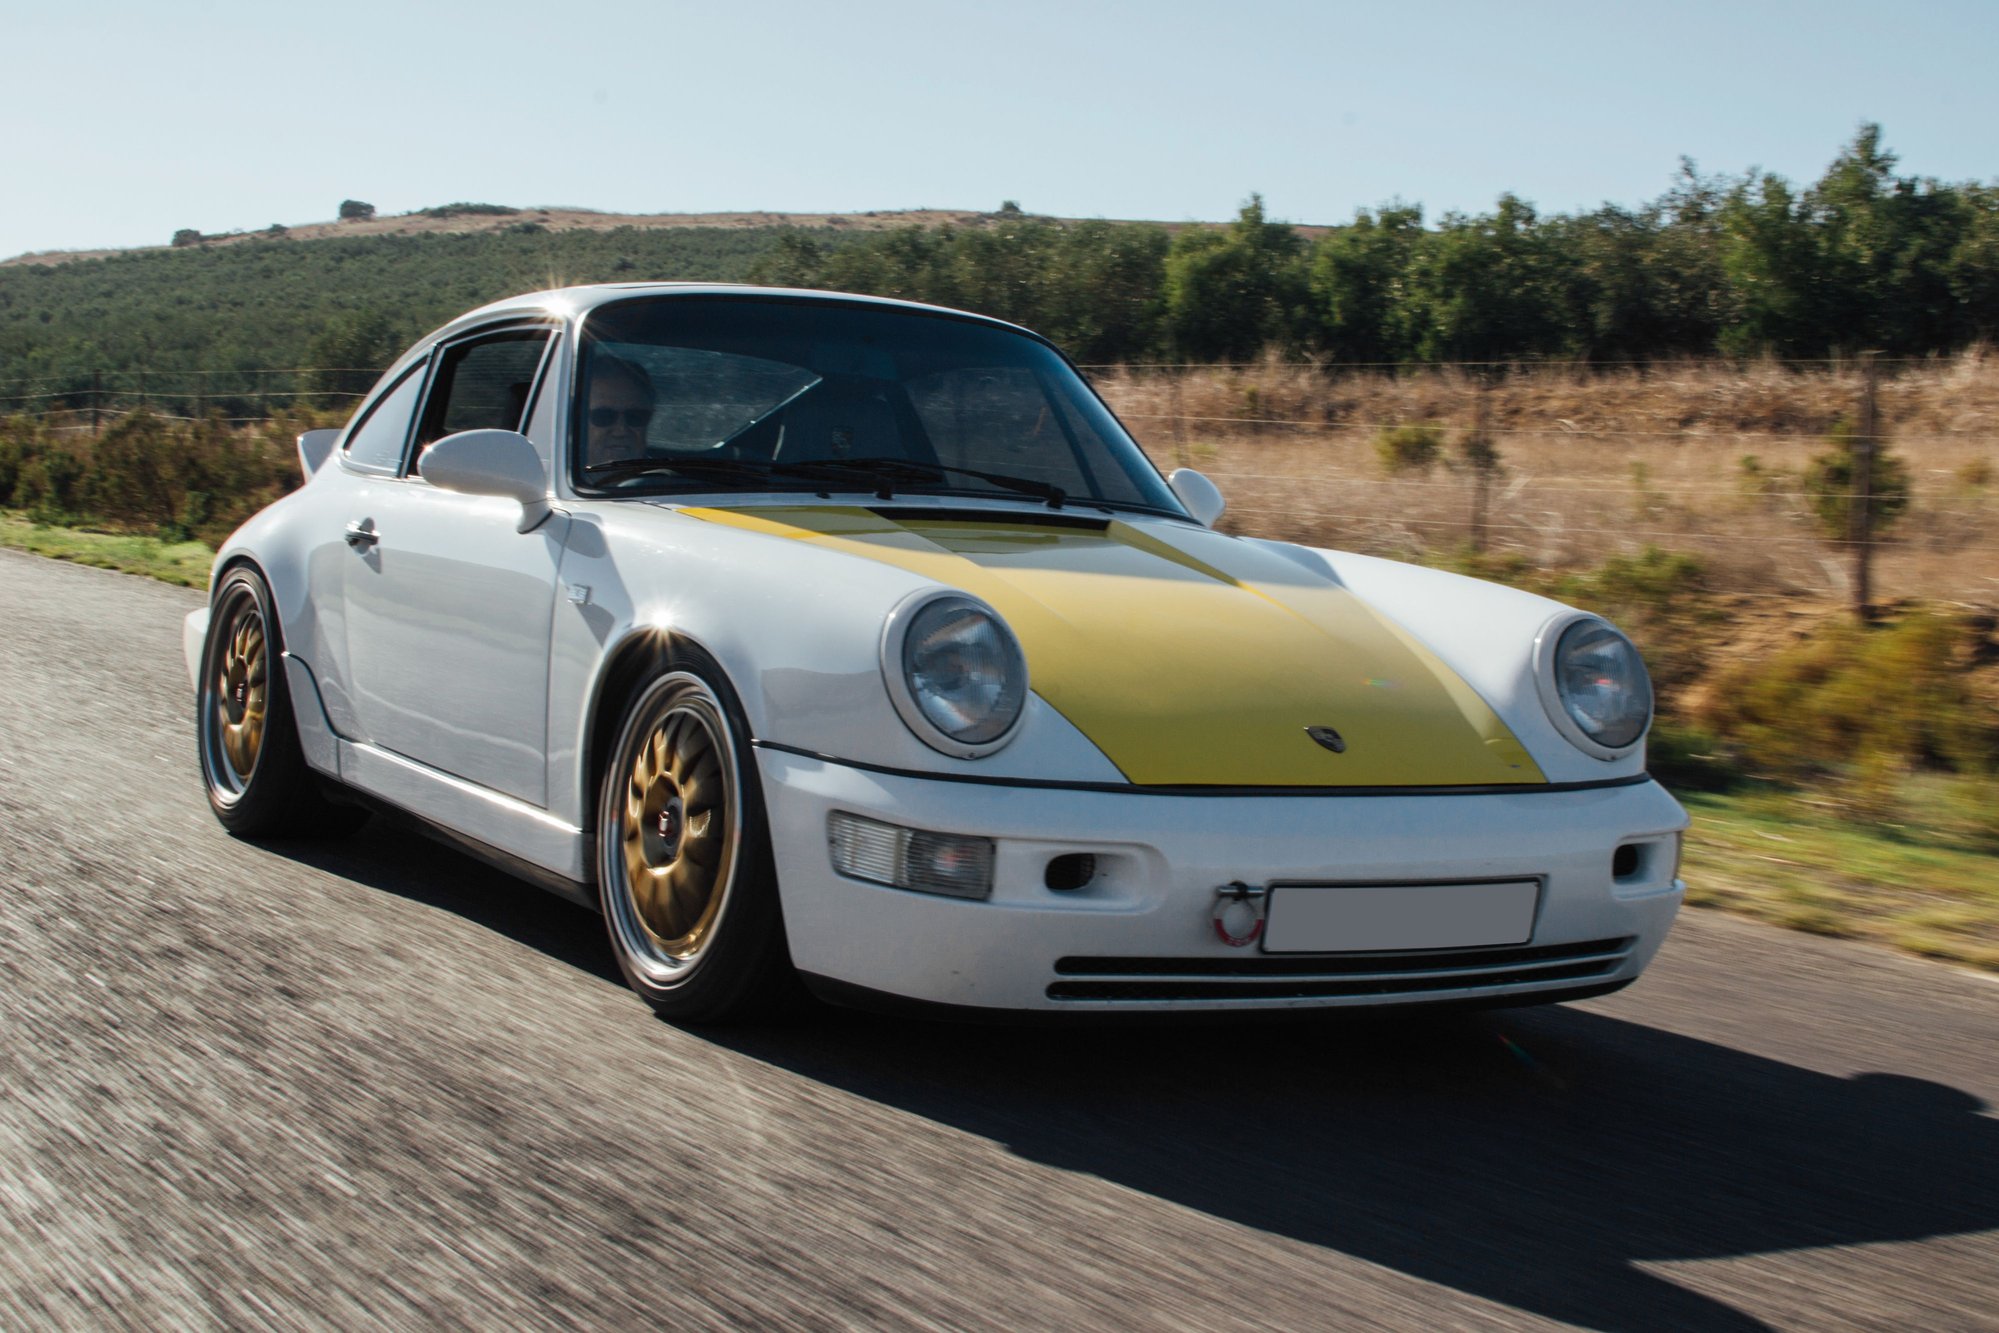
3/4 tank so about 1160kg?
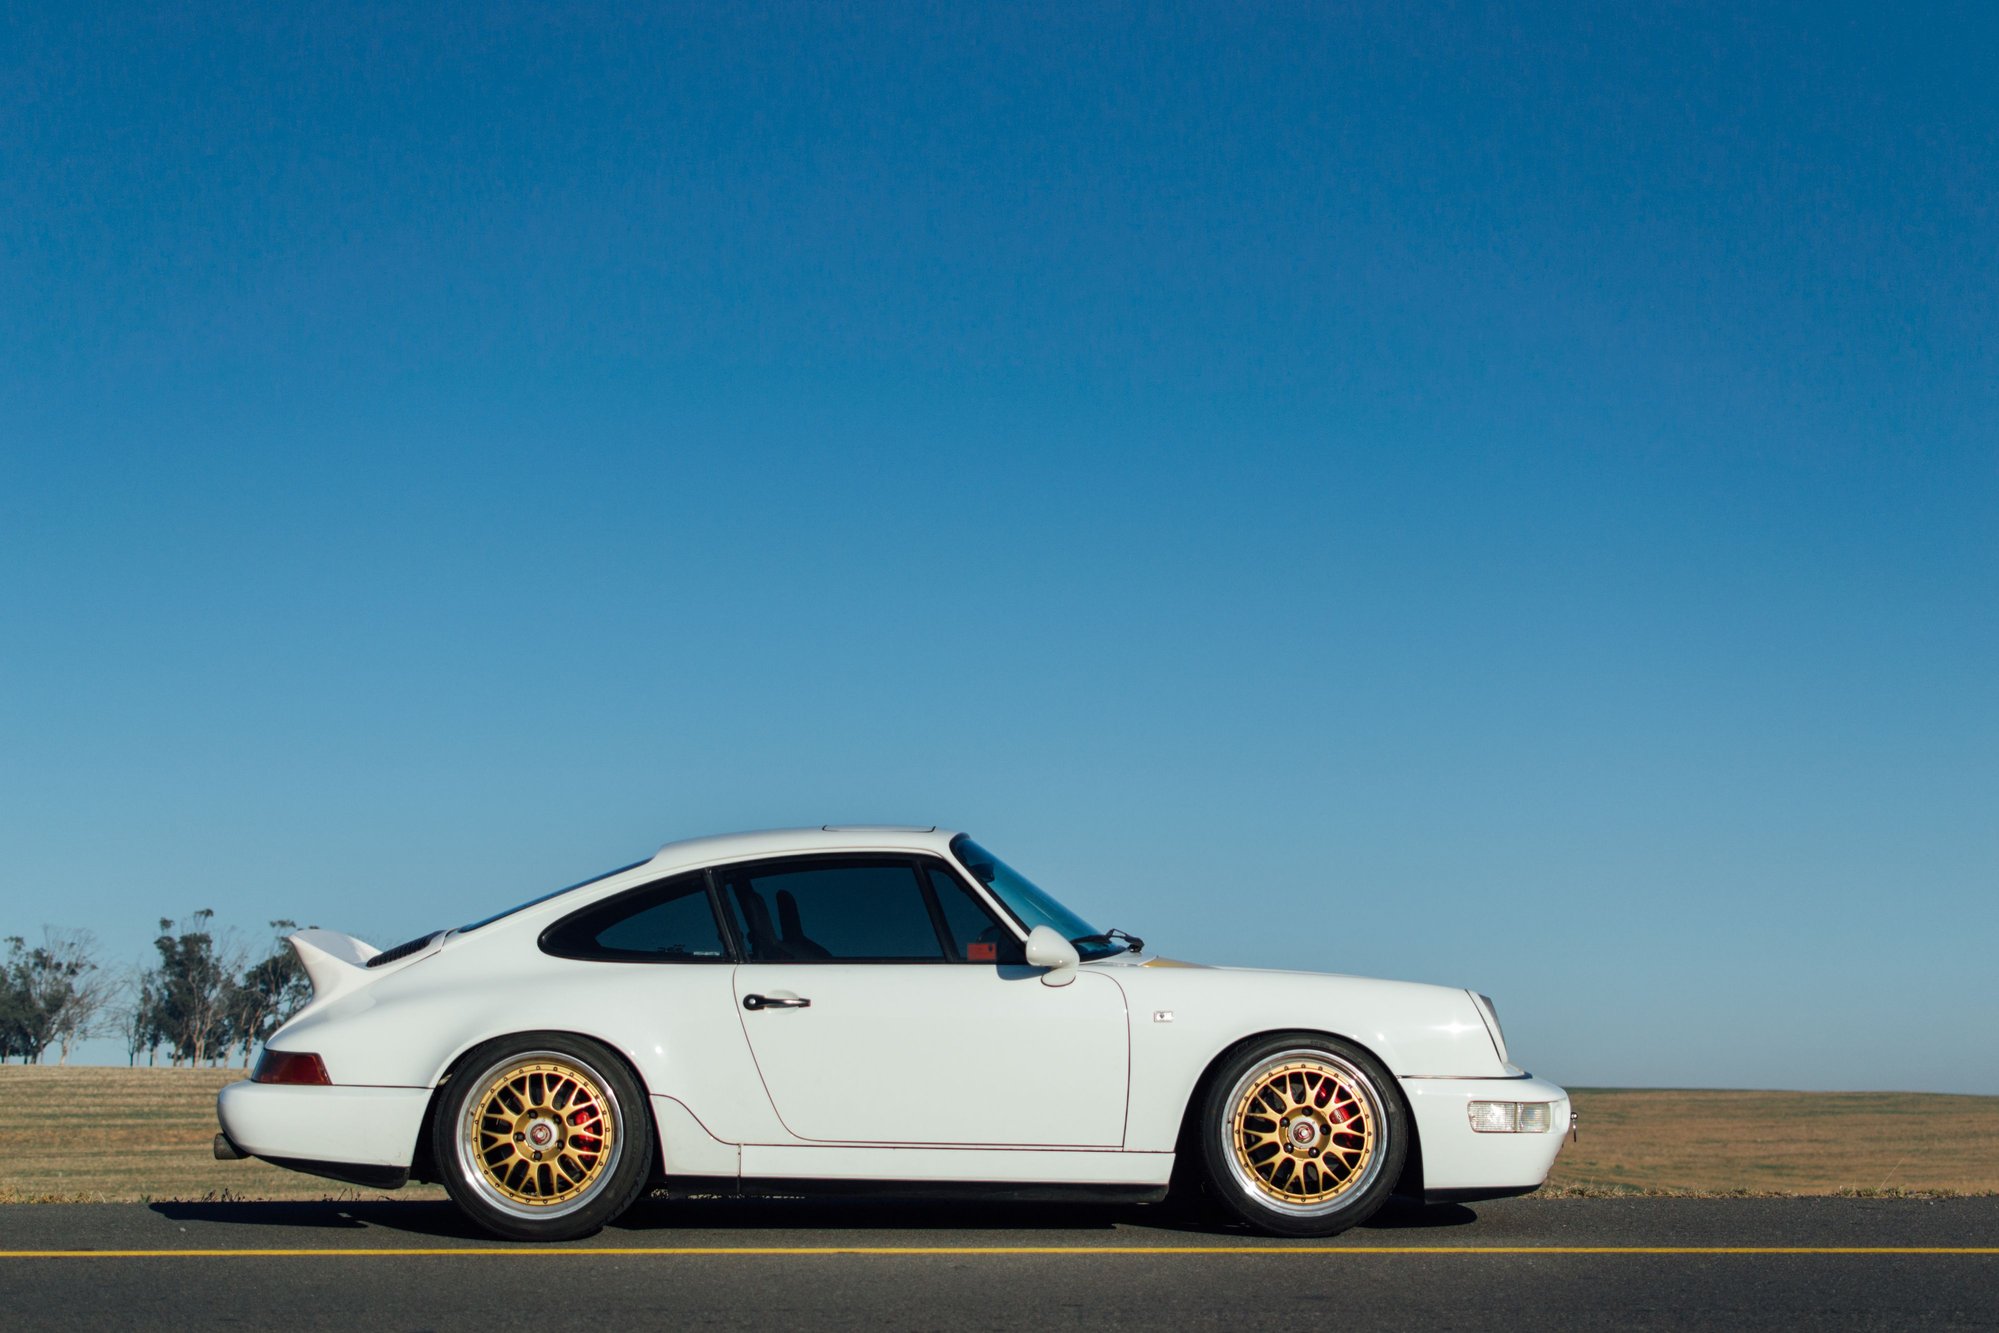
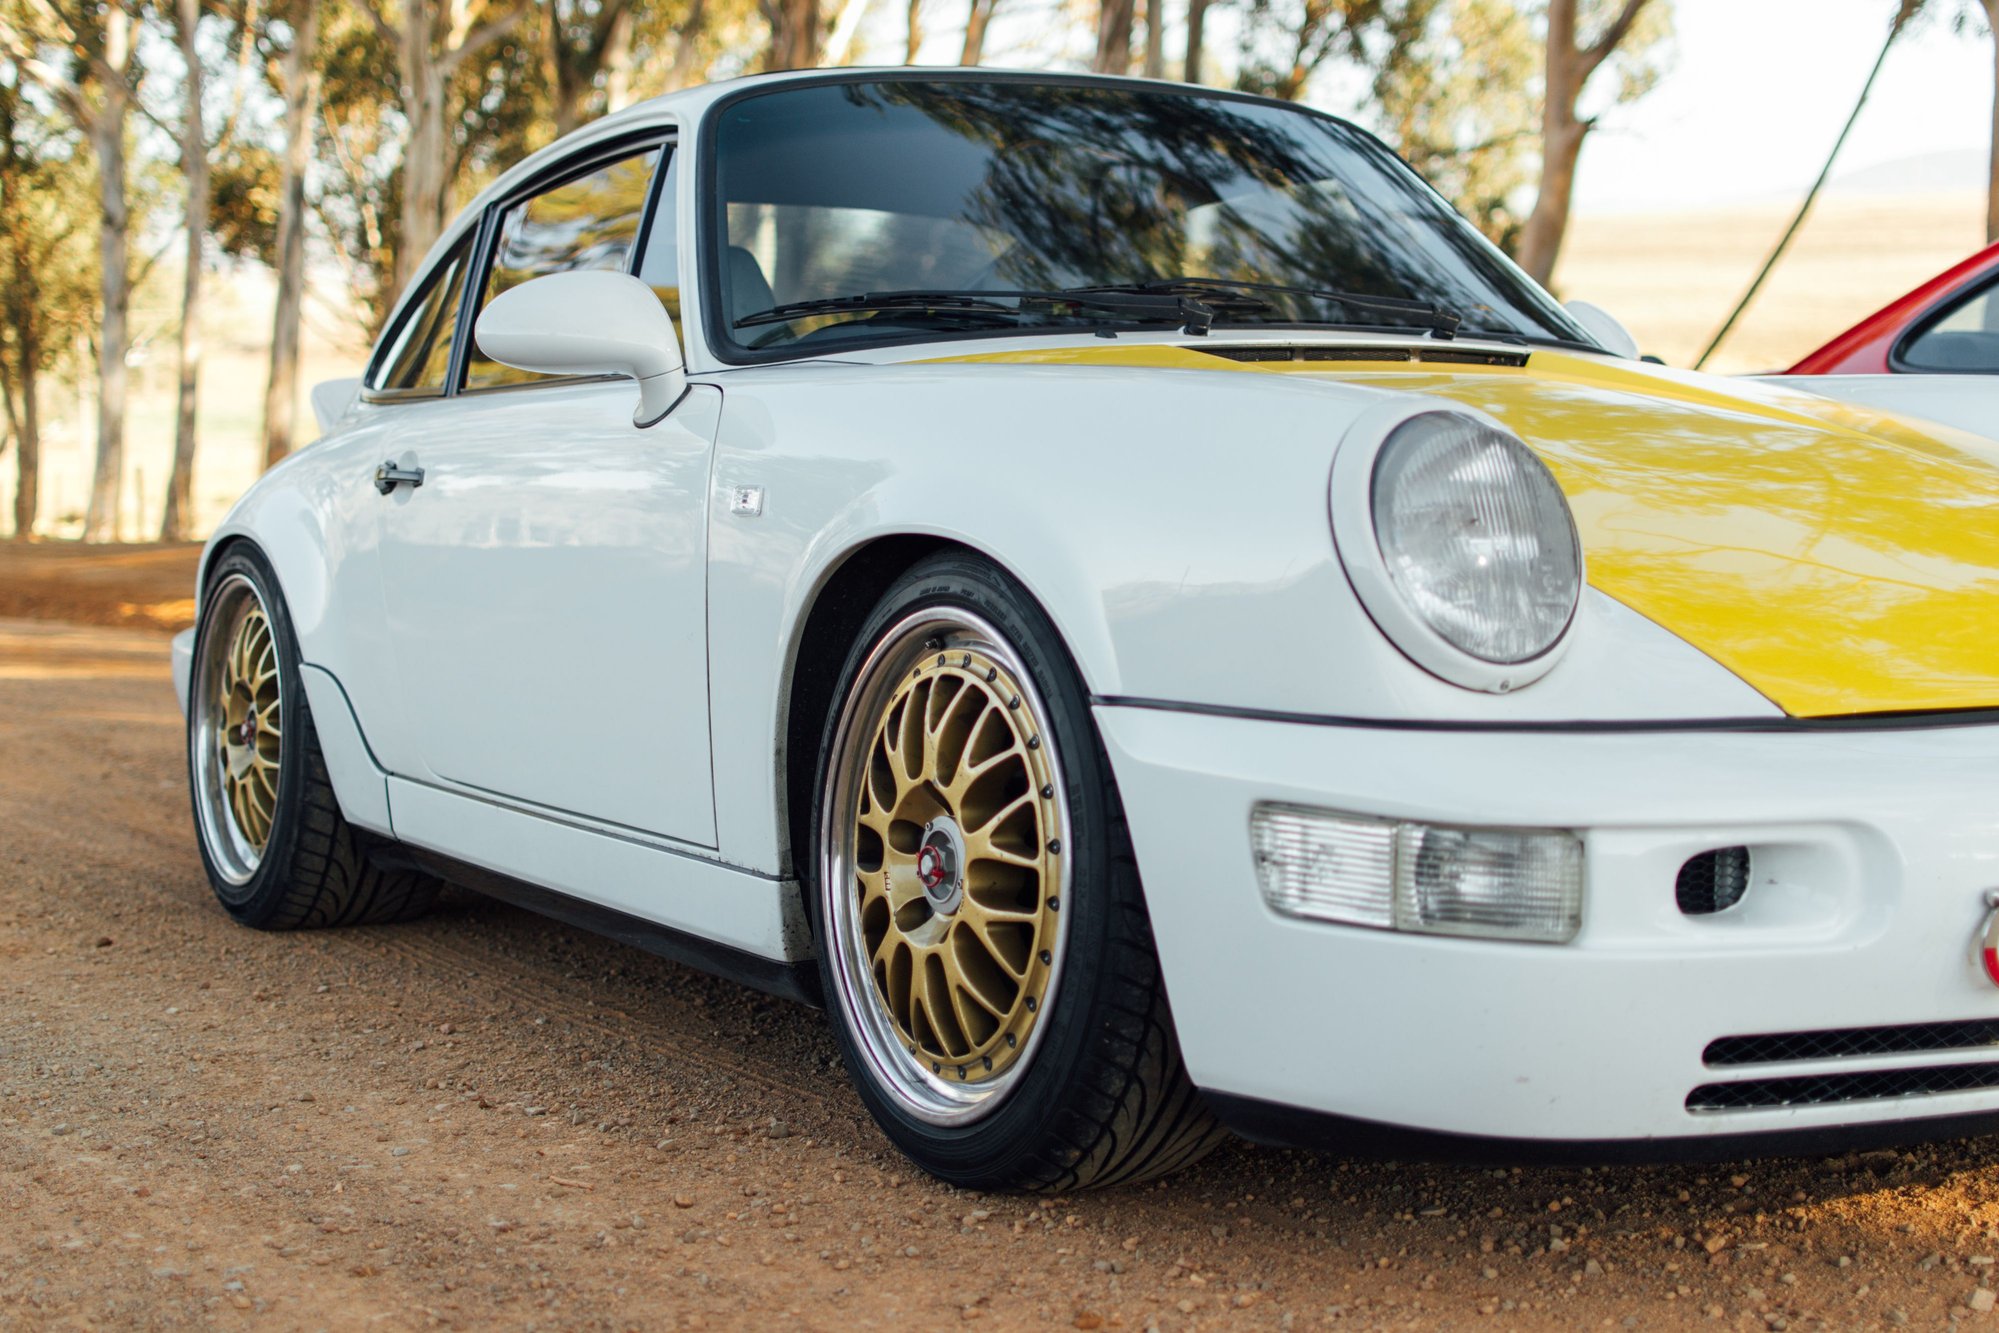
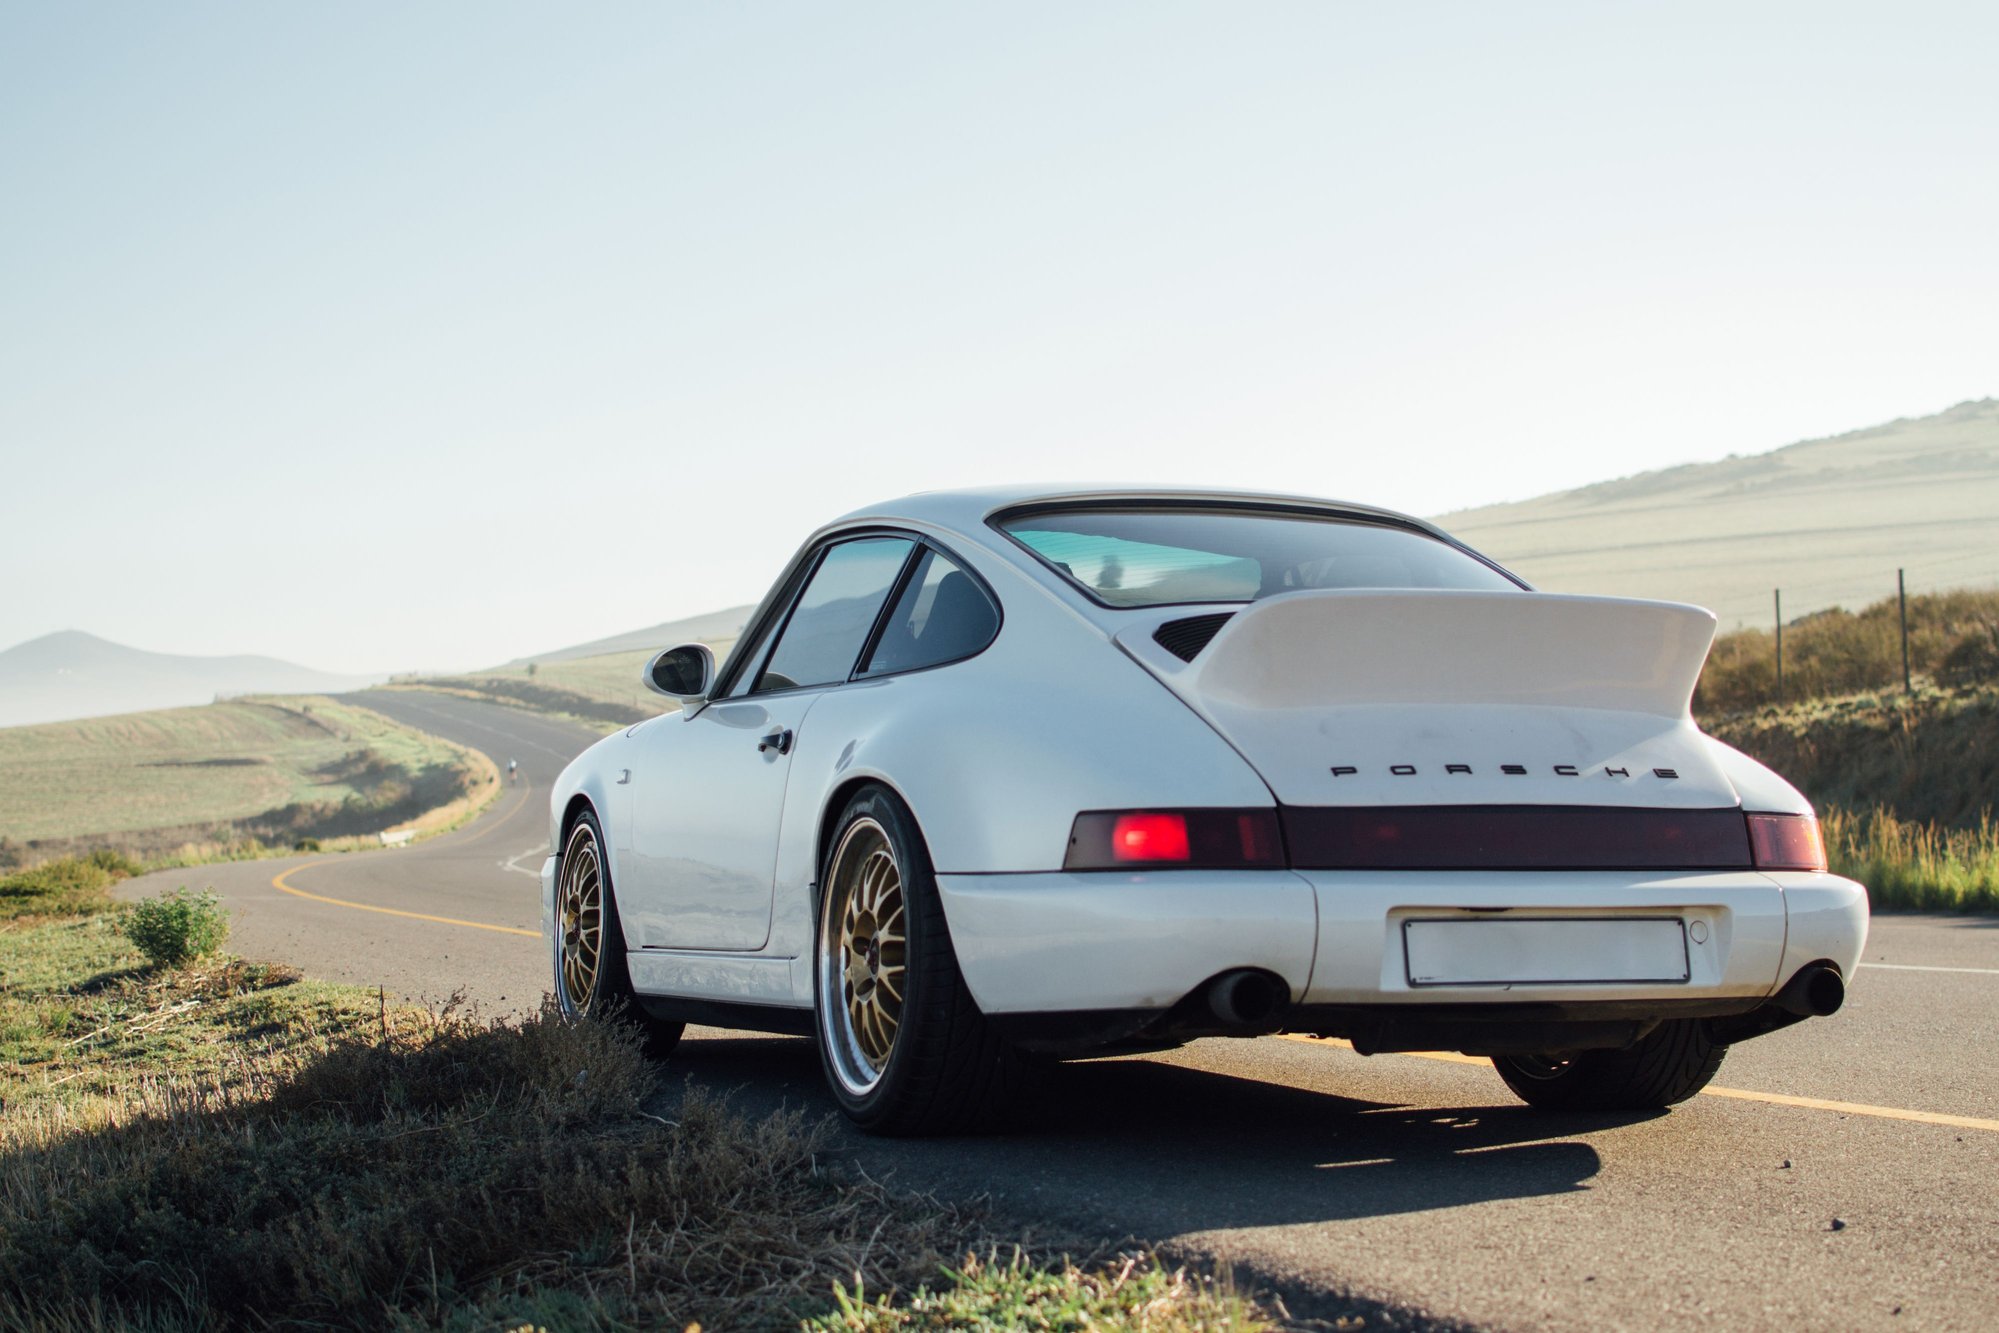
rollin' rollin' rollin' w duck and ali bonnet and BBS
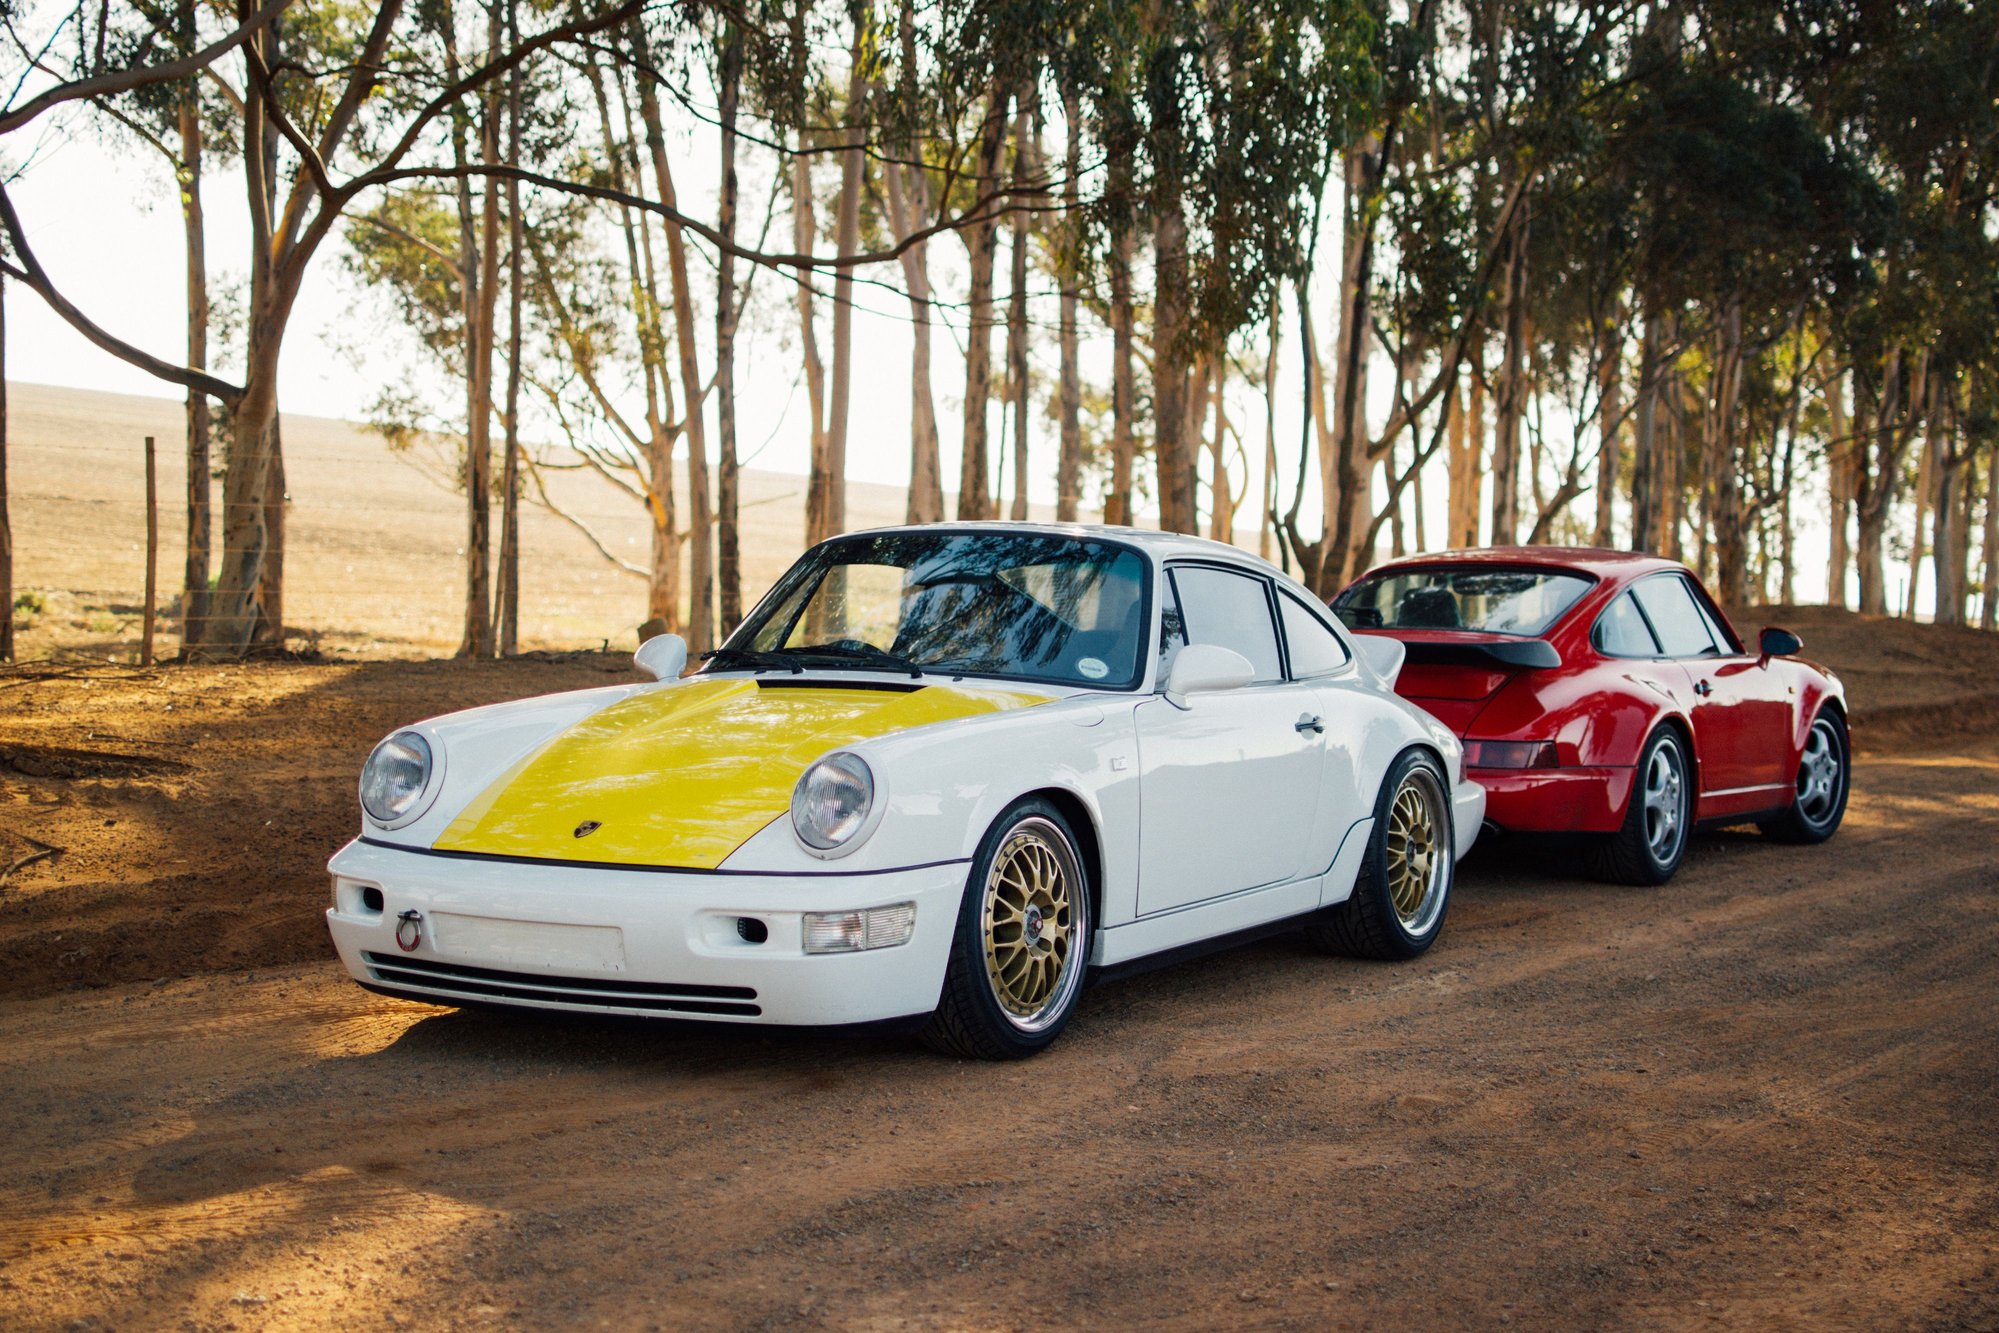
back to back with stock 3.3 (but at 'correct' ride height)

 12-04-2016, 05:06 PM


 )
)