
Carpet install
 03-21-2011, 03:03 AM
#1
Instructor
Thread Starter
Join Date: Jan 2010
Location: Sydney, Australia
Posts: 118
Likes: 0
Received 0 Likes
on
0 Posts
Just though I would post a few pics of my carpet install and give a few quick comments.
1. I purchased the carpet from AppBiz in the US (no affiliation). Quality is ok, but no instructions so I referred to the DIY section here and also this 964 section - thanks to everyone, very helpful.
2. Reading through everyone's thoughts, it made sense to work from the rear forward as everything then over laps well. Start on the rear side walls and work inwards and then forward.
3. Interior removal was pretty straight forward, I must admit it did help I had a double garage to be able to lay all the parts out once removed and also to be able to lay out the old carpet once removed.
4. I got stuck for a while removing the centre console, the hidden screw under the hand break leaver had me for a while. A quick search of this site, and I quickly found the problem.
5. The best tip I got from this site was to alway offer up the next piece before you glue, this saved me a few times and I was able to create line up points and it made every thing pretty straight forward.
6. There is plenty of trimming involved, but you have the old carpet as a template.
7. Cutting the centre console carpet in to two pieces helped fitting it around the gear shift etc, just make sure you don't trim back the excess too much as you need to be sure the centre console will cover it when you reinstall. I almost made this mistake!
All in all it was a good weekend job (I say that but I still need to reinstall the seats tonight and have to make the new plywood driver side floor board (thanks to the other thread) this weekend.
A few photos to follow. Thanks to this site for its help.

 04-27-2011, 01:12 AM
#5
Instructor
Thread Starter
Join Date: Jan 2010
Location: Sydney, Australia
Posts: 118
Likes: 0
Received 0 Likes
on
0 Posts
I'll get some final pics up this weekend, I am missing the new carpet pieces for the door bins and have emailed Appbiz. (Did any other members experience missing parts?)
The delay has also come about due to the fact my floorboard DIY taking a little longer than expected as I have been busy with work.!!
As for red seat belts in the rear? Well they don't get used very often so I left them black.
The delay has also come about due to the fact my floorboard DIY taking a little longer than expected as I have been busy with work.!!
As for red seat belts in the rear? Well they don't get used very often so I left them black.
Trending Topics
04-27-2011, 11:39 PM
#8
Instructor
Thread Starter
Join Date: Jan 2010
Location: Sydney, Australia
Posts: 118
Likes: 0
Received 0 Likes
on
0 Posts
I got the red belts from Design 911 in the Uk. (no affiliation)

 05-02-2011, 02:52 AM
#10
Instructor
Thread Starter
Join Date: Jan 2010
Location: Sydney, Australia
Posts: 118
Likes: 0
Received 0 Likes
on
0 Posts
Very nice interior & clean, however my son needs to fit in in the back on occasions. This was one of the conditions of purchase approval by my wife.........otherwise she would not see me much on weekends.
I have taken the final photos of the interior and will get the up tonight.
Matt
I have taken the final photos of the interior and will get the up tonight.
Matt
05-02-2011, 07:36 AM
#12
Drifting
Thomas
05-05-2011, 06:15 AM
#15
Instructor
Thread Starter
Join Date: Jan 2010
Location: Sydney, Australia
Posts: 118
Likes: 0
Received 0 Likes
on
0 Posts
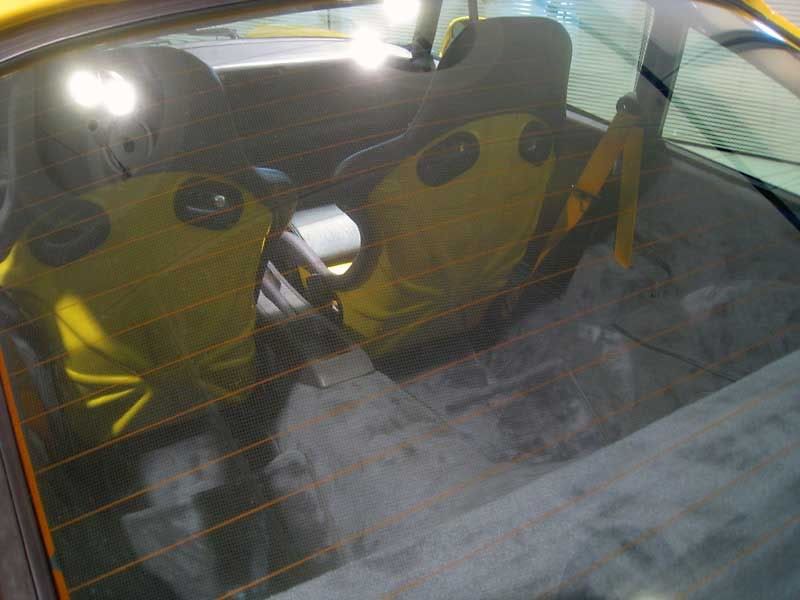
Here you go, some final photos of the carpet install. It was definitely a worthwhile job, you just need some patience and a bit of space to lay all the carpet out. As I said, it was a good weekend job, as putting every thing back in took a little more time to get everything just right. In the end I had to carry out the Floorboard DIY on the driver's side as the original foam/sound proofing was shot.
Matt
Matt