When you click on links to various merchants on this site and make a purchase, this can result in this site earning a commission. Affiliate programs and affiliations include, but are not limited to, the eBay Partner Network.
Now do a 9h ceramic on the inside so the gunk will have a hard time sticking...and you will be all set. But don't do that until you Cerakote the outside since you don't want to cause the Cerakote to not adhere...
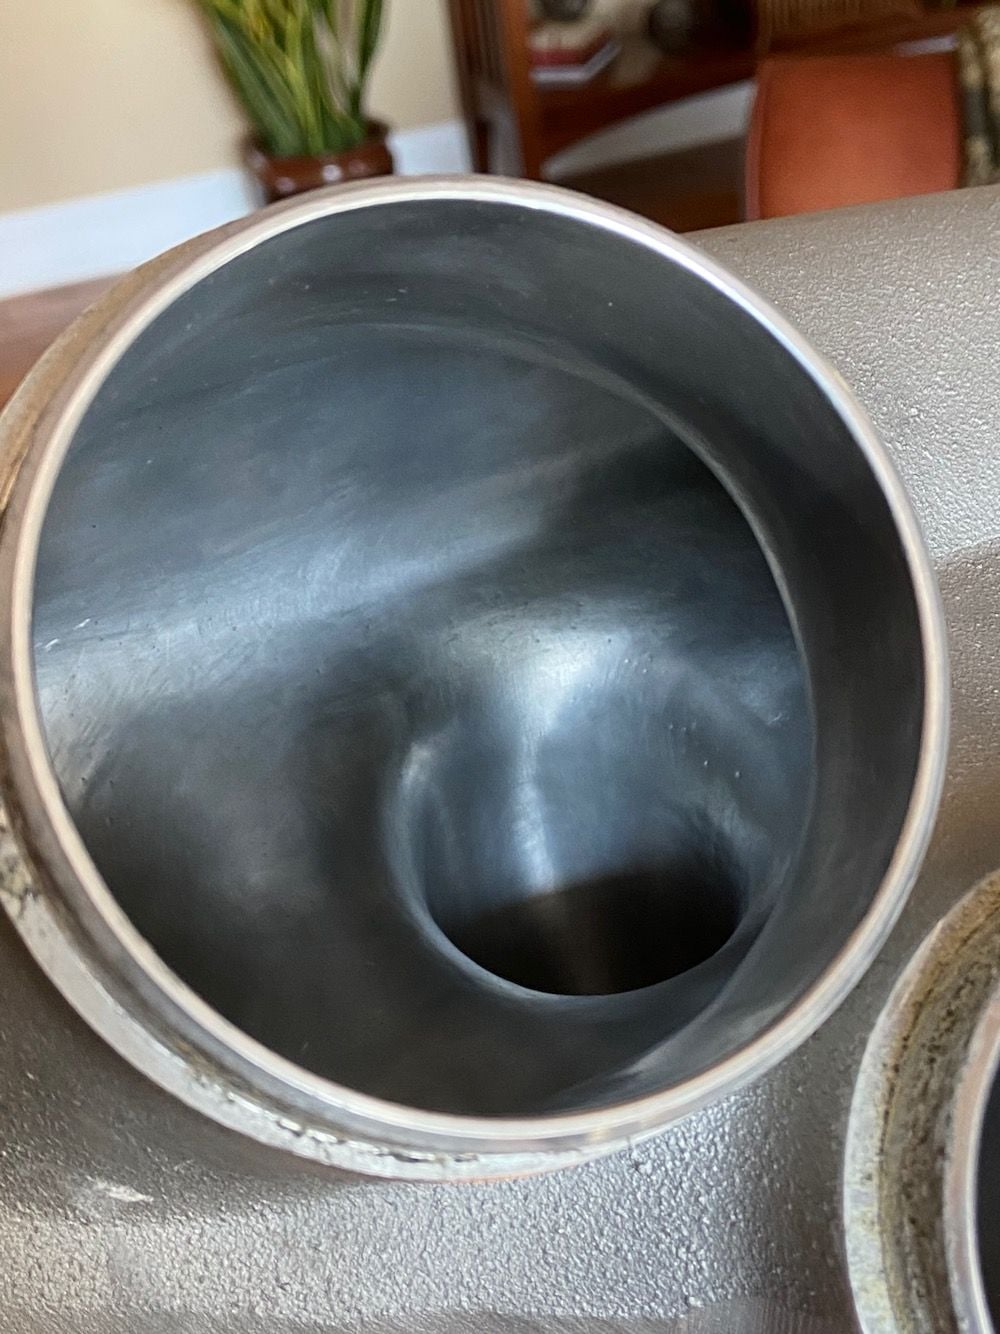
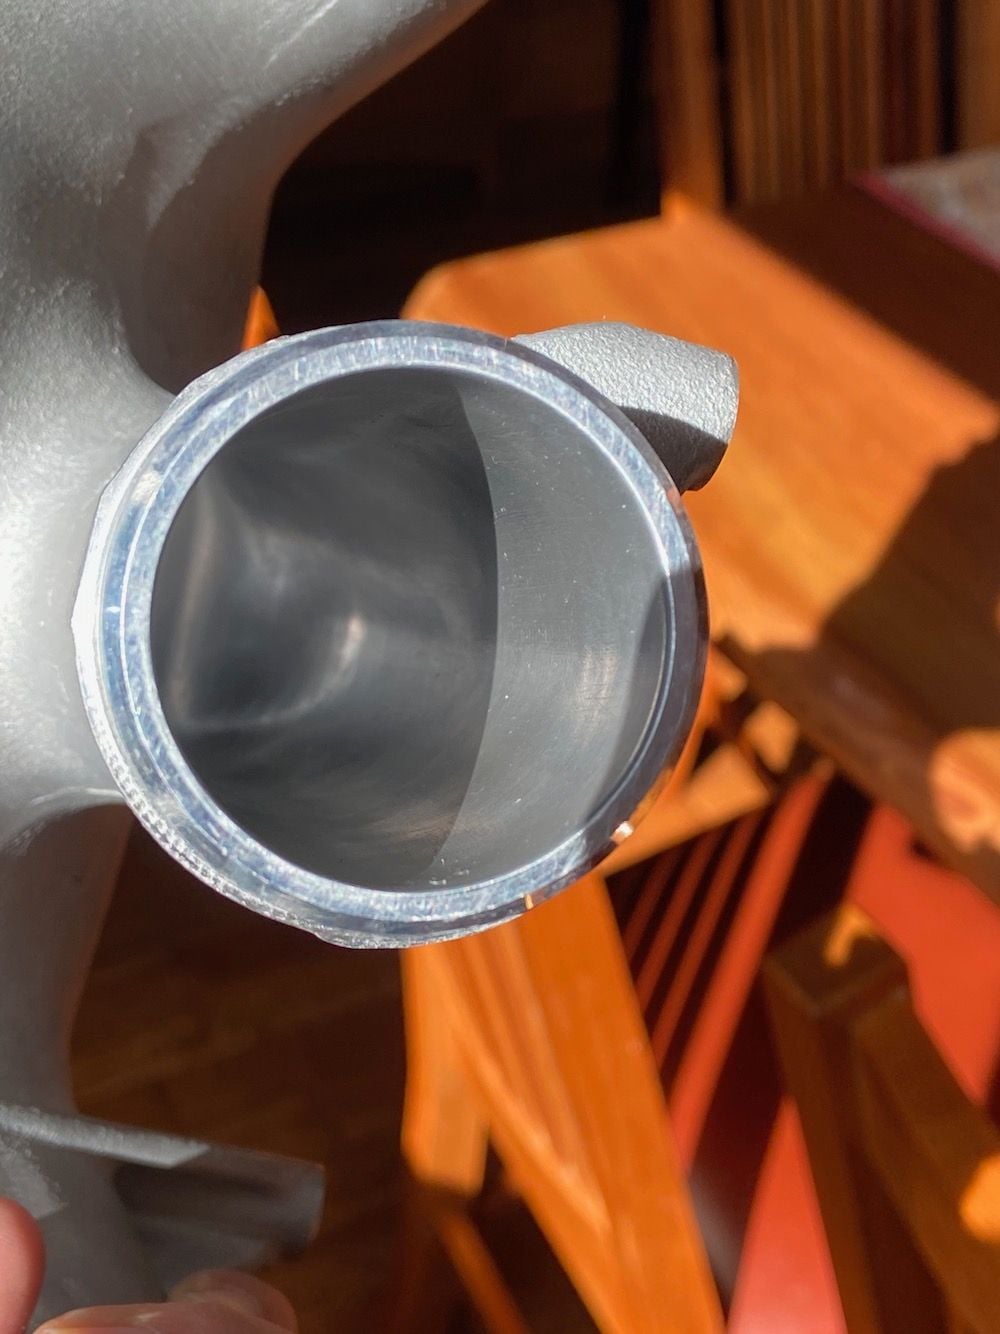
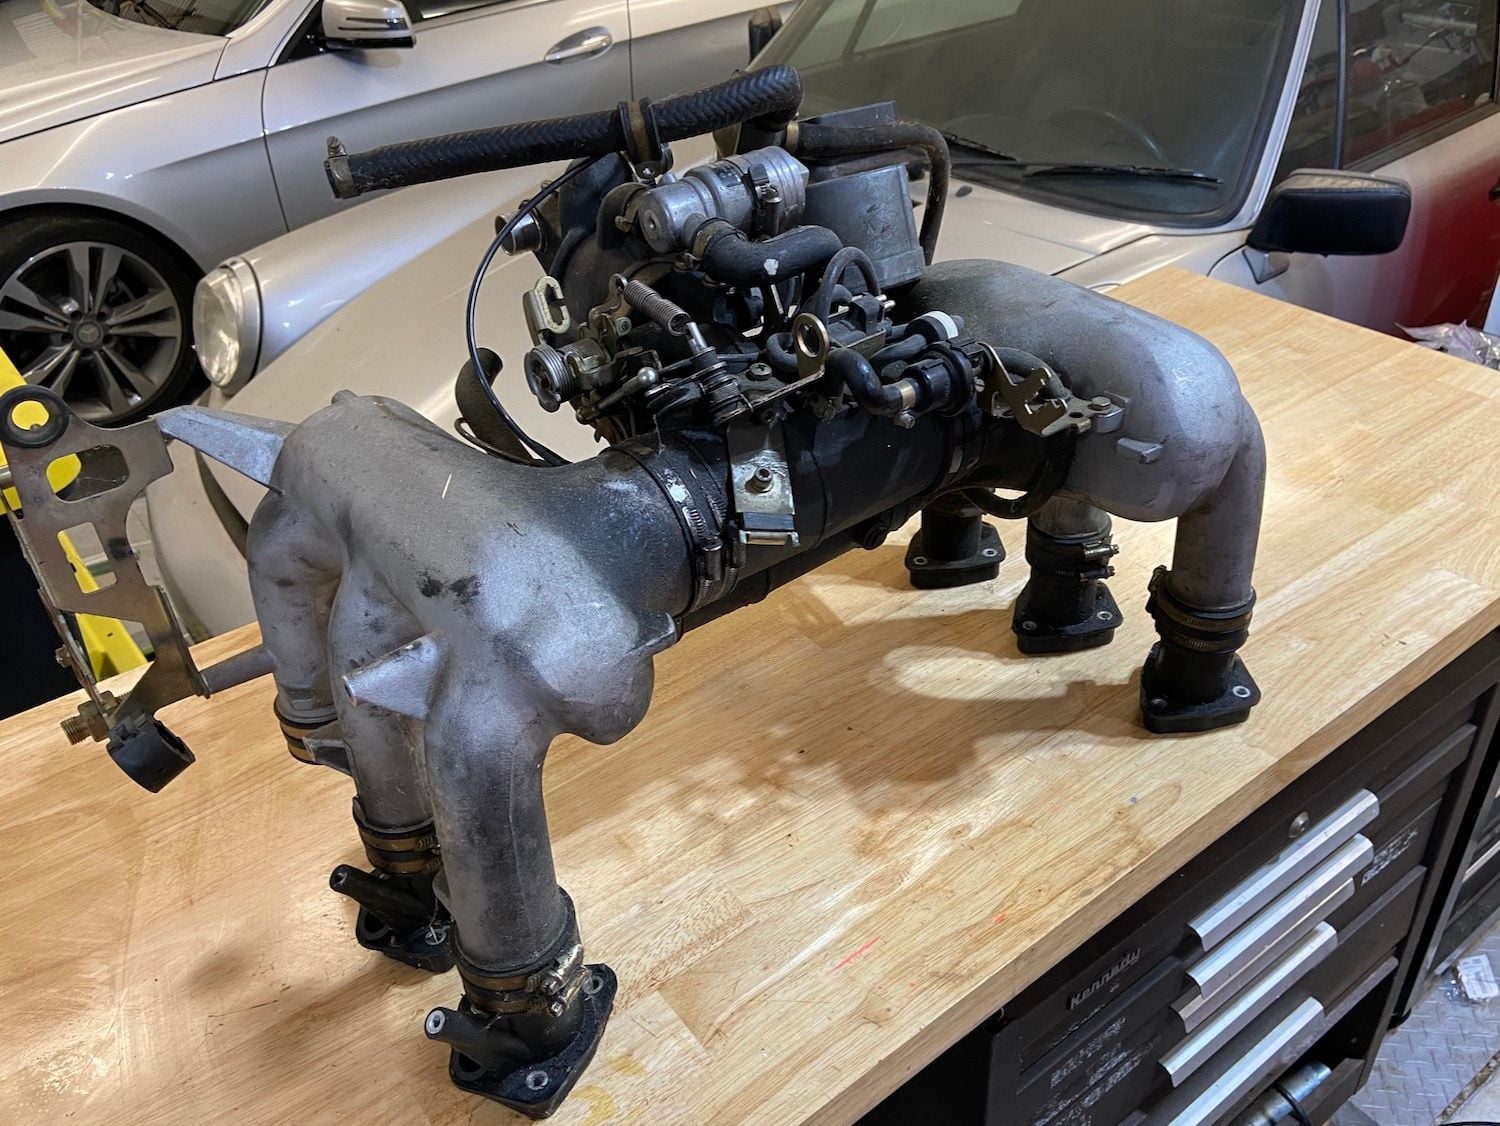
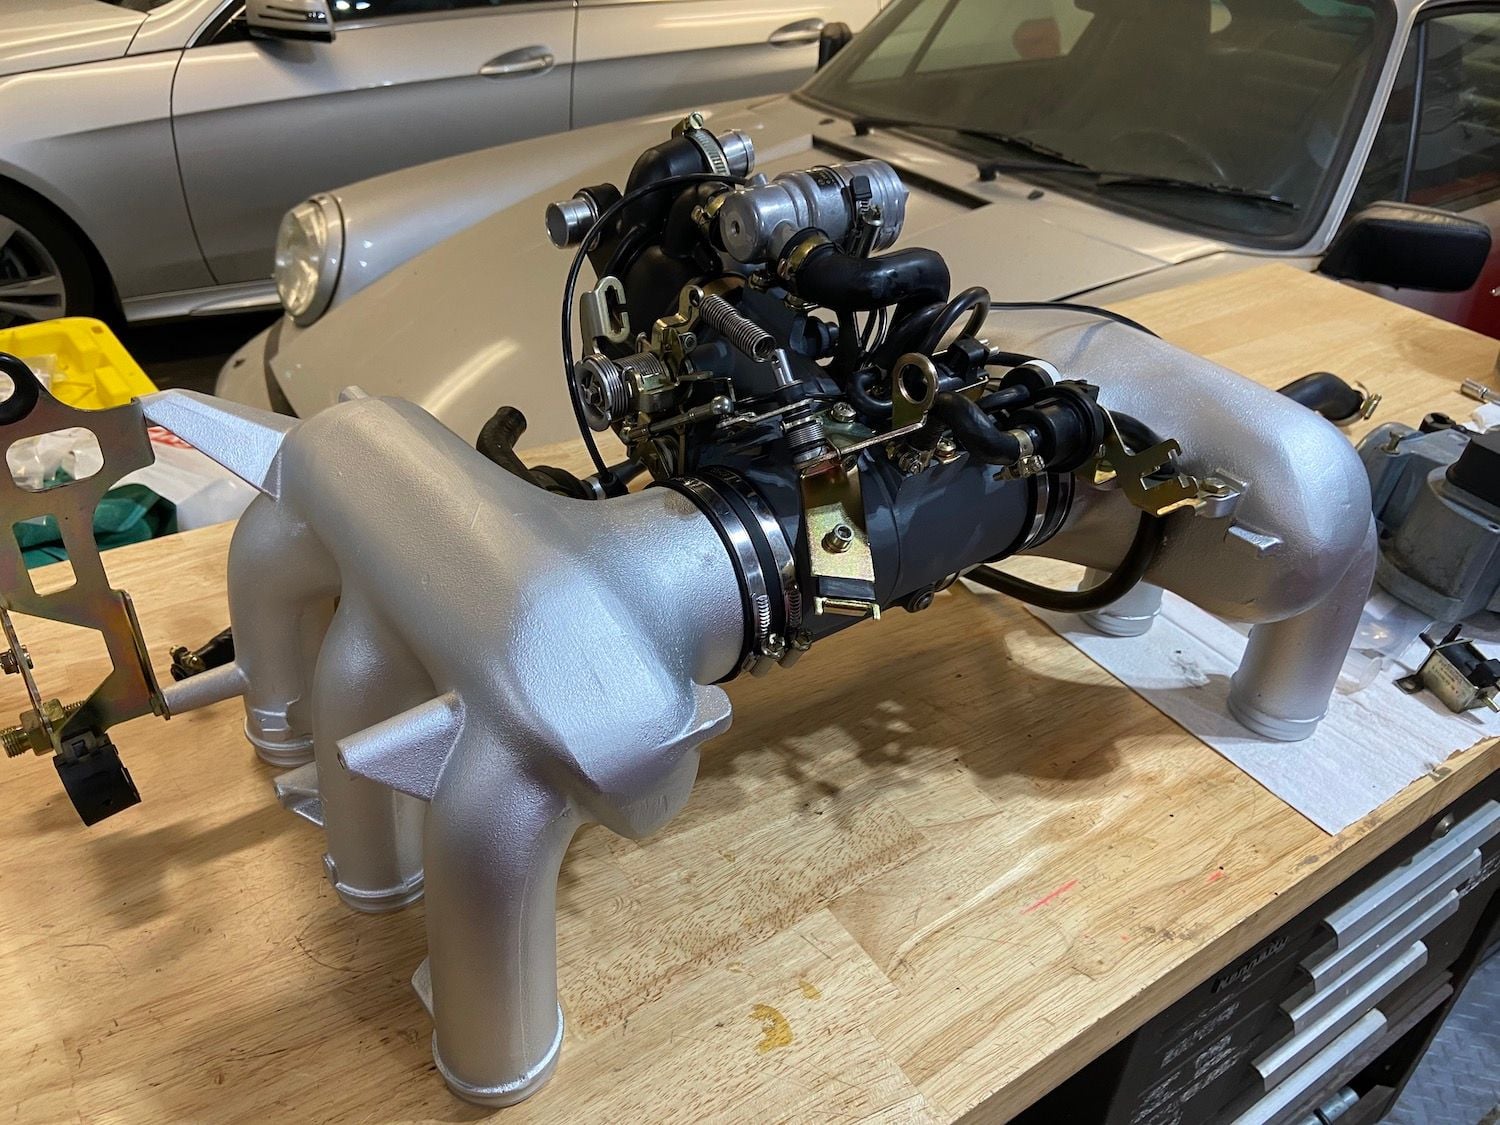
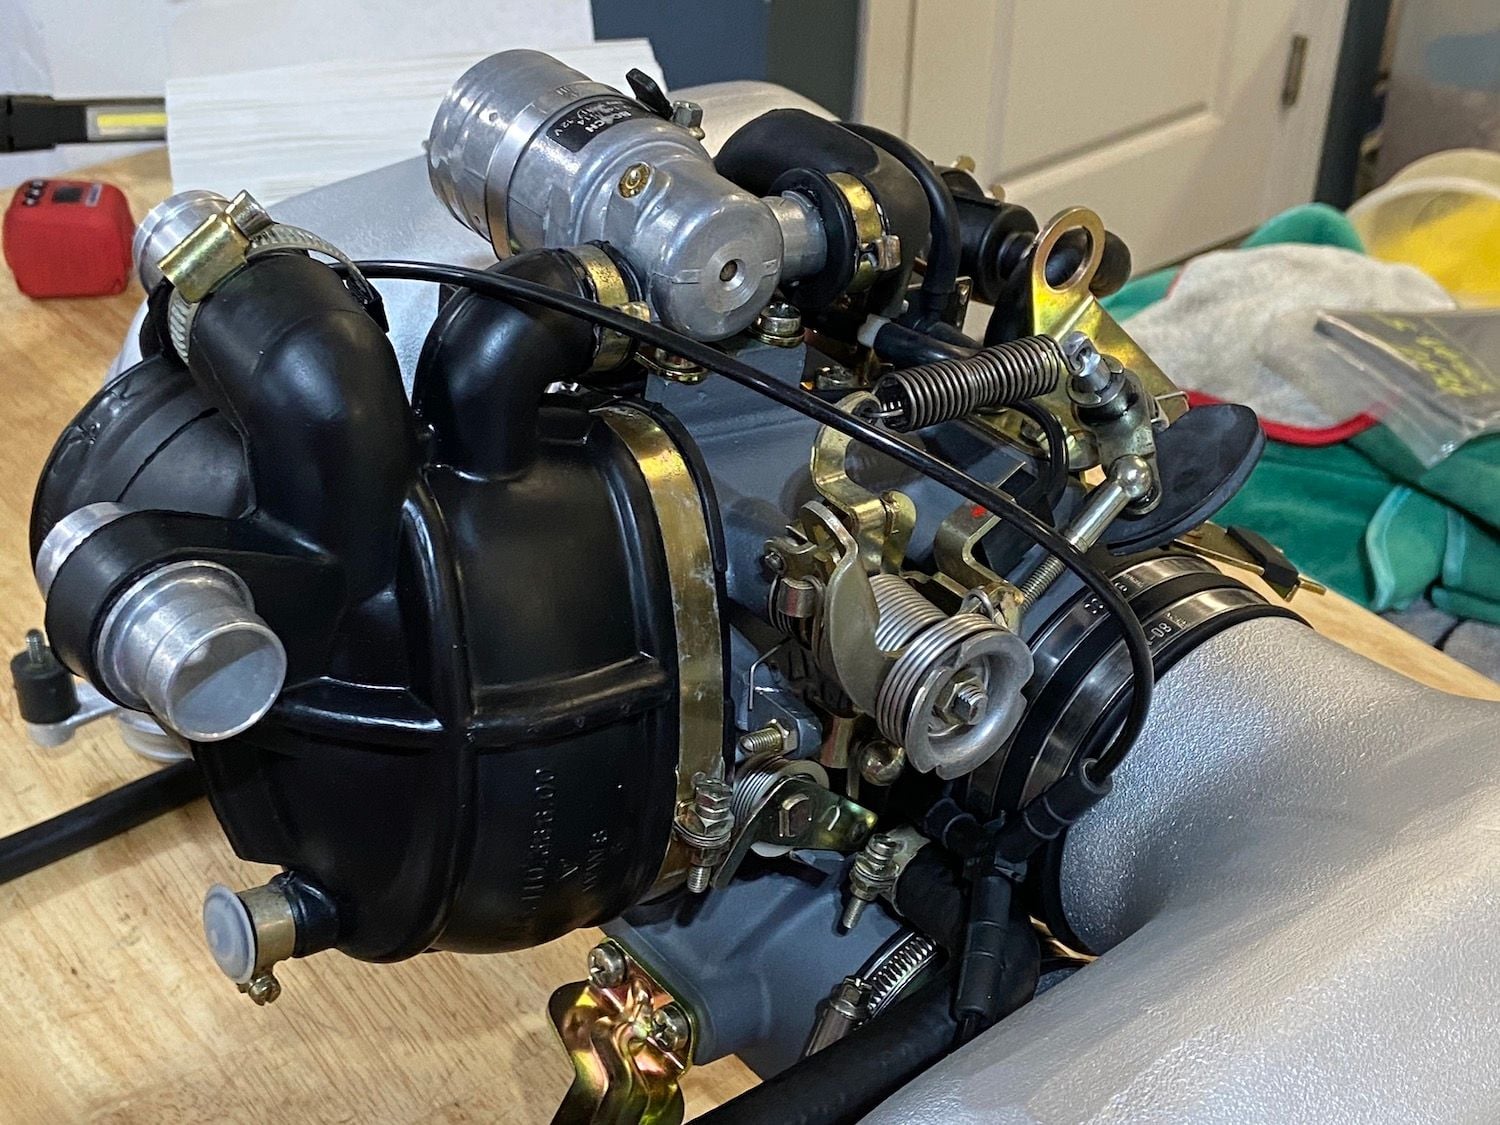
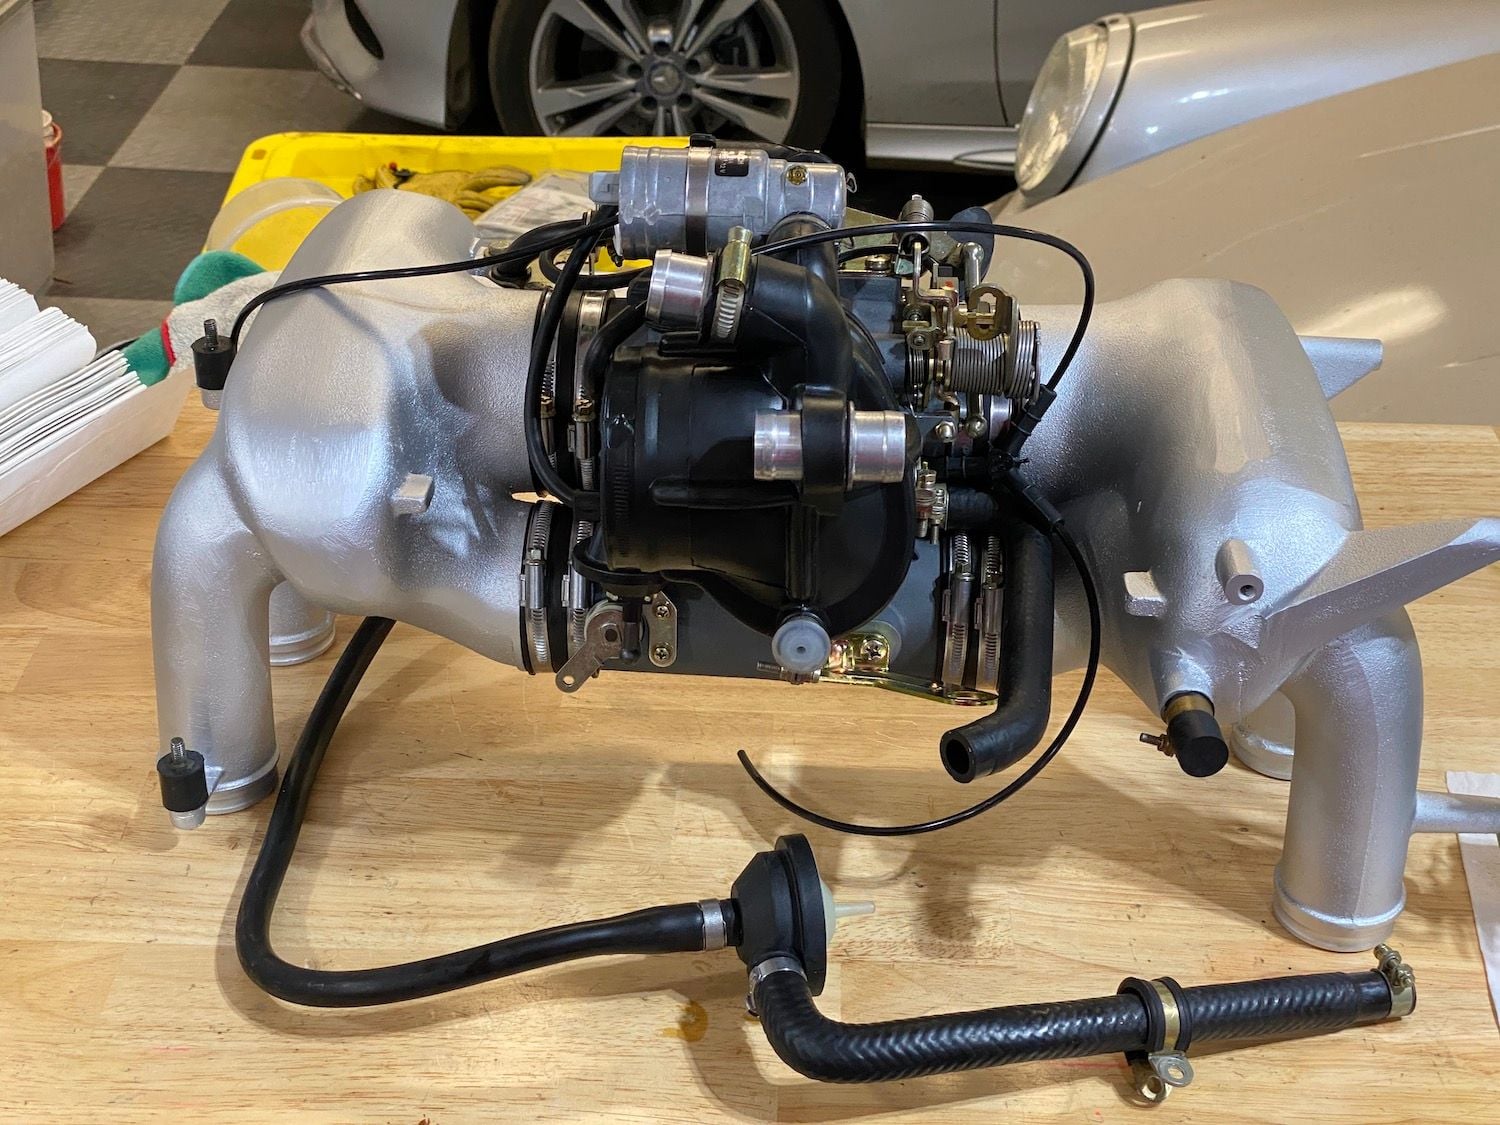
Pete, I could send them off to Jet Hot for ceramic coating in their matte silver or chrome finish just like I did my headers. Yet more money. I will probably sand blast them and Cerakote this weekend.
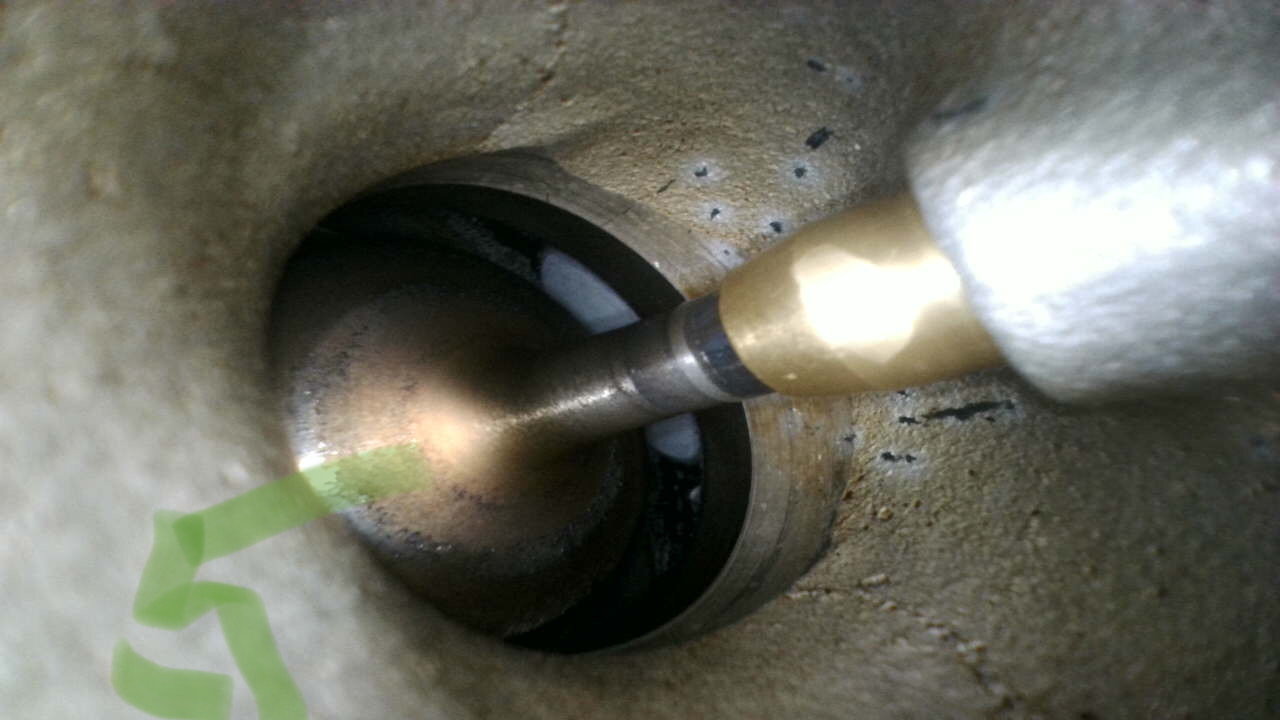
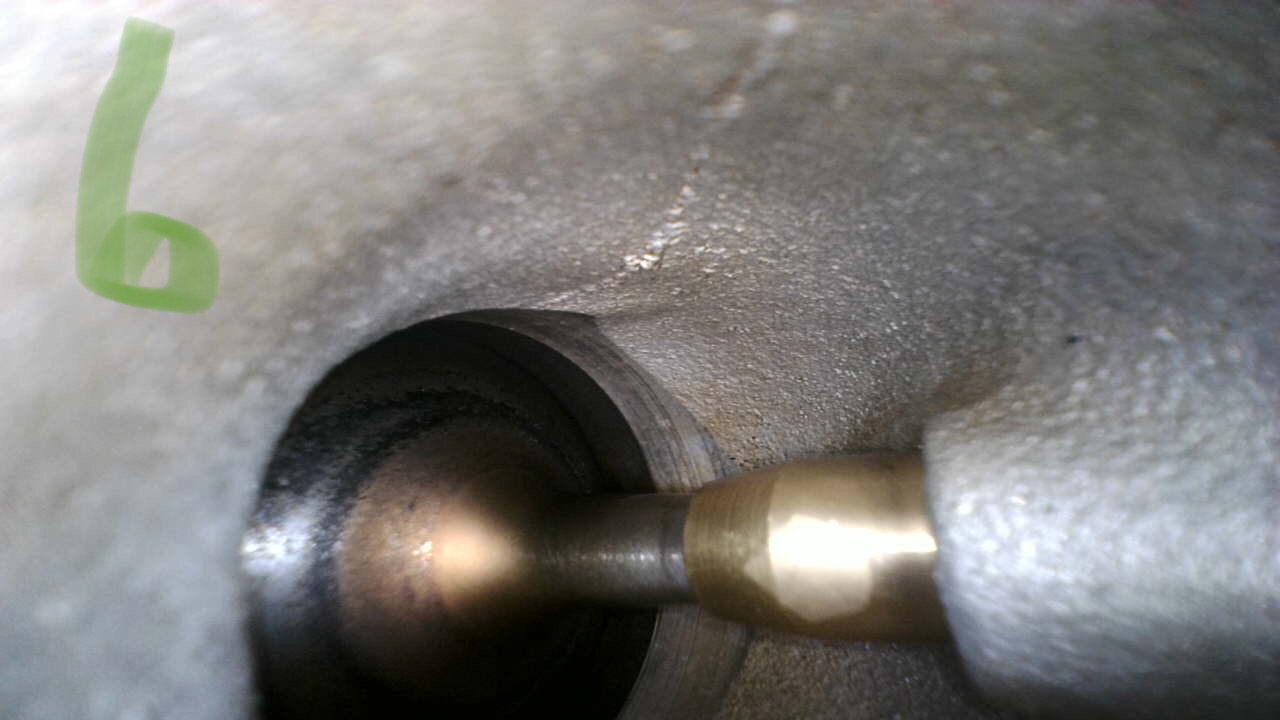
Well guys, dove into this madness as well... entire manifold is off the car and getting refreshed / cleaned / replaced. Can't wait. Question for the experts. I started peering around the intake valves and noticed this gap on the #5 intake valve (pic 1 & 2 closeup). All others look like pic #3. What is the gap I am looking at and if it's a problem is there anything I can do about it at this stage with the engine still in the car?
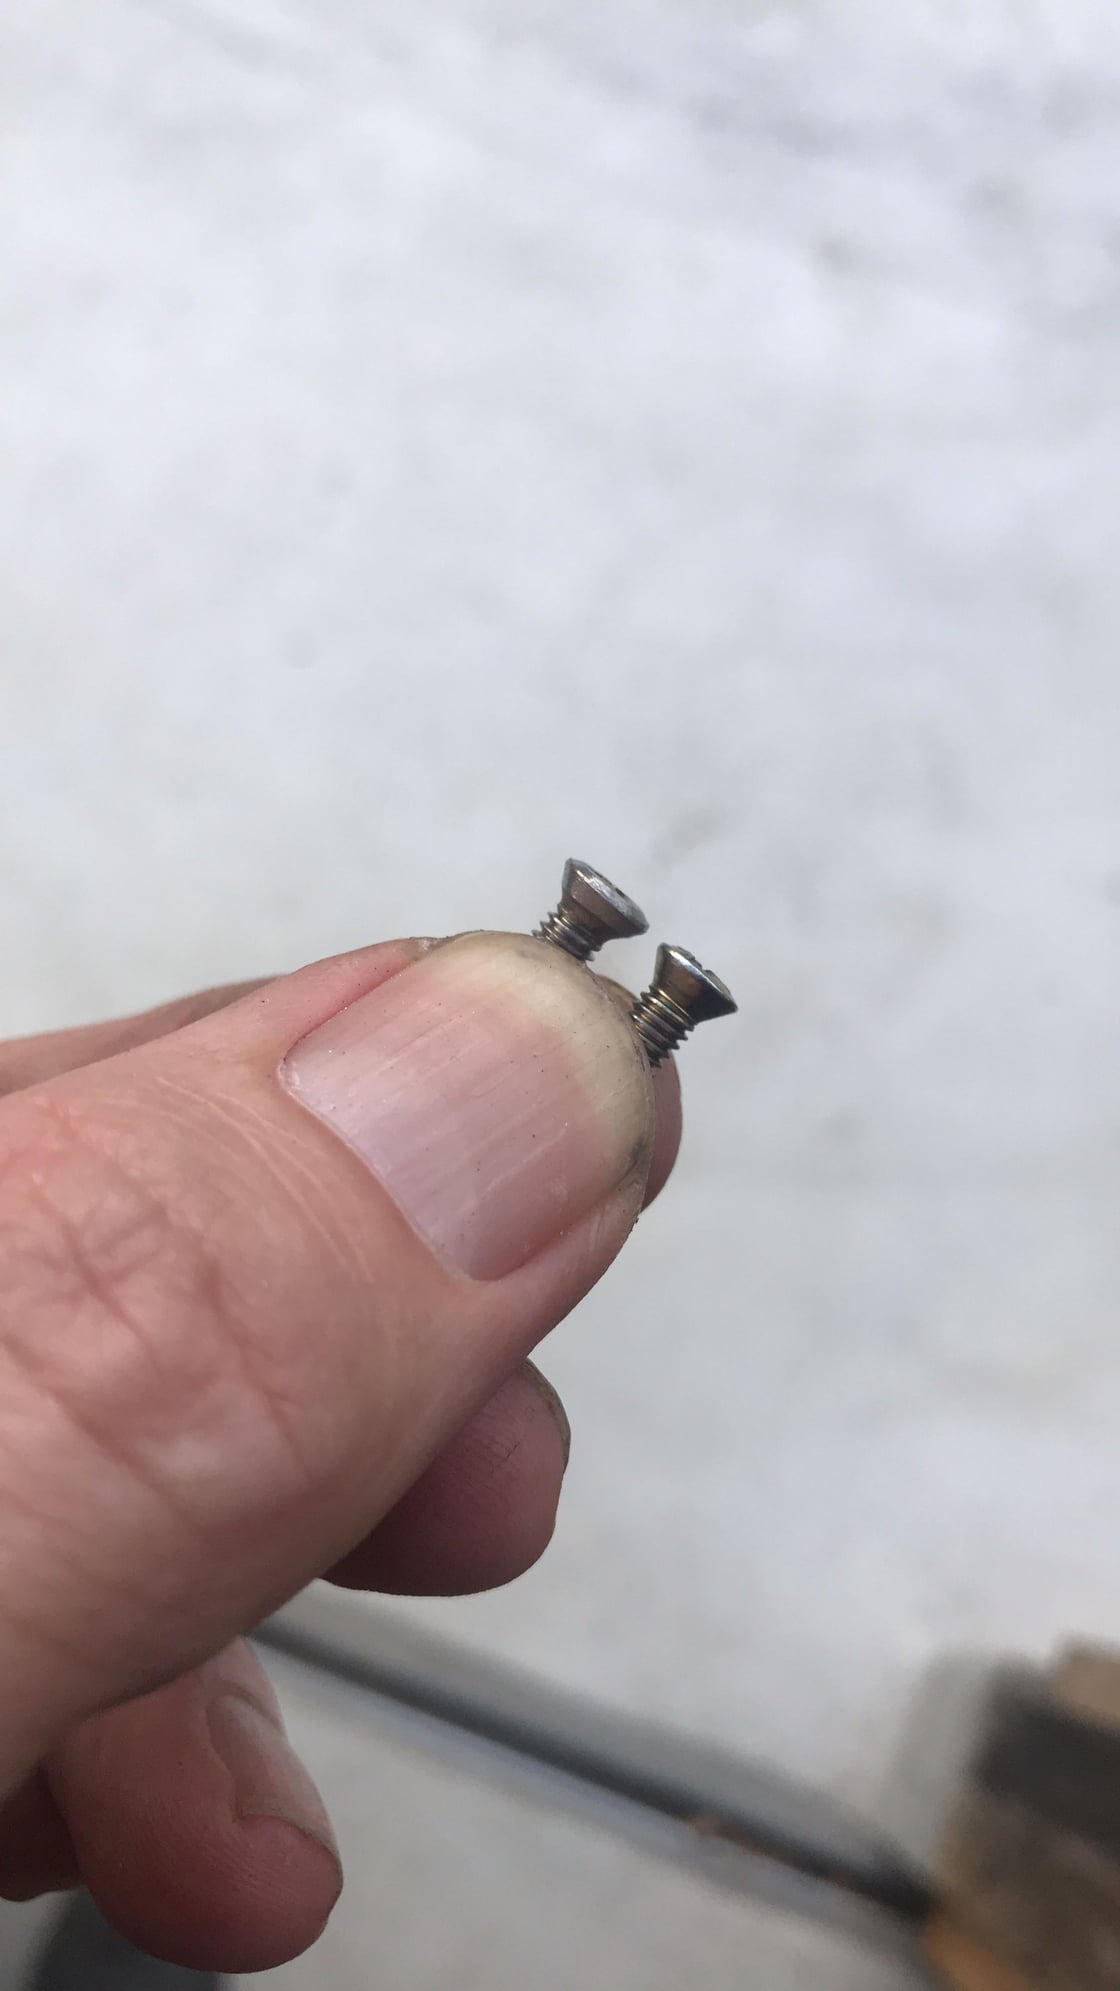
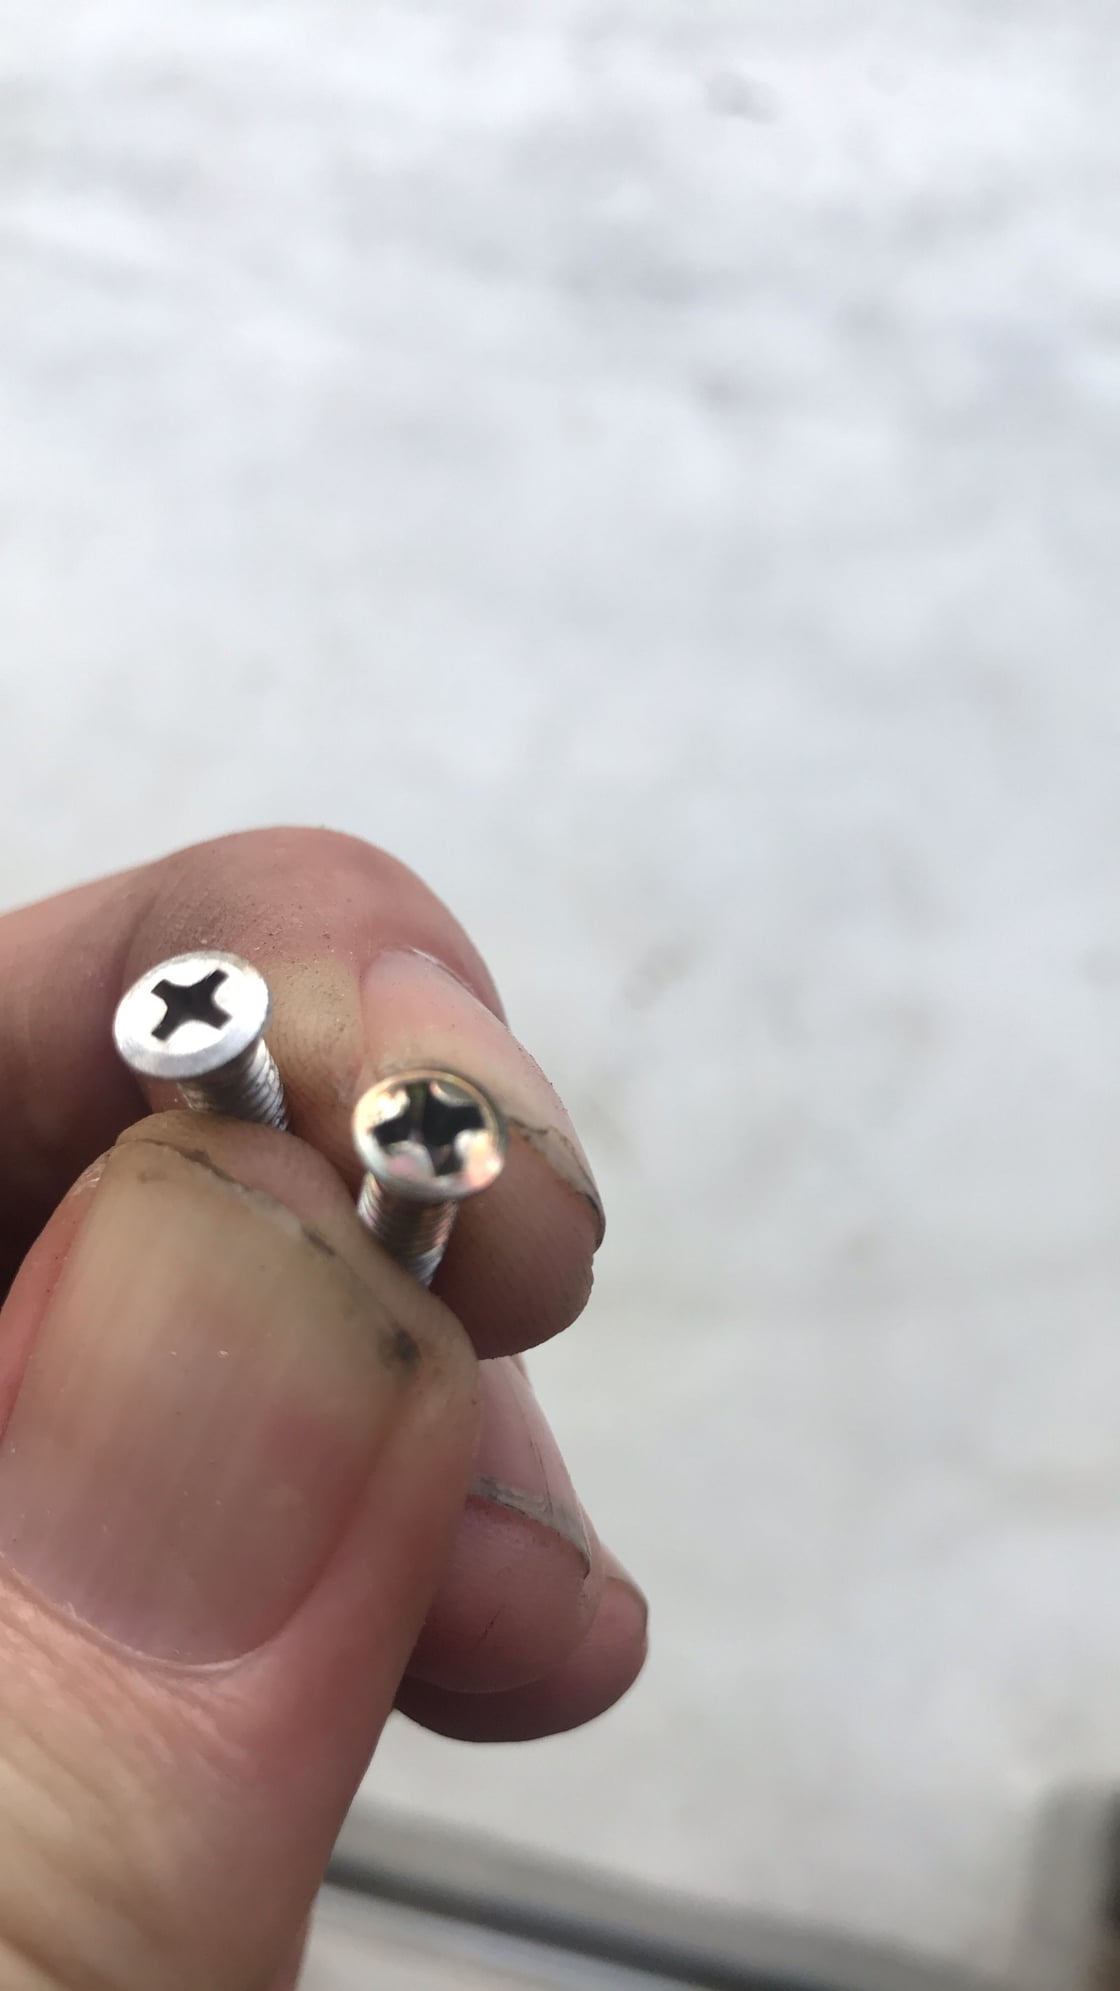
Just catching up to you guys bit by bit. I ran into a problem with one of my throttle plate bolts and don't have time to source a new one as I have to get this in to the mechanic tomorrow. I used a m4 screw just like the one the Ricardo showed before that has the larger head. Here you can see the difference. It's hard to see but not only is the head larger the angle of the sink is slightly different with the original part being a hair more shallow.
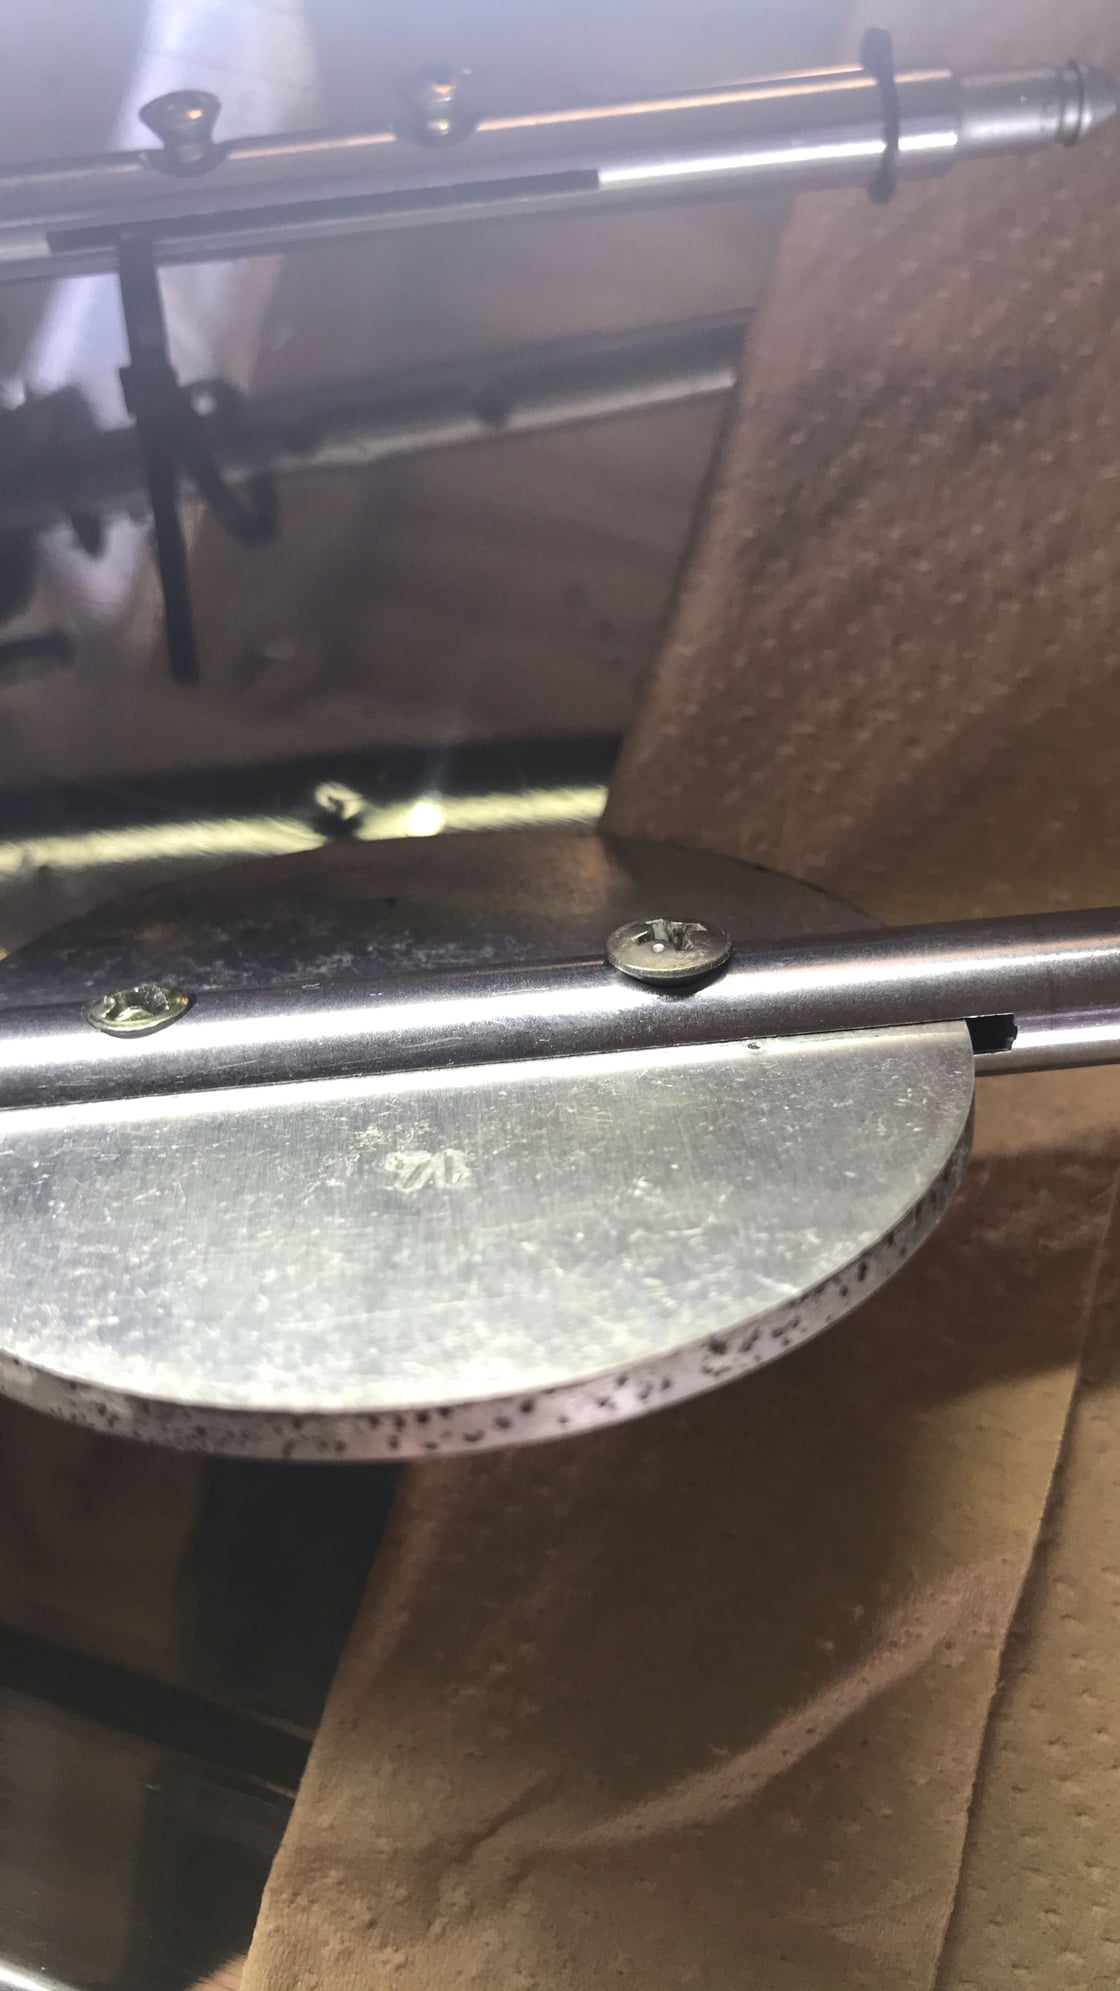
I don't have a lathe but I do have a belt sander and I've spent countless hours shaping stuff on it. I threw the screw into the cordless drill and rotated it at full speed as I shaped it. Doing the conical side was not easy but it worked out fine in the end. Maybe not the most "correct" method but functionally its just fine. I'll use this one on the resonance flap.
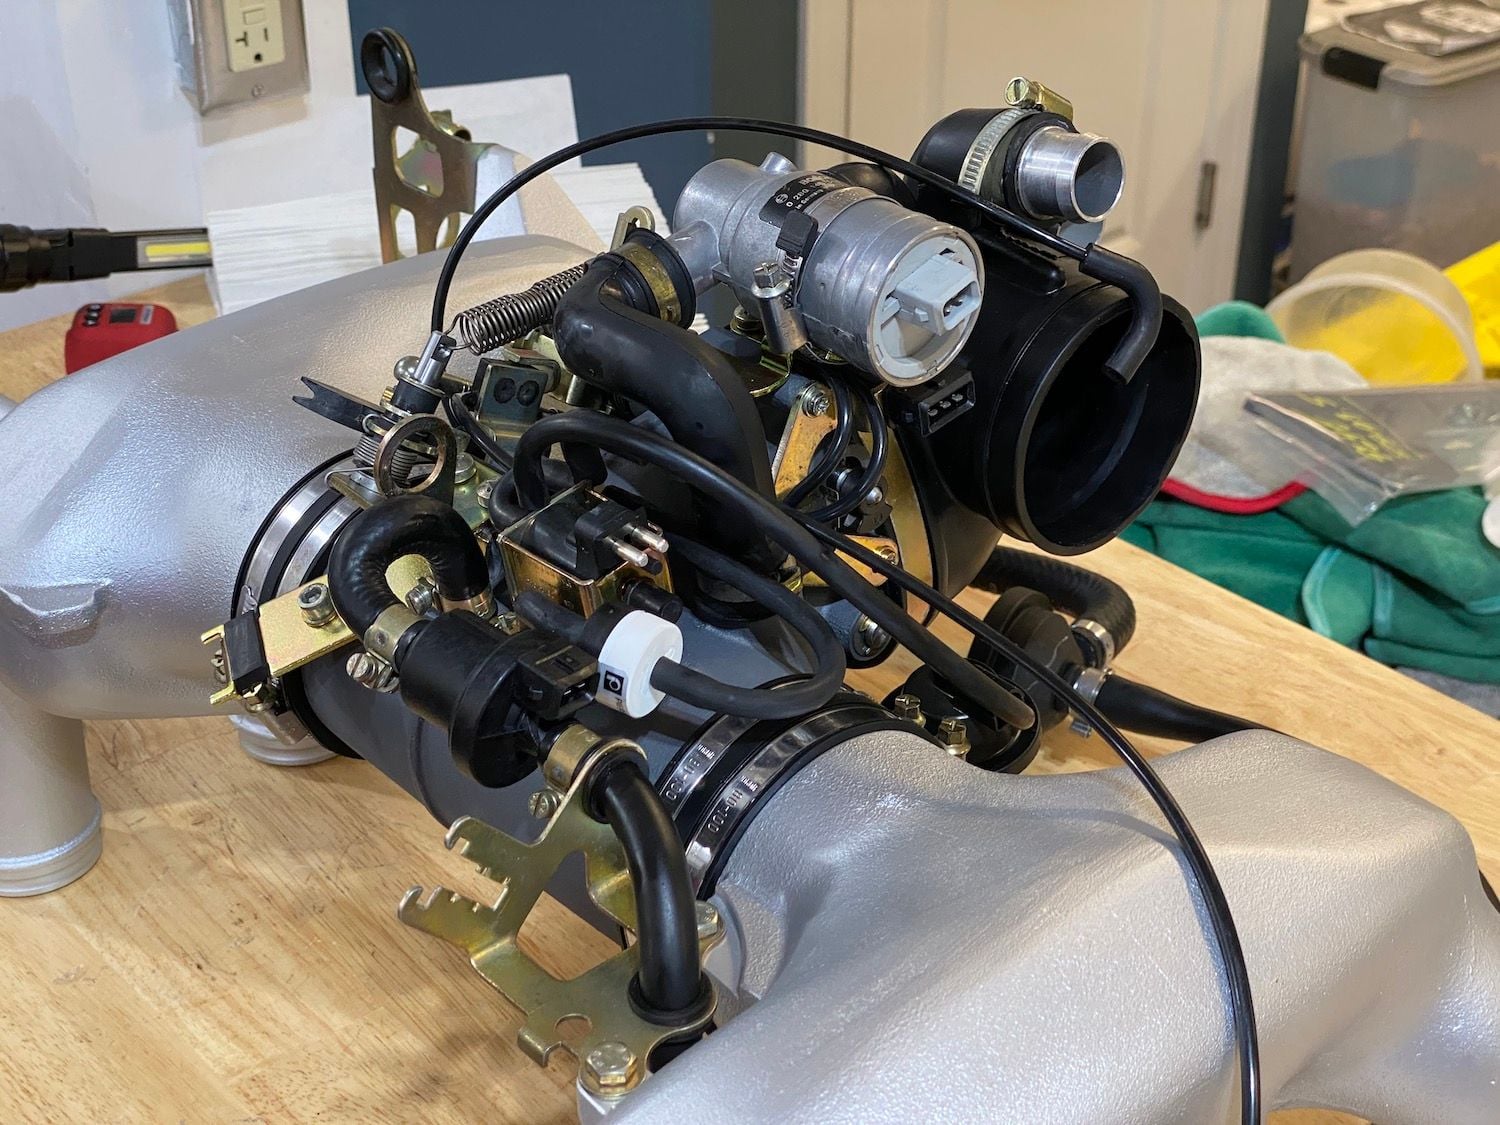
Psyched to finally put my WOT doodad to use!
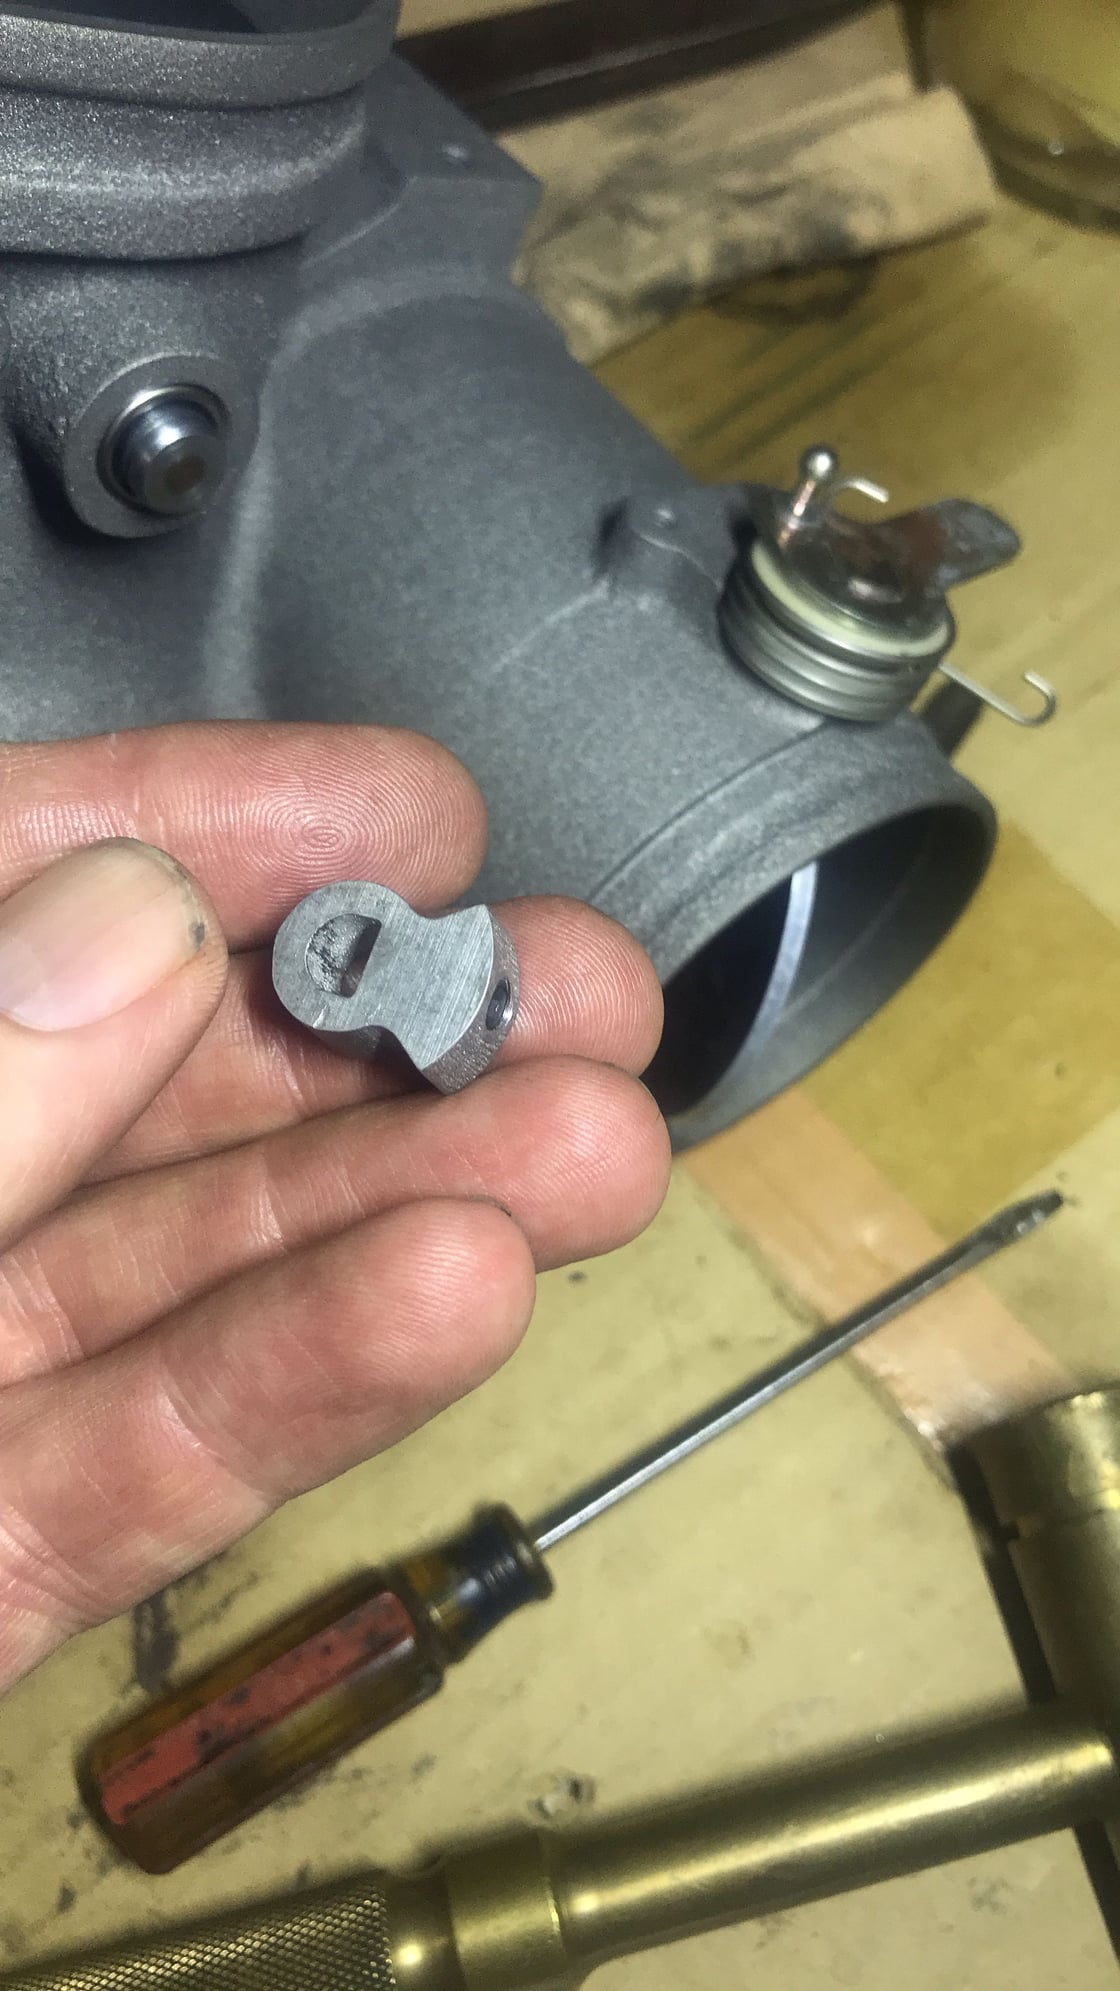
Extra special thanks to Ricardo for helping out with the bearings!!!! I noticed that the seals are on the opposite side on the replacements. If you put the seals to the inside as the are originally the squared off shoulder of the bearing that has the bearing info will be on the inside as well meaning that the bearing will have to be pulled to see it. I put them in that way.

 06-02-2020, 11:09 PM