When you click on links to various merchants on this site and make a purchase, this can result in this site earning a commission. Affiliate programs and affiliations include, but are not limited to, the eBay Partner Network.
Very nice! Are the underbody panels sold separately?
Anyone know why the tunnel panel is made from metal vs composite fg like the other panels? I think I�d be very interested in one along with the fuel pump cover.
Very nice! Are the underbody panels sold separately?
Yes Sir. Just reach out to Marcus and tell him what you�d like. He also offers a CF air box.
Anyone know why the tunnel panel is made from metal vs composite fg like the other panels? I think I�d be very interested in one along with the fuel pump cover.
Some call it a tunnel stiffener, and that�s why it�s made out of metal I suppose. I can�t umagine it�s adding much rigidity based on how it�s affIxed, but who knows.
Originally Posted by tjb616
Those under body panels are gorgeous, but I'd be so afraid to trash them! Props to you.
Ha, I had the same thought. No more driving in the snow or rain!
Originally Posted by wallra
Hi Jim those under body panels look nice could you post a link to the site you got them from
Thanks Wallra, Marcus� work is first rate. You can email him directly for his 964 items, and prices. Marcusbuehler911@web.de
Very nice! Are the underbody panels sold separately?
Anyone know why the tunnel panel is made from metal vs composite fg like the other panels? I think I�d be very interested in one along with the fuel pump cover.
I guess it�s to protect the fuel pump and gear shifter rods of any impact and damage in case of an off road situation
I can�t see how those could stiffen the chassis They are bolted with plastic nuts .
Foxman well done 👍 thanks for sharing the numbers !
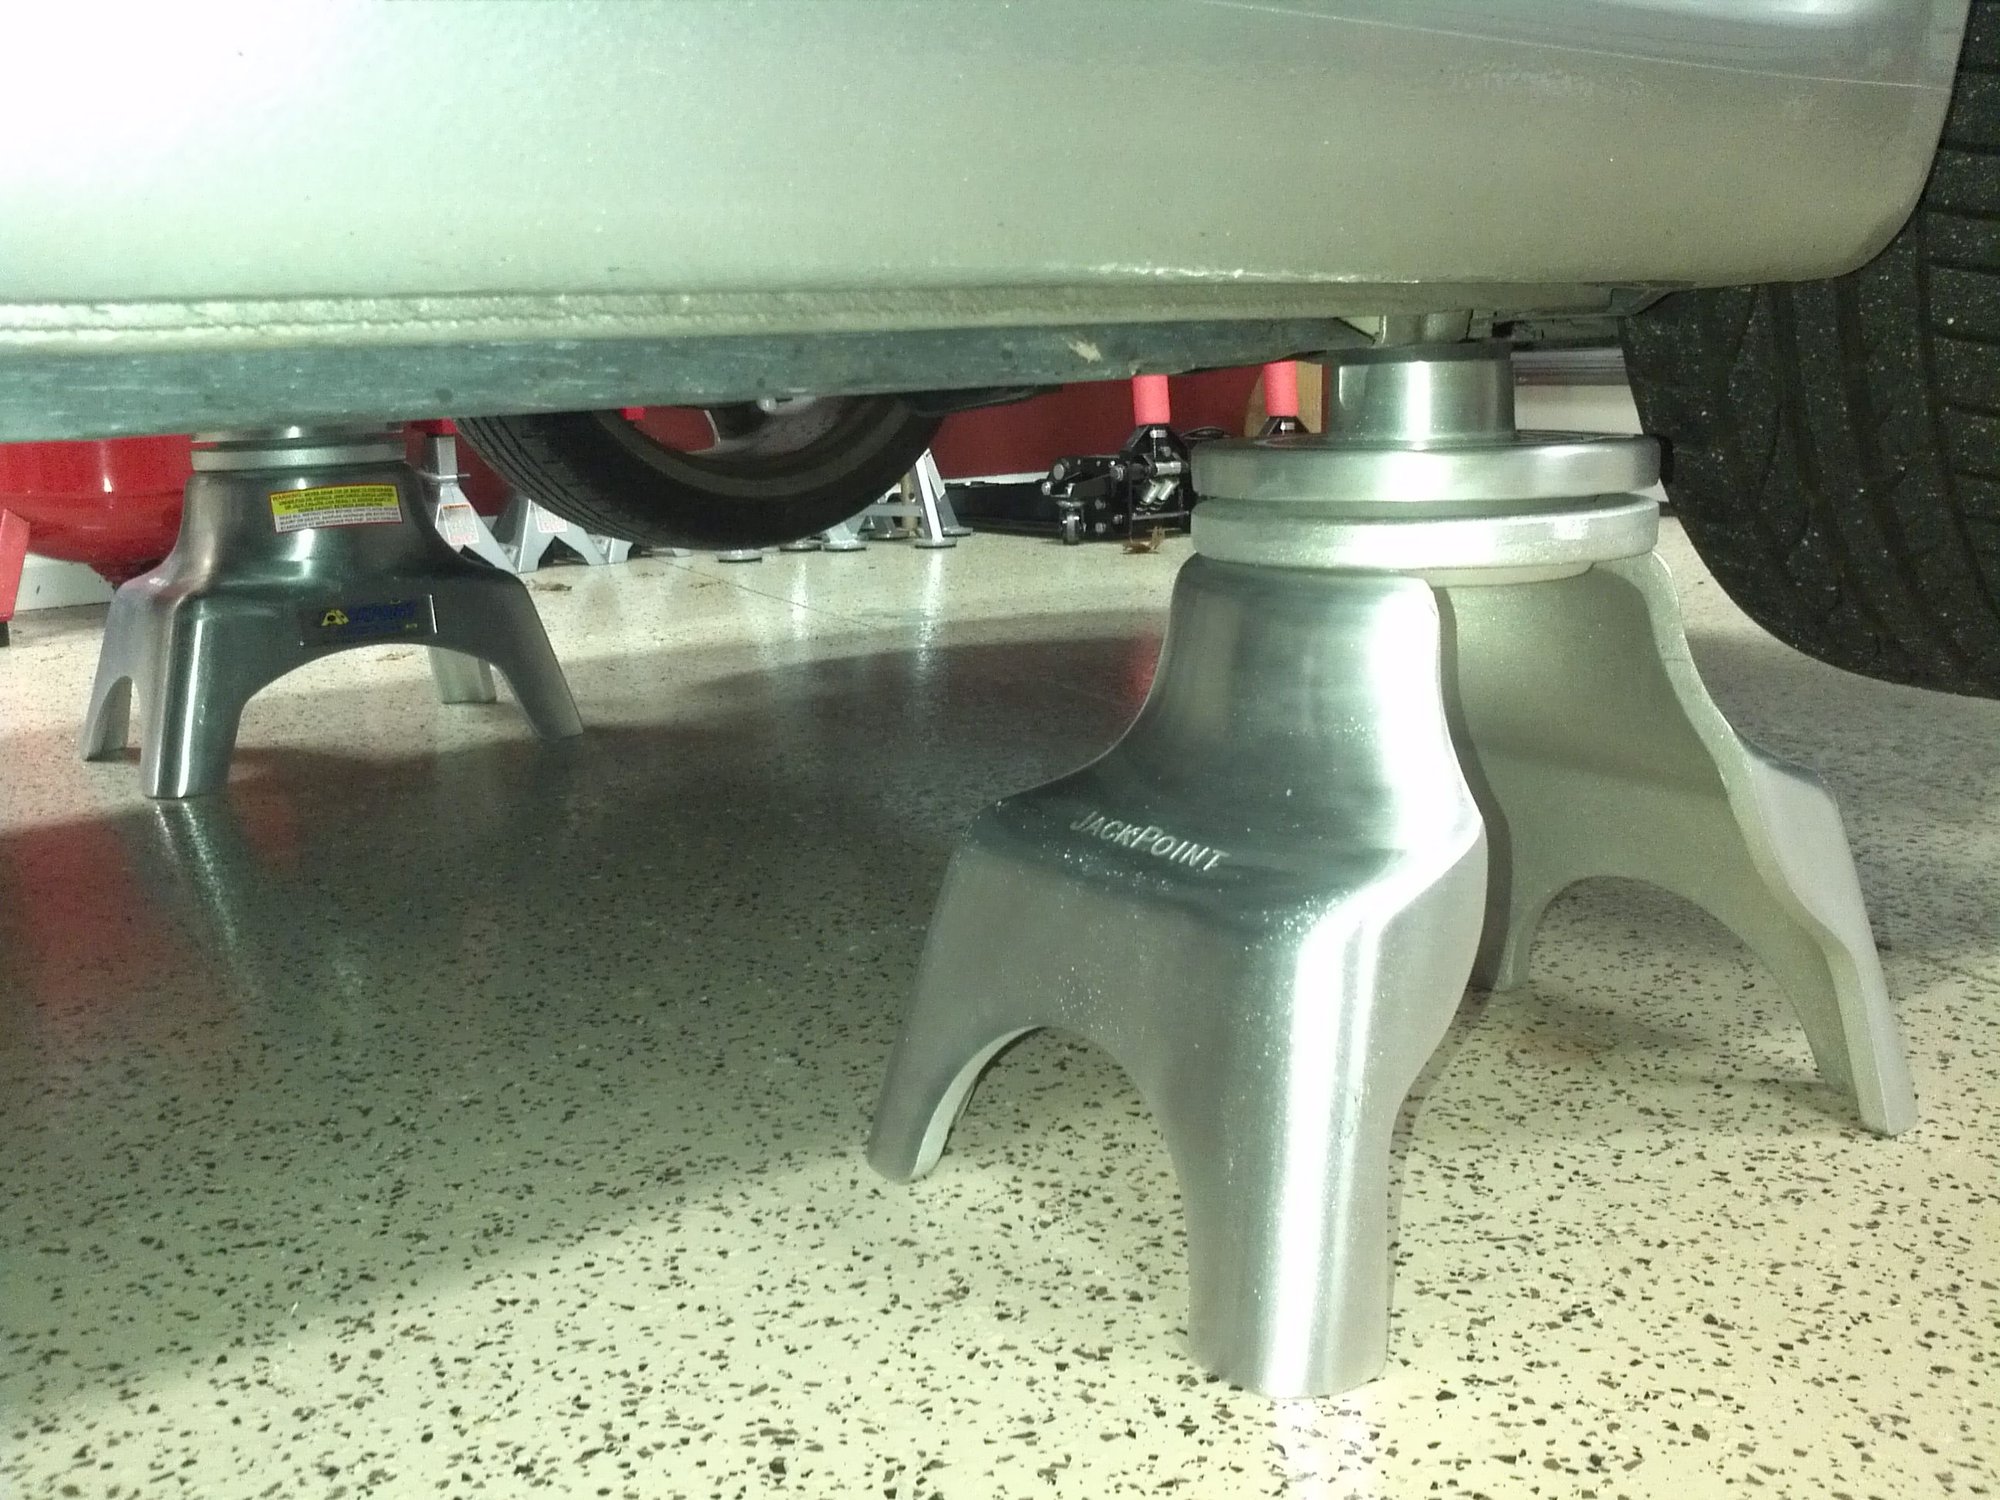
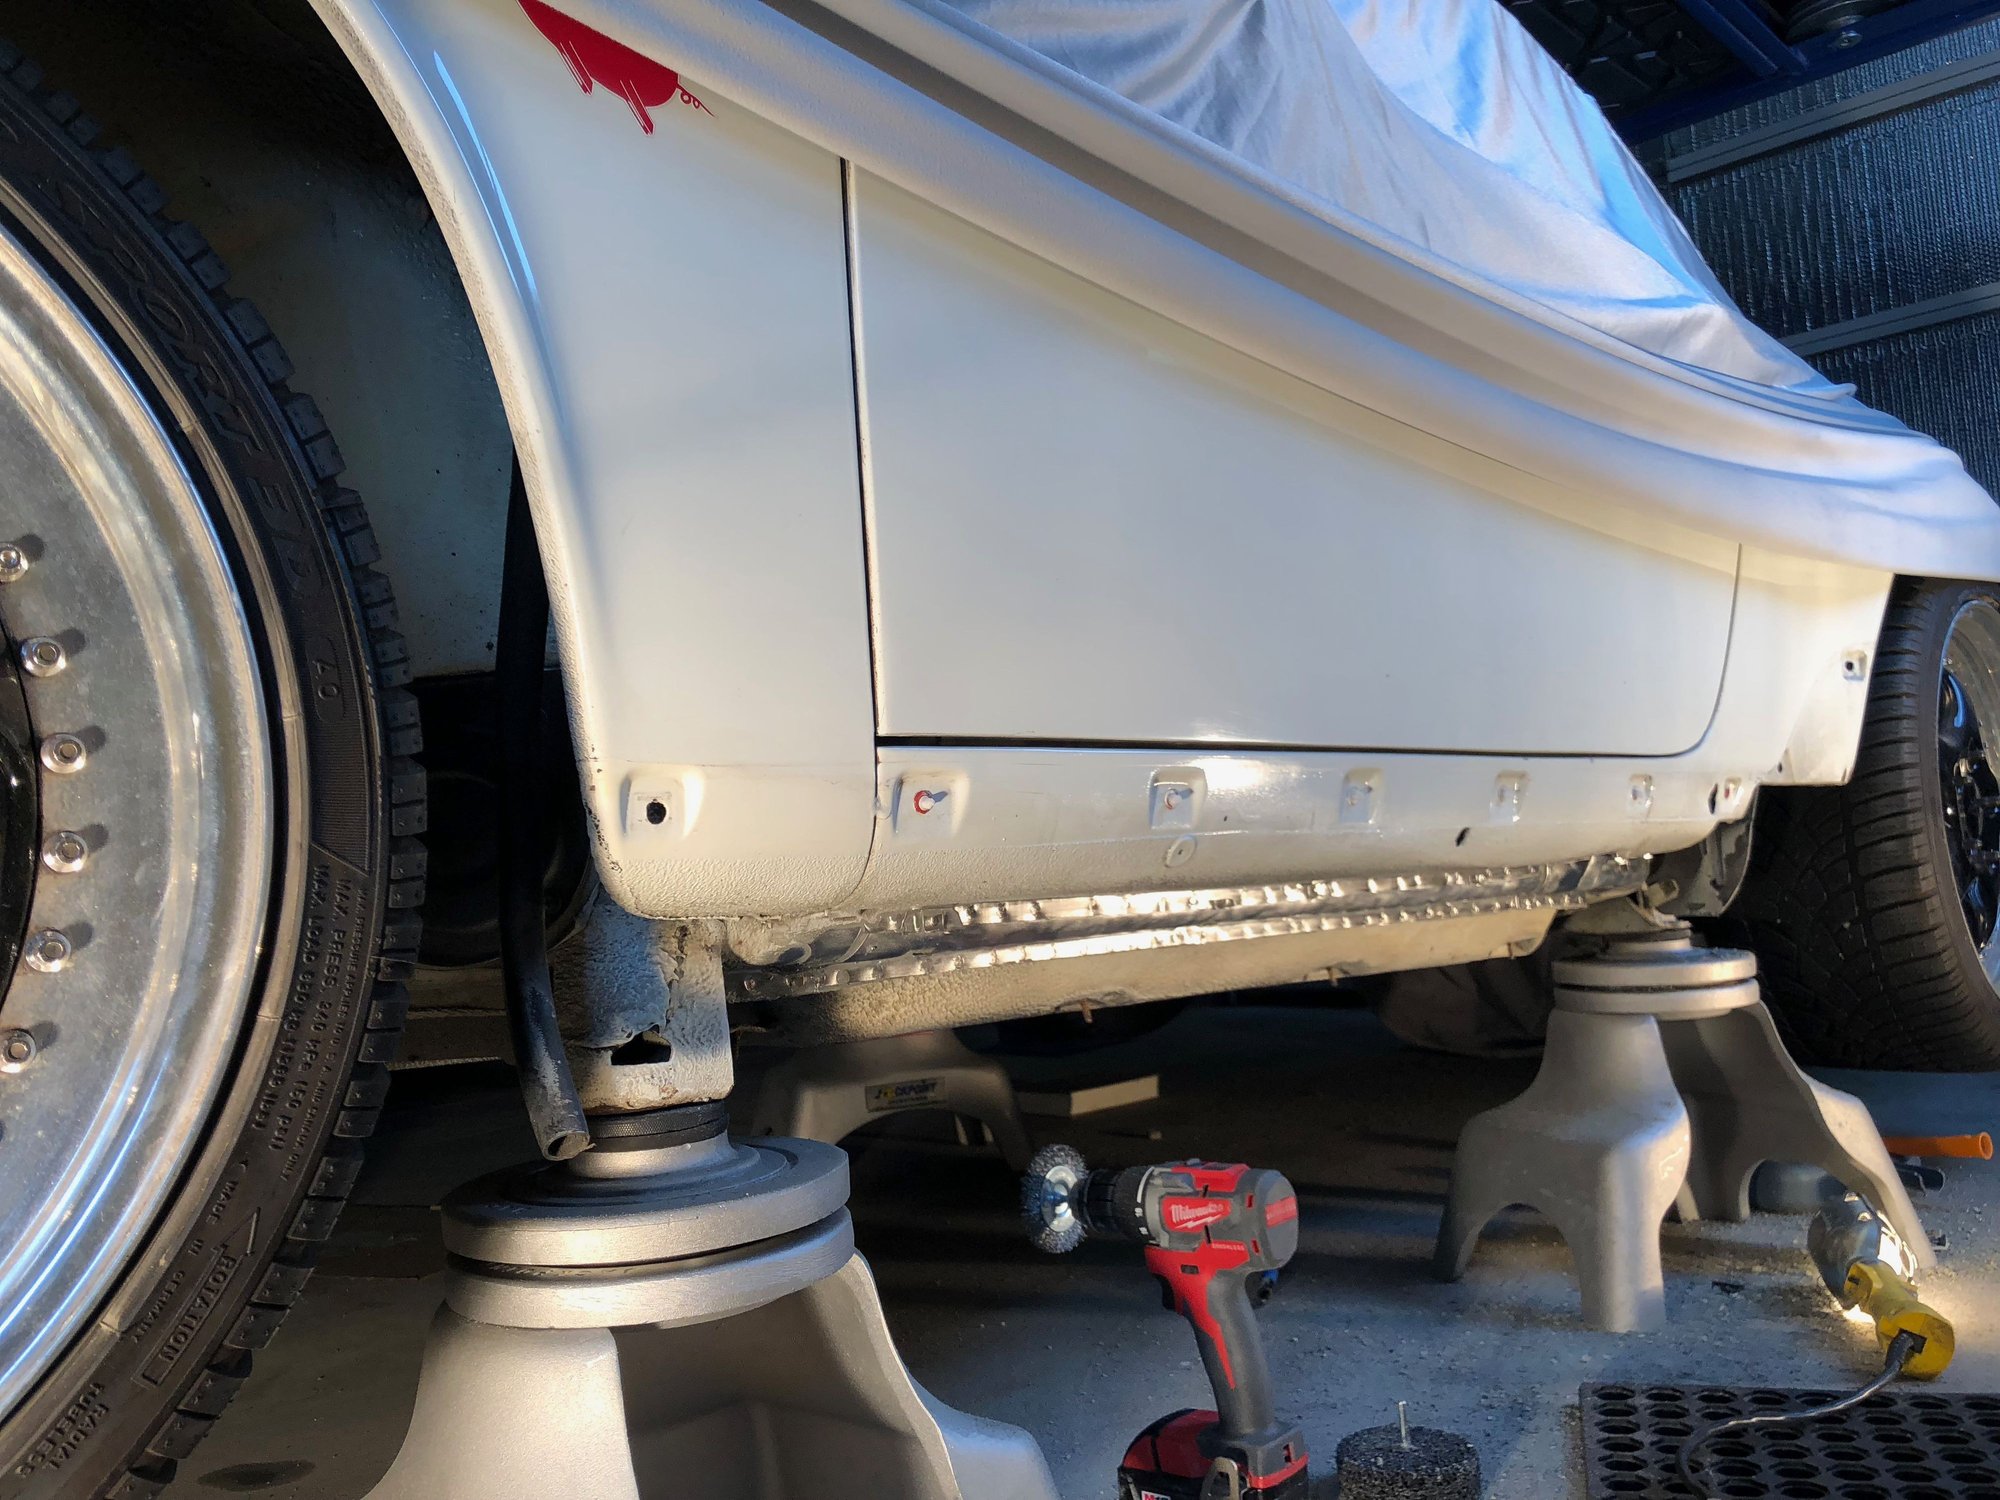
"I put the car up on the Jackpoint jack stands again last weekend, and it took me three tries to get the pin in the hole. The lift points are beat to hell, and that adds to the fun."
Lining up the pin with the lift point hole is tricky - especially with a lowered car. I use a 2" diameter extension mirror with a focused beam flashlight. If you think it would help - I have aluminum pins that are 1/4" longer so they stick up a bit higher out of the rubber insulator. For those who have pucks that twist into the chassis lift point - I suggest using the Jackpoint recessed pad. It has a 1/8" deep recess that should keep the puck from creeping too far off center. We considered a pad that would twist into the lift point and hang on the car but decided against it. Early on I had a customer who modified his Jackpoint pads to hang on the chassis and forgot to remove one before he went out for a track session. Fortunately he had an issue and came in before the pad fell off. I shuddered to think of the results if a 4 lb 8" diameter aluminum disc had dropped off his car at 100 mph and bounced back toward a car behind him.
.
Something that size and mass could be lethal on the highway or on track . . .
"I put the car up on the Jackpoint jack stands again last weekend, and it took me three tries to get the pin in the hole. The lift points are beat to hell, and that adds to the fun."
Lining up the pin with the lift point hole is tricky - especially with a lowered car. I use a 2" diameter extension mirror with a focused beam flashlight. If you think it would help - I have aluminum pins that are 1/4" longer so they stick up a bit higher out of the rubber insulator. For those who have pucks that twist into the chassis lift point - I suggest using the Jackpoint recessed pad. It has a 1/8" deep recess that should keep the puck from creeping too far off center. We considered a pad that would twist into the lift point and hang on the car but decided against it. Early on I had a customer who modified his Jackpoint pads to hang on the chassis and forgot to remove one before he went out for a track session. Fortunately he had an issue and came in before the pad fell off. I shuddered to think of the results if a 4 lb 8" diameter aluminum disc had dropped off his car at 100 mph and bounced back toward a car behind him.
Thank you for your post, Counselor. Your Jackstands are a great product, and really make lifting the car safe, and easy. The extension mirror and flashlight is a good idea. But the Jackpoint recessed pads is even better. I didn�t know that Jackpoint carried these alternate pads. The recessed pad should act like a saddle, and keep the pucks from sliding. Perfect solution, thank you Sir.
Your design process was thoughtful. It�s easy to see how someone could leave a pad on at the track. I�m glad to know there won�t be any 8 lb. jack pads flying around the track.
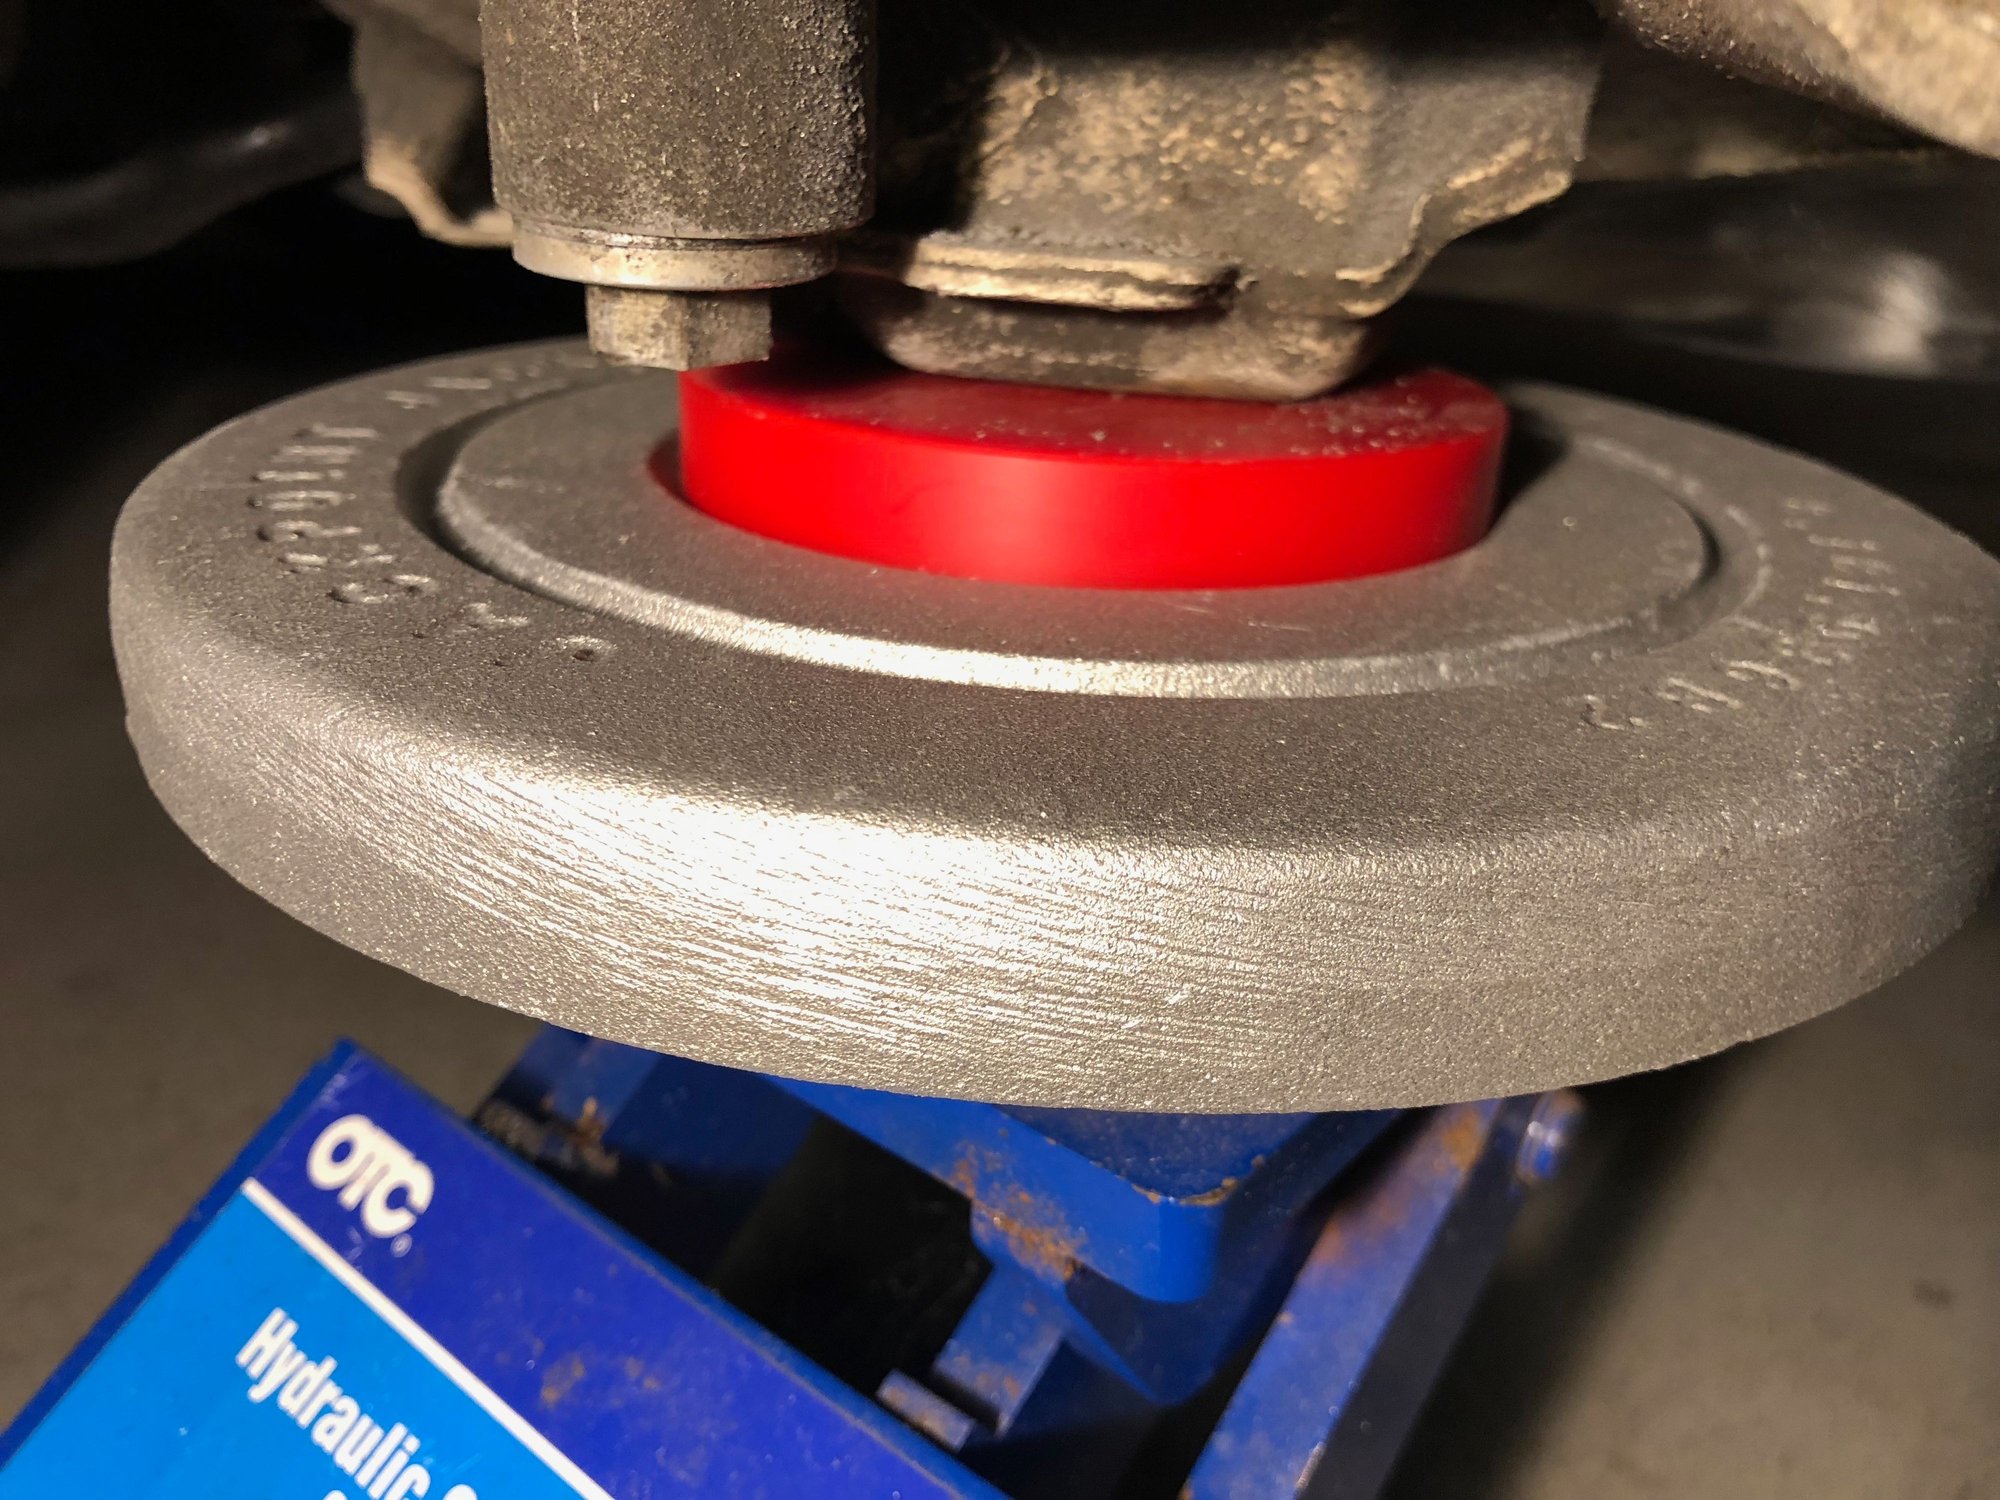
A bonus of the recessed pad is it has a groove in the top surface that is concentric to the bottom of the low profile pad so you can stack the low profile pad on the recessed pad for more height if needed. The 2 pads will lock together under load so that sliding is not an issue. I used the stands last year to do the work on my 964 Targa. In the process I lowered it about 1.5 inches so I understand the pin alignment issue on the lowered cars. This picture shows a standard pad stacked on a recessed pad but the application would be the same with a low profile pad
sorry - didn't want to hijack the thread but thought this might be good information.
Brilliant! That certainly helps justify purchasing another set. Recessed pads ordered! What guy can�t use an extra inch?
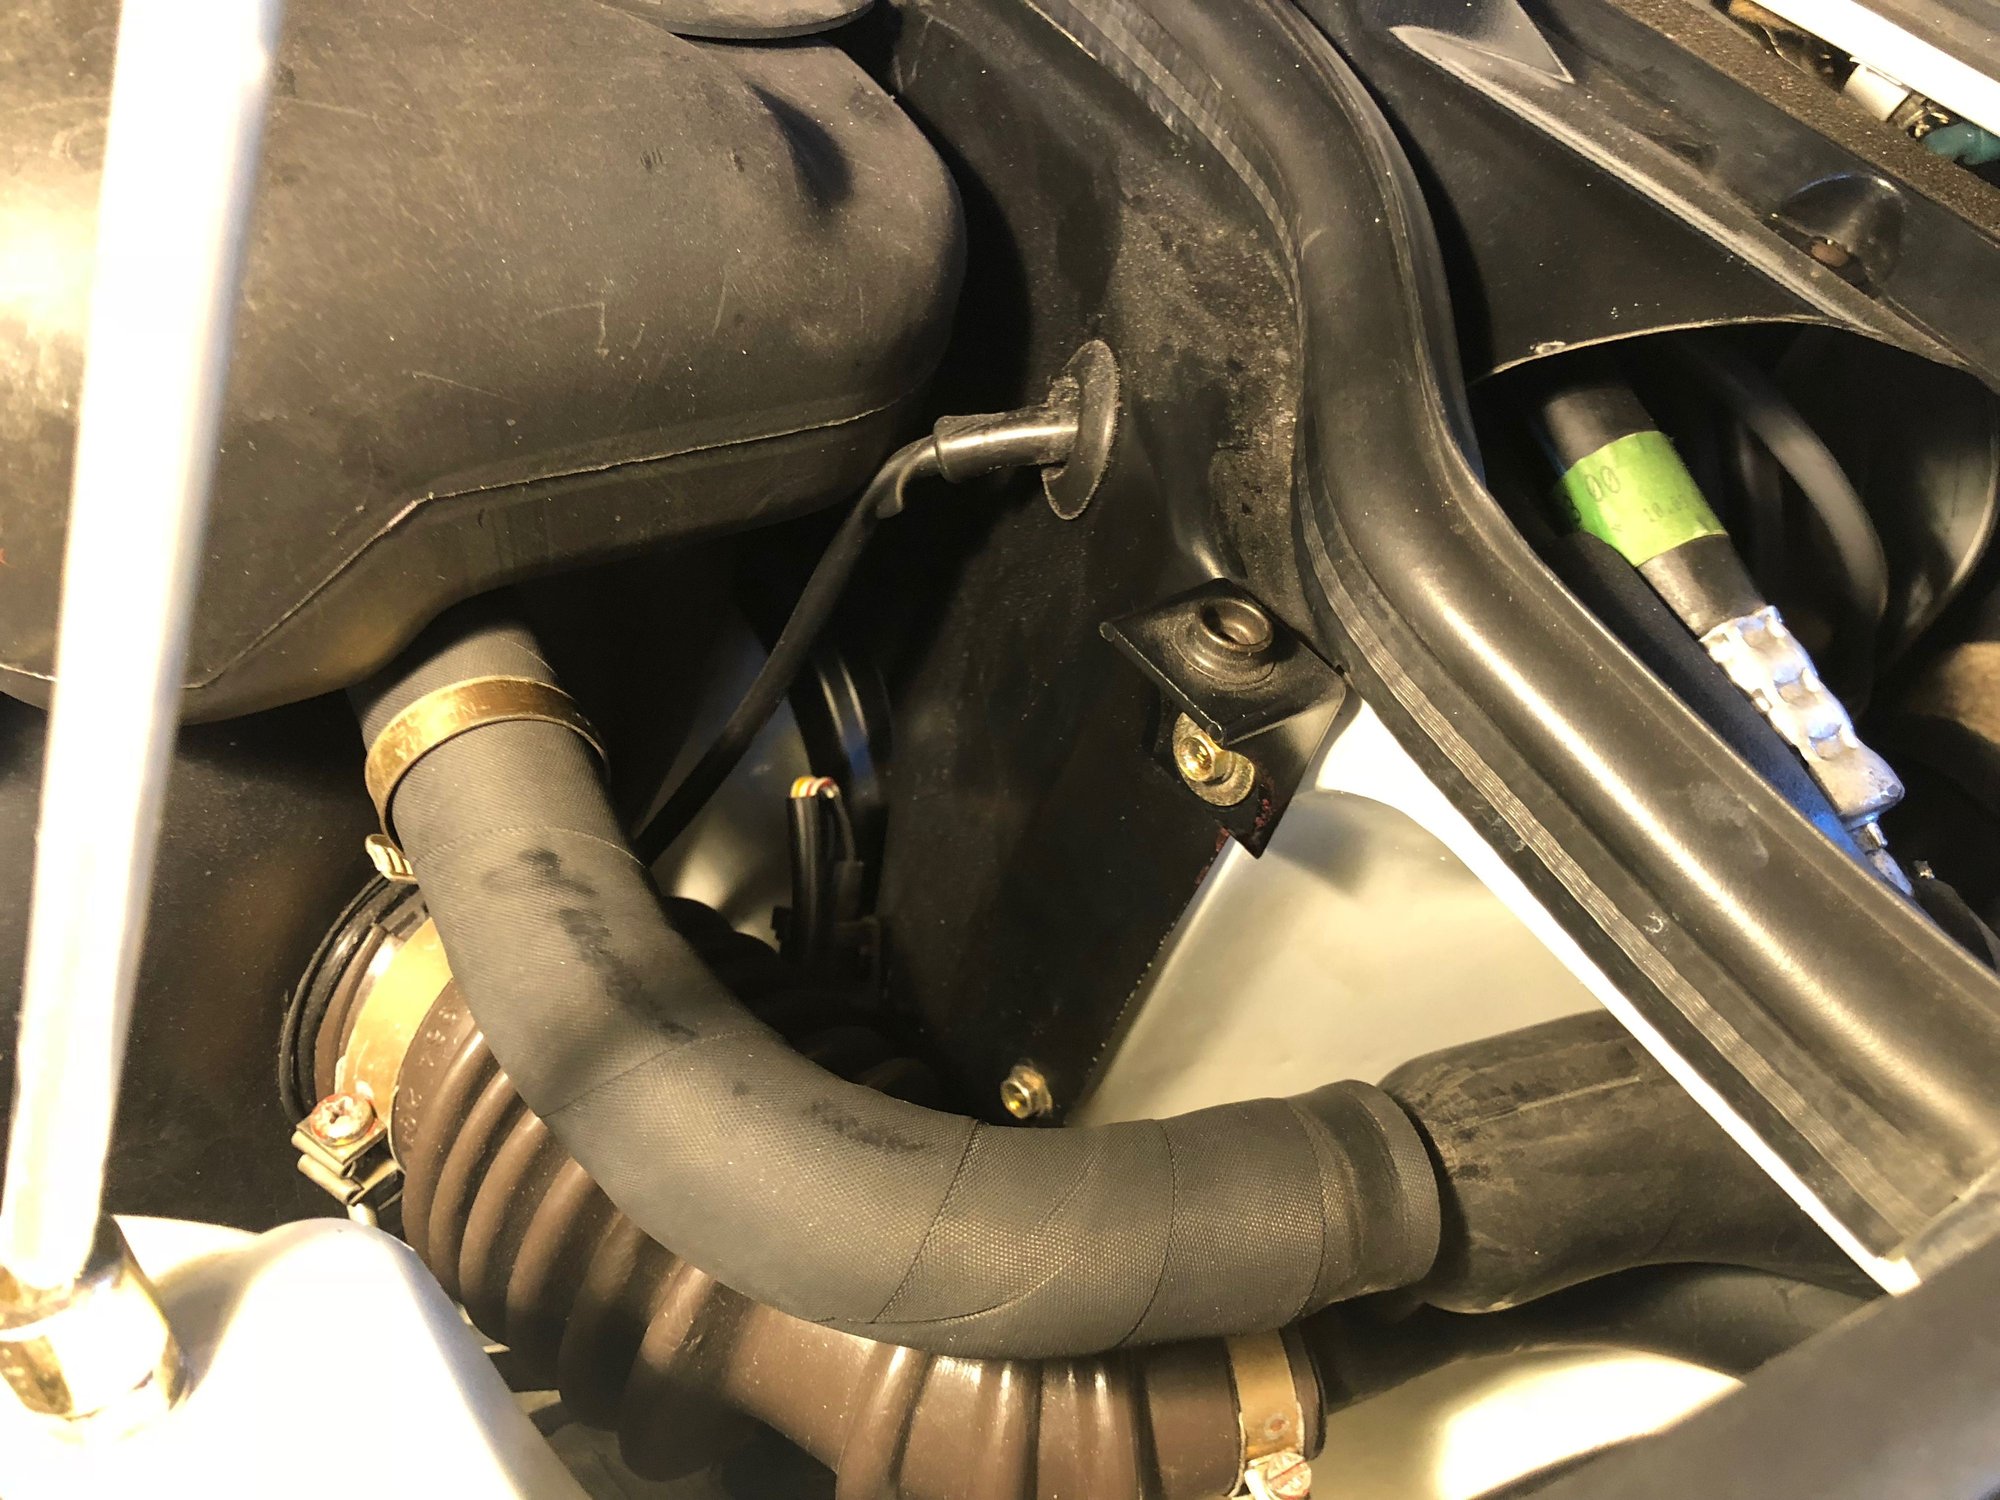
BTW - I've been reading the entire thread. SO impressive! I also see a few things that might help me in my modest revival of my 964 Targa (10+ years of not running and sitting outside for 3) . I think you showed me the source of the fuel smell under my hood. My valve isn't broken but it's loose fitting. I haven't examined how to replace it yet. I see your order. Should ship tomorrow. Thanks
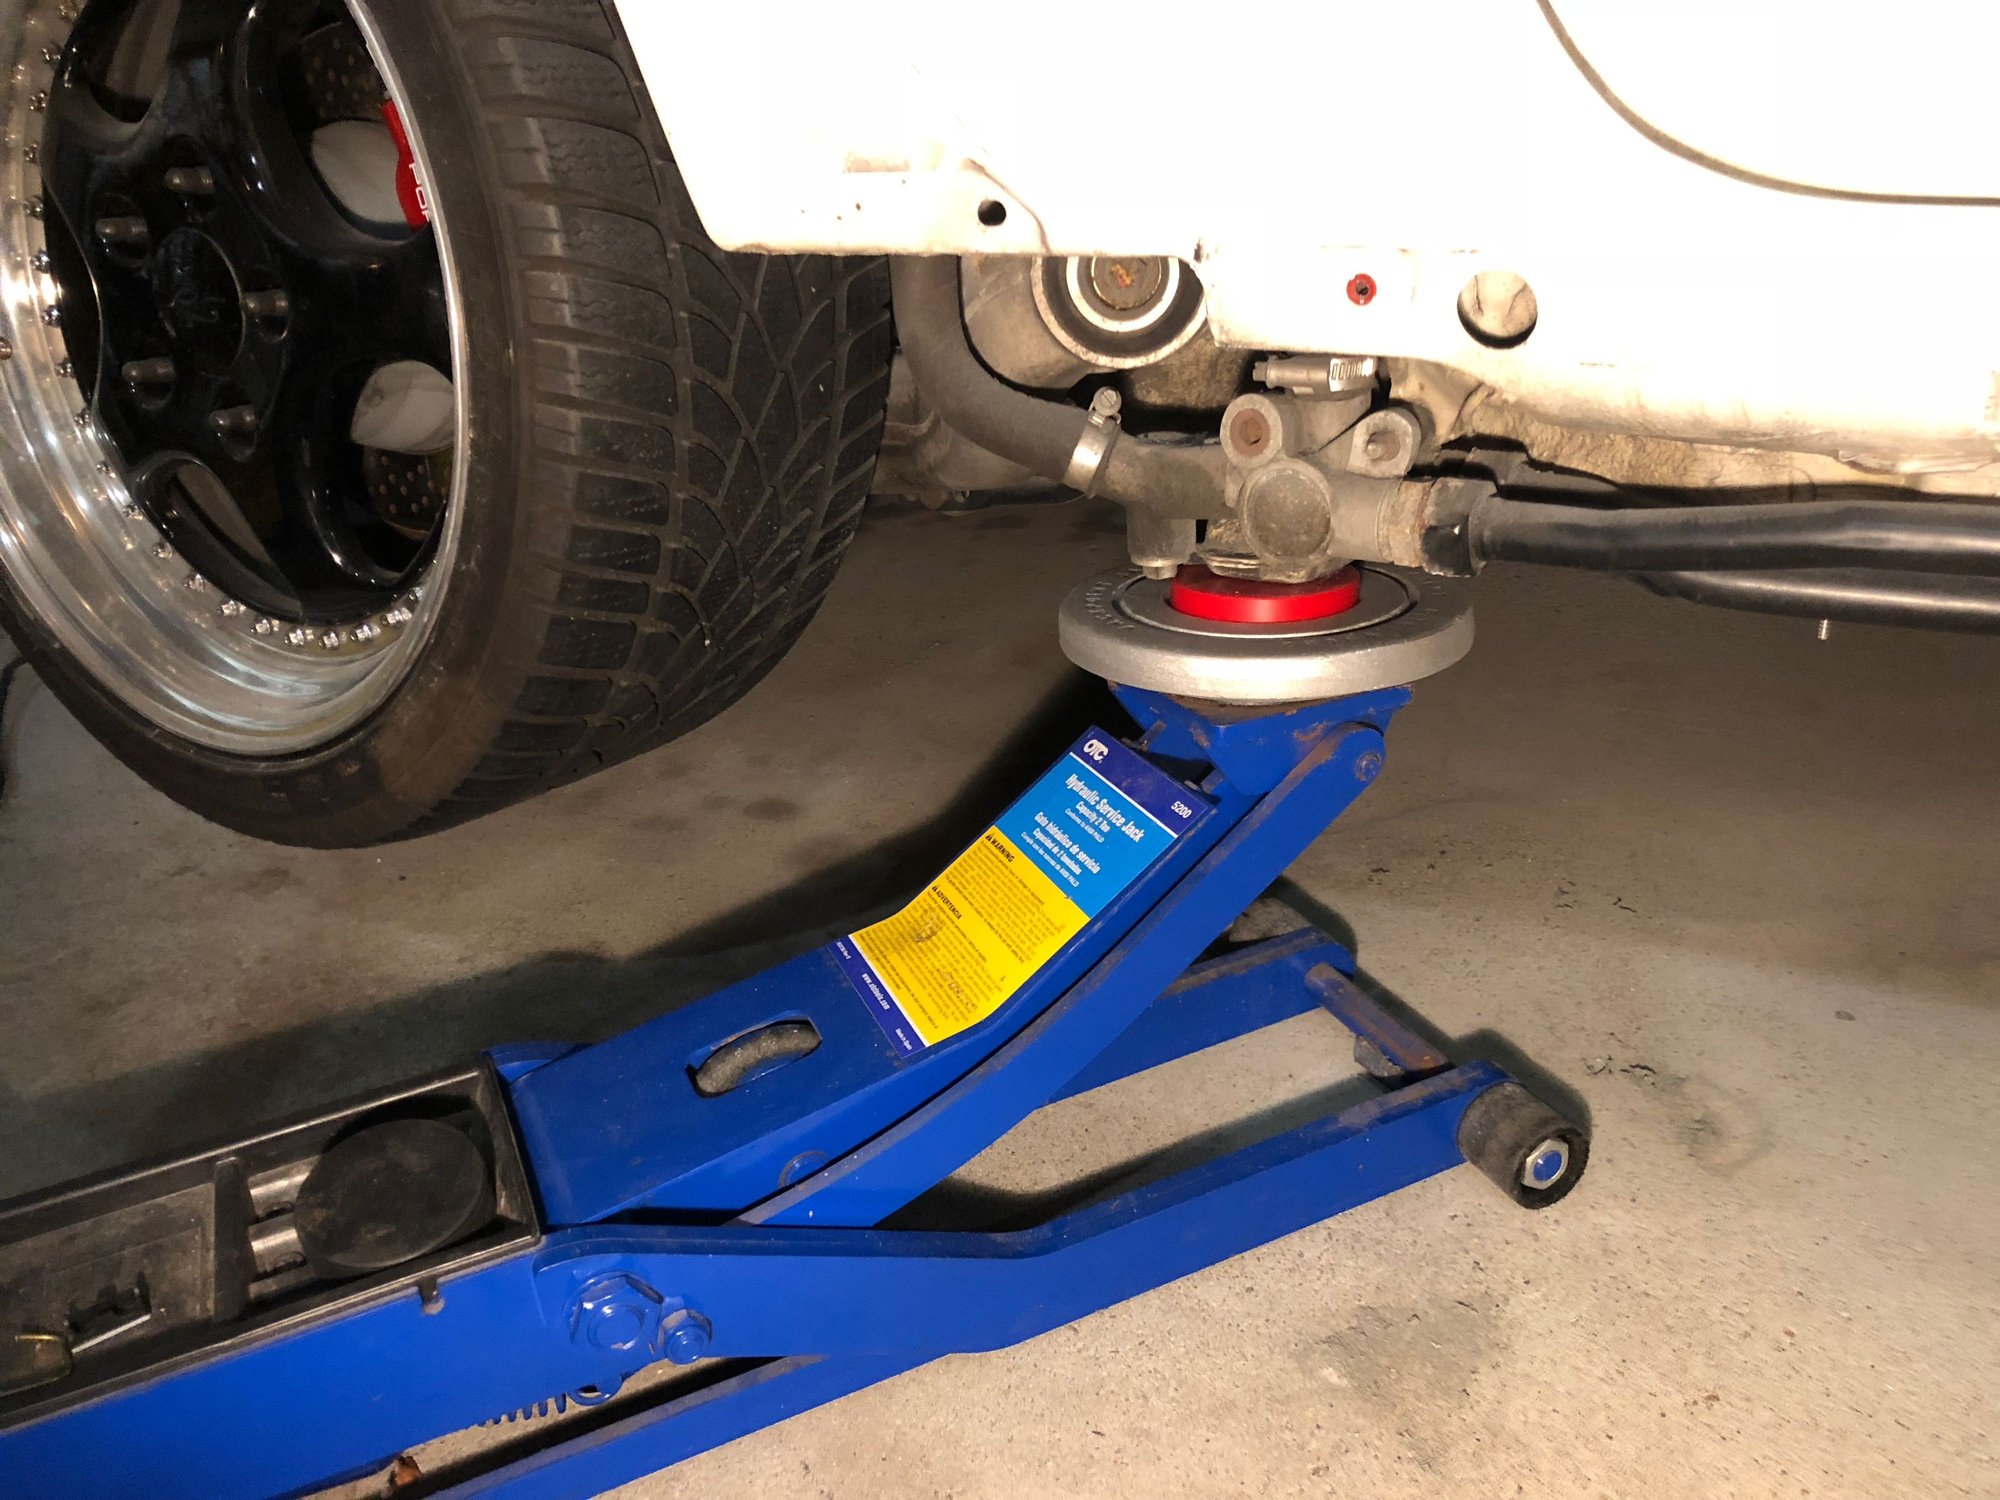
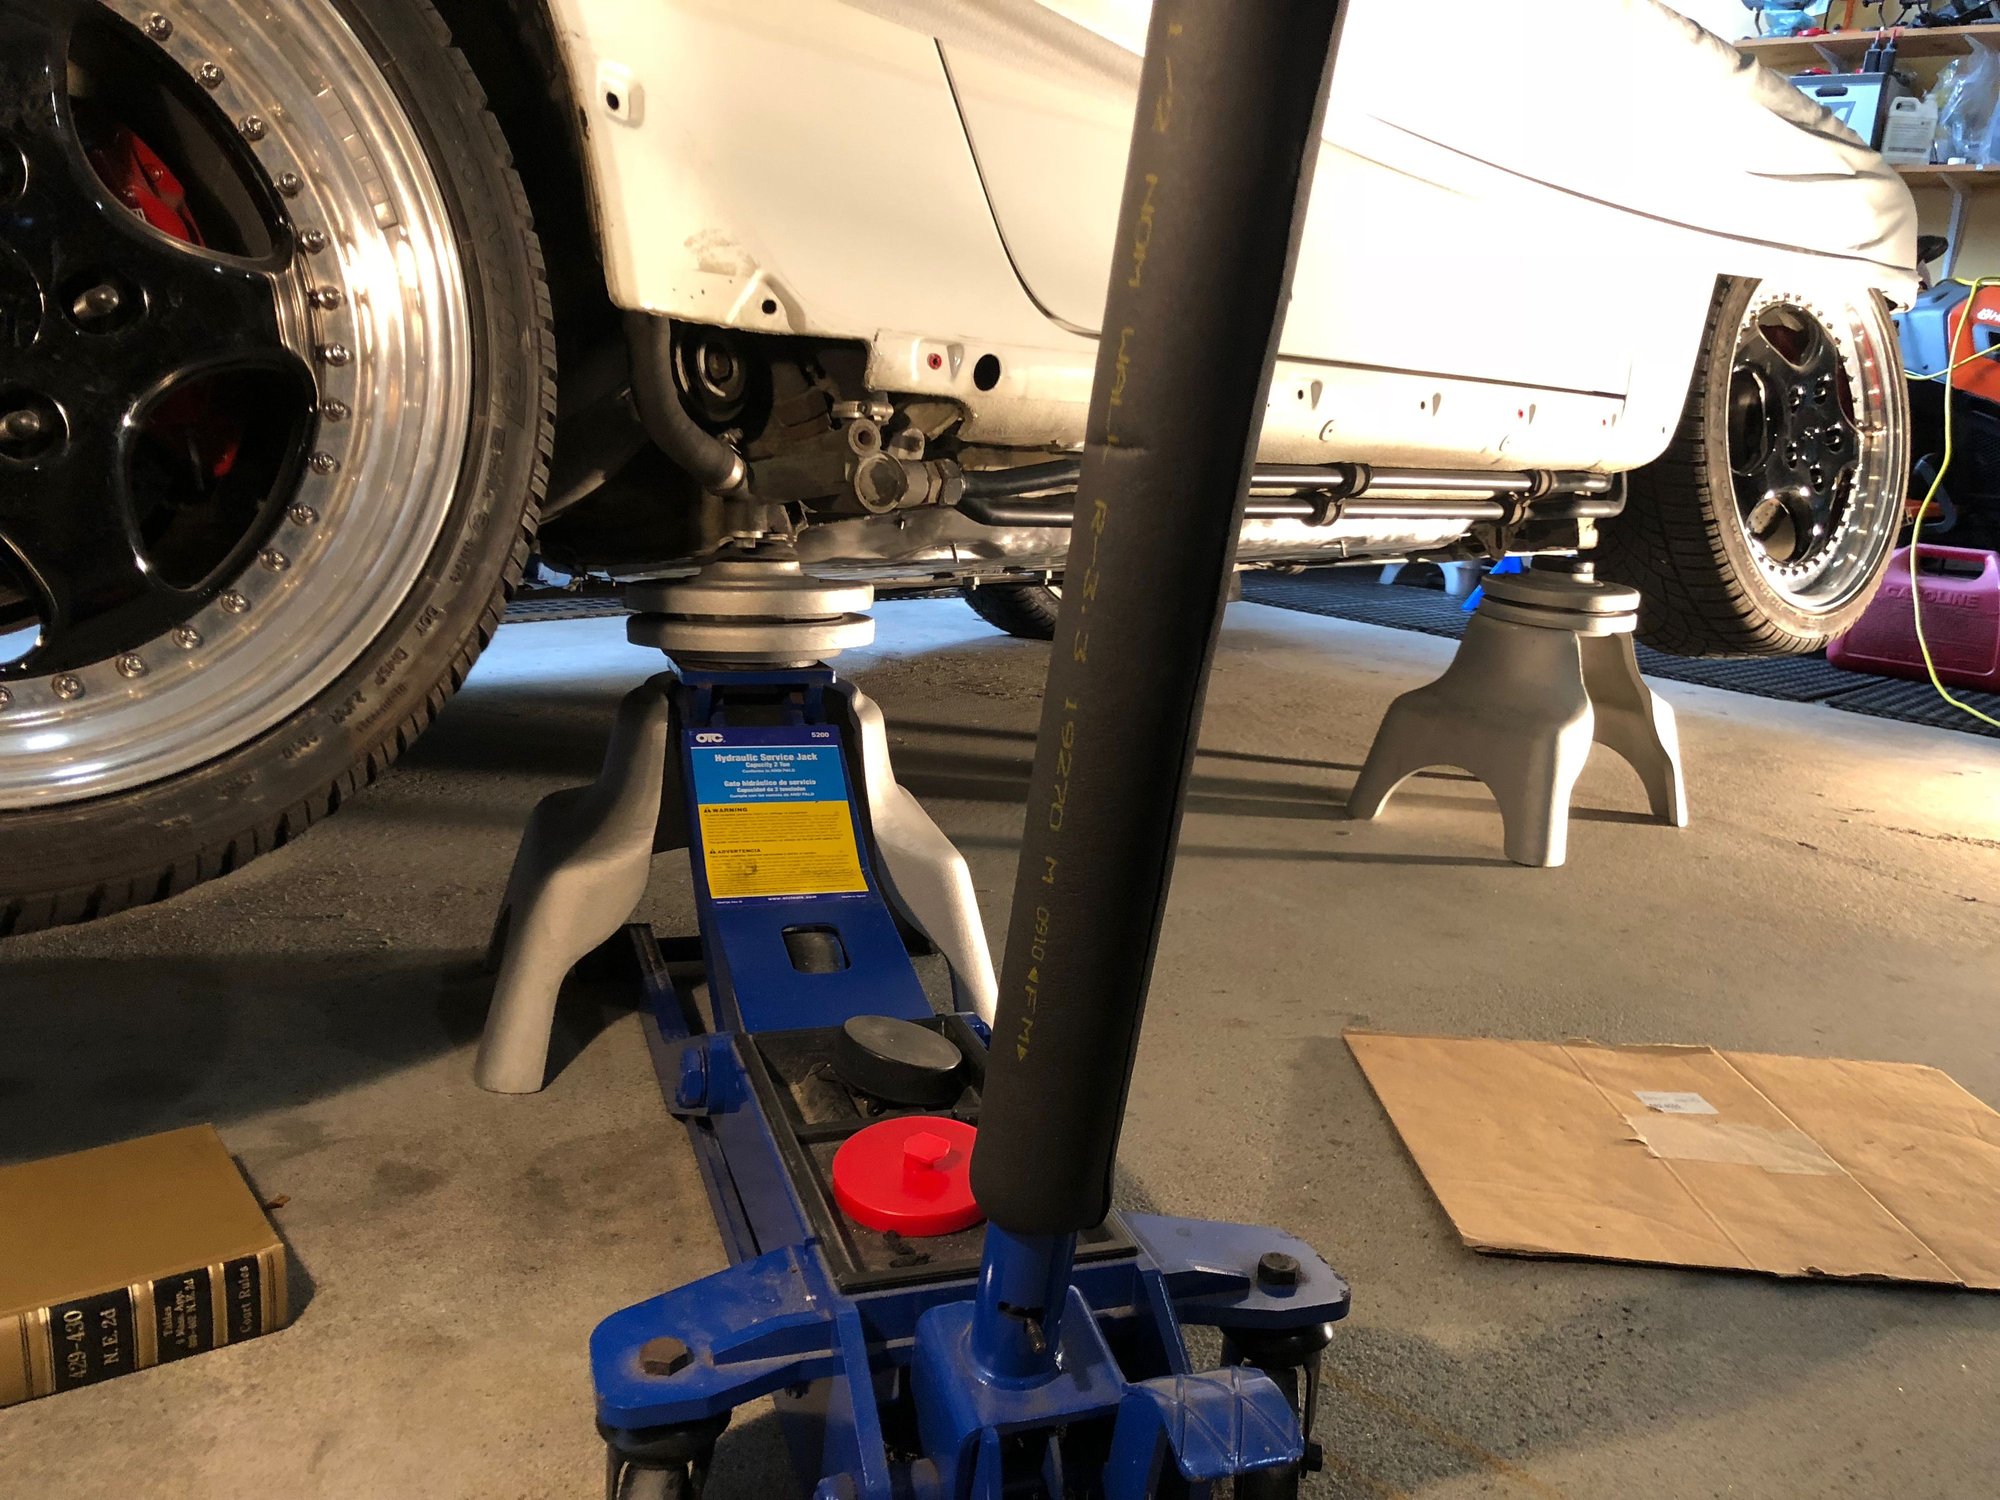
And a big thank you for the Jackpoint Recessed Pads. They work perfectly with the standard jack pads. And they were also a huge help in concert with the other Jackpoint pads raising the car an extra few inches for my next few projects.
Jackpoint Recessed Pad holds the jackpad perfectly in place And stacking it under the original Jackpoint Jackpads provides critical extra height. Note by simply jacking up the rear you can raise car for both front and rear at same time. Quick and easy.
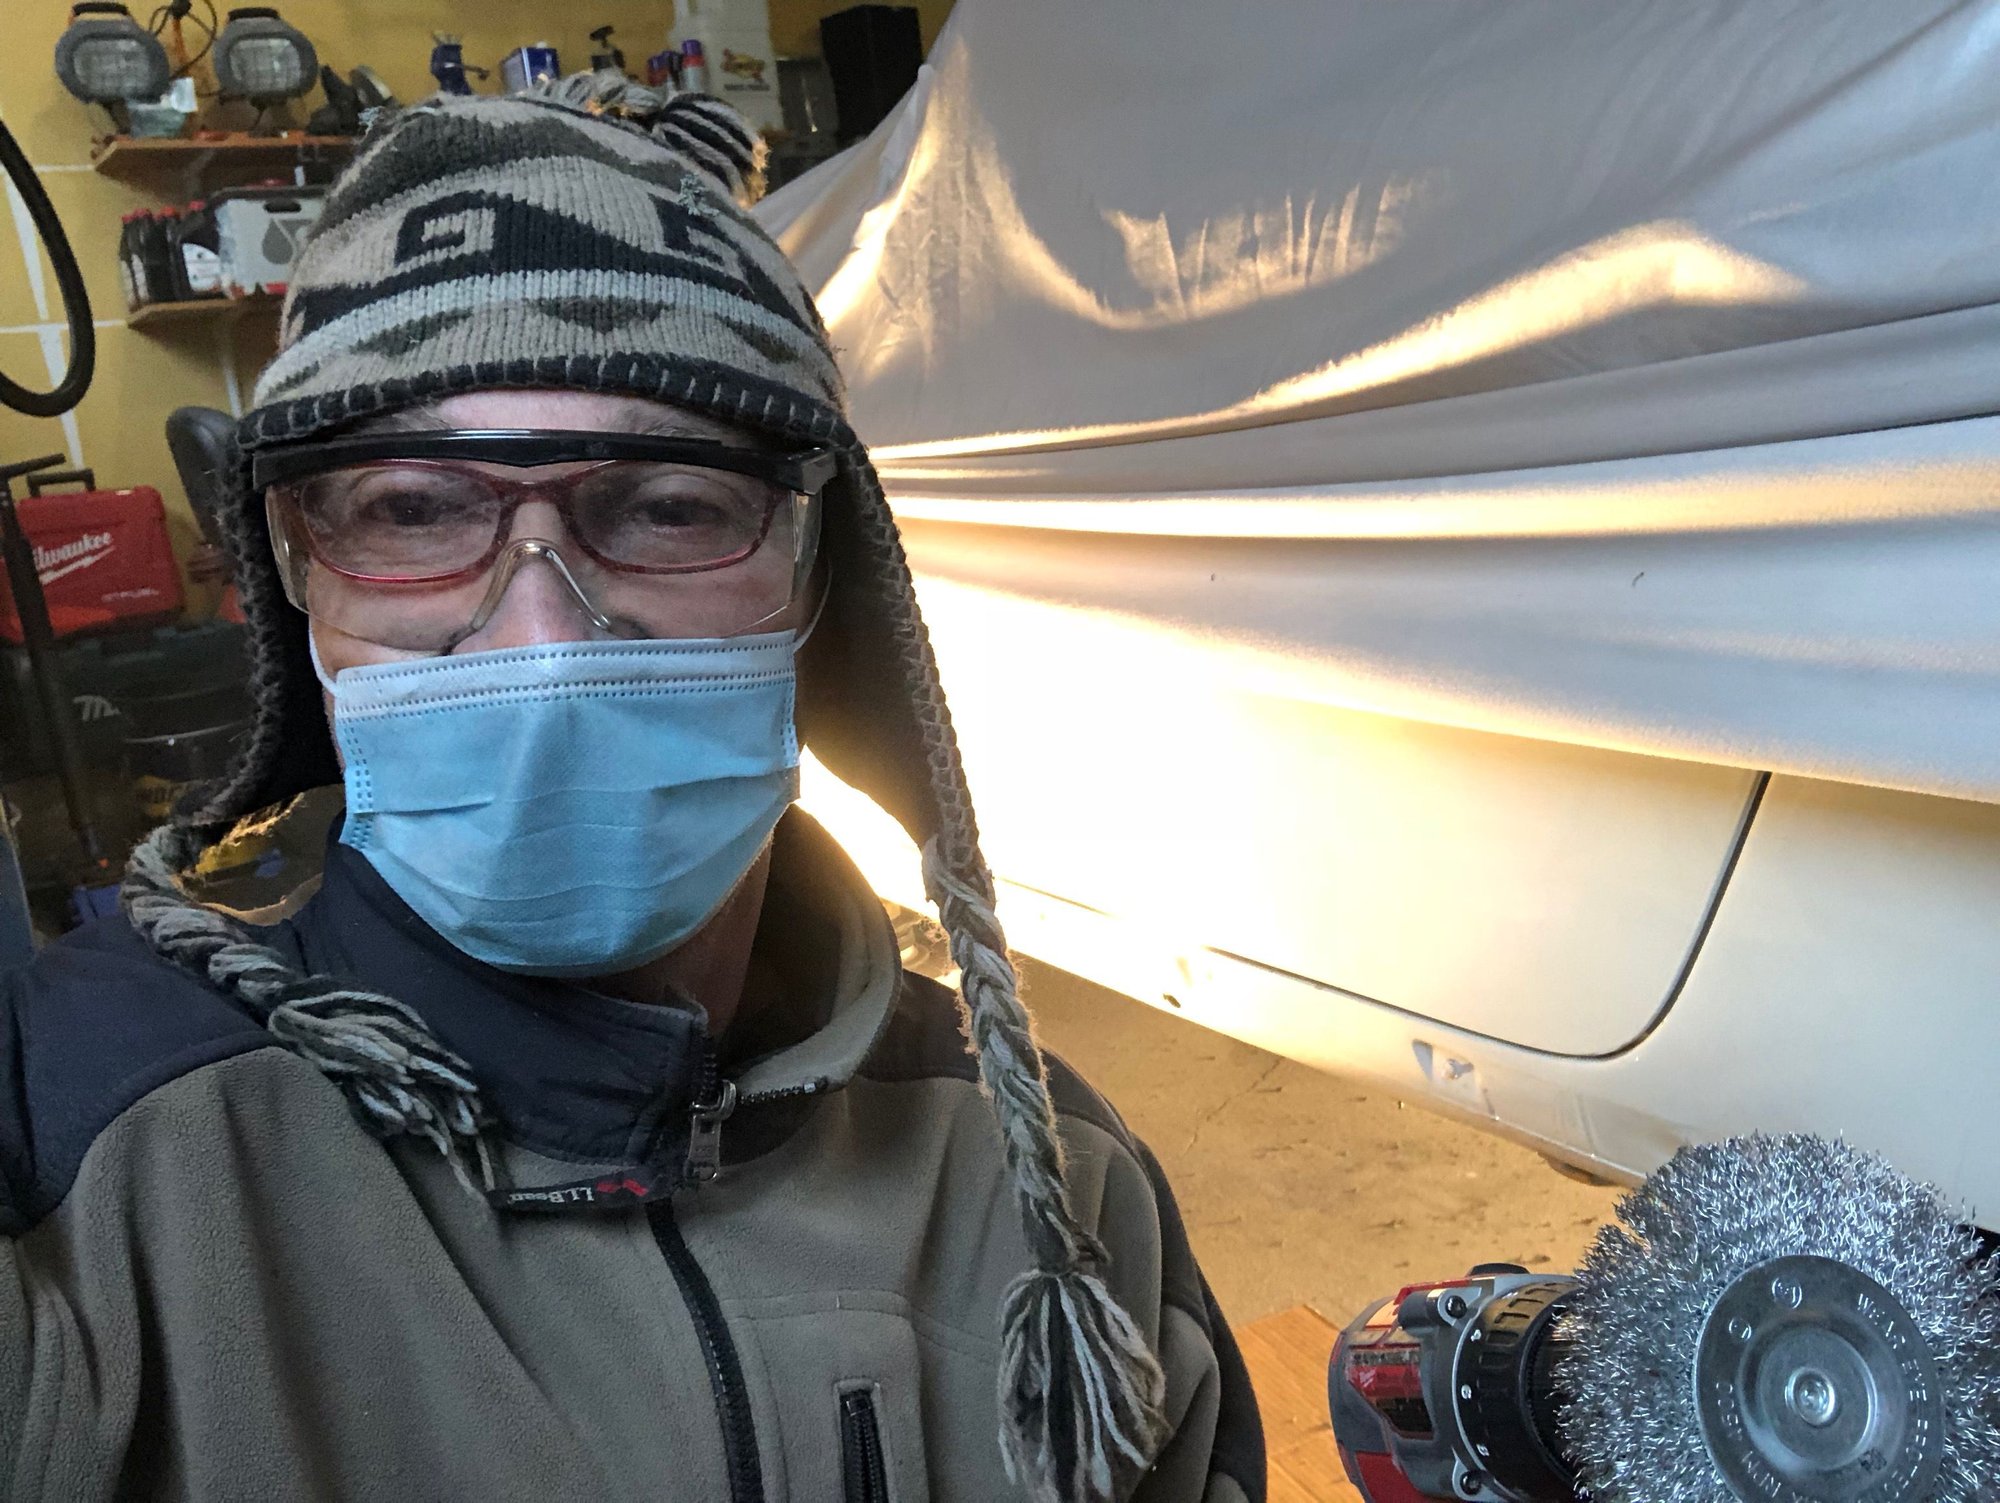
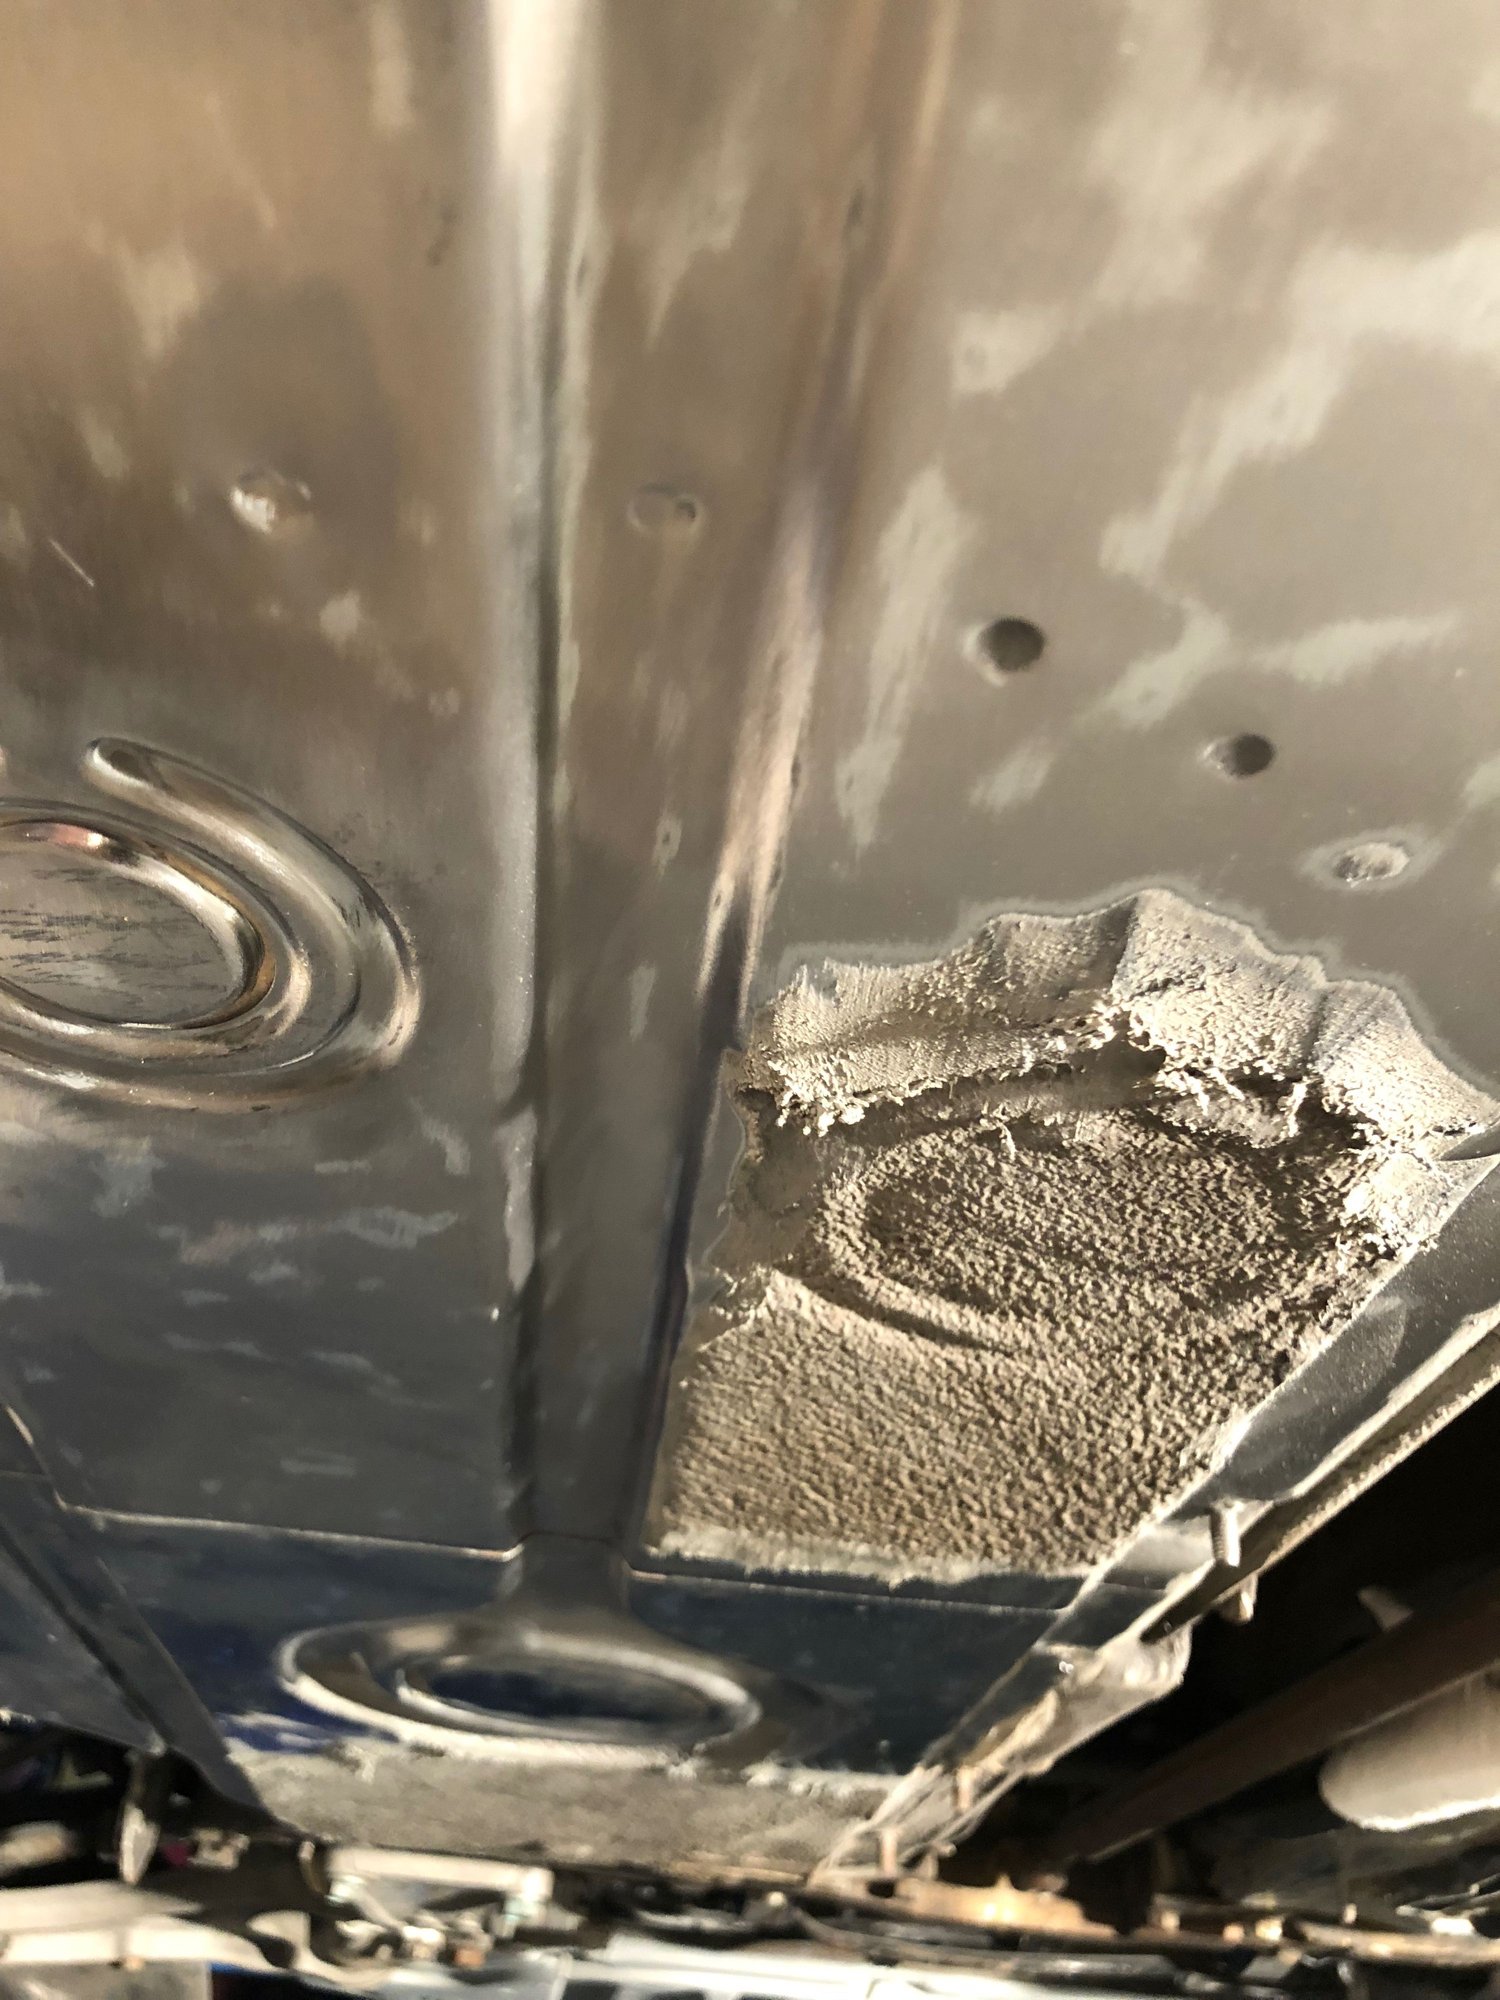
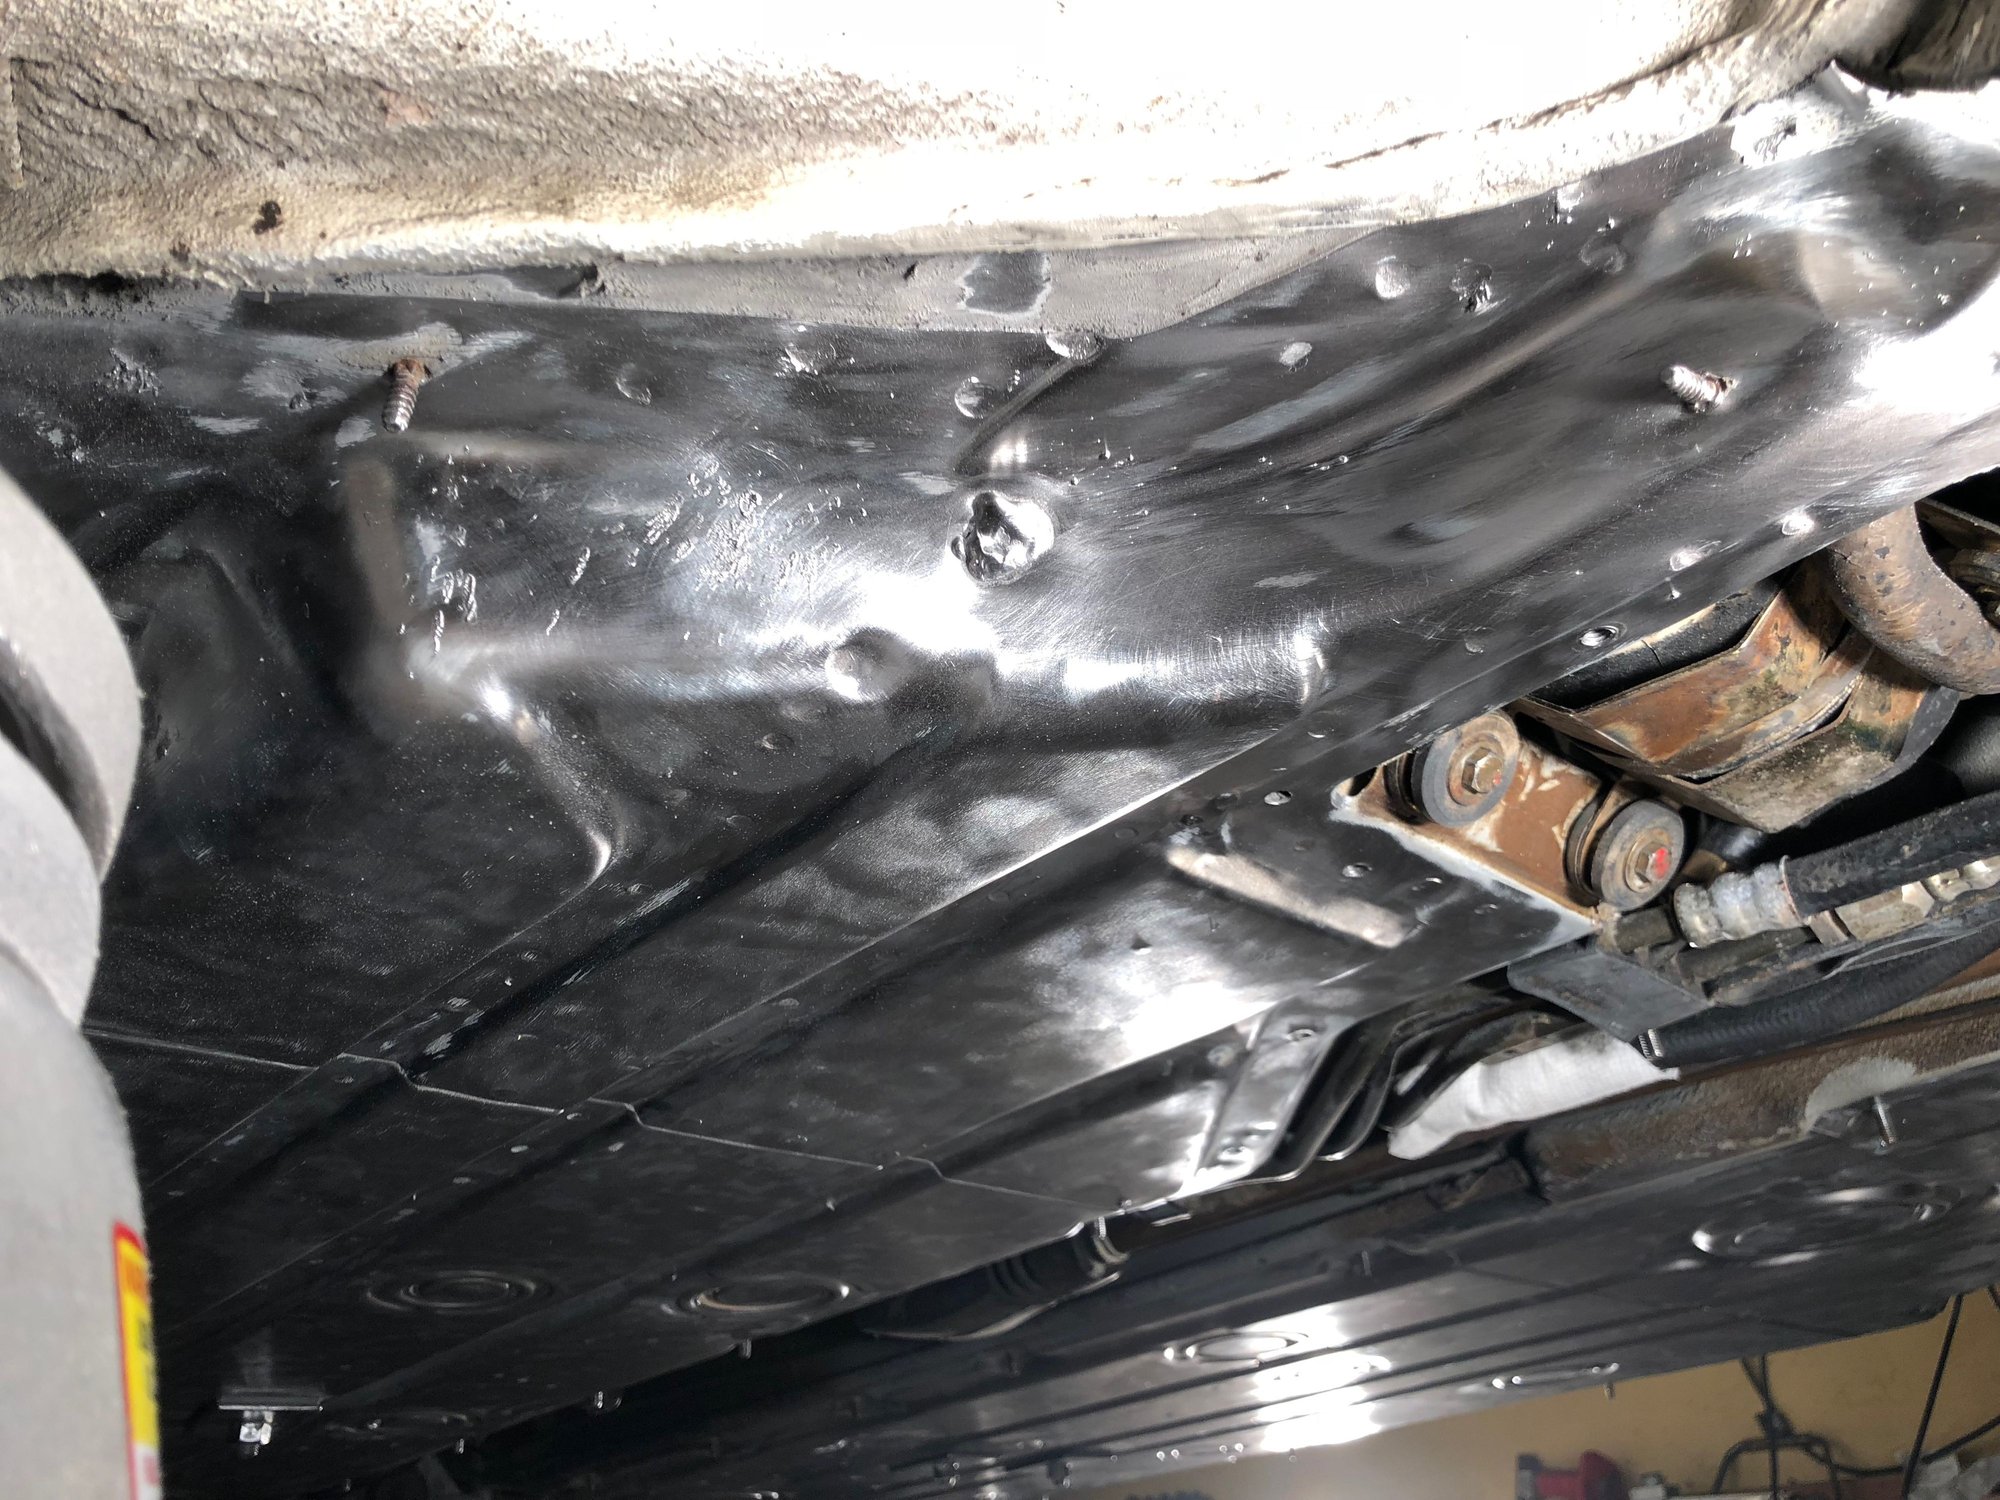
So with the car safely jacked-up, I crawled underneath with a wire-wheel, safety glasses and a drill, and set about removing the rubber and paint from the underside. Wear ear protection. My ears are still ringing. Row Jimmy, row.
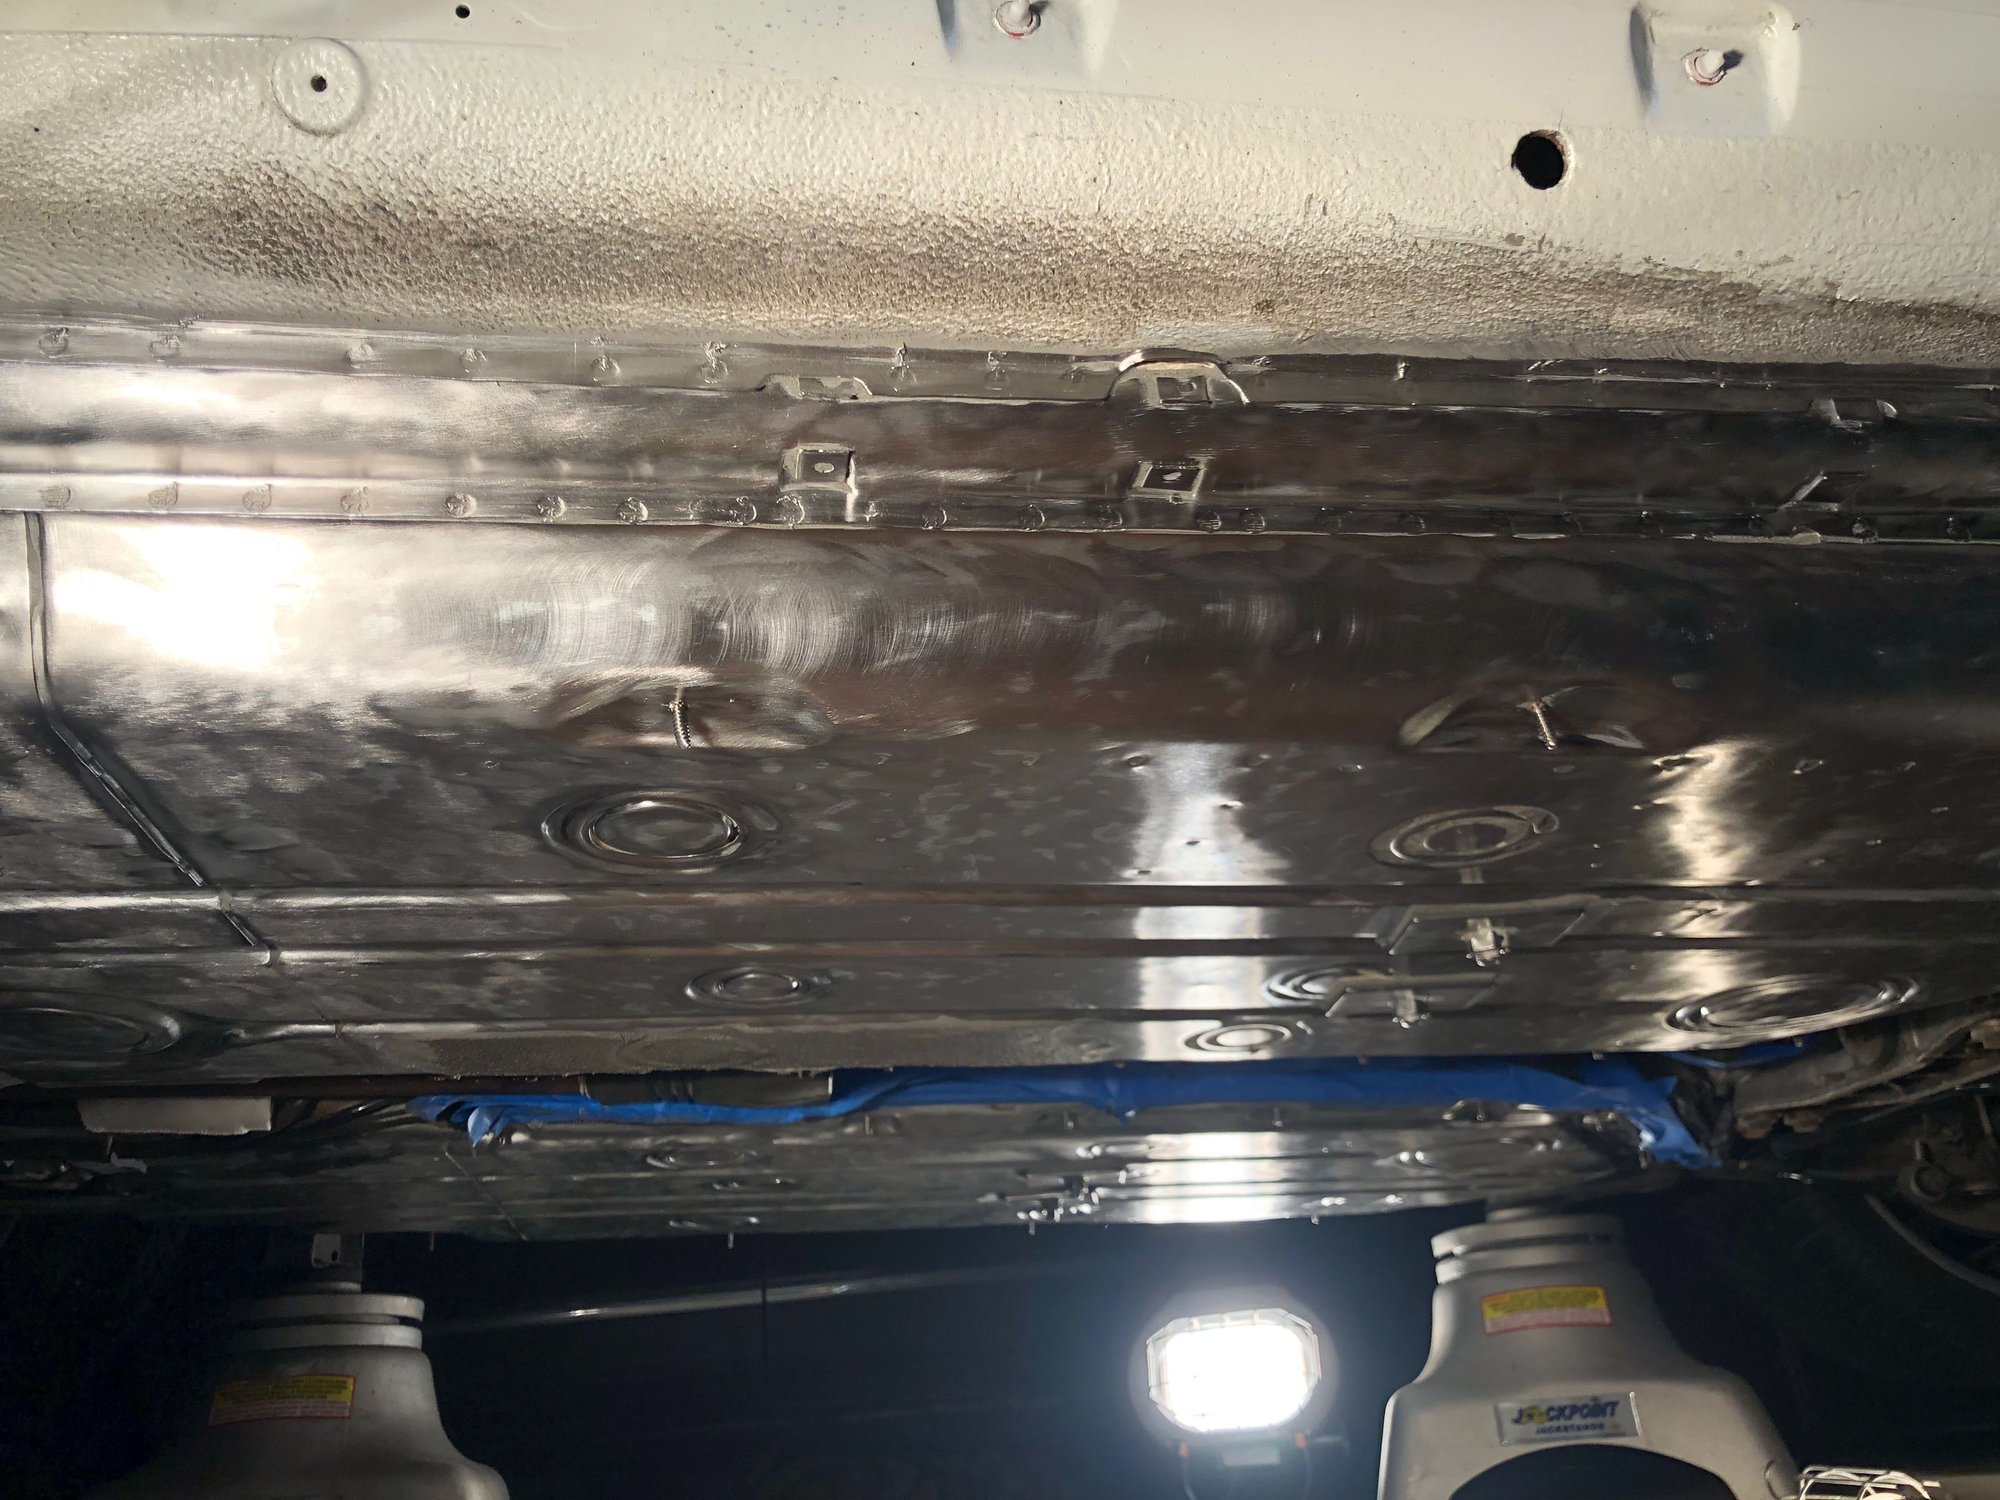
The work is slow, and painstaking. It took me a solid three days in the garage to strip all the rubber. I shot it a few quick coats of clear-coat to keep the rust away.
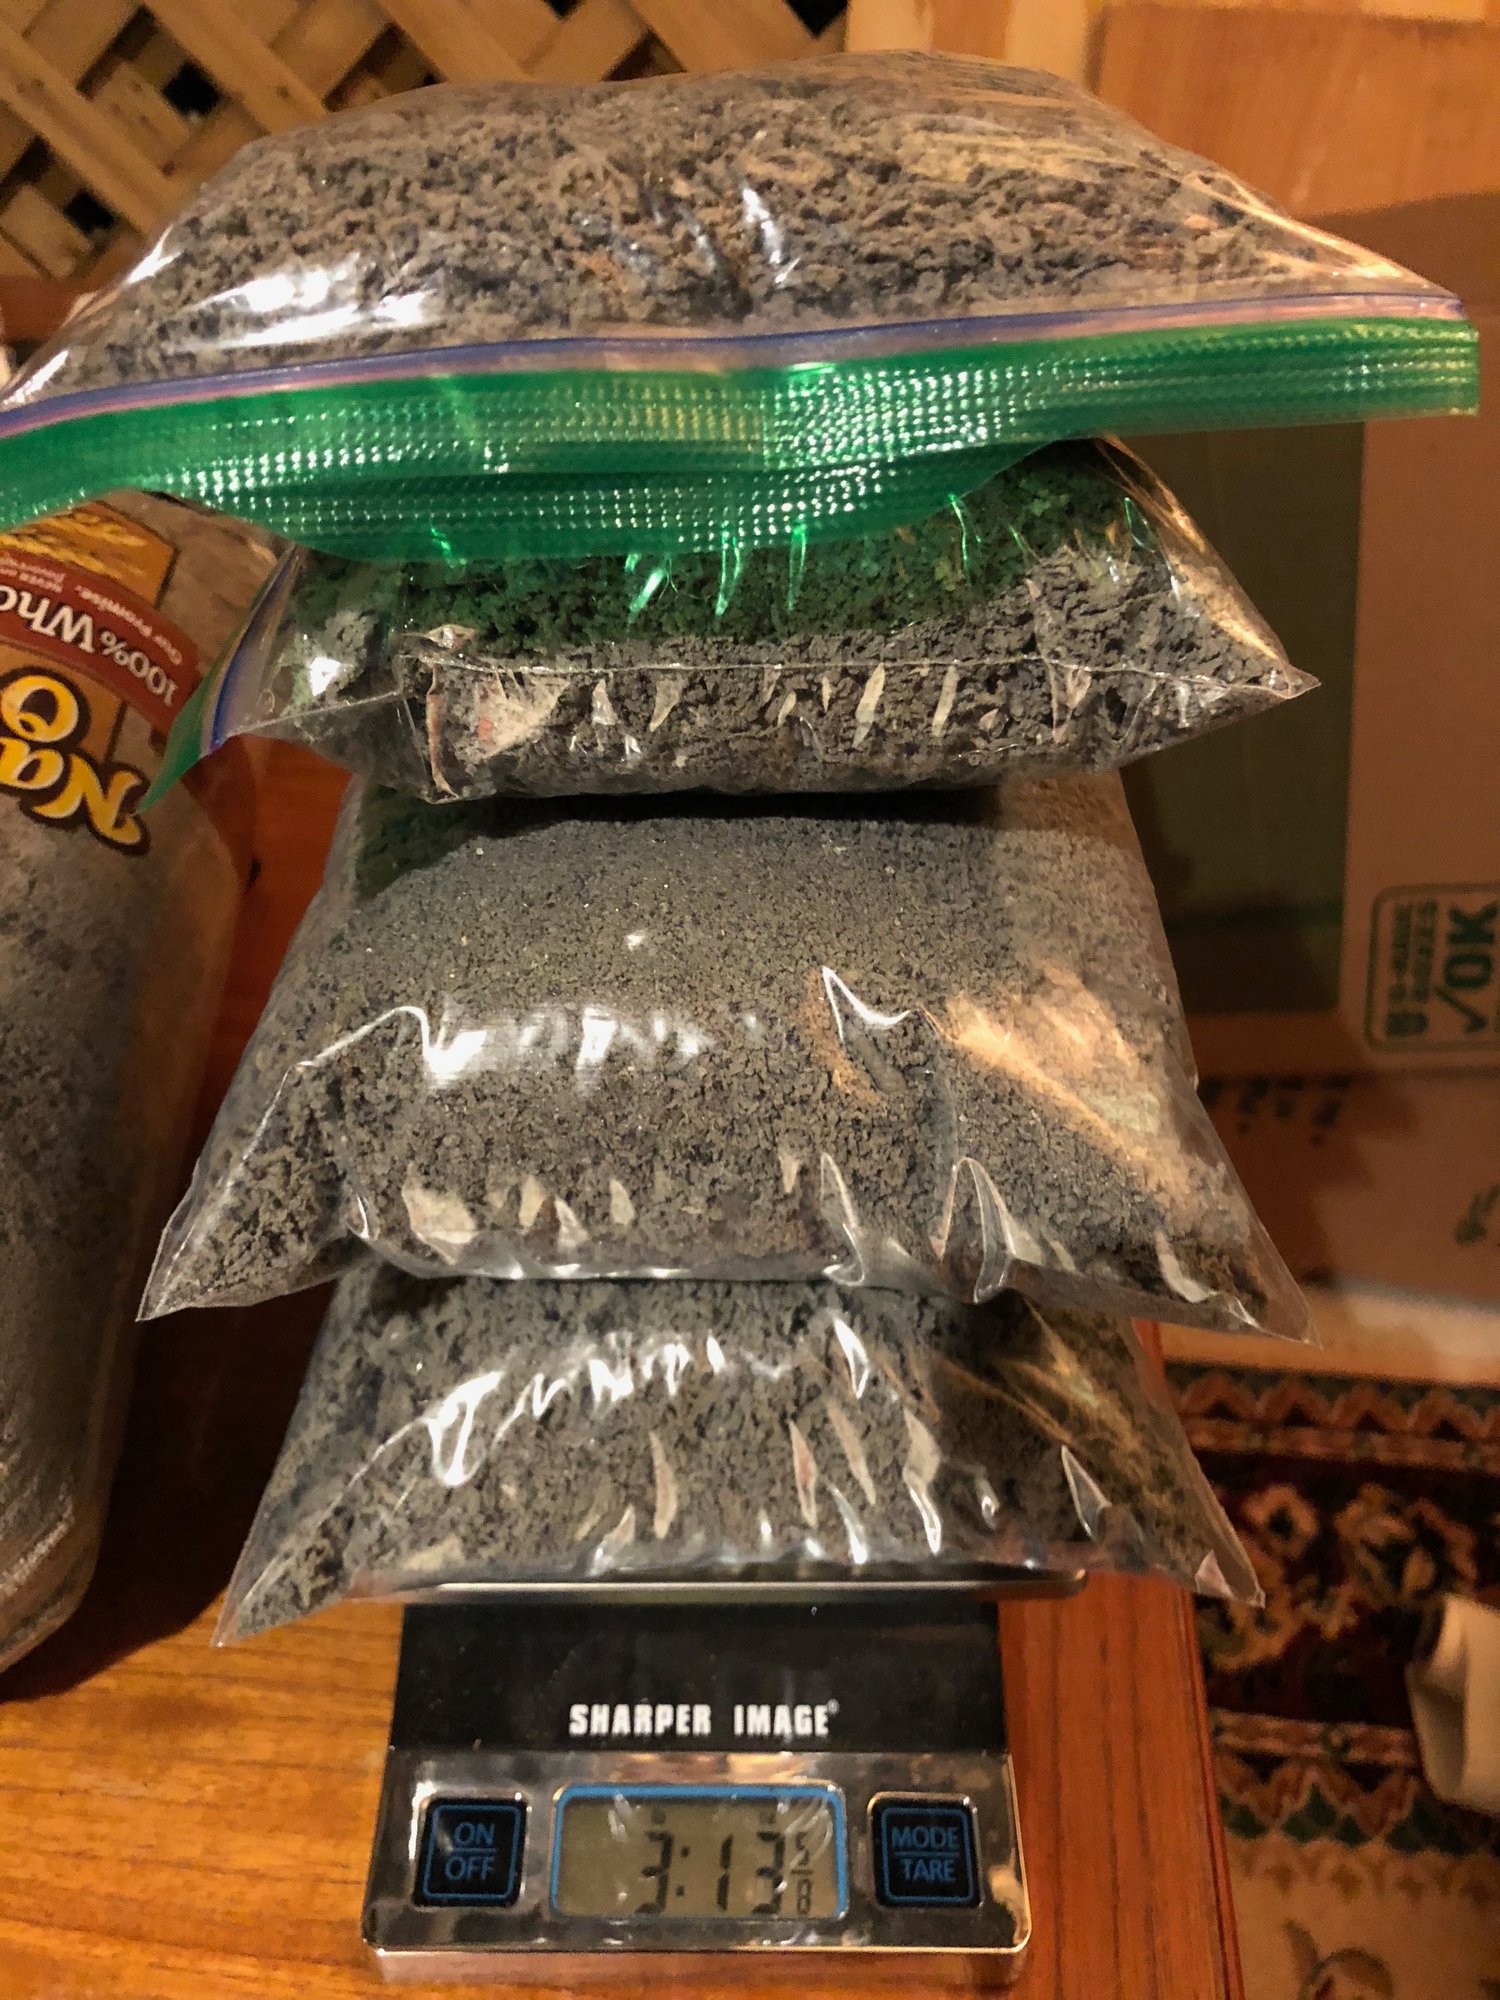
It's hard to say with any precision what this yielded in weight savings, but I swept up over 10 lbs of rubber and dust off the floor. I'm guessing close to 15 lbs. eliminated here, but I will go with 12.5 lbs. to err on the side of caution.
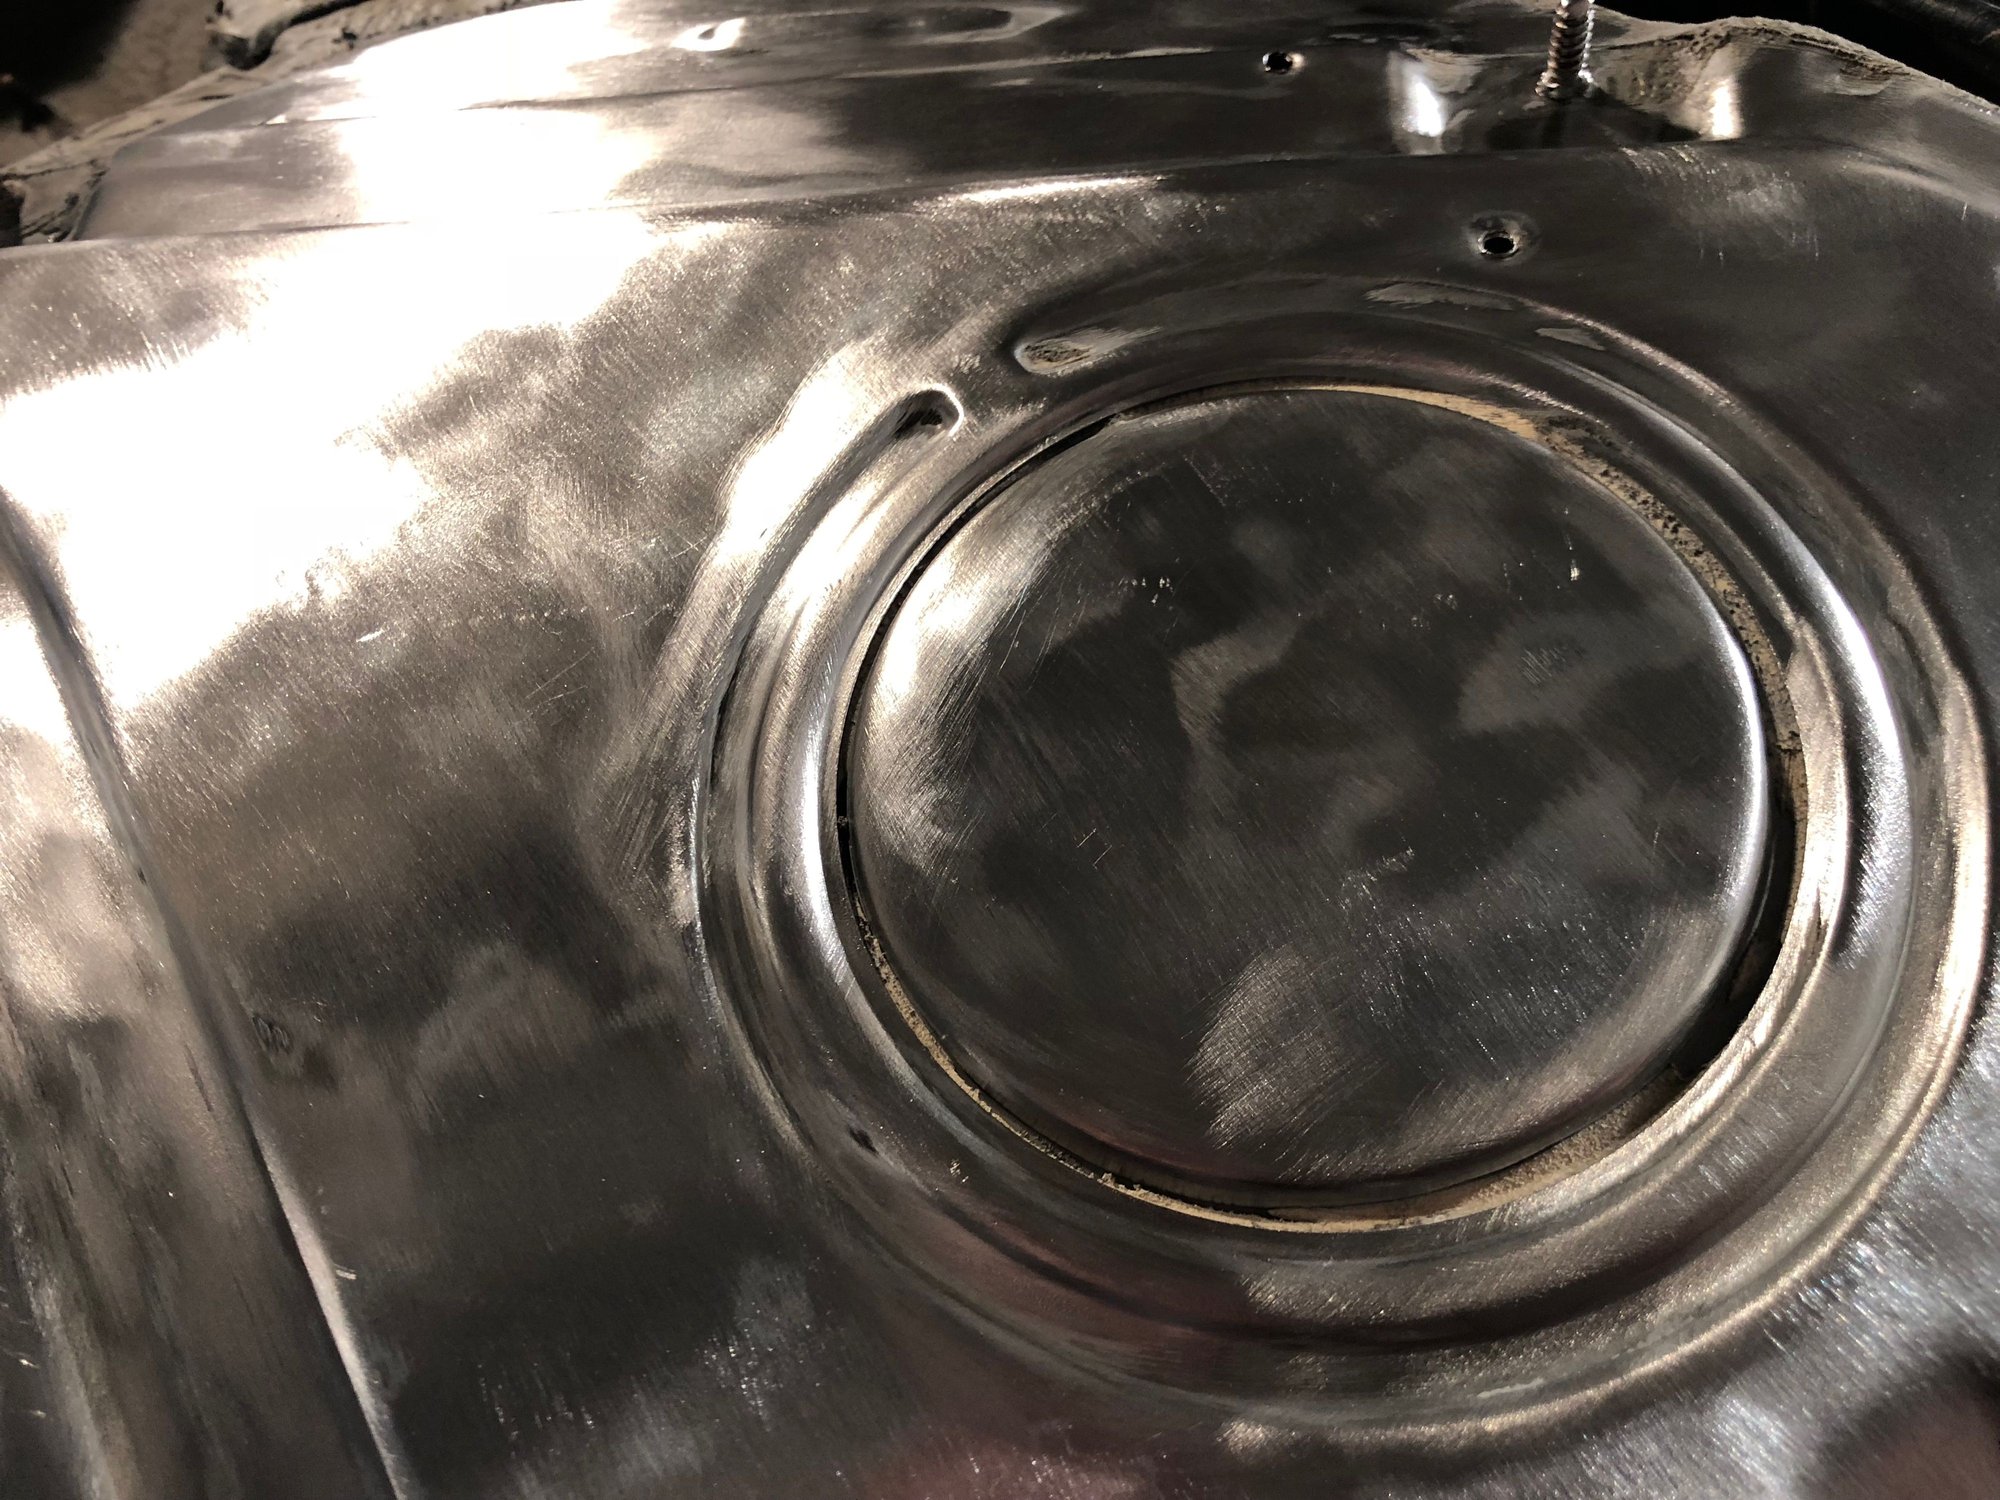
With the car up pn Jackpoint Jackstands This was a lot easier Don't forget ear protection, too Details Close to a 1/4' thick is some spot With tunnel and fuel pump cover off, I'm thinking now might be a good time to remove the HVAC suitcase! Not a Cheech and Chong Festival, that's rubber bits swept up off the floor Over 10 lbs. in total
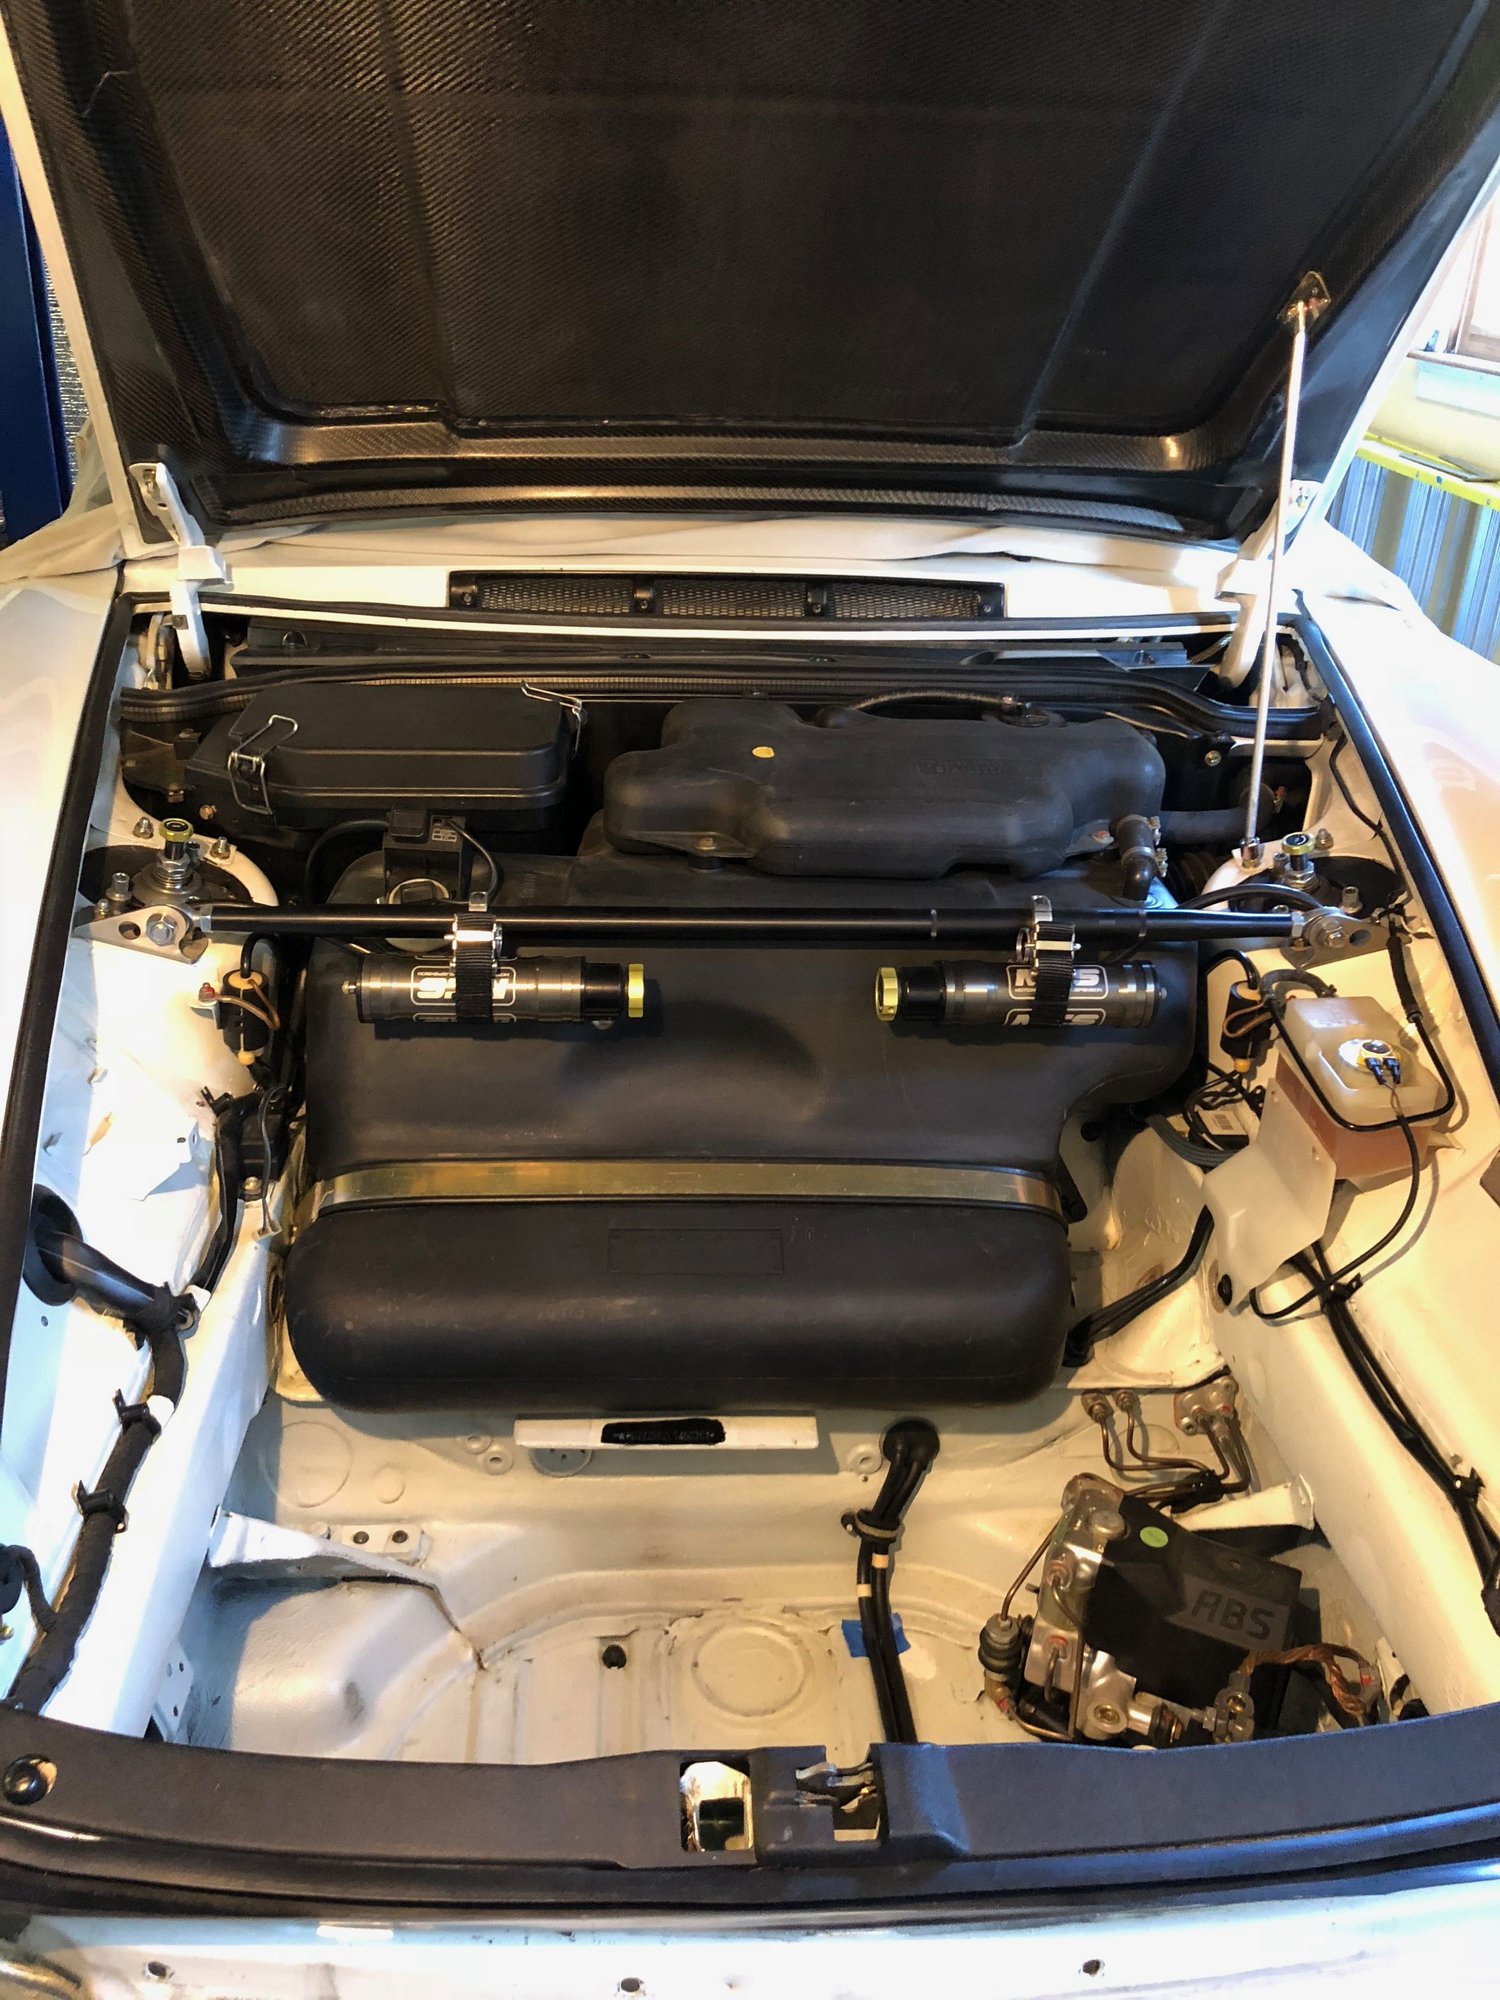
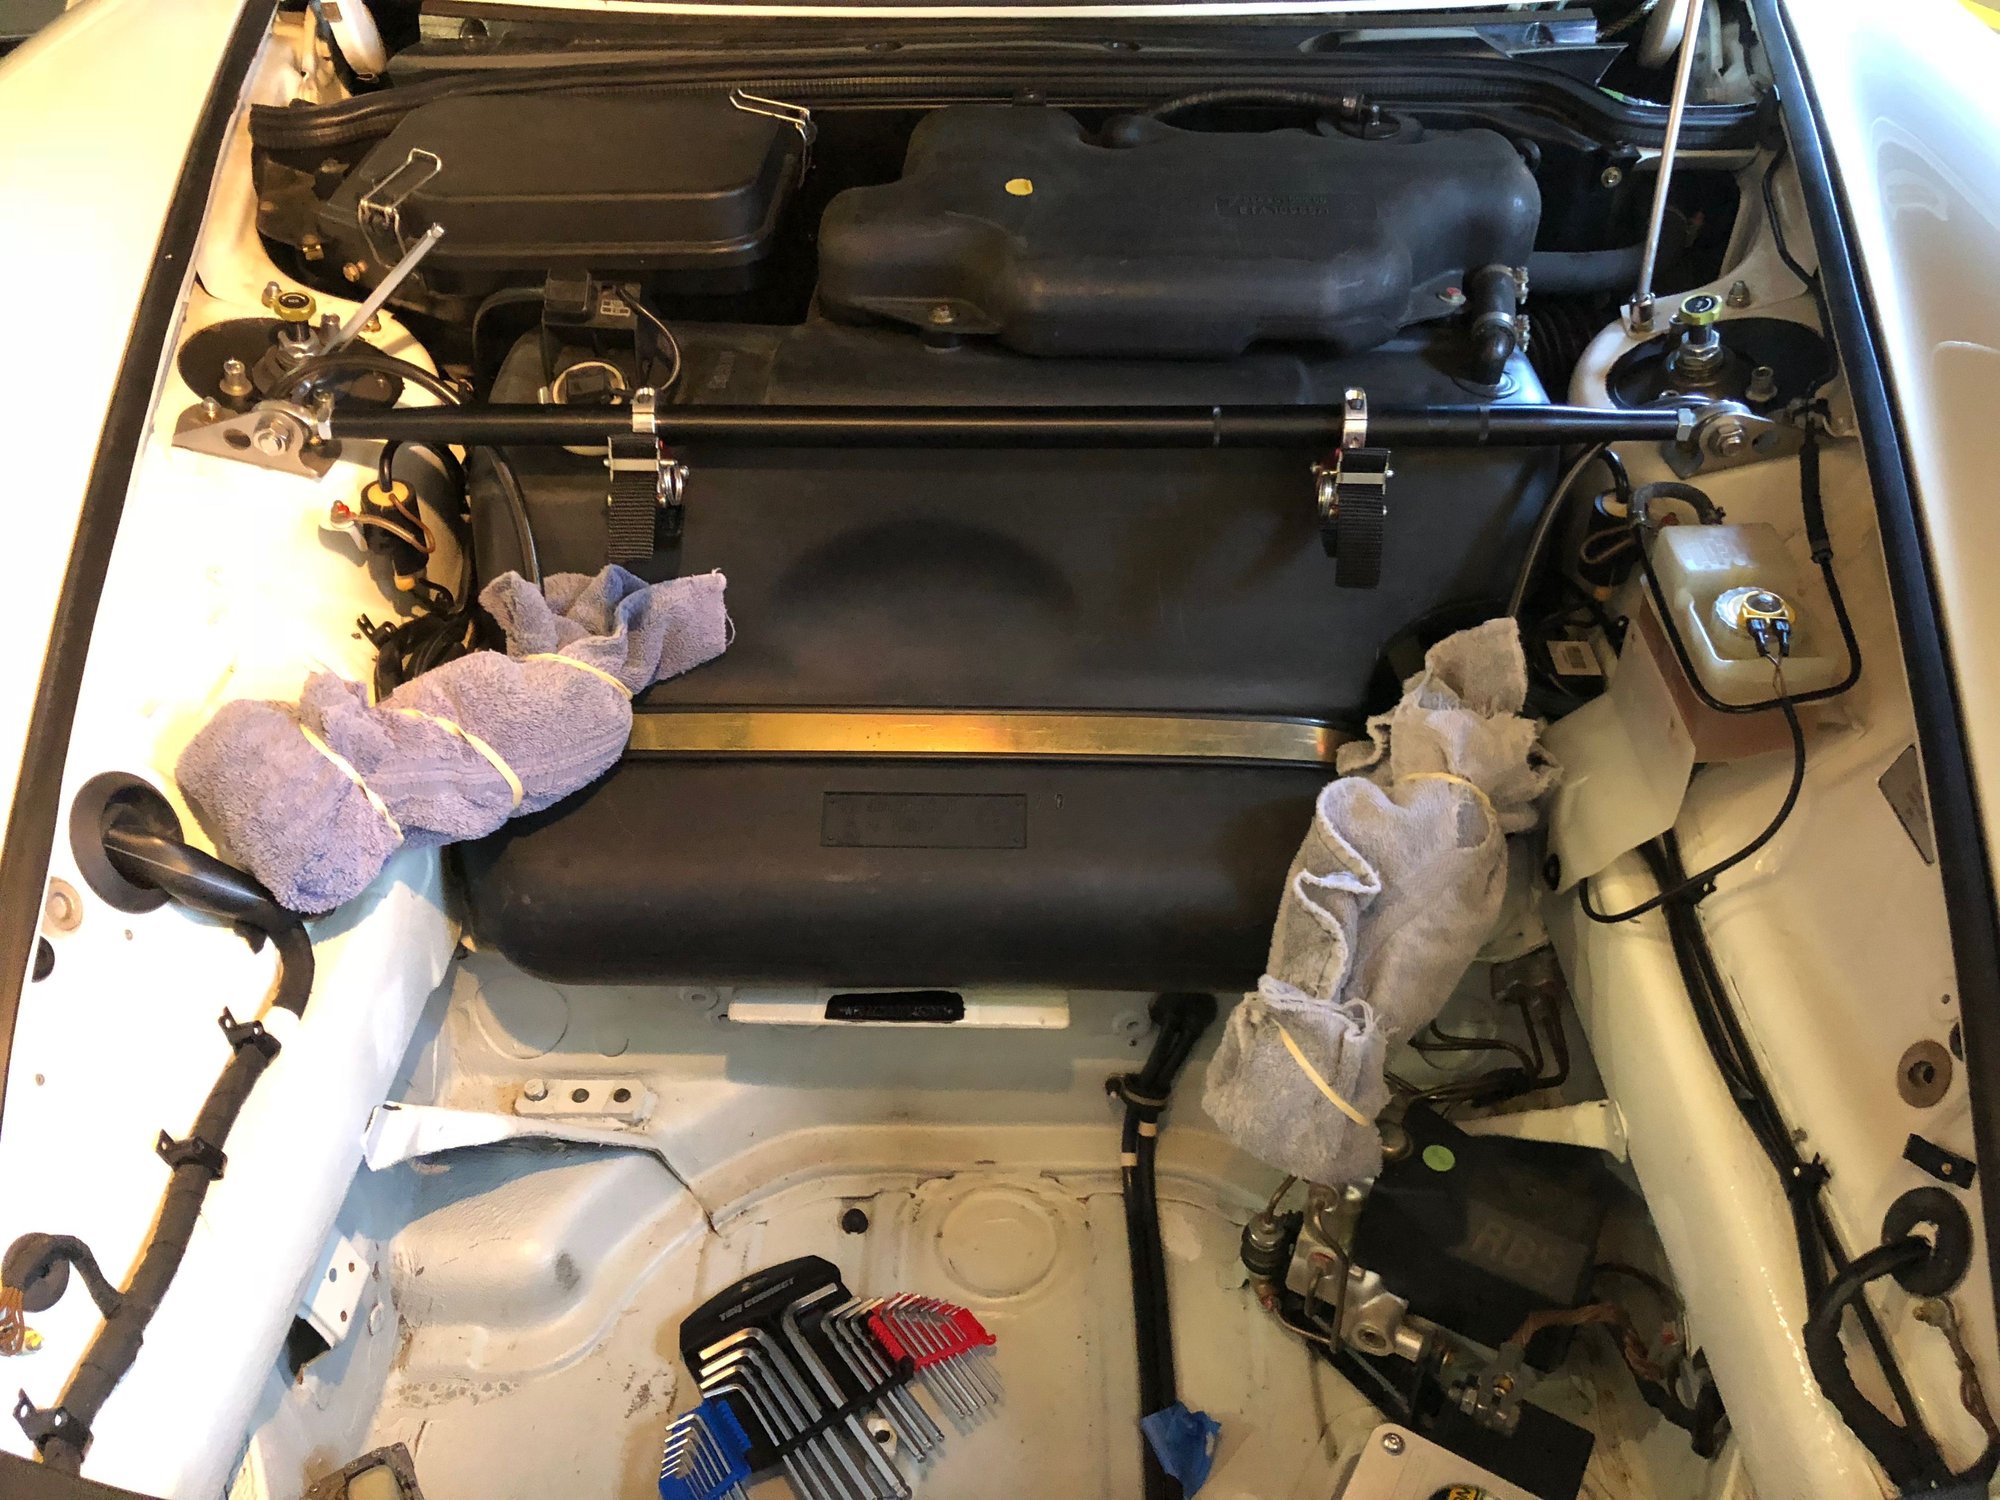
So with the car jacked-up and the fuel pump exposed, I thought now is the time to remove the HVAC suitcase. The air conditioning was already removed, and I can find come other way to duct the heat.
Thanks to Wachuko for being one of the first to brave this - see his thread on Replacing Evaporator (note, no need to remove overflow tank)
Also Pelican's excellent Article (which refers you to three other Pelican articles, ha!) on HVAC Suitcase Removal
And finally this great article posted in P Car by TJ on 993 Evaporator Replacement
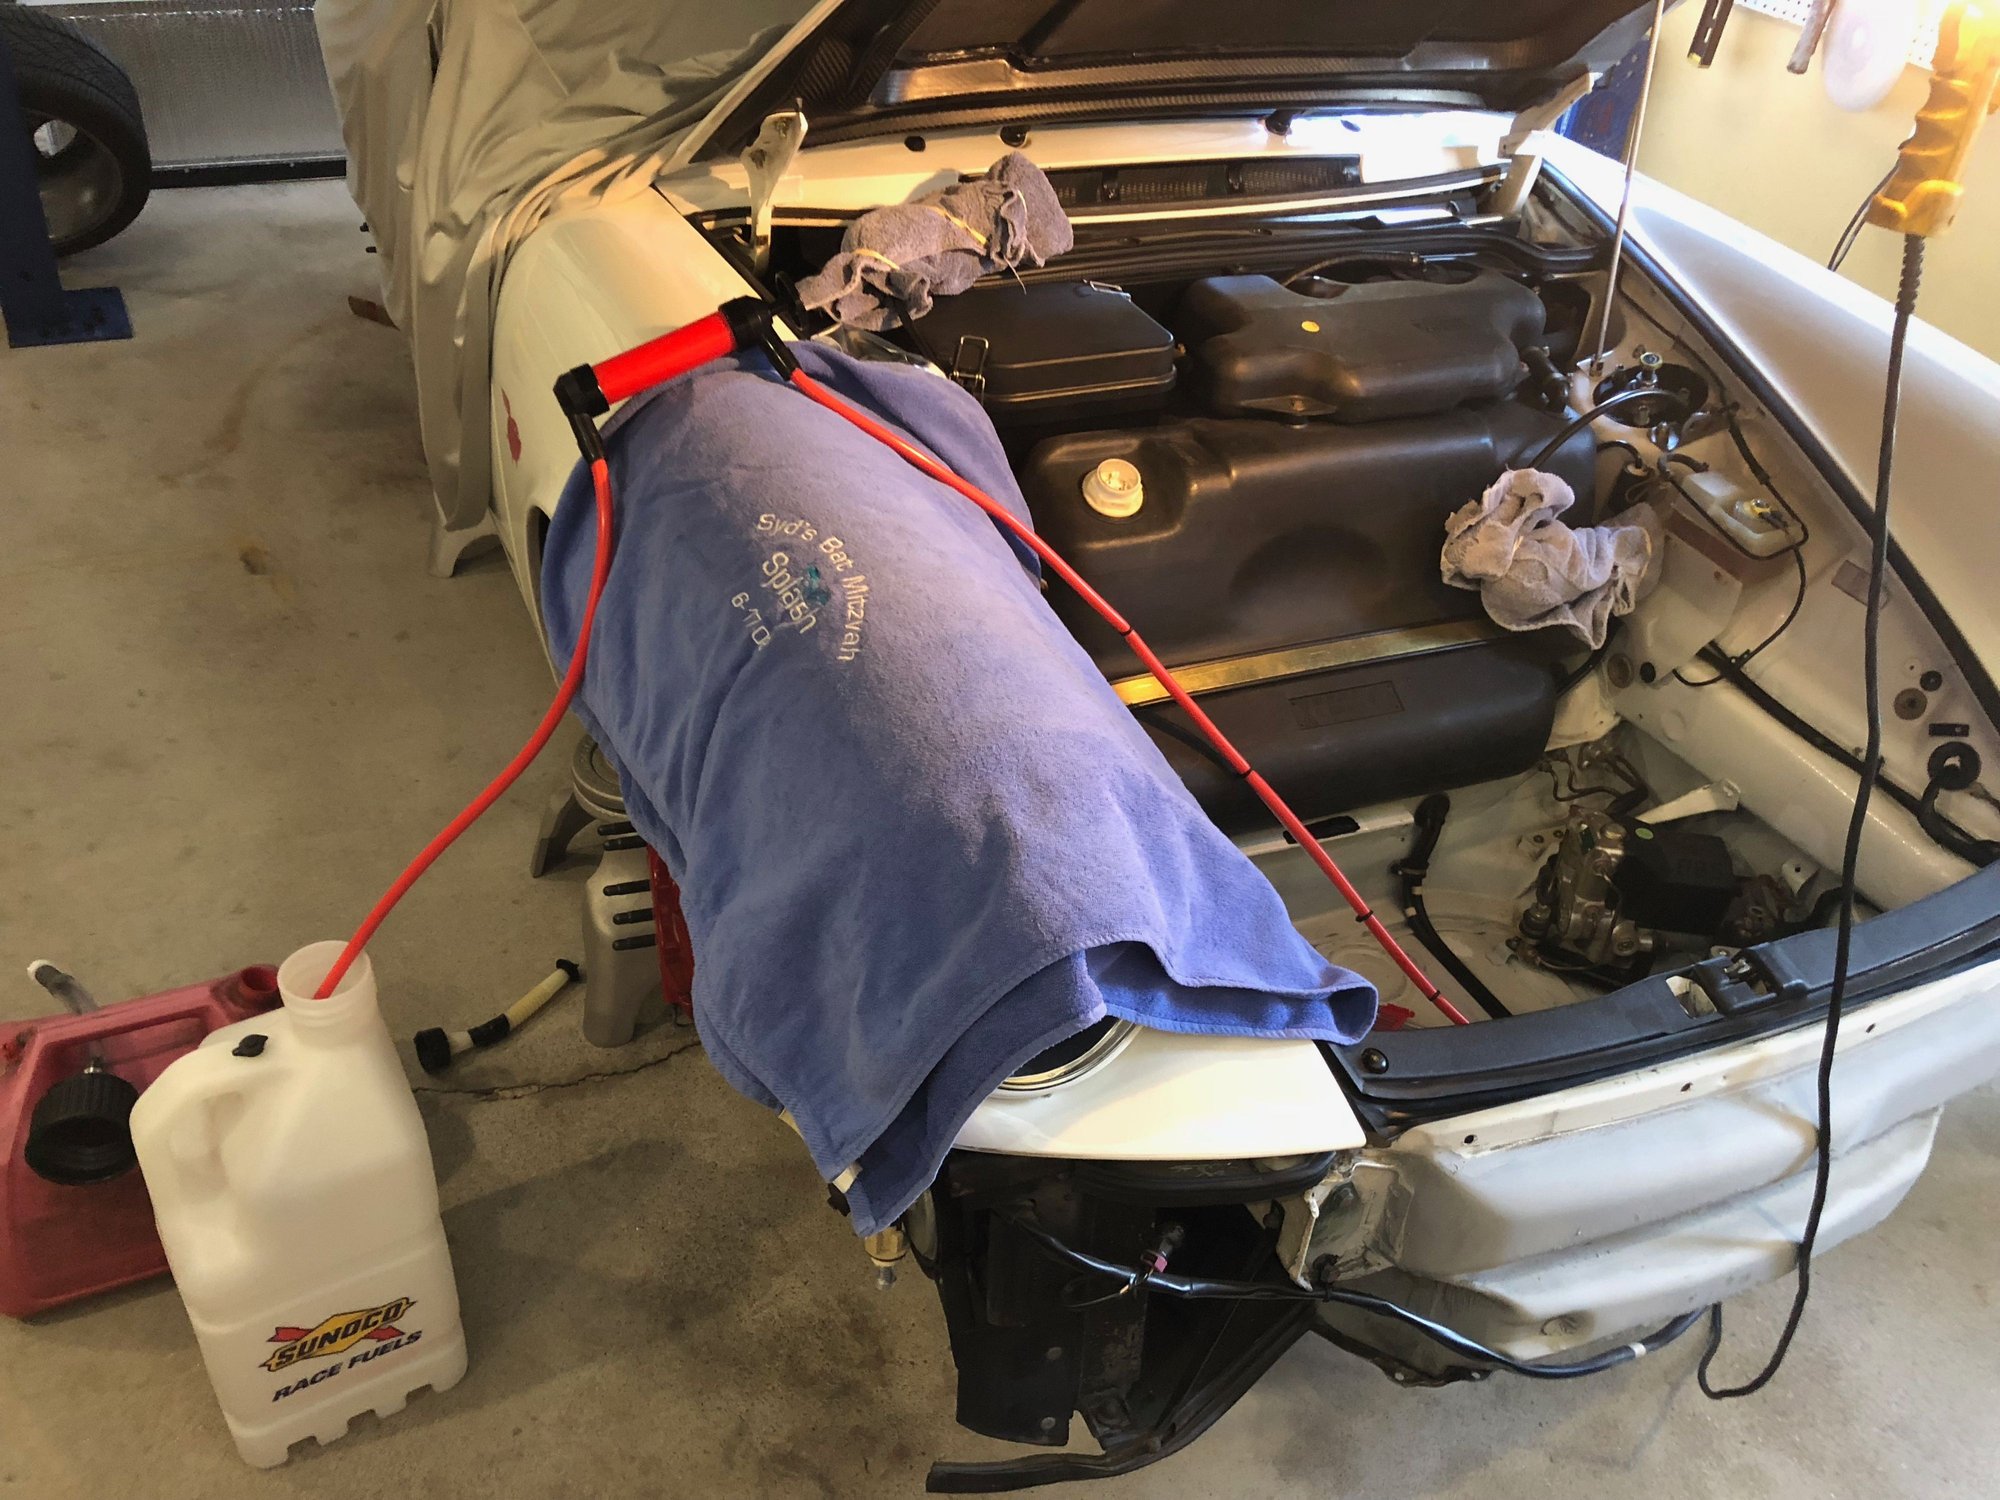
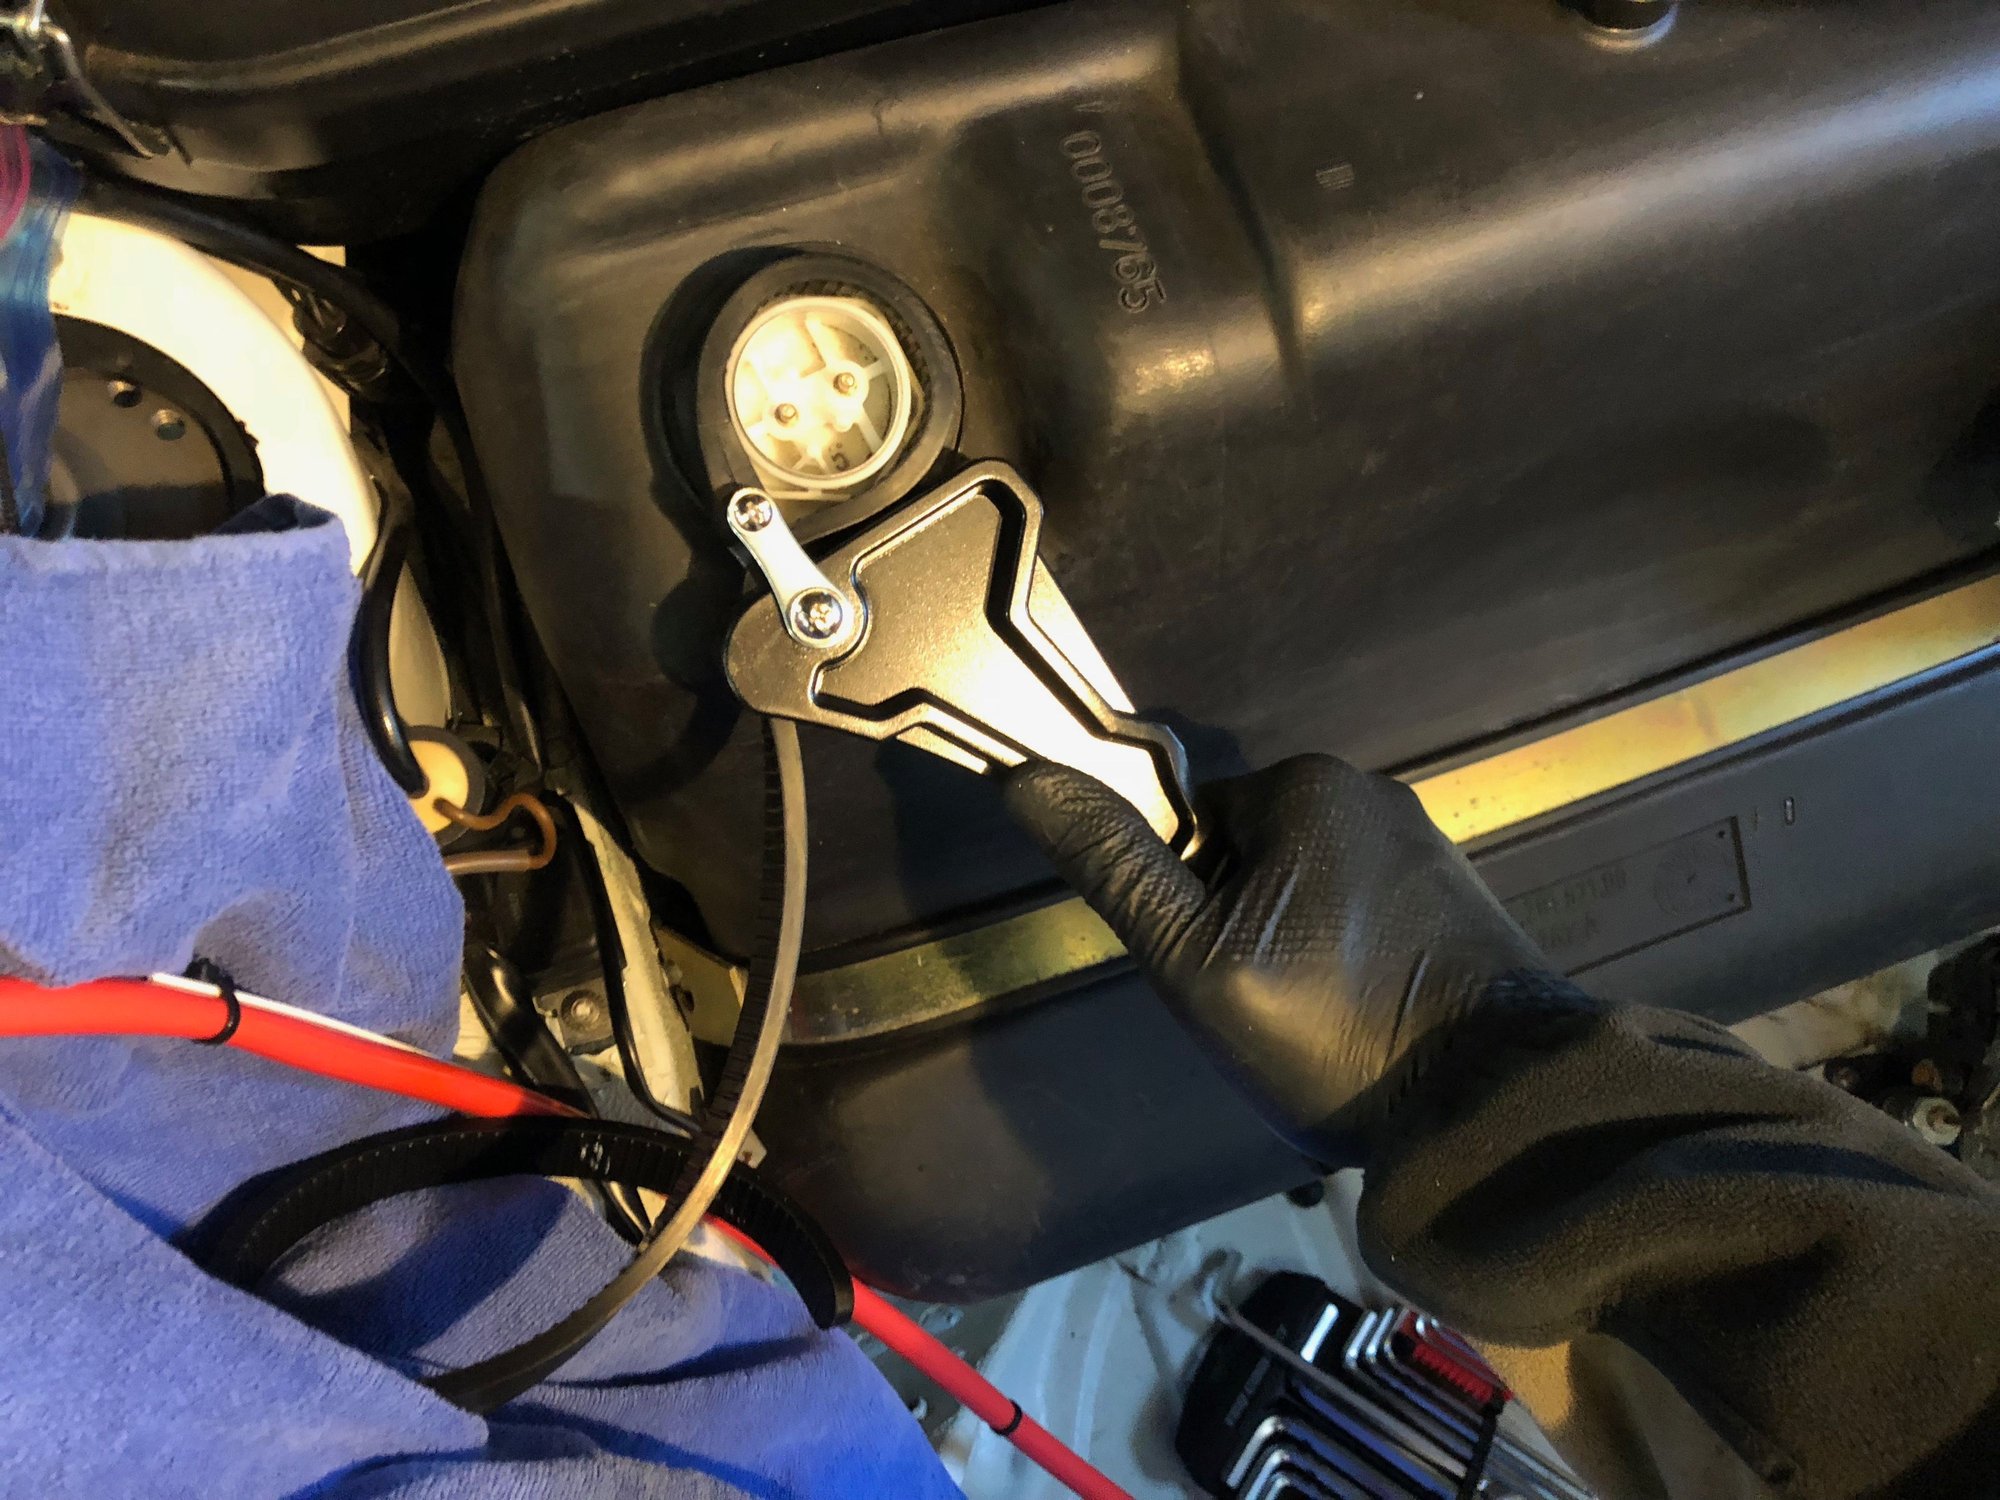
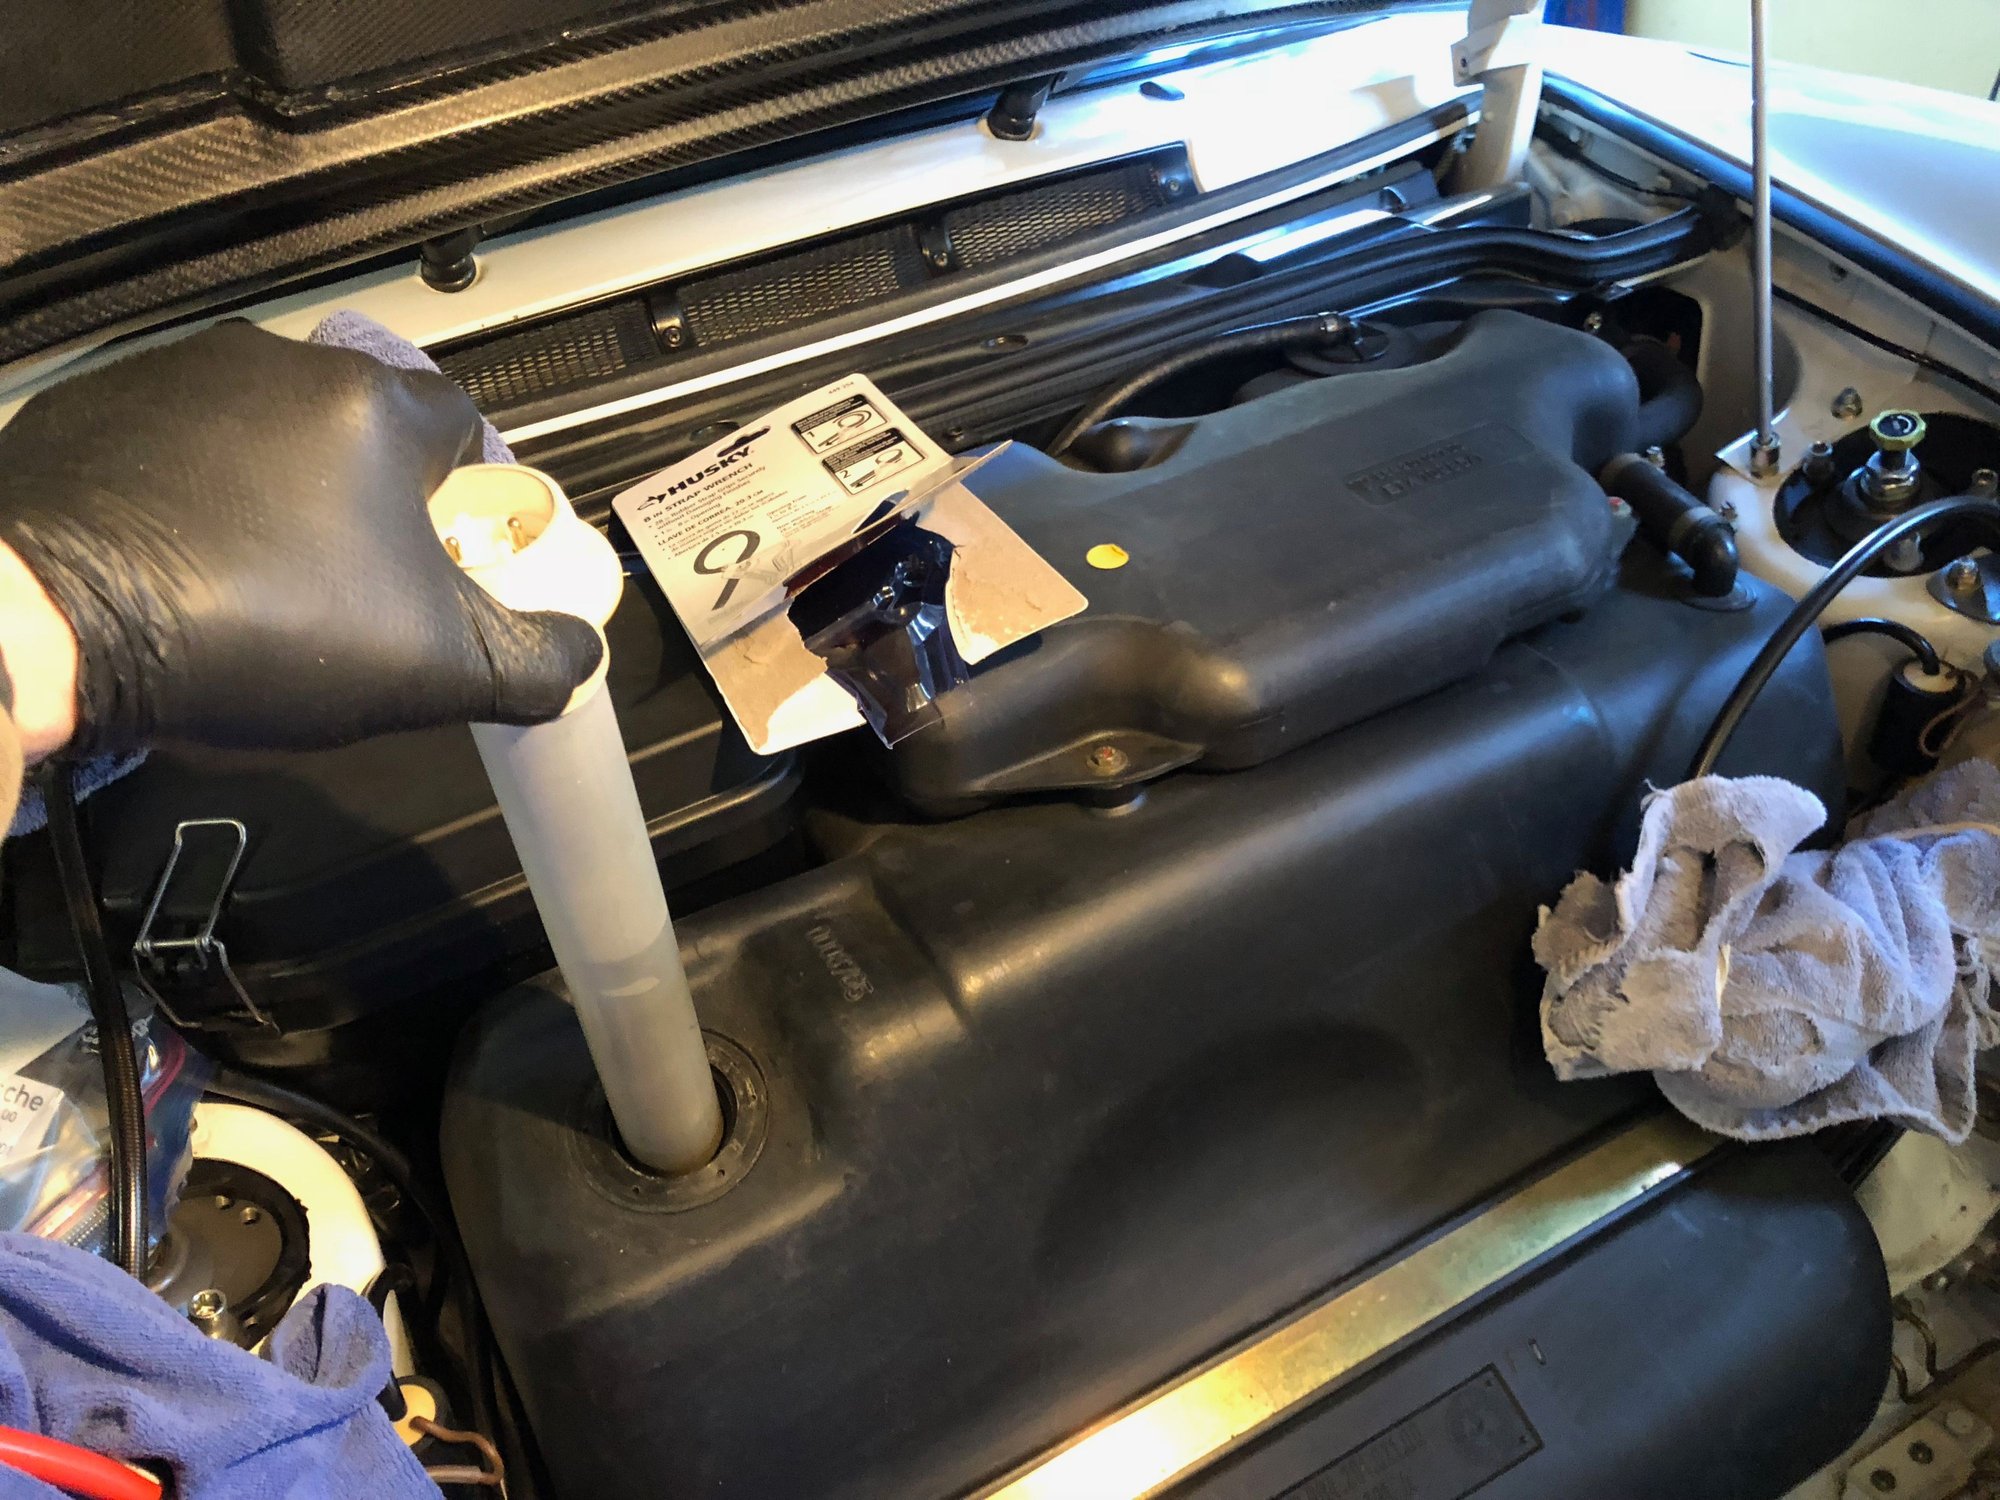
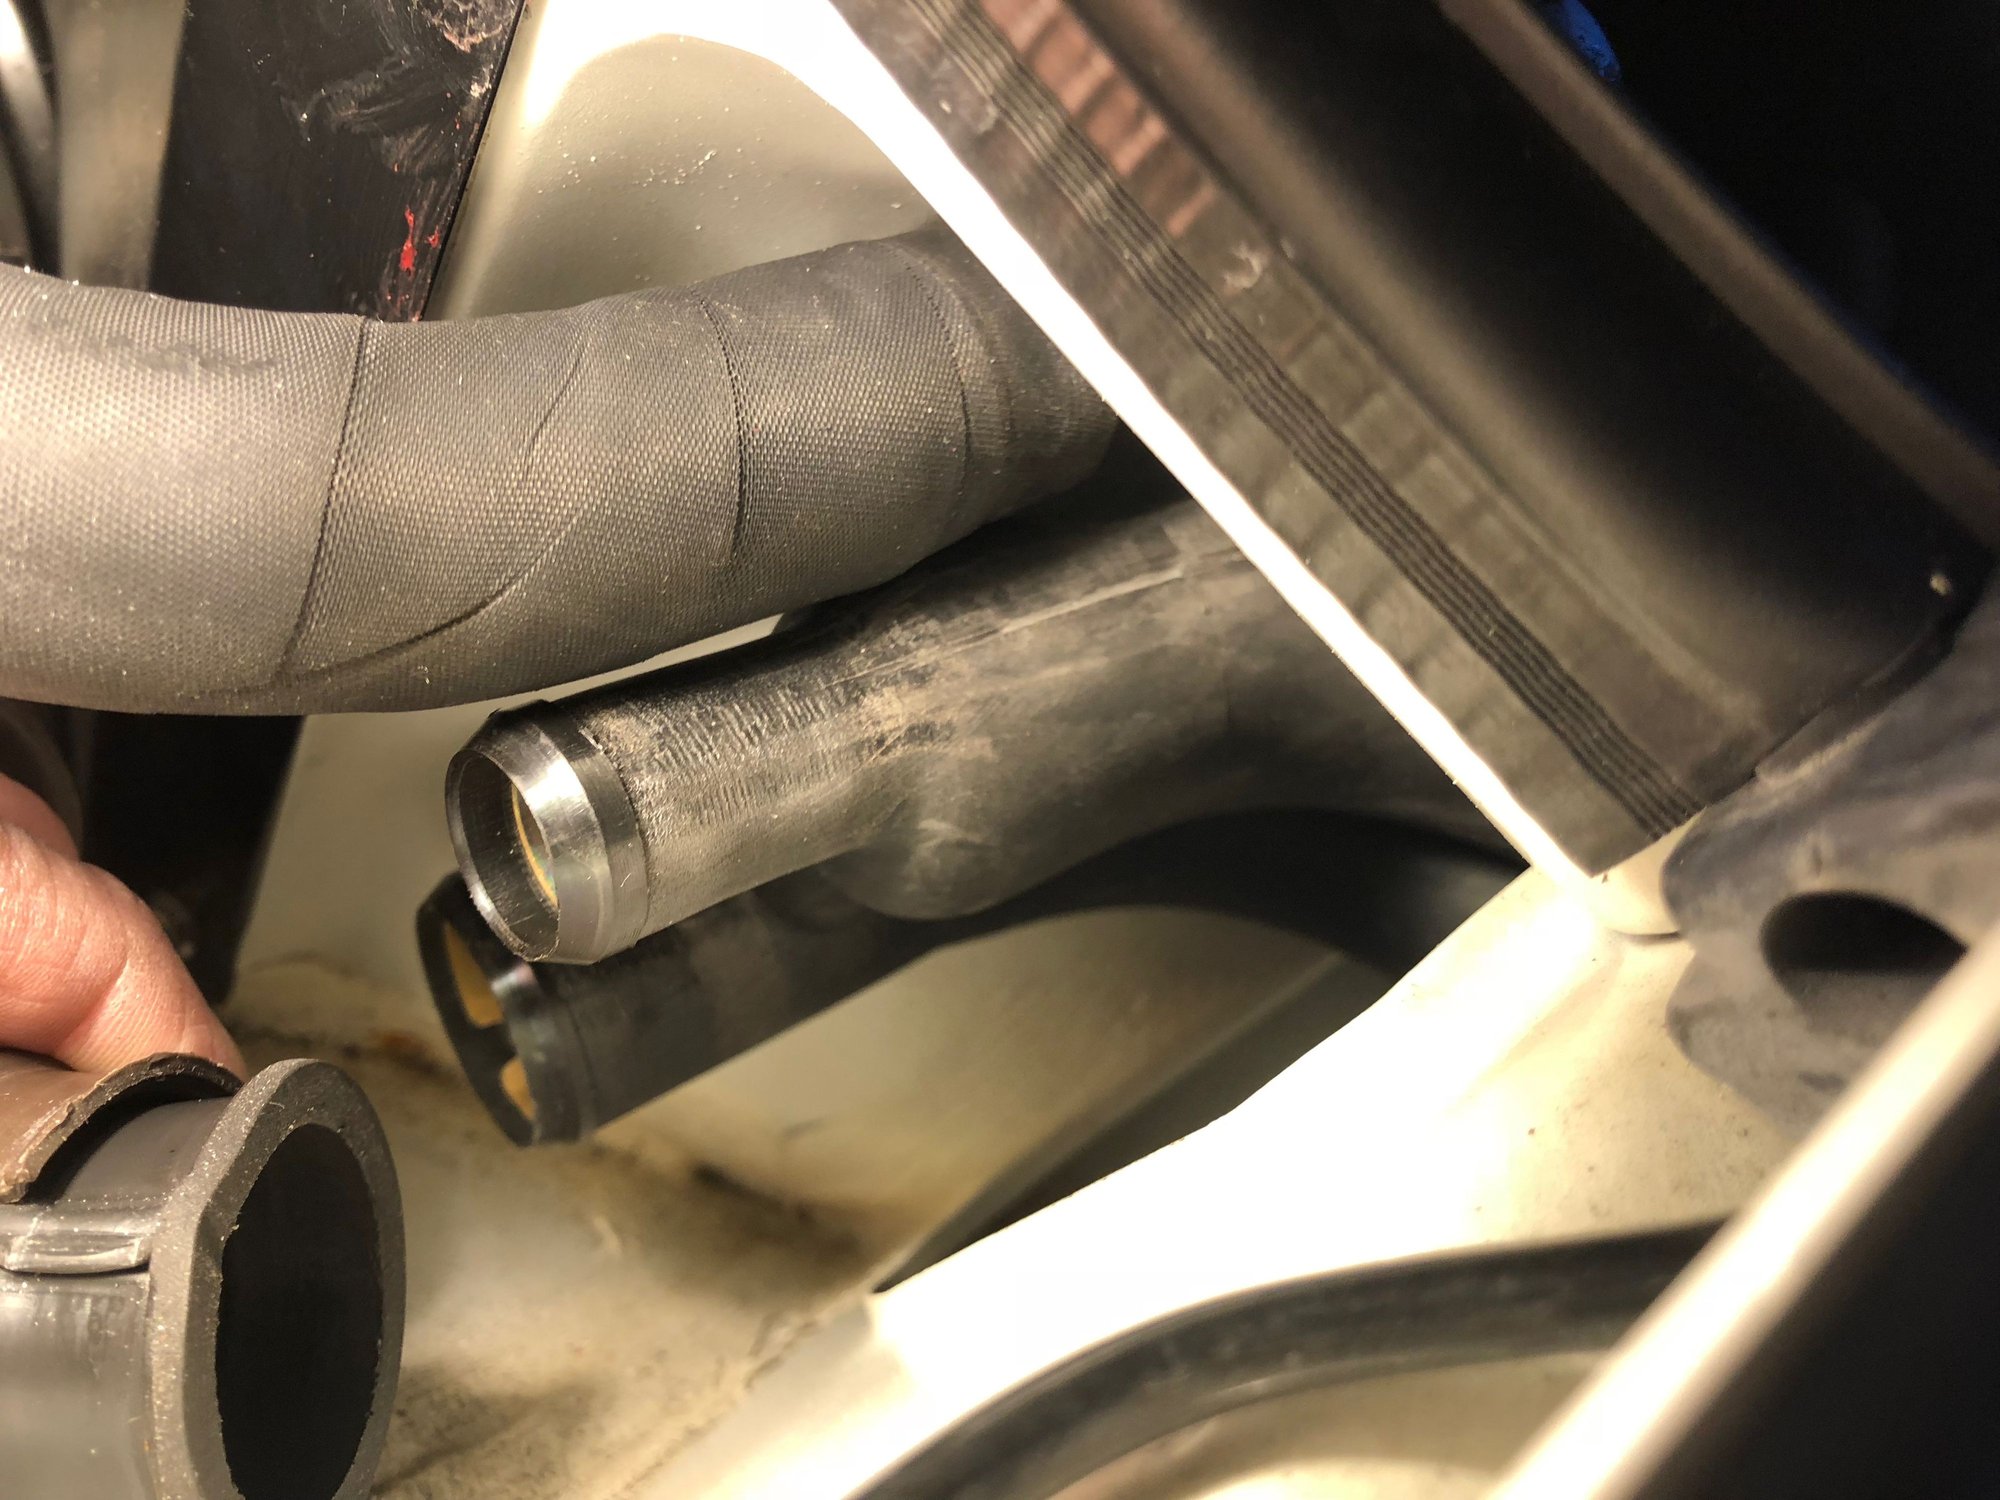
Need to remove the stabilizer and remote shocks Making ready to siphon gas out of tank Strap-wrench to loosen cap Long cap Disconnect both hoses to tank at left fender by twisting Fifteen minutes later


 01-30-2021, 04:53 PM