When you click on links to various merchants on this site and make a purchase, this can result in this site earning a commission. Affiliate programs and affiliations include, but are not limited to, the eBay Partner Network.
Oh man. Deep end.
Tarret drop links?
dont forget 993 abs sensor on the 964 axle and abs ring.
You may want to remove the braise bias valve or change it to a 92+ version
your abs working ok?
I'm in good company in the deep end. I've read your thread, Spyerx.
Thanks for the heads-up on the brakes. Some of this is above my pay grade, but thankfully my mechanic has done a few of these conversions. Still, getting all the bits together can be a daunting task.
I'm staying with stock RS bits wherever possible and practical, so it will be RS drop links.
I will be converting to the 993 booster/master per mechanic's orders.
ABS will be staying. And yes, I need to source a 92+ brake bias valve.
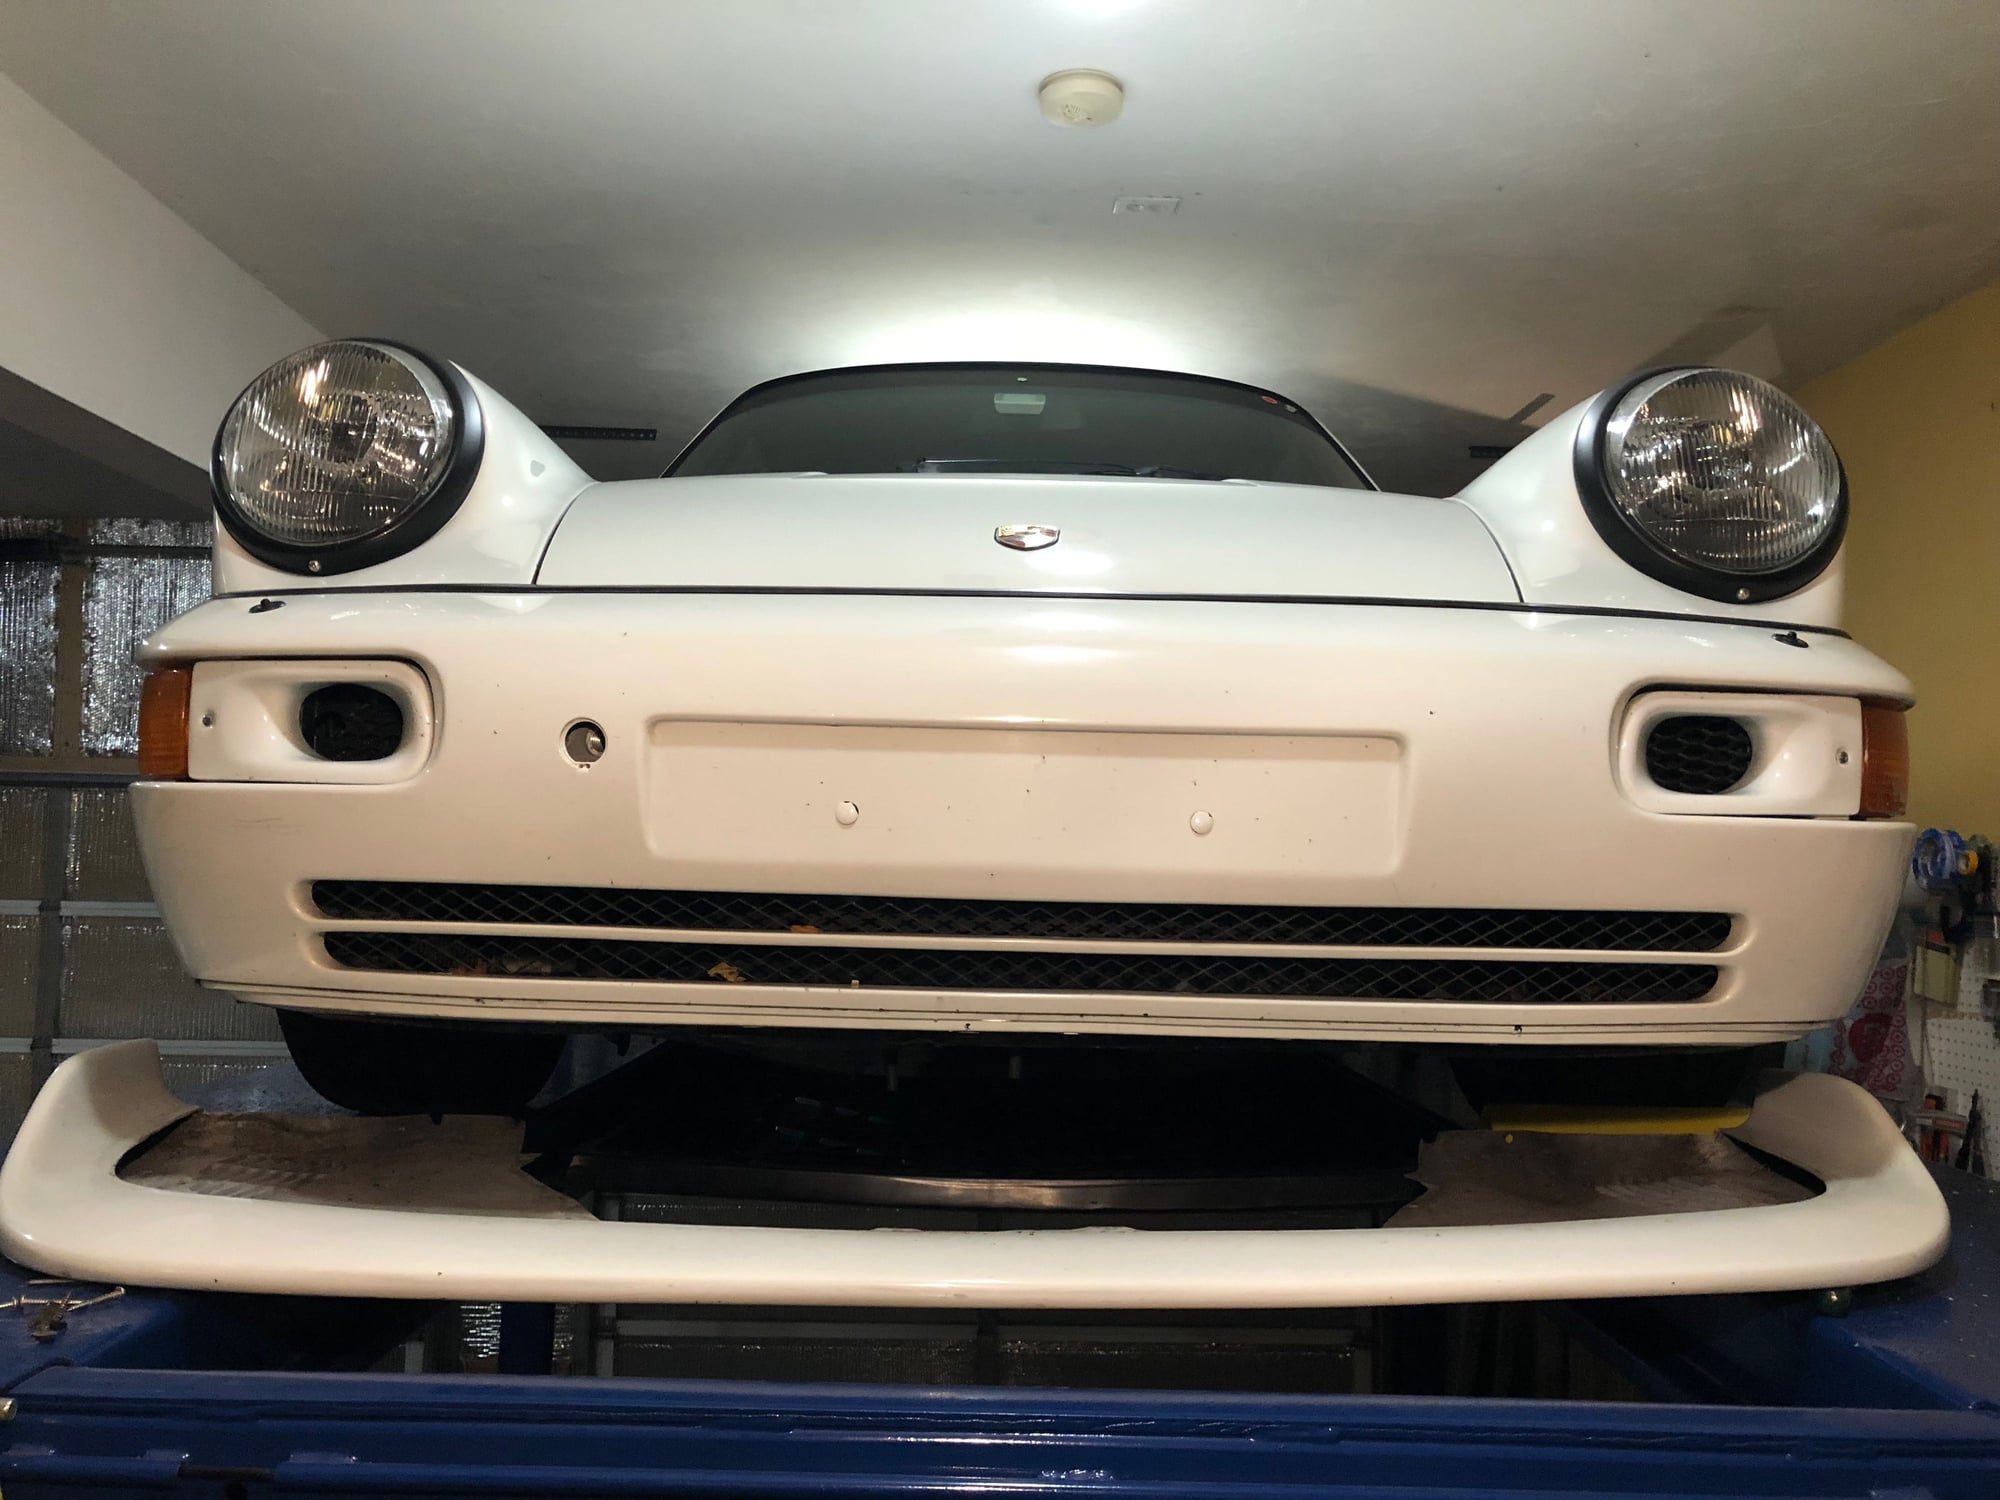
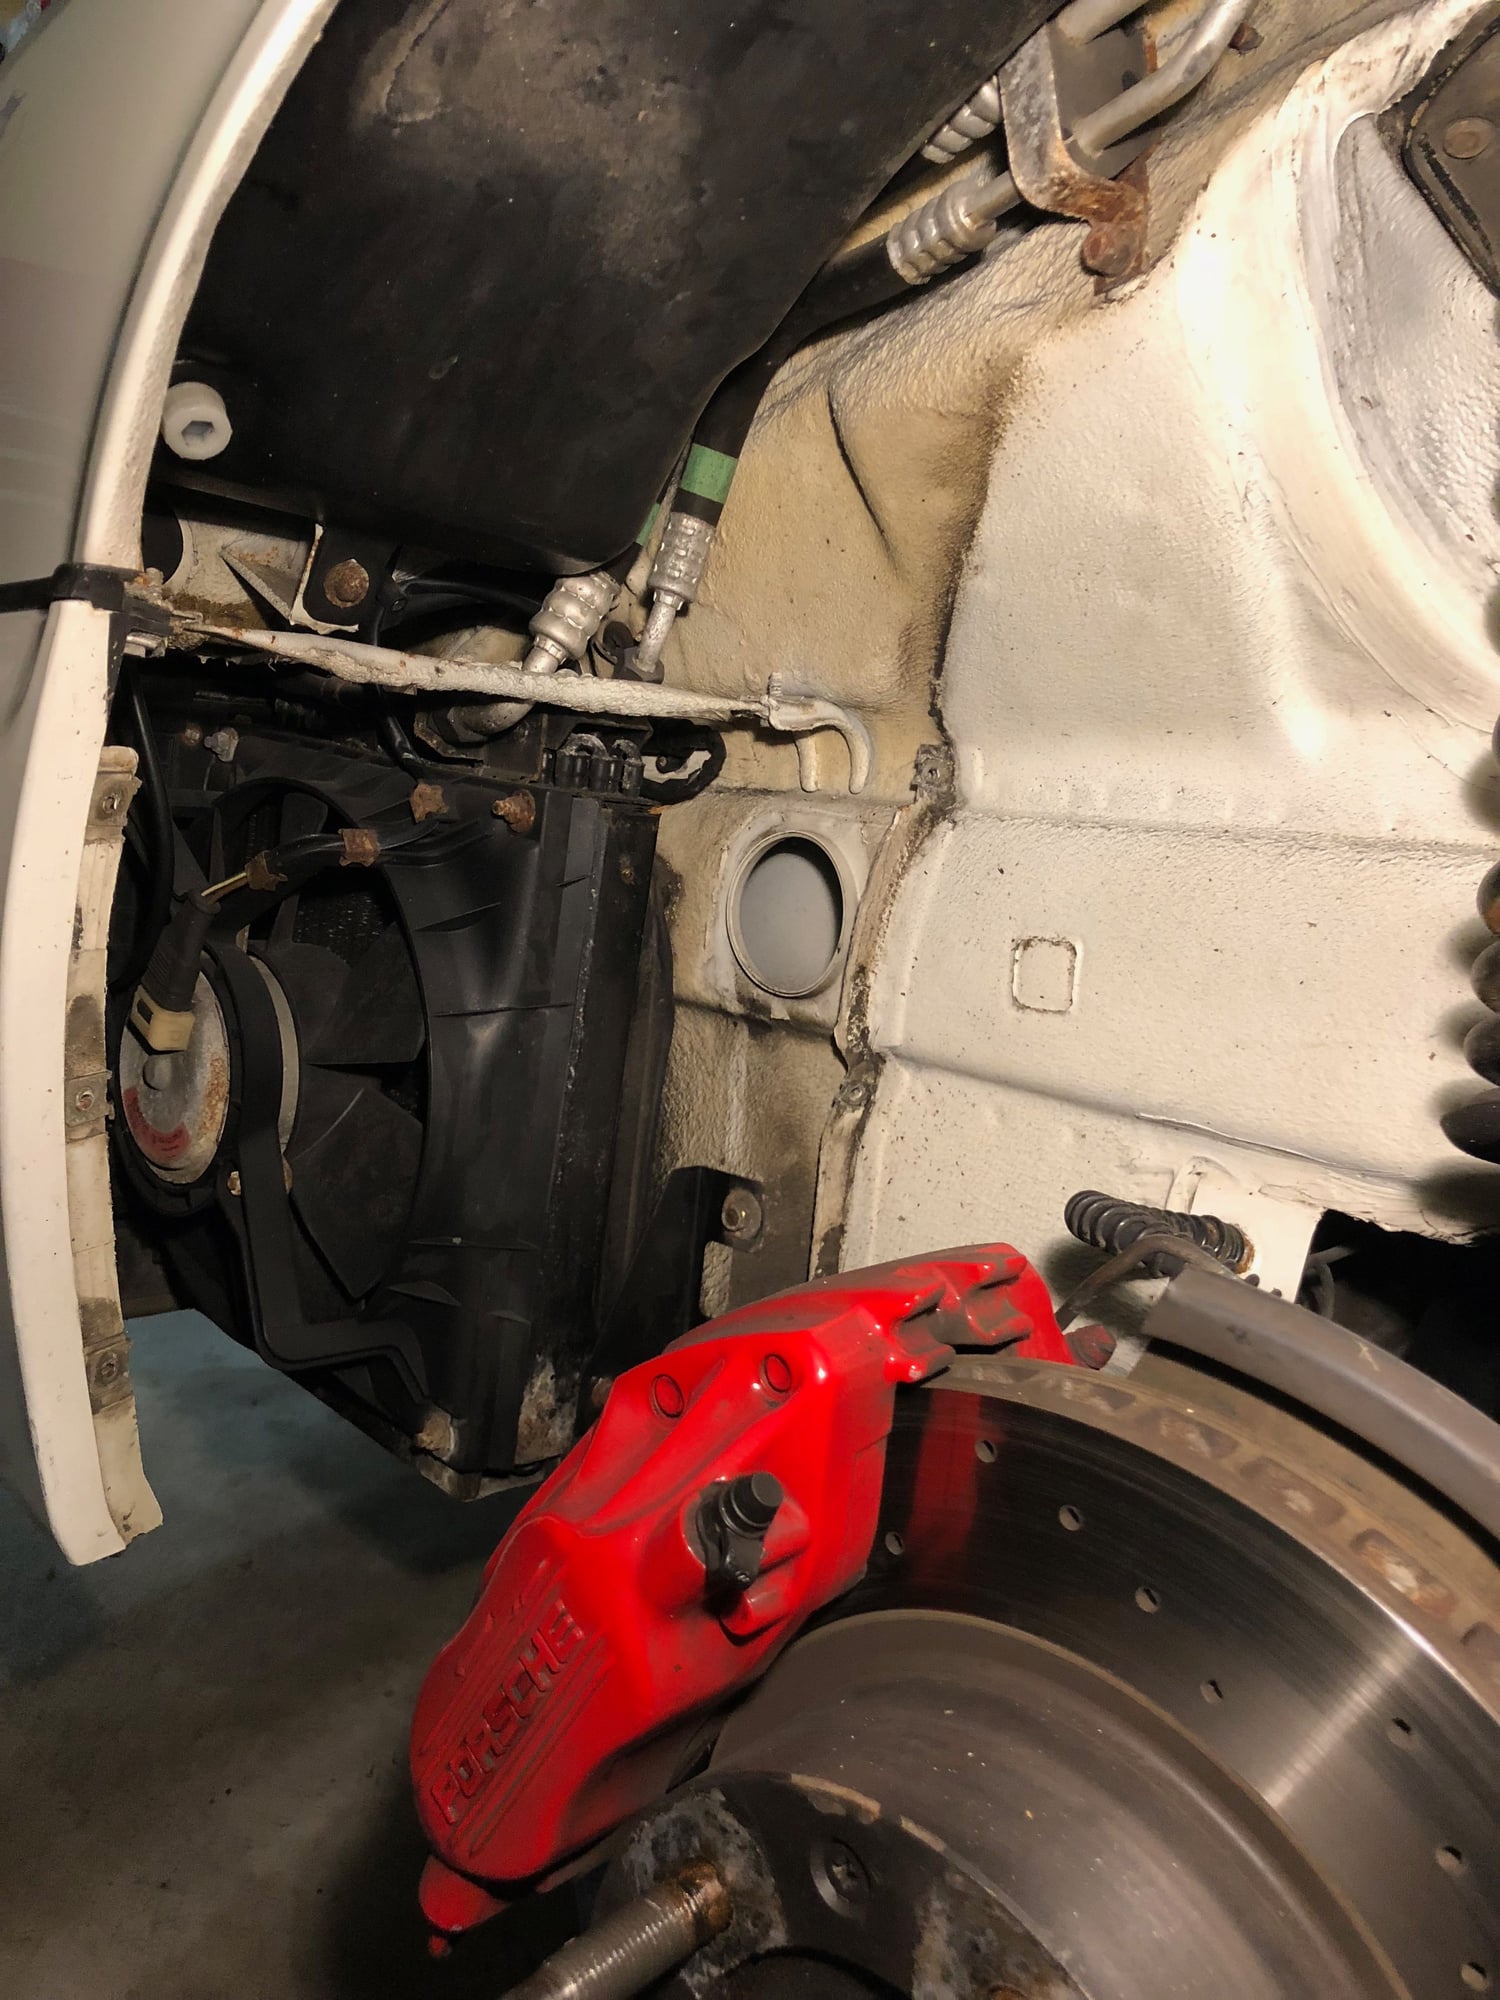
Phase II of A/C removal completed! I pulled the front condenser out last night. The project didn't go exactly as anticipated, but it's out.
And while I had the car up on the lift, I also disconnected both hoses between the heat exchangers and the flapper boxes to avoid another melt-down. Heat was pouring into the car. As Jason Andreas points out, it's possible that my open "equalization valves" are screwing up the "differential pressure". https://rennlist.com/forums/964-foru...ill-again.html I discovered the problem on my way to a hearing at Essex Superior Court. The door sill was almost too hot to touch. By the time I got to the Court House I was dying of thirst. The water fountain had a sign that said "Out of Order". It was a three hour hearing with no water in sight except for four reserved bottles neatly stacked in front of the Judge.
I had no schematics, and no clue on the layout of the condenser. This thread on A/C Condenser removal really helped me avoid a few costly mistakes (read, disconnect wires first). https://rennlist.com/forums/964-foru...r-removal.html A big thanks to griffiths for the assist. No surprise Griffiths is so knowledgeable - he apparently designs and manufactures and supplies A/C components for Porsches https://griffiths.com/porsche/air-conditioning/
As griffith noted, "shop manual suggests:
"with no refrigerant in system naturally:
1) Remove LH front wheel.
2) Remove wheel housing liner and lower section of front spoiler
3) Disconnect wire connector to ballast resistor
4) Use two wrenches to disconnect ac lines
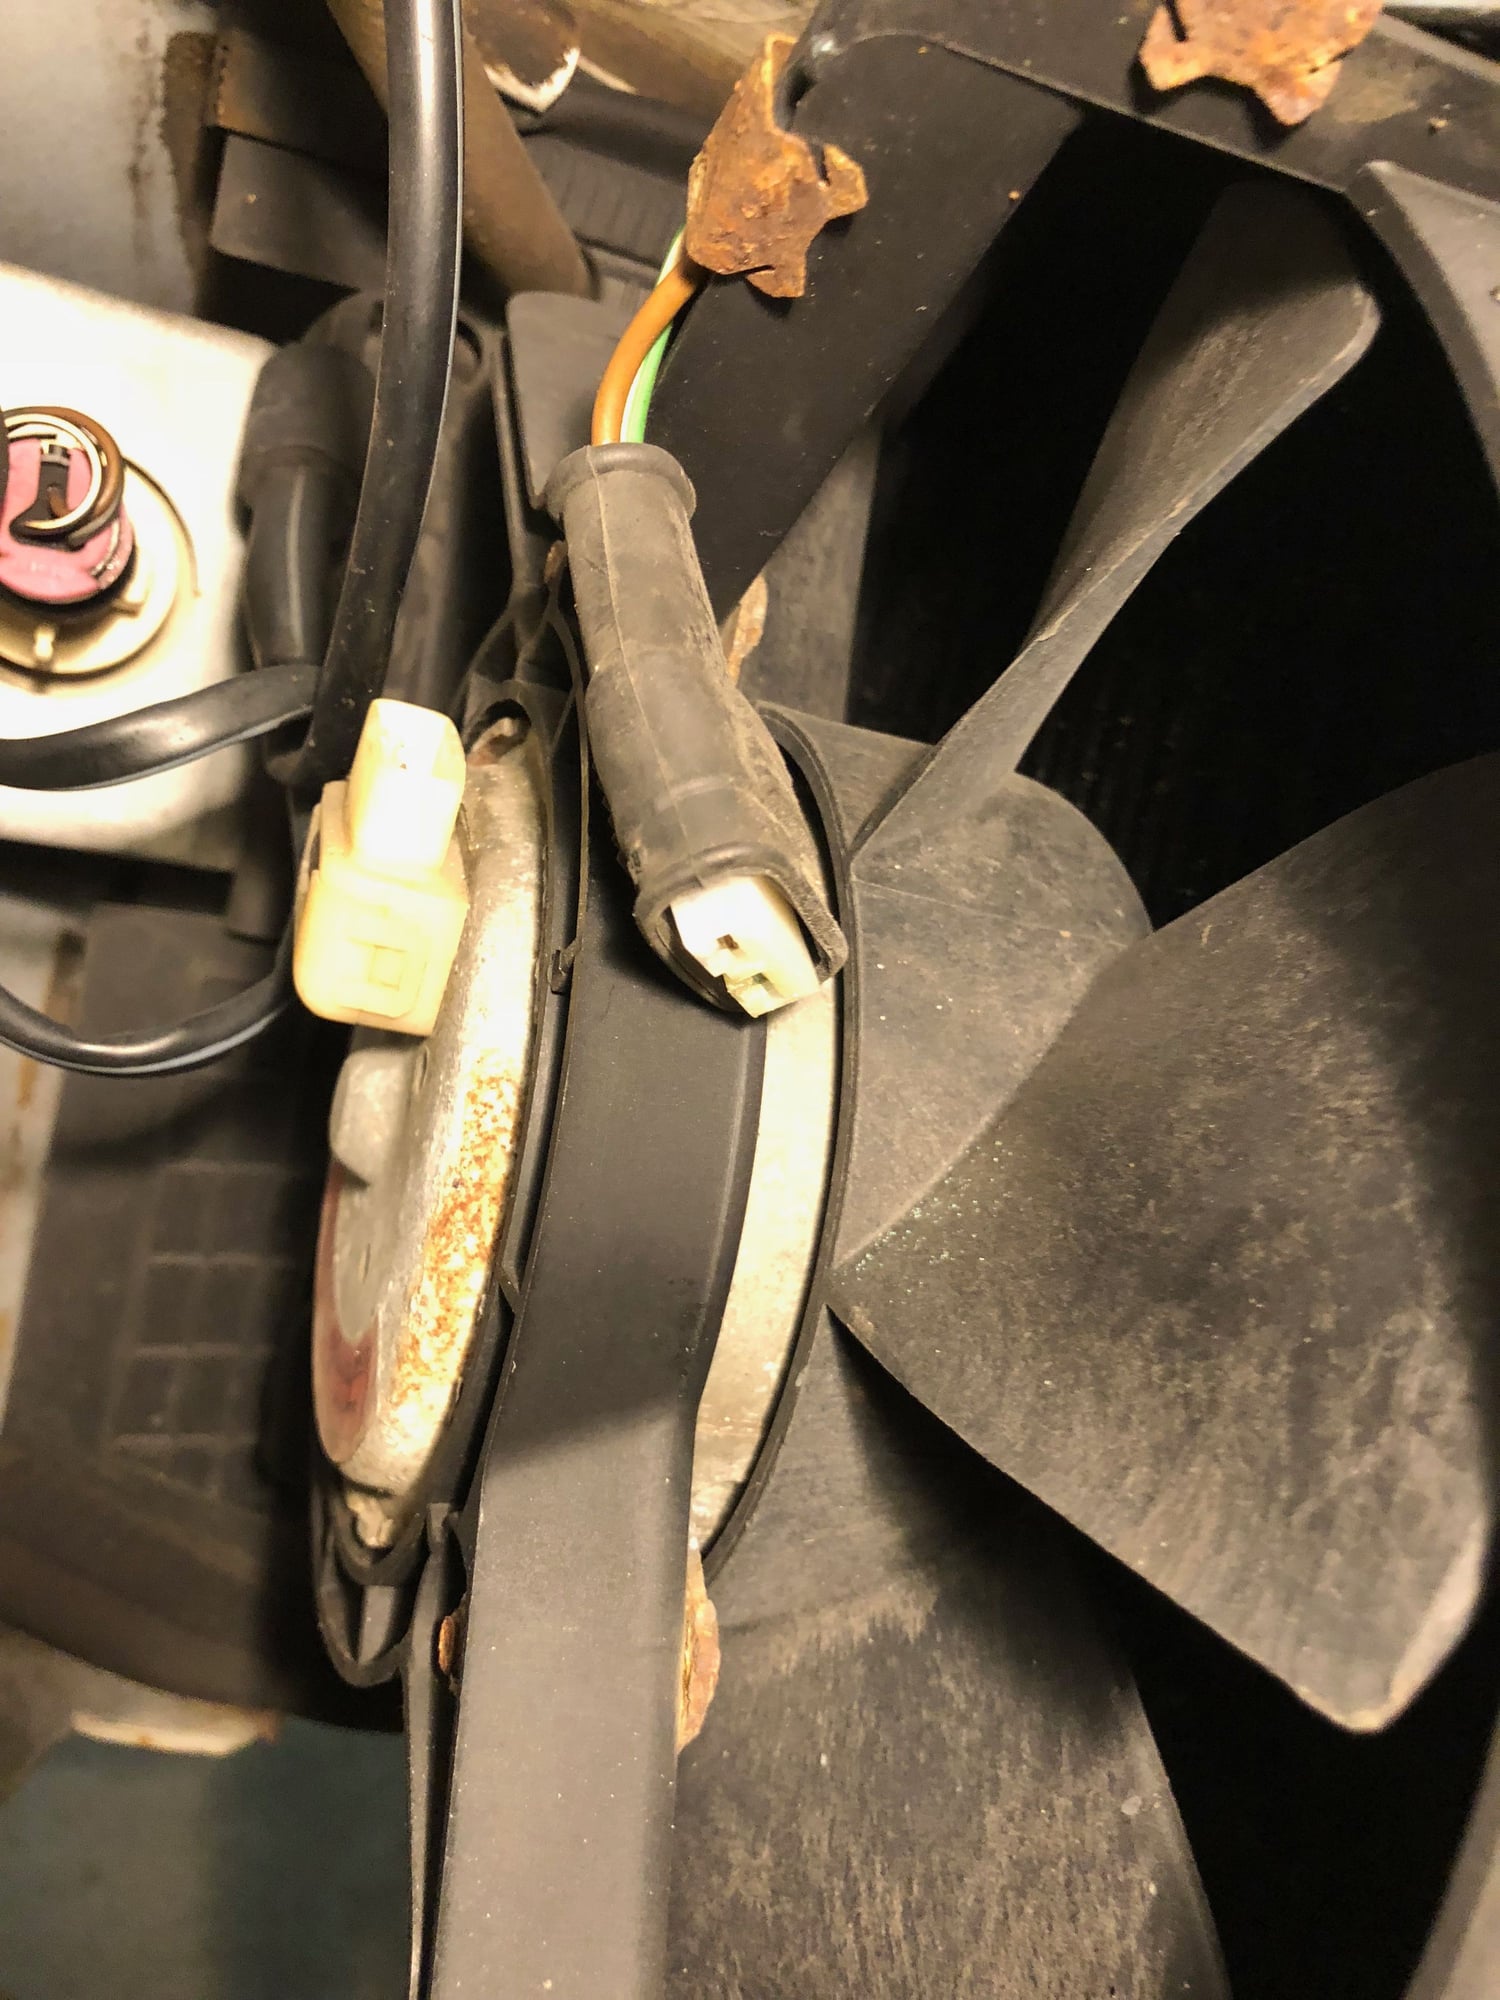
5) Disconnect wire connector to fan
6) Unclip headlight wire and vent hose.
7) Disconnect both headlight cleaner hoses
from regulator valve.
8) Detach condenser support bracket from lower body
and remove unit."
I skipped step 6, and simply cut a slit in the plastic bracket to slide the vent hose out. Two wrenches on the AC lines is a good idea, but with the front bumper still on I couldn't even get one wrench on the large line. A 22mm crow foot wrench would have done nicely. I don't have a set of crow wrenches (yet). So I decided to remove the fan housing in order to get better access. Removing the fan house is just four nuts, but two of them are in a tight space. The upper left nut took a good five minutes, as i could only move the ratchet about an inch at a time. I finally got the fan off, and was able to get some meaningful purchase on the line connector with a wrench. I could only get one wrench on the nut (there's a dead nut on the opposing side to steady things - hence the manual advice to use two wrenches).
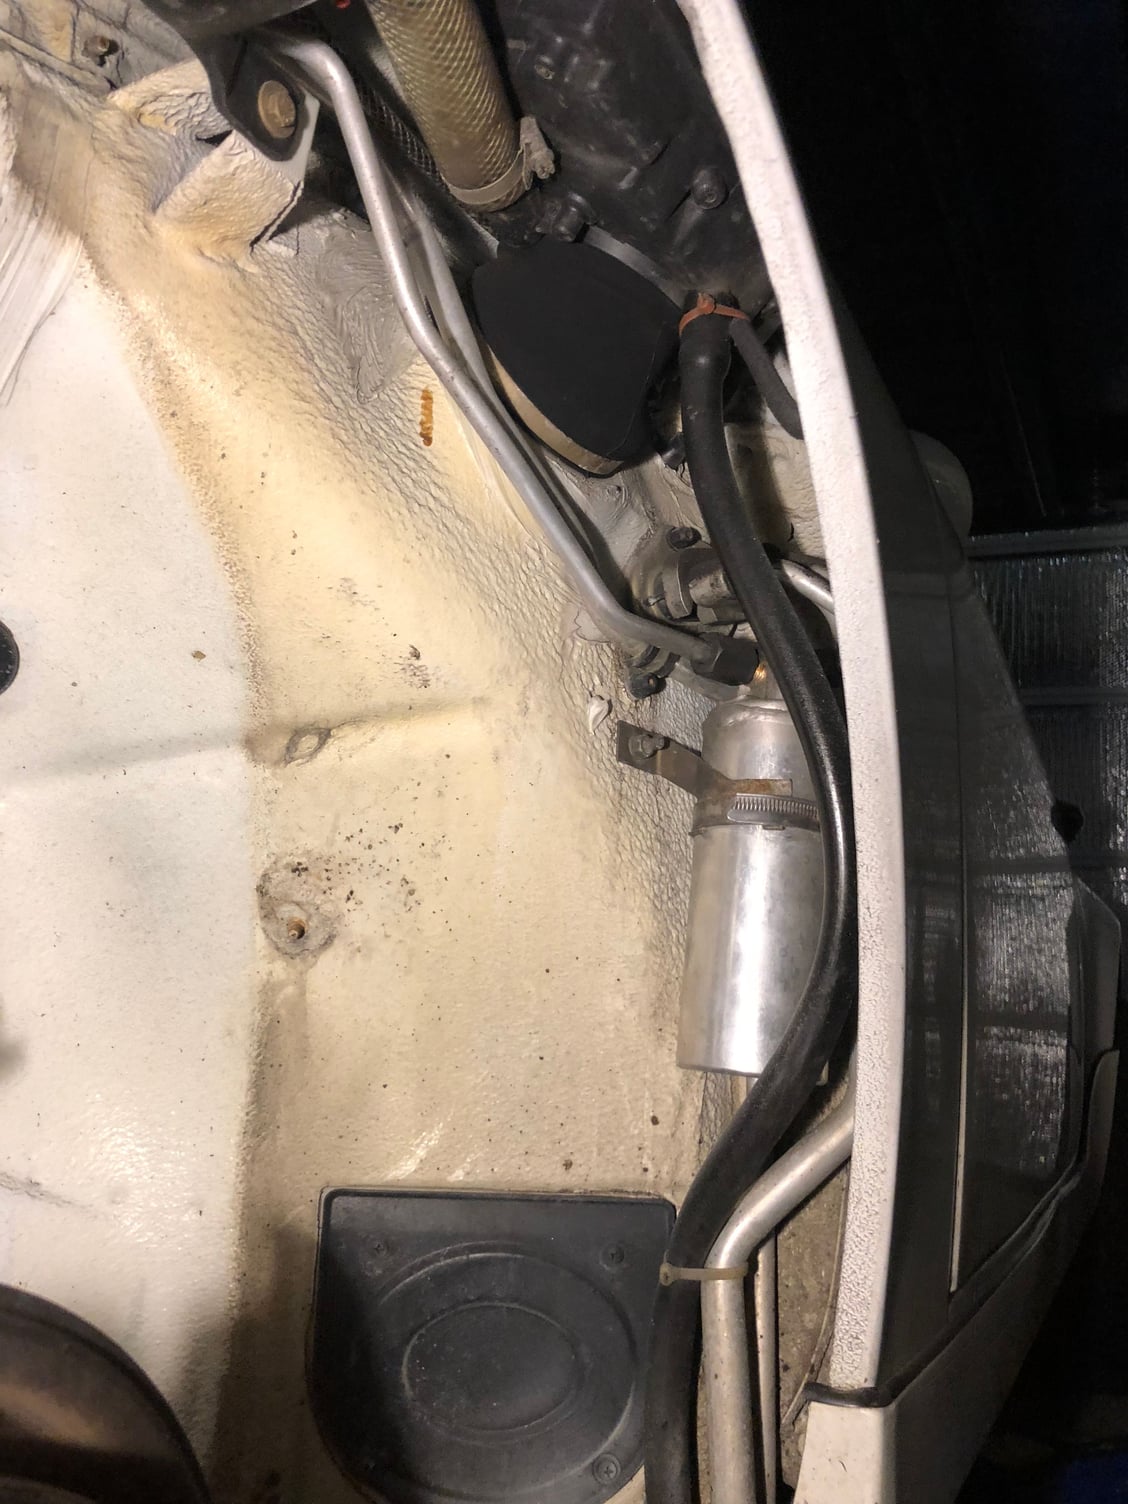
With the fan off, the job went smoothly and the condenser was soon out. I was determined go finish the job with a beautiful day in the forecast. I spent another hour or so cleaning the wheel well and fender liner, and tying off all the lines. It was 3 AM when I completed the job. I waited until morning to reinstall the wheel and the front splitter, and had a nice cool ride to work! The car feels quicker every day...
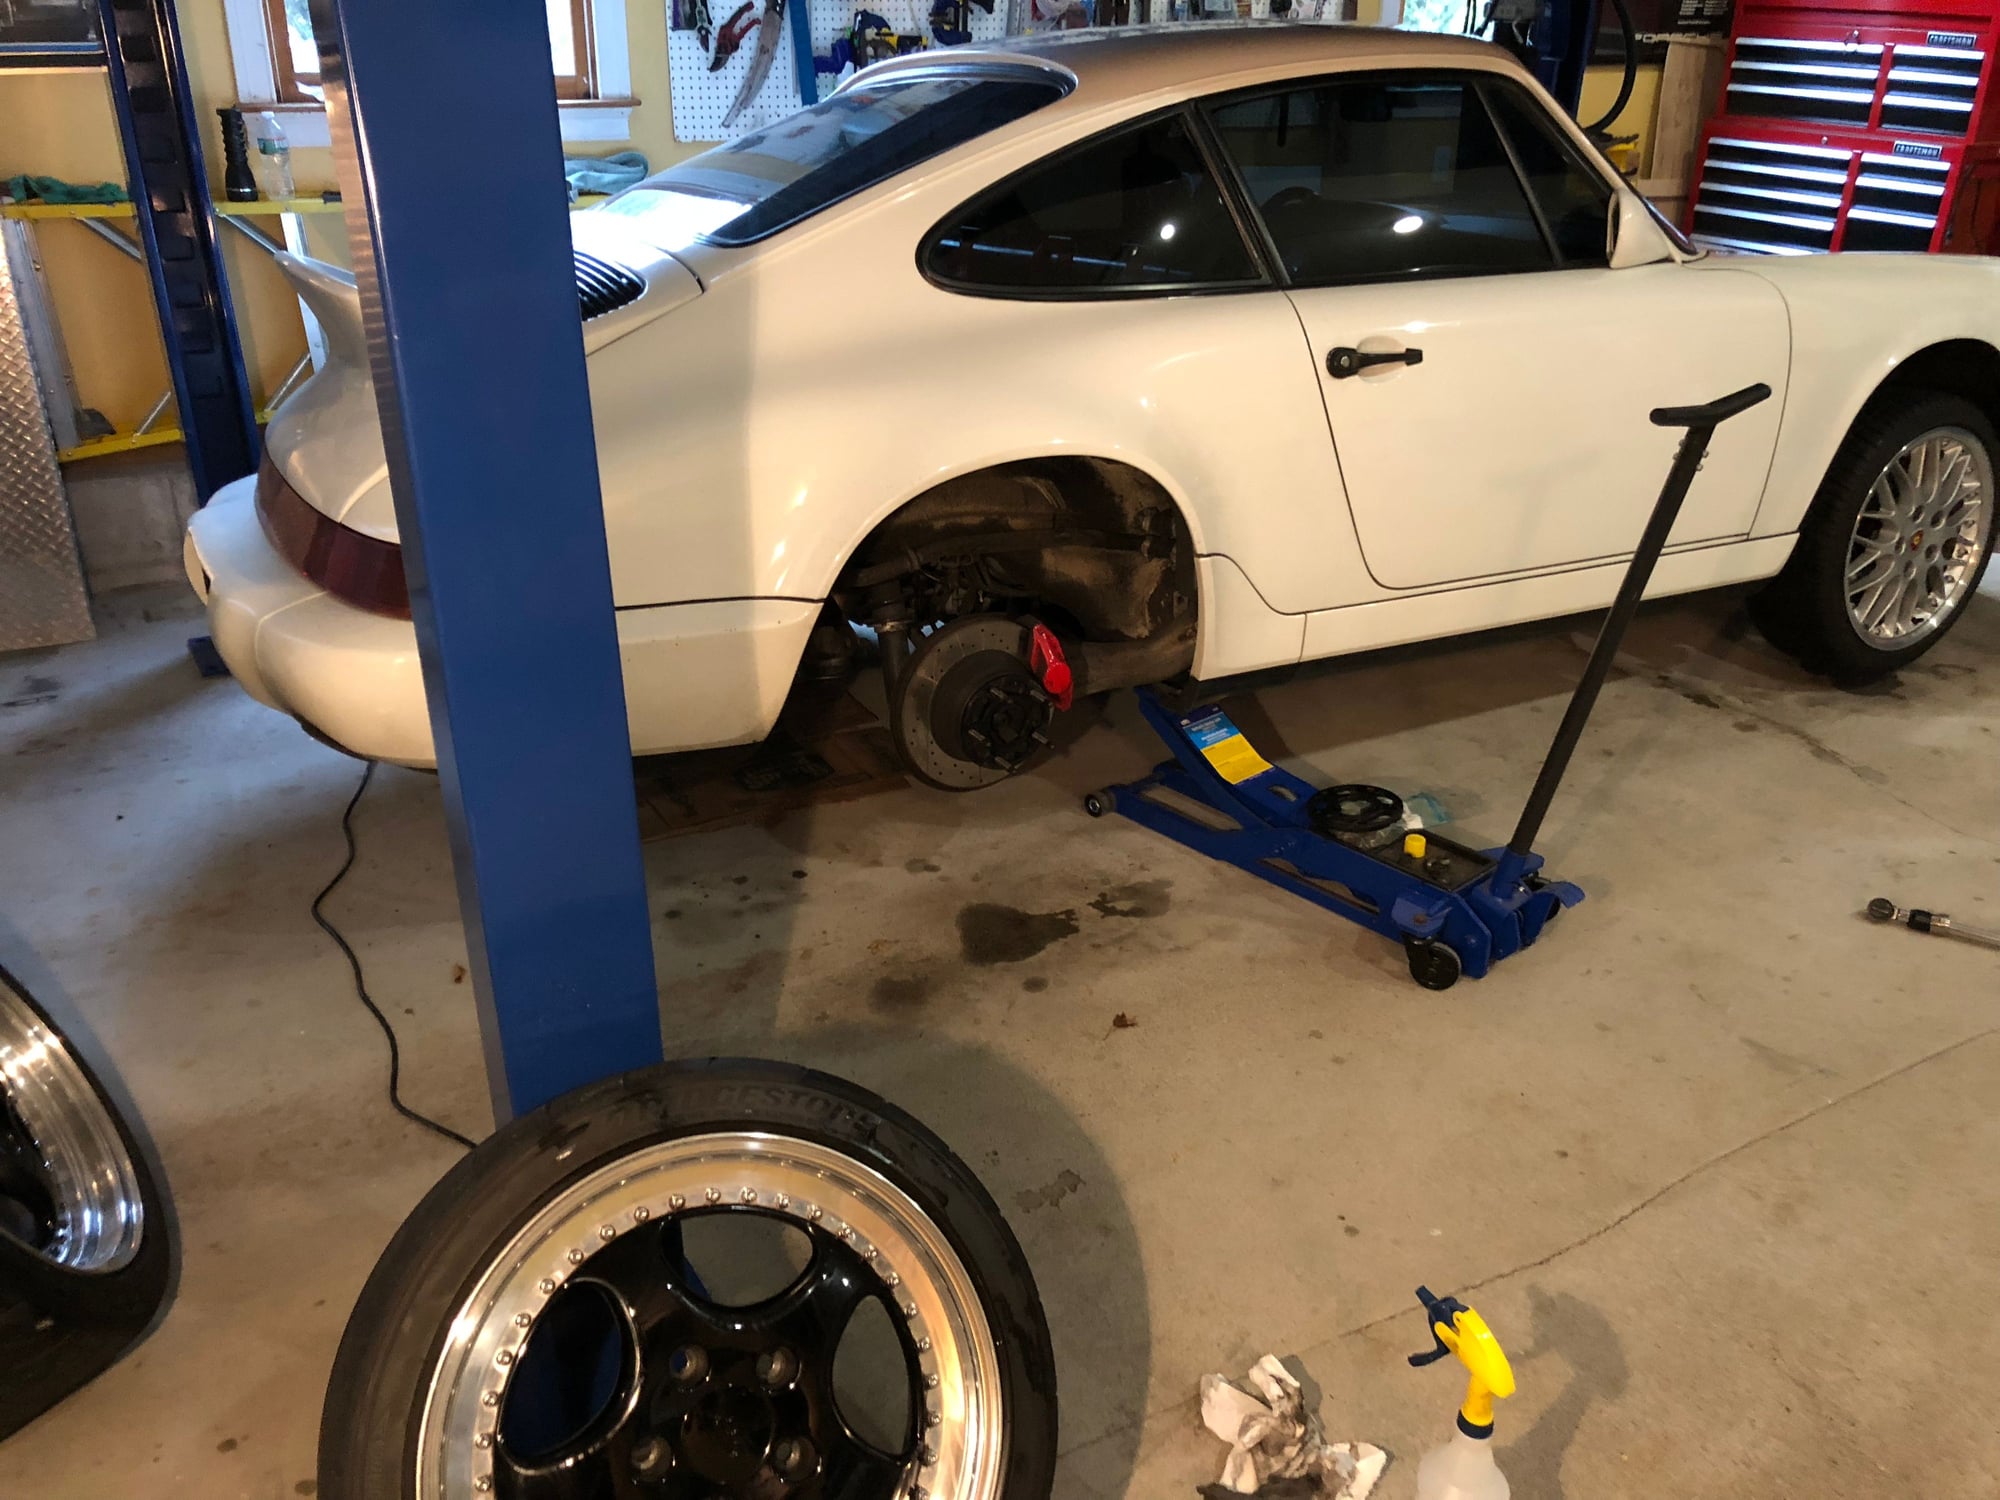
Put car up on the lift to pull off the front splitter Disconnected hoses from the flapper boxes while up there. I may do this every summer... Left wheel Need to remove (and clean) fender liner There's the archaic condenser and fan Disconnect plug to fan
Disconnect wire to ballast resistor Remove two bolts on right securing bracket, one bolt on left, and the small nut securing the racket to the post by the bumper - and heave ho! 16 lbs. of dead weight gone Cleaned and reinstalled fender liner Back up on the lift for front splitter Best part of the day
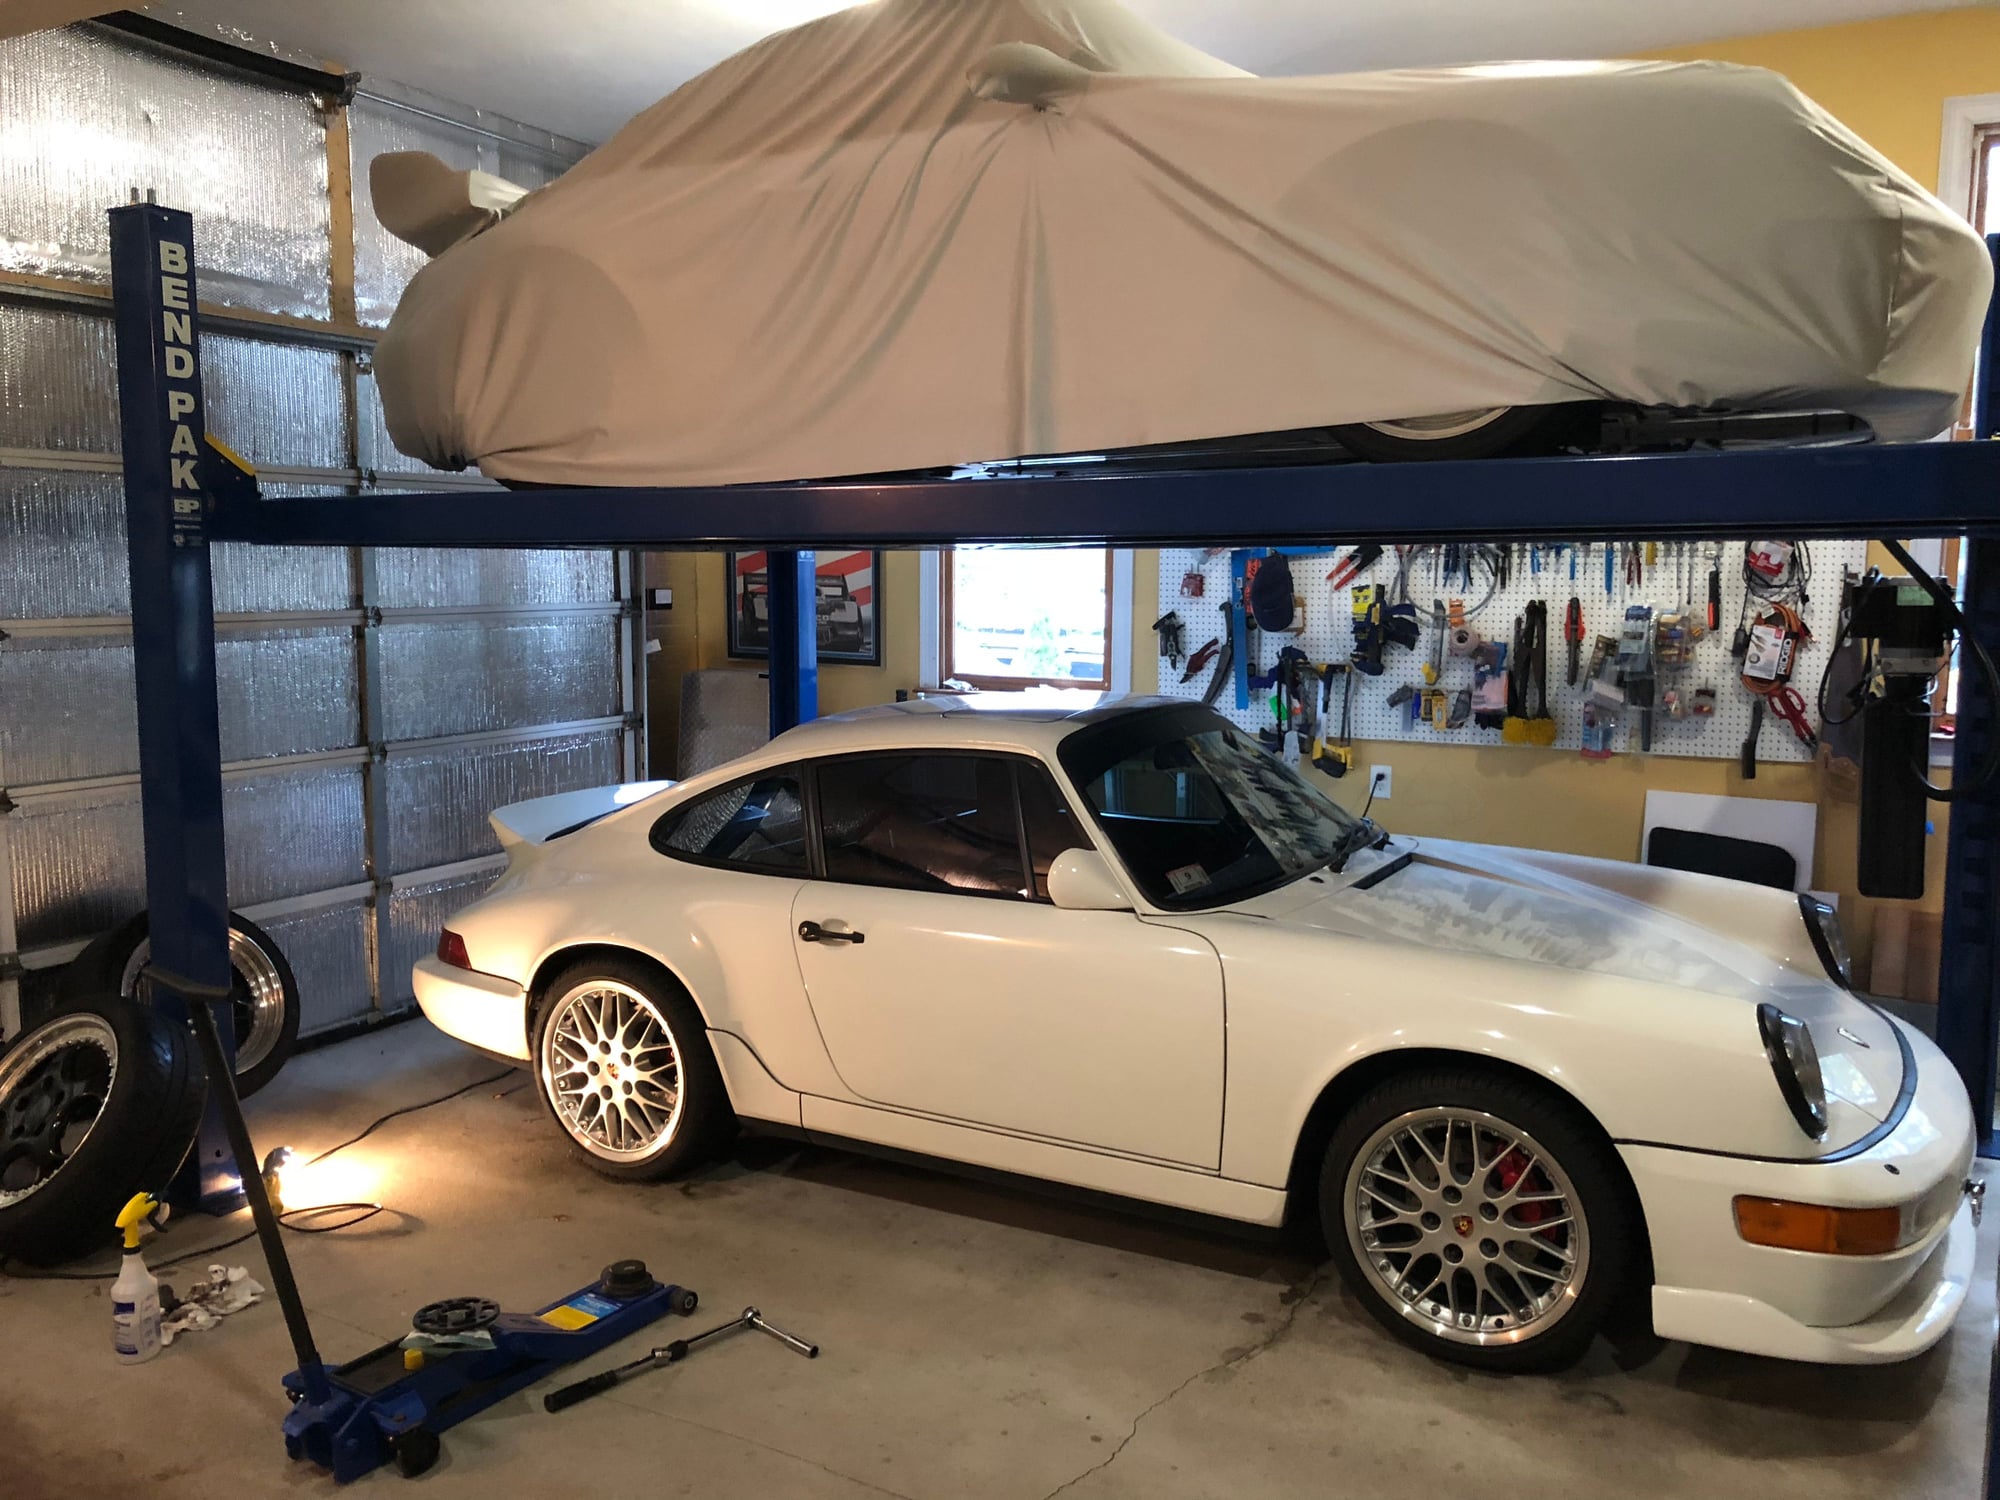
Foxy, what kind of lift is that? You like and is there anything you would have done differently when you bought or installed it?
Hi CBA,
That's a Bend Pak 4 Post Lift. Perfect for storage if your garage has enough height. Anything over 11' is good provided you run the garage doors flush to the ceiling (it's easy to move the rails). And it's tall enough that you can work under the car, even at 6'4".
The one thing I'd like to add is a pair of rolling car jacks. After a half dozen brake bleed this summer, the cost a a pair of sliding jacks doesn't look too bad. https://www.bendpak.com/car-lifts/4-post-bridge-jacks/
Perfect. Makes sense for the rolling car jacks... a little pricey but well worth it if you are going to work on the car. Thanks
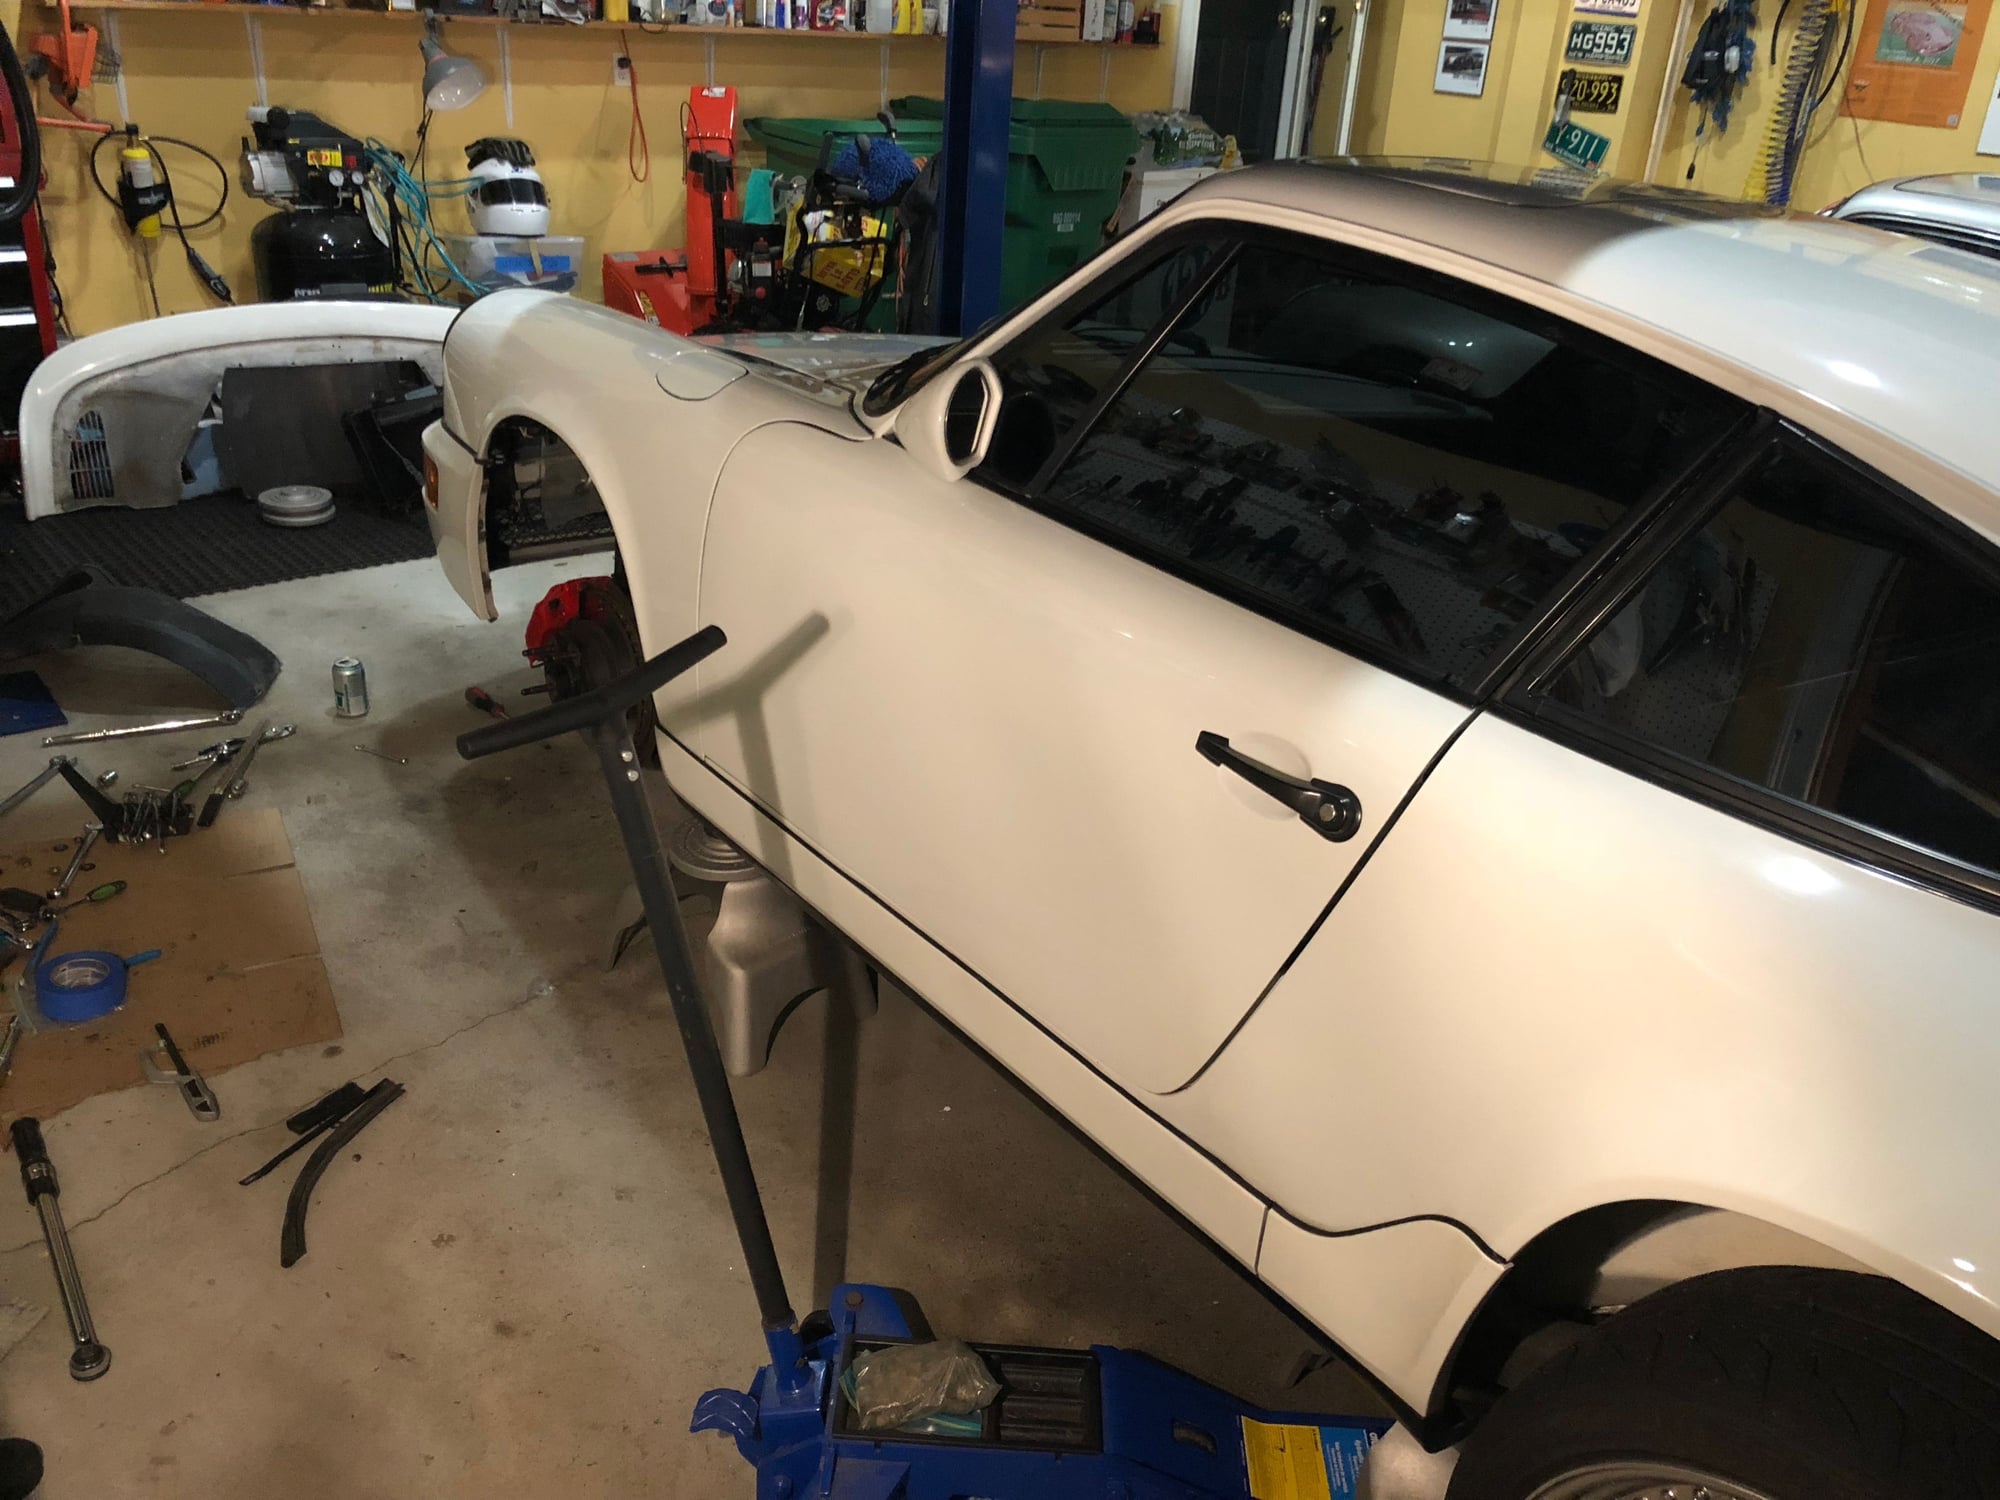
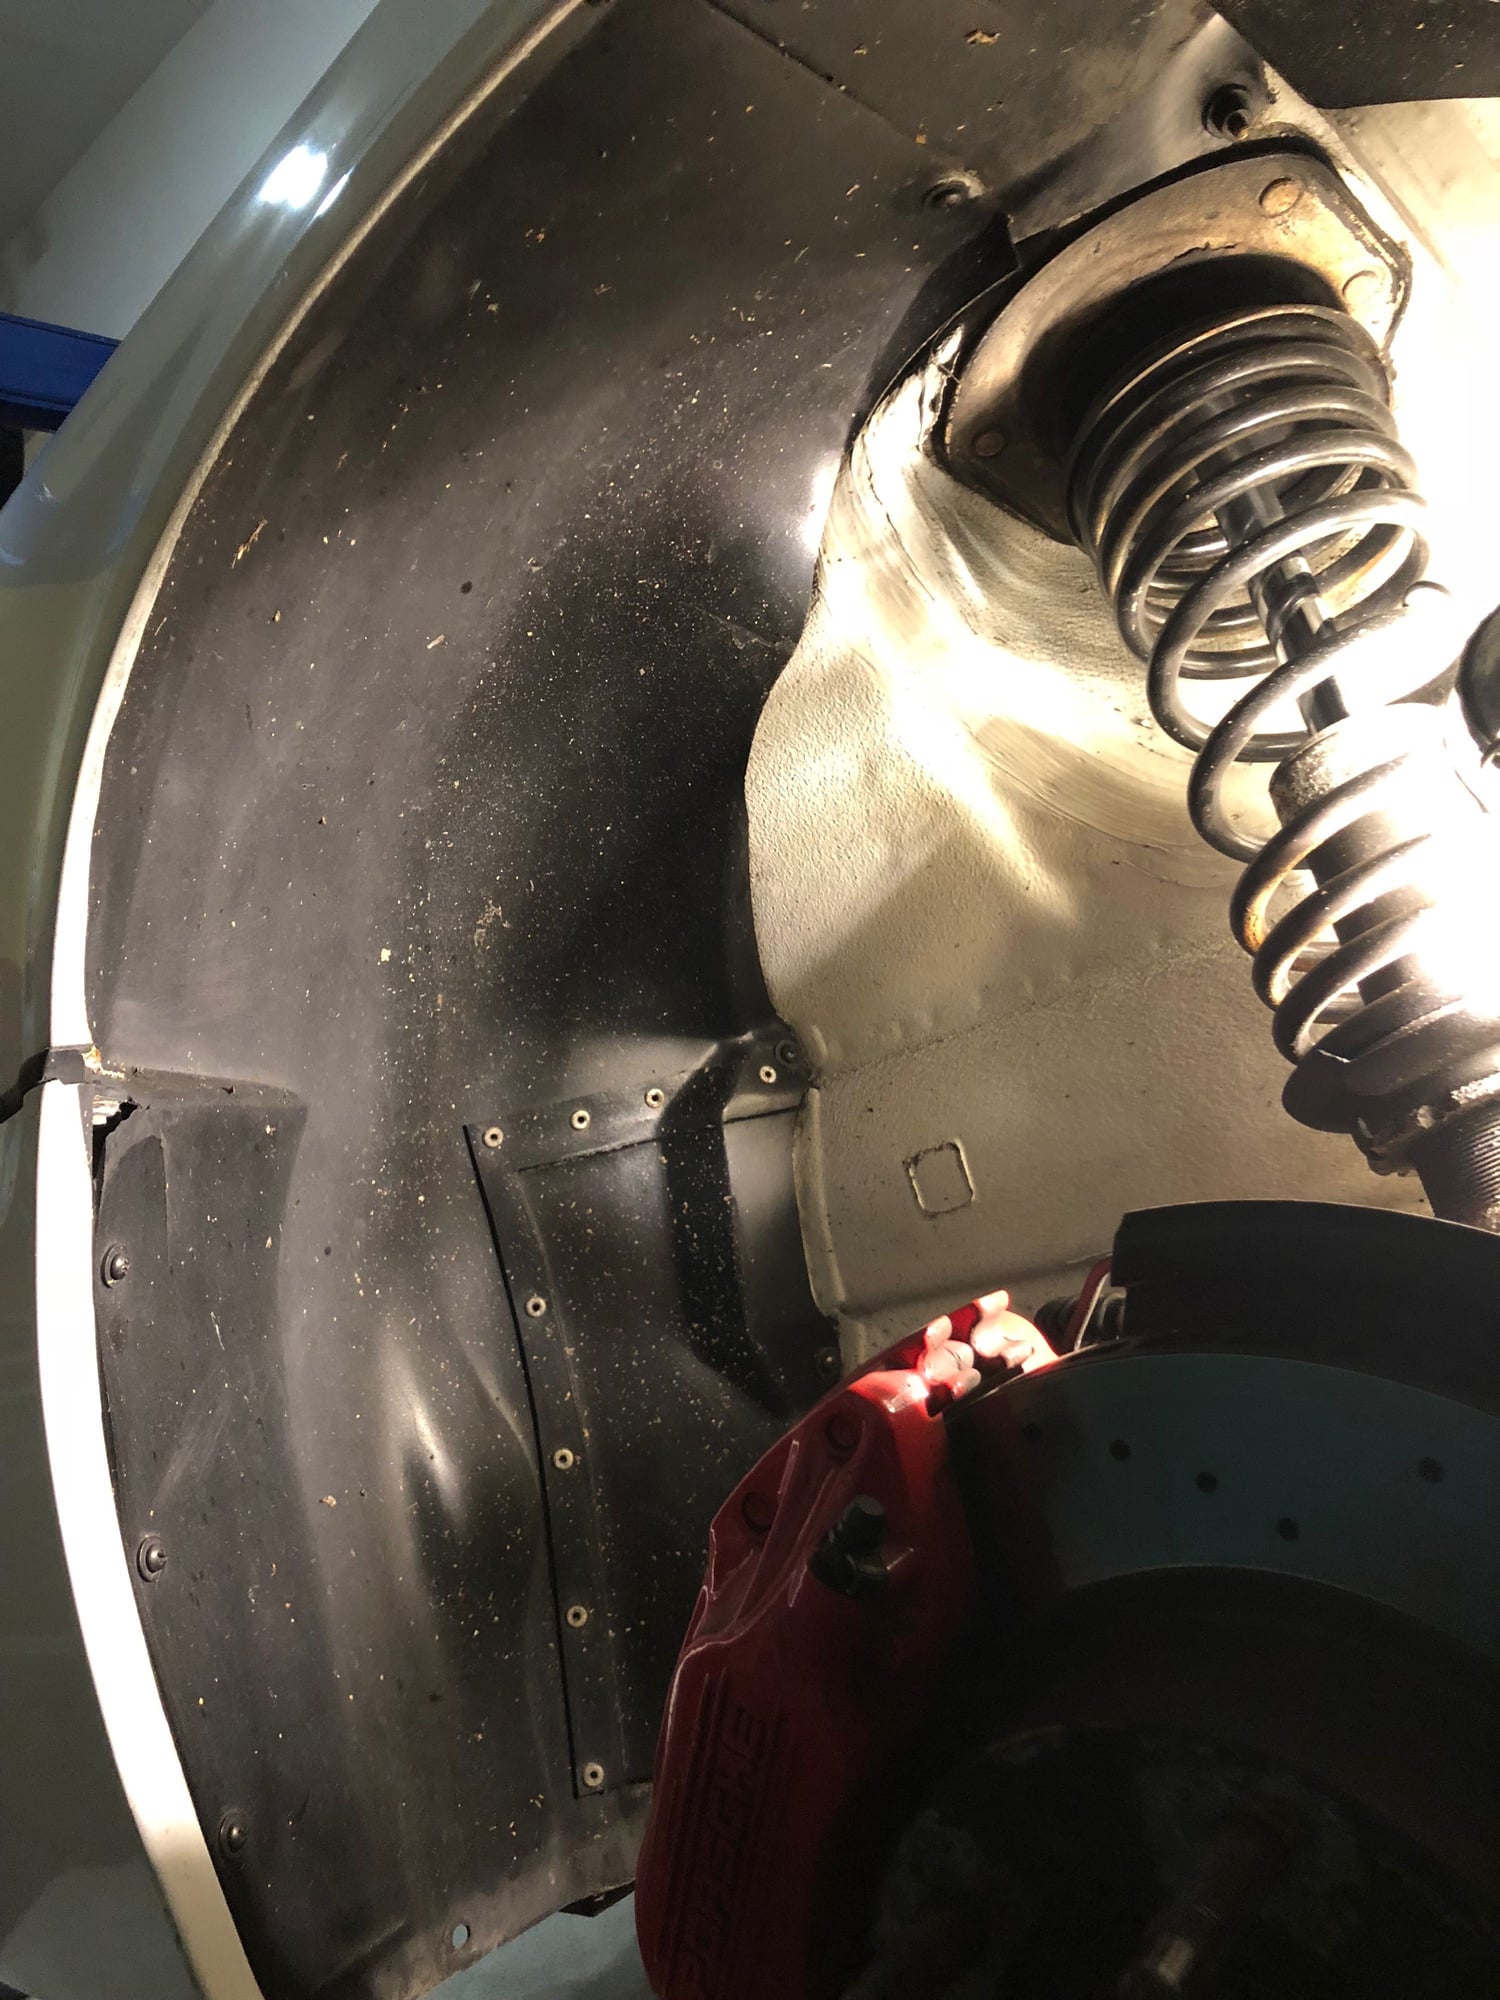
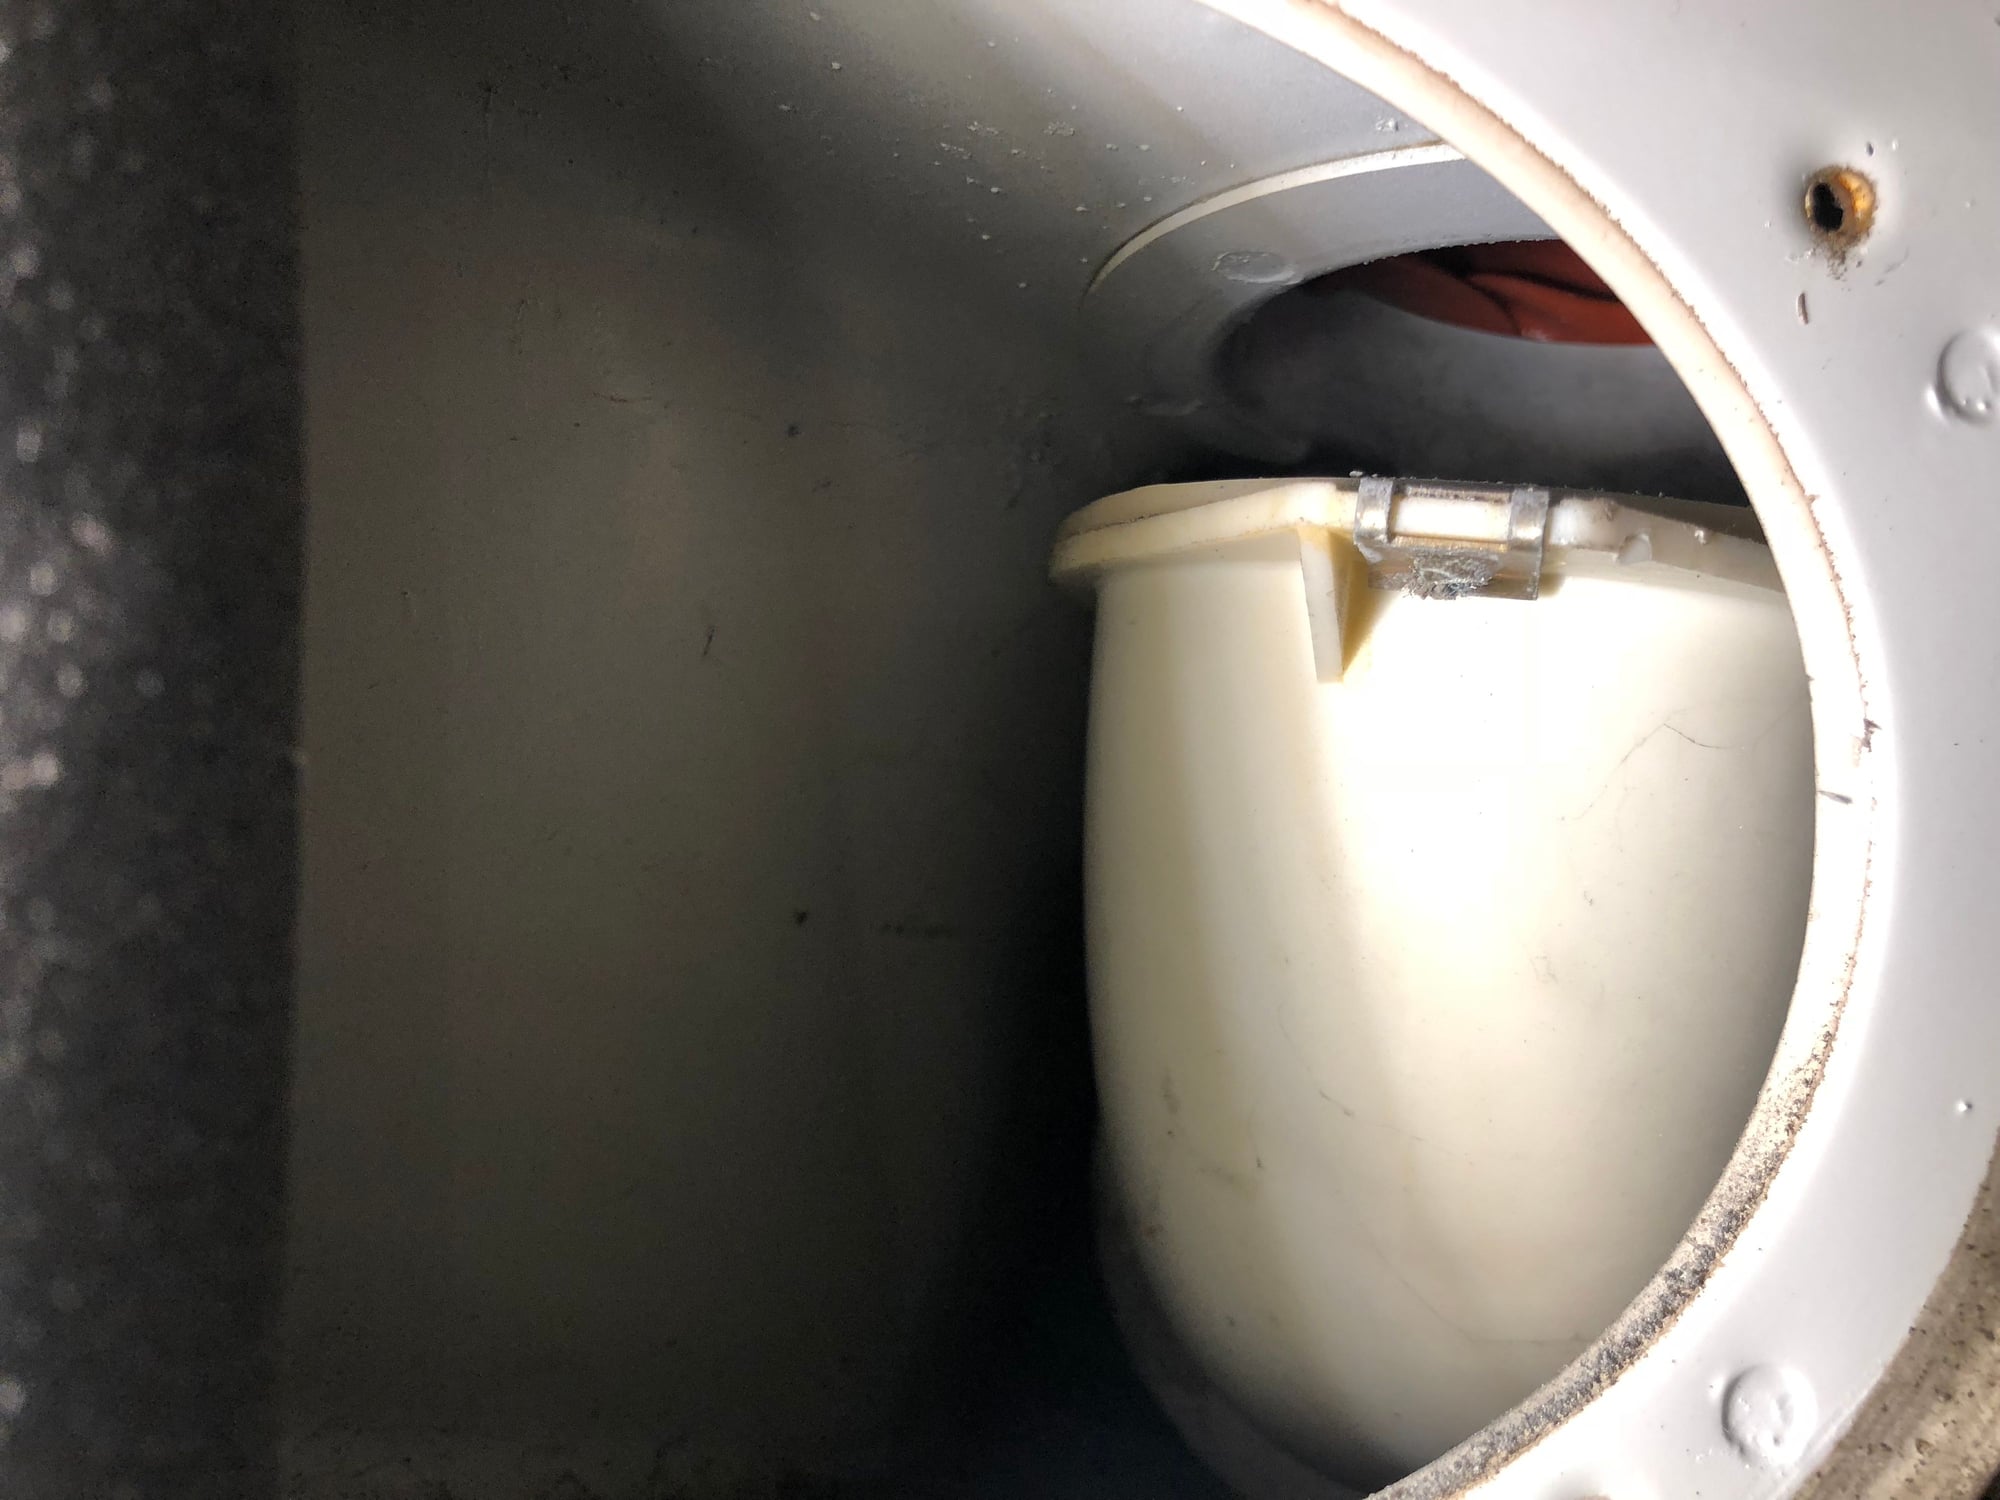
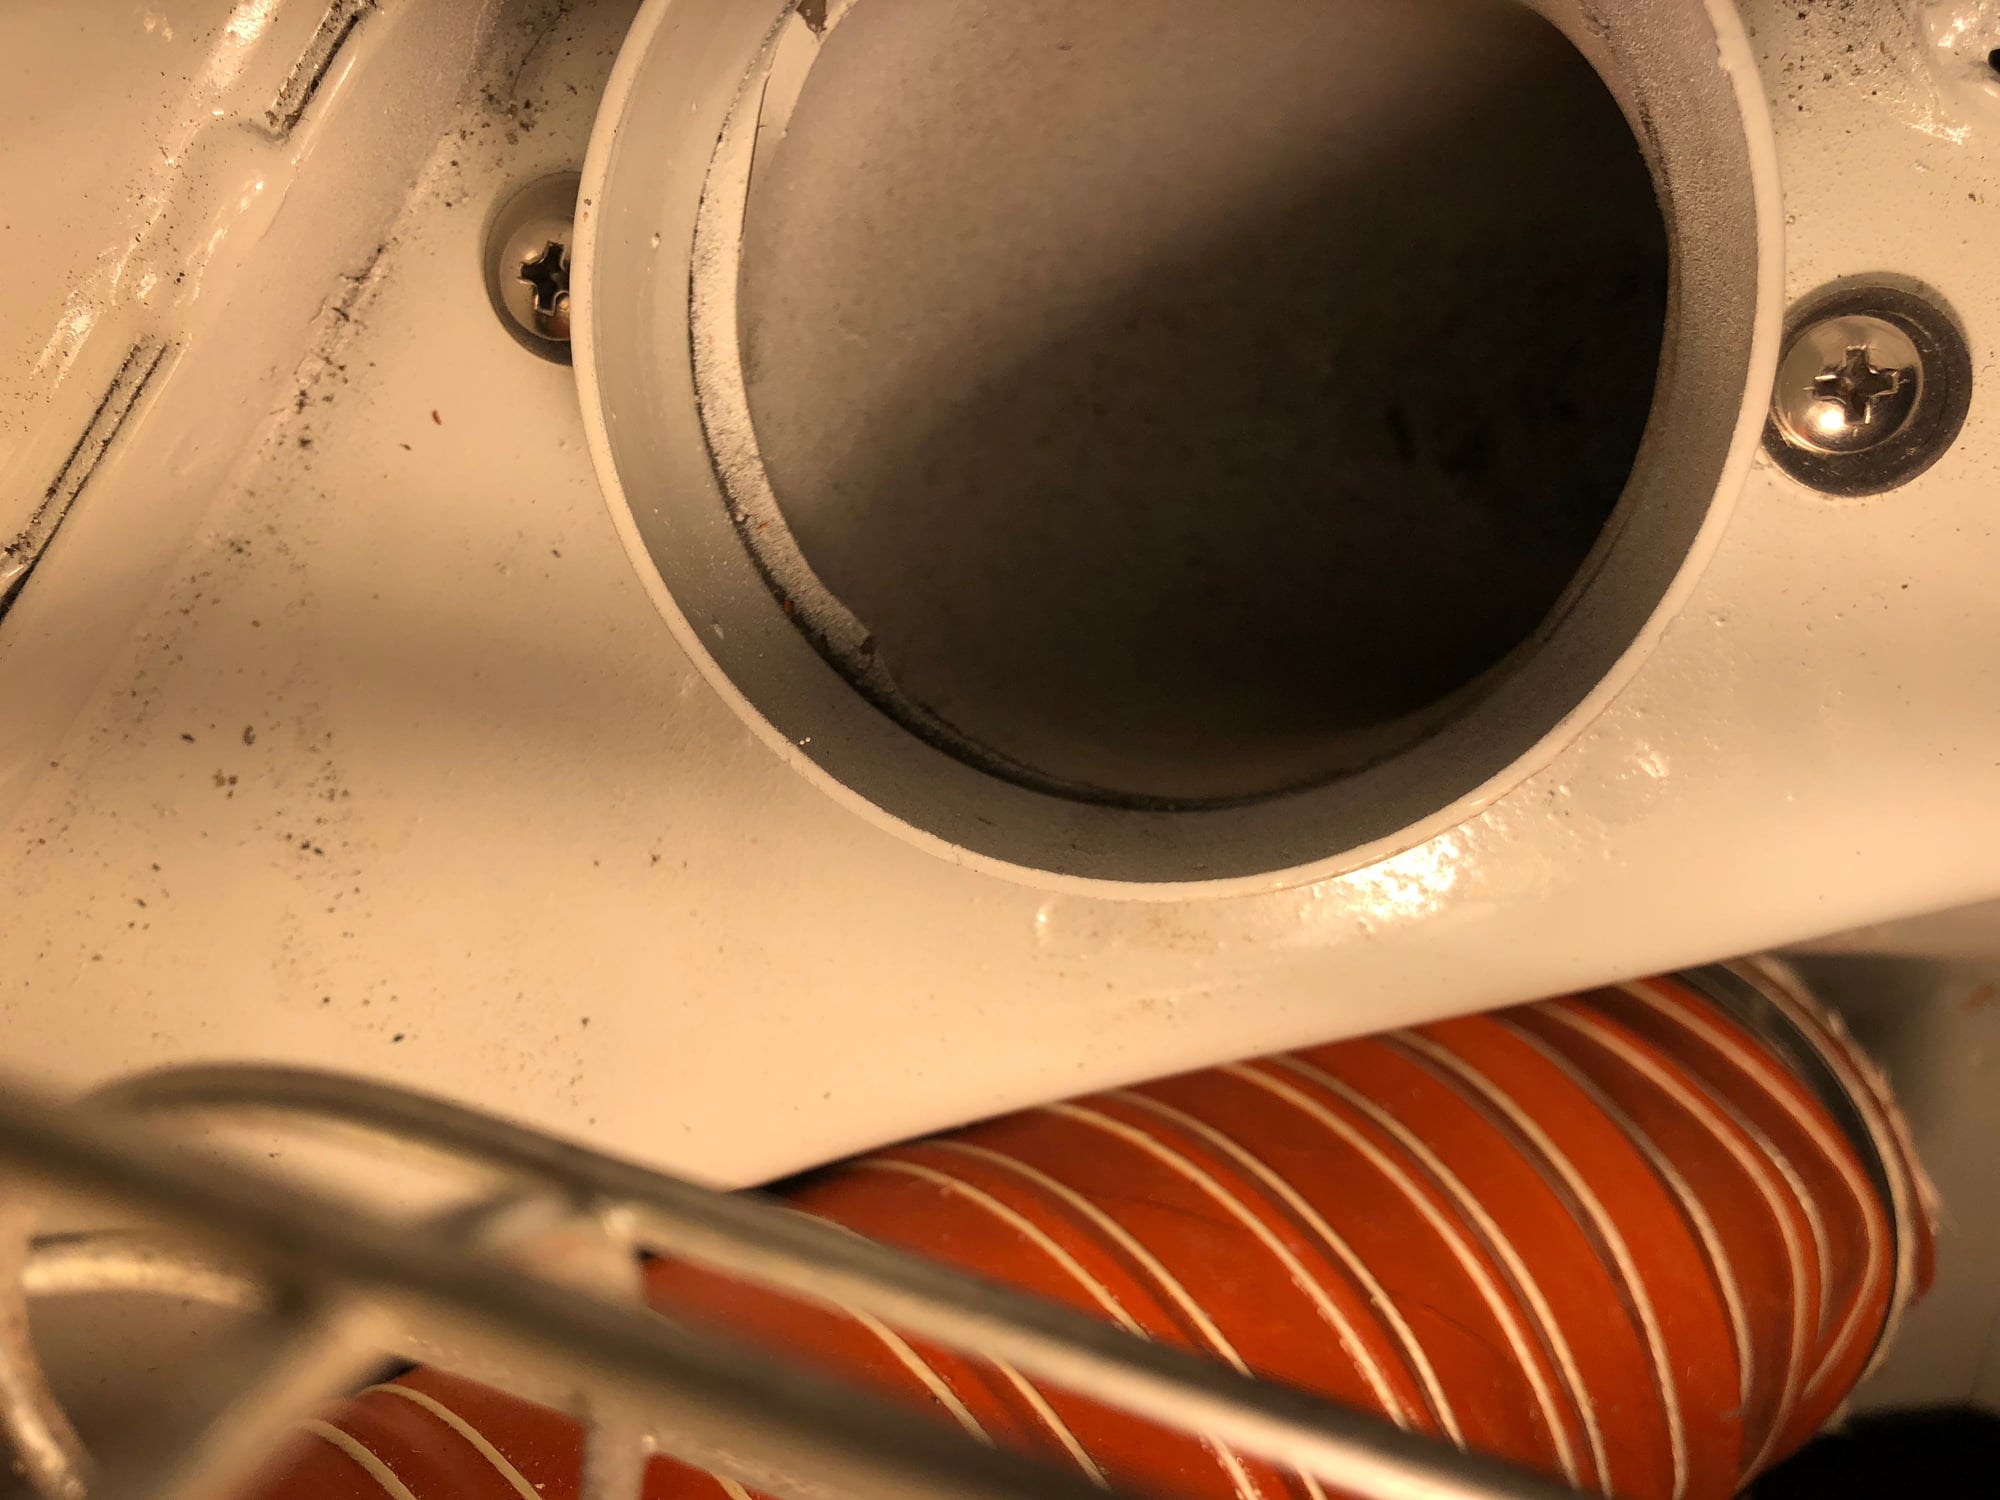
Quick progress report on Wilbur. With Nick�s help, I was able to isolate the source of the hot door sill. When I gutted and painted my interior, I removed the two screws surrounding each of the ducts. They appeared to serve no purpose, and I never replaced them. Bad move. Nick confirmed that the screws secure a PVC elbow in the sill. Problem solved.
Just in time too, as the temperatures plummeted early this season in New England.
Jacked up the left side of the car and removed the wheel and fender liner Yup, here�s the problem causing the hot door sill That hole is the cause of the pressure loss that is leaving the heater flaps wide open Secured the elbow properly with stainless screws
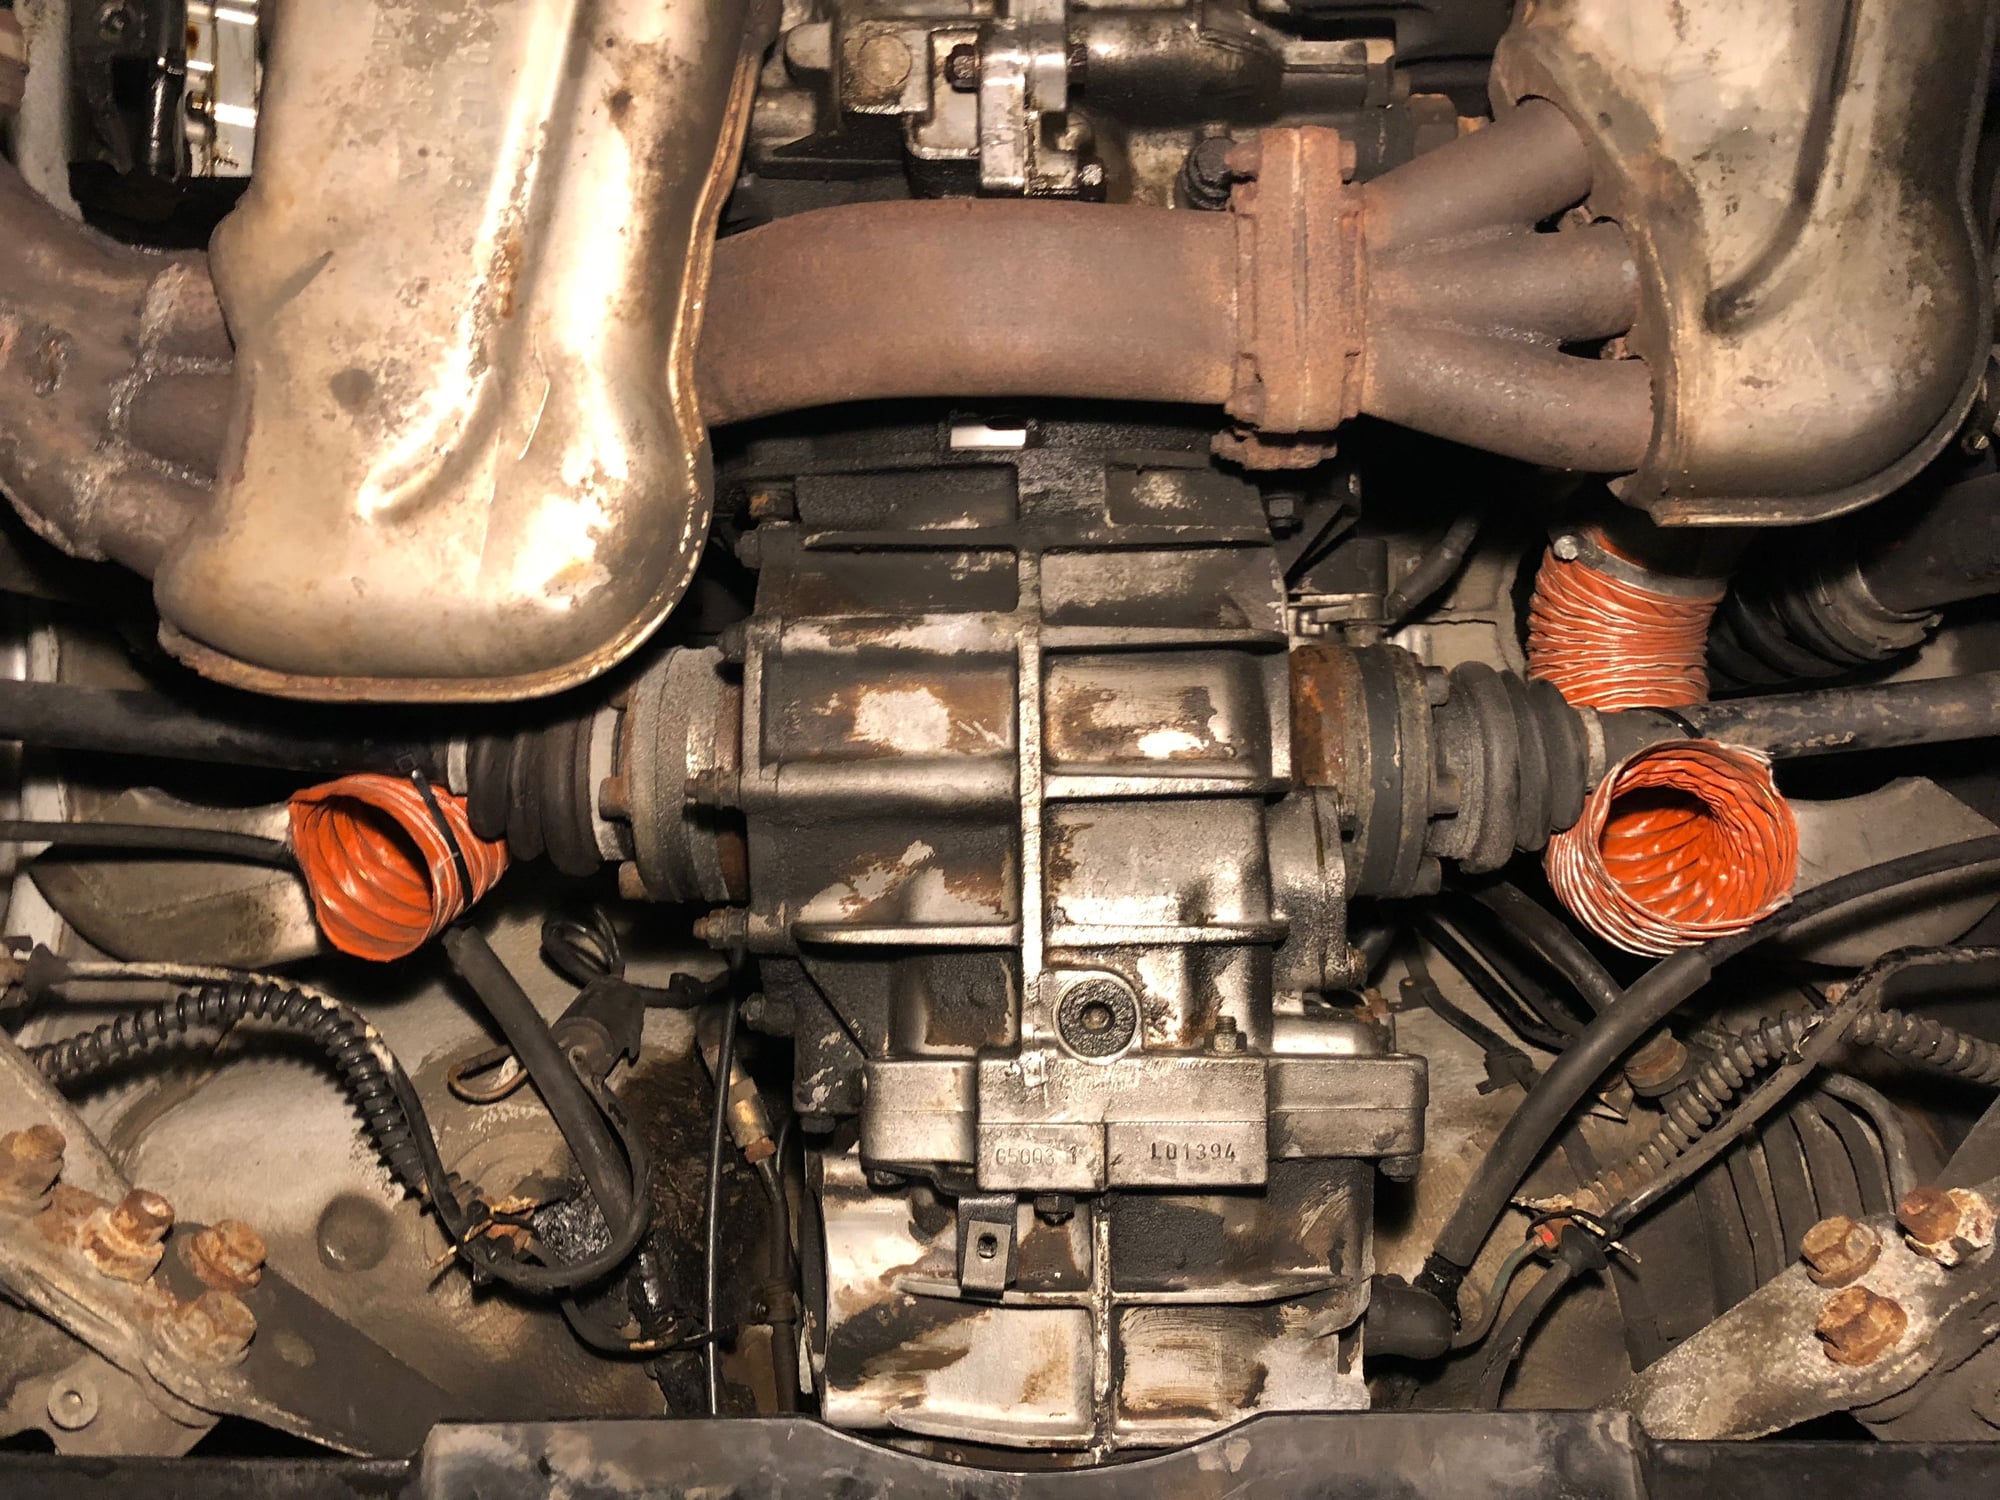
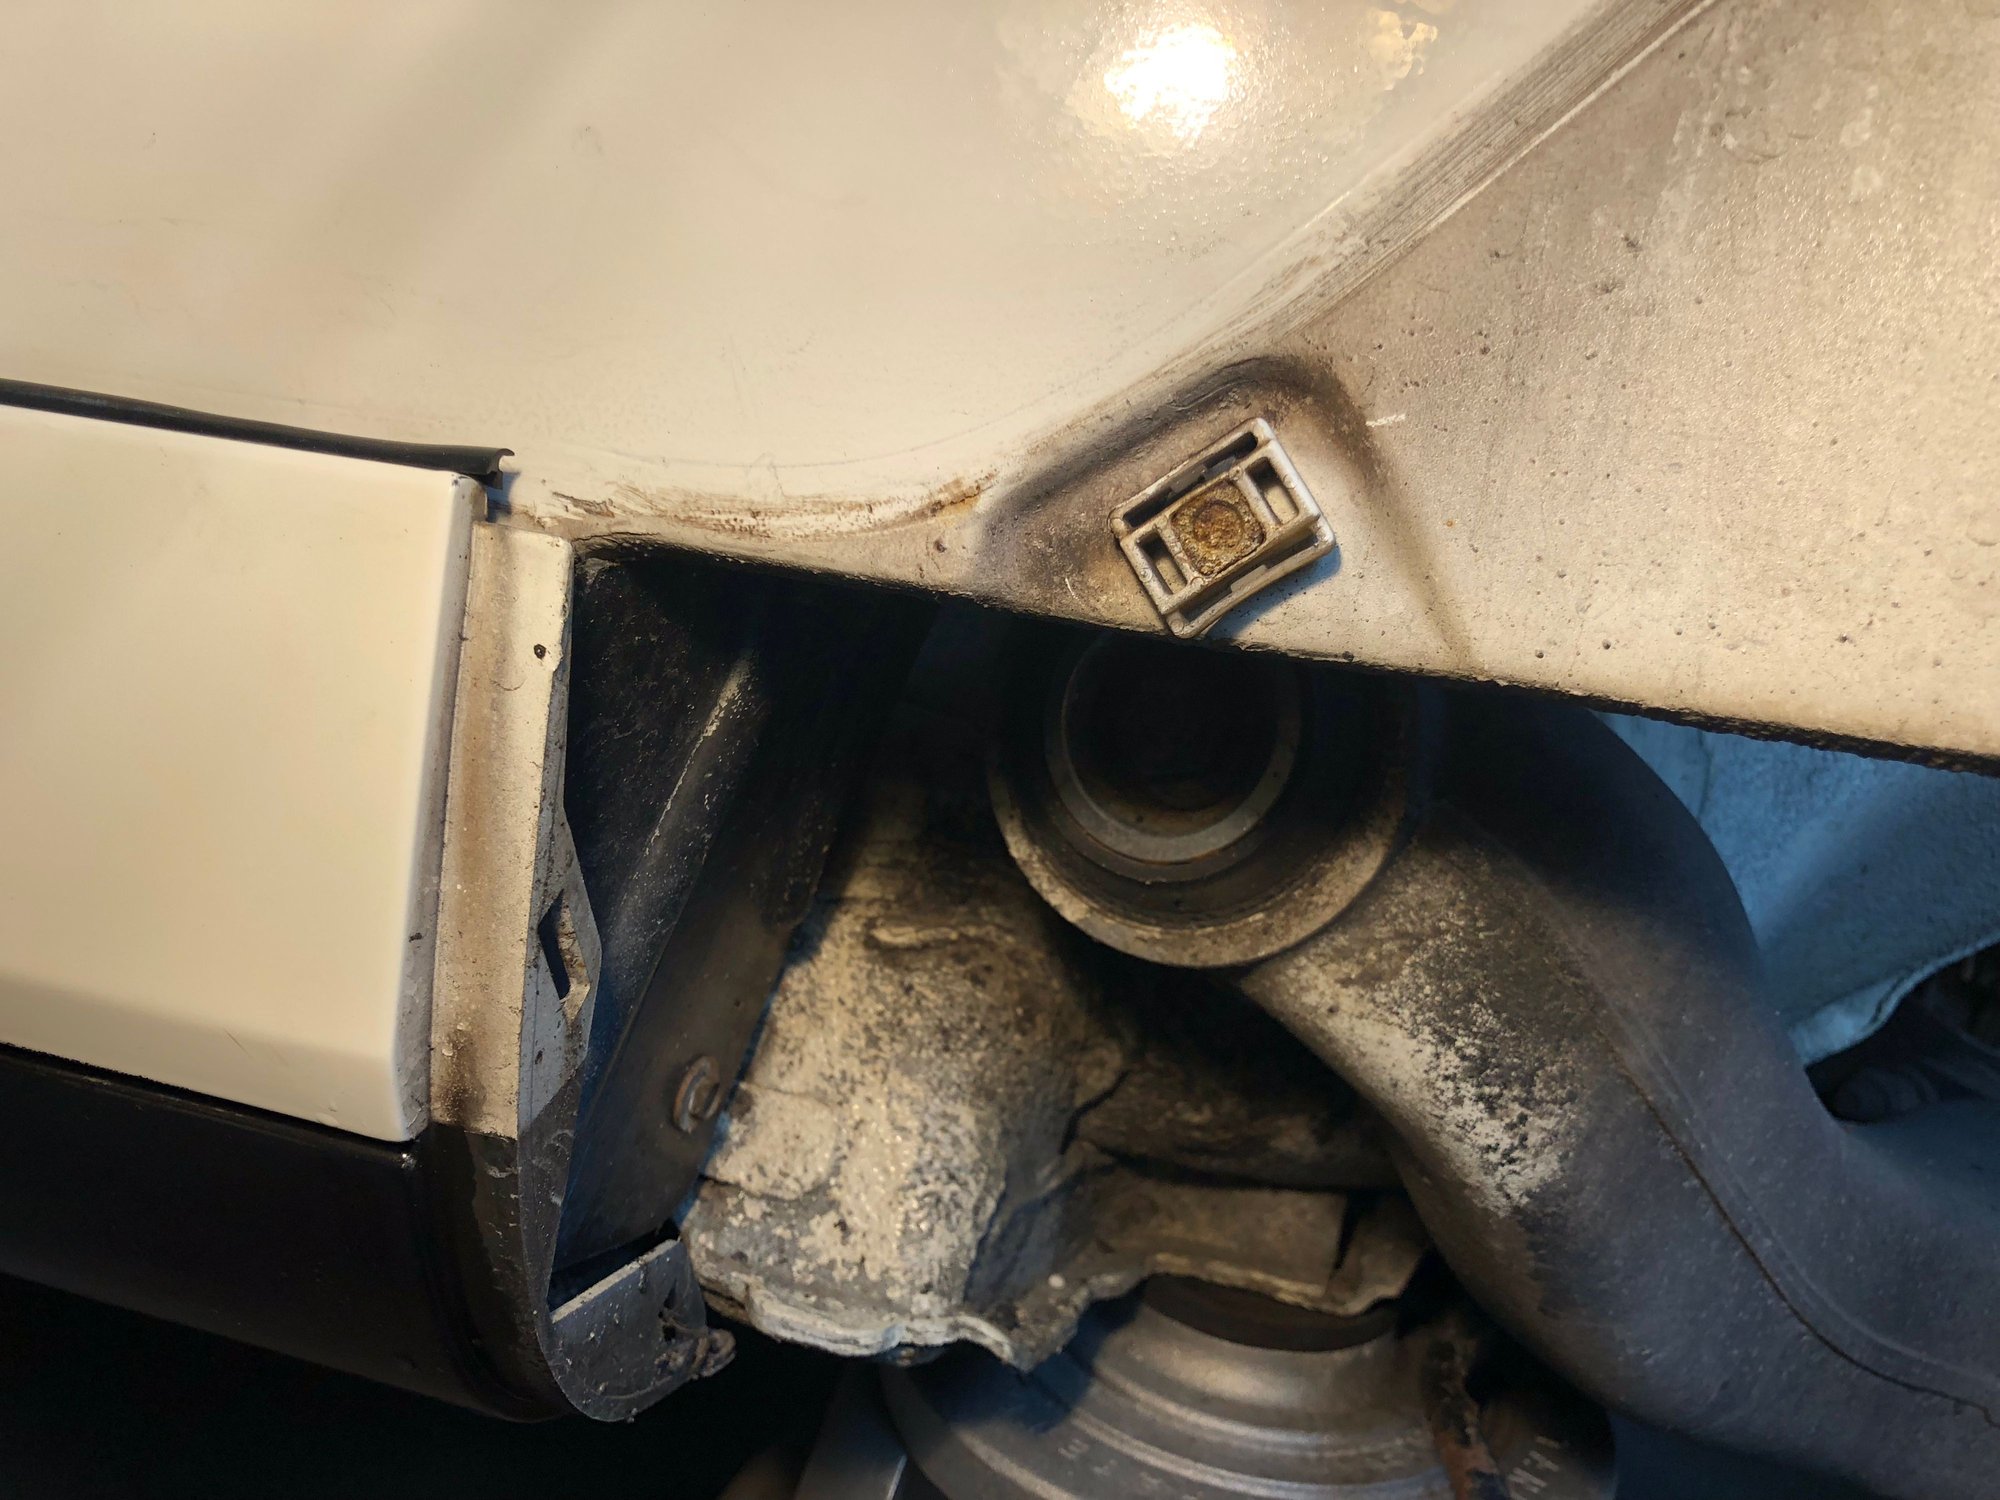
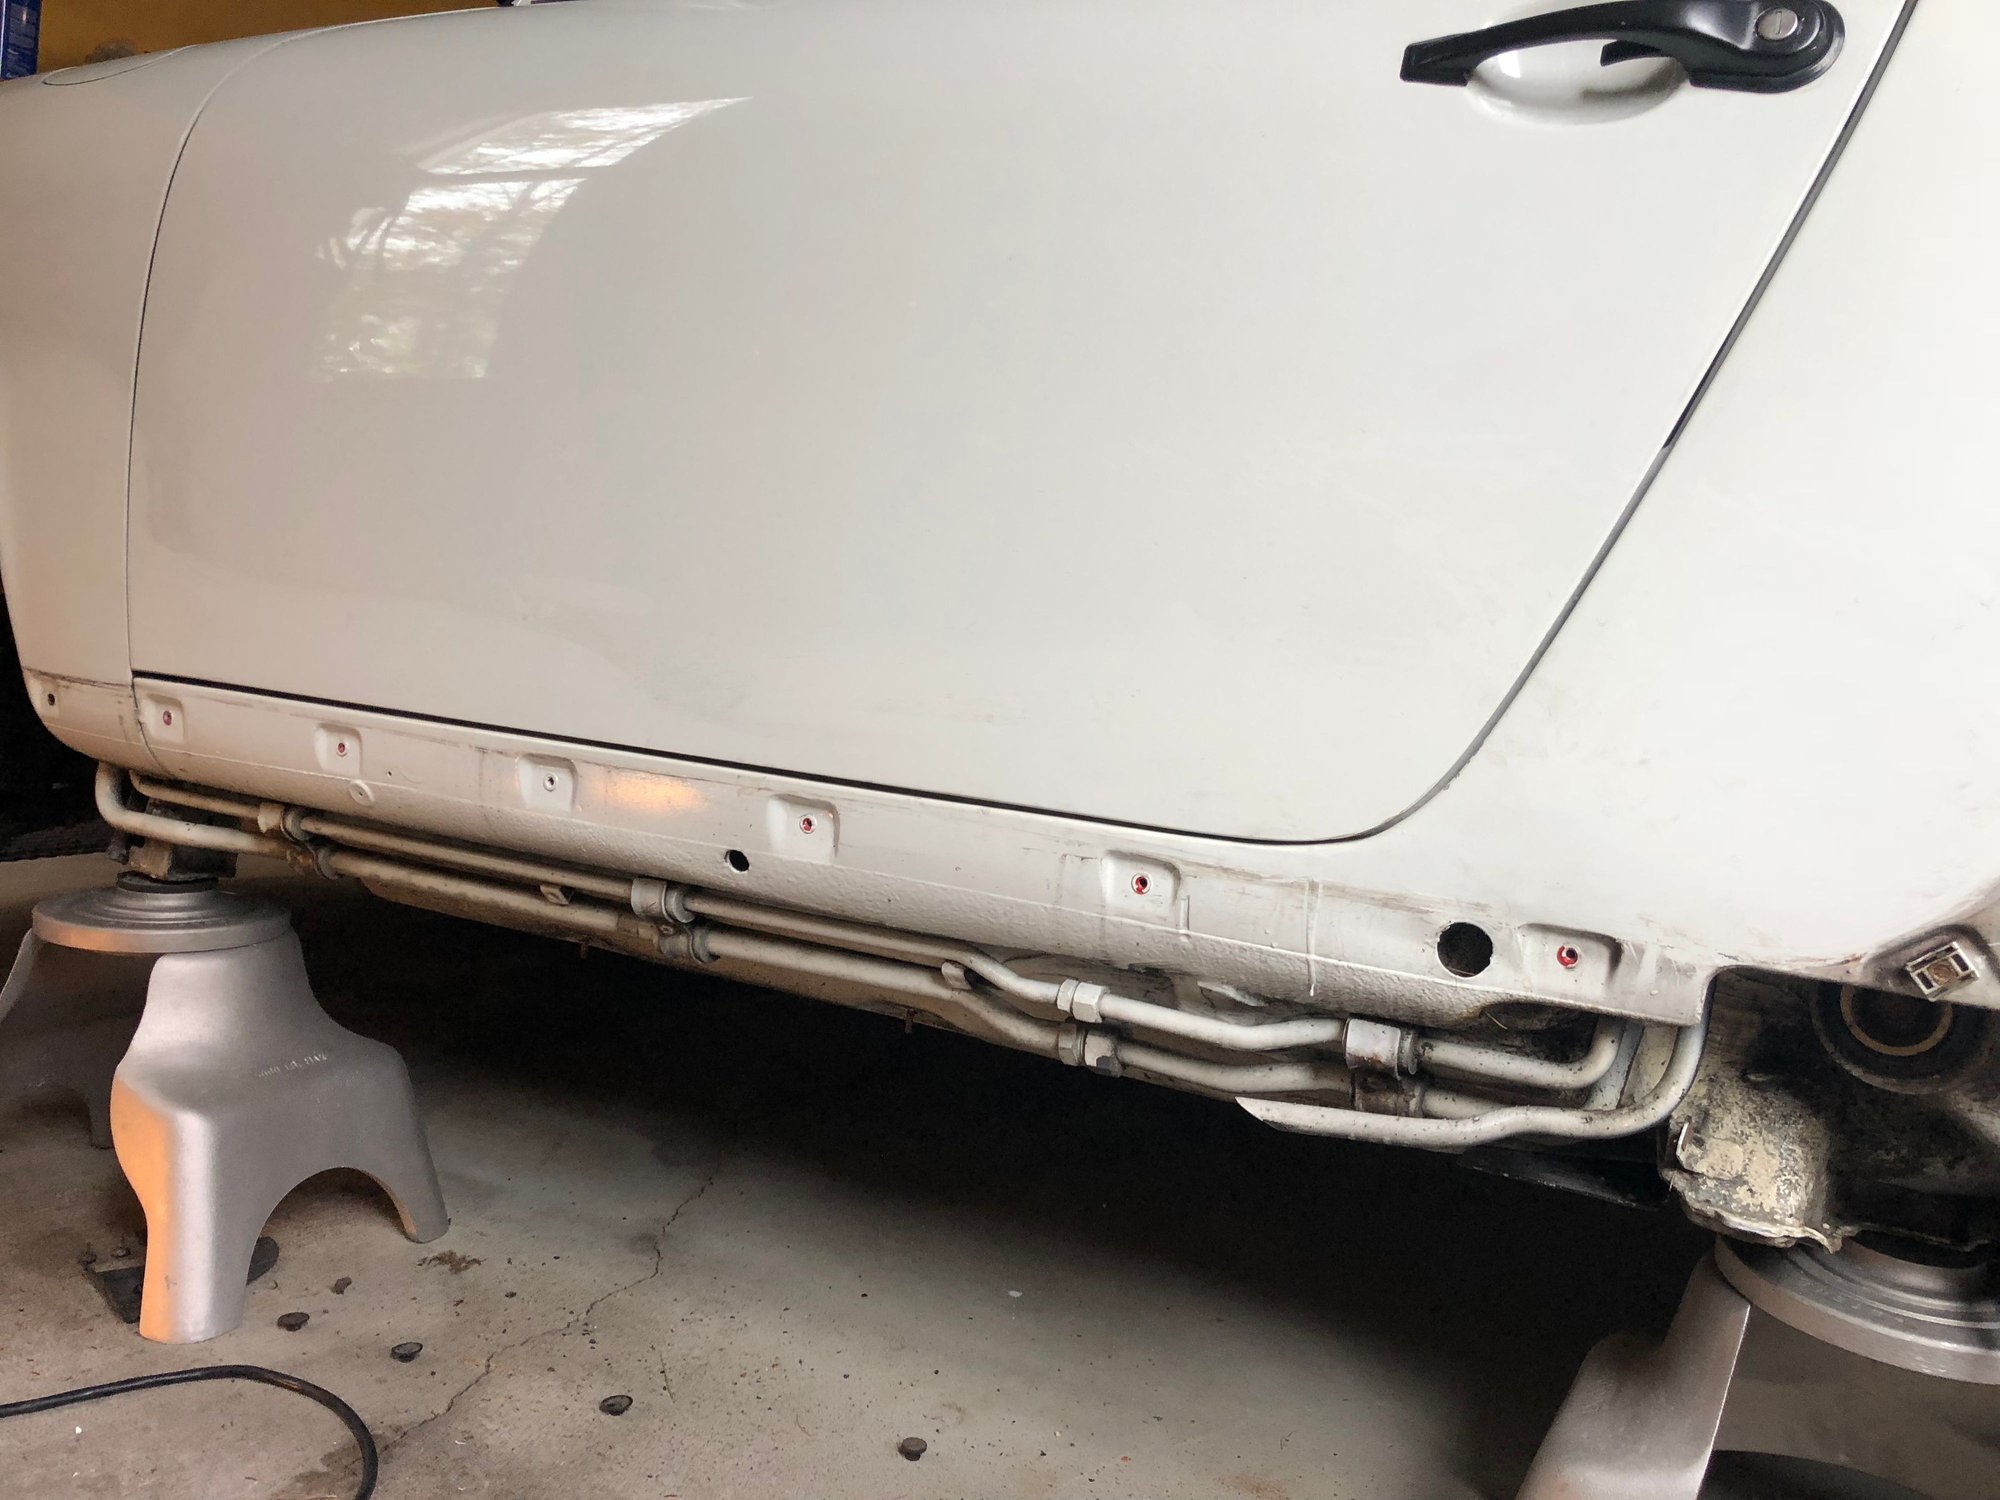
So with the heat now functioning, I turned to the third and final phase of the A/C delete. I�d already removed the compressor and the condenser and fan, but the plumbing still lingered and it needed to go.
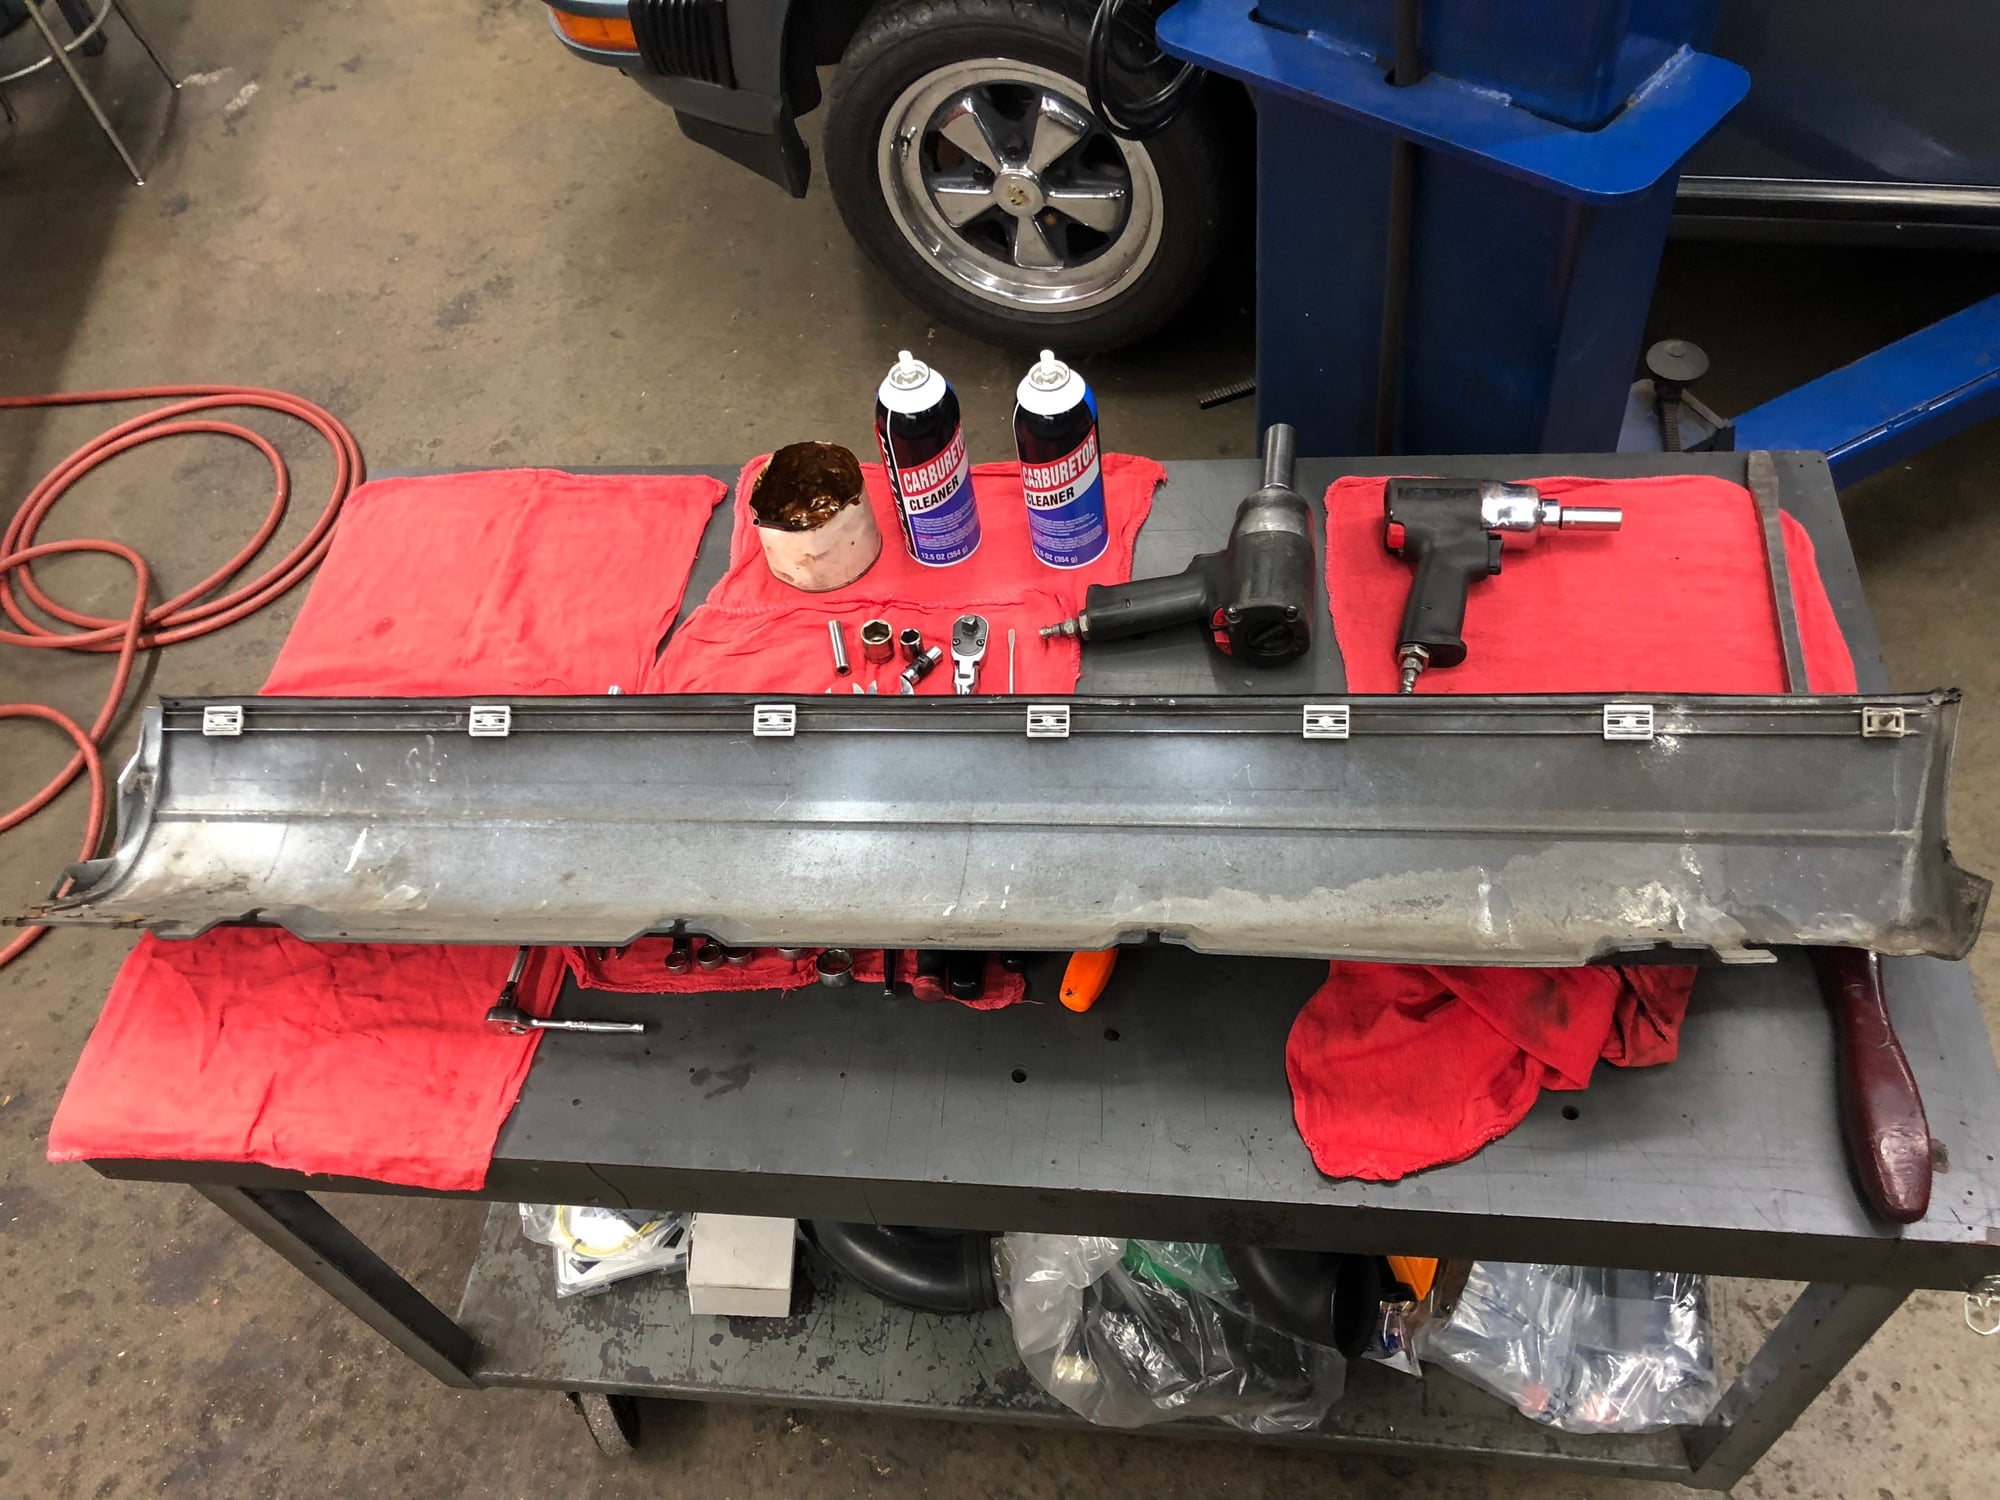
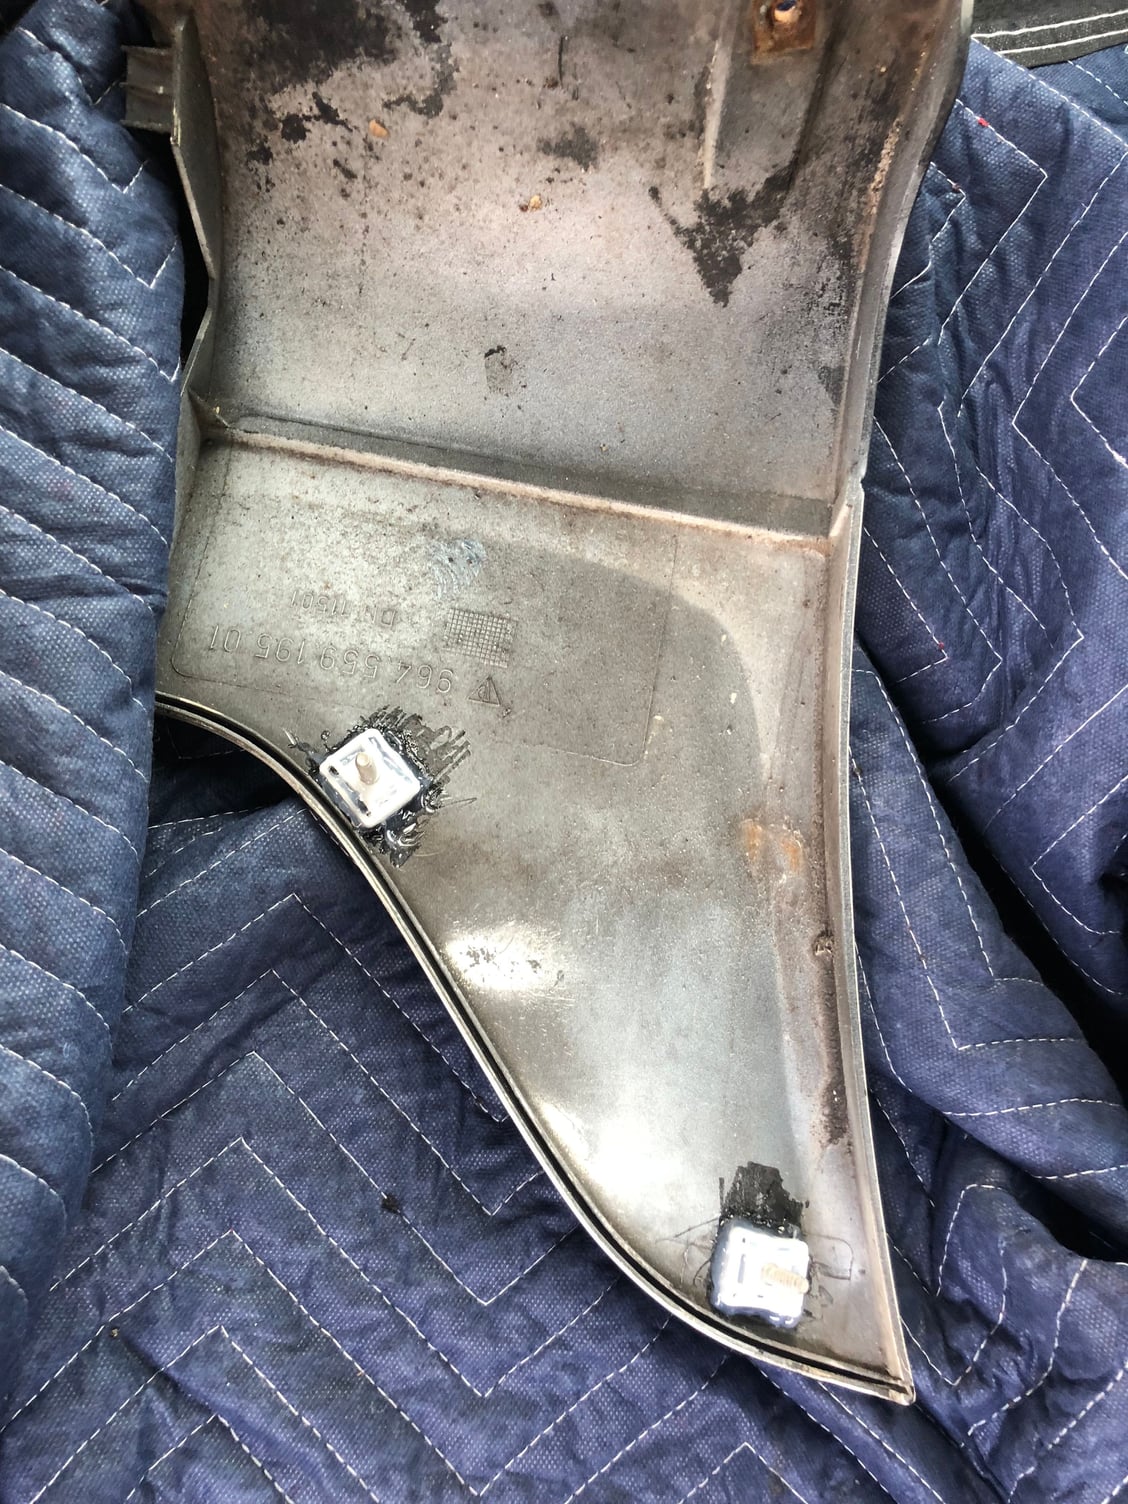
So I read a few threads on removing the lower sill and the shark fin. Thanks Rennlist, as I would have snapped off every piece of hardware had I not read a few threads first. There was very little information on removing the plumbing, but it was pretty straightforward. I wasn�t quite sure how to disconnect the pipes leading into the frunk, but a few turns of the Allen wrench screw hidden between the two pipes in the clamp was all it took. Six more pounds of dead weight exorcised from the car. Removing the shark fin, I discovered both tabs were shot But no issues removing the tabs on the sill! All the tabs are intact A quick trip to Eurotech, and Bill Pfister replaces the two tabs on the shark fin.
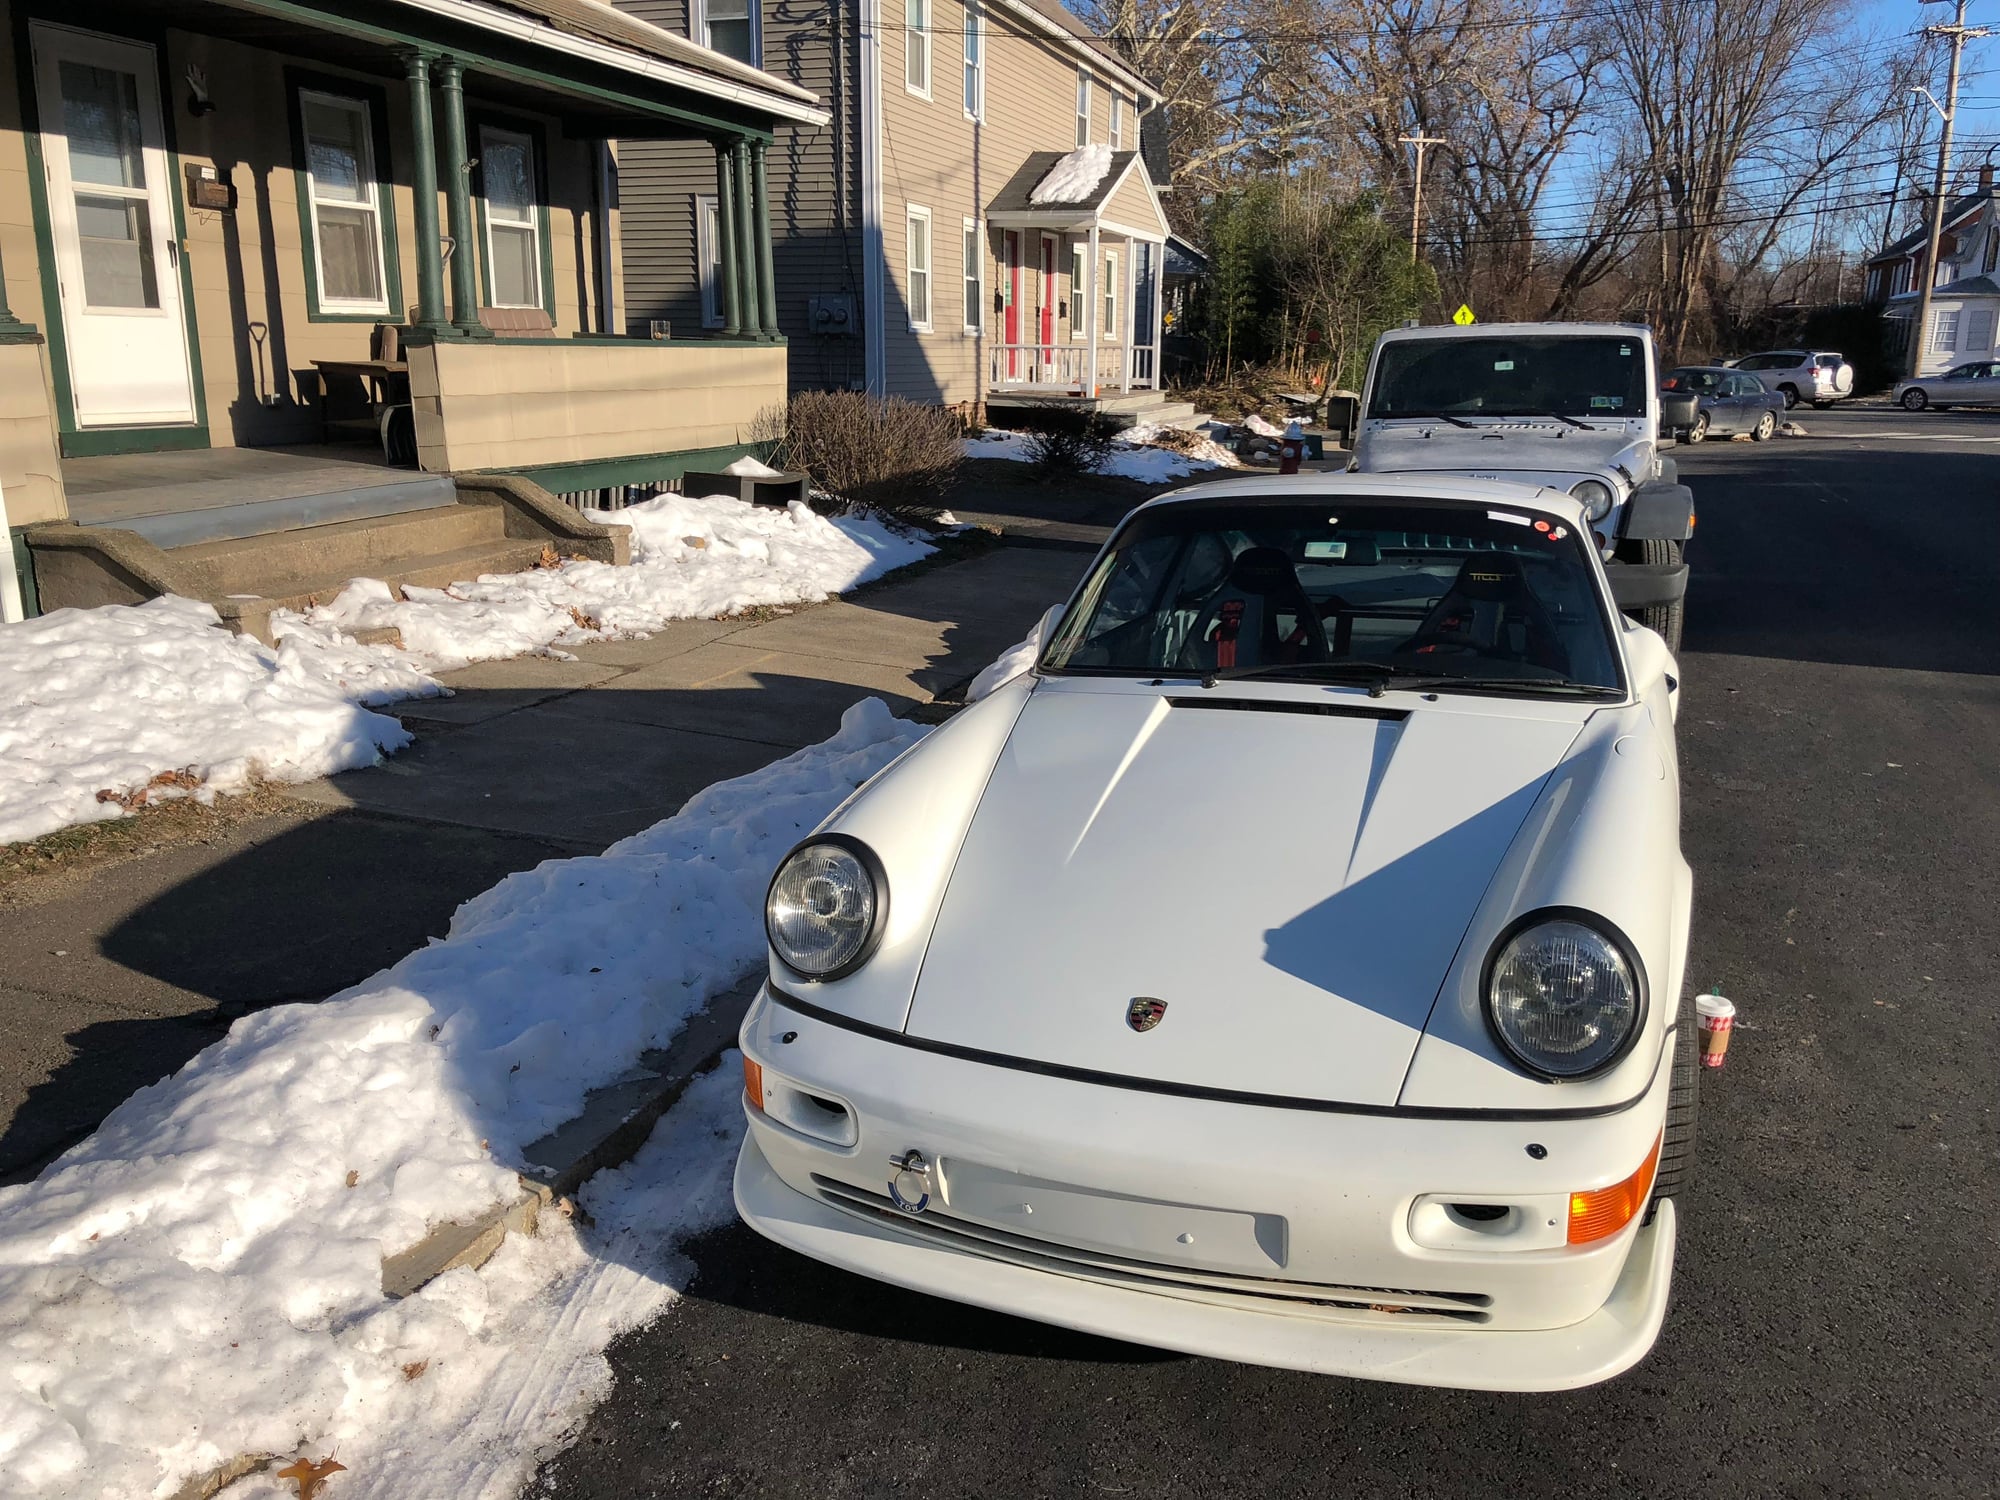
Bitterly cold here in New England this week. 12 F this morning, with bright sun. Wilbur and I went for a nice long drive out to Northampton in Western Massachusetts. Beautiful Town, and a beautiful day despite the cold temperatures. The car performed flawlessly. But in the ride home I noticed the left turn signal had failed. Perfect excuse to install the Bergvill FX LED lights that I purchased.
The install was quick and easy, but there seemed to be far too many bulbs. Turns out all four of my side marker lights were out. I never even knew here were supposed to be lights there.
Very pleased with the product, and the results. The car is unquestionably safer with brighter turn signals and break lights. Thanks Tore! Removed the summer wheels Rear spacers and on with the winter wheels Frigid road trip to Northampton Hungry deer missed out on Thanksgiving dinner

 10-10-2018, 09:59 AM