When you click on links to various merchants on this site and make a purchase, this can result in this site earning a commission. Affiliate programs and affiliations include, but are not limited to, the eBay Partner Network.
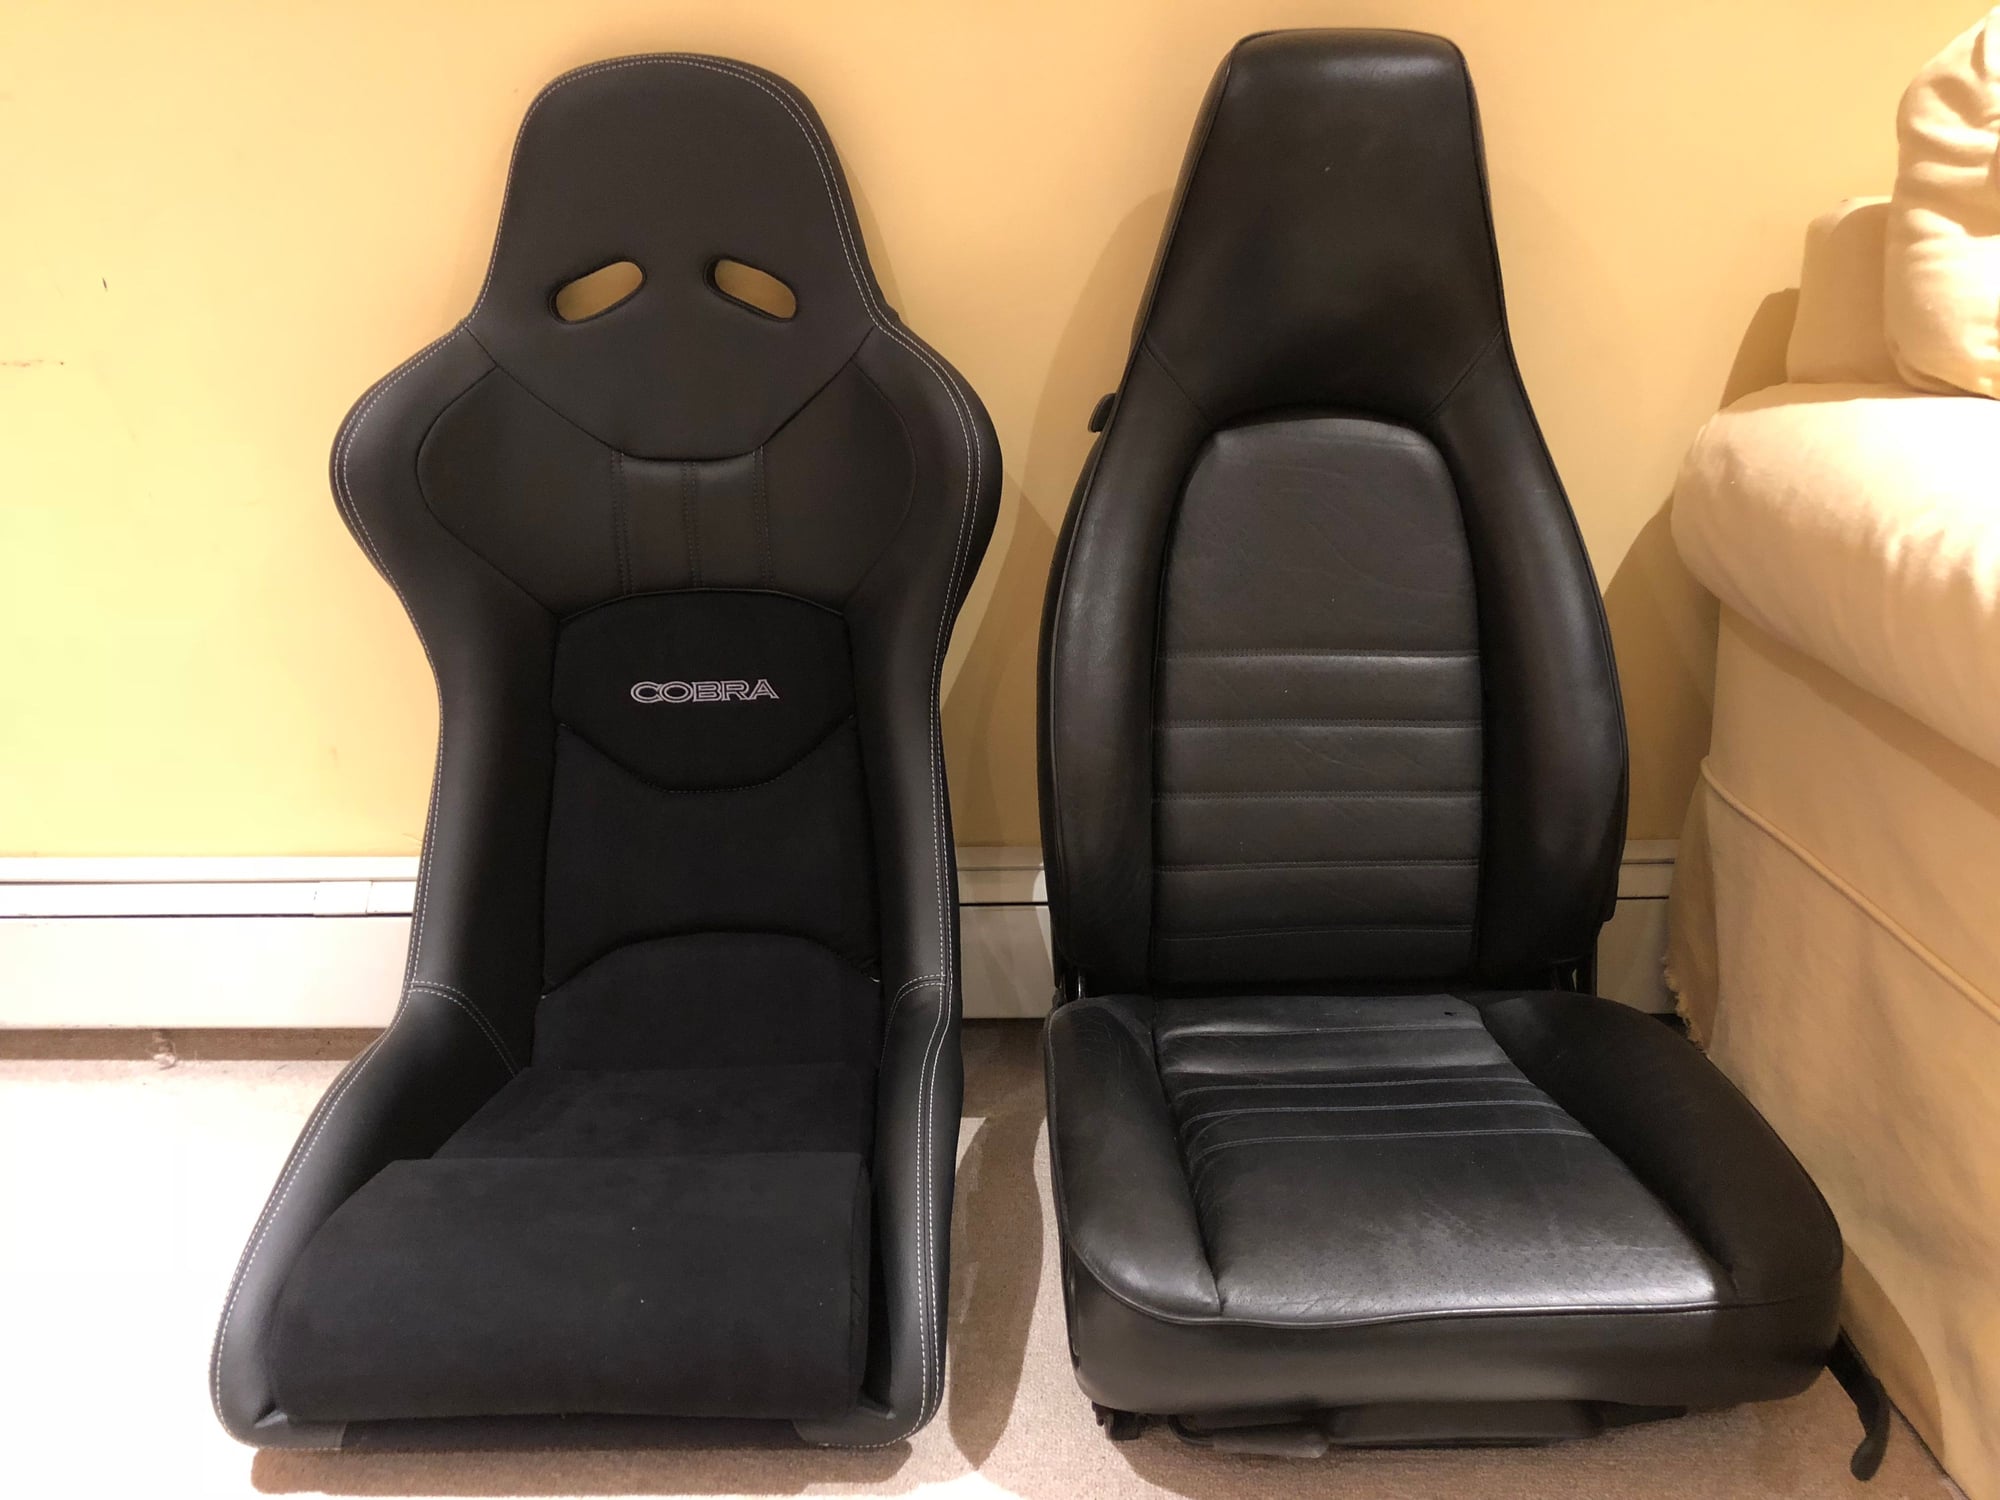
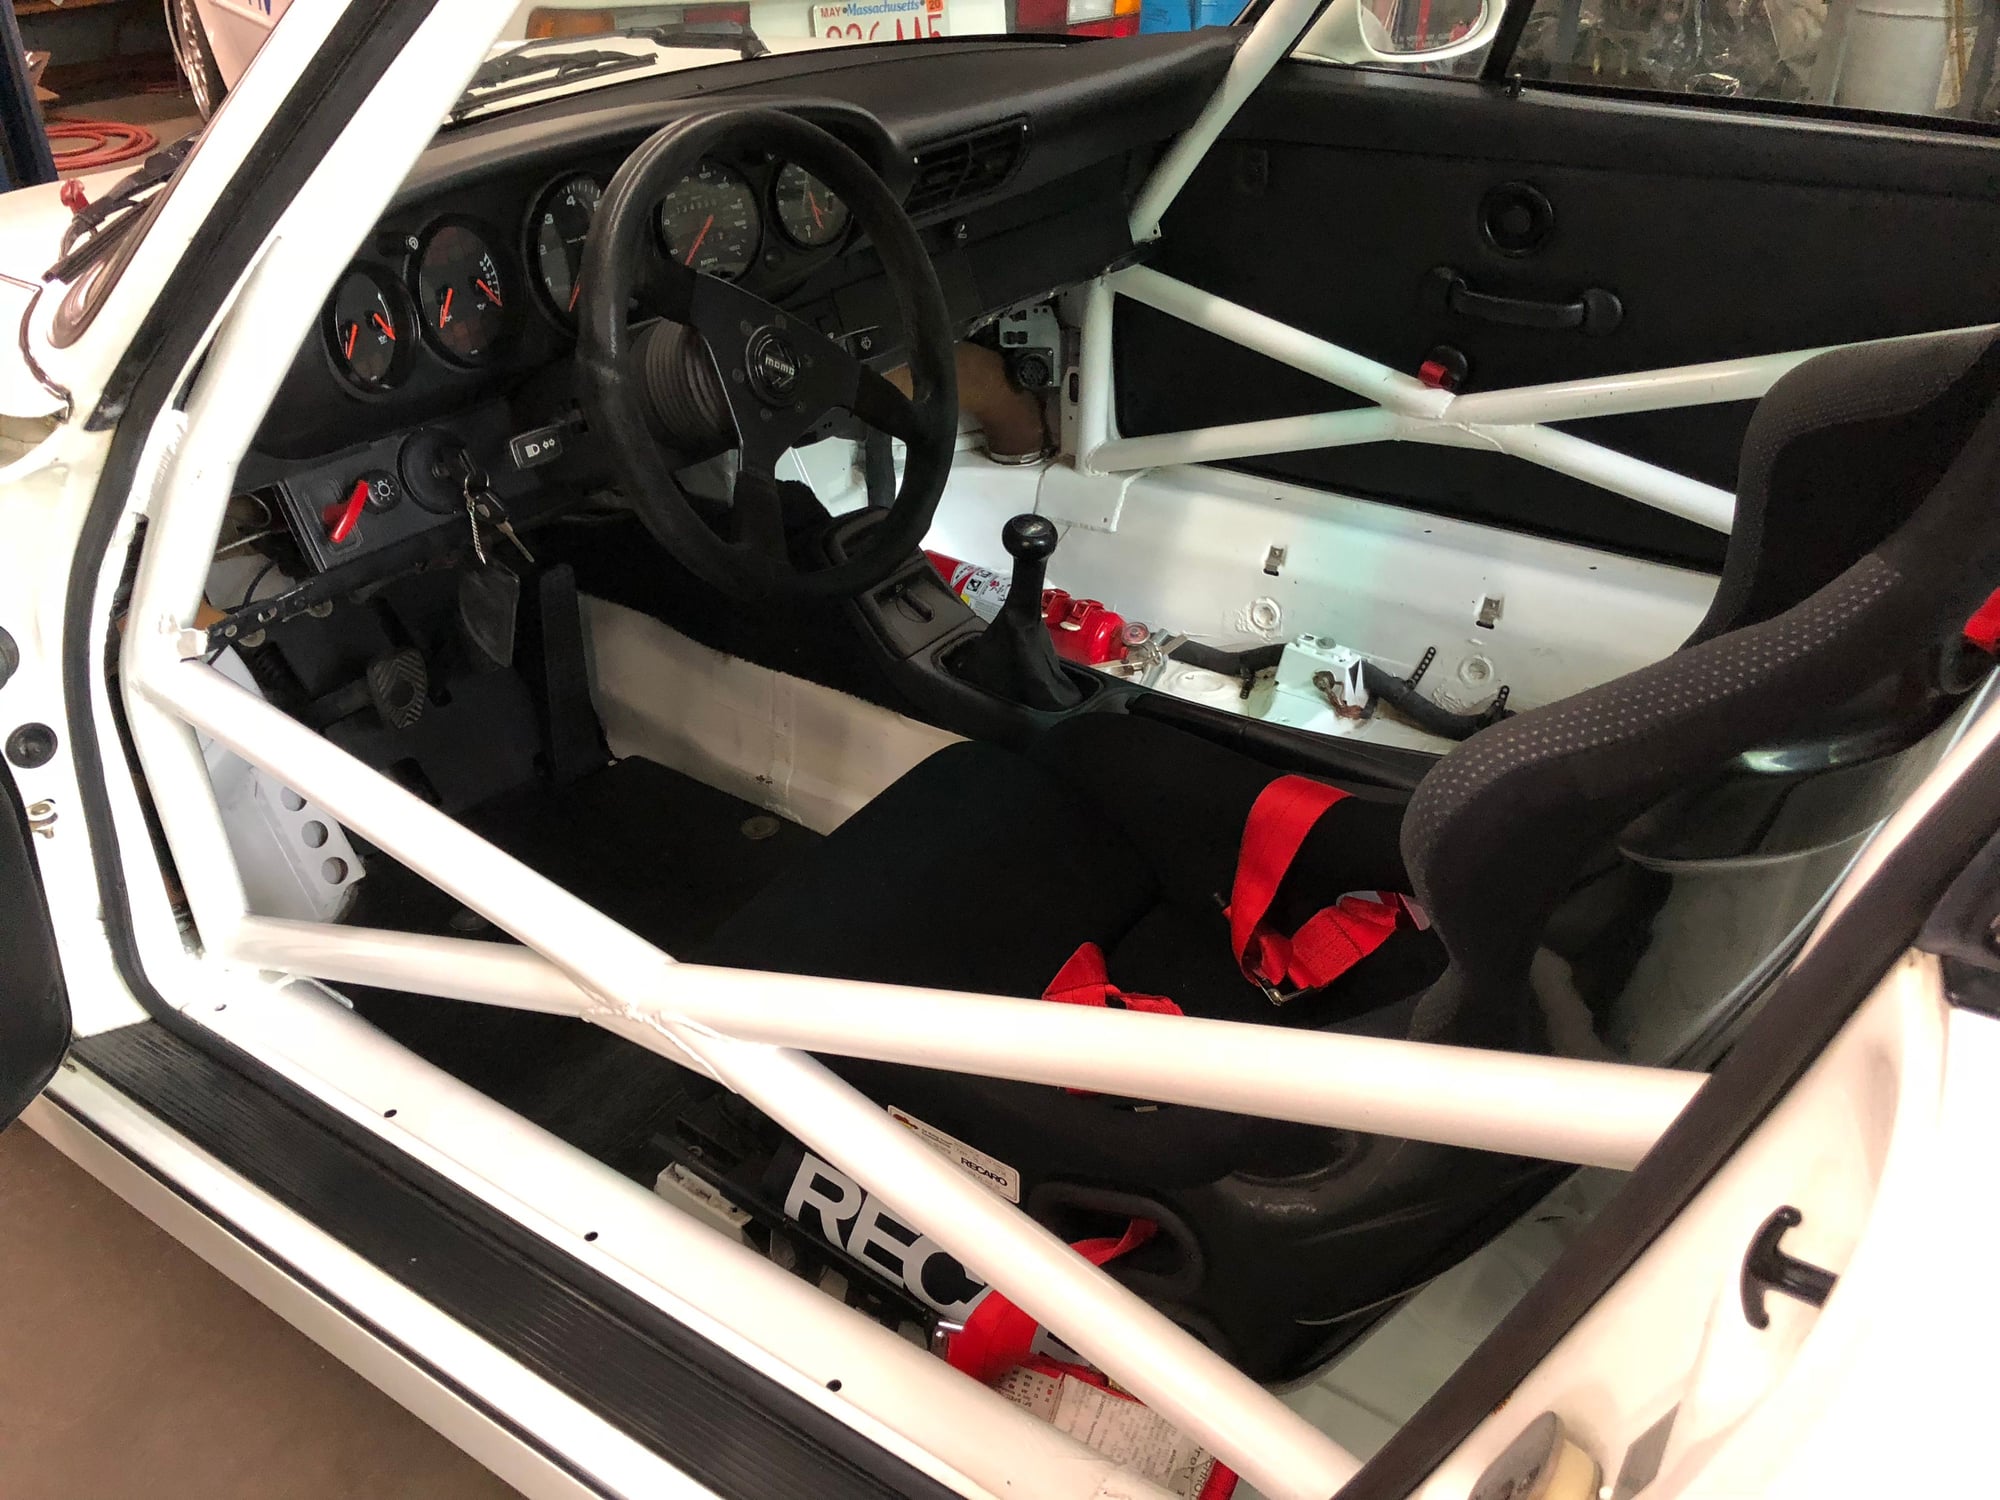
Lastly, here�s a photo of the Cobra Nogaro sitting next to a 964,seat (it�s actually a 944 seat, but it�s the same thing). The dimensions of the Cinra Nogaro are perfect rly suited for a 964/993.
I cleared out all the masking paper and painters tape, and made ready to rewire the car. Unfortunately the friction tape leaves a gooey trail on your hands and the car. Goo Gone thankfully lifts/removes the mess quickly and neatly.
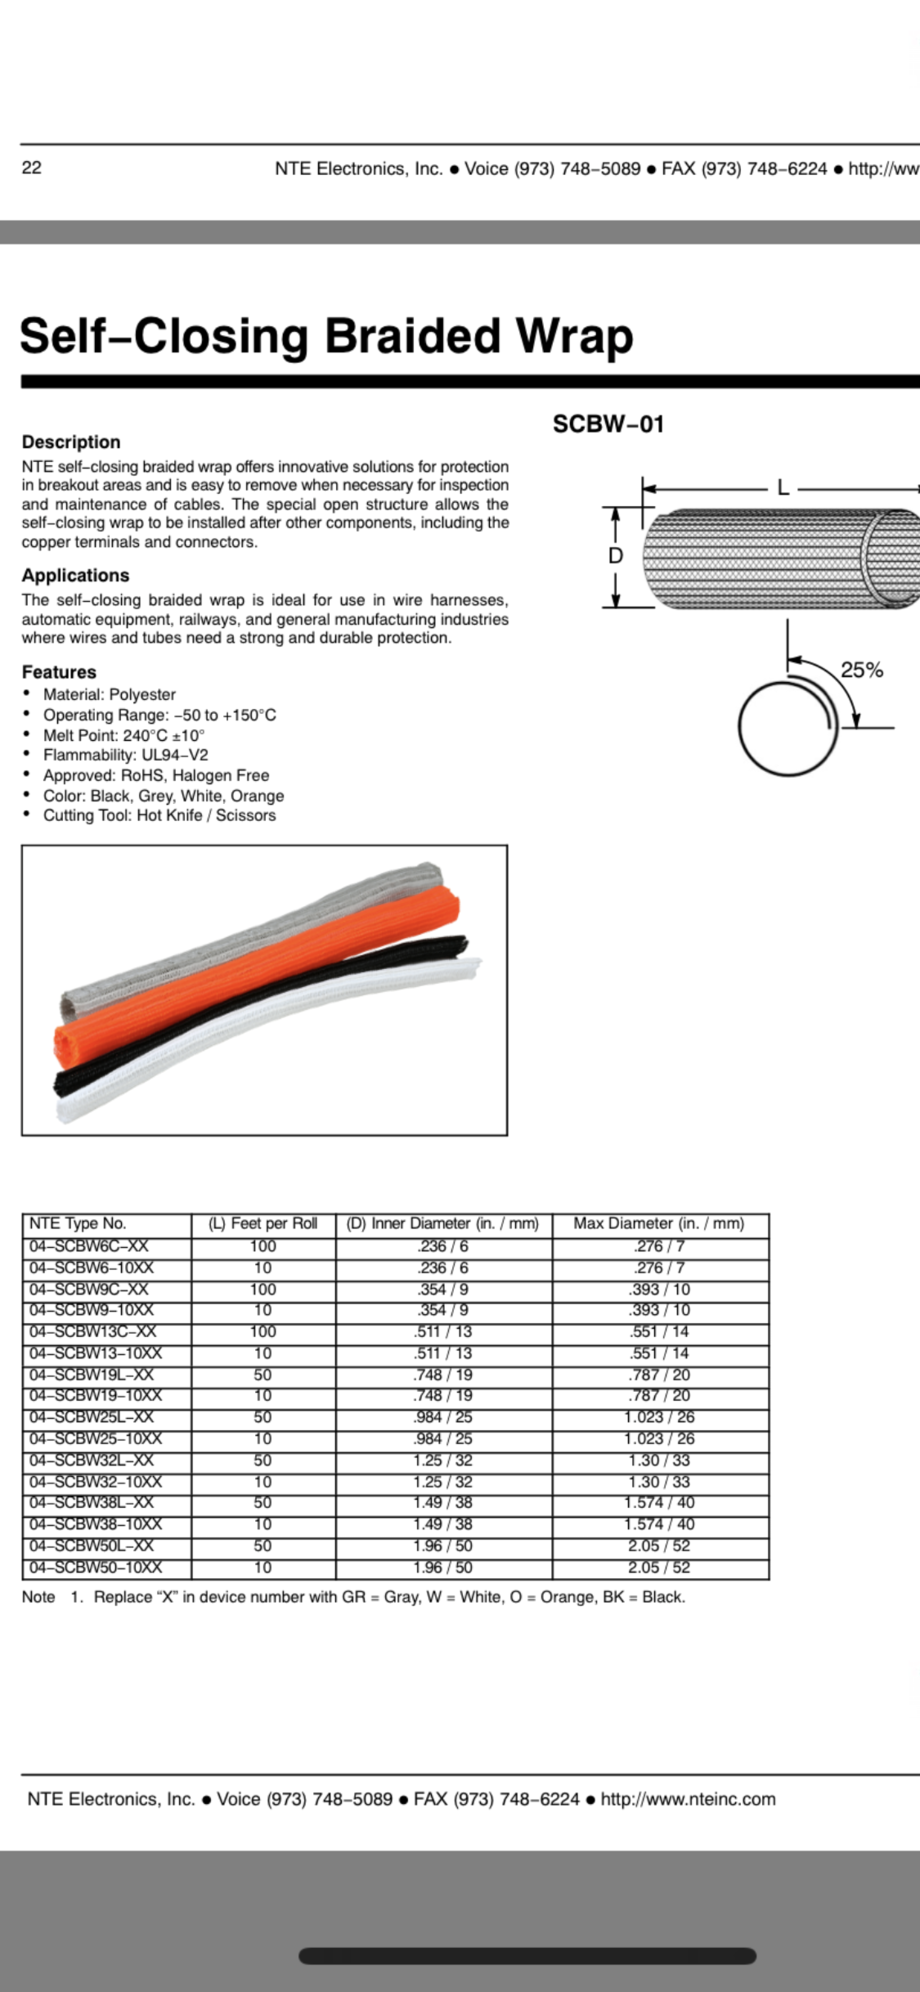
I don�t want the harness lines trailng sticky goo all over the car, so I�m wrapping all of the lines in split braided wrap. The split wrap is a lightweight polyester filament that comes available in various sizes and is perfect for prewired car harnesses. It�s slow, methodical work, but give the fact that the lines will be fully exposed I think the extra layer of protection is a good call. It also allows you to handle and secure the lines without getting covered in black sticky goo.
Friction tape on harness lines leaves a trail of black sticky tar
Solution, self-closing braided wrap this cover the harness lines
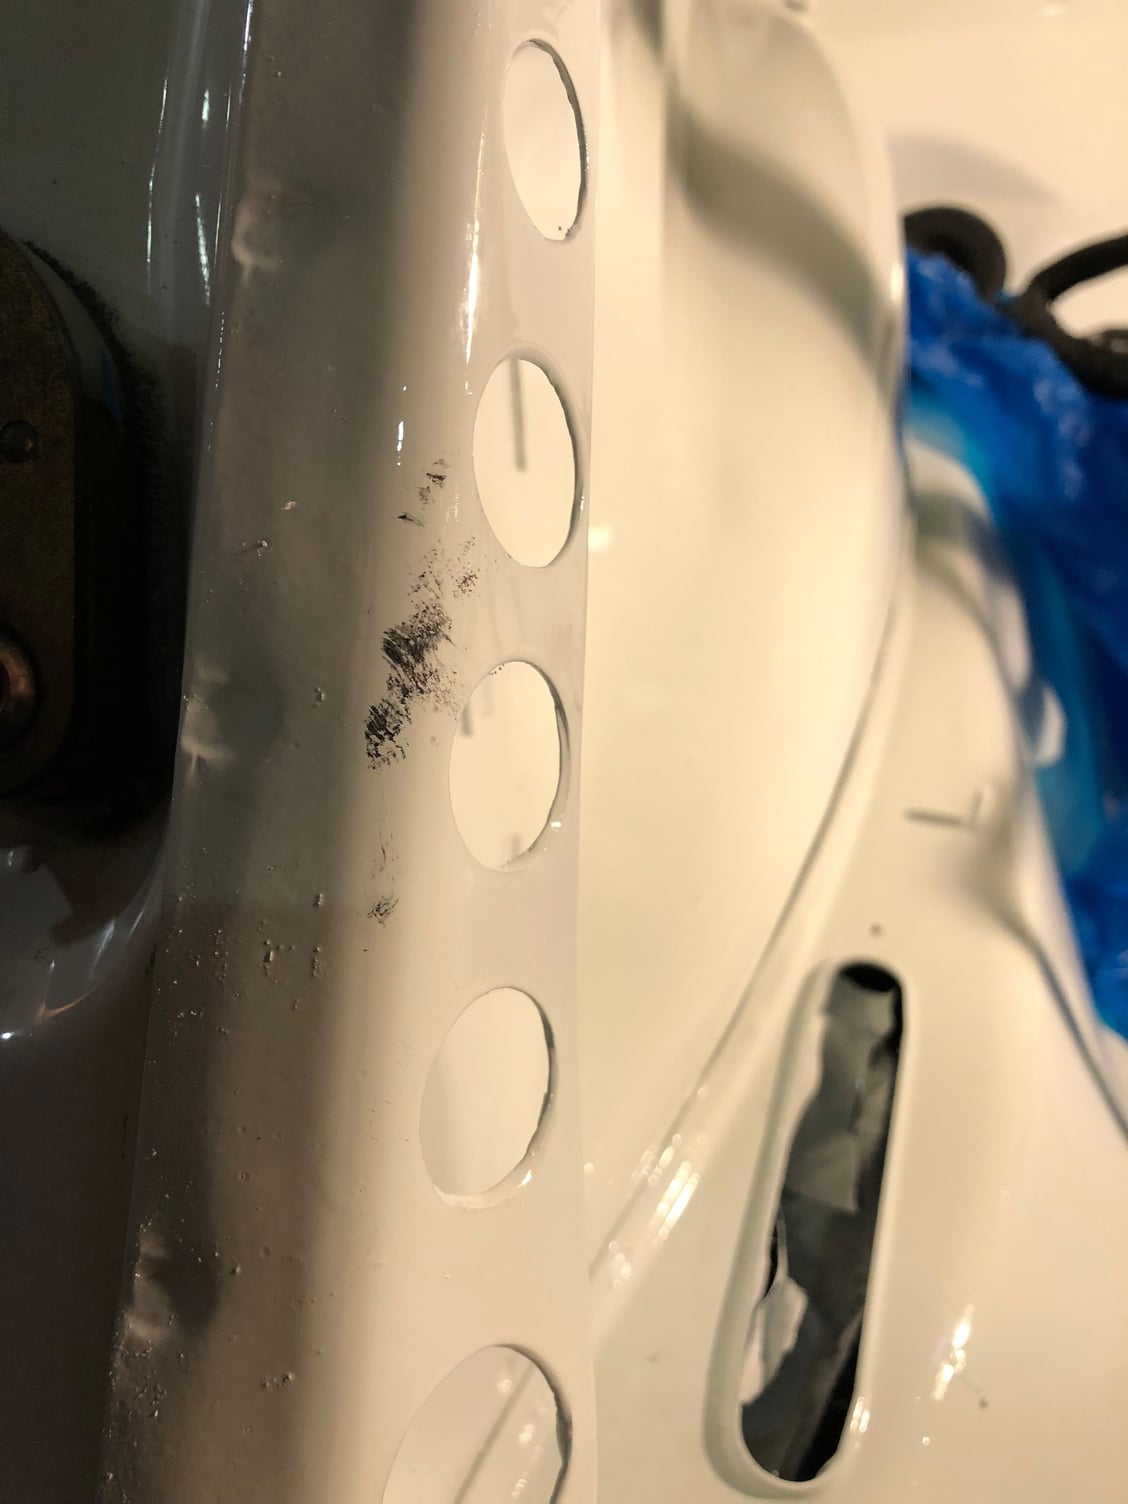
Self wrapping is easy to work with, and you can melt holes to allow smaller lines (only lines without connectors on the end) to pass through
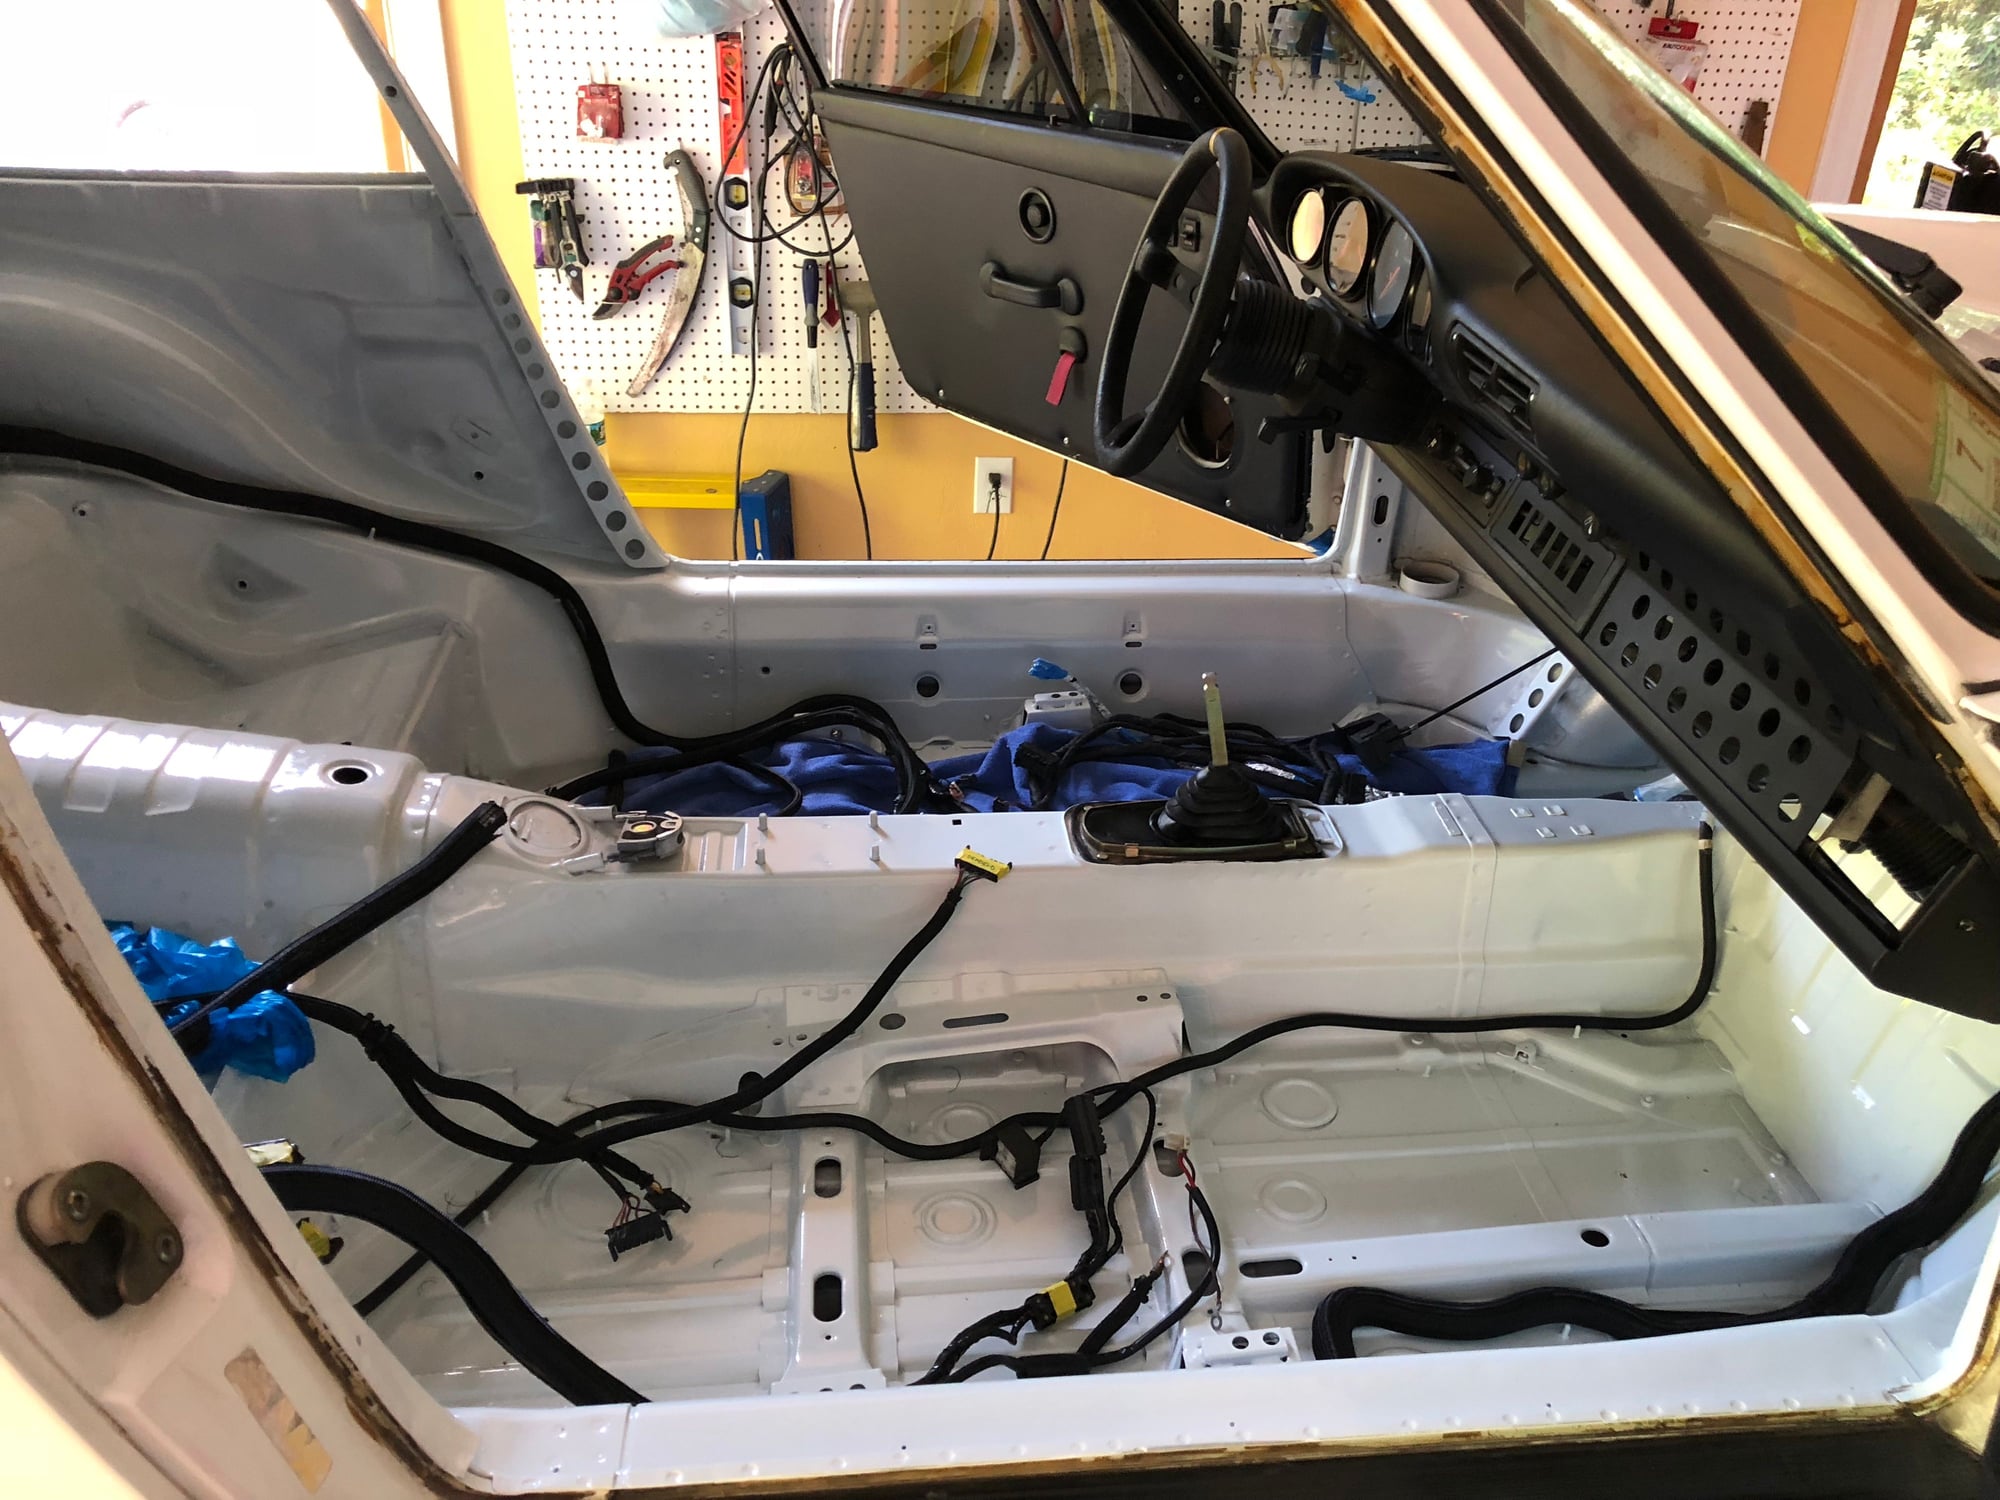
Slowly and methodically wrapping all the lines with varying diameter wraps.
Solution, self-closing braided wrap this cover the harness lines
Self wrapping is easy to work with, and you can melt holes to allow smaller lines (only lines without connectors on the end) to pass through
Slowly and methodically wrapping all the lines with varying diameter wraps.
What a great solution, and it's looking fantastic. I wish I had known about self-closing braided line when I did my microsquirt install on my VW, it would have made thing much easier.
Inspirational stuff as usual Jim! Attention to detail is great
Thanks Dean, taking my time on this as the air cooled seat brackets from BK are a few weeks away, and I�m still waiting on a new bearing tube for the clutch pedal. Thankfully my 993 is back on the toad, but I really miss the daily drive in the 964.
Originally Posted by fasterlaster
What a great solution, and it's looking fantastic. I wish I had known about self-closing braided line when I did my microsquirt install on my VW, it would have made thing much easier.
Thanks Fasterfaster. I knew I needed some type of lightweight sheathing and this does the trick nicely and neatly. There are a variety of wraps available including spiral, zipper, and the split self-wrapping type that I used. They come in a myriad of materials and sizes. There�s even a wrap that is designed to repel rodents. And mice do seem to enjoy making a home in older 911�s and chewing on our wires.
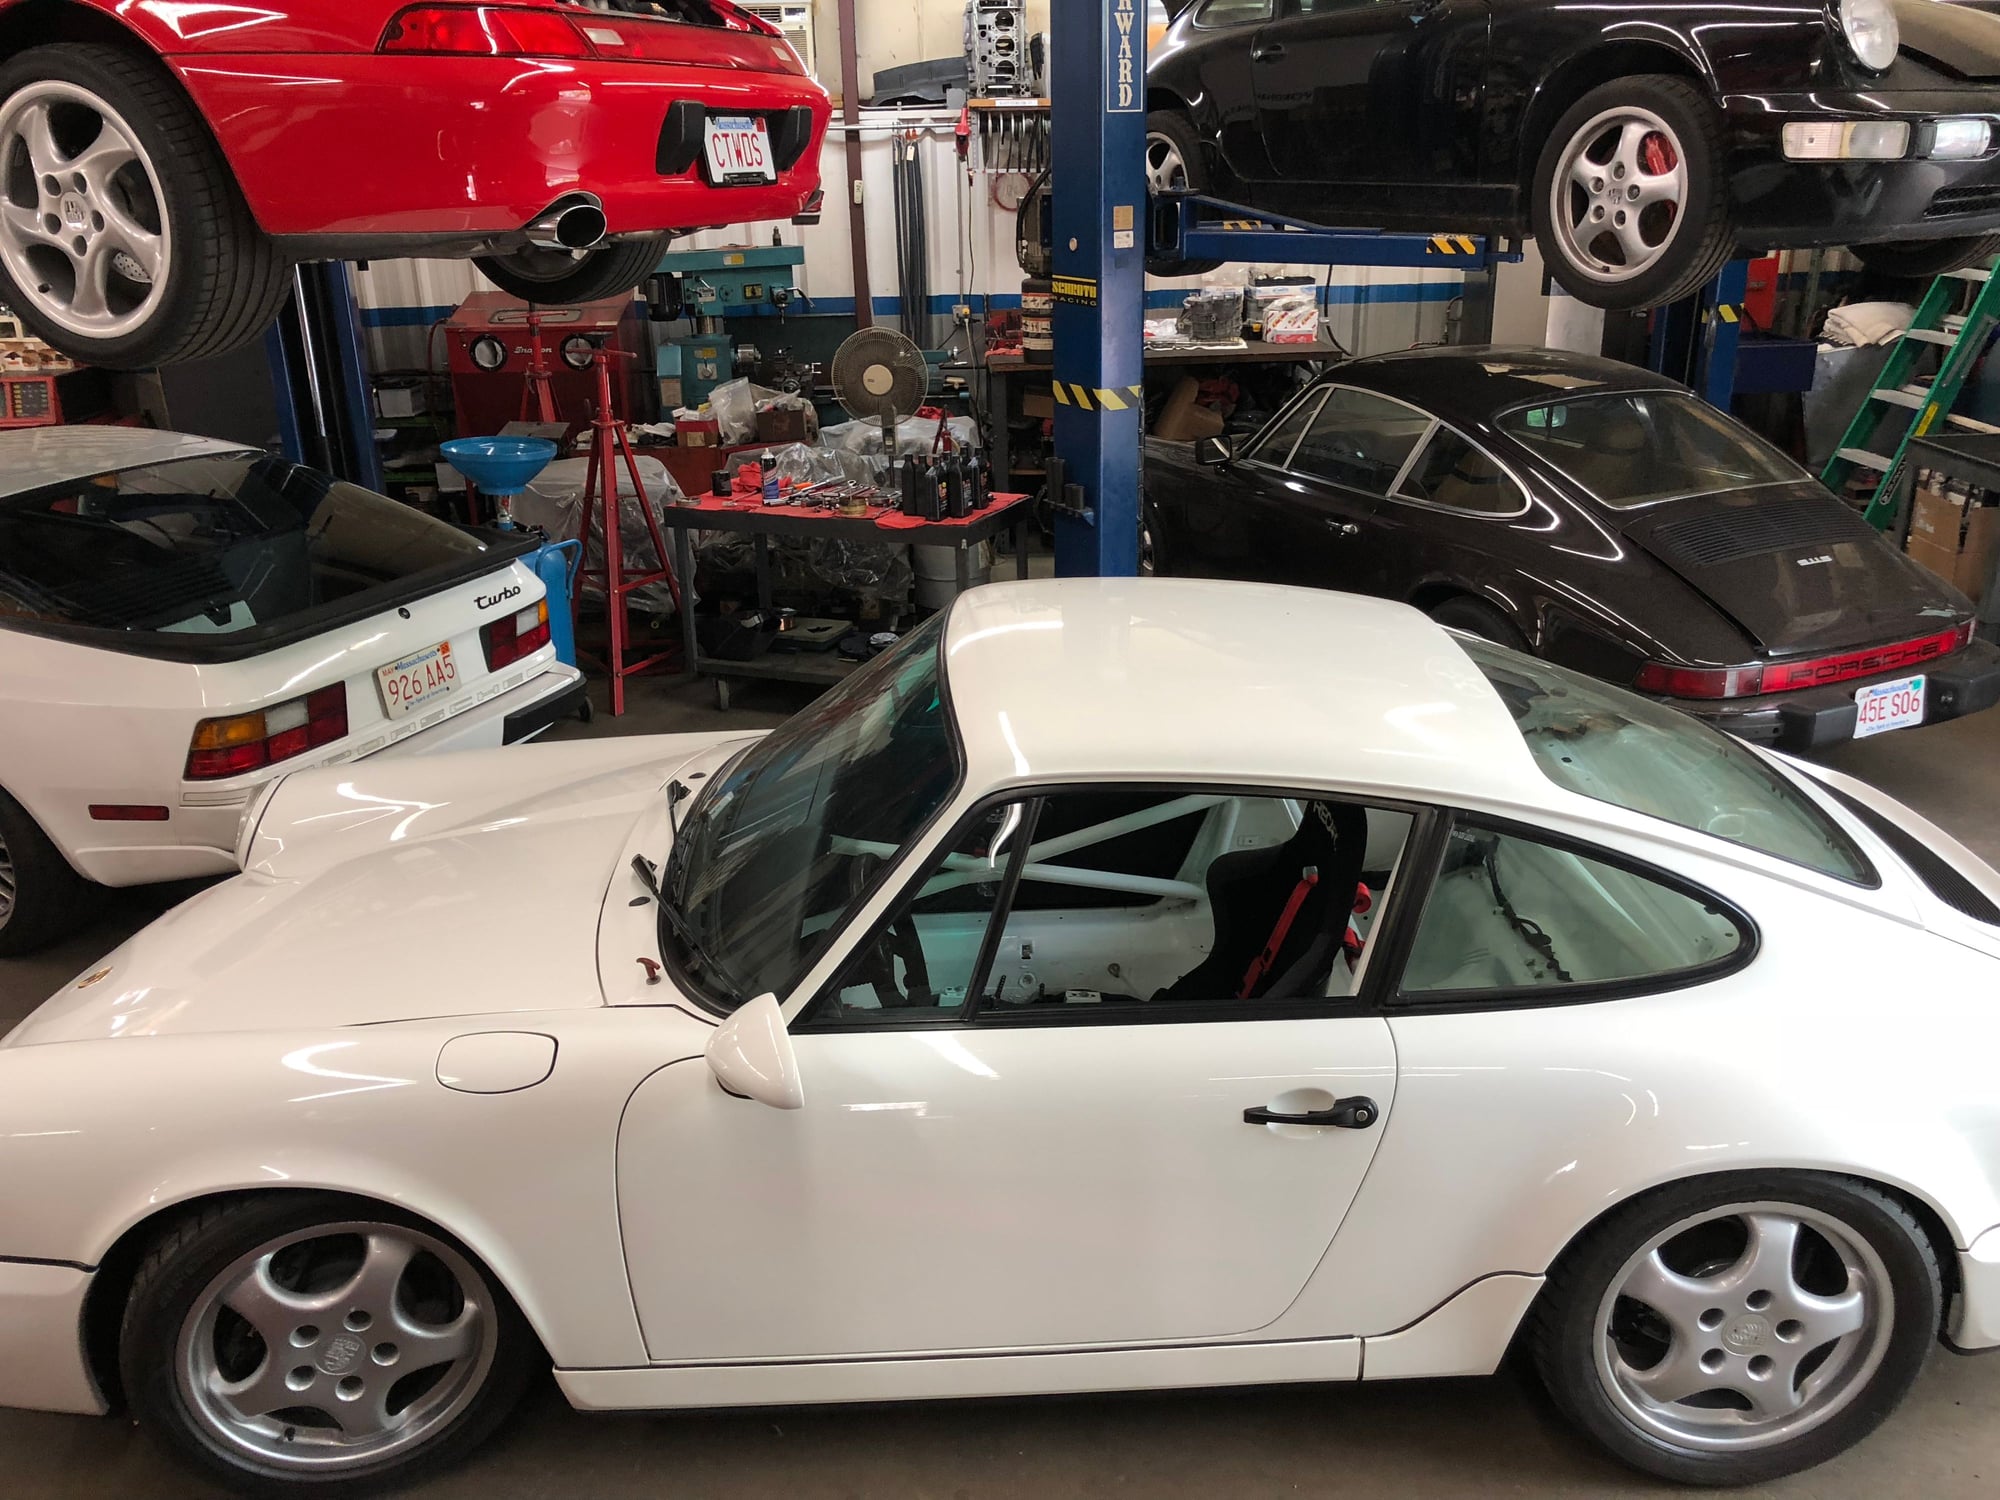
I took the 993 over to Eurotech in Framingham yesterday hoping to install a New Rennline transmission mount. 2.5 hours later my mechanic realized it wasn�t the same as a 964, and he needed to remove the rear subframe. I just had the car corner balanced, so the project was aborted. Not a total loss, however, as I did mount a new set of RE 71R�s, AND I saw this inspirational cup car! In Grand Prix White no less. Just wow! I never fully realized until that moment that this is the inspiration for rebuilding Wilbur.
I showed my mechanic the slit wire wrap I�m in the process of installing around the harness. He complimented me on the ingenuity, and told me matter of factly that shiney plastic wire wrap doesn�t belong in a Porsche. He was right of course, the the 964 cup car really drove the point home. I should have listened to my mechanic the first time when he told me to use hockey tape. So I went out and picked up a few rolls of Renfrew Pro Hockey Tape. The tape adheres and protects, but the top side is smooth with no tacky adhesive.
Off comes the **** wrap after several wasted hours. I could leave the 3M friction tape, but it�s dead weight and every pound counts so everything is getting stripped down to bare wire again for a proper and clean wrap. I�m not in any hurry as I am still waiting on a new clutch bearIng tube for the pedal cluster, and the new Brey Krause side mounts for the Conra seats are still a few weeks away.
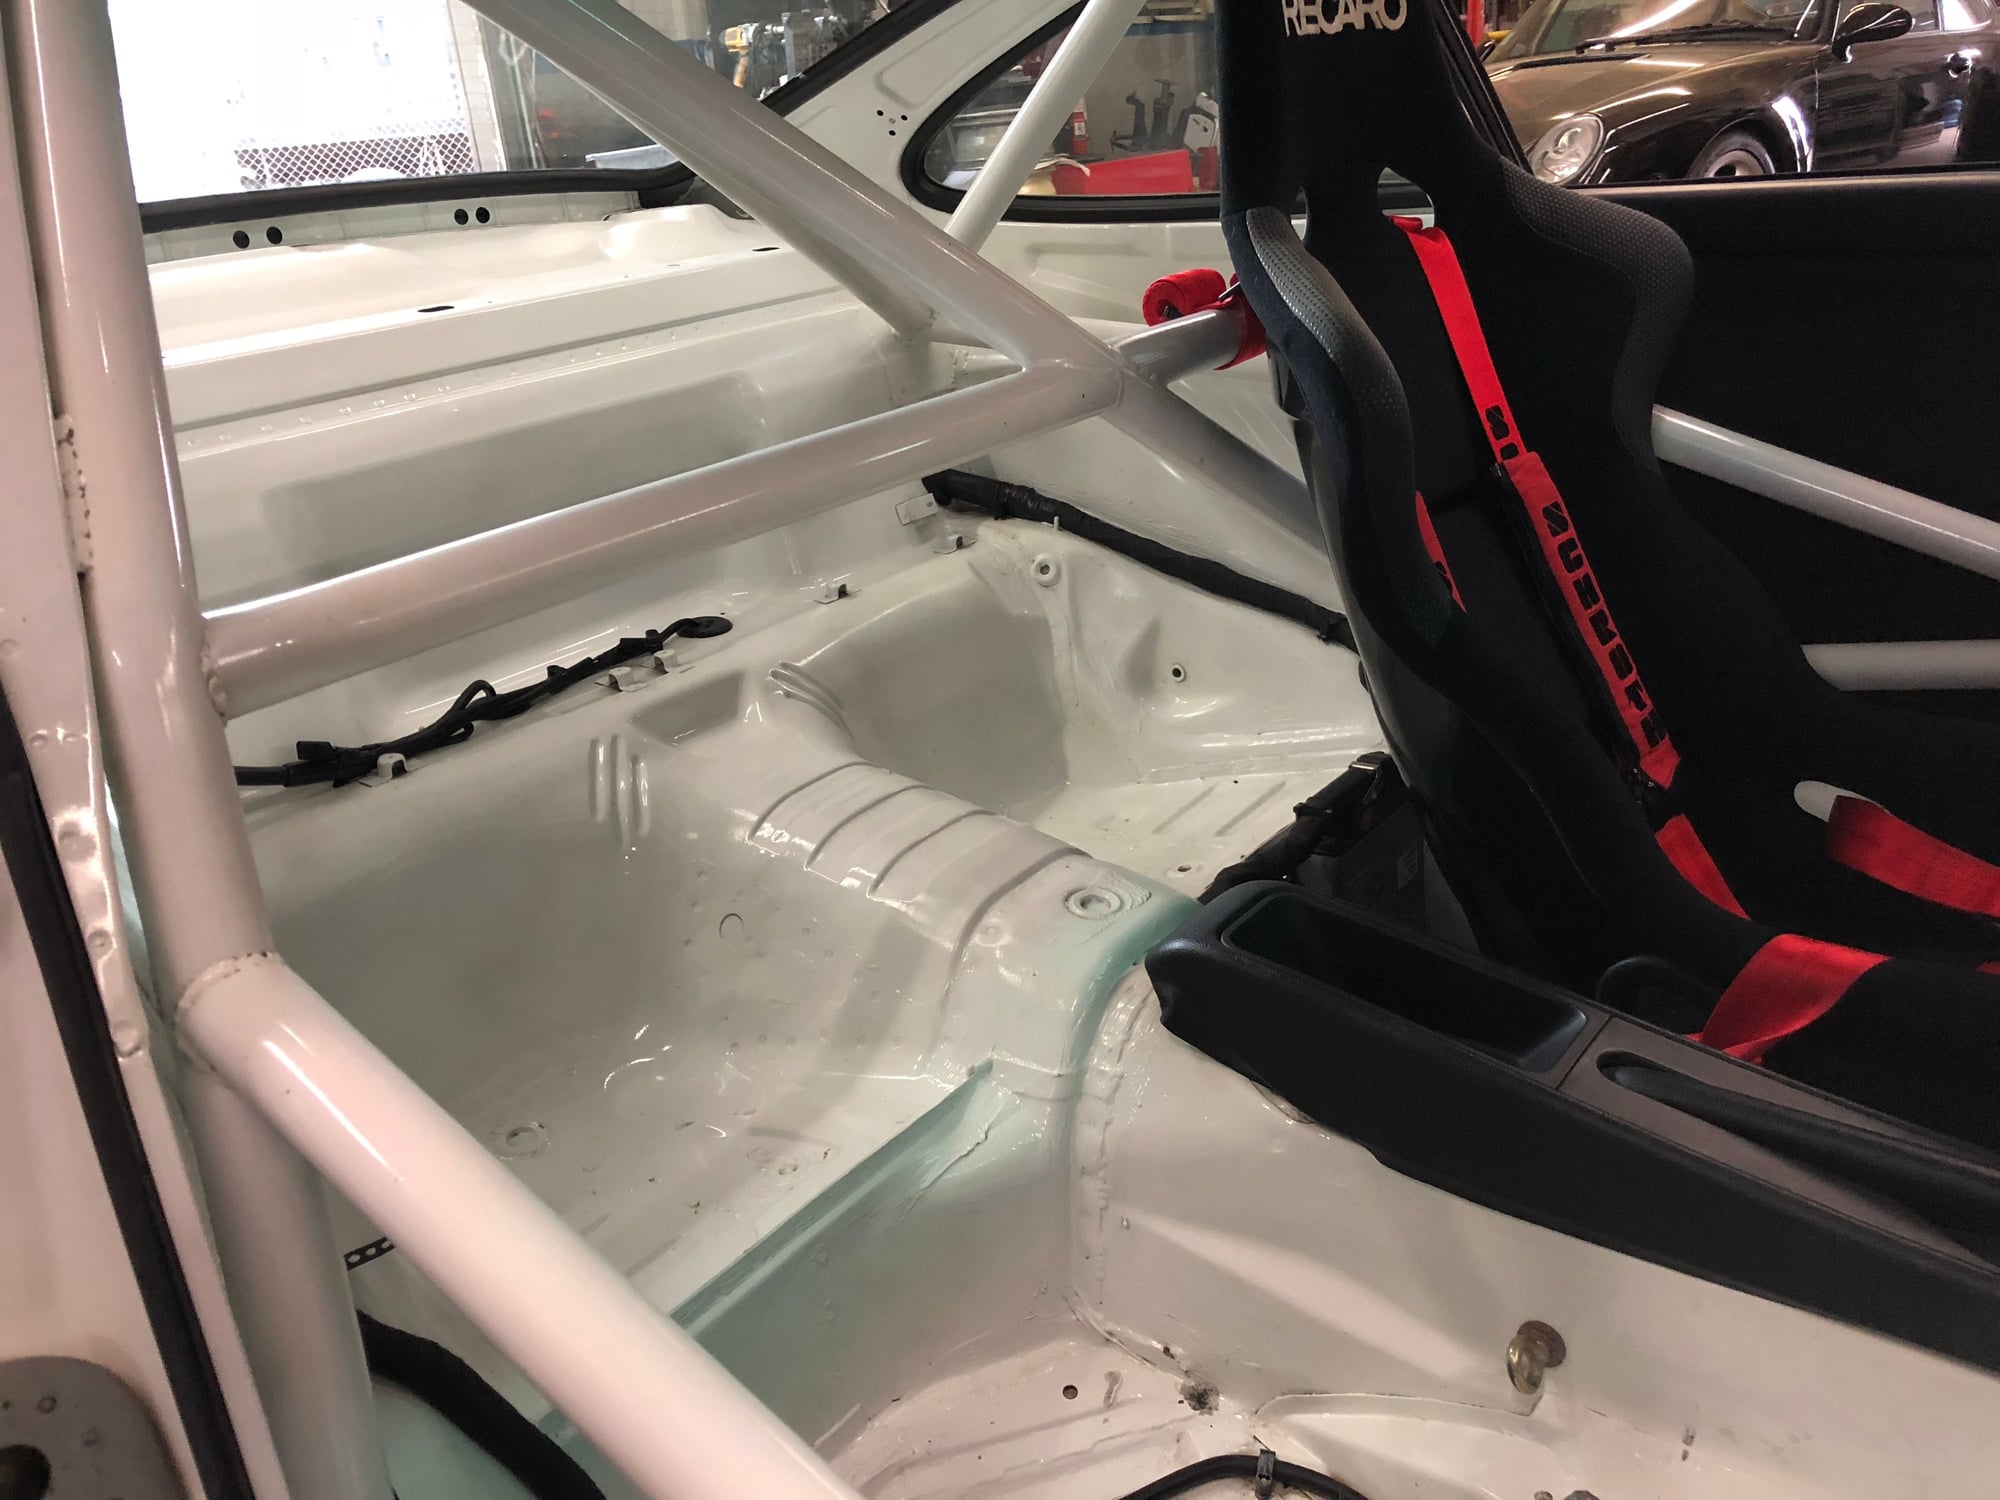
Looking at the cup car, I�ve decided to similarly mount my motronic on the wall of the back seat. It�s drier there, and that will leave plenty of room under the seat to drop the seat and install the Brey Krause sub-strap bar. Miles to go, but the vision is slowly beginning to take shape.
The progress has been slow, but steady. Still waiting for the darn clutch roll pin, so the car isn�t going anywhere for a while. Once the clutch pin is in I can reinstall the pedal cluster and get rolling again. Hopefully Brey Krause will have the new side brackets for the Cobra Nogaro by then as well. The Recarro sliders arrived and are ready to go.
I ripped out all of the 3M friction tape and re-wrapped all of the wire harnesses with the Renfrew hockey tape. The Renfrew tape is much cleaner and easier to work with, with a smooth fabric finish on the outside. The harness that runs down the center console got some special attention as I soldered a new and longer wire to run to the handbrake. This will allow me to run that harness up to the Rennline radio delete plate where all the switches are being relocated.
Getting the frunk release lever back in was a major PIA. I had removed the two bolts that lock the unit into place to avoid scratching the car, but getting the upper bolt back in took 45 minutes fishing with a wire.
While I�m waiting for bits, I took some time today to replace the air filter box with a cone filter from MSDS. I like the cone filter and collar, but I wish they made a bracket to hold everything together. It took me a few hours to fashion a bracket out of aluminum. I think the EVO kit comes with its own bracket, and that�s a big plus.
Resealed all the wires again, properly this time with Renfrew hockey tape
That�s a wrap
Soldered in some additional wire for the hand brake wire so I can relocate the center console harness up top.


 06-15-2018, 10:25 PM