When you click on links to various merchants on this site and make a purchase, this can result in this site earning a commission. Affiliate programs and affiliations include, but are not limited to, the eBay Partner Network.
Cone filter looks great. I did it for the same reason, looks tidier and more room to access other things if need be. Sounds nowhere as good as my my cut airbox and probably makes less power but I like tidy!
Cone filter looks great. I did it for the same reason, looks tidier and more room to access other things if need be. Sounds nowhere as good as my my cut airbox and probably makes less power but I like tidy!
Thanks Dean,
I also made a bit more progress on the interior this afternoon. I still need to tidy up the loose wires a bit, but I finally rewired the center console switches up top to the Rennline radio delete plate. I replaced the hazard switch with one of the newer red switches, so I don�t have to fumble around looking for the right switch when it�s needed.
I have several wire connectors in the right rear, and I honestly have no idea what goes to what. I�m not hooking up the sunroof or cabin lights, but there�s a harness coming out of the rear dash that I marked as �dead-end� that I think may need to get connected. This should prove interesting...
Center console switches relocated to dash with new red hazard switch
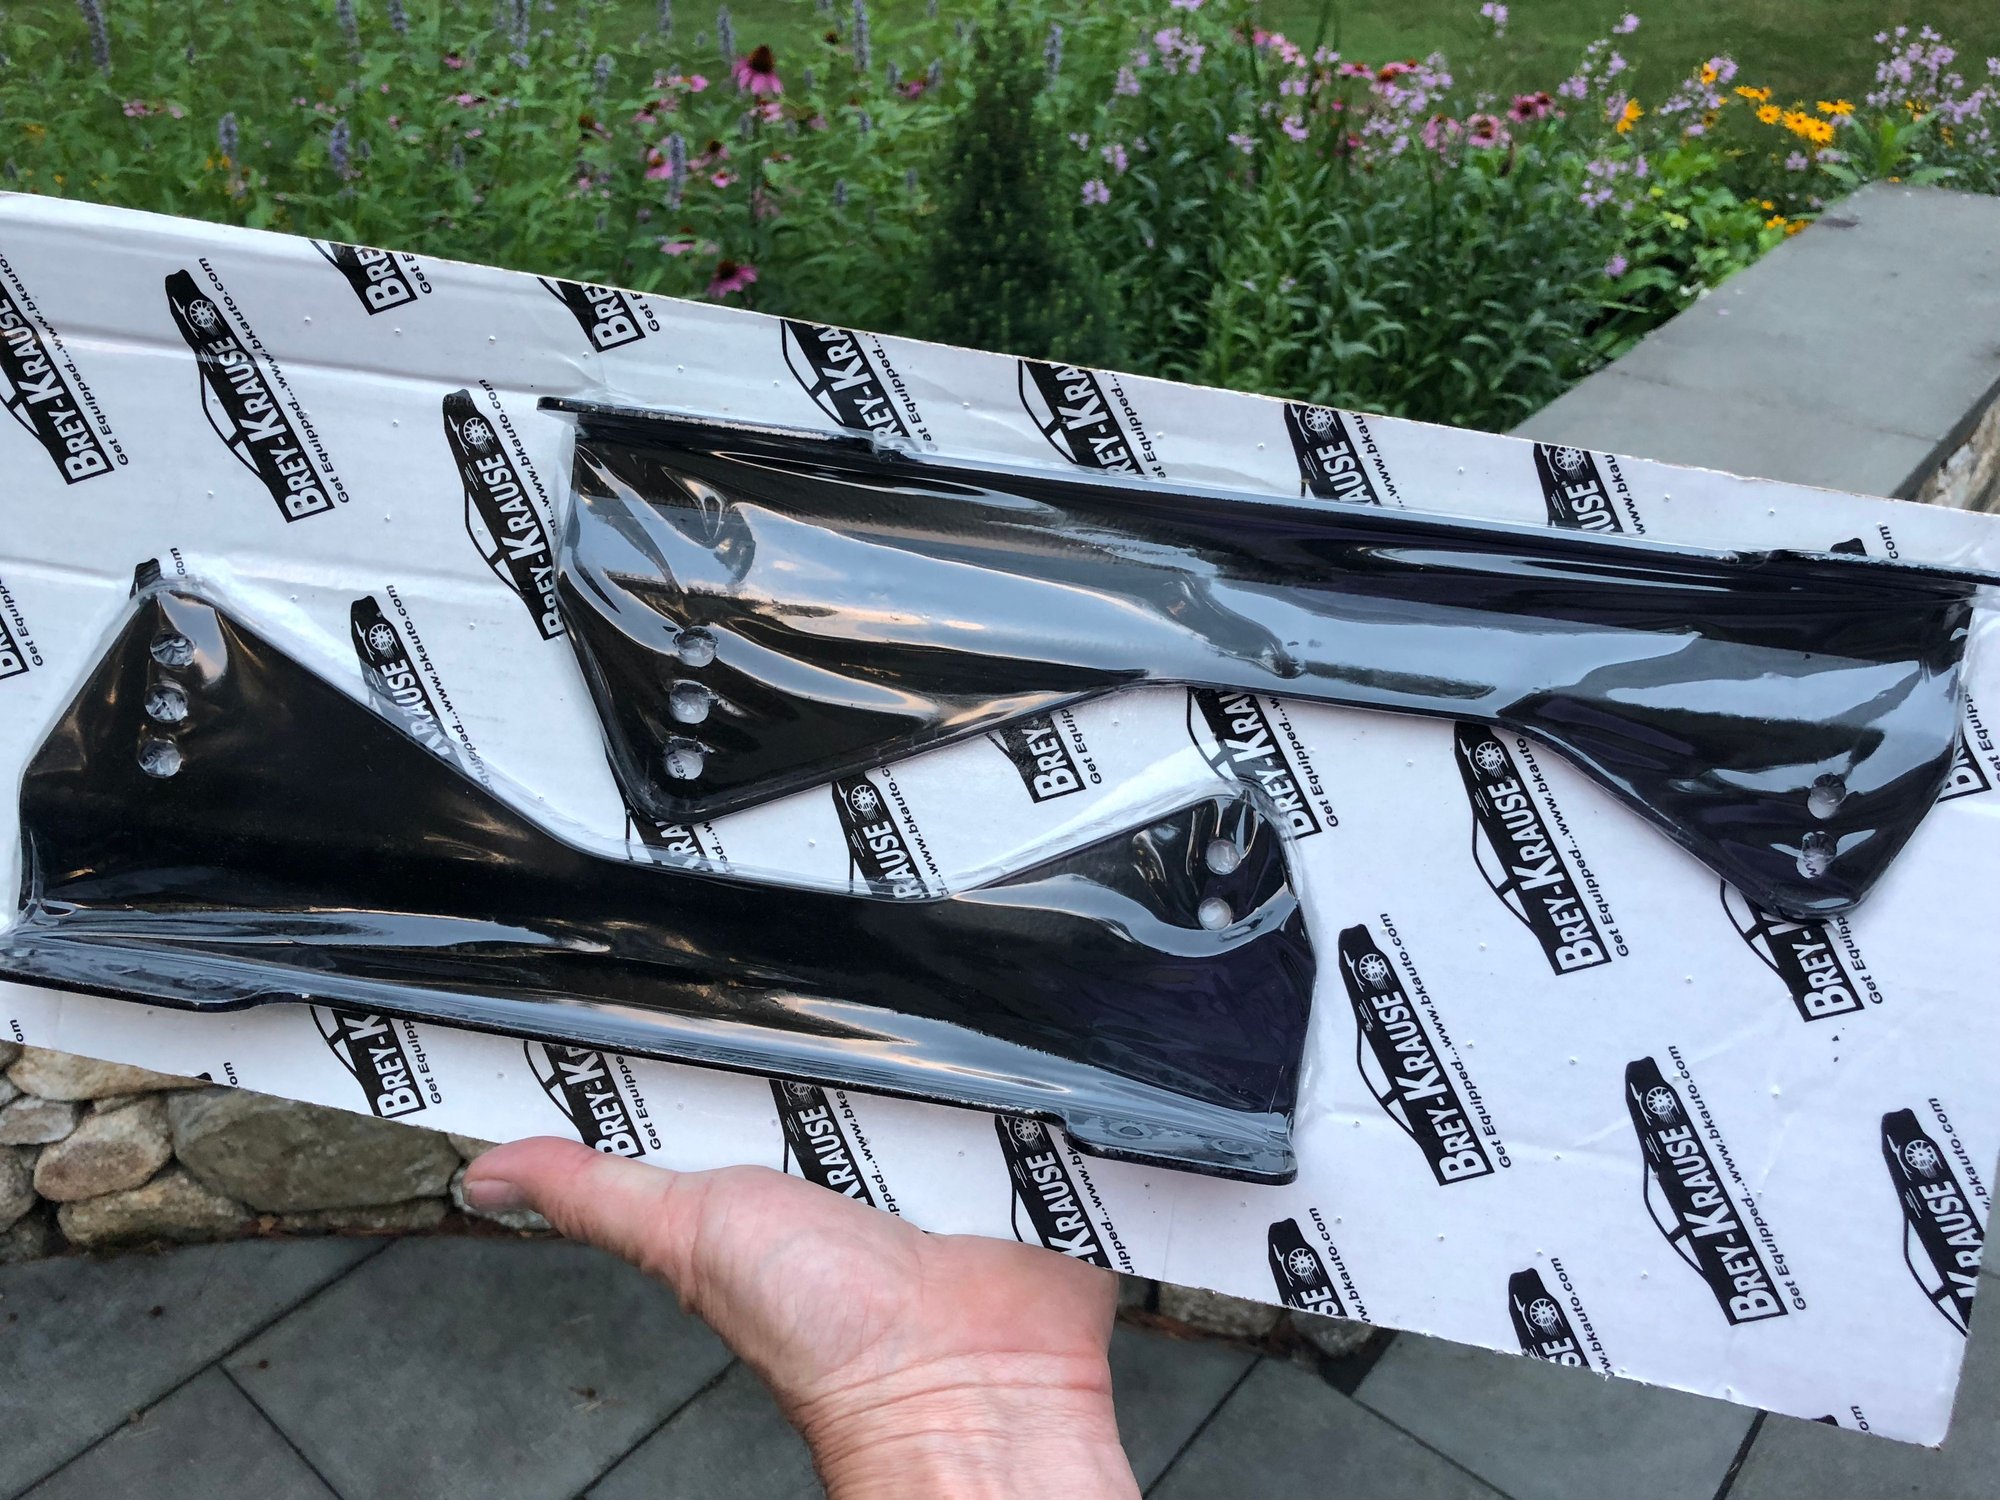
One pair of Brey Krause side mounts for the Cobra Nogaro seats arrived on Monday. They were the prototypes, and BK was kind enough to let me test fit them. Something wasn�t quite right. The brackets only worked when I mounted them in what appeared to be the backwards position. Otherwise the brackets would foul the bottom of the seat. The seat fit OK, but an inch lower and a little more angle would be preferable.
It turns out that Cobra recently improved the design of the Nogaro seat bottom, and BK�s new side mounts are based on the new design. But my Cobra Nogaro seats are dated 2015 and they don�t have the new recess in the base that�s critical for the BK mounts and a low profile fit. Doh.
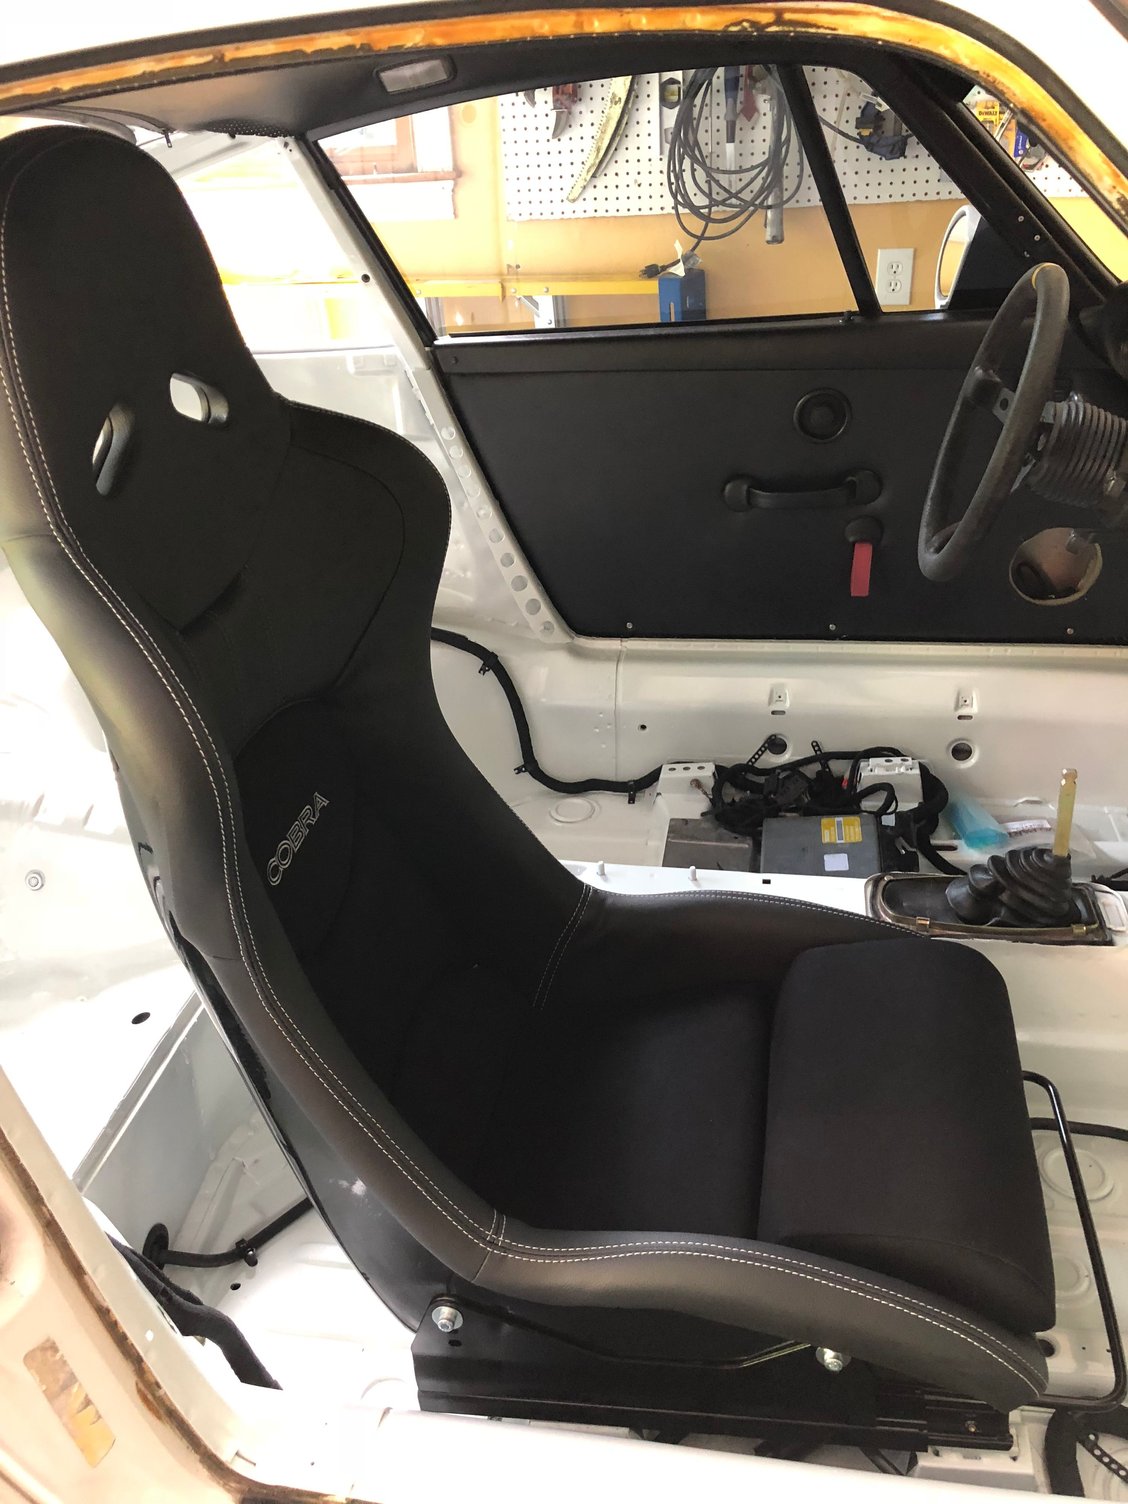
HMS Motorsports of course stepped right up to the plate. Two new Nogaro seats will be arriving next week. Hopefully Brey Krause will have the other side mounts ready by then as well. In the meantime here�s a few teaser photos of what the seat looks like.
Newly designed Brey Krause side mounts for Cobra Nogaro
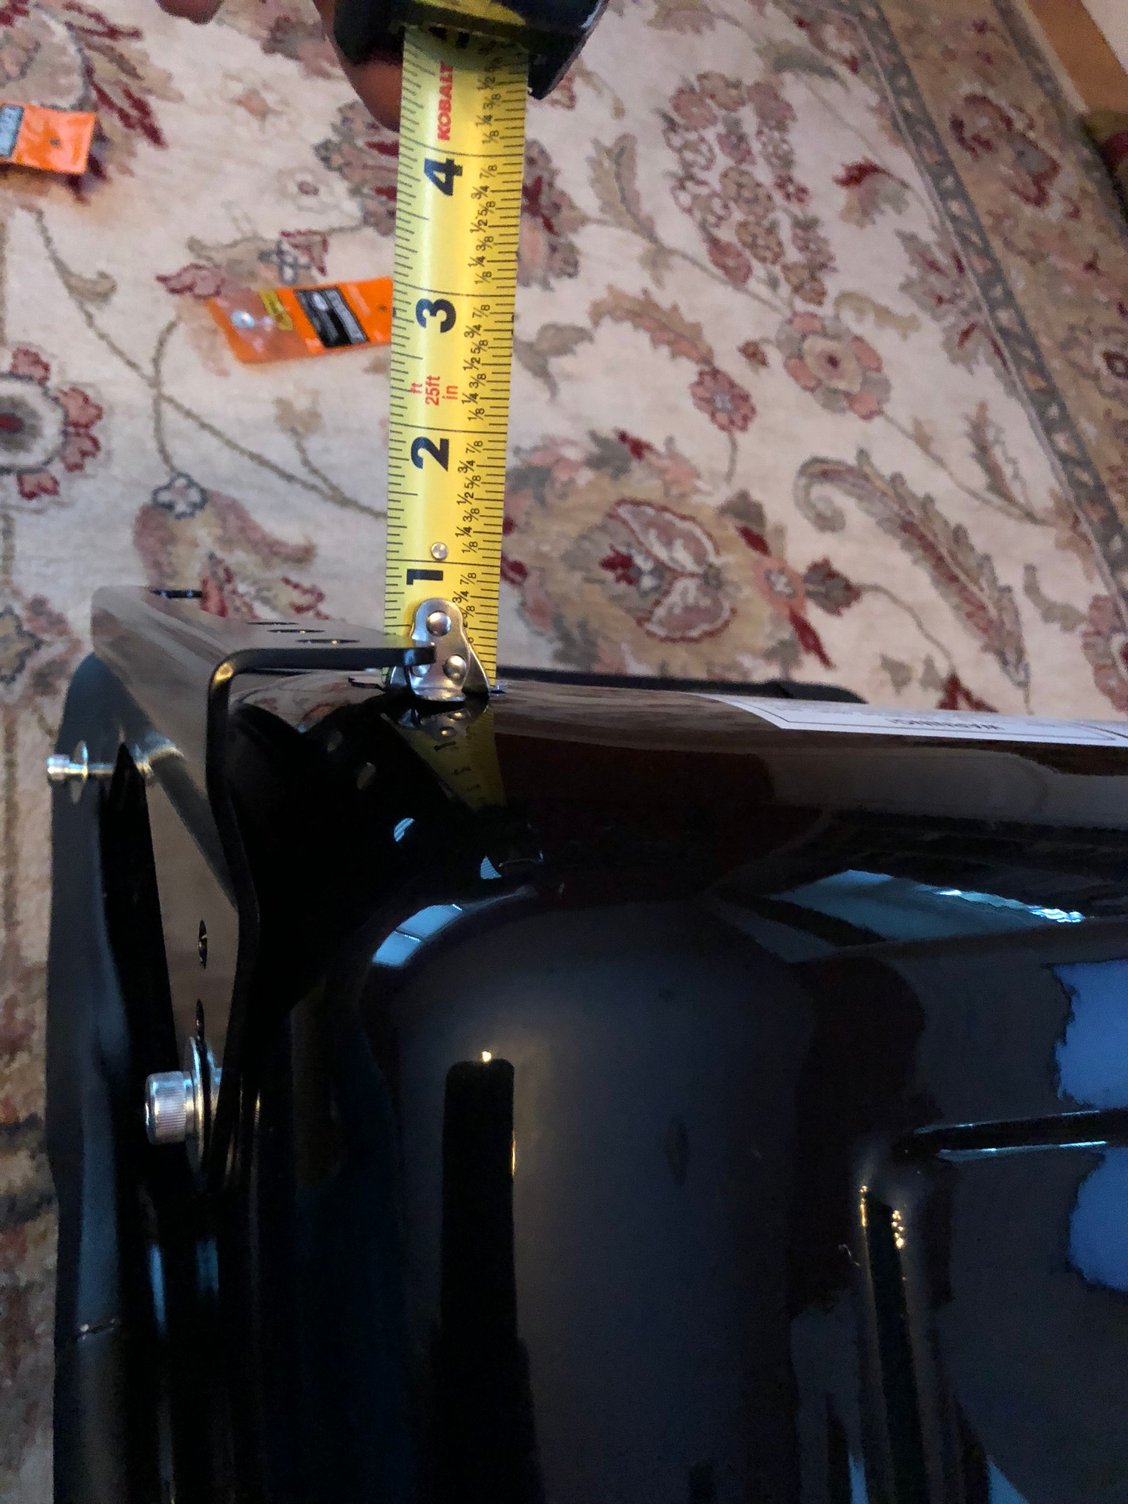
Older style Nogaro seat lacks recess. The BK bracket still worked, but only backwards and at highest setting in rear.
Sneak preview of seat in the car (it will sit an inch lower, and it�s still a good fit as is)
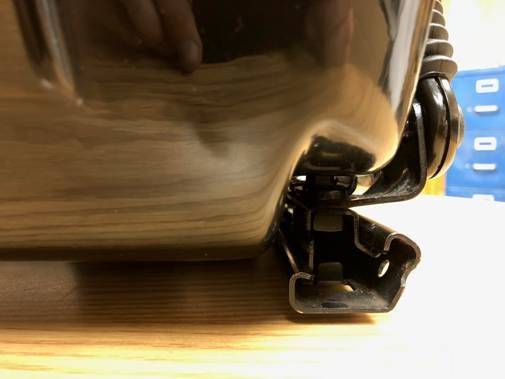
Here�s a photo of the new Nogaro with the recessed base courtesy of Brey Krause. Note how the recess at the bottom sides of the seat allows the side brackets to angle underneath without fouling the base. This new recess design in the Cobra Nogaro will enable the seats to sit even lower in air cooled 911�s.
Photo of the base of the newer model Cobra Nogaro. Note how new recessed base allows side mounts to angle under seat without fouling the seat.
What sliders are you using for the Cobra seats and BK brackets? Awesome build!
Thanks sm,
I�m using the Recarro universal sliders (inner handle, no tabs). They weigh 6lbs. per set, but they�re solid as hell and don�t flex. They�re also plug and play in all air cooled 911�s, and bolt right on to the Brey Krause sidemounts. Its a plug and play setup, incredibly fast and easy to install. Once the new seats are in, I will post a thread on the install. These seats are perfect for our cars.
The new Cobra Nogaro seats won�t be in for a few weeks. So it�s time to focus on the pedal assembly. I was waiting on a clutch pedal sleeve. Turns out Porsche discovered all 50+ of the sleeves on the shelf were mismarked and are actually 965 turbo sleeves - their vendor put the wrong parts in the bag. Porsche also added that this was their last run of them and no plans at this time to make more.
Thankfully I discovered that the 965 turbo sleeve is a close fit to the 964 sleeve. Bill P. at Eurotech machined the 965 sleeve down to size free of charge. He even laid some extra paint on the brake pedal where the powder coating wasn�t to his liking. I honestly think that Bill is as OCD as me. The newly machined 965 sleeve fit perfectly, and the holes are now perfectly aligned for the role pin.
But I�m a better lawyer than a mechanic. After spending an hour trying to figure out how exactly to position the lever to install the roll pin, I decided to let Bill finish the job. I�m glad that I did, because pressing in that roll pin is a bitch of a job. I almost lost a pinky while Bill tried to press the darn thing in. After gettIng the job started with a large vice, we finished the job with a mini sledge hammer. Actually Bill another kind fellow with a GT3 at the shop finished the job. I was relegated to camera duty after screwing up the first attempt.
After several turns back and forth alternating between hammering and holding, the roll pin was finally pressed in and the pedal assembly complete.
For those attempting this in the future, I would highly recommend bolting the entire pedal assembly to a block of wood before attemptIng to press in the roll pin.
I�m anxious to get the pedal assembly installed, but I promised the wife we�d go to Chatham on the Cape for the weekend. So the final install will have to wait a few more days. I will try to post up a few photos in a bit, but wifey is calling for dinner...
What an impressive transformation. It�s very cool to see a car come back to life.
Thanks Marine Blue,
This interior refurb was not part of the original play-book, but it has helped set the tone for this rebuild. I�m really looking forward to getting on with the suspension refresh, engine drop, and sunroof delete. Aside from lowering coils the car still has the original stock suspension. The new suspension will be ttransformative.
It�s been a few months since the last failed attempt to reassemble the peddle assembly. That�s when I discovered that the peddle sleeve that Porsche sent was the wrong part number.
Reordered sleeve with same result. The labeling on the bag states it�s the 964 part...
But the part itself is stamped with the 965 number and you can see that it�s a few mils longer than the rusty 964 version pictured below.
Here we go again... it�s been so long the schematic really helped
Bill Pfister machined the 965 turbo sleeve down to size perfectly and laid on some rust preventitive. It sure looks better than the rusty 964 sleeve, and this time it�s a perfect fit for the roll pin to drop in
Pfister also took the liberty of adding some paint to the brake pedal where the powder coat applied too thin. Great to have a mechanic who cares about the car as much as I do!


 07-08-2018, 07:59 PM