When you click on links to various merchants on this site and make a purchase, this can result in this site earning a commission. Affiliate programs and affiliations include, but are not limited to, the eBay Partner Network.
Do we know what size fittings we need for this to hook up to the rack? Or did I miss that somewhere... I know I could probably take it to the parts store and just ask, but ordering stuff online is sooo much cheaper and easier!
Also if I were not resourceful at all and wanted quick information, where would I look for a rack rebuild/re-seal kit, or is that even worth it? Since the engine will be out anyways, is that something I should think about tackling?
I personally haven't looked into PS fittings yet. I don't think it will be too difficult, but I'm picky about plumbing and routing so I want to take my time figuring out how I want it on my car. I'm also trying to focus on getting bellhousings made and oil pan design finished, so plumbing isn't my priority just yet.
Why not use the stock 07K TB if you want DBW? PE does support DBW; they just need to get the details worked out on driving the 07K TB specifically. It's something we plan to do with them, but lower priority than getting the wire harness and ecu tuning done with the cable TB.
Also, I'm not sure that DBW is necessary to use those features (flat shift etc), since the ECU can just cut ignition and/or fuel even though your foot will be holding the TB wide open.
Oh good to know on the ECU! I had it pictured in my mind that it would control the throttle but that makes total sense it would control it through the ignition/fuel side of things.
I'll probably just stick with cable then as it seems like it would be less of a hassle. Plus cable pedal boxes are cheaper so that works out well.
I *think* that is true... not 100% sure. I'm sure others here know better. Mike can check with PE about it as well.
I *think* that is true... not 100% sure. I'm sure others here know better. Mike can check with PE about it as well.
100% works with cable throttle. While drive by wire will surely allow some pretty cool tuning and feature options, it is not required for flat shift / traction control / etc. I am sticking with cable throttle, K.I.S.S.
I wonder how many people know what Mike means by K.I.S.S.
One of my welding instructors back in high school used to say it 2 different ways, both having similar meanings lol. I was/am more of a machinist, so needless to say whenever I was in the booth I heard it quite a bit 😂
Hey everyone, sorry I've been quiet lately... we are moving to a new house and selling the old one, so it's been very hectic to say the least. In summary, everything always takes longer than I think it will. Nonetheless, here are a few updates:
- I finally have all the parts I need to ship the second batch of Base Kits. I apologize for the delay; it took a lot longer than expected to get everything. In the future, I will try to keep these in stock so there isn't such a long wait after people order. I will be working on packing up the kits and shipping out this week.
- Those who ordered SPEC clutches should be getting them soon. SPEC had to do a run of aluminum flywheels for us, so that delayed their shipments.
- The bellhousings are very close to going into "production". The weld fixture is complete and we have #1 out of the batch of 20 fully welded, except for one part that we're waiting on from the machine shop (the piece that the release bearing bolts to). Once we get that part, we will test fit on the engine with starter and clutch again to make sure it all is spot on.
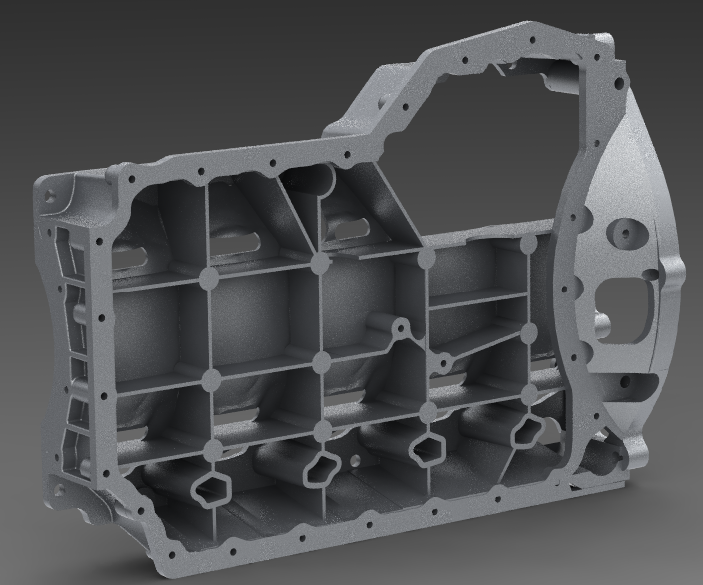
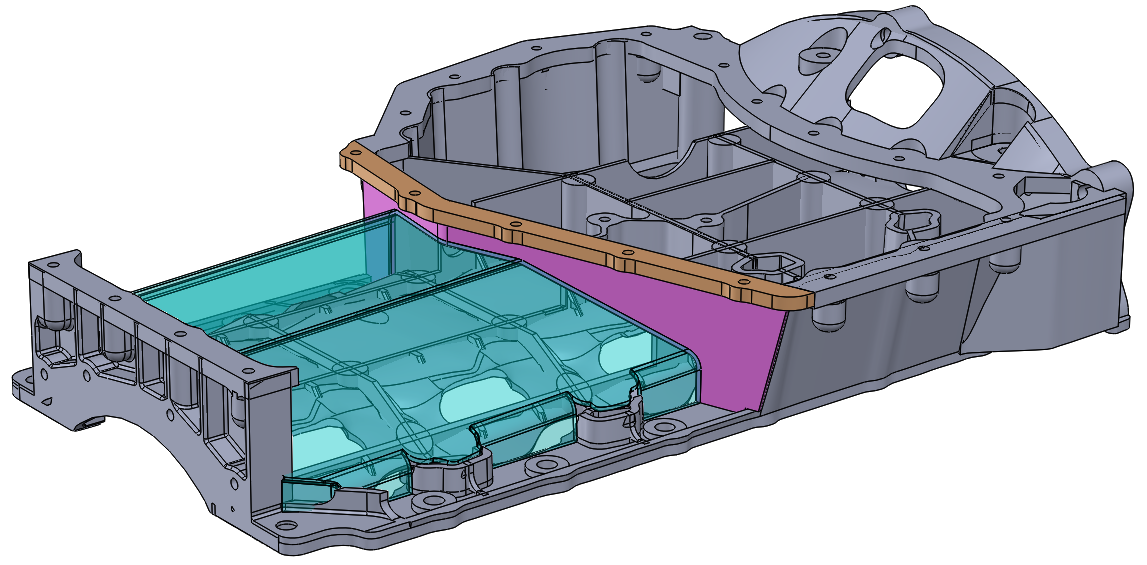
- I've been plugging away on the oil pan design. I ended up having to model the stock casting in much more detail than I originally planned, to give the CNC programmer an accurate picture of what he's going to be machining (to avoid crashes, etc). Here's what I have now...
I'v been following this thread since the beginning and i'm very impressed with the swap coming along so far. Keep up the good work gentleman!
Quick question regarding the oil pan, any idea if it will work with the small chassis audi? I got a B3 coupe quattro and i'm planning on swapping the 07k into it.
Thanks! We have not done any Audi chassis testing yet. But, from what I�ve seen on a B4 swap I�m guessing no as the clearance is required in the back, not the front like the 944.
Wondering two things: 1) any reason to keep the material at the front, or could the pan be machined off at the height of the new pan bottom plate that gets welded in? and 2) is the idea that the engine would be installed into the car from the bottom mounted to the lower cross member with the pan already installed?
Wondering two things: 1) any reason to keep the material at the front, or could the pan be machined off at the height of the new pan bottom plate that gets welded in? and 2) is the idea that the engine would be installed into the car from the bottom mounted to the lower cross member with the pan already installed?
Craig
The original design incorporates a lot of webbing and is seems to have been engineered as a stressed unit. Alan is trying to keep as much of that material & webbing in place as possible.
This design is based on installing the engine with the pan in place, from the top. At least that�s how we�ve done it this far. If anything the crossmember May need to be lowered a tad during install, but hopefully not. We will know for sure once the prototype pan is done.
Wondering two things: 1) any reason to keep the material at the front, or could the pan be machined off at the height of the new pan bottom plate that gets welded in? and 2) is the idea that the engine would be installed into the car from the bottom mounted to the lower cross member with the pan already installed?
Craig
Thanks! Yes, I believe the material at the front will be machined down close to the pan height. I had shown that in a previous rendering probably 2-3 weeks ago. Now that I modeled the stock pan more completely, I need to work back through adding cut features. I just forgot to add that cut before posting the pic.
The original design incorporates a lot of webbing and is seems to have been engineered as a stressed unit. Alan is trying to keep as much of that material & webbing in place as possible.
This design is based on installing the engine with the pan in place, from the top. At least that�s how we�ve done it this far. If anything the crossmember May need to be lowered a tad during install, but hopefully not. We will know for sure once the prototype pan is done.
Three ways I think it can be installed:
1. Like you said, Mike. From the top, but drop the cross member down 2-3 inches so the rear part of the pan clears. May need to remove the lower sump and oil pickup to go this route, but I won�t know for sure until I complete that part of the design.
2. Like many people do the 944 engine, from the bottom with the engine mounted to the crossmember. Since the engine weight is further back, some creative fixturing (plywood?) on a motorcycle jack might be needed to stabilize it.
3. The easy way... from the top with a 3-piece crossmember. I plan to go this route and use a crossmember I designed a while back. Haven�t made it yet, though.
So, this pan machining process... Are they being slapped onto the cnc table as is and cut down from the original shape, or would it possibly be easier to cut through some of the thick stuff like the edges and some of the walls with, say a reciprocating saw or a hand operated cutting wheel first to cut down on machine time?
So, this pan machining process... Are they being slapped onto the cnc table as is and cut down from the original shape, or would it possibly be easier to cut through some of the thick stuff like the edges and some of the walls with, say a reciprocating saw or a hand operated cutting wheel first to cut down on machine time?
I�m planning to have all the material removed by cnc. I don�t think it will be too bad if the programmer uses my stock model to focus the machine where the material is and not spend too much time cutting air.

 04-29-2019, 11:08 AM