

zerMATT951's re-assembly thread


 07-02-2011 | 10:28 PM
#19
Thread Starter
Addict
Lifetime Rennlist
Member
Lifetime Rennlist
Member
Joined: Apr 1999
Posts: 2,099
Likes: 0
From: Cowtown, TX
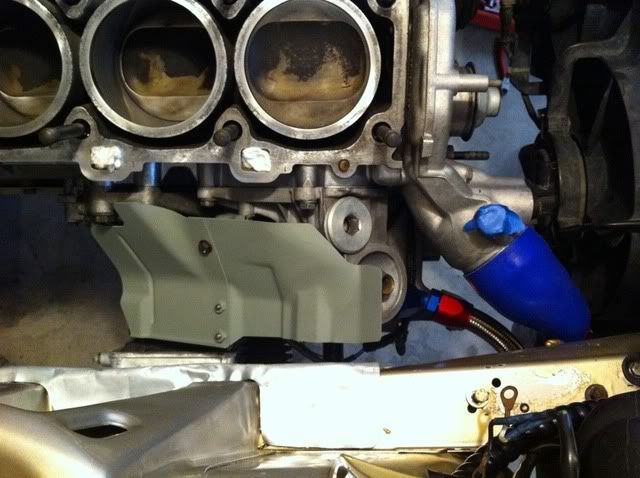
Got a little more work done today. I messed around with the oil cooler quite a bit playing with Lart's new braided / AN lines and I think I'm going to be happy with the results. I'll post several angles of those lines in a separate thread that Lart started a while back, so look there for details and to ask oil-line related questions (i don't want to clog up this thread with that conversation!).
Click here for the thread with more pics and details: Oil-cooler-replacement-lines.html
Installed new balance shaft seals & collars (one was REALLY bad), installed the lower bal shaft front bearing housing & PS pump bracket, re-torqued the four front bolts of the lower bal shaft housing where that square bracket attaches, installed the exhaust side heat shields, re-attached the ground cables again after re-routing them, and cleaned up a few more parts to be installed.
I won't be able to work on this much tomorrow, but I hope to get some more time in on Monday & Tuesday.


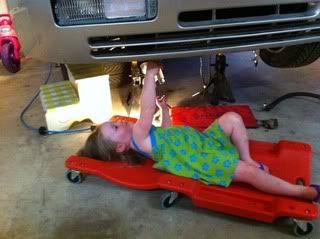
Oh... and I had a little help in the garage today too. She is checking to make sure I got the oil cooler lines good and tight...
Click here for the thread with more pics and details: Oil-cooler-replacement-lines.html
Installed new balance shaft seals & collars (one was REALLY bad), installed the lower bal shaft front bearing housing & PS pump bracket, re-torqued the four front bolts of the lower bal shaft housing where that square bracket attaches, installed the exhaust side heat shields, re-attached the ground cables again after re-routing them, and cleaned up a few more parts to be installed.
I won't be able to work on this much tomorrow, but I hope to get some more time in on Monday & Tuesday.
Oh... and I had a little help in the garage today too. She is checking to make sure I got the oil cooler lines good and tight...
Last edited by zerMATT951; 09-06-2011 at 11:48 PM.
07-04-2011 | 10:27 PM
#20
Thread Starter
Addict
Lifetime Rennlist
Member
Lifetime Rennlist
Member
Joined: Apr 1999
Posts: 2,099
Likes: 0
From: Cowtown, TX
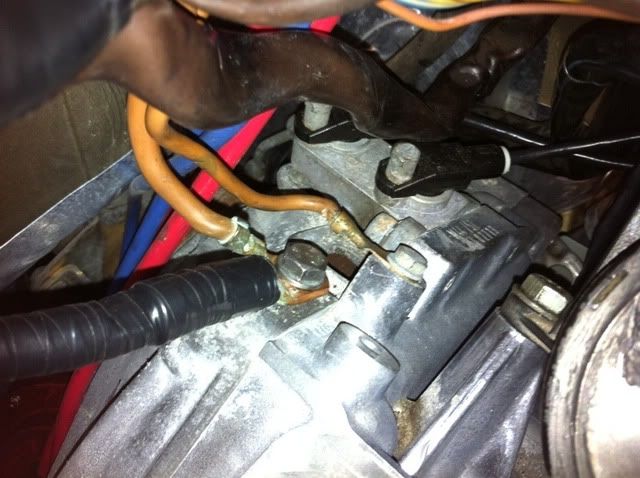
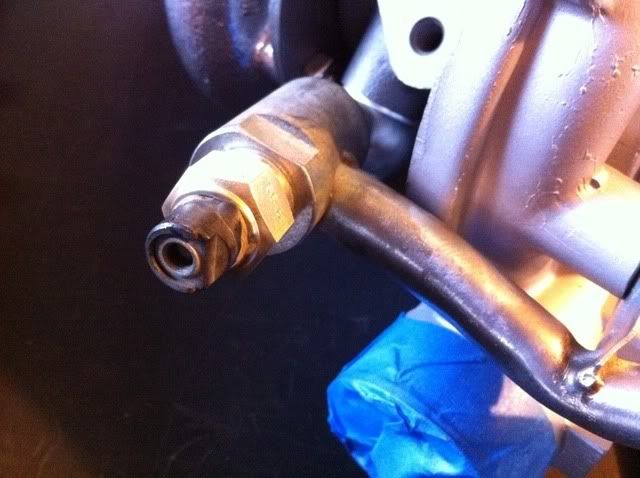
I appear to be missing a part on the top of my turbo water temperature sensor... the metal post that the connector attaches to is missing. I thought it was odd that it wasn't connected when I pulled the motor apart, but I do want it connected when I'm done.
Is this a simple fix if someone has an old one kicking around, or should I just buy new?
Is this a simple fix if someone has an old one kicking around, or should I just buy new?
07-05-2011 | 01:27 PM
#21
Basic Sponsor
Rennlist
Site Sponsor
Rennlist
Site Sponsor
Joined: Dec 2002
Posts: 14,447
Likes: 94
From: California
07-05-2011 | 11:07 PM
#22
Thread Starter
Addict
Lifetime Rennlist
Member
Lifetime Rennlist
Member
Joined: Apr 1999
Posts: 2,099
Likes: 0
From: Cowtown, TX
Got some more work done today. First, I had to correct an issue with the new headers. The 1-4 pipes were too close together to mount on the studs, so I elongated the bolt holes on #1 and opened up the front-most part of the flange so that it matched the exhaust port/gasket better. *IF* these are SFR headers (which I think they are), I've got to assume that their jig wasn't quite up to snuff when these were fabbed up... I have no idea how the PO (eBay photo) got these mounted on a head with the holes over 1/8" off.
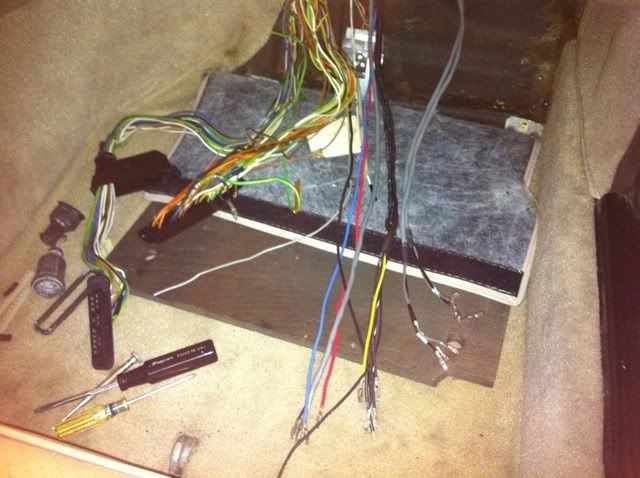
I also spent some time under the dash with a partial harness removal, and I stuffed the new harnesses through the firewall hole. That was a bit of a struggle, but I found a lube that should be wire-friendly that made the job go a little easier.
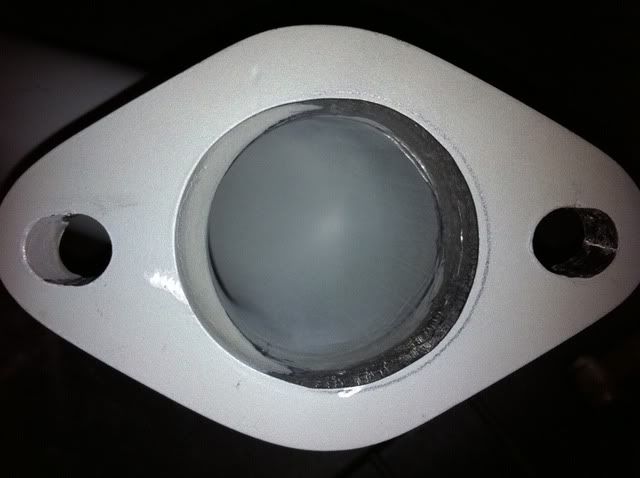
#4 flange (no problems):
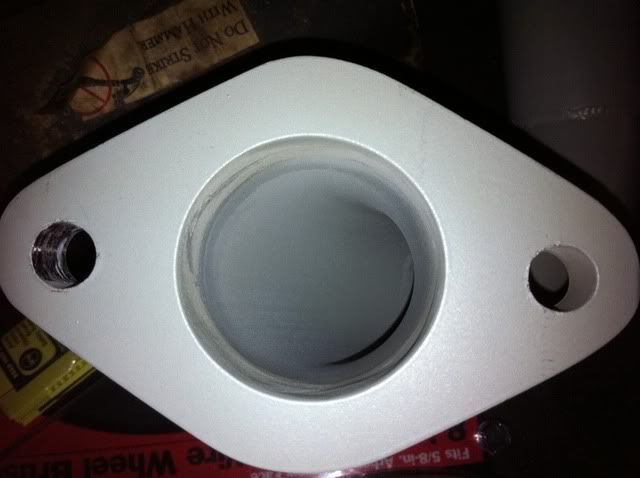
#1 flange after my elongation of the holes and widening the opening toward the front to better line up with the exhaust port:
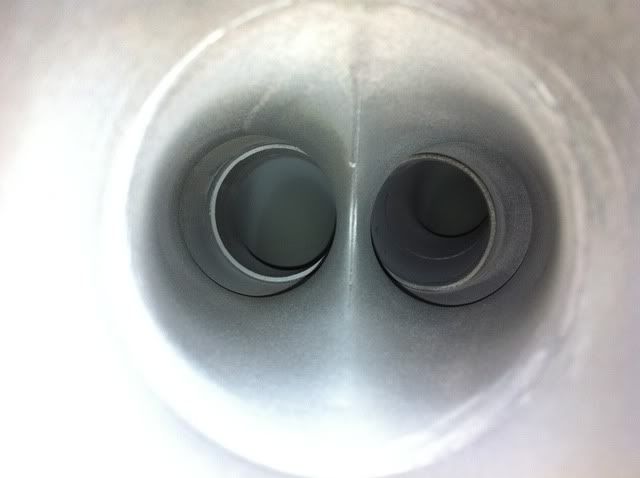
2-3 collector Y:
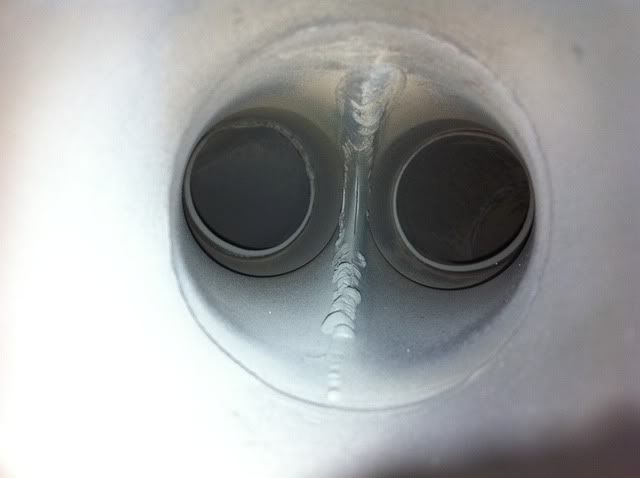
1-4 collector Y (a little ugly):
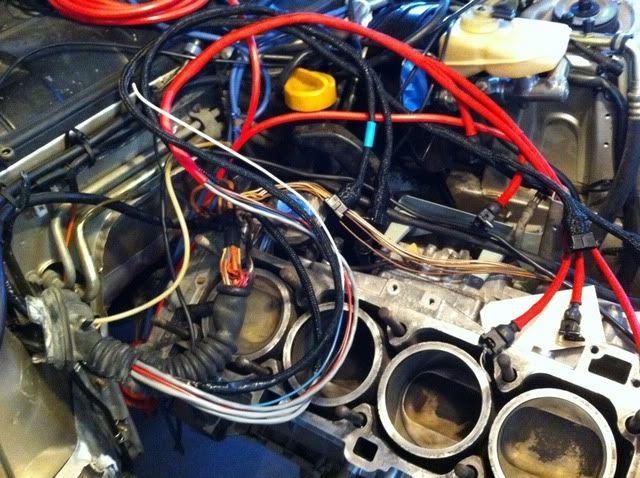
Starting to stuff the new LR harnesses:
Close-up:
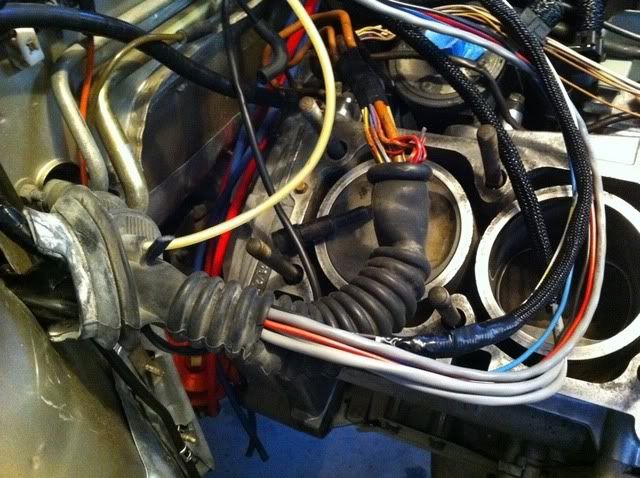
Far enough:
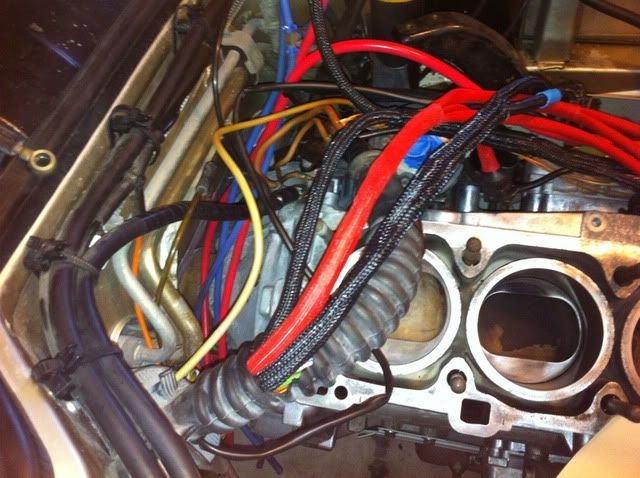
That should work:

Old (remaining) and new wiring:
I also spent some time under the dash with a partial harness removal, and I stuffed the new harnesses through the firewall hole. That was a bit of a struggle, but I found a lube that should be wire-friendly that made the job go a little easier.
#4 flange (no problems):
#1 flange after my elongation of the holes and widening the opening toward the front to better line up with the exhaust port:
2-3 collector Y:
1-4 collector Y (a little ugly):
Starting to stuff the new LR harnesses:
Close-up:
Far enough:
That should work:
Old (remaining) and new wiring:
 07-07-2011 | 10:21 AM
#26
Thread Starter
Addict
Lifetime Rennlist
Member
Lifetime Rennlist
Member
Joined: Apr 1999
Posts: 2,099
Likes: 0
From: Cowtown, TX
Uh, no. Did you see my pictures from Tuesday? 
I guess it's not all that bad with the engine bay as empty as it is. Having the head & cam tower out of the way sure makes things easier. I took the time to yank all of the old wiring that would be replace out of the firewall loom first - I can't imaging trying to stuff all of those new wires through along with the old ones, and I really didn't want to leave that much unused wiring in the car.
The LR harnesses are very high quality and they have a nice mesh sheathing, but that adds to the bulk. It will surely help to protect the wires for a very long time, and I'm going to add heat reflective convoluted wire sleeve where the harnesses are near heat sources in the engine bay to protect them even more.
Hopefully I'll have more pictures after this weekend with the head, header, crossover, and turbo in place. Unfortunately I'll only have a few hours to work again, but I'm beginning to see the light at the end of the tunnel!
 07-12-2011 | 12:37 AM
#29
Thread Starter
Addict
Lifetime Rennlist
Member
Lifetime Rennlist
Member
Joined: Apr 1999
Posts: 2,099
Likes: 0
From: Cowtown, TX
I'll PM you with the cost of that Jet Hot work... they gave me a low estimate then charged me double once the work was done, but I take some of the responsibility for sending too many little bits to get coated.
07-16-2011 | 03:47 AM
#30
Rennlist Member
Joined: Nov 2010
Posts: 1,336
Likes: 0
From: Everett, WA
Did you go "full boat" on the LR harnesses? I've already got the speed/reference sensor harness and the injector harness and I'm impressed with their quality, but I'm undecided on the "idle stabilizer and misc." and the knock sensor harness... good investment? what do you think?
Oh, I've been meaning to ask.. what it s "cheater" turbo? I've searched and found nothing...
Oh, I've been meaning to ask.. what it s "cheater" turbo? I've searched and found nothing...