Notices
928 Forum 1978-1995
Sponsored by:
Sponsored by: 928 Specialists

6.5 Litre Xmas come early

Thread Tools
 
Search this Thread
 
Old 12-17-2018, 01:14 AM
  #106  
ramcram
Rennlist Member
Thread Starter
 
ramcram's Avatar
 
Join Date: Nov 2011
Location: Adelaide, South Australia
Posts: 719
Likes: 0
Received 74 Likes on 41 Posts
Default Radiator


Finally finished the radiator pipes and fan shroud.
Had to do some serious mods to the old supercharger air cleaner to fit the twin throttle bodies, plus add in fittings for the MAF sensor and the air-oil separator breathe line.
Time now for some electrickery to test it.
Old 03-05-2019, 09:07 PM
  #107  
ramcram
Rennlist Member
Thread Starter
 
ramcram's Avatar
 
Join Date: Nov 2011
Location: Adelaide, South Australia
Posts: 719
Likes: 0
Received 74 Likes on 41 Posts
Default Check trans from inside the cabinn


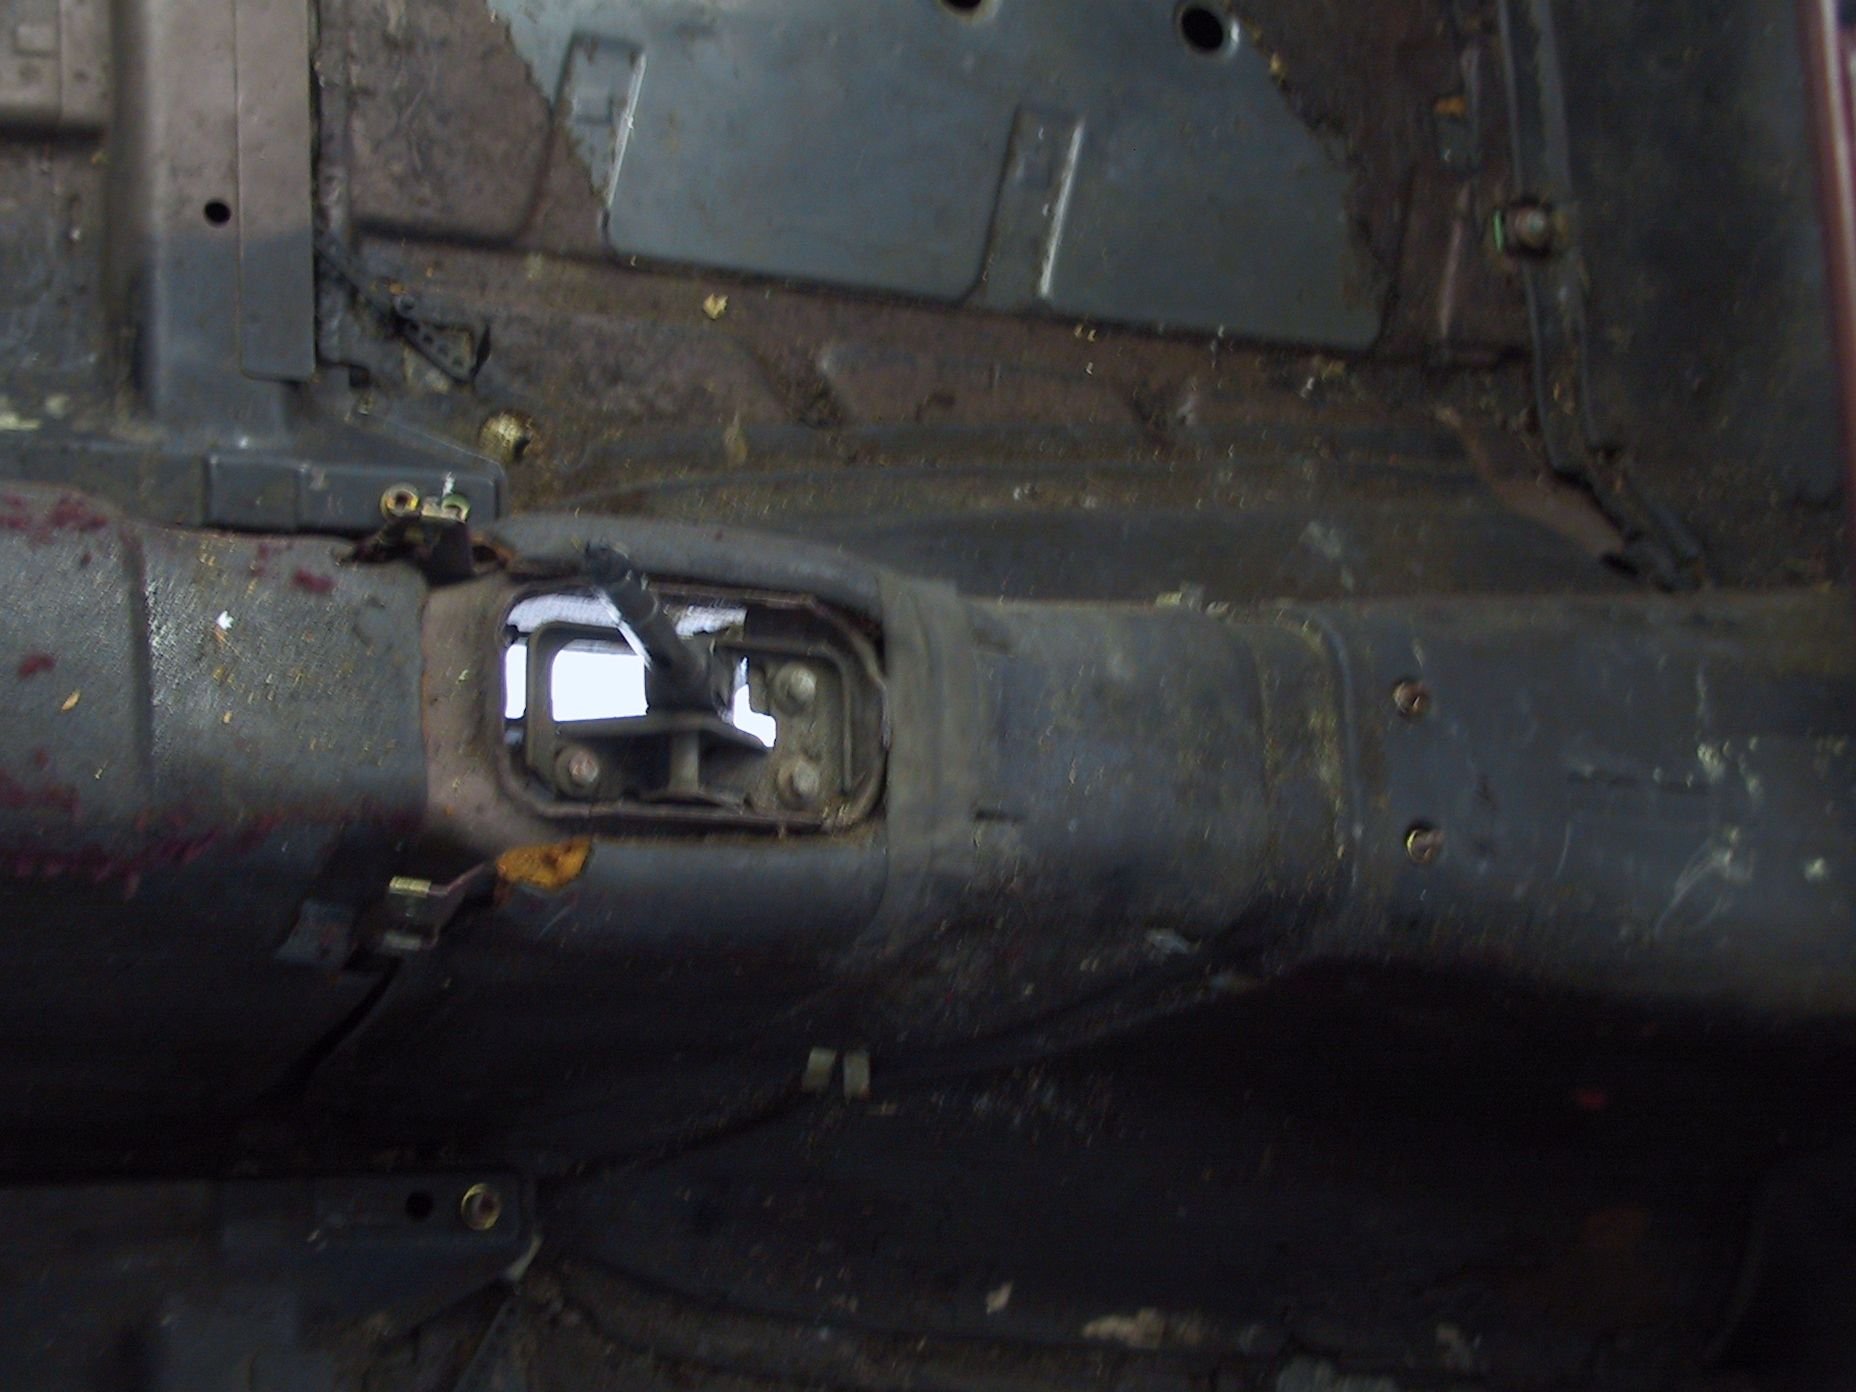
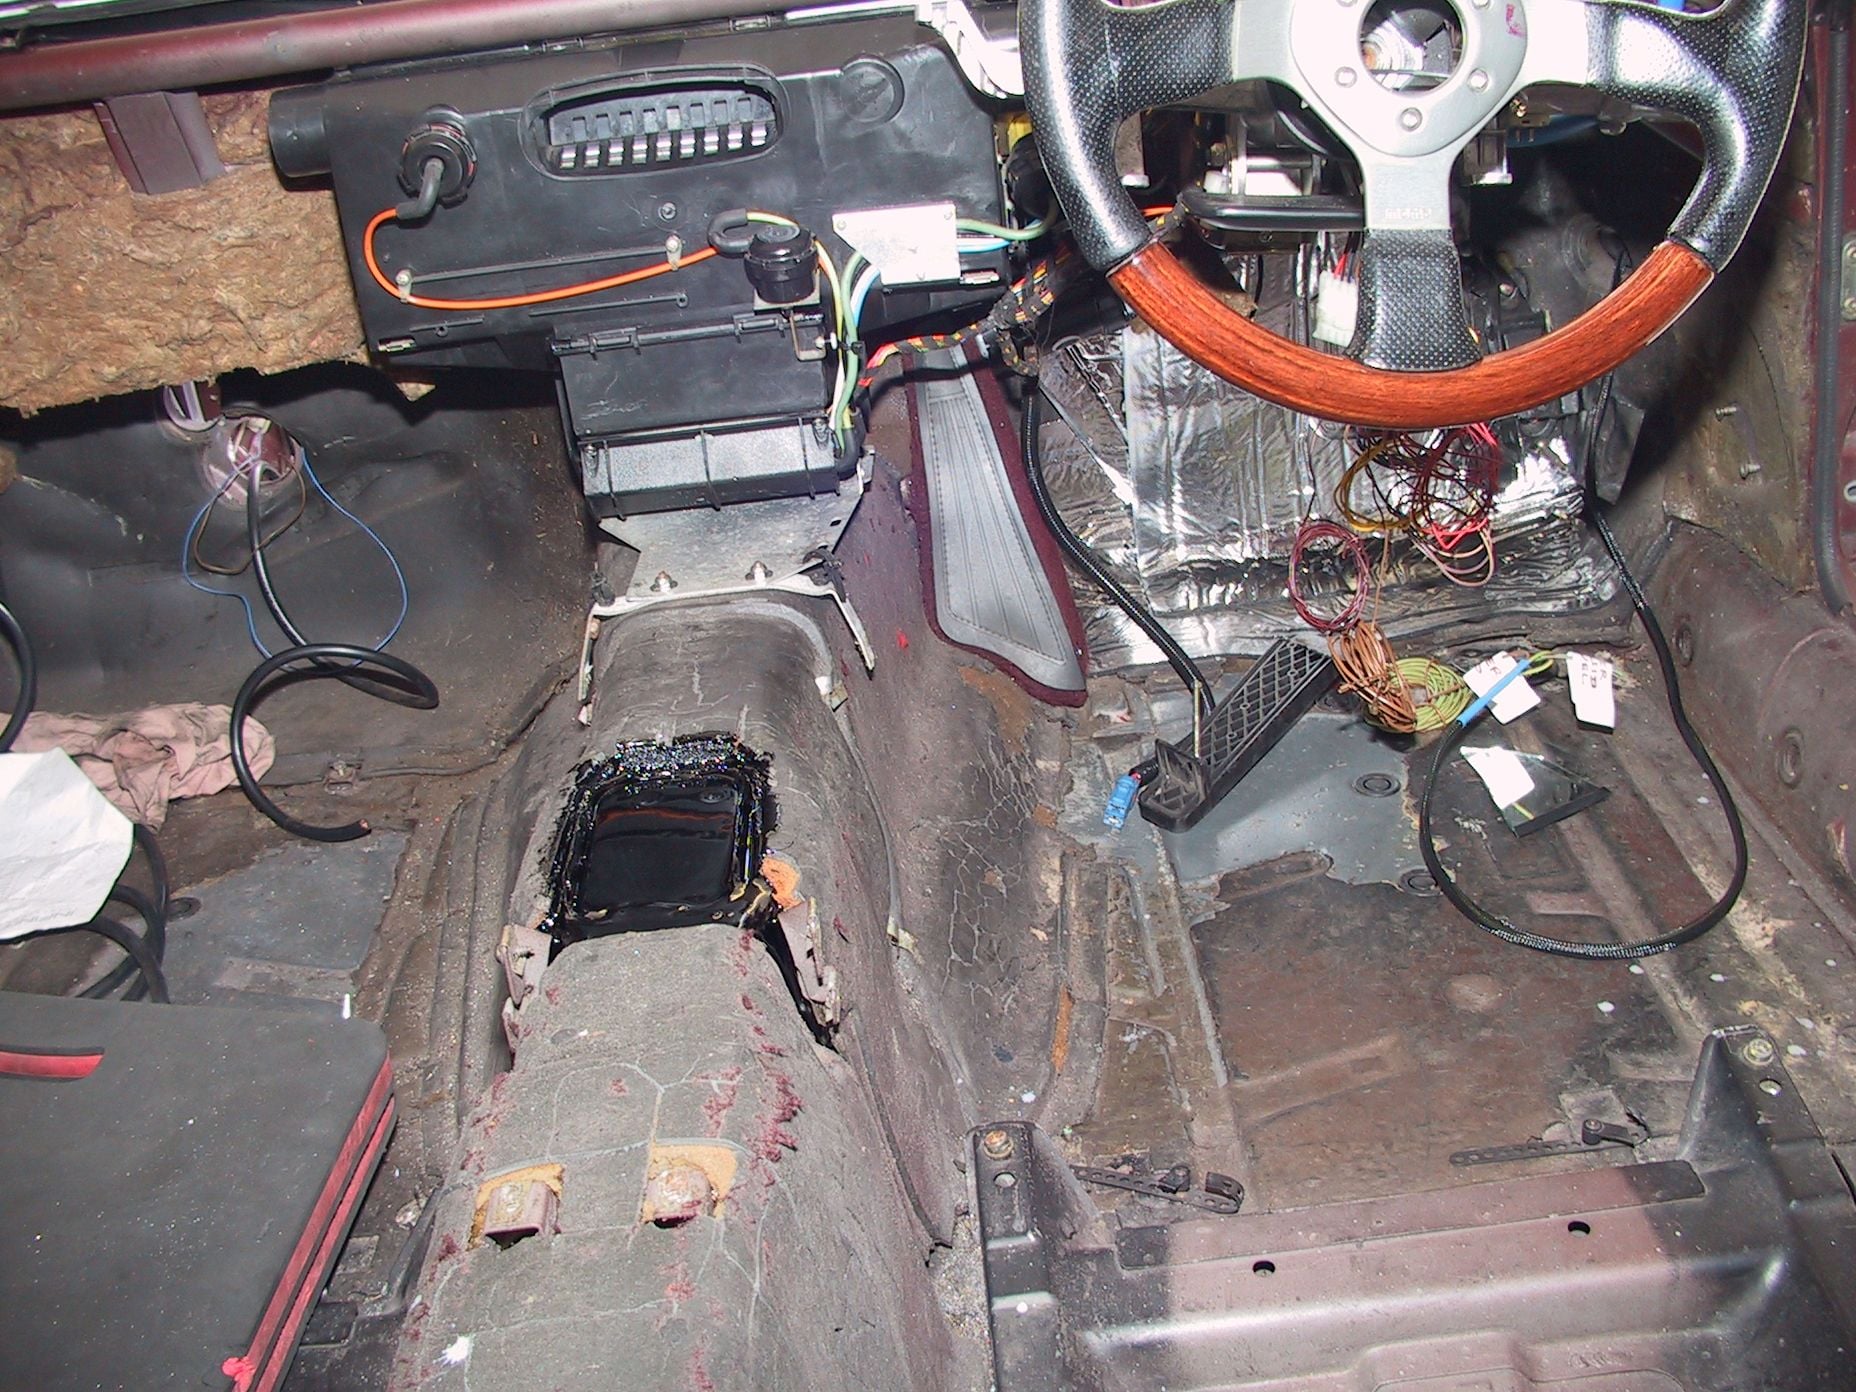
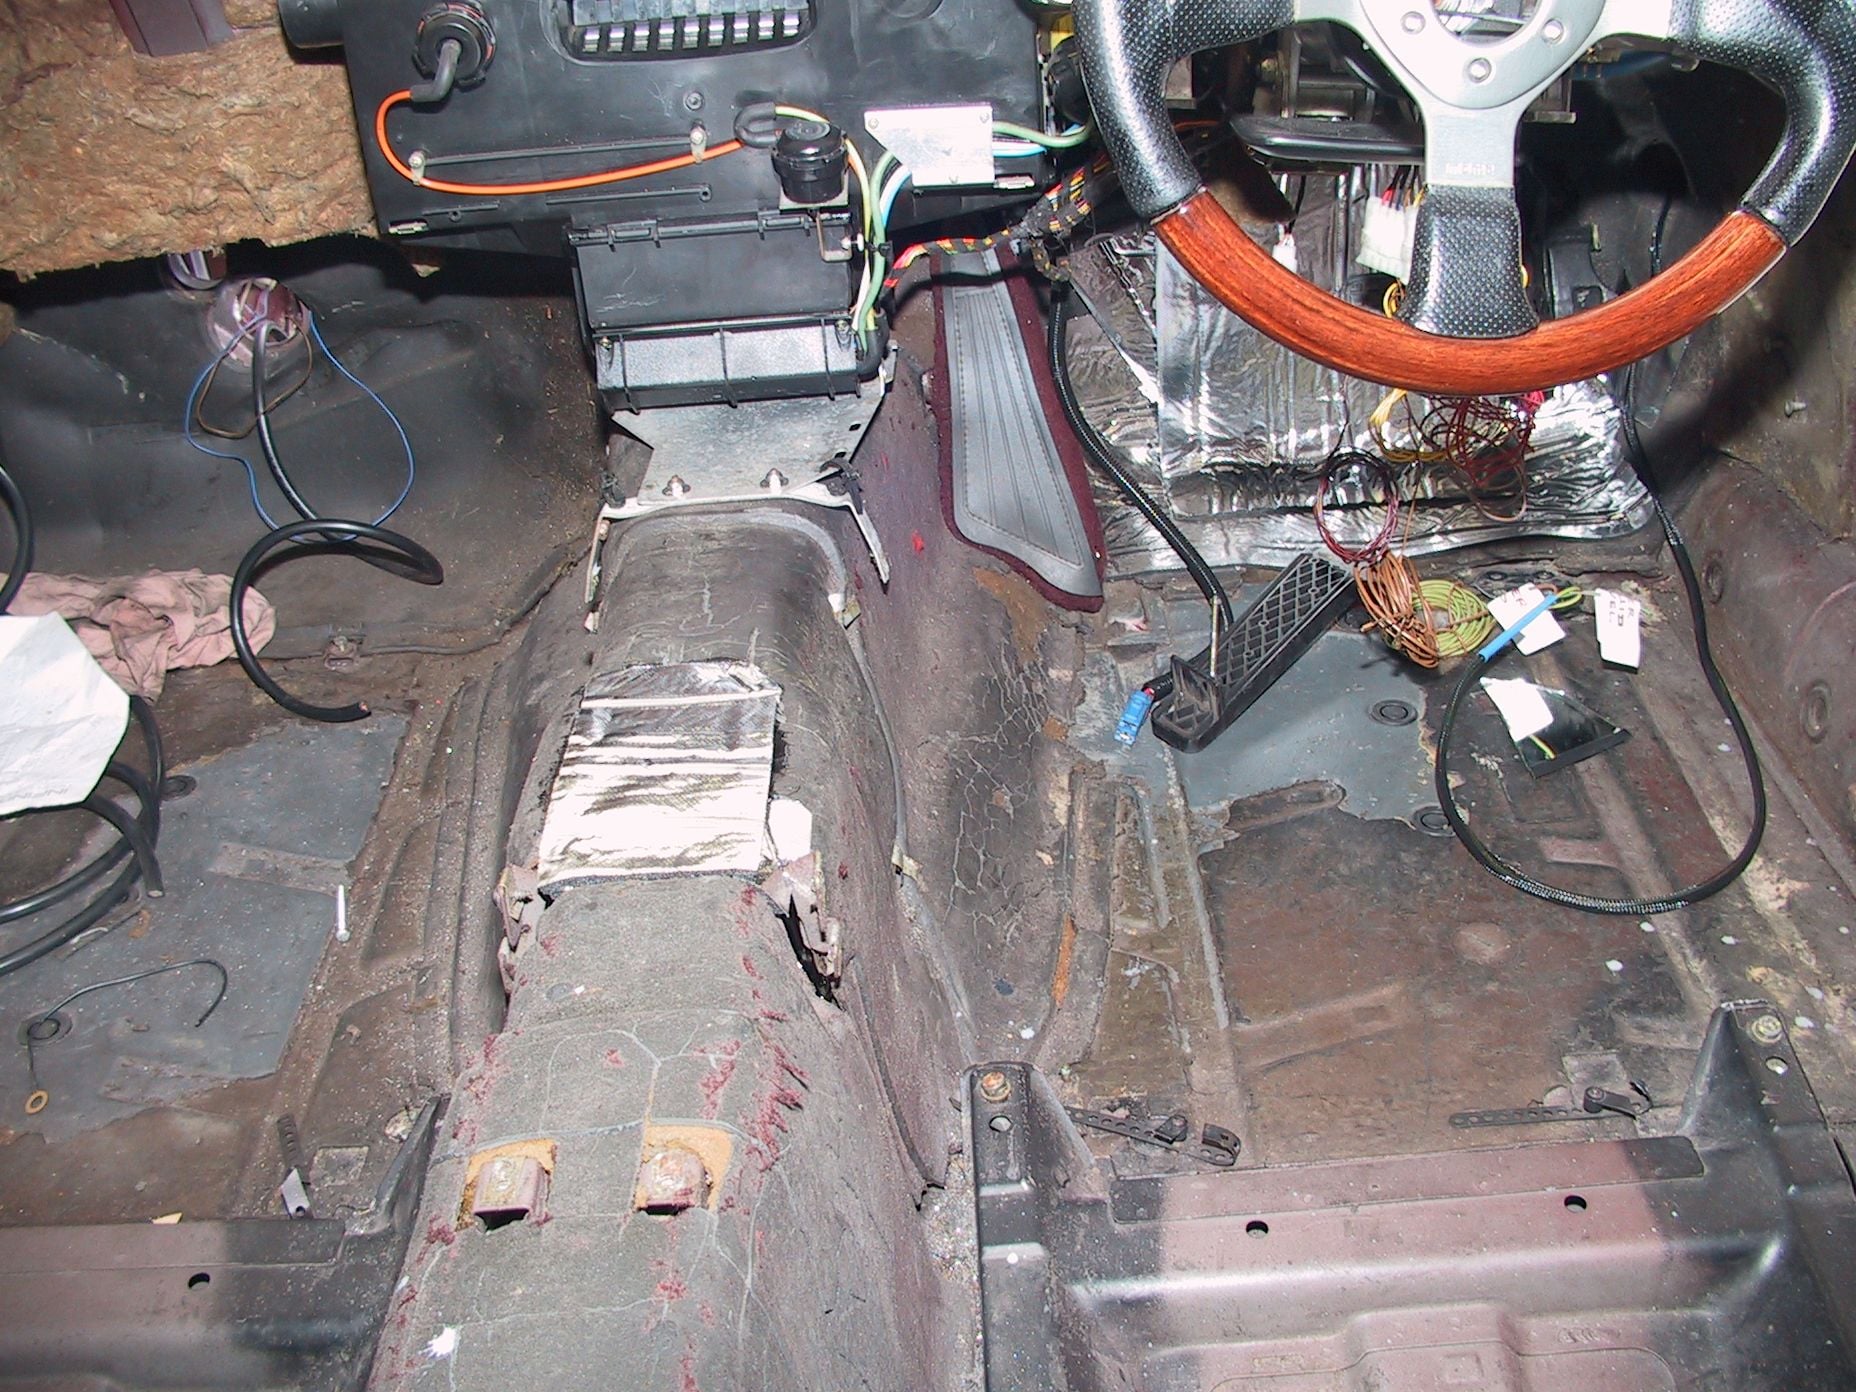
Although I have a hoist, it's still not an easy way to check the trans oil, so I've made some changes.
Now I can kneel on the r


h rear seat, lean into the back, fold back the carpet, unscrew the cap and pull out the dipstick.
Old 03-05-2019, 09:16 PM
  #108  
Mark Anderson
The Parts Whisperer
Rennlist
Site Sponsor

 
Mark Anderson's Avatar
 
Join Date: Nov 2002
Location: Anaheim Ca
Posts: 7,044
Received 350 Likes on 171 Posts
Default

Looks fantastic but what about the trans shifting back in forth on the rubber mounts?
Old 03-05-2019, 09:29 PM
  #109  
ramcram
Rennlist Member
Thread Starter
 
ramcram's Avatar
 
Join Date: Nov 2011
Location: Adelaide, South Australia
Posts: 719
Likes: 0
Received 74 Likes on 41 Posts
Default

I made the dipstick touch on the bottom of the reservoir so it will read from there if the trans moves [as it will] when the mounts collapse.
Also had to make the cutaway for the rear cross member long enough for the trans to slide back and forth for engine in/out.
I started by wanting to increase the trans fluid quantity, given I've removed the lines to the radiator and the task moved on.
I would like to have included a 'low level' warning light switch but couldn't find one.
It doesn't have to be removed to remove the sump, just undo the 2, 6mm screws that held the original bottle.
Old 06-15-2019, 01:42 AM
  #110  
ramcram
Rennlist Member
Thread Starter
 
ramcram's Avatar
 
Join Date: Nov 2011
Location: Adelaide, South Australia
Posts: 719
Likes: 0
Received 74 Likes on 41 Posts
Default Electric power steering progress

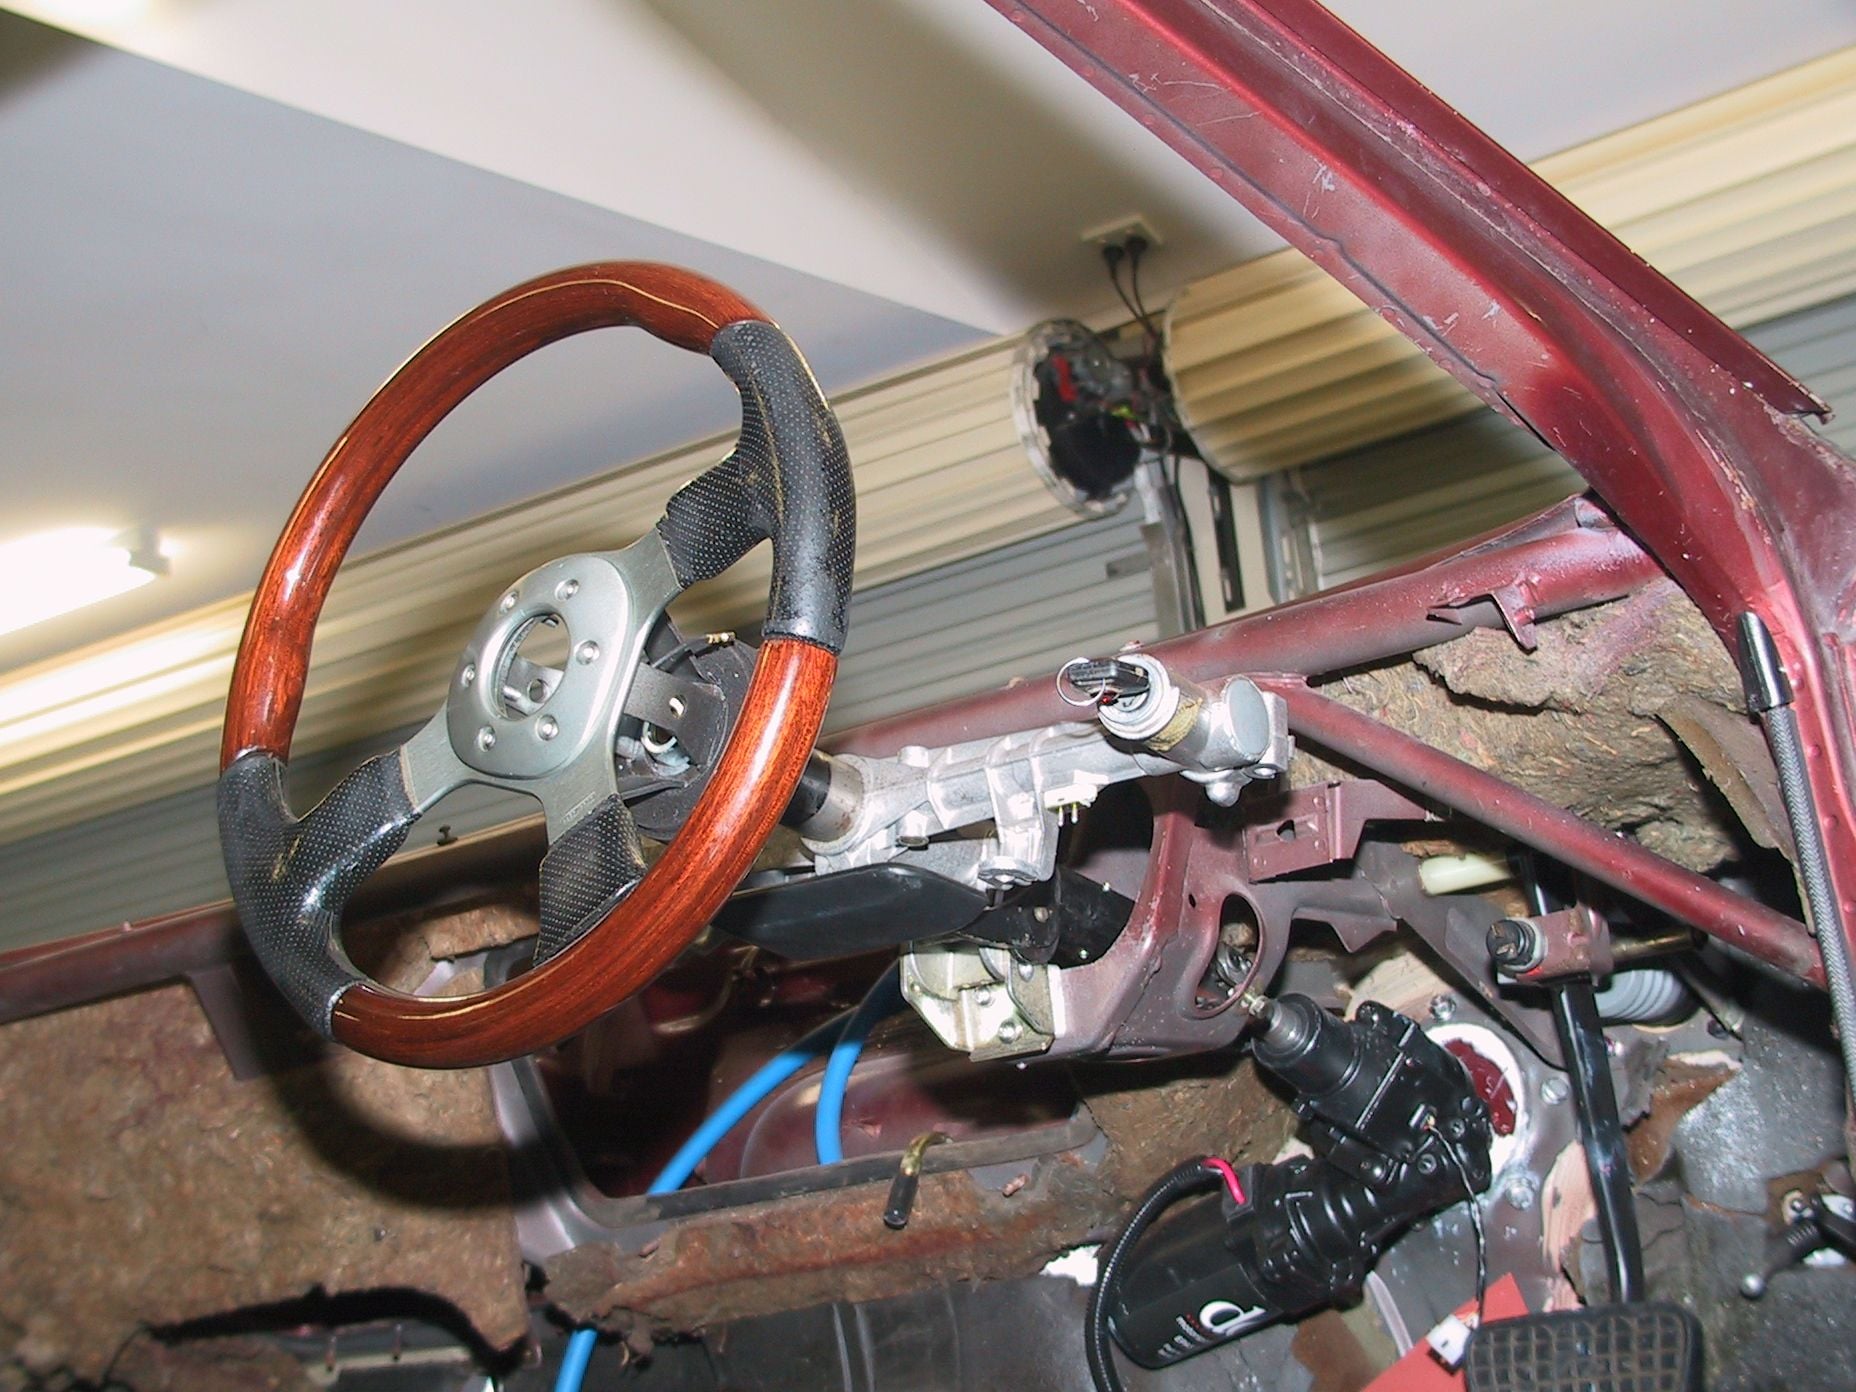
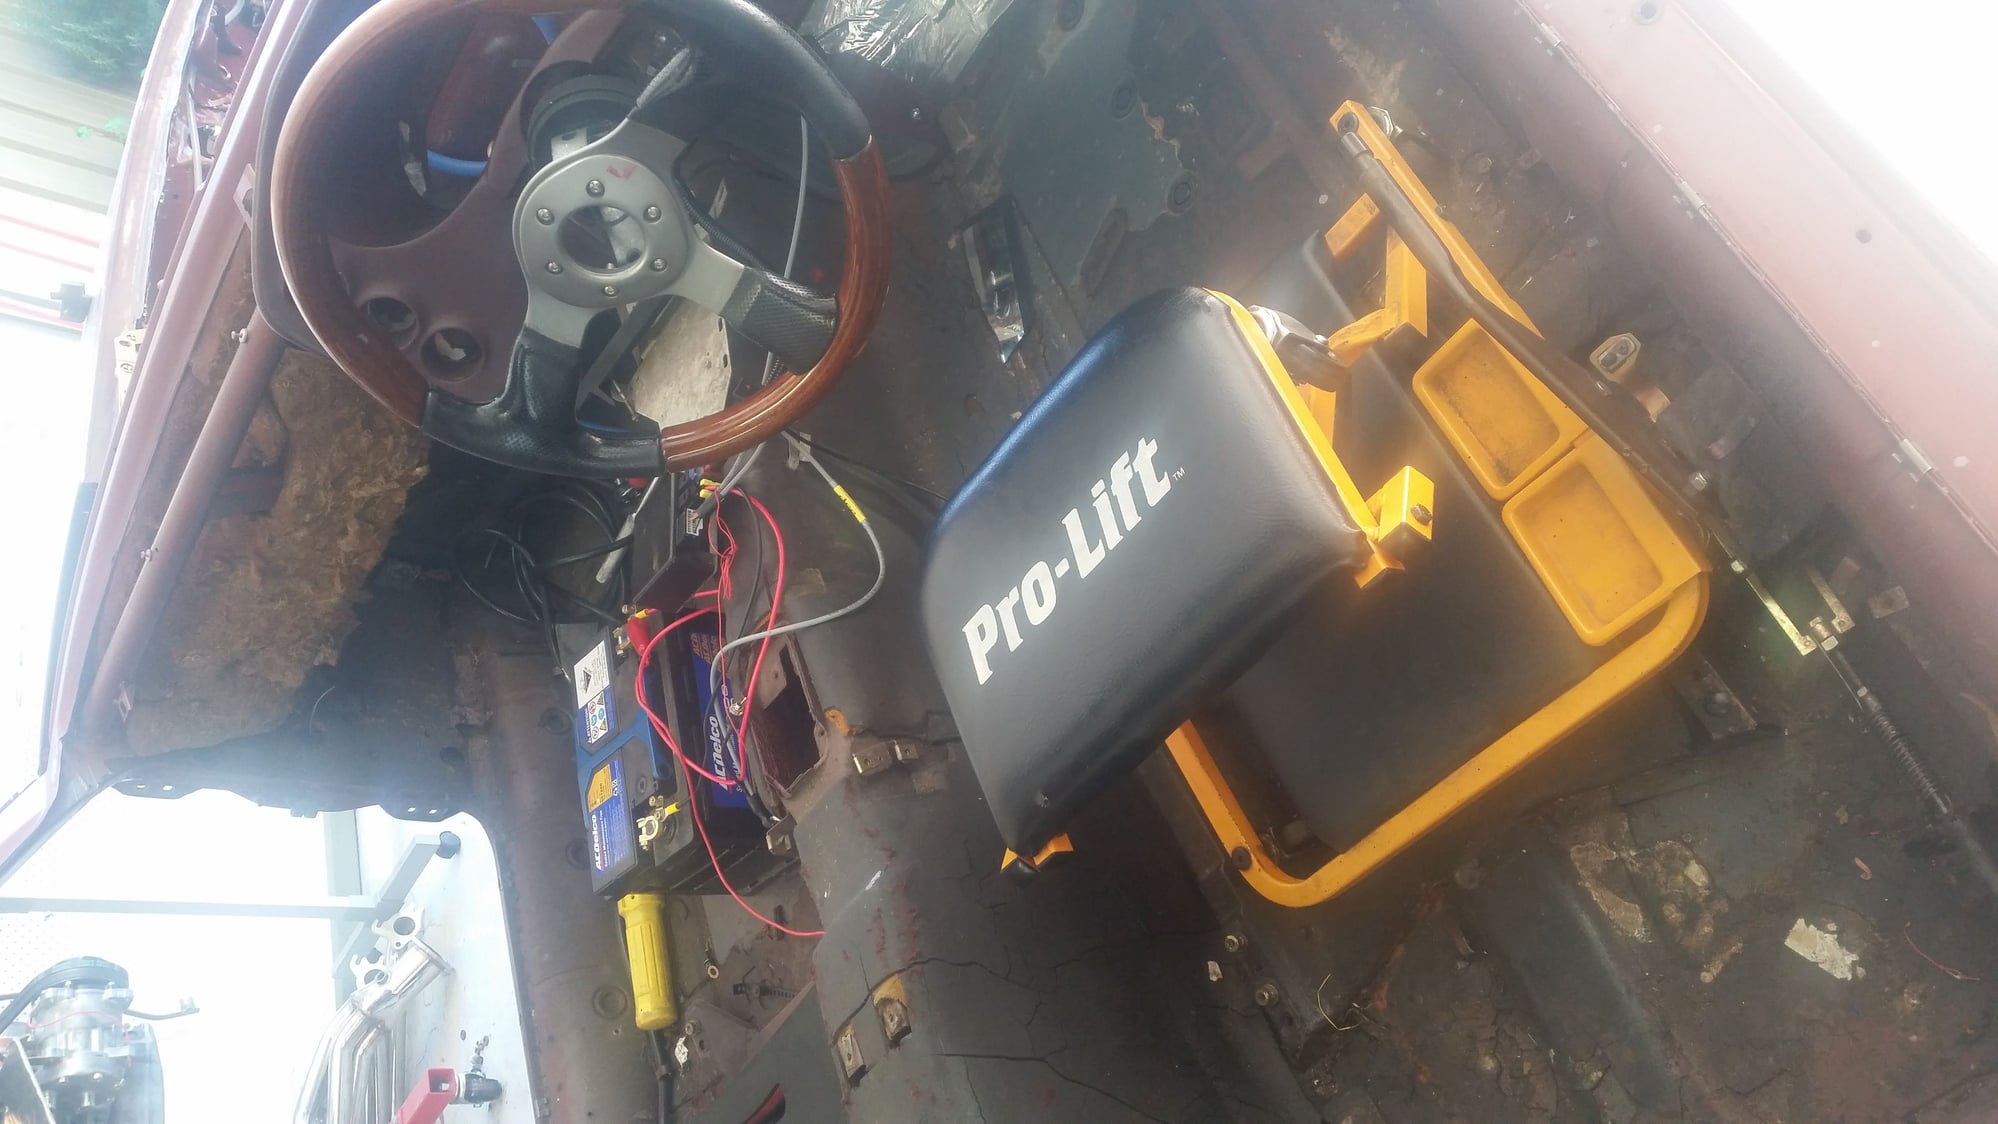
Eventually got the motor/gearbox mounted for the electric PS. Not much room to spare but it all fits. Just as well it's not a manual gearbox.
I stressed for a while about putting the power assisted load through the bottom half of the column until I realised the no car manufacturer could sell a car that would break and hit a tree if it burst a hose, or broke a belt or simply ran out of hydraulic fluid. The biggest issue is that the Porsche U-joints work at an extreme angle that no one else can match, [they also use a very uncommon spline size, 53x17m]. Fortunately, the angle of the column to shaft is spread over 2 U-joints now, so it works ok with the supplied


'Flaming River' SS U-joints. Had to change the up/down slot angle a bit because the arc length has shortened. Not pictured is an extra mounting bracket on the steering wheel end of the motor/gearbox unit.
Old 09-17-2019, 10:16 AM
  #111  
Bigfoot928
Drifting
 
Bigfoot928's Avatar
 
Join Date: Mar 2013
Posts: 3,266
Received 261 Likes on 179 Posts
Default

any updates?
Old 09-18-2019, 12:04 AM
  #112  
ramcram
Rennlist Member
Thread Starter
 
ramcram's Avatar
 
Join Date: Nov 2011
Location: Adelaide, South Australia
Posts: 719
Likes: 0
Received 74 Likes on 41 Posts
Default

Originally Posted by 928sg
any updates?
Finished the electric steering, poor photo, but we pushed it up the drive and it's great, so quiet.

Rebuilt the HVAC and got it back in. Spent days sorting through old wiring looms, 3 of them, getting various plugs and bits of looms that will be reused. e.g. HVAC, pad sensors & ABS.


Old 09-28-2019, 01:53 AM
  #113  
ramcram
Rennlist Member
Thread Starter
 
ramcram's Avatar
 
Join Date: Nov 2011
Location: Adelaide, South Australia
Posts: 719
Likes: 0
Received 74 Likes on 41 Posts
Default GSM-5000 digital speed sensing gear shifter.

Goodbye to the old 'stir stick' for the 'slush box'. Goodbye to the hole in the tunnel that let in heat and fumes.
Hello to the


Attached Images
File Type: pdf
Console_switches.pdf (154.6 KB, 44 views)
Old 09-28-2019, 02:18 AM
  #114  
GregBBRD
Rennlist
Basic Site Sponsor
 
GregBBRD's Avatar
 
Join Date: Feb 2005
Location: Anaheim
Posts: 15,219
Received 2,451 Likes on 1,459 Posts
Default

Originally Posted by ramcram
Goodbye to the old 'stir stick' for the 'slush box'. Goodbye to the hole in the tunnel that let in heat and fumes.
Hello to the


You are an artist!
Old 09-28-2019, 02:40 AM
  #115  
ramcram
Rennlist Member
Thread Starter
 
ramcram's Avatar
 
Join Date: Nov 2011
Location: Adelaide, South Australia
Posts: 719
Likes: 0
Received 74 Likes on 41 Posts
Default

Thanks Greg.
Old 12-09-2019, 12:03 AM
  #116  
ramcram
Rennlist Member
Thread Starter
 
ramcram's Avatar
 
Join Date: Nov 2011
Location: Adelaide, South Australia
Posts: 719
Likes: 0
Received 74 Likes on 41 Posts
Default A/C Components

Currently busy with the total rewire job, just laying out each wire in its path.
I've come to the A/C wires in the front loom and they will include the refrigerant low pressure switch and the high temp switch located on the dryer/condenser.
These seem quite simple. low pressure simply cuts the feed to the A/C compressor clutch and the high temp triggers the front fan to come on.
In the '86 S ROW wiring diagram, there is a component on page 97-243 at D31 called 'THERMOSWITCH ETR (EVAPORATOR) SWITCH'.
Is this what is sometimes refered to as the 'deicing switch'? located on the A/C box in the wiper bay?
Old 12-09-2019, 06:52 AM
  #117  
John Speake
Rennlist Member
 
John Speake's Avatar
 
Join Date: Feb 2002
Location: Cambridge England
Posts: 7,049
Received 35 Likes on 28 Posts
Default

Yes, simply in series with the 12v feed to the compressor.
Old 12-09-2019, 07:22 AM
  #118  
AirtekHVAC
Rennlist Member
 
AirtekHVAC's Avatar
 
Join Date: Mar 2012
Location: China Grove, NC
Posts: 3,534
Received 268 Likes on 166 Posts
Default

Wow, awesome work
Old 12-09-2019, 08:21 PM
  #119  
ramcram
Rennlist Member
Thread Starter
 
ramcram's Avatar
 
Join Date: Nov 2011
Location: Adelaide, South Australia
Posts: 719
Likes: 0
Received 74 Likes on 41 Posts
Default

Originally Posted by John Speake
Yes, simply in series with the 12v feed to the compressor.
The low pressure switch does John but the switch at D31 [thermoswitch etr] is fed from the A/C control unit and then through a suppressor to earth?
Old 12-10-2019, 06:11 AM
  #120  
John Speake
Rennlist Member
 
John Speake's Avatar
 
Join Date: Feb 2002
Location: Cambridge England
Posts: 7,049
Received 35 Likes on 28 Posts
Default

Originally Posted by ramcram
The low pressure switch does John but the switch at D31 [thermoswitch etr] is fed from the A/C control unit and then through a suppressor to earth?
Yes, 12v from the relay in the aircon control head goes via the Thermoswitch (Evaporator switch) to K21 CE and to the suppressor relay X! which is diode to ground. 12v then goes out of the CE panel on M12 to the low pressure switch and finally to the compressor clutch.


Quick Reply: 6.5 Litre Xmas come early


All times are GMT -3. The time now is 10:34 PM.