When you click on links to various merchants on this site and make a purchase, this can result in this site earning a commission. Affiliate programs and affiliations include, but are not limited to, the eBay Partner Network.
Is there a good write up for the replacement of the front whell bearings? It is a 1990 928 S4. What can be used to remove the grease cup instead of the WSM recommended tool VW 771 & 9165?
Thanks
Bilal
I can't find a complete write-up. I used a 1-3/4" exhaust pipe clamp tigtened around the cap as a leverage point after seeing the suggestion here a long time ago.
I use a cold chisel and just tap all around the edge of the cap to work it up. Like to put it back on with a big rubber mallet hitting around the center of the cap ... basically, it's a friction fit to the hub so just needs to be worked on and off ...
Since then I have used the B90 Sir Tool several times. I started to make a guide to using that tool but it's not done. Here's some information with a few pictures of us using the Sir Tool at a tech day we did at my house a few years ago... https://rennlist.com/forums/928-foru...pril-25th.html
As to the grease caps, before I got the muffler clamps, I used chisels, large channel locks, etc. to get the caps off. That marks them up but quite a bit, but that's not visible after the wheels and center caps are back on.
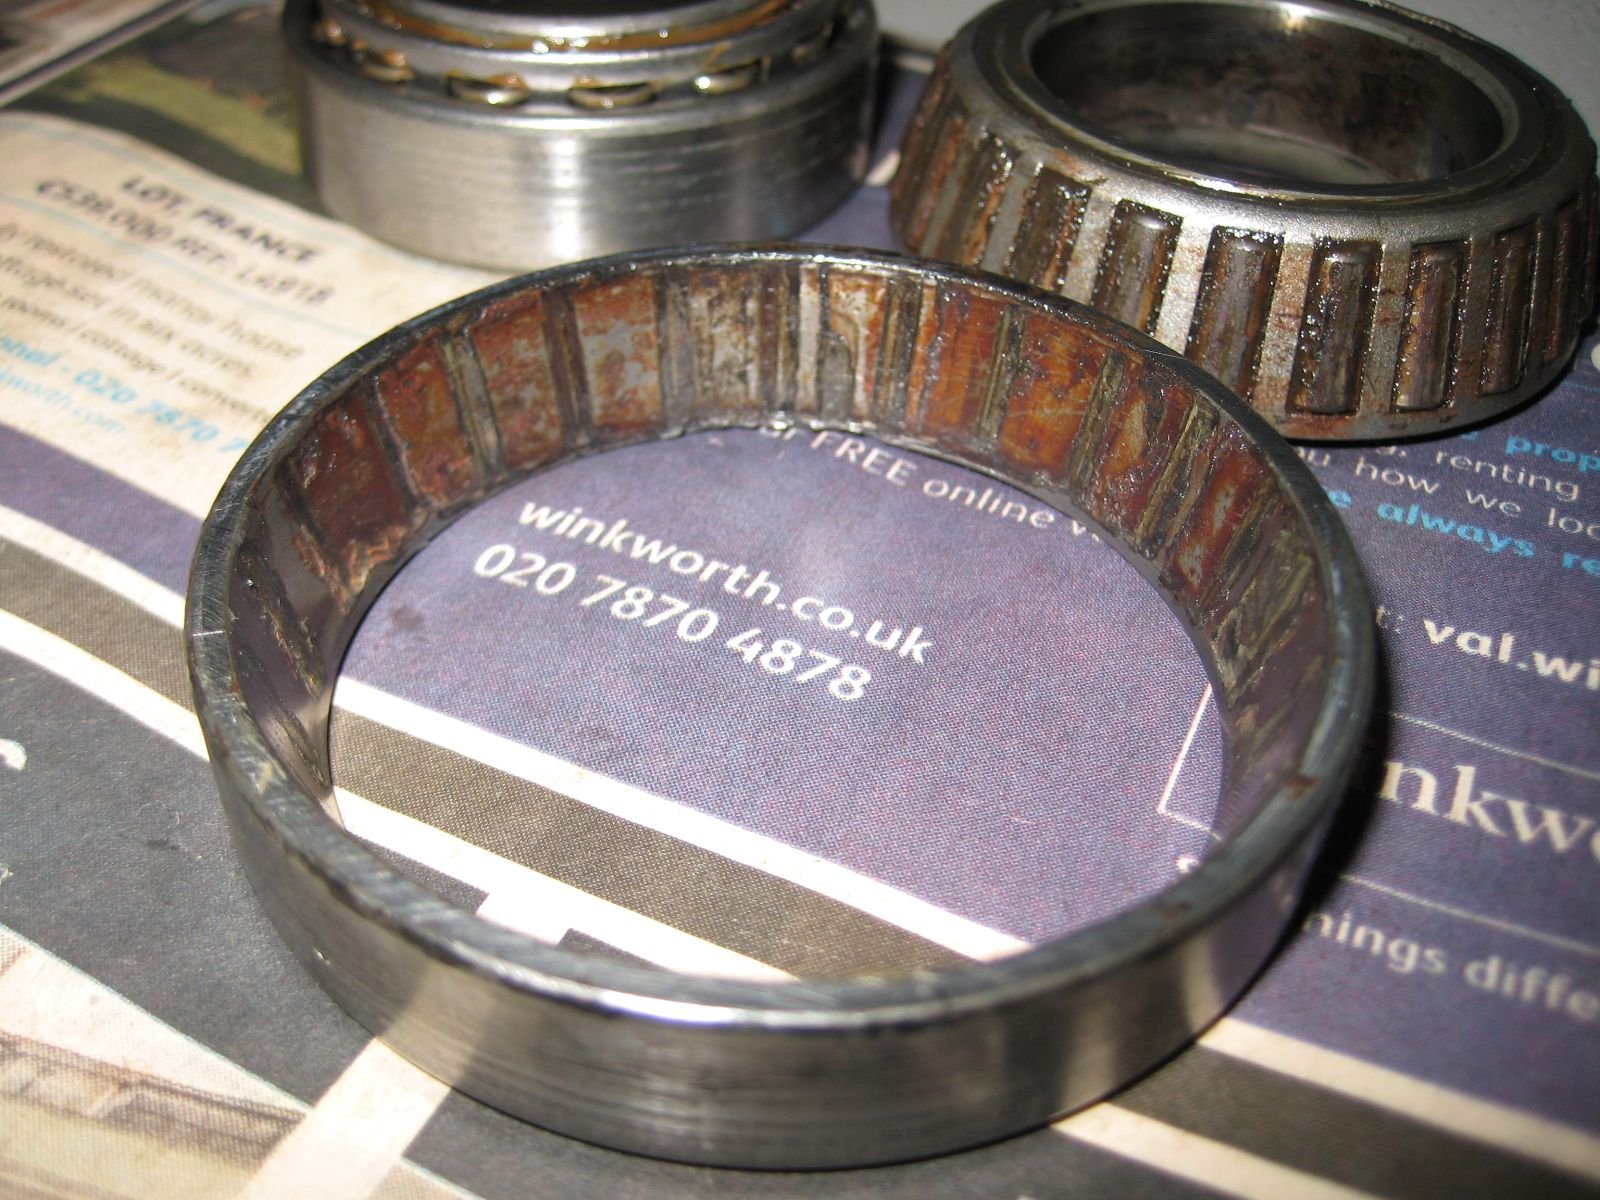
Drifting out the inner bearing shell was an absolute mare, took me about two hours total, even when my gf lent me her ring sizer mandrel which I used as a drift, it still took me 30 minutes
The bearing wasn't the culprit, it was clearly the seal that failed
That has encouraged me to replace the seal on the other side as well, I'll just clean and repack the other bearings
I think the seal failed because I took the car out in the snow (and salt) 18 months ago and just parked up afterwards without rinsing the car off
Drifting out the inner bearing shell was an absolute mare, took me about two hours total, even when my gf lent me her ring sizer mandrel which I used as a drift, it still took me 30 minutes
Did you heat the hub? Heat (100-120-ish �C) is your best friend when removing races from aluminum housings.
Here are some things you might want to know about the 928 front wheel bearings.
This will result in a quality bearing replacement and long service life.
UKKid35 usually the water will get in past the seal when a hi pressure water spray is used to wash the wheels,
the water will go behind the rotor and bounce off the backing plate,
and make its way into the seal area,
otherwise it also can happen if the car was submerged.
NOTE using heat for the races on removal and install.
Make sure all the grease is removed from the hub prior to heating,
otherwise you will have a smoke show.
I heat the hub with a Mapp gas torch.
Once the hub is hot 280F, the races will generally fall out and drop in.
put the new races in the freezer for atleast 30 mins.
Its also wise to check the bores for burrs prior to installing the new races,
I use 400 grit paper to smooth anything , then wipe it clean with some PB blaster on a rag.
NOTE dont use brake cleaner on a hot hub, as it will form hazardous gas that can damage your health.
I install the larger race first.
NOTE figure out a way to rest the hub with something holding in the larger race ,
so it will not fall out while you install the smaller race.
I use the old roller bearing on a socket.
I spray the cleaned hub and frozen race with PB blaster prior to dropping it in.
I use the old race to tap in the new race if it doesnt fall into its bore,
followed by a few lite taps with a punch and hammer on the edge of the new race just to make sure its seated,
you can feel it when the race is bottomed out.
Setting the bearings,
pack the bearings with hi quality bearing grease,
set the inner bearing in the hub and then tap in the seal.
Put some grease on the spindle areas so the seal will slide.
pack some grease into the center of the hub .
Put the hub on the spindle then fit the outer race and the washer and nut.
Tighten the nut by fingers while you spin the hub a few times back and forth to seat the bearings.
then back off the nut till you have the washer able to slide,
tighten the allen bolt then recheck your work.
NOTE you may have to do this a few times as tightening the allen bolt will change how the nut seats on the spindle.
NOTE on the spindle , you may notice that the spindle has a worn area.
The worn area will be on the bottom of the large bearing seating surface.
you may notice a worn ridge on this surface.
If so dress it to smooth the ridge.with some 600 grit paper( just the ridge)
Dress both sides of the flat washer and the nut face with 400 grit paper so they are smooth and will slide properly.
The flat washer must be free to slide when pushed with the tip of screwdriver .
NOTE you will usually see play in the 12 to 6 rocking area,
thats the worn surface of the inner race .
This is normal for the 928 UNLESS you have a new spindle.
NOTE for some reason the material they made the spindles from is soft ,
and as a result the inner bearing race will deform its seating surface,
this will be evident on almost every spindle you inspect.
With this in mind dont be thinking that you should tighten the bearing race more to remove this play.
As long as the washer is free to slide with moderate pressure from the screwdriver then the bearing is properly adjusted.
The hub will heat up once the car is driven and needs room to expand,
if this is not provided then the chances are good that the bearings will overheat,
and the outer race will usually be the race that gets damaged first.
NOTE you can also tell that you have some play in the bearings when backing up while turning,
you can feel the wheels feel a bit loose , then putting on the brakes will push rotors back into their place.
Once forward motion is occurring the hubs will stay in their place.
Remember this play is a normal condition with a set of worn spindles,
and virtually every 928 I have examined has the same issue,
some will exhibit more wear some less.
NOTE after 500 miles recheck the play in the 12 to 6 area,
if it feels excessive then recheck the washer play it may need slight readjustment.
once the hub cools down the races should be fully seated ,
when you install them just make sure to have something holding the lower race as it could fall out.
The hardware store sells Mapp gas torches

 11-13-2011, 12:30 PM