
TB/WP R&R, Intake & Cam cover refurb, and Murf Stage One installed (Pictures & Video)
 04-25-2010, 10:57 PM
#31
Rest in Peace
Rennlist Member
Rennlist Member
Join Date: May 2006
Location: Bird lover in Sharpsburg
Posts: 9,903
Likes: 0
Received 2 Likes
on
2 Posts
I’m sorry to say I have yet to document a Gantt or pert chart, but they are all in my head somewhere.
I did conduct an informal time study and decided the tools needed to be closer (including the fire extinguisher). However, now I know to bleed down the fuel system before disconnecting anything (pull relay and crank).
I learned that lesson the old fashion way when I gave my eyes and an incandescent trouble light a little squirt… luckily nothing caught fire!
The work looks good.


 04-26-2010, 11:03 AM
#33
Drifting
Thread Starter
Brent you know me too well and called me out on the V-Dubs... that's my secret 'other' car.
So which ones do think will look best on the Snapper?
 04-26-2010, 11:26 AM
#34
Drifting
Thread Starter
I fully intended on having all of these on hand, but miscounted the cam gears when placing my order… really it was just a clerical error between what was requested and what was ultimately ordered. I plan on replacing mine.
All the missing parts should be on hand for the reassembly project that will occur on May 9th. Between now and then, cam cover should get swapped, intake will be refreshed, fuel lines rebuilt, and all sensor replaced. Plus all rubber hoses, vacuum lines, connectors, and belts will be replaced.
Oh yeah and beer fridge will be restocked!
 04-26-2010, 11:38 AM
#36
Rennlist Member
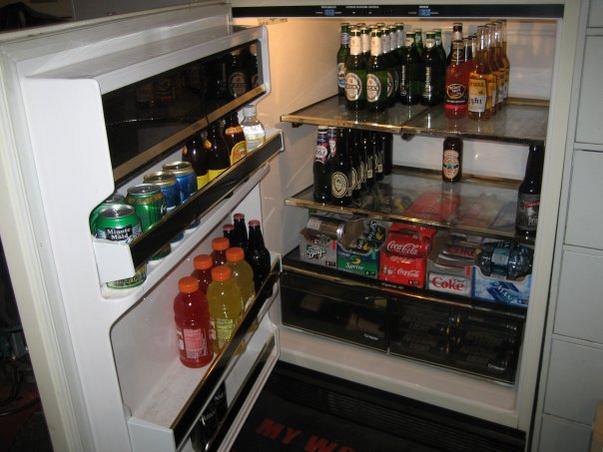
Man, you guys have put a dent in the beer fridge. I remember the full picture.
And, on the cam gears, I had heard that if the anodizing is worn through it is time to replace. Otherwise the edges can get sharp and take their toll on the belt. Plus, once the protective coating is gone, the soft metal underneath starts to wear a lot quicker. Just to be safe I would replace. Actually that is exactly what I just did with mine.
And, on the cam gears, I had heard that if the anodizing is worn through it is time to replace. Otherwise the edges can get sharp and take their toll on the belt. Plus, once the protective coating is gone, the soft metal underneath starts to wear a lot quicker. Just to be safe I would replace. Actually that is exactly what I just did with mine.
04-26-2010, 01:42 PM
#38
Nordschleife Master
https://rennlist.com/forums/928-foru...c-numbers.html
Piston dish size:
S4 '87-January '88 25cc
S4/GT February '88-91 20cc
Head chamber size:
S4/GT/GTS '87-95 40-42cc
Compression ratio:
S4 '87-January '88 9.3-9.5.:1
S4/GT February '88-91 9.9-10.1:1
S4 '87-January '88 25cc
S4/GT February '88-91 20cc
Head chamber size:
S4/GT/GTS '87-95 40-42cc
Compression ratio:
S4 '87-January '88 9.3-9.5.:1
S4/GT February '88-91 9.9-10.1:1
04-26-2010, 10:54 PM
#39
Drifting
Thread Starter
I need a good stripper… one that will take it all off, doesn’t stink too much and not empty out my wallet.
Any suggestions out there? Of course I’m talking about for my intake manifold.
Sometimes working on 928 is all about the little victories. Today it was draining the block. I started out with a little baby 13 mm box end and slowly work my way up to a 6 pointed half in socket and had to use a cheater. The other victory was taking off the water bridge, the bolt wasn’t rounded after all.
With the good comes the bad. I’m still missing 1 fuel rail nut and 2 of the little electrical clips on the injectors. Also, the hall sensor plug just totally disintegrated in my hands, glad I have a new one on hand.
How many days until Sharks?
04-26-2010, 11:11 PM
#40
Captain Obvious
Super User
Super User
I was told that if the anodized coating is starting to go, it's time to replace. Anyone else here care to comment on the condition versus replacement.
I fully intended on having all of these on hand, but miscounted the cam gears when placing my order… really it was just a clerical error between what was requested and what was ultimately ordered. I plan on replacing mine.
All the missing parts should be on hand for the reassembly project that will occur on May 9th. Between now and then, cam cover should get swapped, intake will be refreshed, fuel lines rebuilt, and all sensor replaced. Plus all rubber hoses, vacuum lines, connectors, and belts will be replaced.
Oh yeah and beer fridge will be restocked!
Attachment 437348
04-27-2010, 12:06 AM
#41
Drifting
Thread Starter
Sorry, I wasn't clear. I have a new gate racing belt, pktensioner, water pump, oil gear, and one cam gear on hand already... just waiting for the one missing gear. The original plan was to have the gears on hand if needed. I don't want to repeat this process anytime soon.
Last edited by auzivision; 04-27-2010 at 10:14 AM.
04-27-2010, 07:44 AM
#42
Rennlist Member
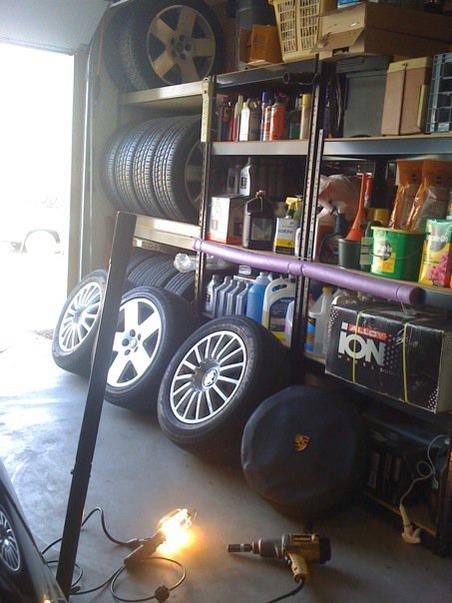
Brent you know me too well and called me out on the V-Dubs... that's my secret 'other' car.
So which ones do think will look best on the Snapper?
Attachment 437318
So which ones do think will look best on the Snapper?
Attachment 437318
04-27-2010, 10:00 AM
#43
Drifting
Thread Starter
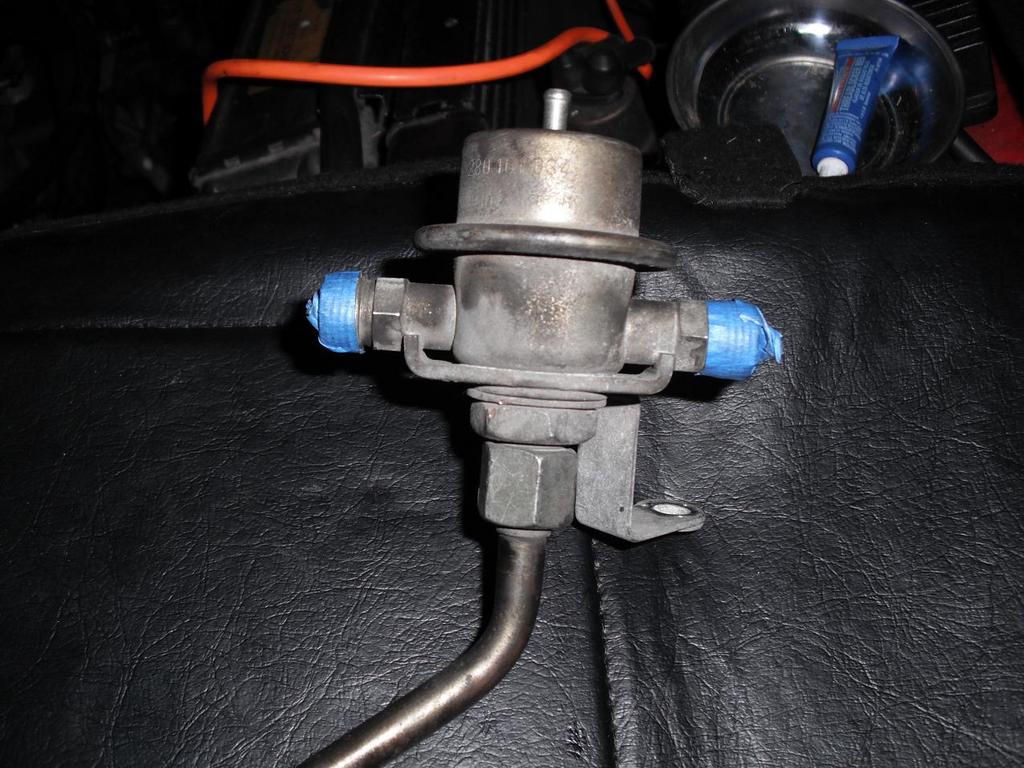
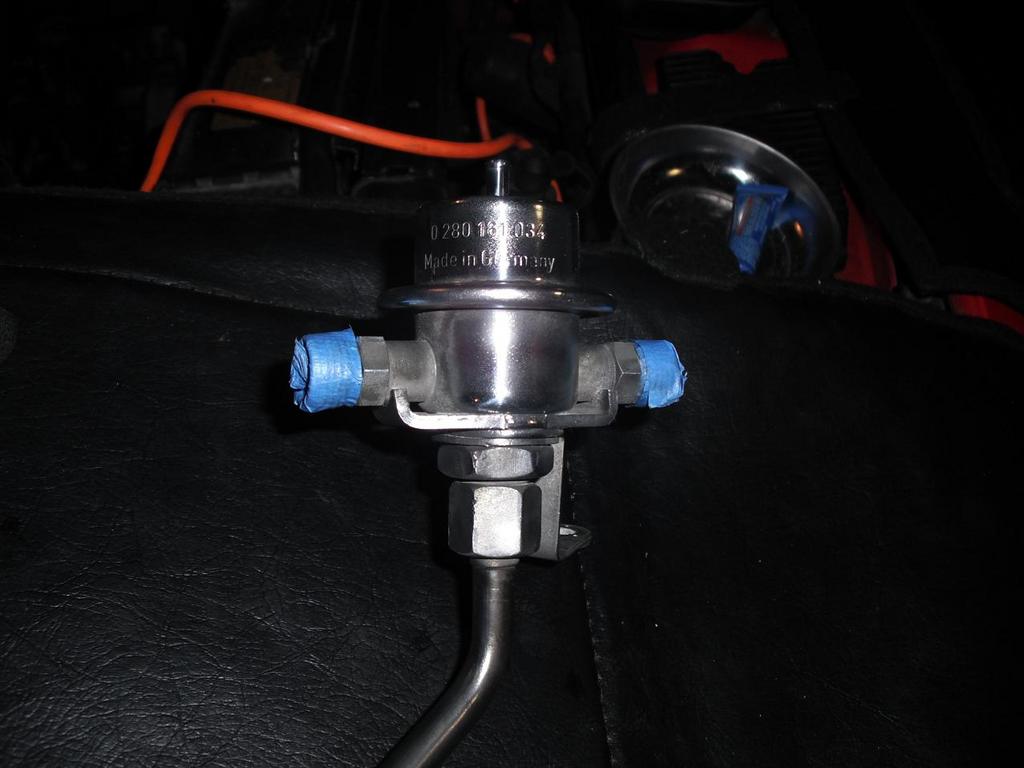
Having extra hands under the hood is great for getting things done, but not so great at keeping track of where everything goes. I spent a fair amount of time last night trying to sort through, inventory and label misc parts. Except for the bell housing cover, following is what’s left over.
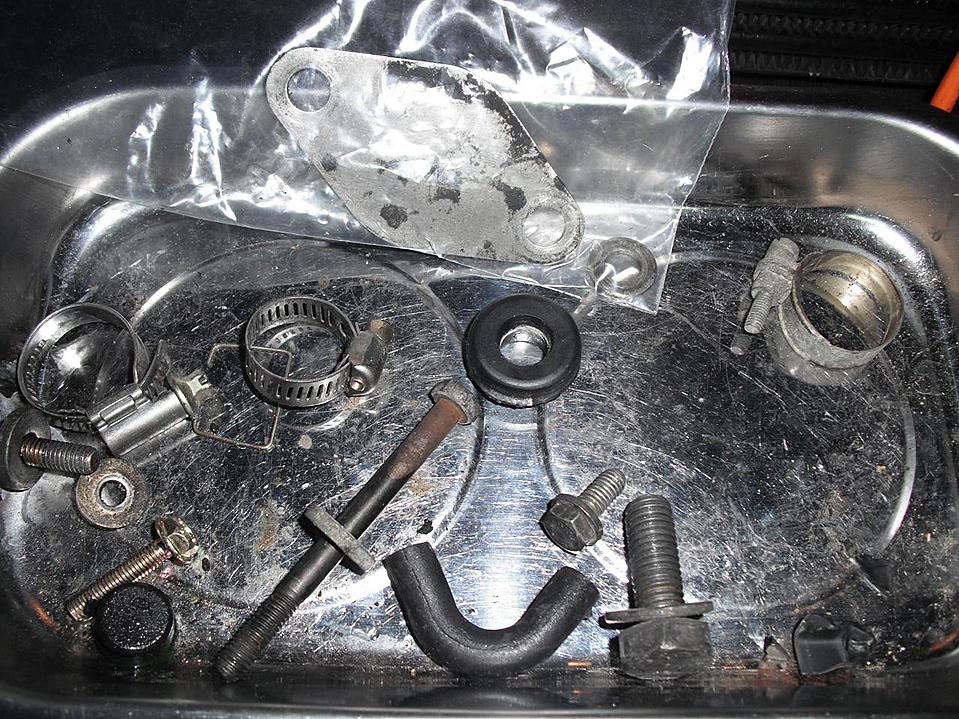
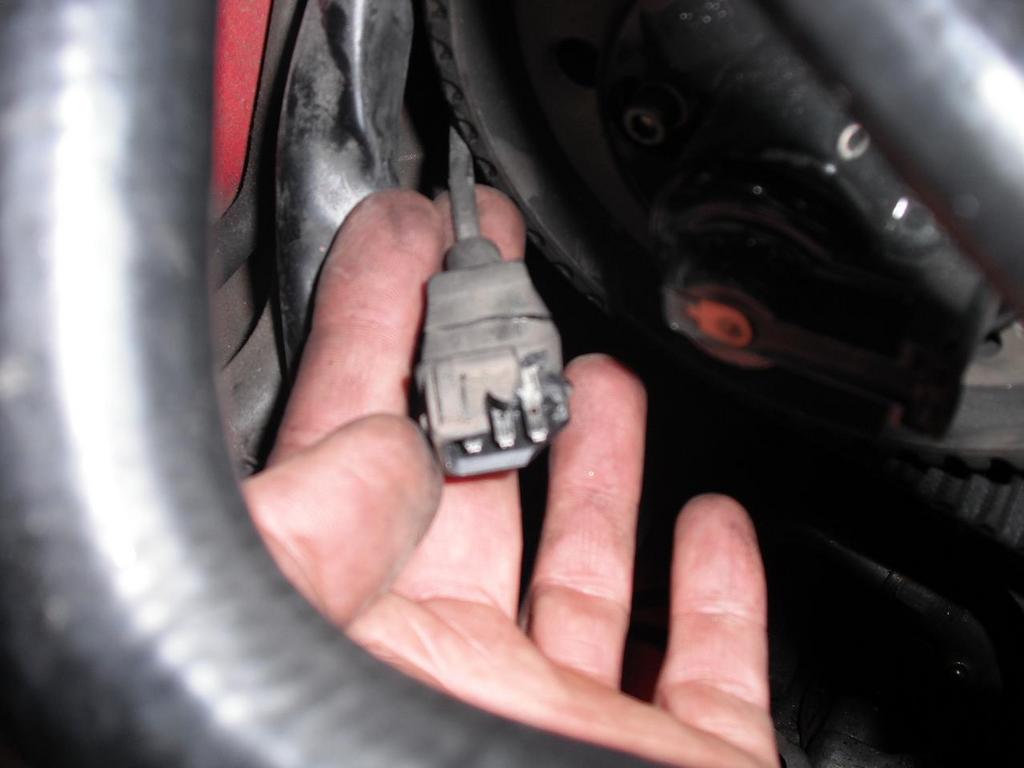
I also labeled all the various electrical connectors. It’s a good thing I have a replacement hall sensor on hand because the old connector literality crumbled in my hands. The connector on the harness side is fine.
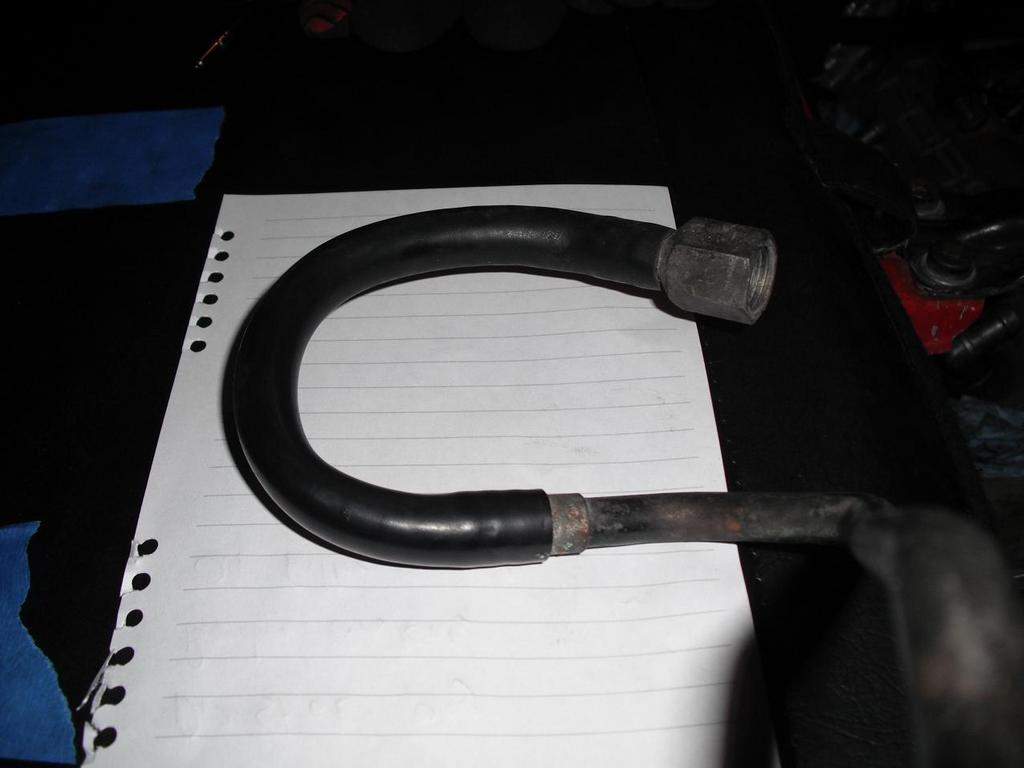
I have all the fuel pieces out now and wanted to start on Roger’s kit. One thing I found peculiar was this rubber to metal junction without a hose clamp. Shouldn’t this have a clamp?
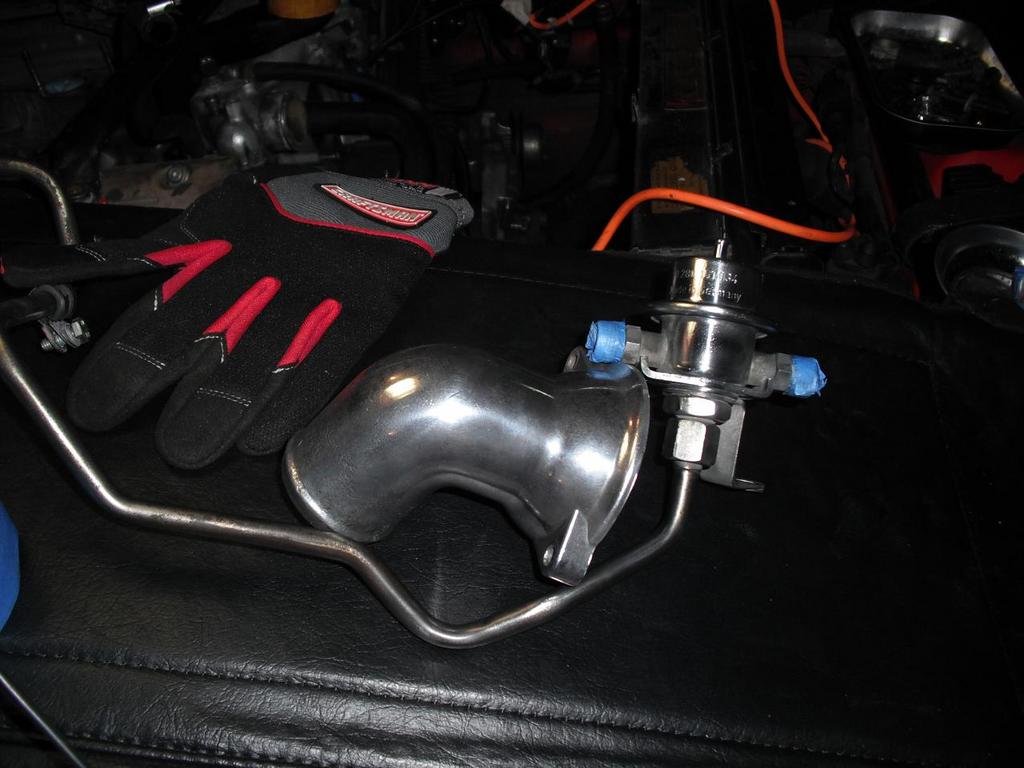
Then I remember my fascination for shiny objects and thought I’d plug up the dirty damper and give it a buff. Check out the before and after pictures with about 10 minutes worth of work.
I have a number of different buffer wheels and Dremel attachments to get into the smaller areas and I’ll clean out the lines real good with carb cleaner and compressed air when I’m done.
After these two quick projects… I see a lot more buffing going on in my future.
I also labeled all the various electrical connectors. It’s a good thing I have a replacement hall sensor on hand because the old connector literality crumbled in my hands. The connector on the harness side is fine.
I have all the fuel pieces out now and wanted to start on Roger’s kit. One thing I found peculiar was this rubber to metal junction without a hose clamp. Shouldn’t this have a clamp?
Then I remember my fascination for shiny objects and thought I’d plug up the dirty damper and give it a buff. Check out the before and after pictures with about 10 minutes worth of work.
I have a number of different buffer wheels and Dremel attachments to get into the smaller areas and I’ll clean out the lines real good with carb cleaner and compressed air when I’m done.
After these two quick projects… I see a lot more buffing going on in my future.
04-27-2010, 10:47 AM
#45
Drifting
Thread Starter
Nothing fancy just HF 6" buffer and and another little buffing kit.
http://www.harborfreight.com/cpi/cta...emnumber=94393
http://www.harborfreight.com/cpi/cta...emnumber=43657
plus 20% off
http://www.harborfreightusa.com/html...mages/20_c.jpg
plus a free flashlight
http://www.harborfreightusa.com/html...es/flash_c.jpg
http://www.harborfreight.com/cpi/cta...emnumber=94393
http://www.harborfreight.com/cpi/cta...emnumber=43657
plus 20% off
http://www.harborfreightusa.com/html...mages/20_c.jpg
plus a free flashlight
http://www.harborfreightusa.com/html...es/flash_c.jpg