When you click on links to various merchants on this site and make a purchase, this can result in this site earning a commission. Affiliate programs and affiliations include, but are not limited to, the eBay Partner Network.
For the longest time I was losing water but couldn't figure out where. There was never a puddle under the car but I could smell coolant. My reservoir had a couple of tiny cracks in the seam between the top and bottom half and also down in the "donut hole". Replacement didn't seem that difficult but I remember thinking what a hard job it would be if I had big hands. I put the new tank into position and then attached the hoses underneath. There is no bolt in the back corner. The tab on the tank just sticks into the back corner bracket. A nice new white tank really dresses up the engine bay if you've already refinished the cam covers and intake manifold.
what does coolant smell like? Like gas? Musty? Stale odour?
So now I know where my water leak is located. Every so often (about once every two months) the "coolant" dash light comes on and I spit in the tank and it goes off. Actually I put about a a pint or so in the tank. Then I'm good to go for another two months. I keep thinking a head gasket is going, but it has been happening for a long time. Guess it's time for a new reservoir. I'll add that to the To Do list, which is already longer than a toilet paper roll.
can I just pop off the reservoir cap and pour in some distilled water? I have an intermittent coolant warning light coming on
can I just pop off the reservoir cap and pour in some distilled water? I have an intermittent coolant warning light coming on
The cap is positioned such that with a small plastic funnel you can add more coolant without it spilling all over the wings.
If in doubt you can place some plastic sheeting to protect against a spill. Always decant from a container that is half empty. Trying to fill from a gallon jug that is full in that position without spillage is difficult
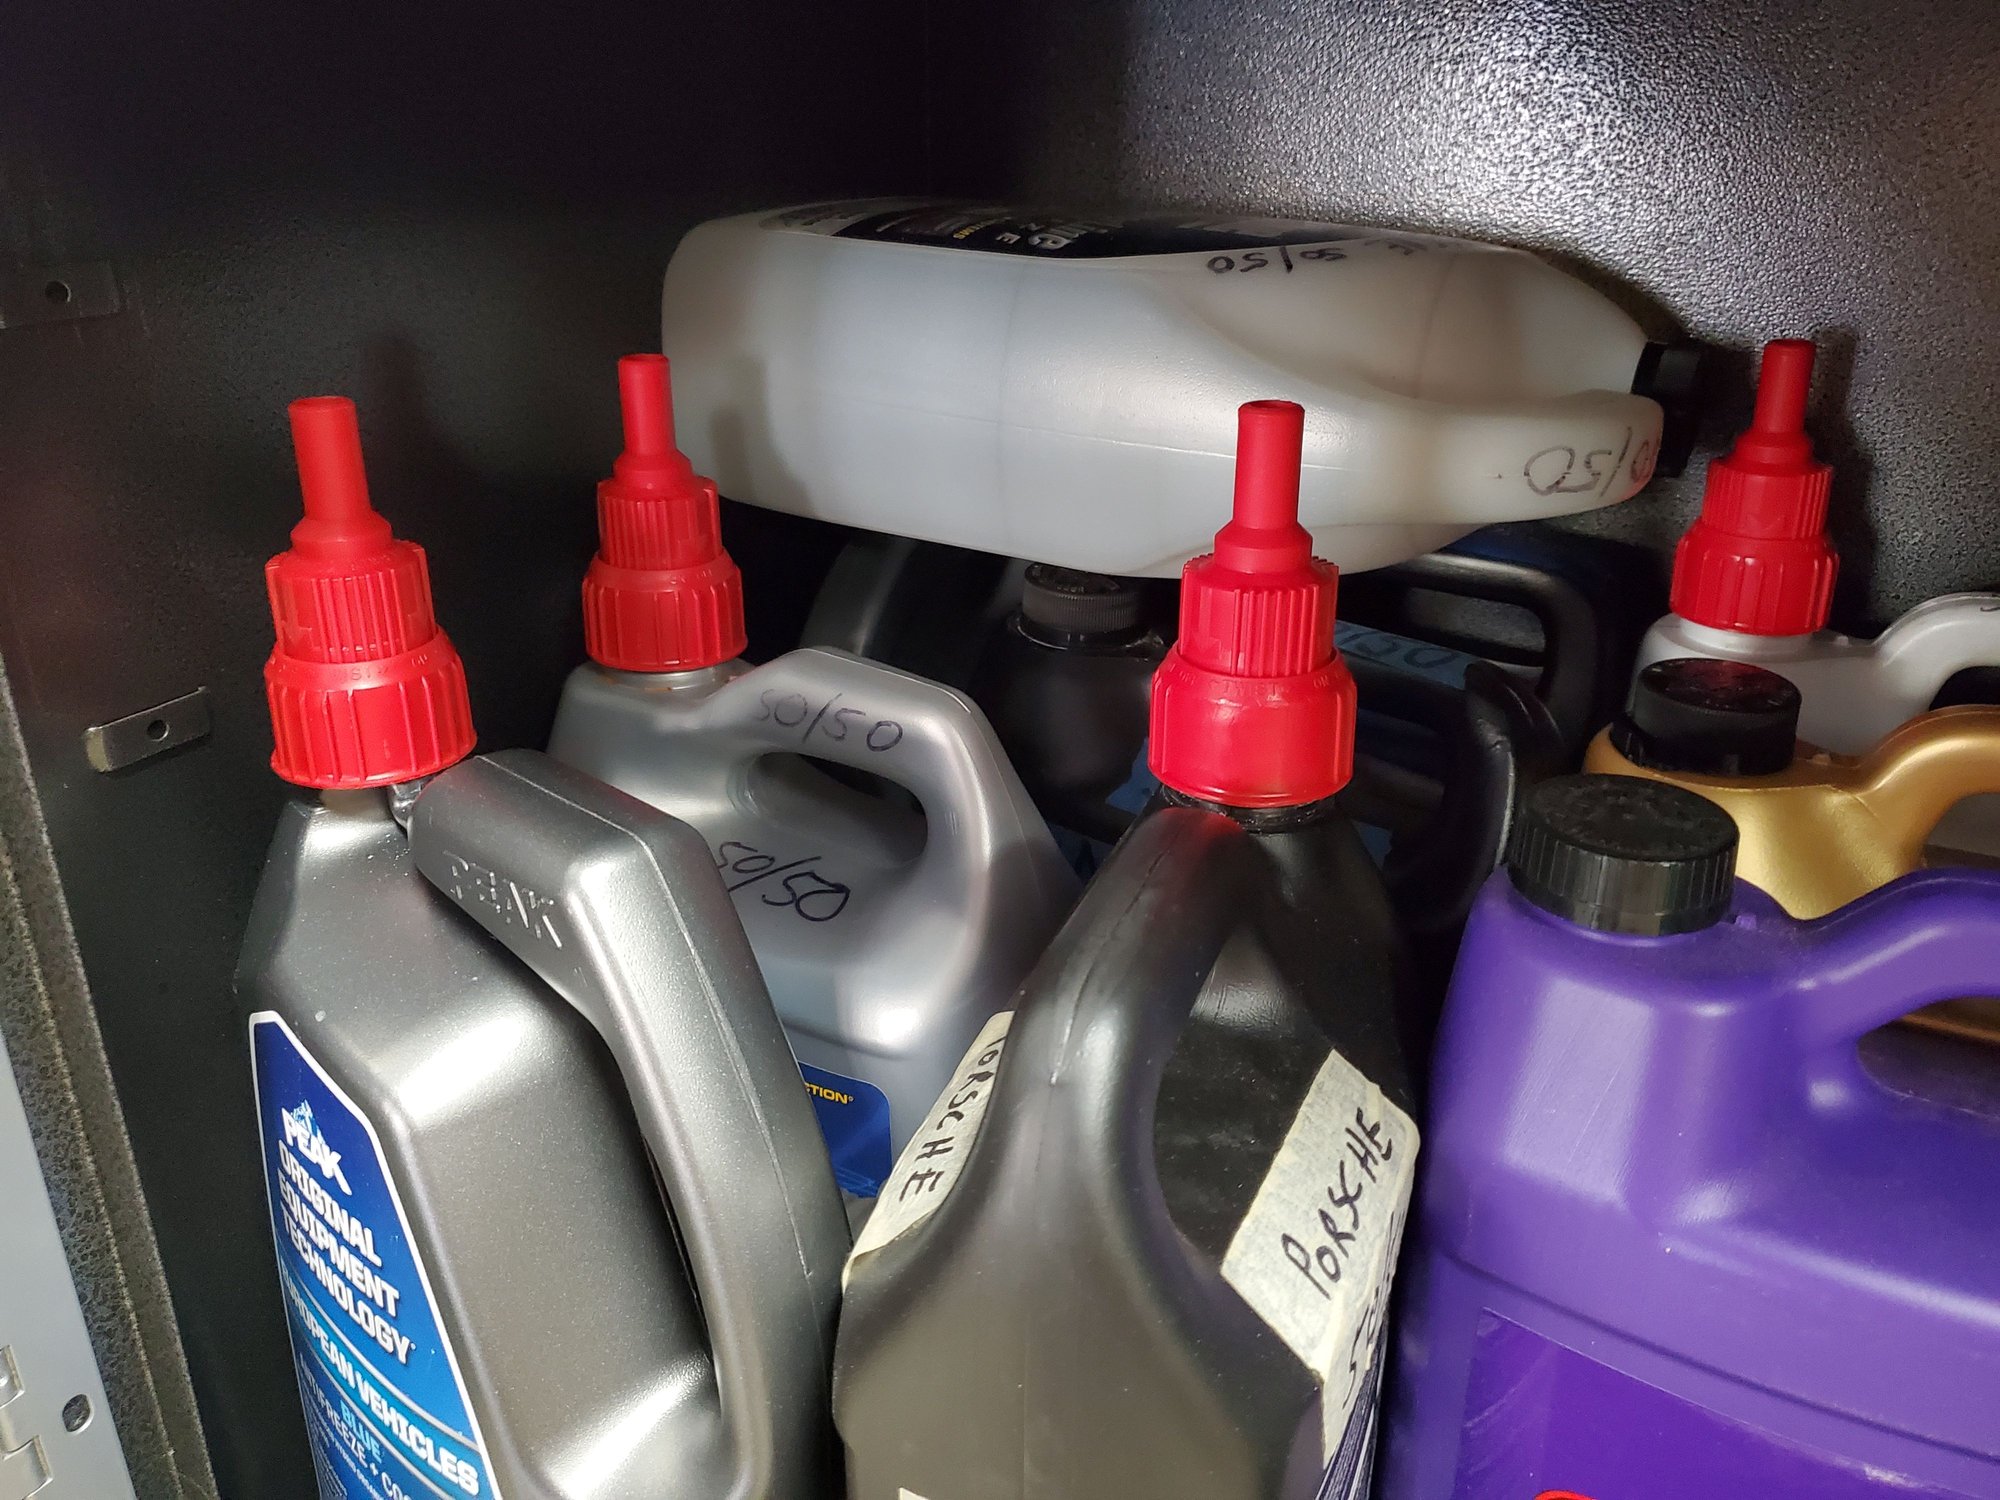
Get these caps from Griots Garage. Flip the bottle upside down, position the nozzle over the hole, then turn the cap to open the flow channel. Twist it back when done and once flipped back over open it and close it one more time to allow air back into the bottle.
Works great for coolant, windshield washer fluid, really anything that comes in those gallon jugs.
About 2 years ago I had a shop do an "intake manifold refresh". Prior to, I did a lot of reading about replacing items and "life out" items.
During that process, I had their tech replace all the fuel and vacuum hoses on top of the motor, all the coolant lines, the heat control valve, and the coolant tank.
I removed my coolant reservoir in about 15 minutes. Less if you deduct tool fetching.
Disconnected the level sensor
Drained the coolant with a fluid pump you can screw on to a liter bottle.
Cut the nipples of the reservoir. It's trash - why try to negotiate to the front screw?
Removed two (lucky for me) screws holding the reservoir
Pulled the reservoir way from the fender and cocked it to get to the bottom hose clamp.
The last of the coolant drains out.
Remove the reservoir.
I removed my coolant reservoir in about 15 minutes. Less if you deduct tool fetching.
Disconnected the level sensor
Drained the coolant with a fluid pump you can screw on to a liter bottle.
Cut the nipples of the reservoir. It's trash - why try to negotia to the front screw?
Removed two (lucky for me) screws holding the reservoir
Pulled the reservoir way from the fender and cocked it to get to the bottom hose clamp.
The last of the coolant drains out.
Remove the reservoir.
It's a bit more difficult if all the screws are there...and you put all the screws back in.
....That's the toughest part.
Of course there are some really trick tools to make this easier...but last time I tried to tell people about trick tools....
Never again!
I literally feel your pain. on my 1980 I can't get to the clamp on the bottom hose with anything other than a scope camera.
I physically can't reach it, and that's after pulling out the filler nozzle for the winshield wipers, cutting the hose that goes to a "T" that also goes to the radiator and removing the screws that are holding the tank in.
I've been going out there for about two hours at a time over the last three days and can't for the life of me figure out how to get to the bottom clamp - AT ALL.
And I thought the master cylinder was hard to get out on these cars.
UGH!
Originally Posted by Nicole
As part of my coolant hose replacement project, I had to remove the coolant reservoir tonight. This looked so easy at first, but there were lots of complications to deal with...
The reserooir is held in place by two bolts - one in front, and one behind. So I thought I'd just disconnect the hoses, remove those bolts, and take out the reservoir. Nooooooooooooooooooooo - not on a shark. It holds on to each little part with his gazillion teeth.
First, the hose from the pressure switch to the reservoir had the clamp installed in a way that no screwdriver in the world could reach the bolt screw. Fortunately, I was able to losen the hose on the pressure switch side.
Then I tried to get the bottom hose off the aluminum Y connector. However, the clamp was again turned in a way that I could not get to it.
I had to remove a vacuum thingie that I have no clue what it's for (one connection goes into wheel well, other to front of engine). That was a challenge in itself, as it was connected to hoses and clamp screws were not easily accessible; then the hoses were baked on. There is no space for leverage, so I had a real hard time getting this thing disconnected and removed. But I managed eventually.
Back to the hose on the Y-connector. Once the clamp was lose, it would not move one bit. IT was "baked" on (or should I say "corroded" on?). THe aluminum shows pretty nasty corrosion at the mating survaces, and I wonder what it might look like inside... scary!
That still did not free the reservoir. No matter how I wiggled and turned it, there was not enough space to move it out. I had to lostn two bolts that hold another vacuum thingie next to the engine. This thingie has more and larger hoses attached than the first one - the last hose goes up to the air filter. I guess it has to do with the air pump. Anyway, once the two bolts were removed, I could push this thing far enough towards the engine to get the tank out. Well, kinda.
There were other things routed between the tank and the hose that used to go to the Y-Connector, so I had to fiddle with those to get the tank around them.
THEN the tank was out. Took me only 2.5 hours... most of it spent wiggling on hoses or trying to figure out how to get leverage.
I inspected the tank, and it looks good overall. It had some crud at the bottom, which I was able to clean out through the filler and sender holes. Still, I wonder, if I should reuse it or just order a new one. It's 17 years old, shows his age through a yellowish coloring, and I'm not sure, if a small white line I see near the top center might be a crack forming.
In the meantime I will work on my heater hoses. Hope I won't have to cut those out, too! In fact, they look so good that I would not replace them, if I did not have them here already. But now I might as well do the whole thing.
I agree with you 100%. I just left a message with 928srus to confirm their tank fits my 1980.
I'll get that *** soon as I can get it out here and probably just end up cutting the tank stem, replacing the hoses and clamps.
This job has already gone on way to long
Thanks for the suggestion.
Originally Posted by Kevin in Atlanta
I removed my coolant reservoir in about 15 minutes. Less if you deduct tool fetching.
Disconnected the level sensor
Drained the coolant with a fluid pump you can screw on to a liter bottle.
Cut the nipples of the reservoir. It's trash - why try to negotiate to the front screw?
Removed two (lucky for me) screws holding the reservoir
Pulled the reservoir way from the fender and cocked it to get to the bottom hose clamp.
The last of the coolant drains out.
Remove the reservoir.

 10-18-2021, 01:33 AM