When you click on links to various merchants on this site and make a purchase, this can result in this site earning a commission. Affiliate programs and affiliations include, but are not limited to, the eBay Partner Network.
suggestion...cut the stips with a bevel so that the topside is wider than the bottom, doesn't expose as much of the edge. there's actually a knife on leather workers supply websites that helps with a good beveled cut
Thanks Kevin. That is probably an excellent suggestion in several respects, but I can see a couple of problems with it. One is that I would have to cut every leather strip twice and perhaps throw away every one inbetween in order to get the bevel cut on both sides of the strip. The other is that I feel like it will produce a much sharper cut edge that will be more susceptible to being pulled away from its position in the weave and getting displaced.
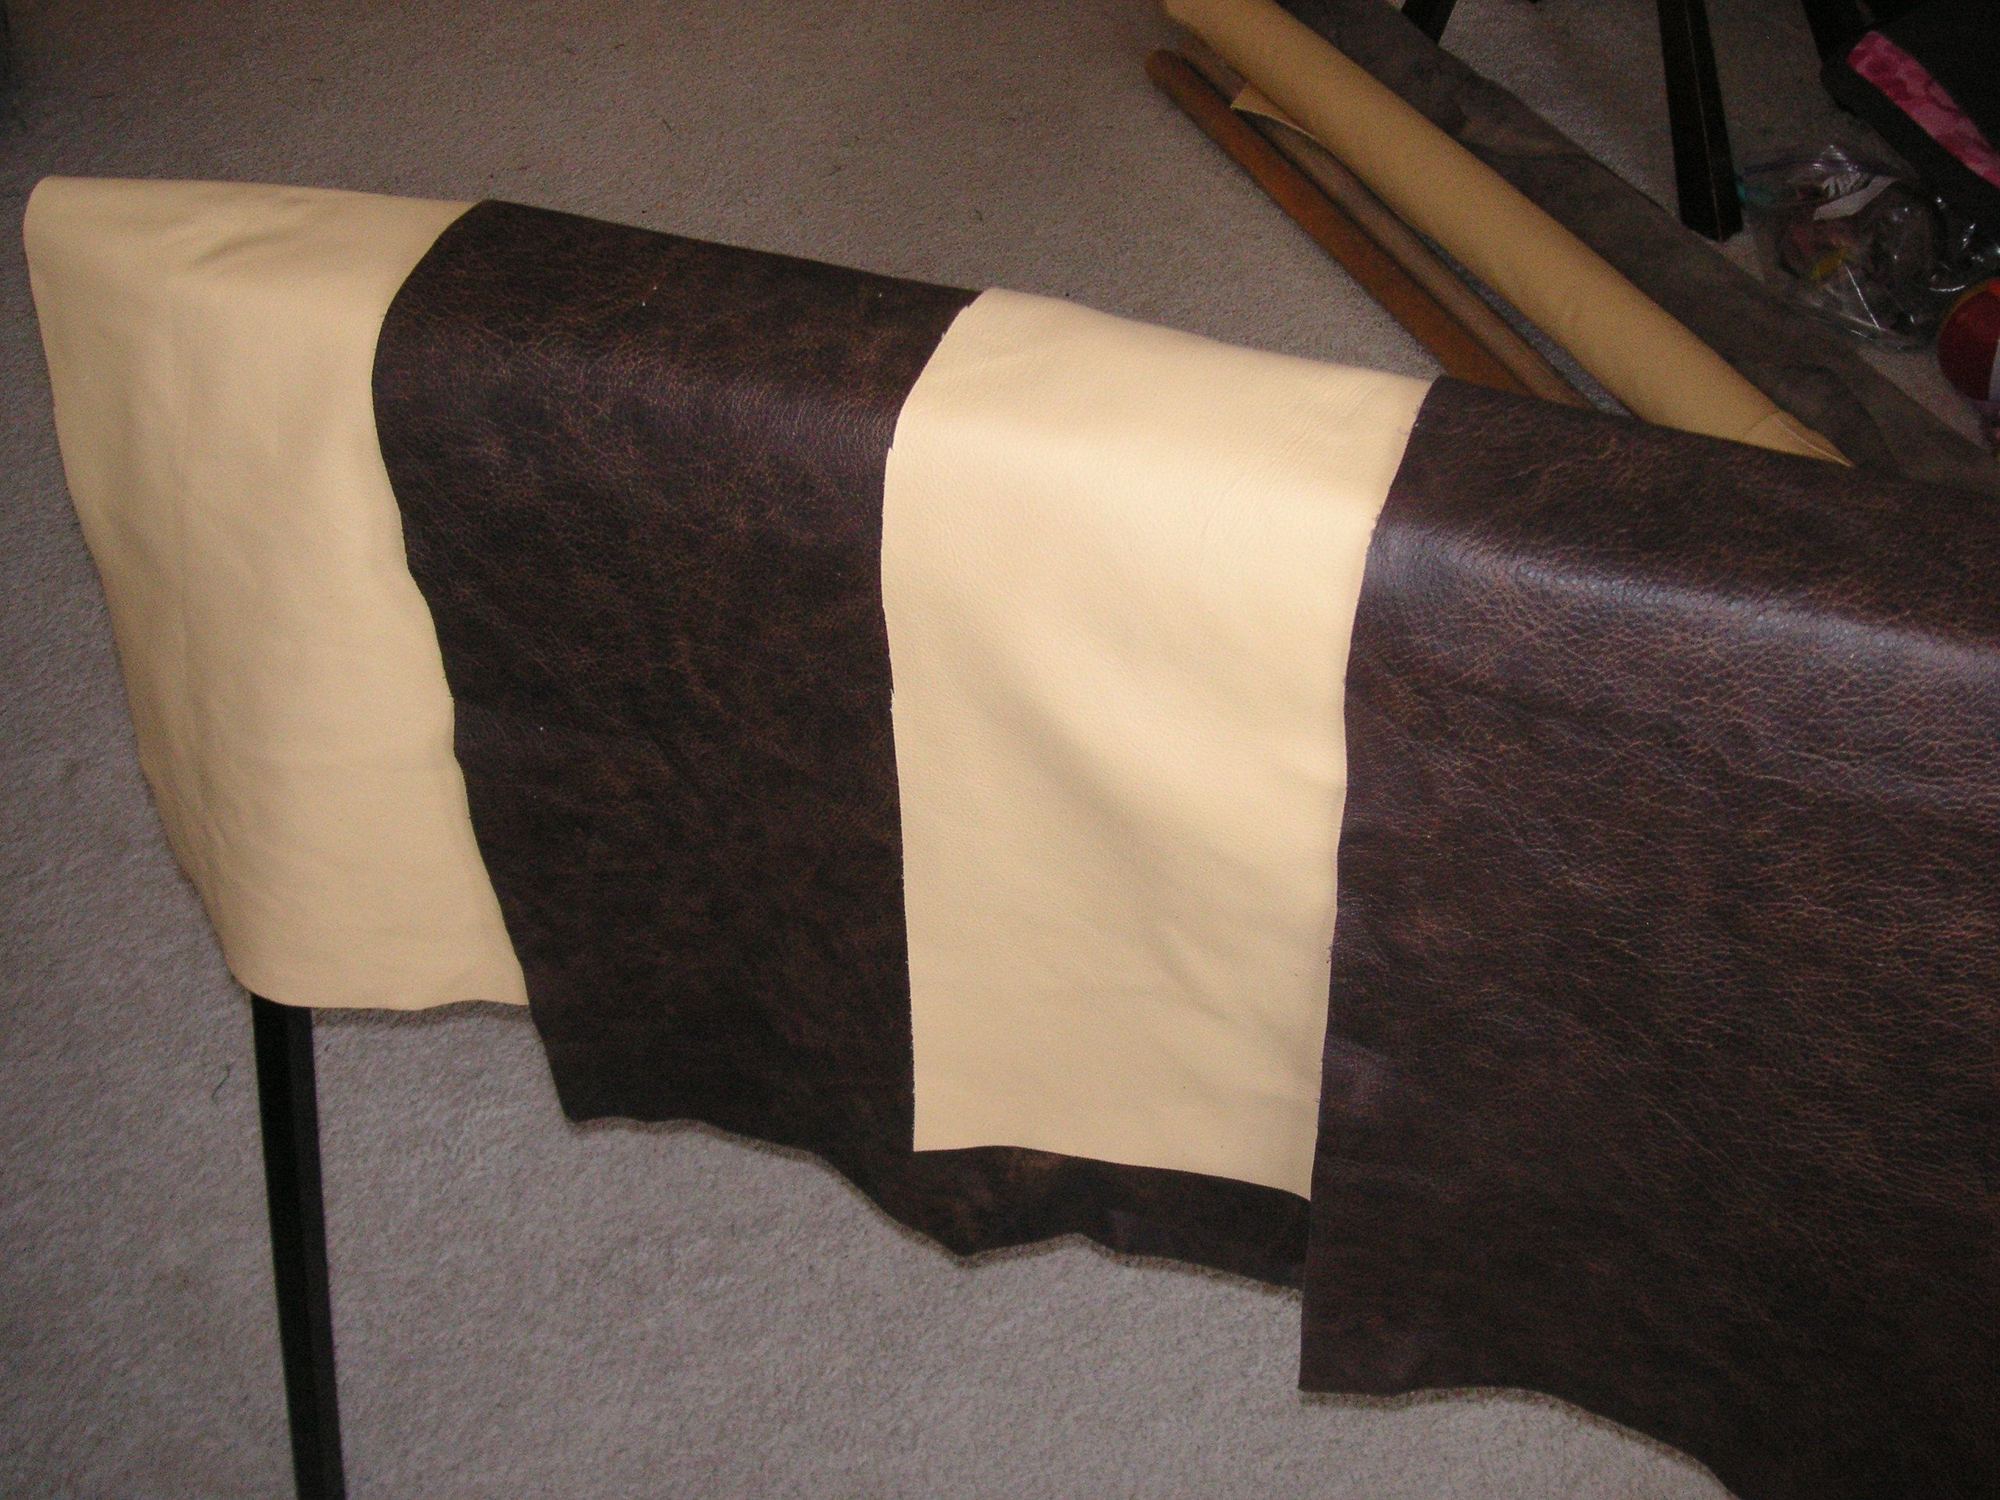
Here are the first pieces of leather cut into blanks to be painted with the contact cement and then cut into strips. This picture shows the leather contrast that I am putting into my Pasha Concept for these 928 Seat Inserts.
I see now that the flash picture has really washed out the color of the light tan hide. It is not quite that light. If you look at the background of the picture you can see the rolls of leather that I cut these pieces off of and the color of the tan hide there is much closer to the actual color of the leather.
Last edited by Jerry Feather; 03-10-2023 at 10:49 AM.
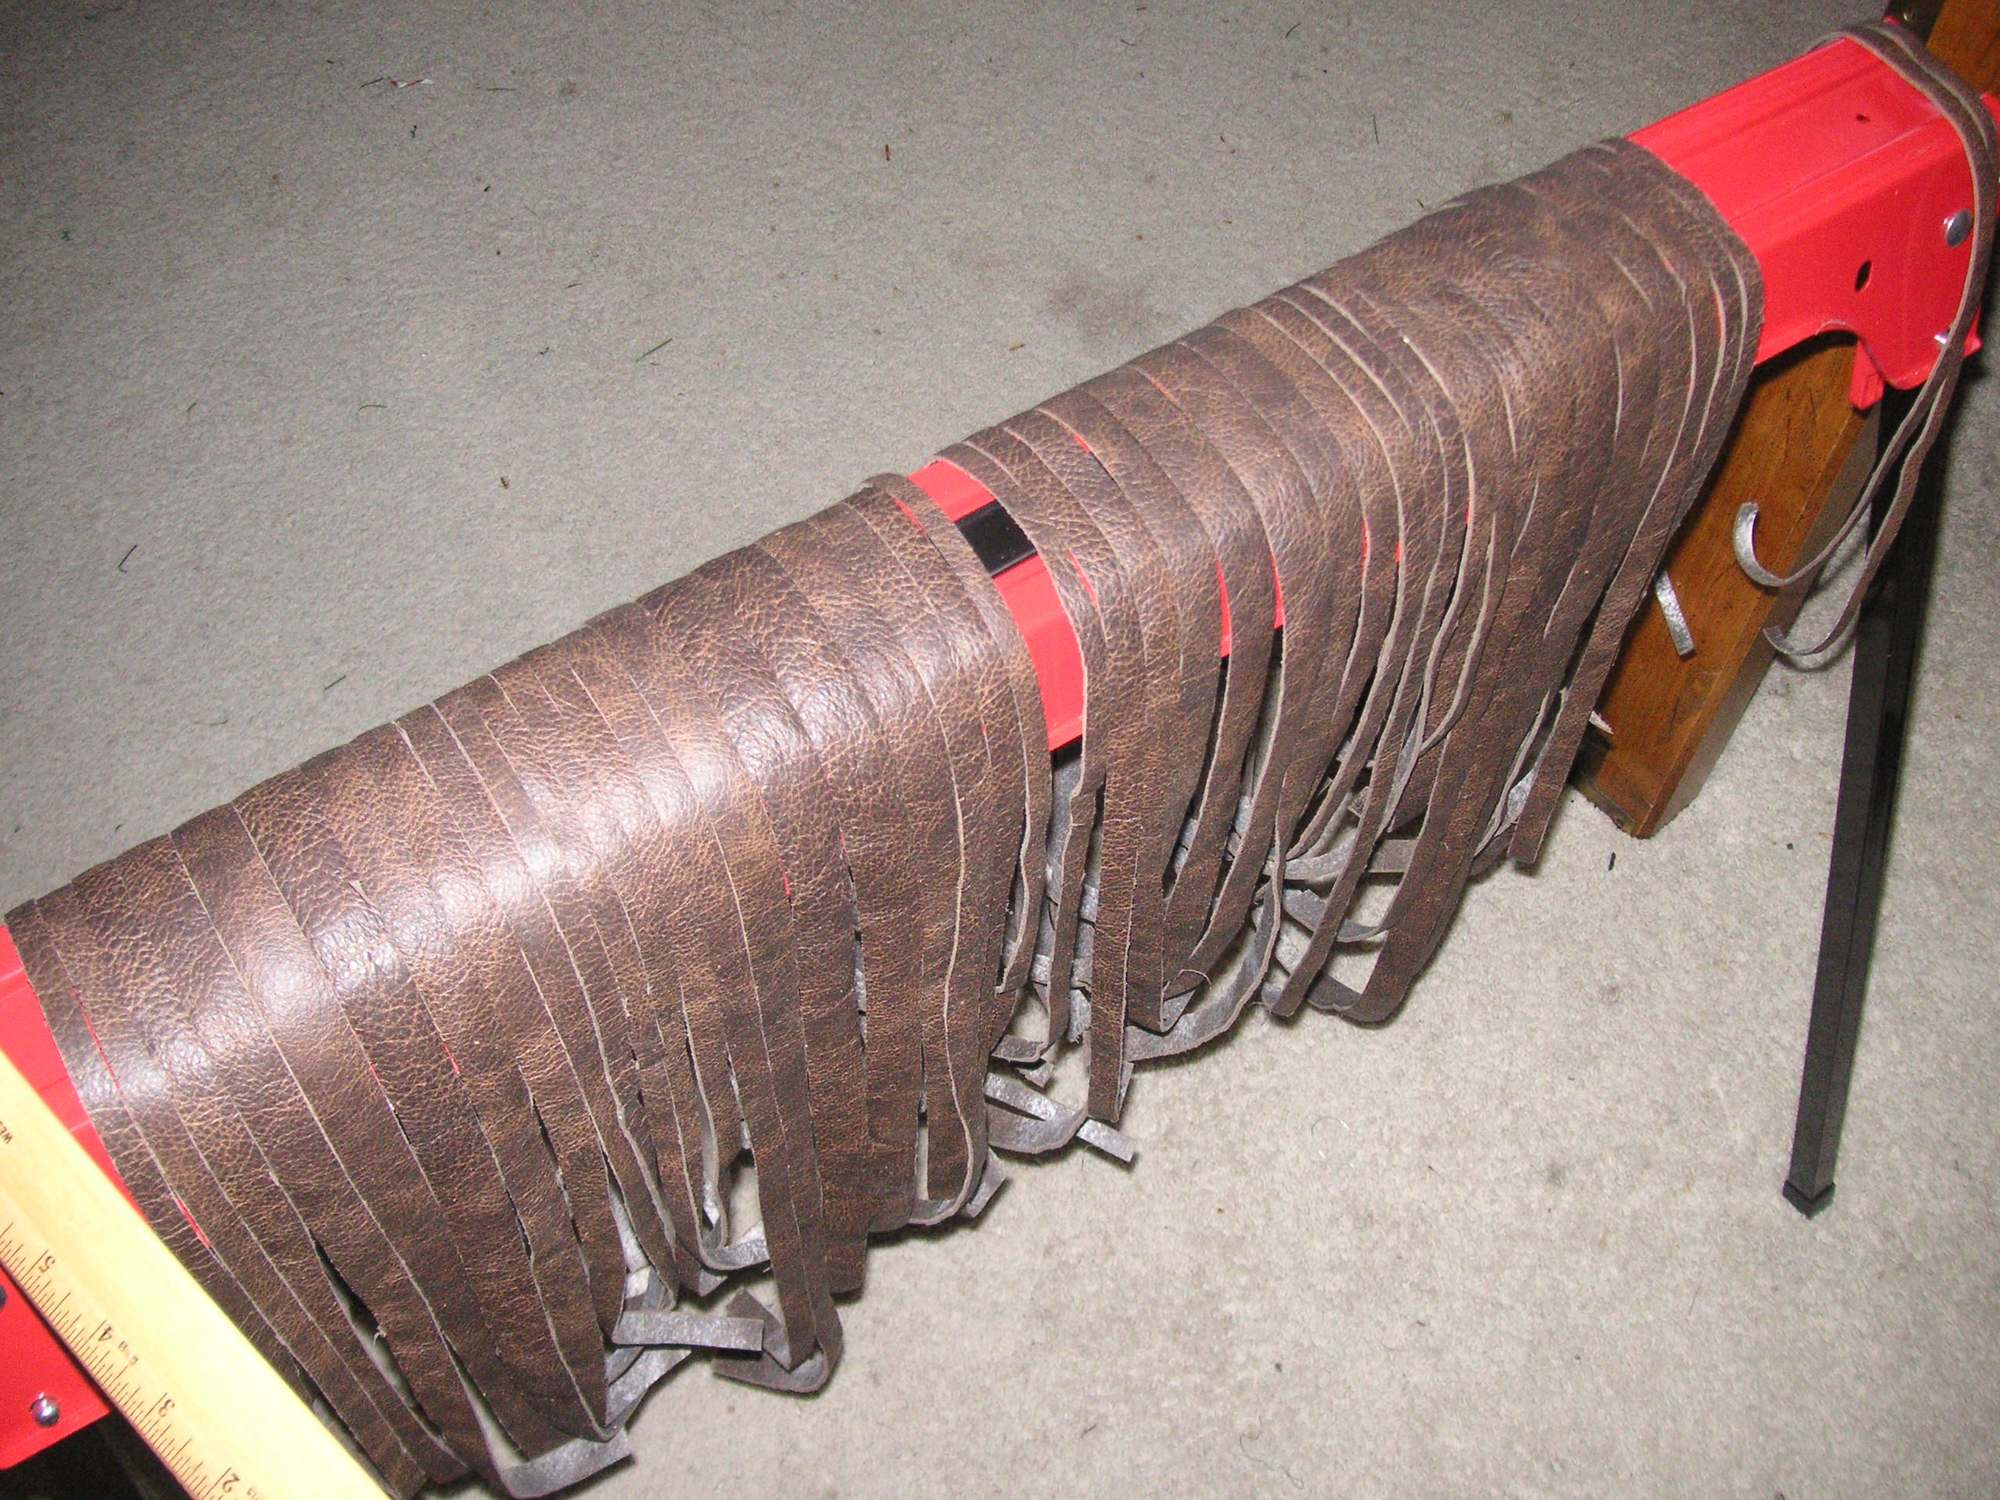
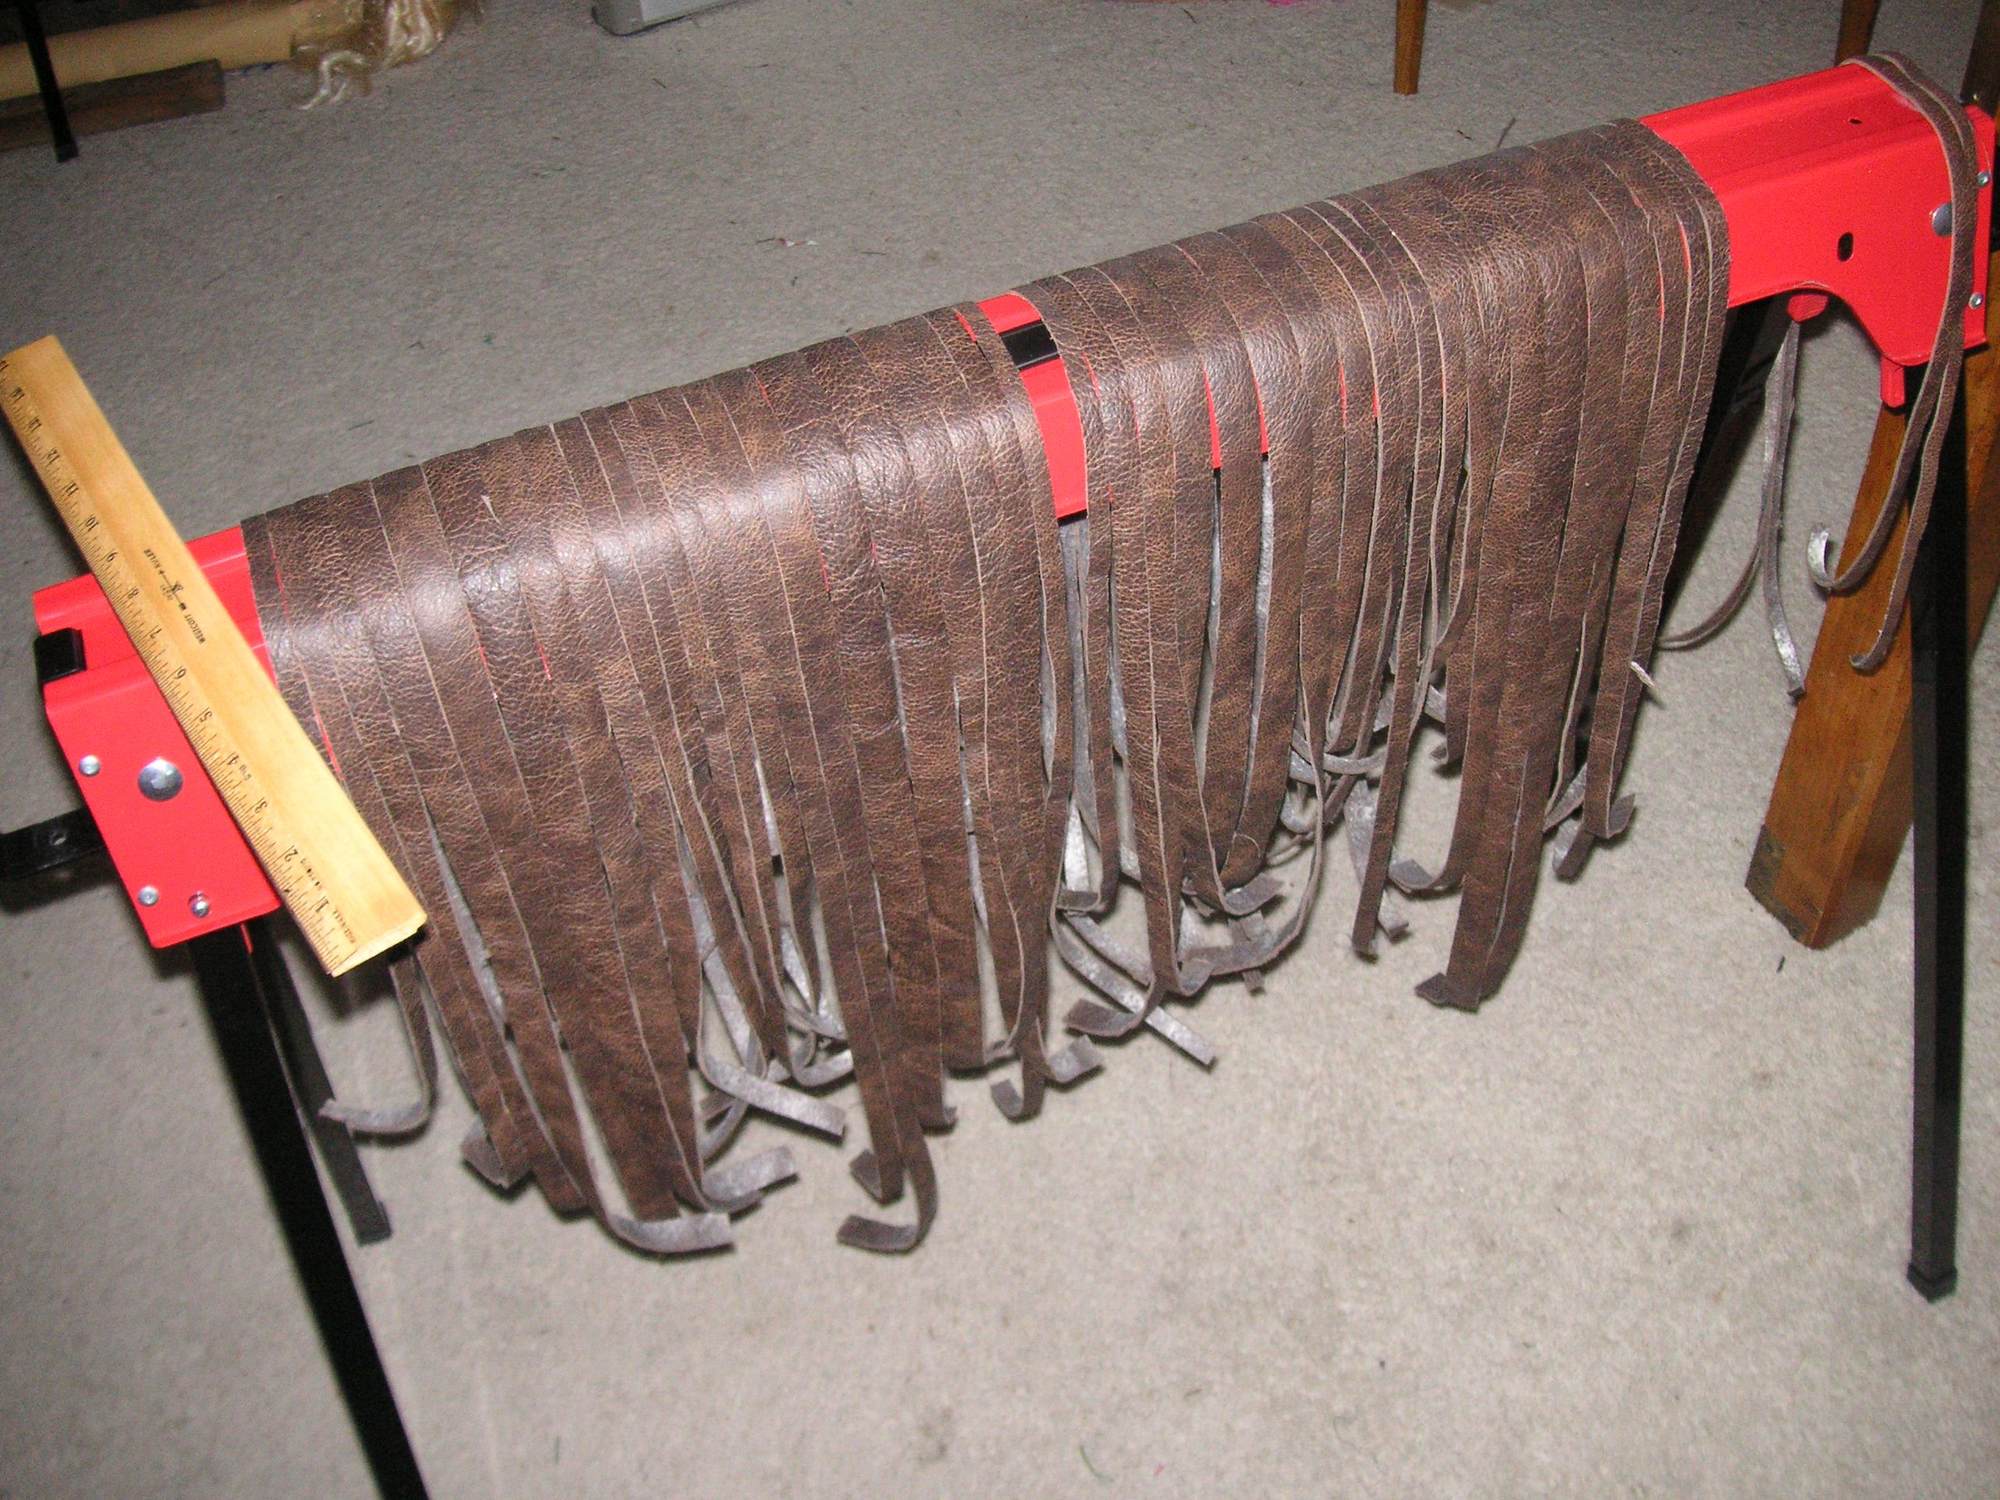
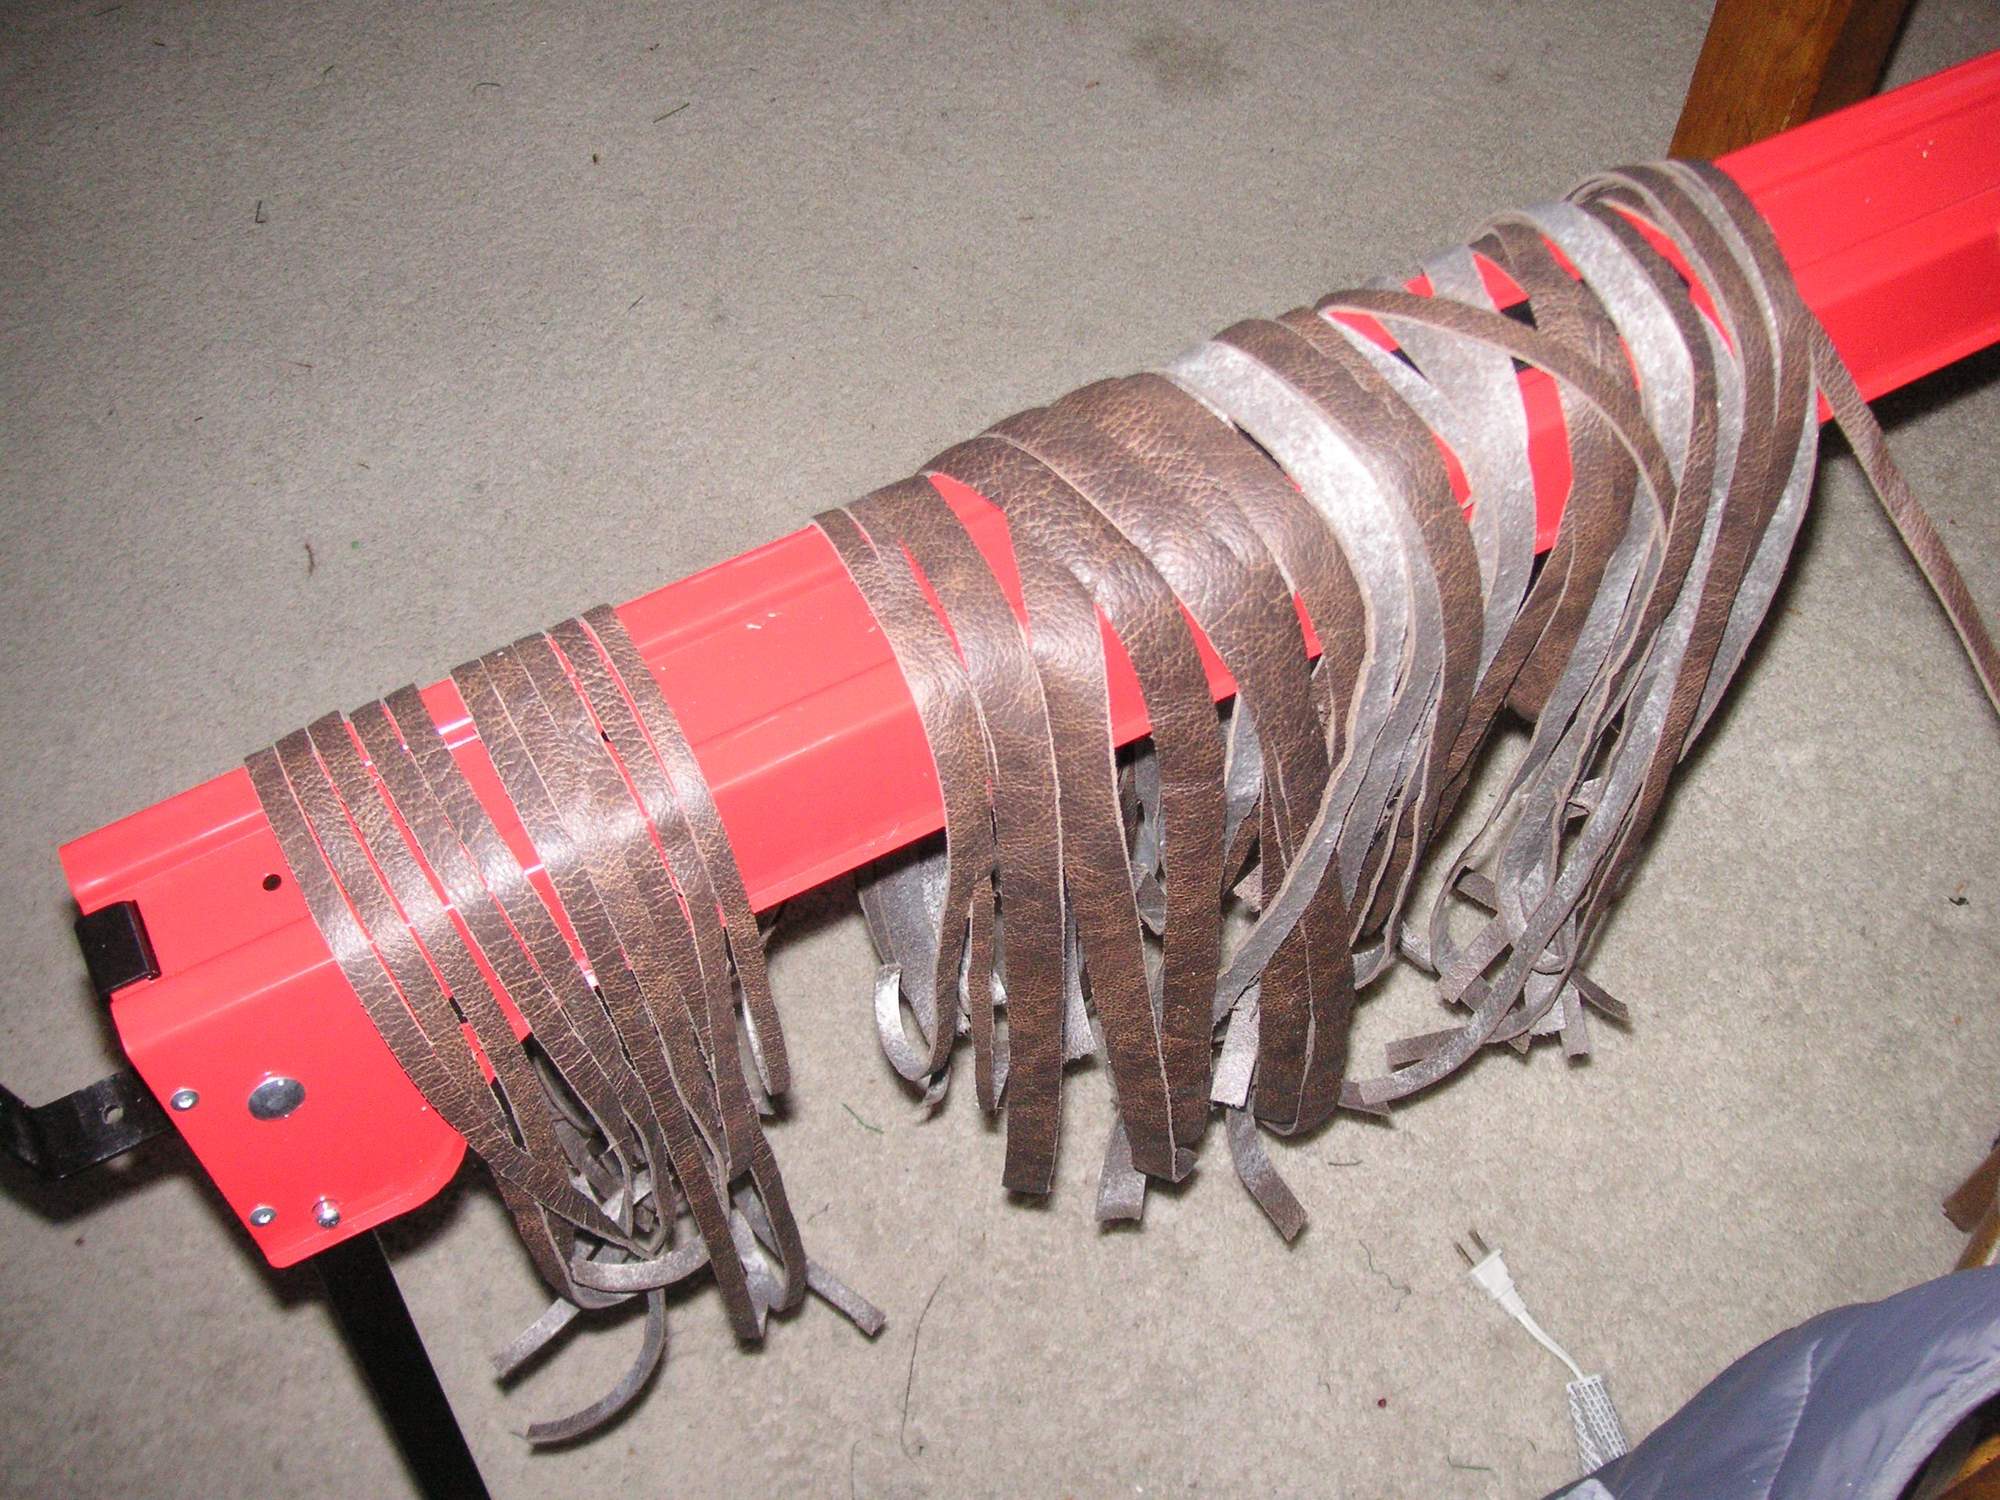
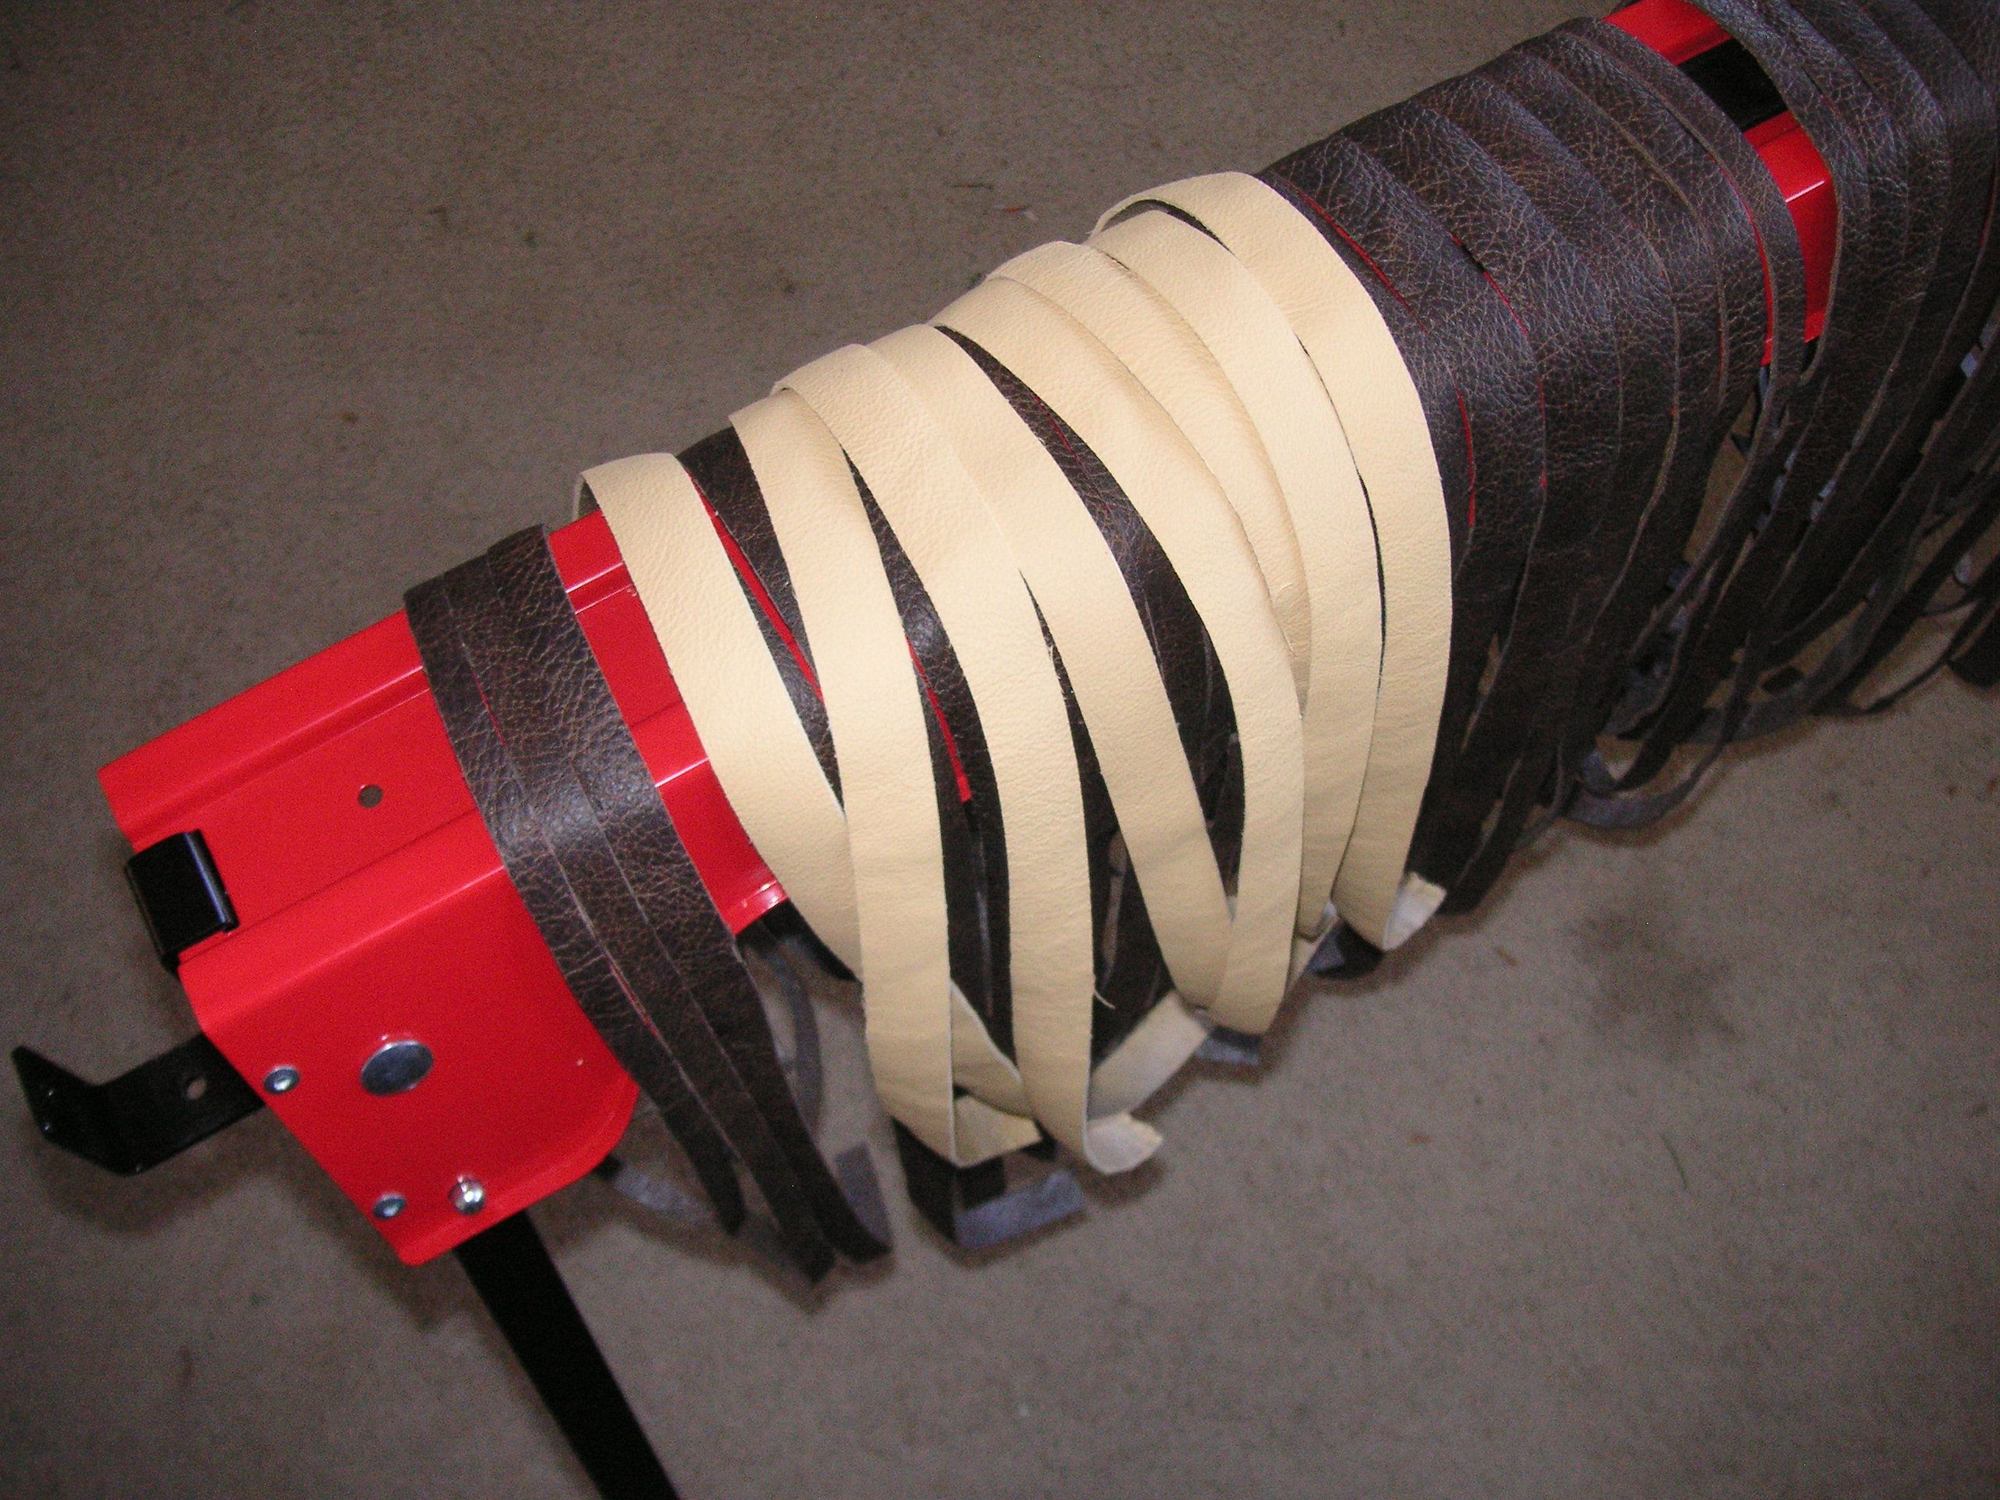
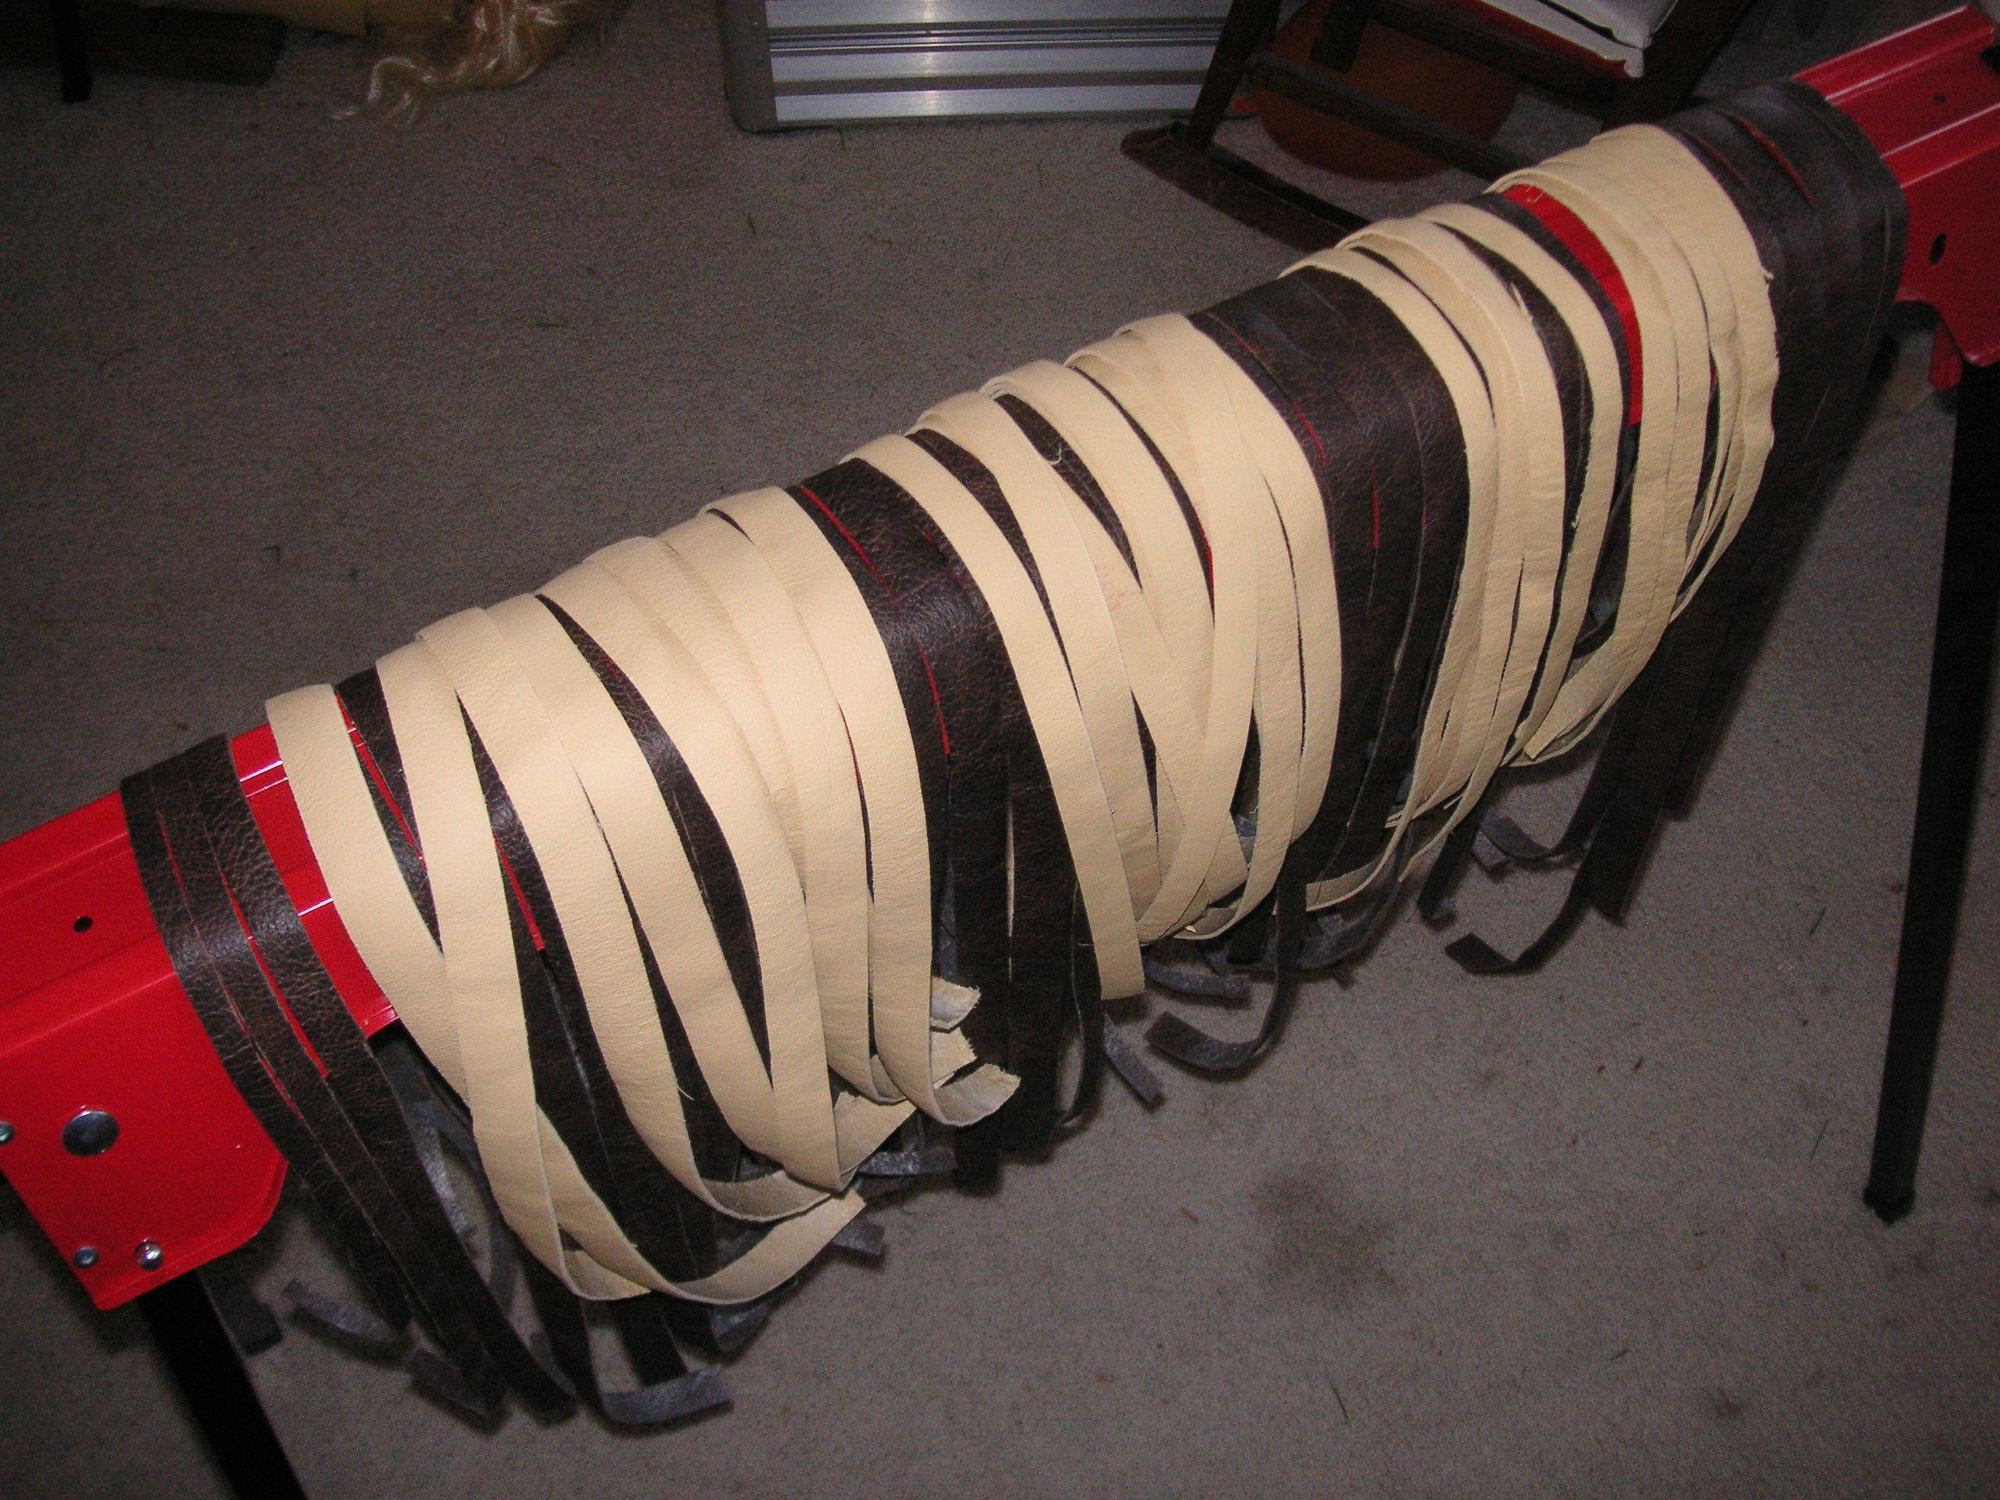
I sprayed the backs of the two darker pieces of leather that I had cut out and after that dried I put the cutting board setup into action and cut both of them into the necessary strips. That went just about how I had expected. Here are the strips. I have them oriendted in their correct locations in one or two of the pictures. I have a couple of extra strips, so as soon as I can locate my late wife's iron I'm going to see if I can heat them up and glue them together without having glue on both surfaces.
Petza, I want you to know that your suggestion about the circular cutter was right on. It works just great. The blade does not dull with quite a bit of use and it leaves not even a scratch in the plastic cutting board. Thanks again.
I'm going out shortly and cut the other two pieces of leather and to replace a couple of the strips I did yesterday that I have boogers in, and I'll take my camera and show the cutting process.
Last edited by Jerry Feather; 02-19-2023 at 12:04 PM.
Petza, I want you to know that your suggestion about the circular cutter was right on. It works just great. The blade does not dull with quite a bit of use and it leaves not even a scratch in the plastic cutting board. Thanks again.
I'm going out shortly and cut the other two pieces of leather and to replace a couple of the strips I did yesterday that I have boogers in, and I'll take my camera and show the cutting process.
Jerry, that's awesome. Glad it's working for you. Cool project.
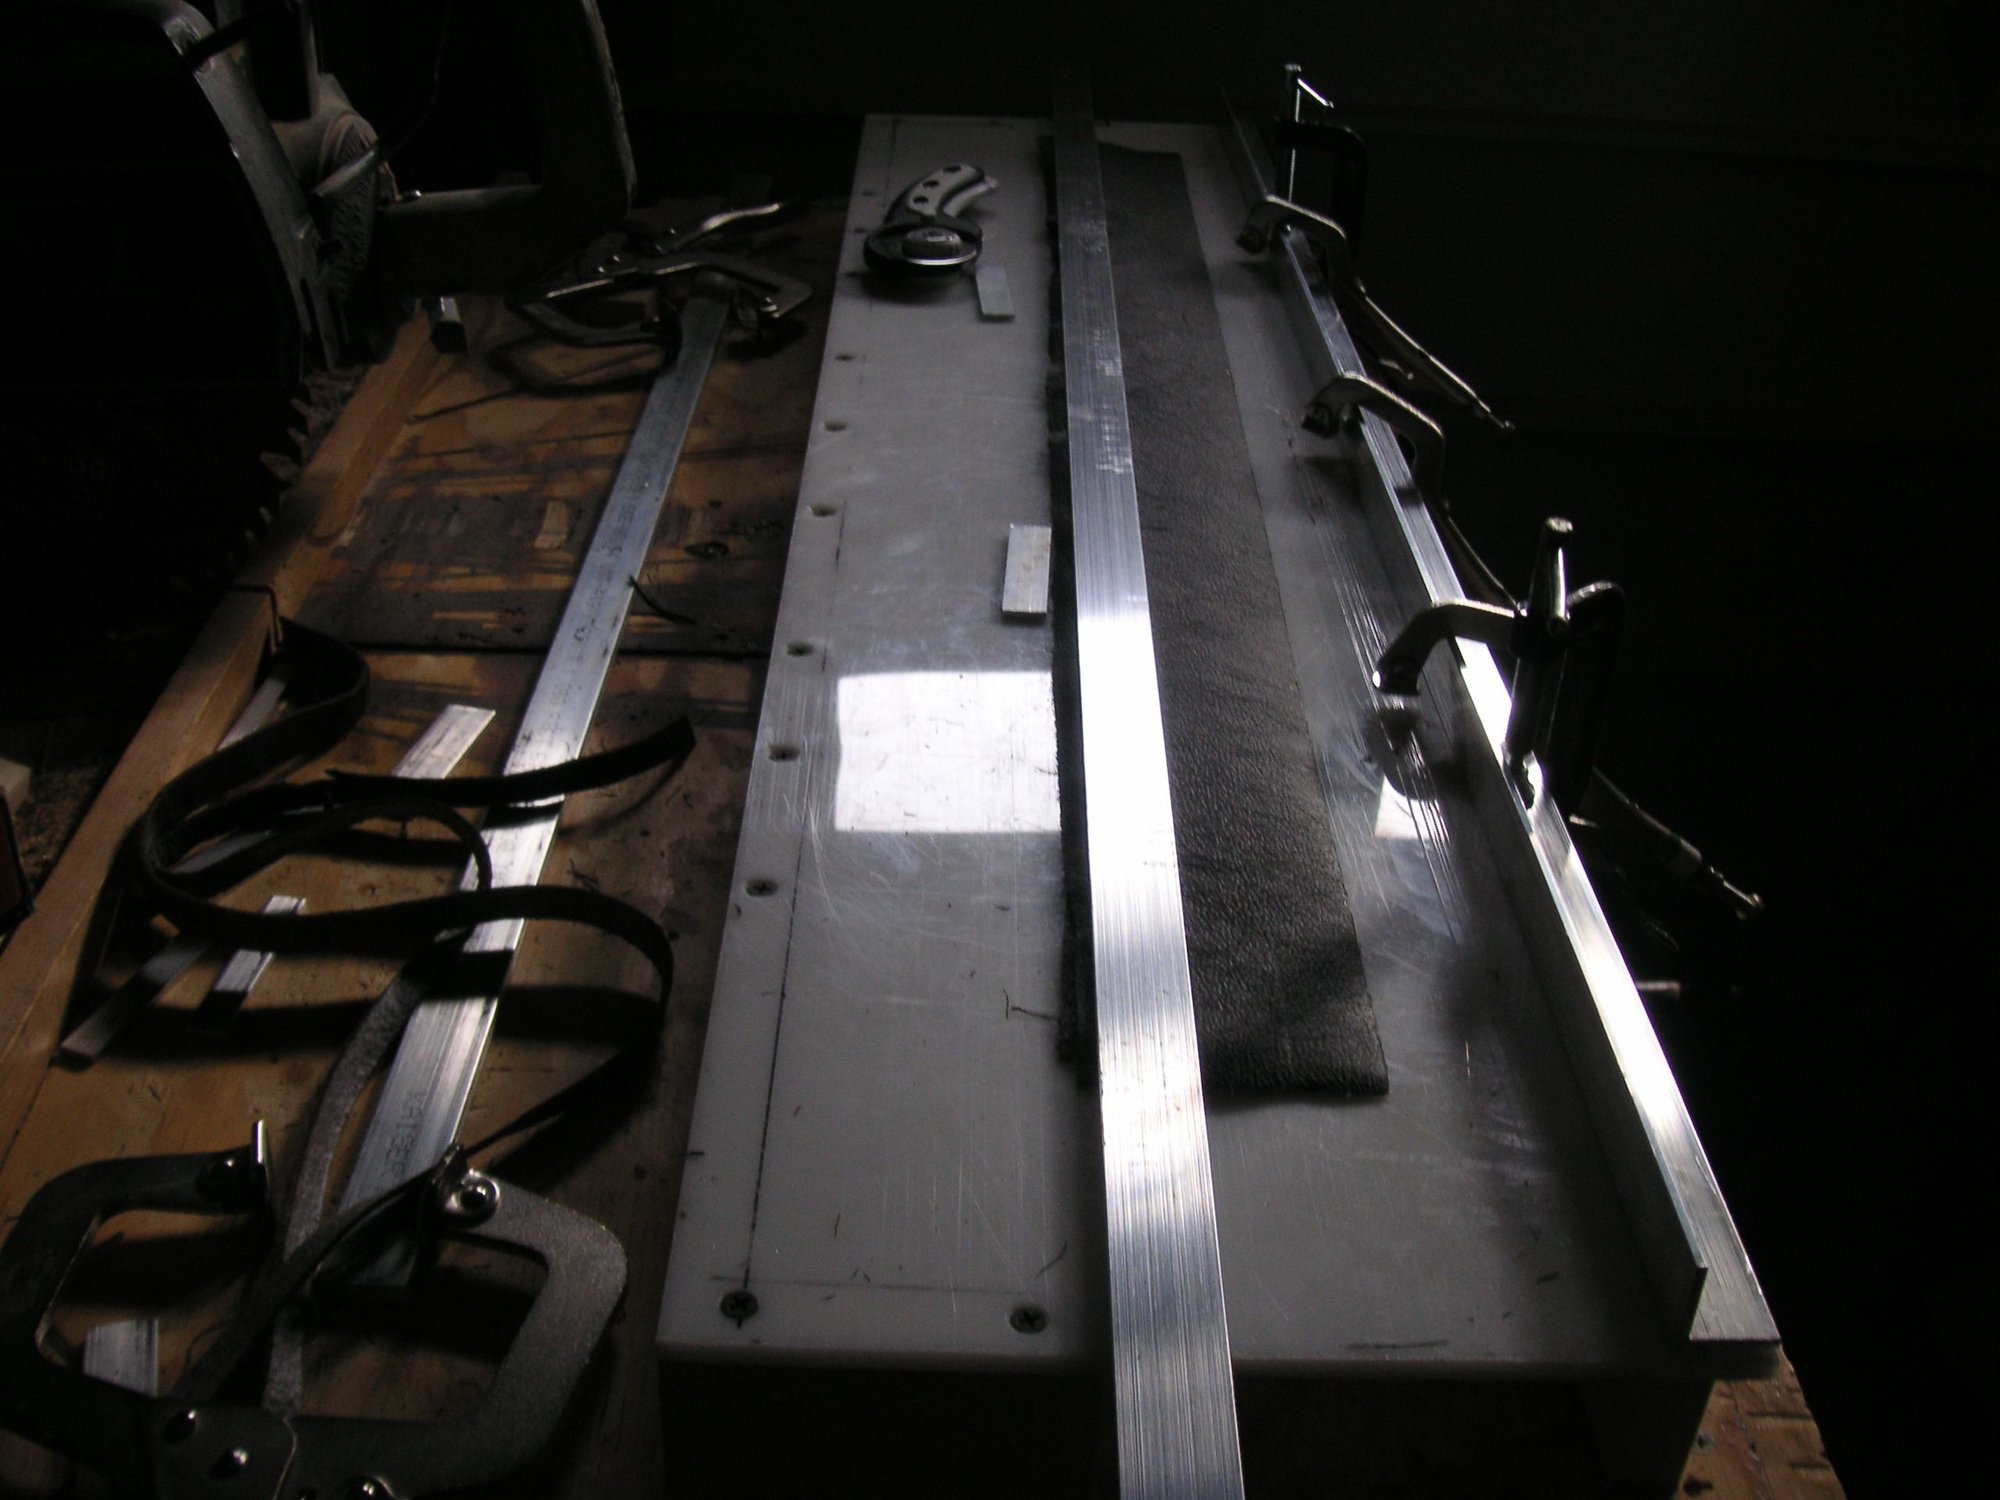
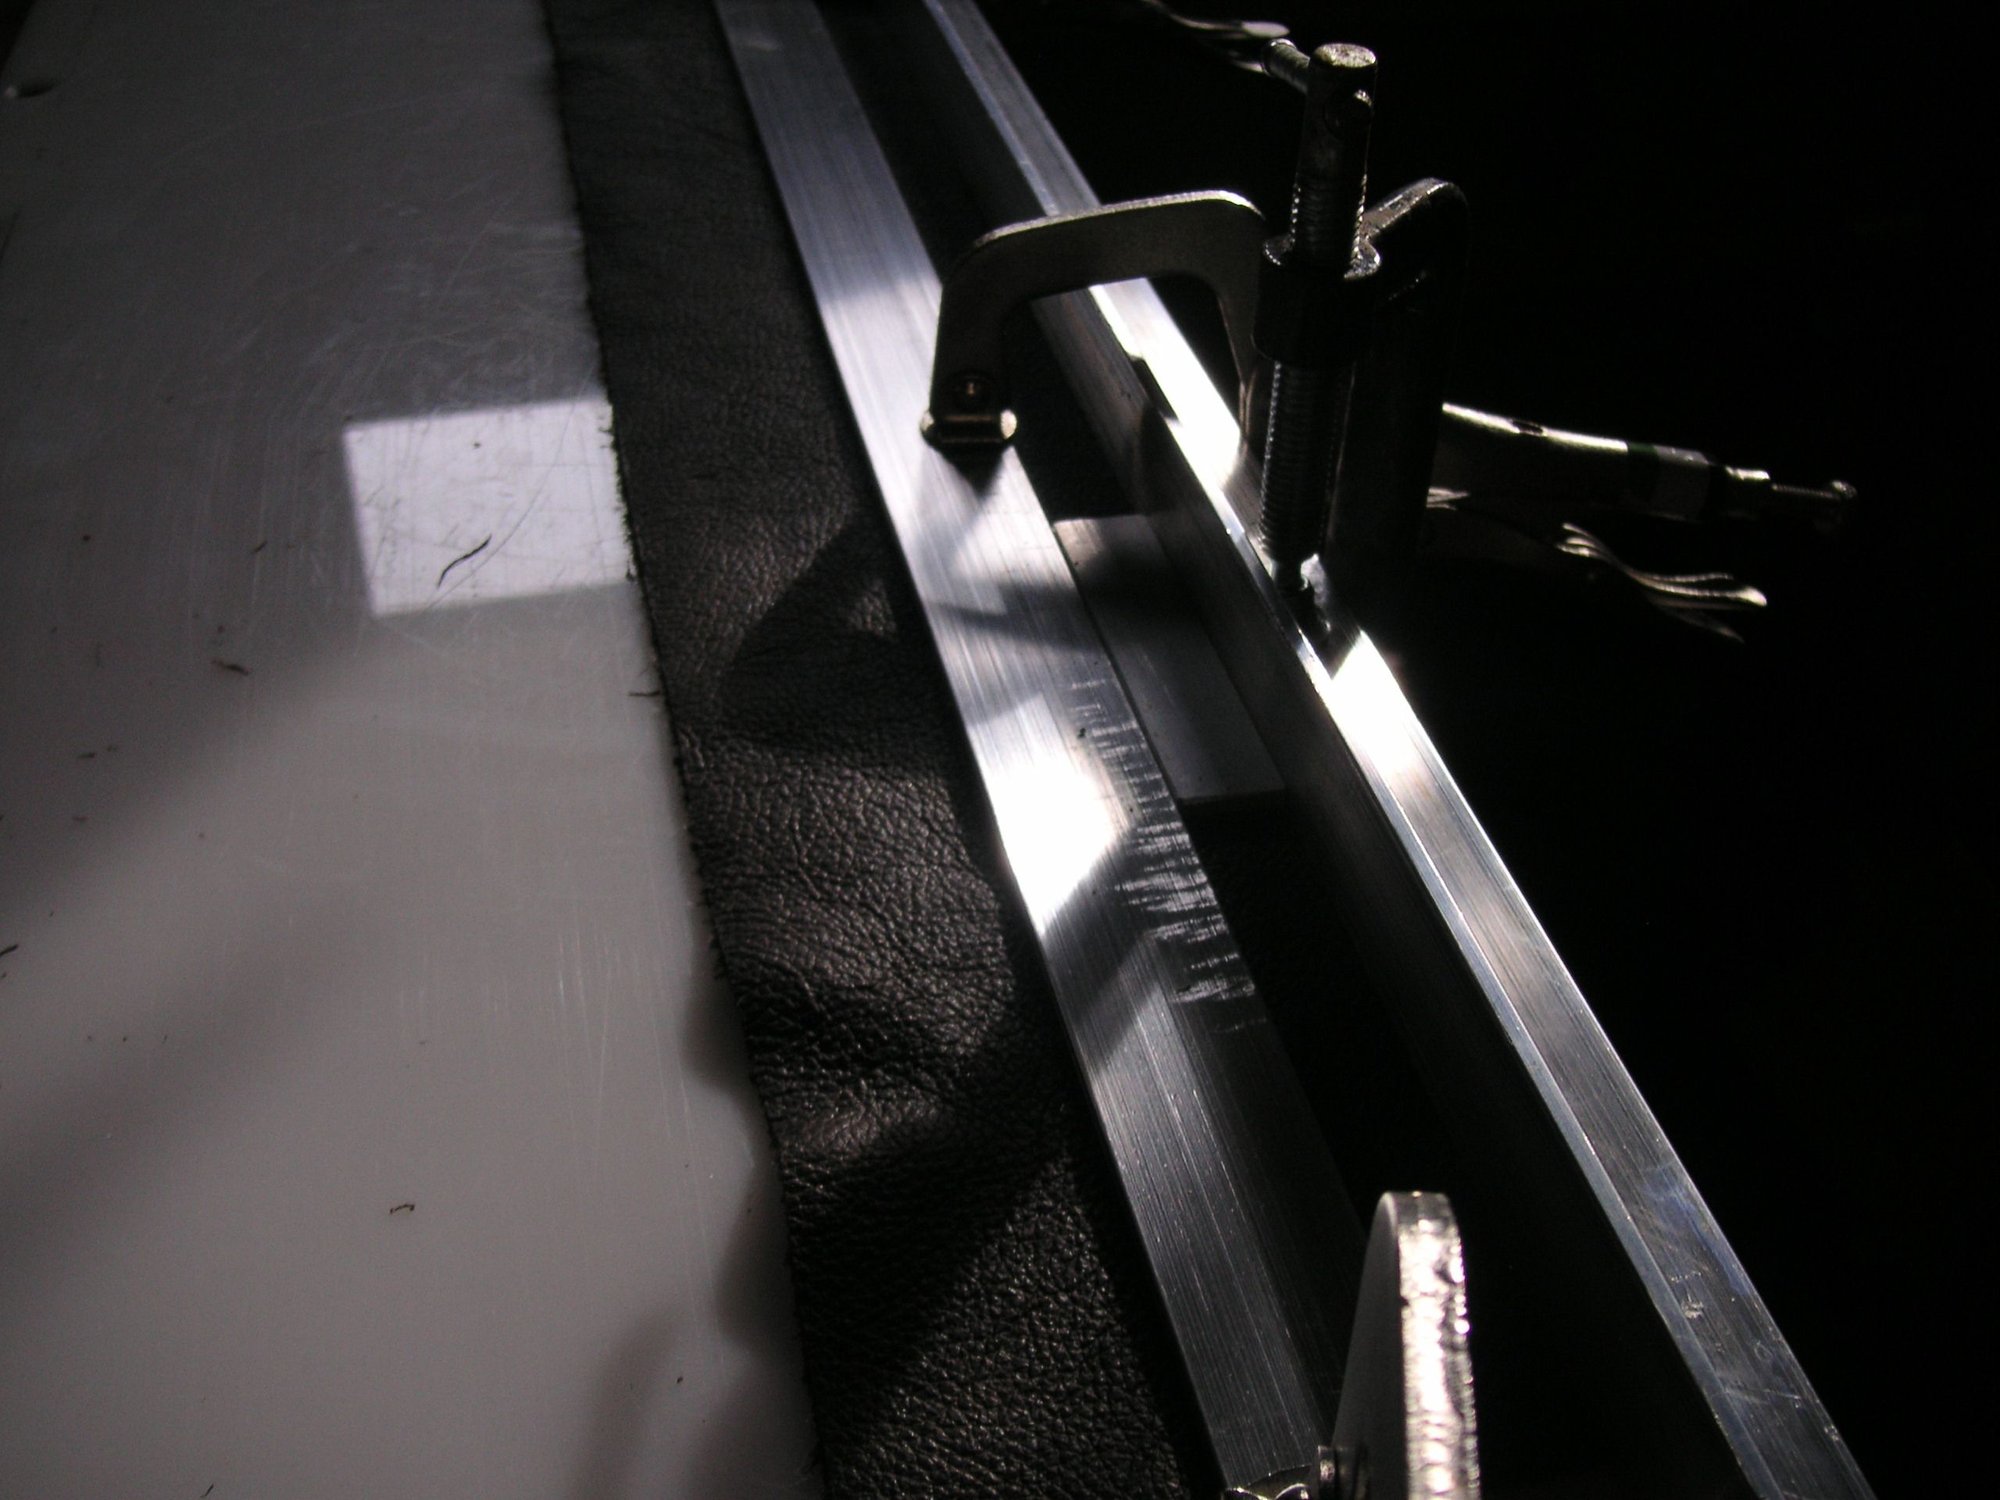
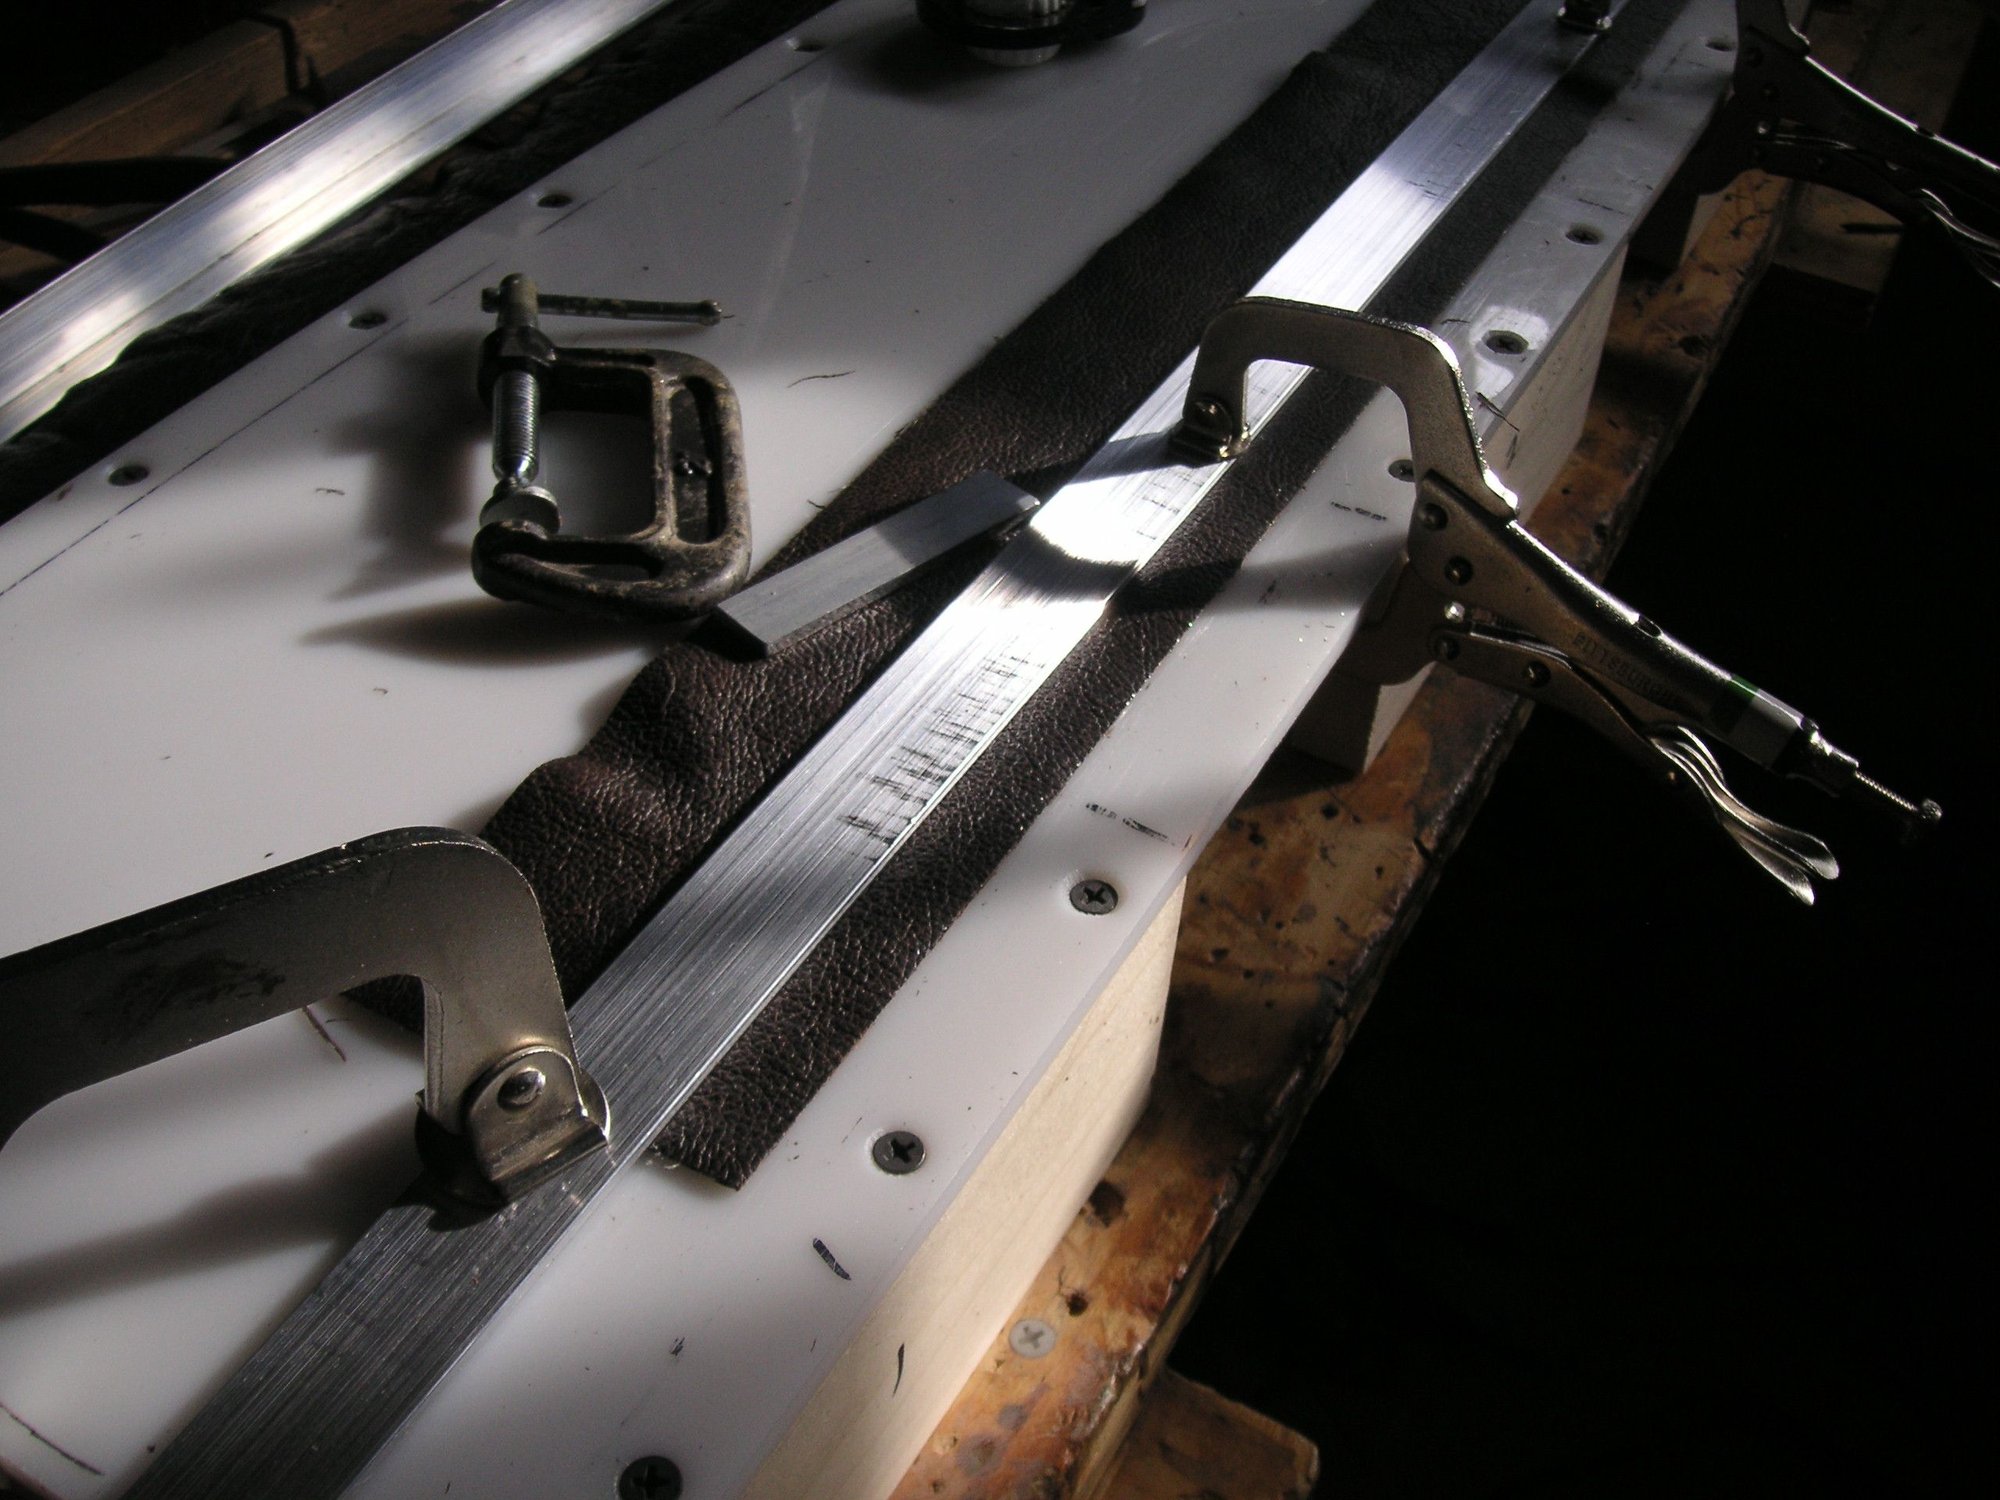
Here is the cutting process. First I fix the guide fense onto the board and then place the leather up next to it very carefully because that is how the strips will be straight. Then I put the guide blocks onto the leather next to the fense. Next I place the cutting guide bar on the leather up next to the guide blocks; then clamp it down onto the leather. Next I remove the guide fense put there at first. With the edge of the leather exposed and held down by the cutting guide bar I simply cut the leather along the bar with the circular cutter. I cut through two layers of leather, but in the pictures that follow there is only one layer.. I have to move each clamp for the guide bar from the far side of the opening under the board to the other side as I cut up to it then moving it back past the cut and then cut to the next clamp. It all takes a bit of effort, but when I get in the swing of it it actually goes pretty fast. Here are the pictures which I hope will come in sequence. The last ones did not for some reason.
Last edited by Jerry Feather; 02-19-2023 at 01:25 PM.
Terrific thread and great job. I was wondering if you considered applying a fabric backer with adhesive for added stability?
Hi Mike. Thanks for your interest. The answer is yes. I might have posted something about it above, but I have obtained some backing kind of fabric, although it is not actually woven. It is called sew-on backing. I saw them using it to back up machine embroidery on leather. I had that in mind even before Greg and I expressed some thoughts and findings about problems with woven leather in a Porsche seat.
The process is going to be something like this: I have the leather all now sprayed with heat activated contact cement on the raw side. I sprayed it pretty heavy because it says to spray both surfaces with it, but I can't spray the front of the leather. I haven't yet tested it to see if I can activate it with heat and get it to stick from the coated surface to the uncoated surface. When the strips are all woven the underside of all of it will be coated with cement and then I'll lay over the back of it the backing fabric and iron it all together, even if I have to iron some of it from the front. I'm hoping that the backing will adhere without itself being sprayed with the cement mainly because the cement is over $80 a quart and for just these current four pieces of leather I have sprayed I have used about a pint. I'm hoping that the last pint will get me through the next four pieces of leather for the seat bottoms.
So, not only will the backing add some stabiliity, but if the cement works between the strips of leather as I hope that will probably permanently stabilize the whole woven mess.
Last edited by Jerry Feather; 02-19-2023 at 08:58 PM.
Here is a small start on the tan strips. It took me about 20 minutes to cut these 8 strips. I decided to cut them one at a time rather than two as before, but I was not real comfortable about the fine accuracy in the darker strips, although I think any inaccuracy cannot be seen. I have 45 more strips to cut for the tan side of this Pasha pattern. I'll work on that some more a bit later.
Then I have to sort out something about my idea to staple these strips simply to the loom frame. I need a fairly narrow staple and I want some pretty shallow staples, such as 5/32 or 3/16 inch. I would prefer a staple with about a quarter inch crown, but so far I haven't found one. I have an older gun with about a 5/16 inch crown, but I haven't found any staples for it, and it is in the shop to see if it can be rebuilt. The next choice will be a 3/8 crown stapler and about 1/4 inch long staples. I do have a 7/16 inch stapler and some staples that are called out at 1/4 long but which are in fact a bit shorter than that. That may be where I at least start out and probably will end up.
Last edited by Jerry Feather; 02-22-2023 at 10:01 AM.
Here are another 20 strips. Now I have only 25 to go. It took me about 50 minutes to cut these 20. I think I might do some of these over in a little better leather in the other blank I cut out.
Last edited by Jerry Feather; 02-19-2023 at 08:26 PM.
I got a few more strips cut today. and may get the rest of them later this evening. I am getting very excited to start the weaving of these strips. I have about 15 more to cut.
Right now the one other thing that is holding me back is the method to staple the strips to the wooden loom. I want to do minimal damage to the loom and also have to fairly easly remove the staples when the weaving is done. The staple machines I now have appears to me to be fairly harsh in respect to the need. I may be stuck with it, or them, and then maybe I will need to do some repair to the loom if any further need comes into being..
Last edited by Jerry Feather; 02-21-2023 at 10:01 AM.
I think I have the situation figured out about how to staple the strips of leather to the loom. I have looked all over the world for a staple gun that is set up for the tiny staples that I want to use, but without success. Then when I found the phrase "mini staples" on the two boxes of staples I want to use and went online to find such a stapler I was directed to the other extreme and to some mini staplers that are simply run by hand, no air or electricity required. So, I have ordered a couple of them to try. They will be here next week.
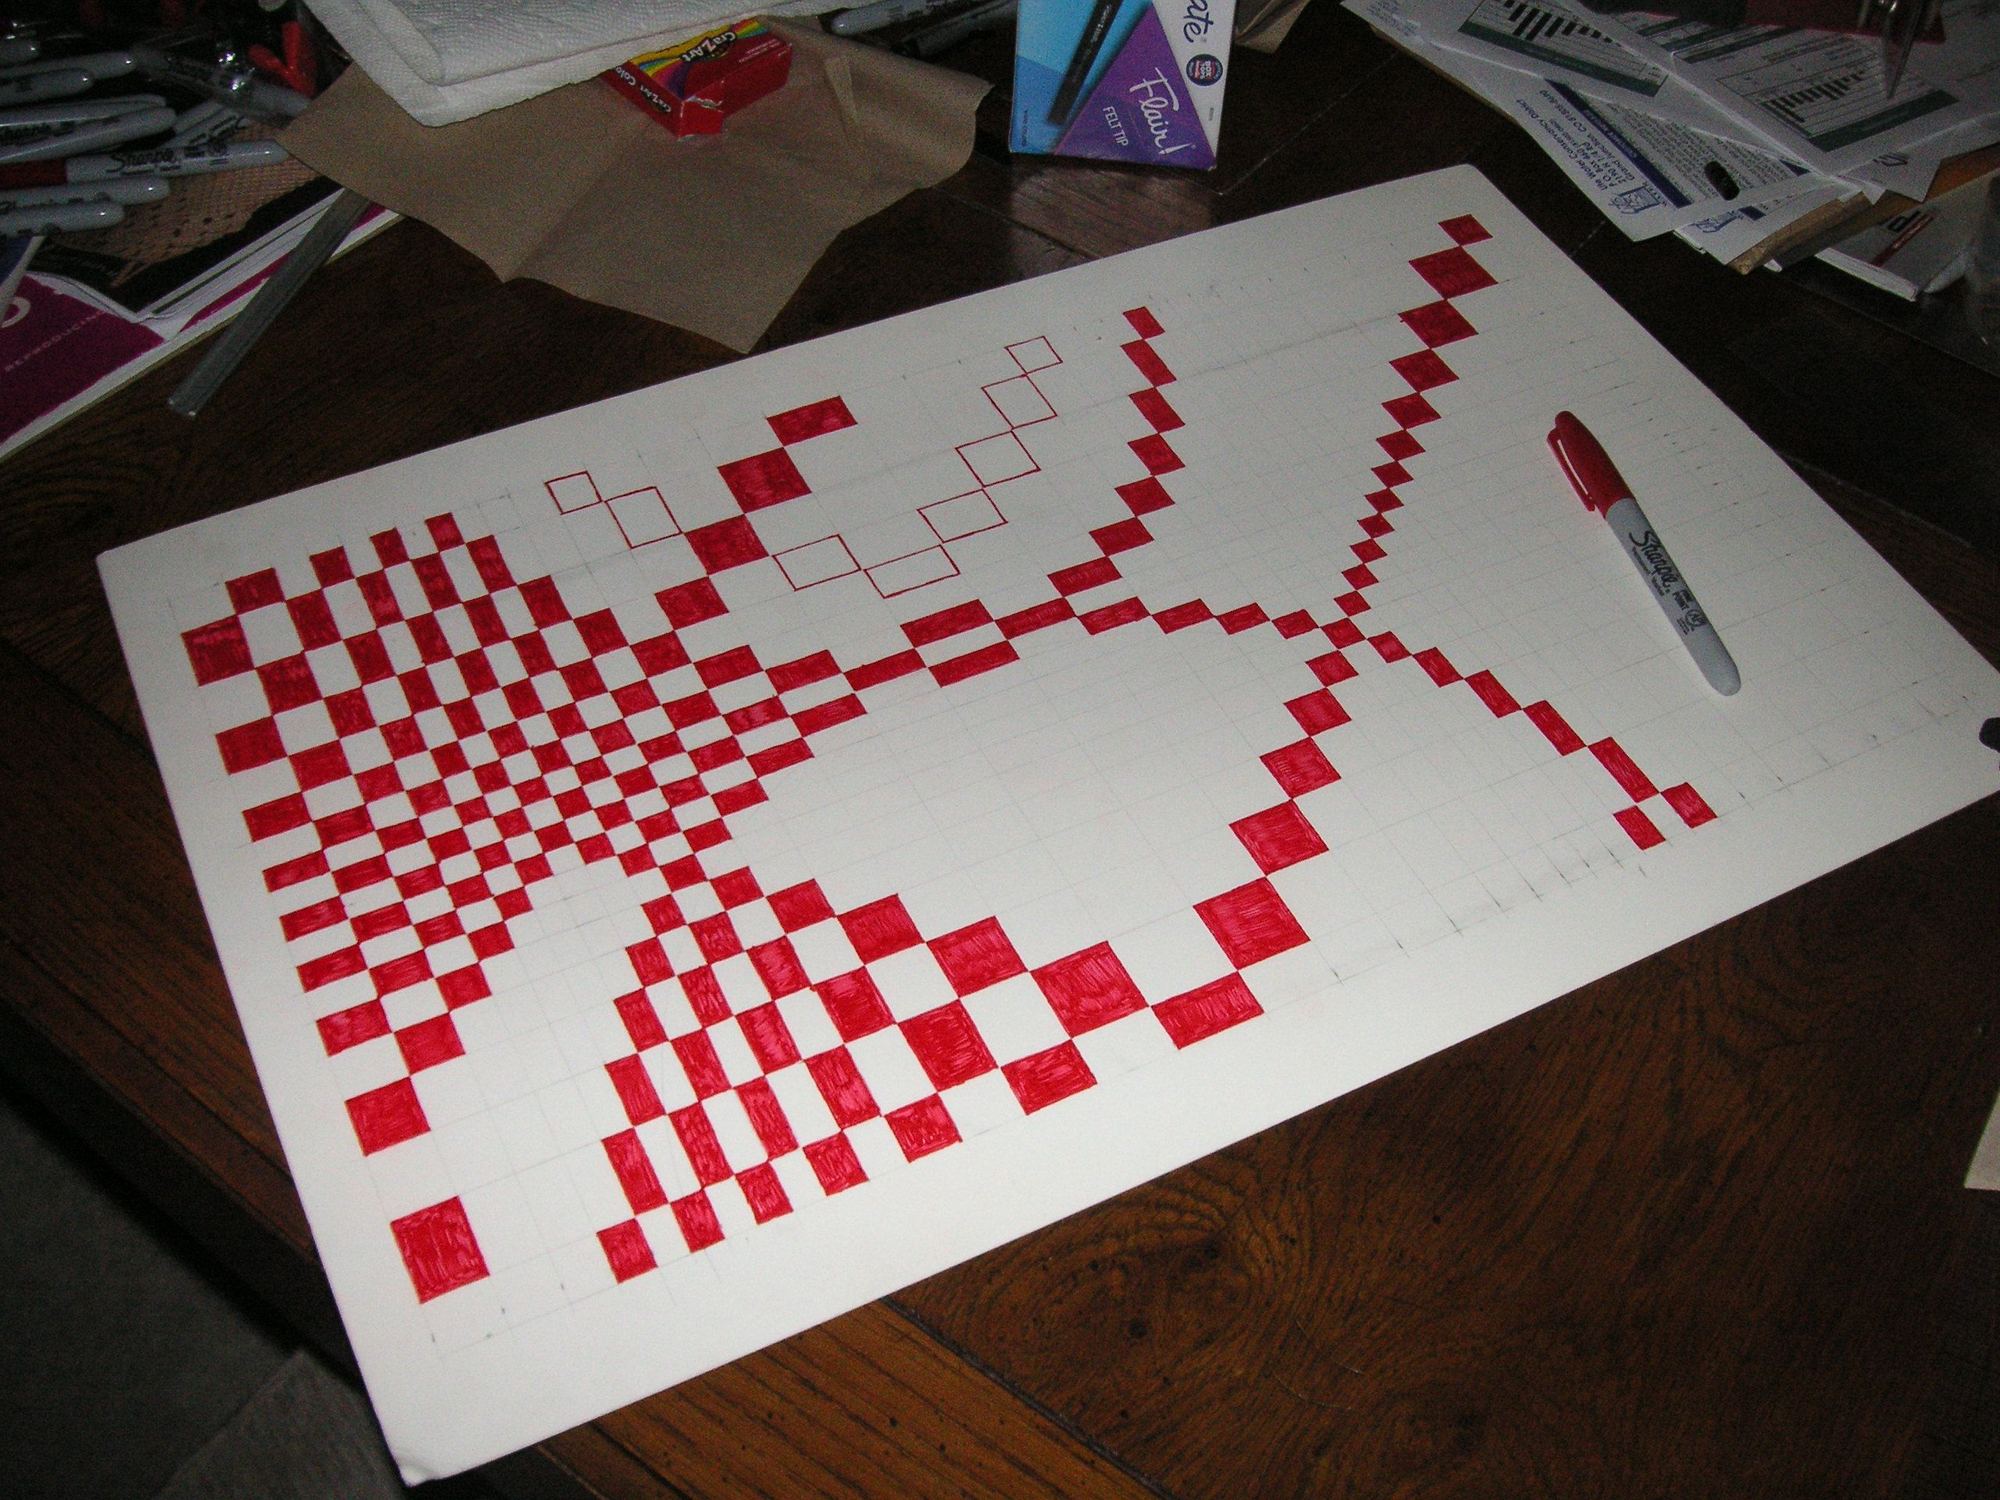
I am also working on another Pasha pattern that is within the Pasha Pattern Concept that was originally suggested to me by the Porsche Pasha Pattern. I'm still going to weave the previous pattern, but I wanted to draw this new one in order to test it for fitting the seats more like the Porsche Pattern tries to work, and that is with the small blocks in the center of one cushion section and the large blocks in the next. I think it too is going to work out nicely if I find myself wanting to weave Pasha for any additional seats. Here is a picture of the start of the next pattern.
Last edited by Jerry Feather; 02-24-2023 at 08:55 AM.
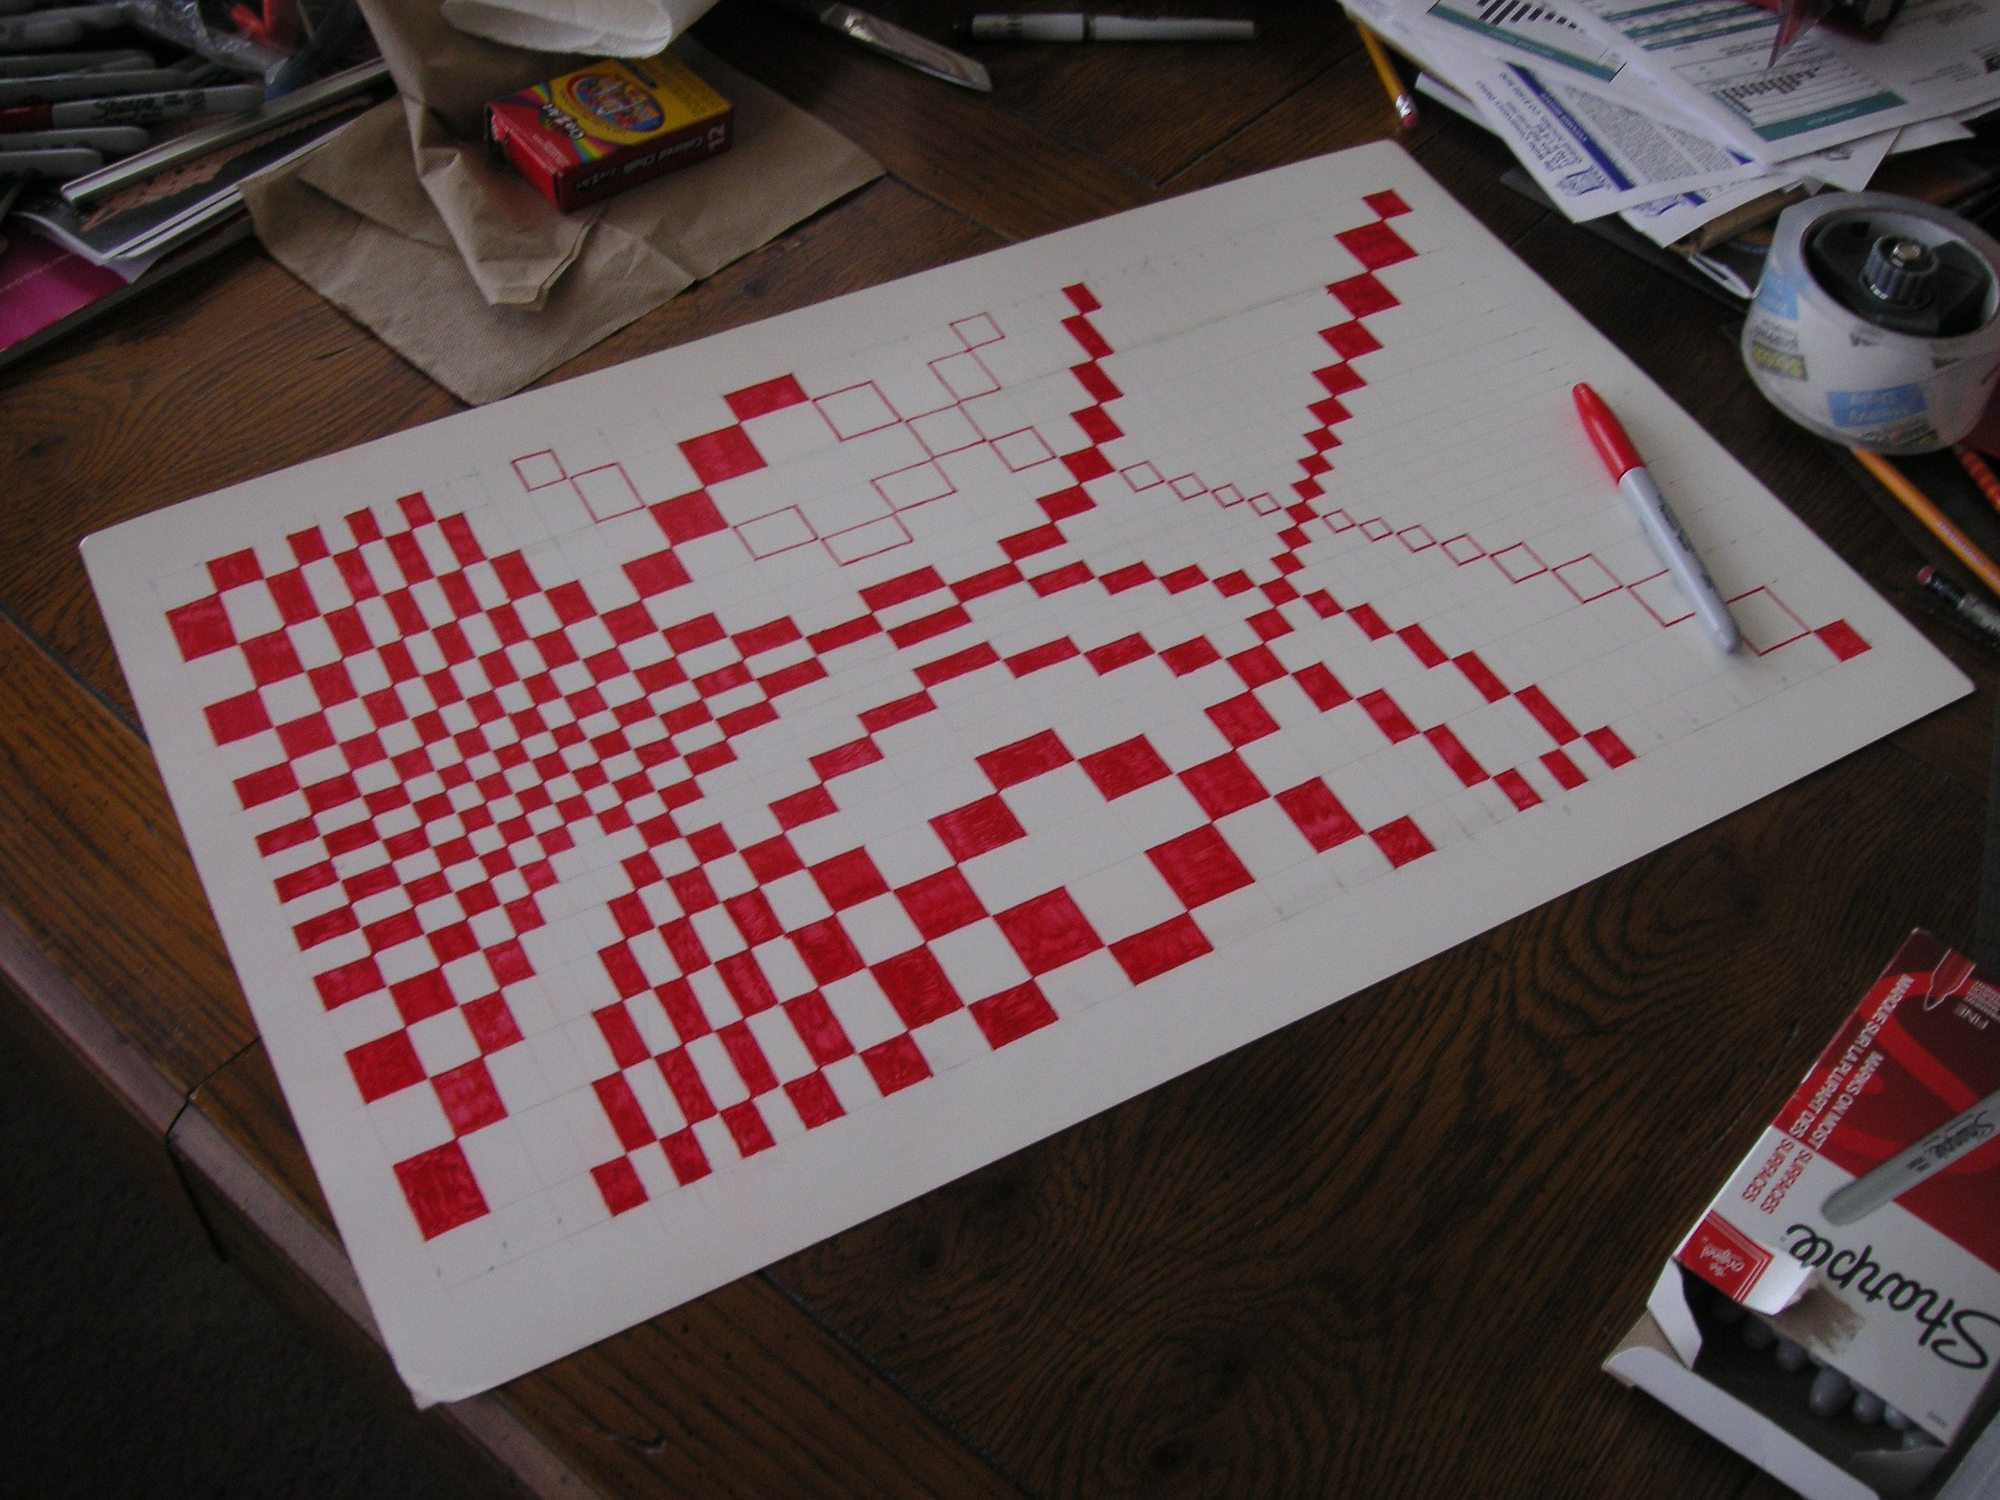
I haven't made any progress with this weaving project, but that is no surprise. Right now I am waiting on receipt of some small staplers to staple the leather strips to the loom. I have however drawn some more blocks in the most recent Pasha Pattern Concept that I have shown before mainly to show just how the series of straight lines within the Pattern Concept leads to the significant archs and curves that give rise to the "movement" seen by all of us the pattern and most of the attempts at the pattern by others.
I still have a few leather strips to cut, and when I get the little staplers, I think I'll be weaving. You are going to like this.
Last edited by Jerry Feather; 02-27-2023 at 07:57 PM.

 02-14-2023, 09:57 AM