When you click on links to various merchants on this site and make a purchase, this can result in this site earning a commission. Affiliate programs and affiliations include, but are not limited to, the eBay Partner Network.
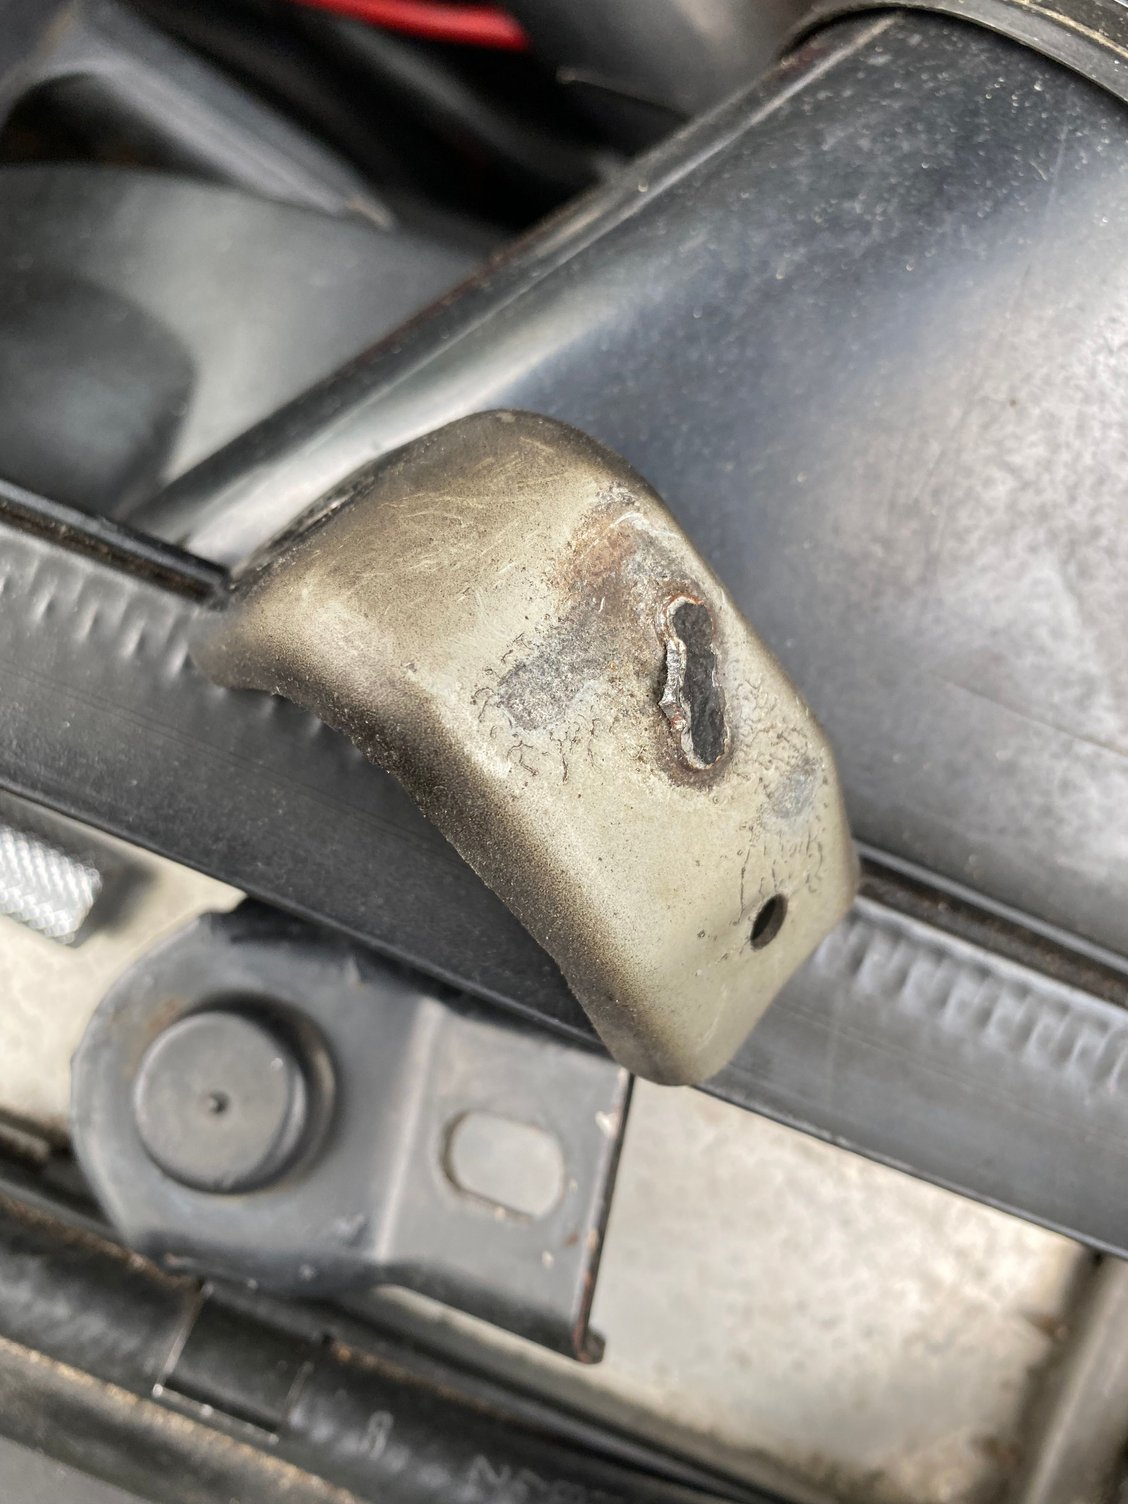
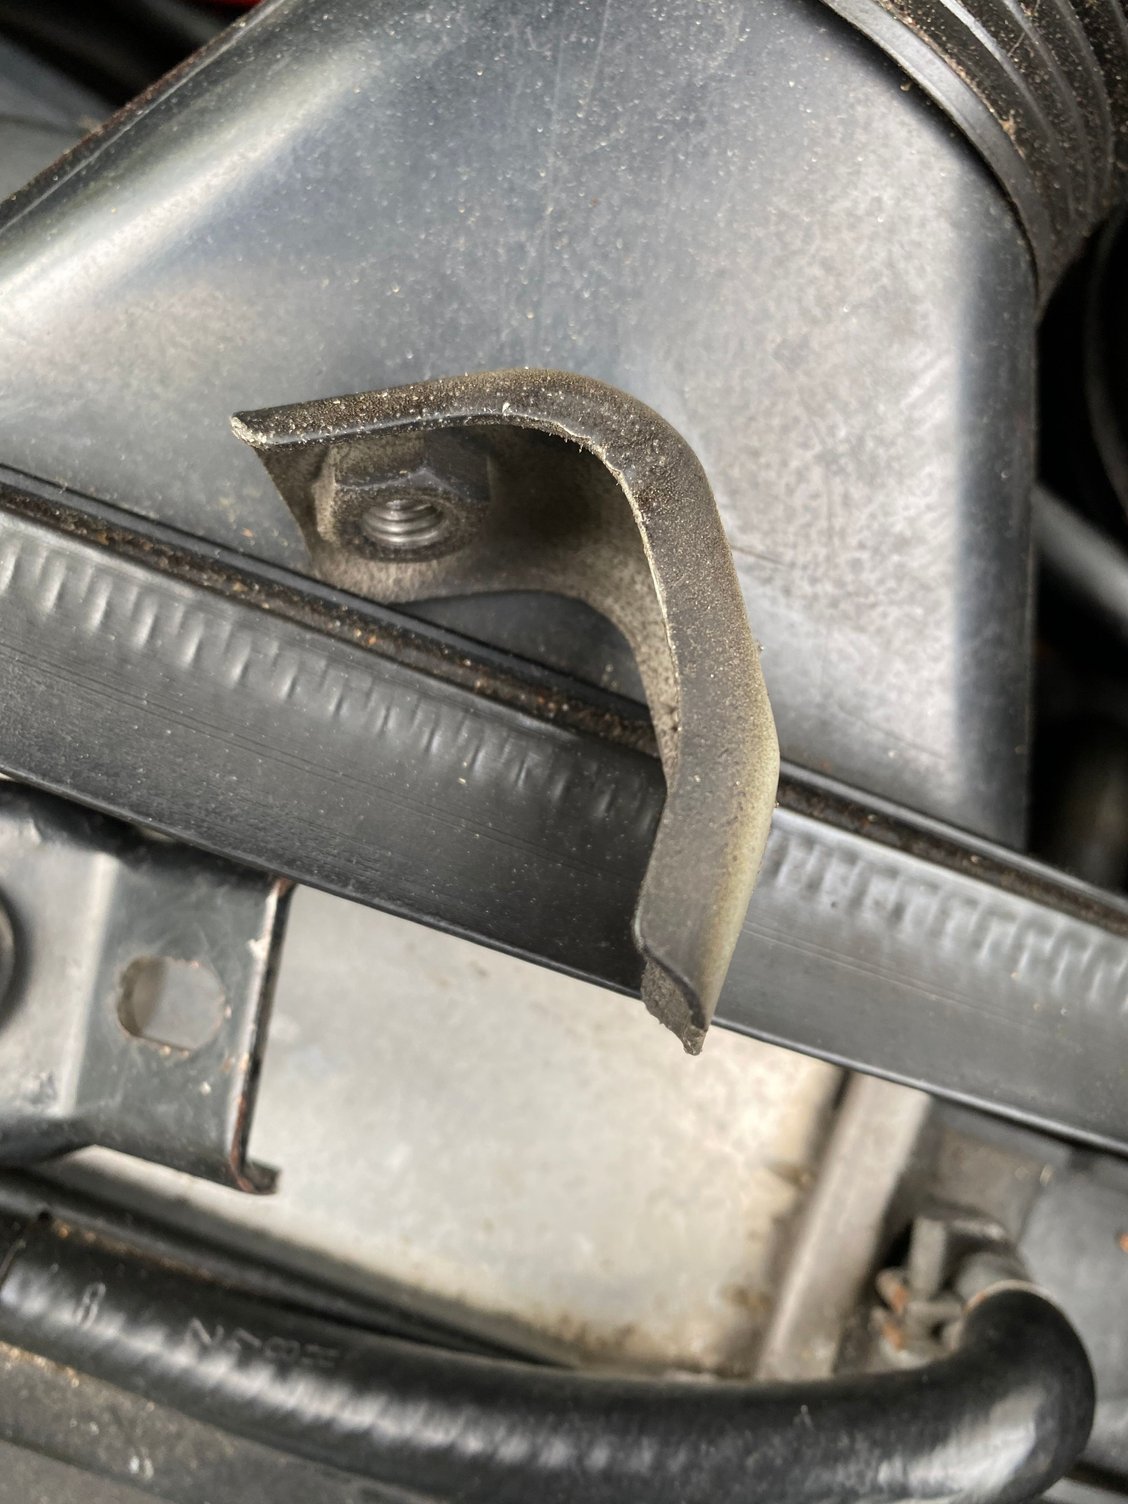
My drivers side upper radiator hold down was always loose-
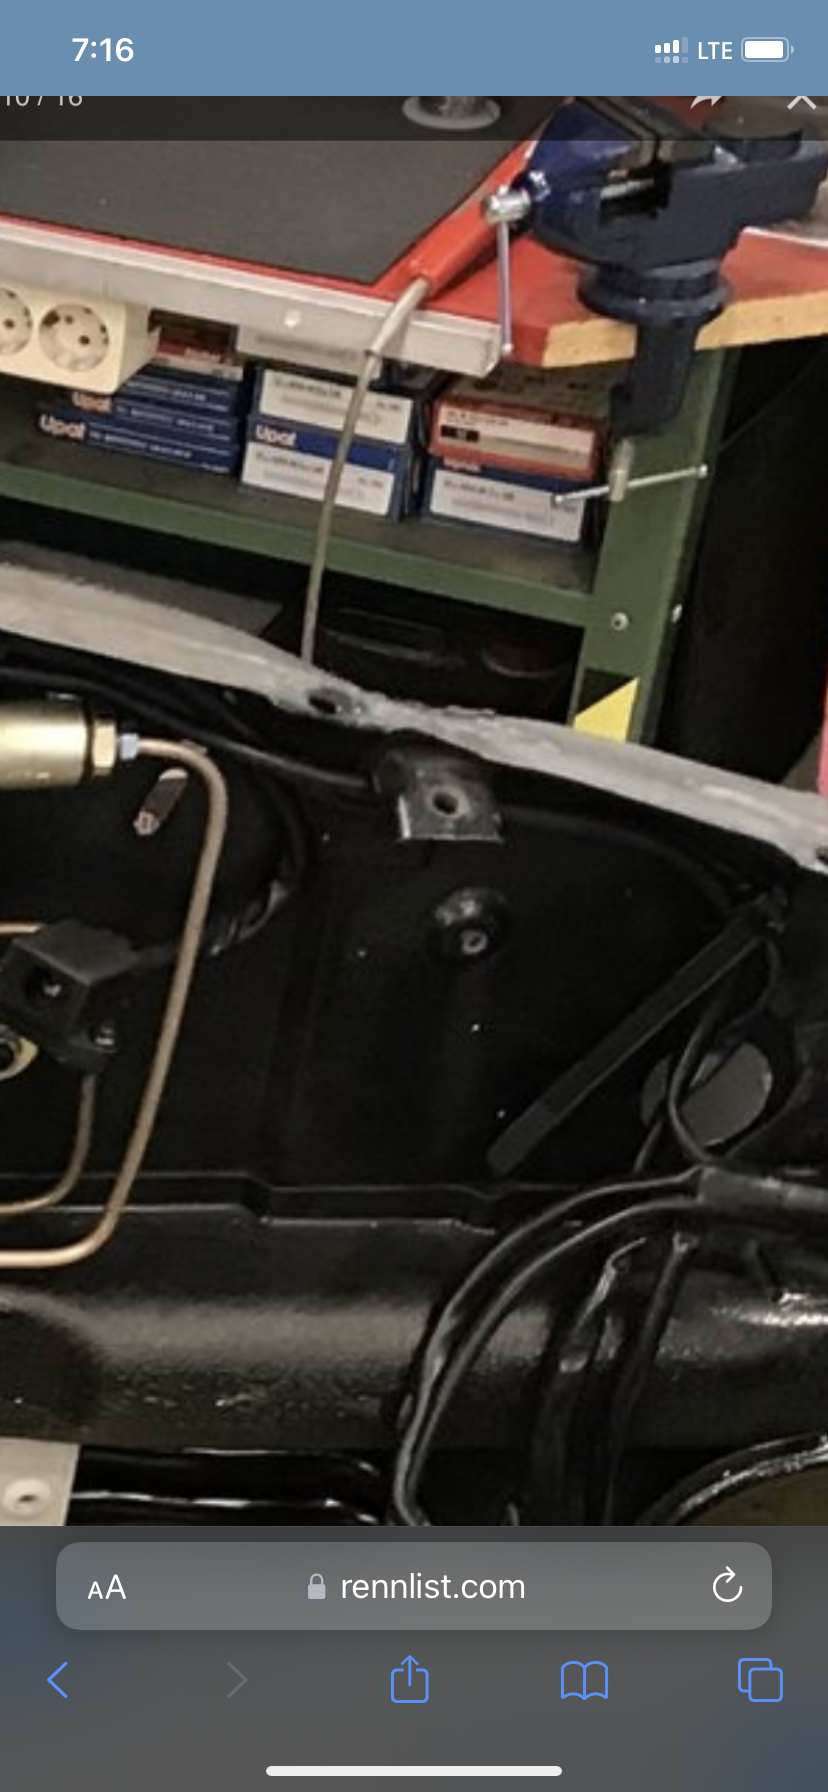
I removed it and realized the bracket it mounts to was loose to firewall-
After trying to see how it was attached-
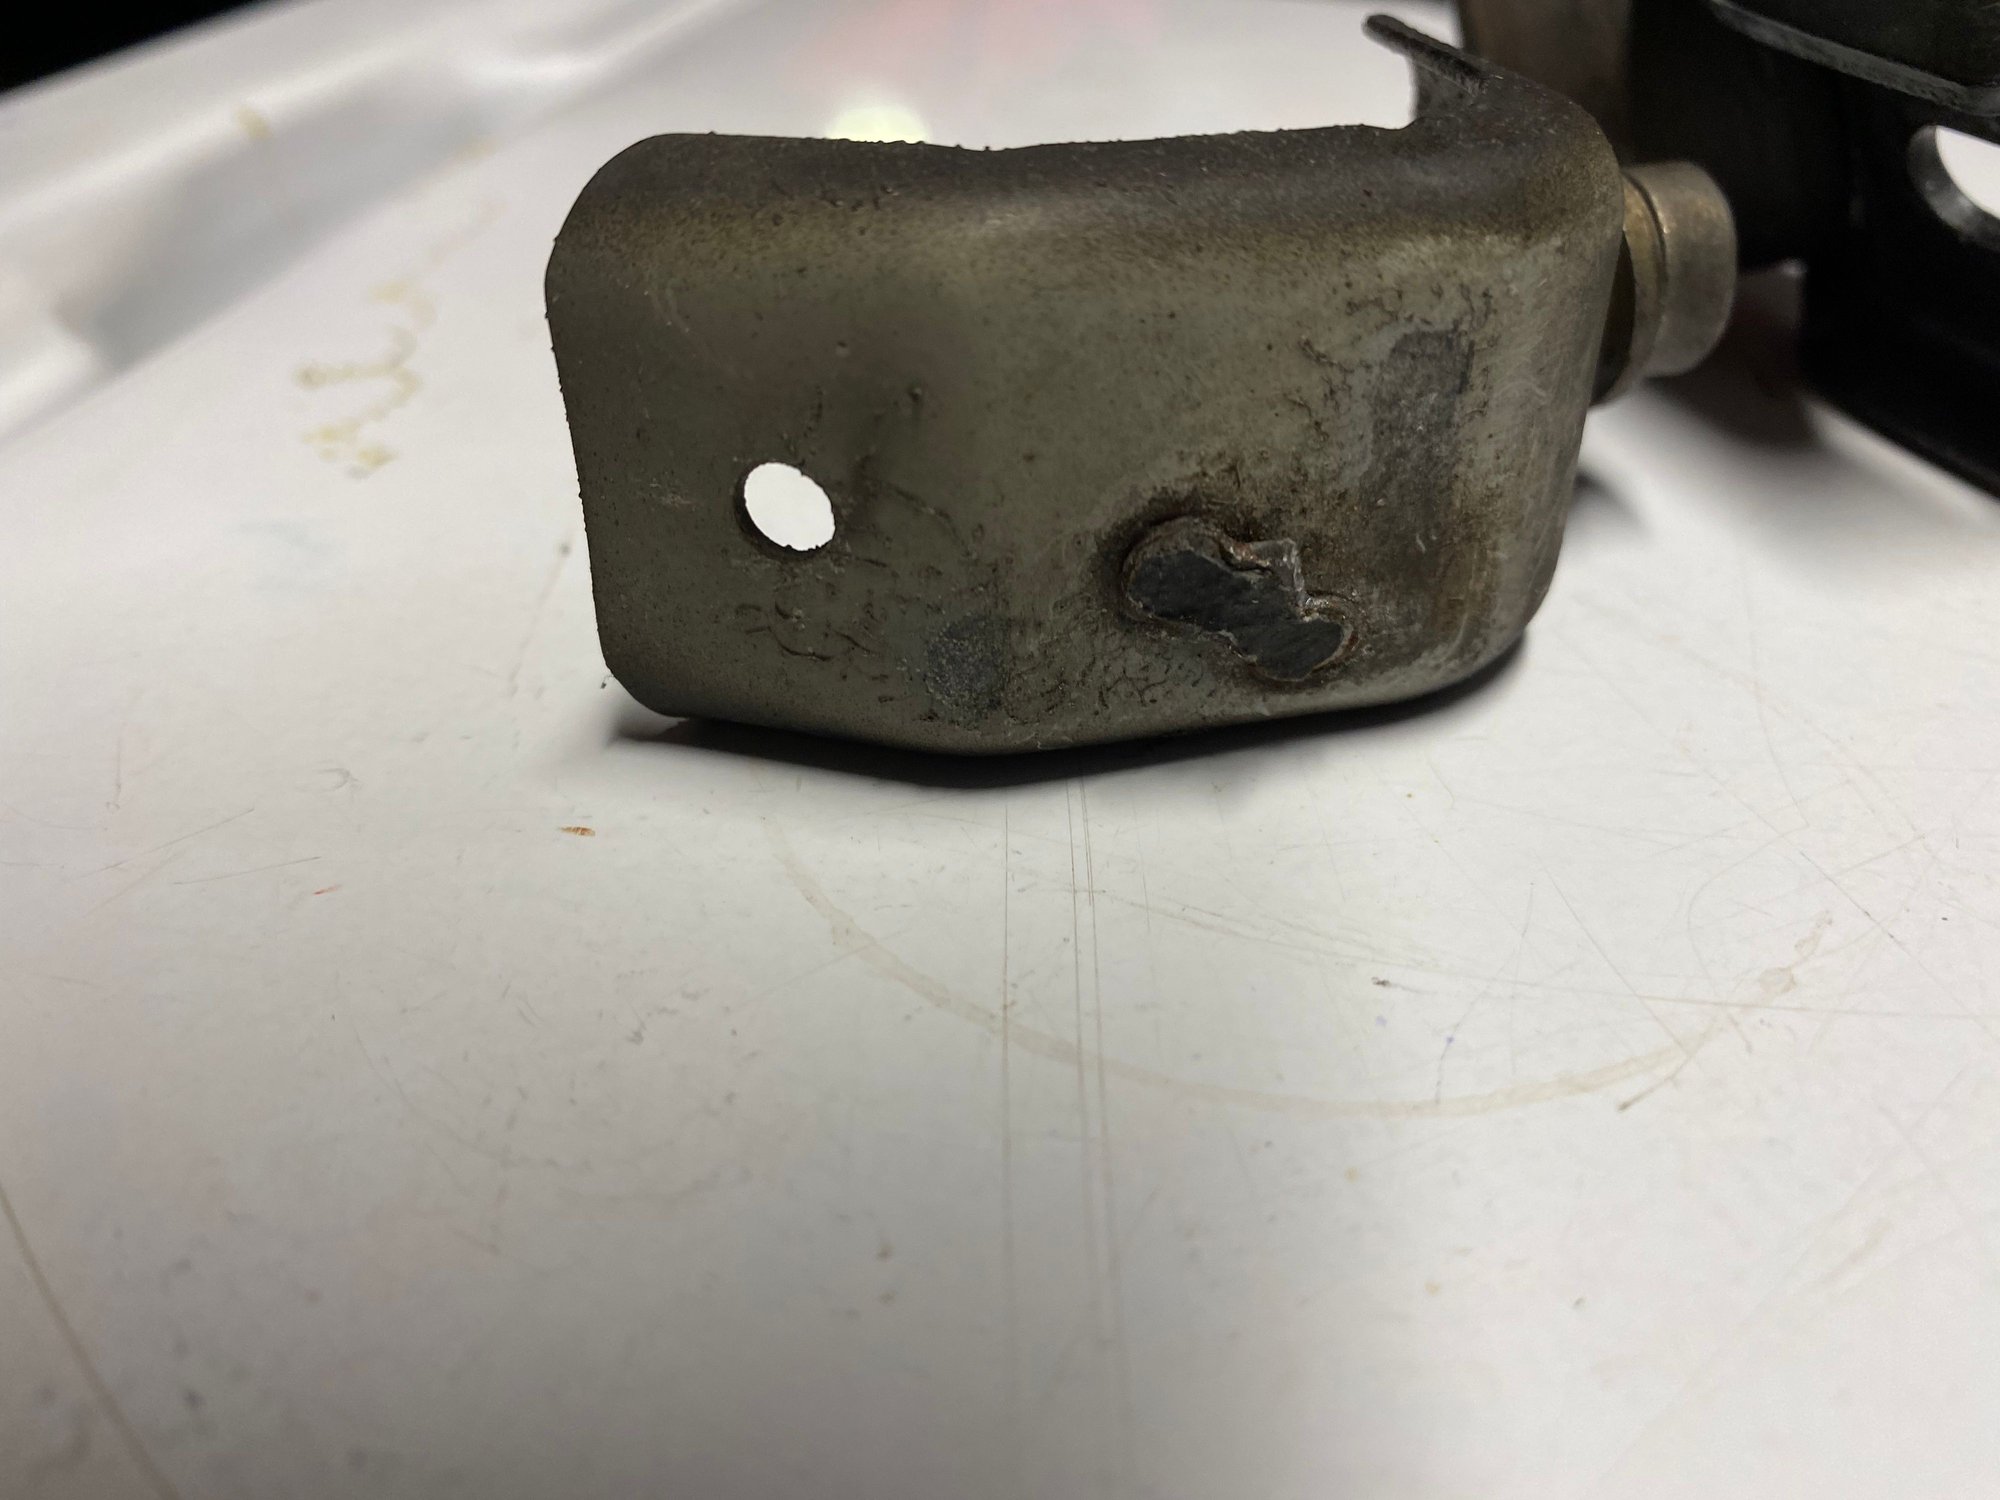
it came off completely-
how does that bracket attach to firewall?
confused
Common.
Grind off the spot welds on the bracket, open up the holes in the chassis where the spot welds were, and re-weld (plug weld with mig welder) from inside the fender.
anyone have a pic of an S4 with drivers fender off?
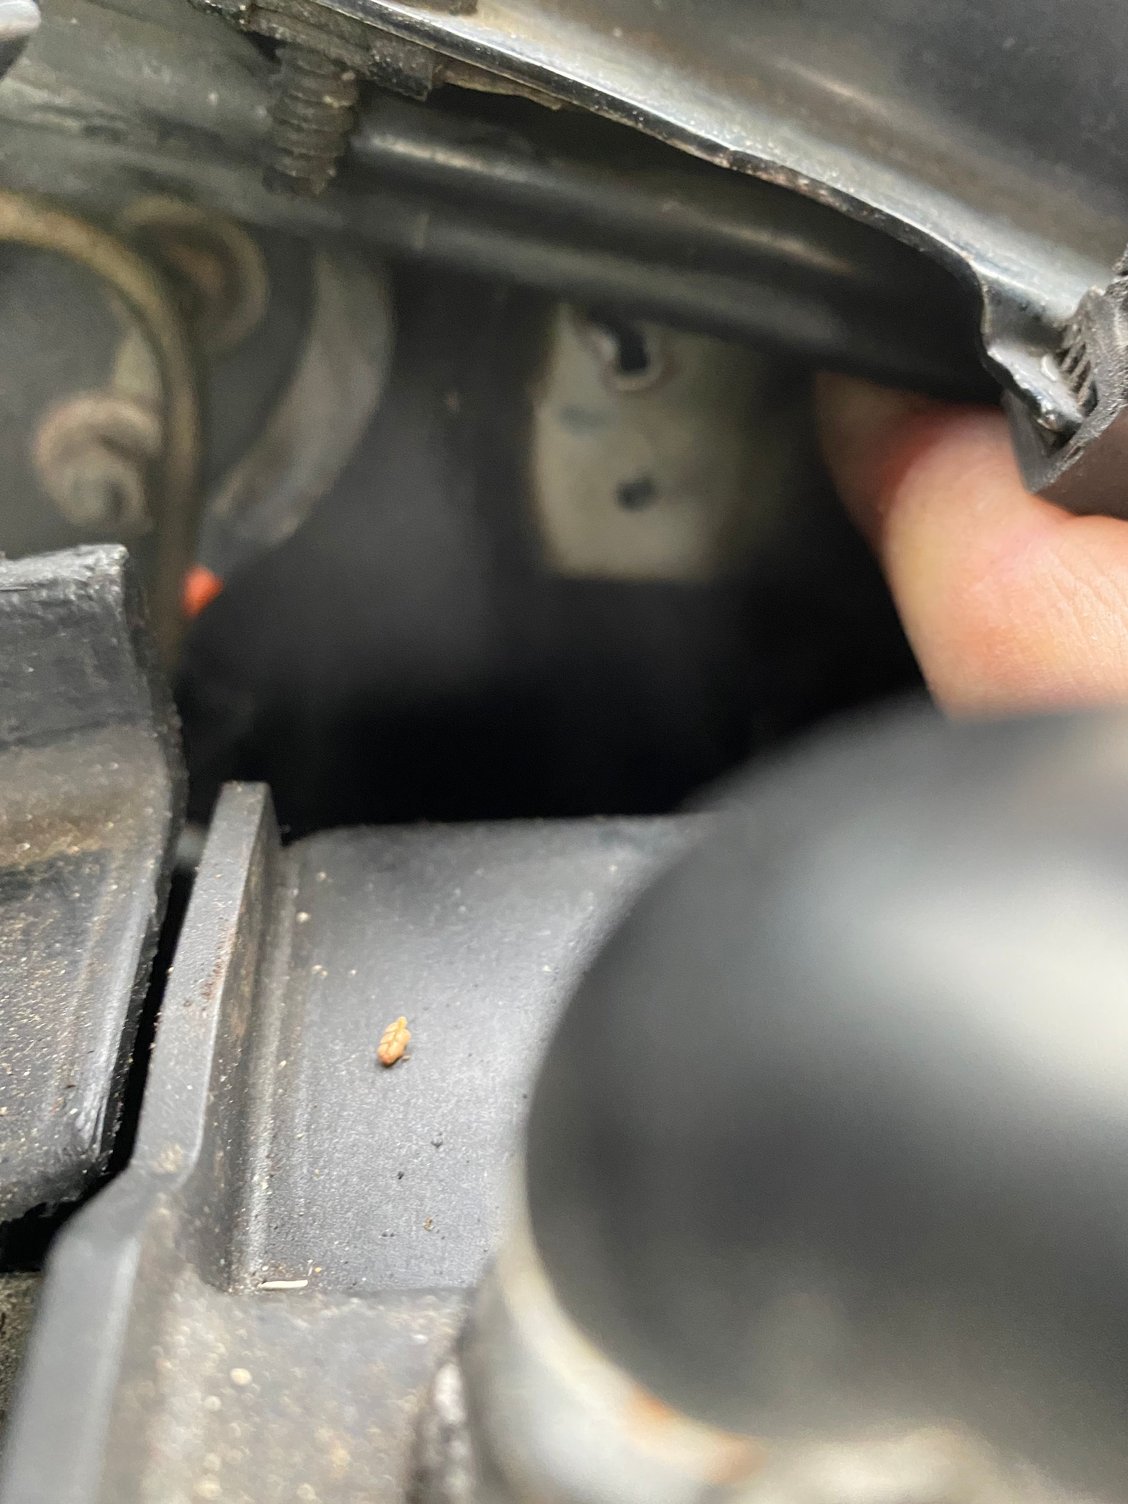
If I go drill route, I just want to make sure I'm not at risk of drilling into something important-
whats on the other side?
I�d like to get behind this on wheel side-
Wheel liner removal was suggested-
Looks forward near the headlight-
anyone gave a pic of the drivers wheel liner removed?
I can get you a picture of the wheel well with the liner removed this evening, if no one responds before then. I have that area all apart right now on my S4 and maybe the brighter silver will help you see what you need.
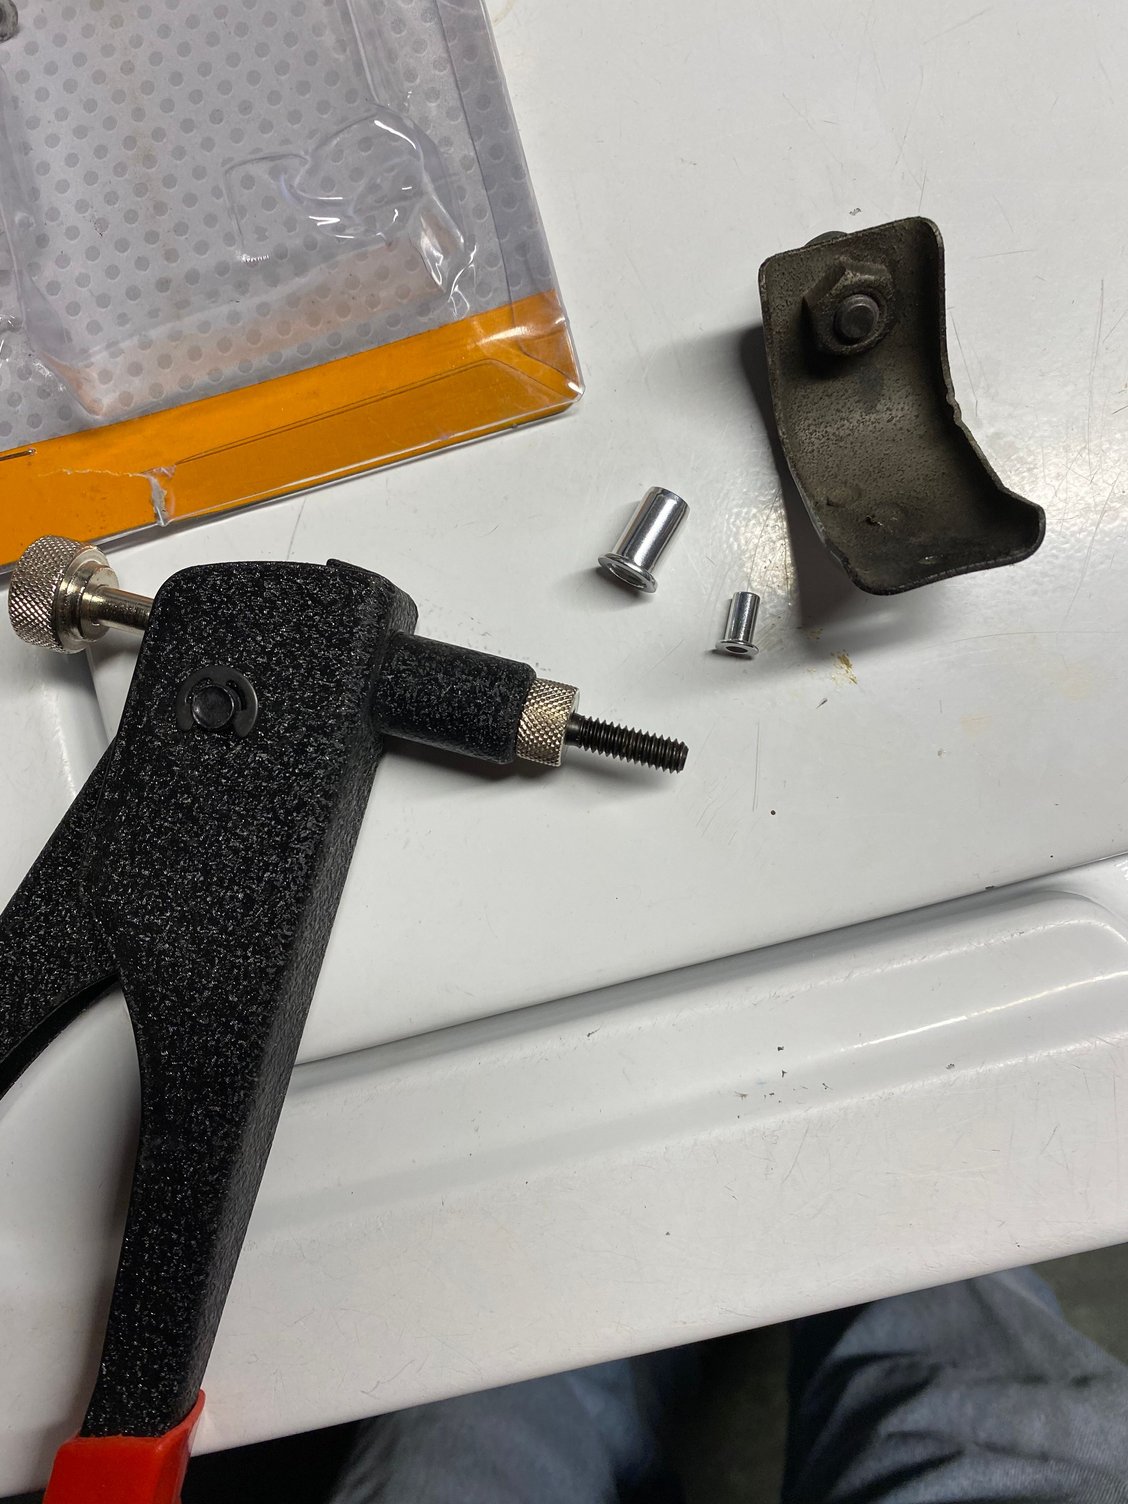
Actually even the riveting is a bit complicated. Why not just drill two holes in the bracket and kind of away from the spot welds that have broken out. Then using the spot weld material to locate the bracket where it was in the first place and drill thru your new holes and thru the inner fender. Then open up all the new holes to 3/16 inch and bolt the bracket back with screws and nylon insert nuts on the wheel side.
P.S. I wouldn't use the blind nut puller shown.
Last edited by Jerry Feather; 05-19-2022 at 10:58 AM.
You have a riv-nut there, right? I've never used mine in this situation. I own an electric rivet gun from Milwaukee. It is the bomb.
There are plenty of people on RL more qualified to talk you through this, but I'll do my best. I would let my response ruminate while other listers chime in with additional comments
The surface where the welds are is where your rivets should go.
Pregame:
Remove the bolt and run a thread chaser through the hole. The weld positions contributed to the failure. And a corroded bolt would not help.
On the centerline of the support at about the level as the upper weld drill a hole with a new carbide bit. I would recommend a 3/16" rivet or larger.
Then drill a second one at the same level as the lower weld on the centerline. Be mindful of where the support and the inner fender meet.
As best you, can mark or scribe the edges of the support on the inner fender. As you wiggle the support on the inner fender you should feel the support slide into place.
You now have a template to use to drill the holes in the inner fender.
The game:
Slide the support in place so it lines up with the scribed marks
Now drill holes through the inner fender using the support as a template. Not the most fun because in all likelihood you'll be working upside down. :-)
Test fit the support and rivets in place. If you need to clean up the hole on the support do so.
The position of the support while important but it can be little off. The radiator hold downs are somewhat forgiving.
Make sure the shank of the rivet is long enough to pass all the way through the inner fender.
Double and triple check everything.
Use a rivet gun or tool to finish the job.
Last edited by Kevin in Atlanta; 05-19-2022 at 11:04 AM.
My original post about riveting this back together was based mostly on my earlier experience in my aviation carrier when I was actually considered a kind of sheet metal magician in making repairs and modifications in and to my airplane, and to several others. What I learned about riveting is very useful here.
The first consideration here about using hardware store pop rivets is both the least desirable and the most simple approach to the issue. That approach can be utilized just from inside the engine compartment and without any work inside the fender well. The problem is that it is also the weakest of all the riveting solutions. The reason is that the pop rivets are very soft aluminum and the steel mandrels that pull them into place usually fall out in some time period. That leaves the soft rivet material as the only thing holding the parts together and even in then core of the rivet it is void of anything. Even the larger ones have the same issues.
One thought is that to the extend that steel pop rivets may be available that may be the very best way to go with this in the riveting context .
Up from that is a series of aircraft rivets. If you have any interest in that further in regard to hard AC rivets either pop or hard driven, let me know.
__________________
ReDesign by FEATHER
by Jerry Feather
Producer for 928 of:
-Hatch Latch Receiver Liner--All Versions
-Replacement Heavy Duty Spare Tire Cover
-Flush Center Console Conversion
-Cowl Cover, Cowl Seal, & Shell Stickers--All versions
(RHD included)
-Aluminum Gas Cap Ratcheting Pawl

 05-16-2022, 07:13 PM