When you click on links to various merchants on this site and make a purchase, this can result in this site earning a commission. Affiliate programs and affiliations include, but are not limited to, the eBay Partner Network.
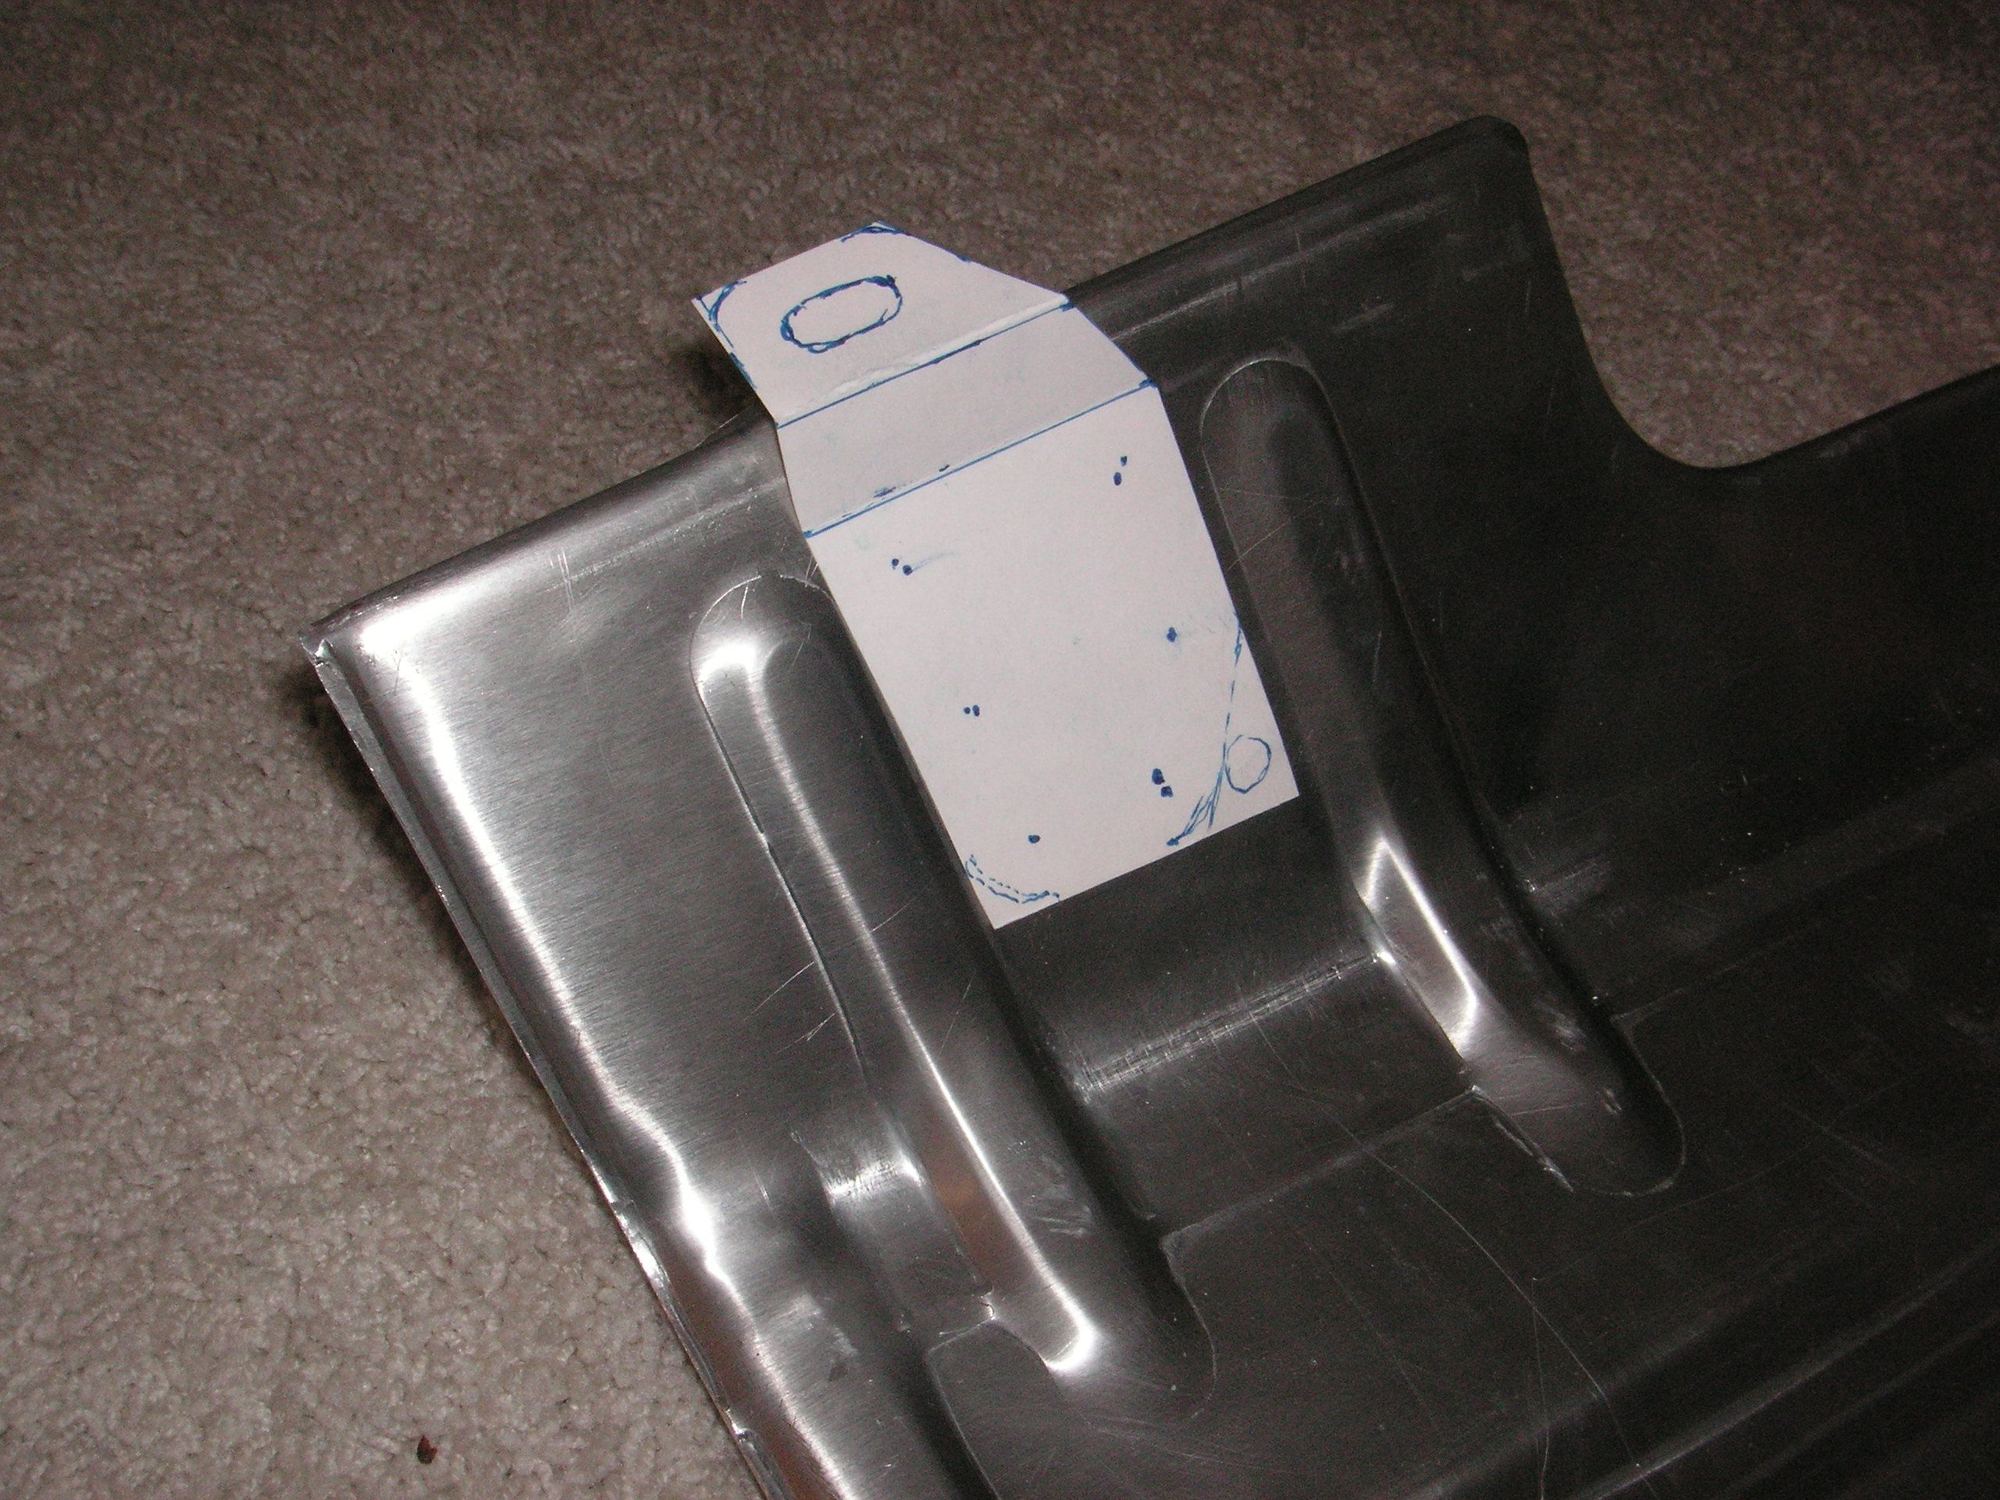
Yes, you are correct, that hole lines up with the radiator drain plug. For me it isn't a big deal either way. If I'm draining the radiator i'm most likely doing additional work at the same time so it is likely i'll have the pan off anyway. even if I didn't, coolant changes are infrequent enough that I don't feel it would be much of a hindrance to have to remove the pan. But if someone is wanting to stay as close to factory as possible the hole would get them closer to that goal.
you could mark it with a magic marker, or dimple it with a punch, and let the buyer decide - then someone would know where to drill if they wanted the whole, and could leave it as you created it if they do not.
Thanks for your thoughts about the radiator drain hole. I think I am more inclined toward the hole unless someone wants me to delete it.
I'm still working on the design of the top two mounting tabs. I have finally decided on a design that I can rivet in and have worked up a heavy paper pattern for it. I also have some material in .090 in Aluminum in the same alloy of the pan and will try to work up a couple by hand to see if they are going to work. Then I will work up some tooling so that I can make them in multiples and bend then in some dies so they are all the same, at least left and right.
Then I still need to finish the top edges of the pans where they are only partly formed since I deleted the original efforts at forming the top mounting points integral to the pan, without success. I'm going to work up a steel plate of about 1/4 inch thick and push it up into the top edge and then work the edge down over it with a body hammer. It will be kind of like a "hem." I'll have to grind the edge to finish first. Then I'll need to grind out a notch where the mounting screw goes.
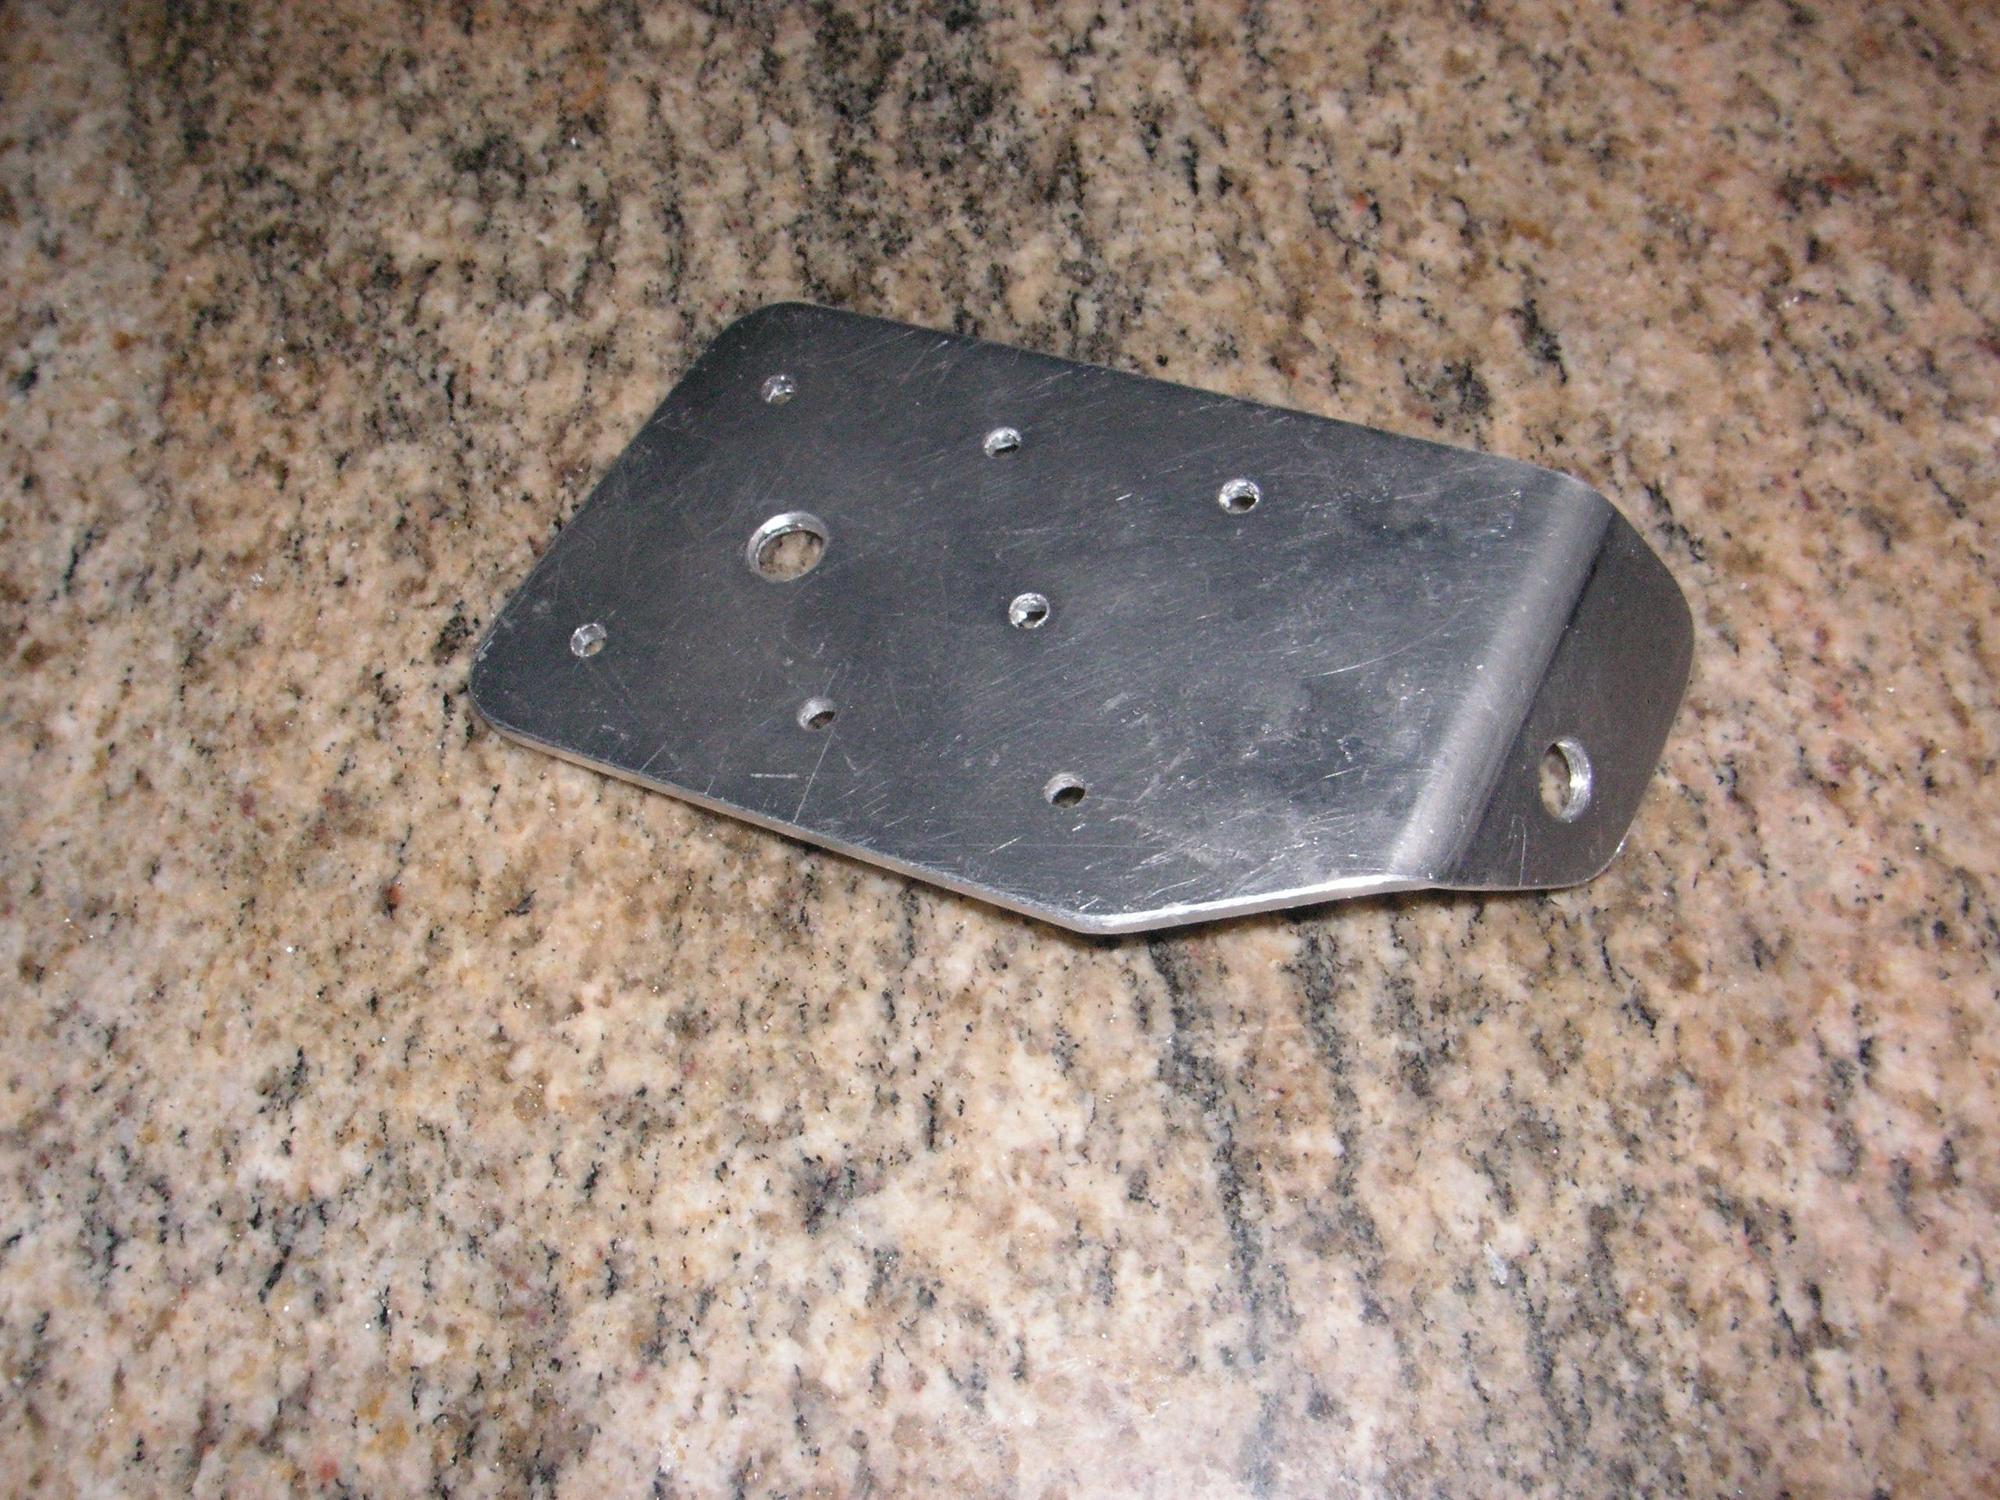
I was just looking at your last image of the pan with the mounting tabs. One observation is that you have the rolling direction aligned front to rear (relative to the car). this puts the majority of the forming (the lower ribs) with the folds lined up with the rolling direction and well as most of the elongation perpendicular to the grain direction. If you continue to have breakout issues during forming, you may want to try reorienting your sheet stock, so that the grain direction is from left to right.
I was just looking at your last image of the pan with the mounting tabs. One observation is that you have the rolling direction aligned front to rear (relative to the car). this puts the majority of the forming (the lower ribs) with the folds lined up with the rolling direction and well as most of the elongation perpendicular to the grain direction. If you continue to have breakout issues during forming, you may want to try reorienting your sheet stock, so that the grain direction is from left to right.
That is some good thinking there, Simon. Thanks. If I didn't have the problem with the metal breaking pretty much solved I would probably give it further consideration. I have done quite a bit of woodworking in my day, and still do, and in that realm the orientation of the wood grain is always a primary consideration, but not so much or even at all, most of the time, in my metal working.
However, the biggest problem with incorporating your suggestion about changing the orientation of the metal is with the cost. For the first batch of material I bought for these trial pans I bought a full 4 by 10 foot sheet of aluminum and had it cut crossways into 13 inch wide strips by 48 inches. That resulted in 9 work pieces. Then I cut them off to 42 inches long to work up to be formed. There was a 3 inch drop from that sheet. Even if I end up with .063 to make these pans it will still be cut out of sheets that are 4 by 10 feet. So, if you do the math you will see that rather than getting 9 work pieces out of a sheet I will get only 6 cut the other way. I may save some money by buying it by the square foot plus the cuts and leaving the drops, but probably not much.
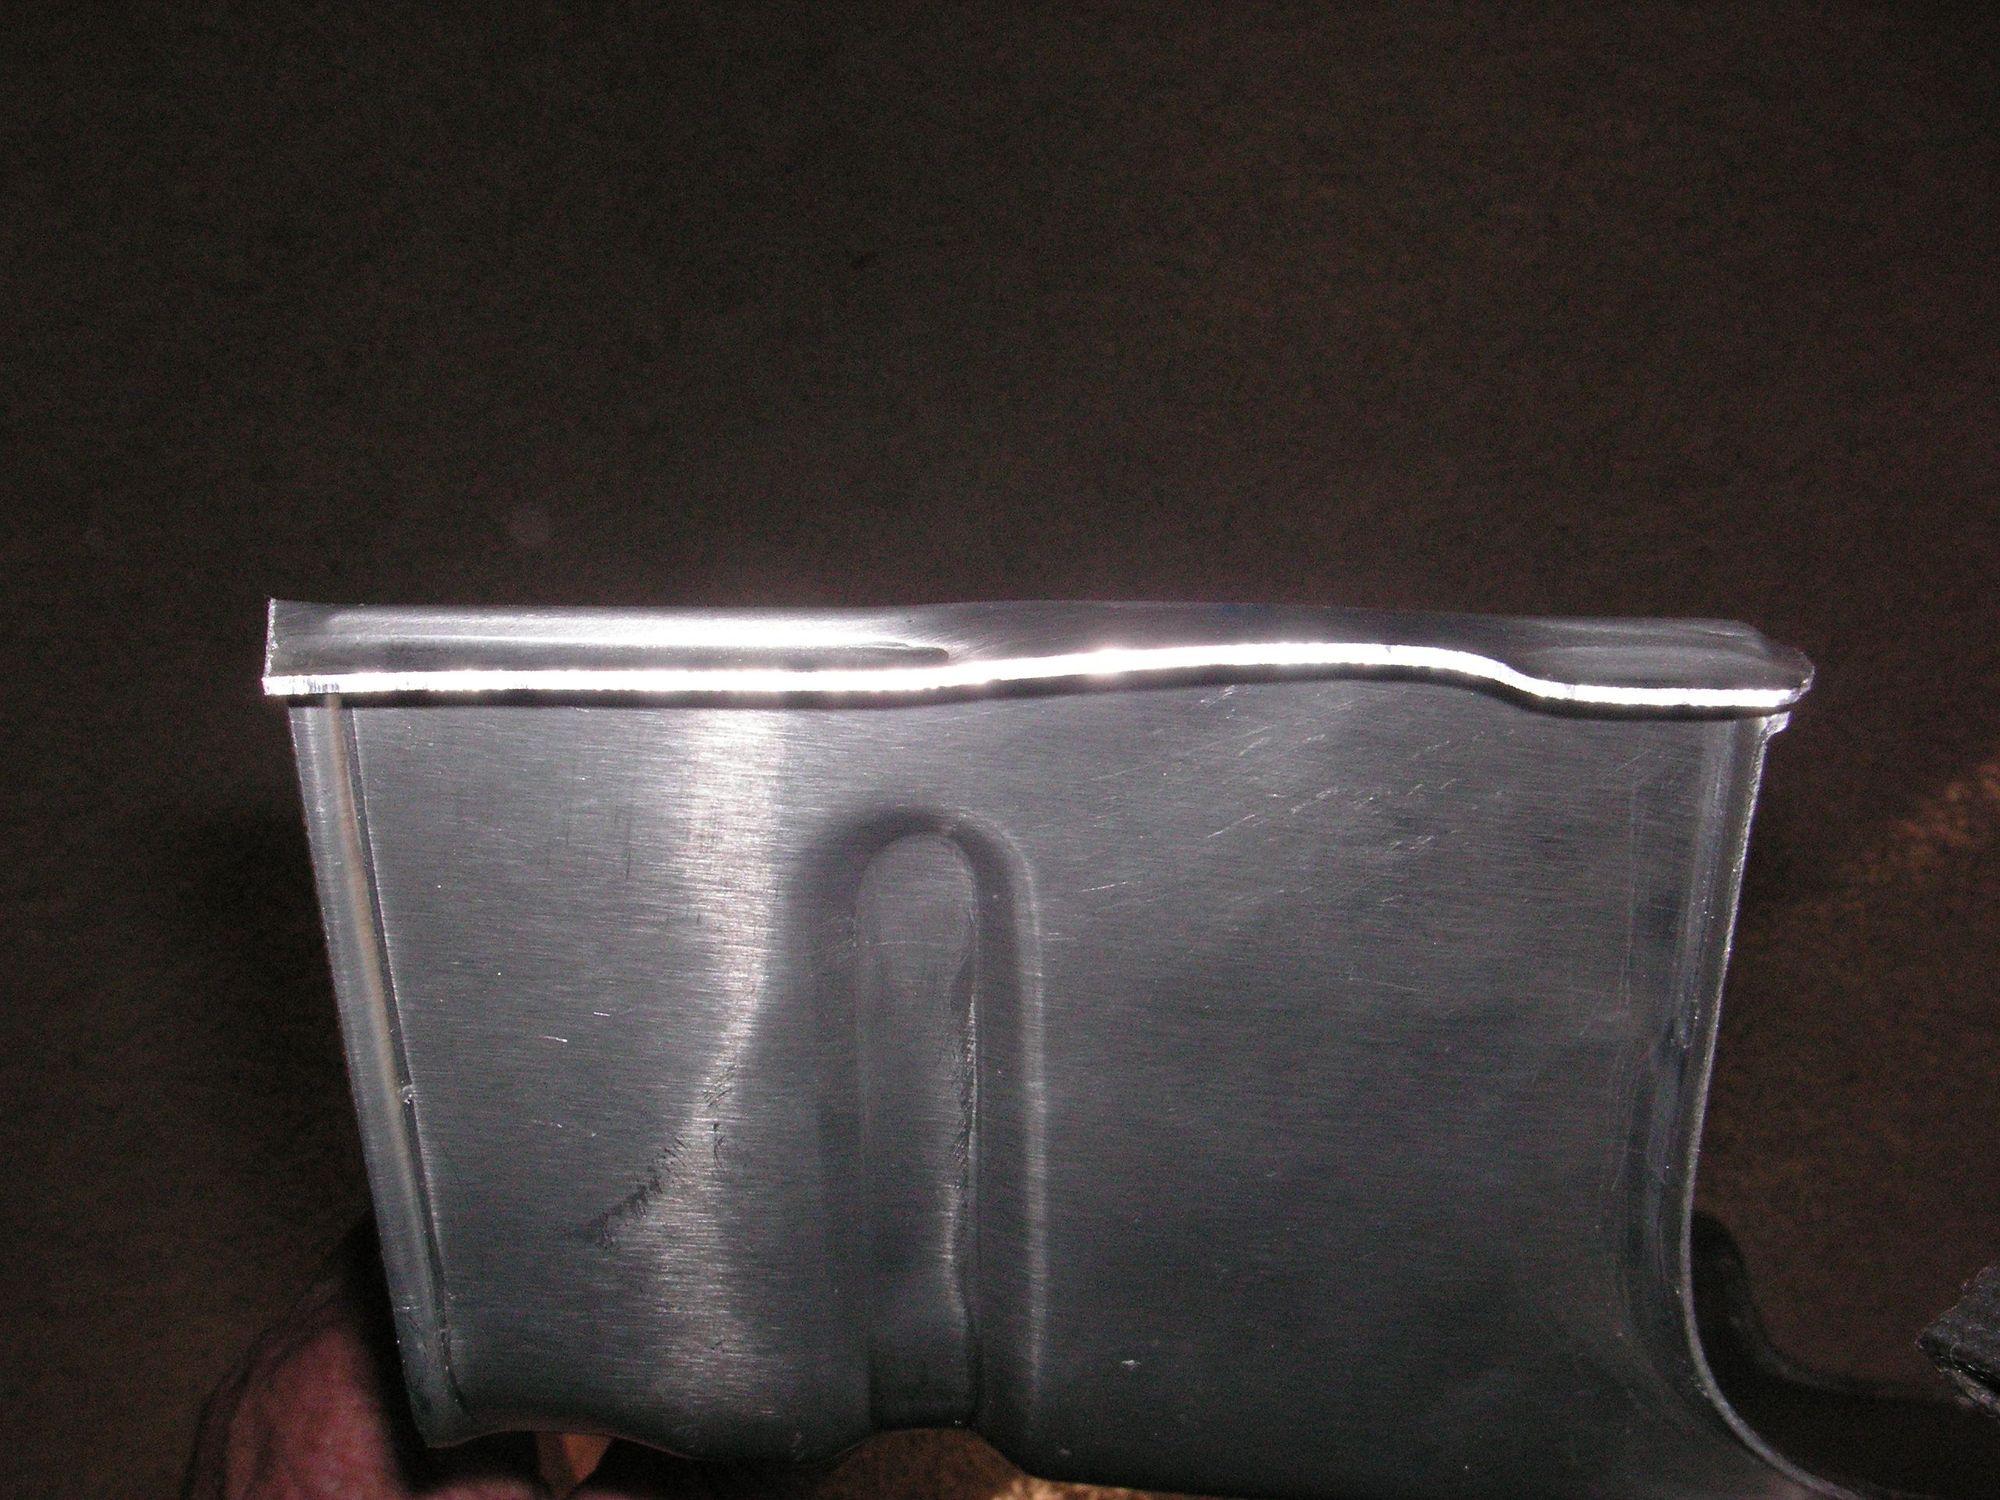
I worked up a work piece in .063 aluminum today and ran it through the press procedure. The result is fabulous. It came out near perfect; and in the process I worked some of the wrinkles out of the pan. I think some of it may be because that thickness of material is what I designed the dies for. I am pleased that these pans are going to be quite merchantable in .063 and that is about 50 percent heavier than the factory pans which are .040.
And too, this .063 pan pressed out with almost none of the warp that the previous pan has. I can't figure that out.
Last edited by Jerry Feather; 11-21-2020 at 05:33 PM.
Thanks Guys. This kind of positive feedback always encourages me to keep on keeping on.
This morning I'm going to try to work up the tooling for the top mounting tabs and form some of them so I can fully complete these pans. Then I have one more piece of .063 out at the other shop so I'm going to squeeze another one of these "prototypes." If it keeps working and improving I'm going to order a couple of sheets of aluminum cut into work pieces and put this pan into production.
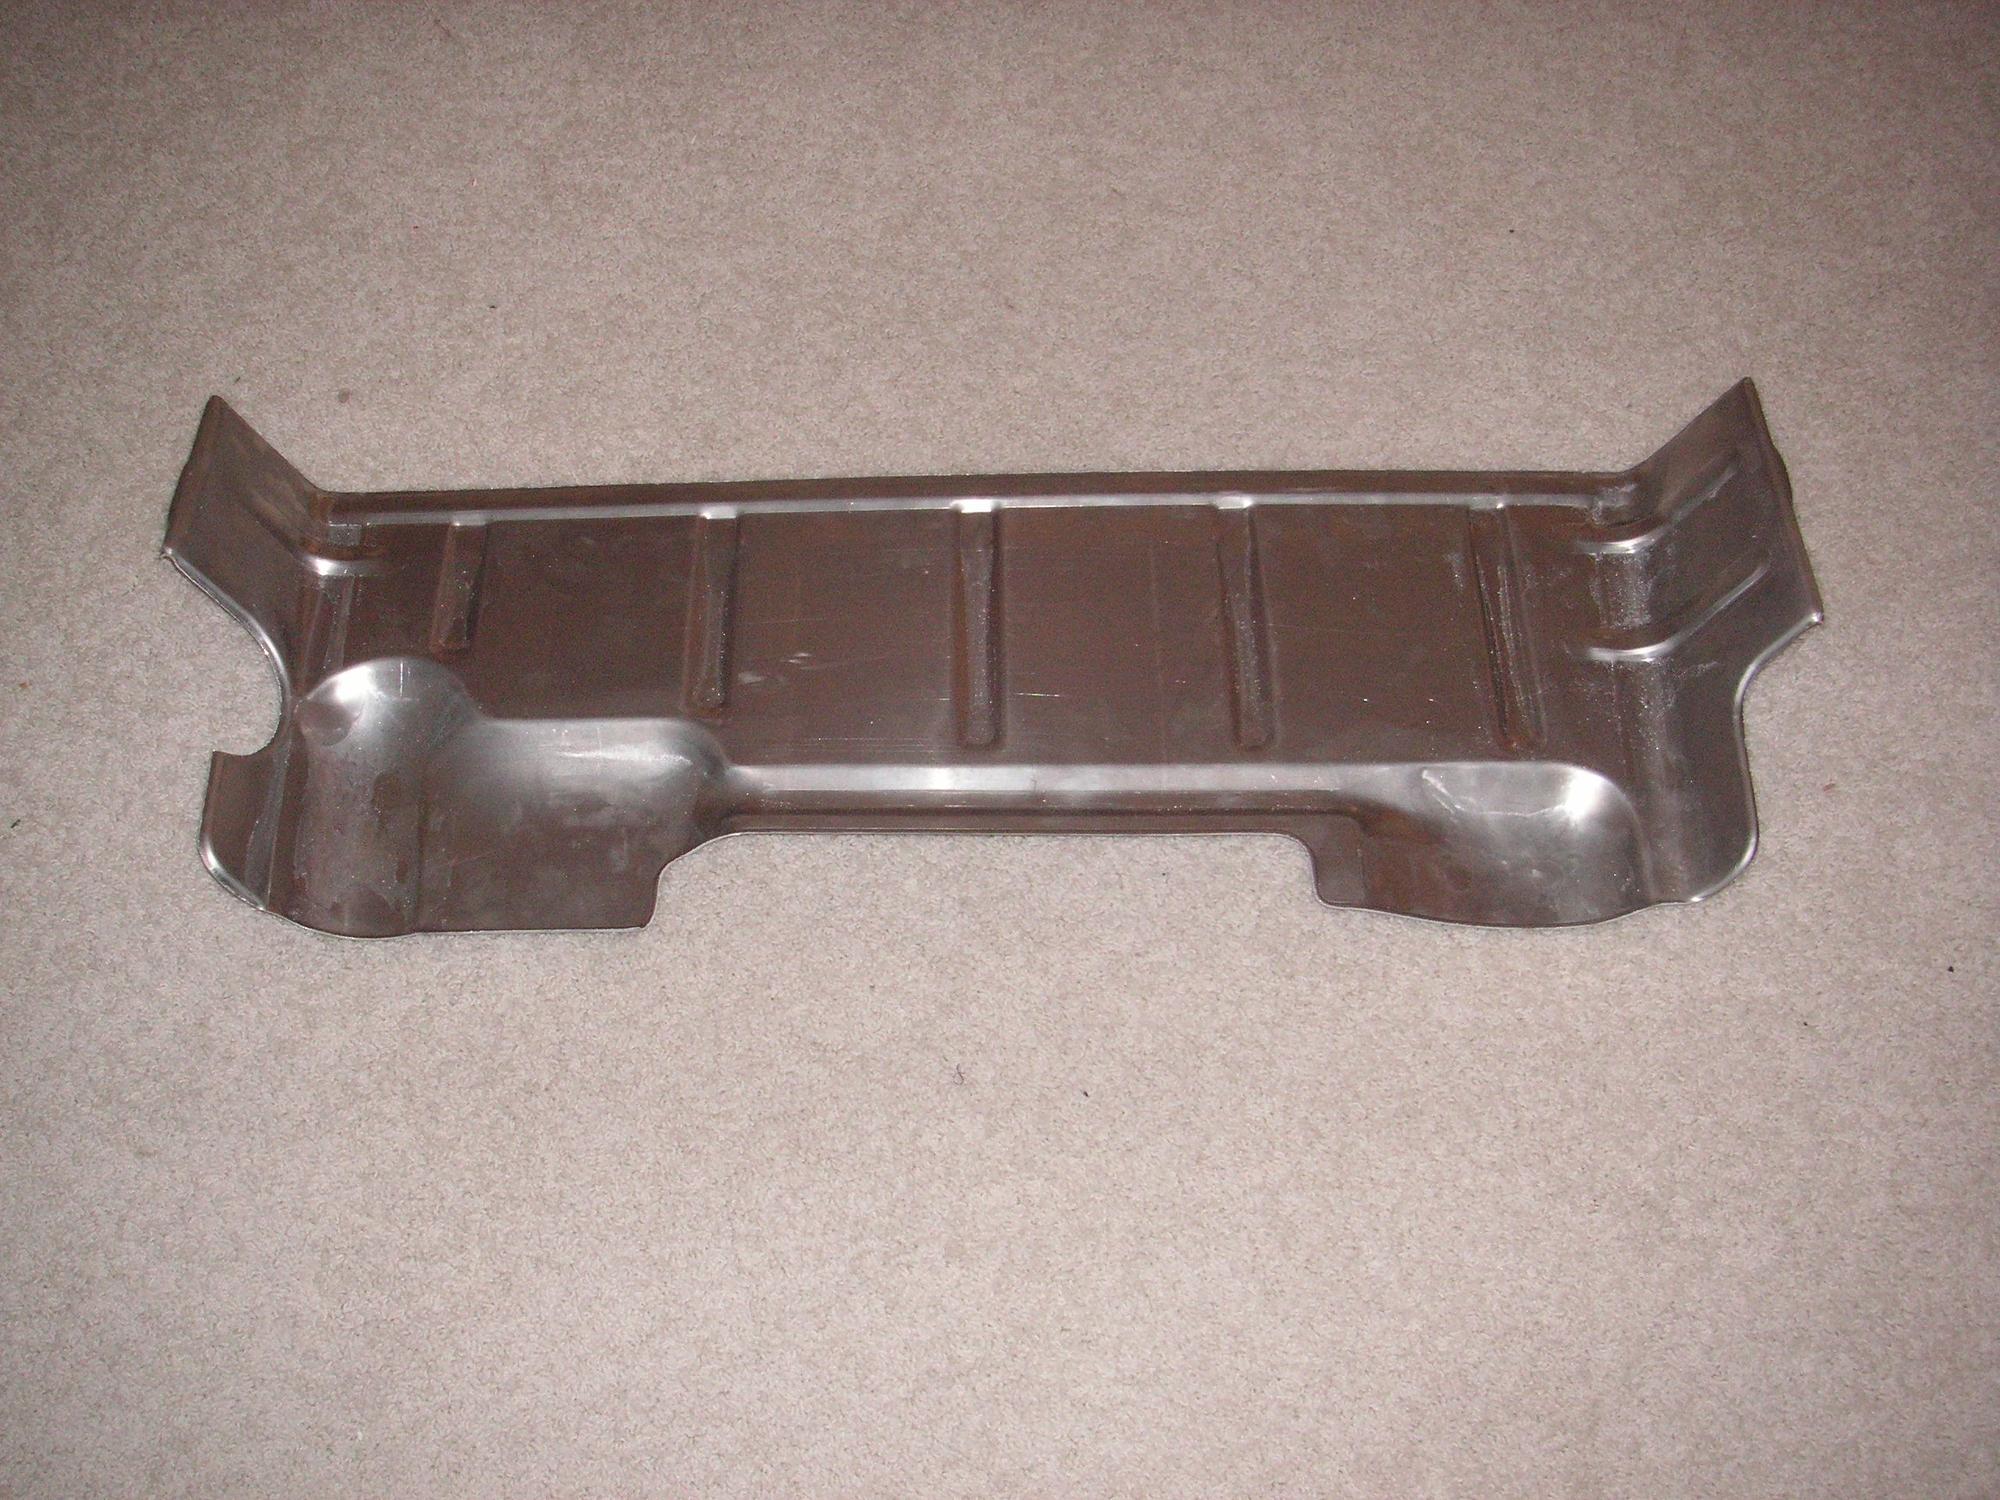
I got quite a bit done today. This morning I worked up some tooling to make the top mounting tabs with, and I formed a couple to try. The second one I formed is close, but I am thinking about what it might need to be just right. Then this afternoon I worked up my other piece of .063 and formed another pan. I think I reduced my time a bit; and I continue to look at areas where I can cut the time some more. I formed today's pan, then cut it out in the band saw and ground the edges to finish, all in just under 2 hours. I am hoping to get that time down to an hour and a half. Then I think it will take an additional hour to hour and a half to fully finish one.
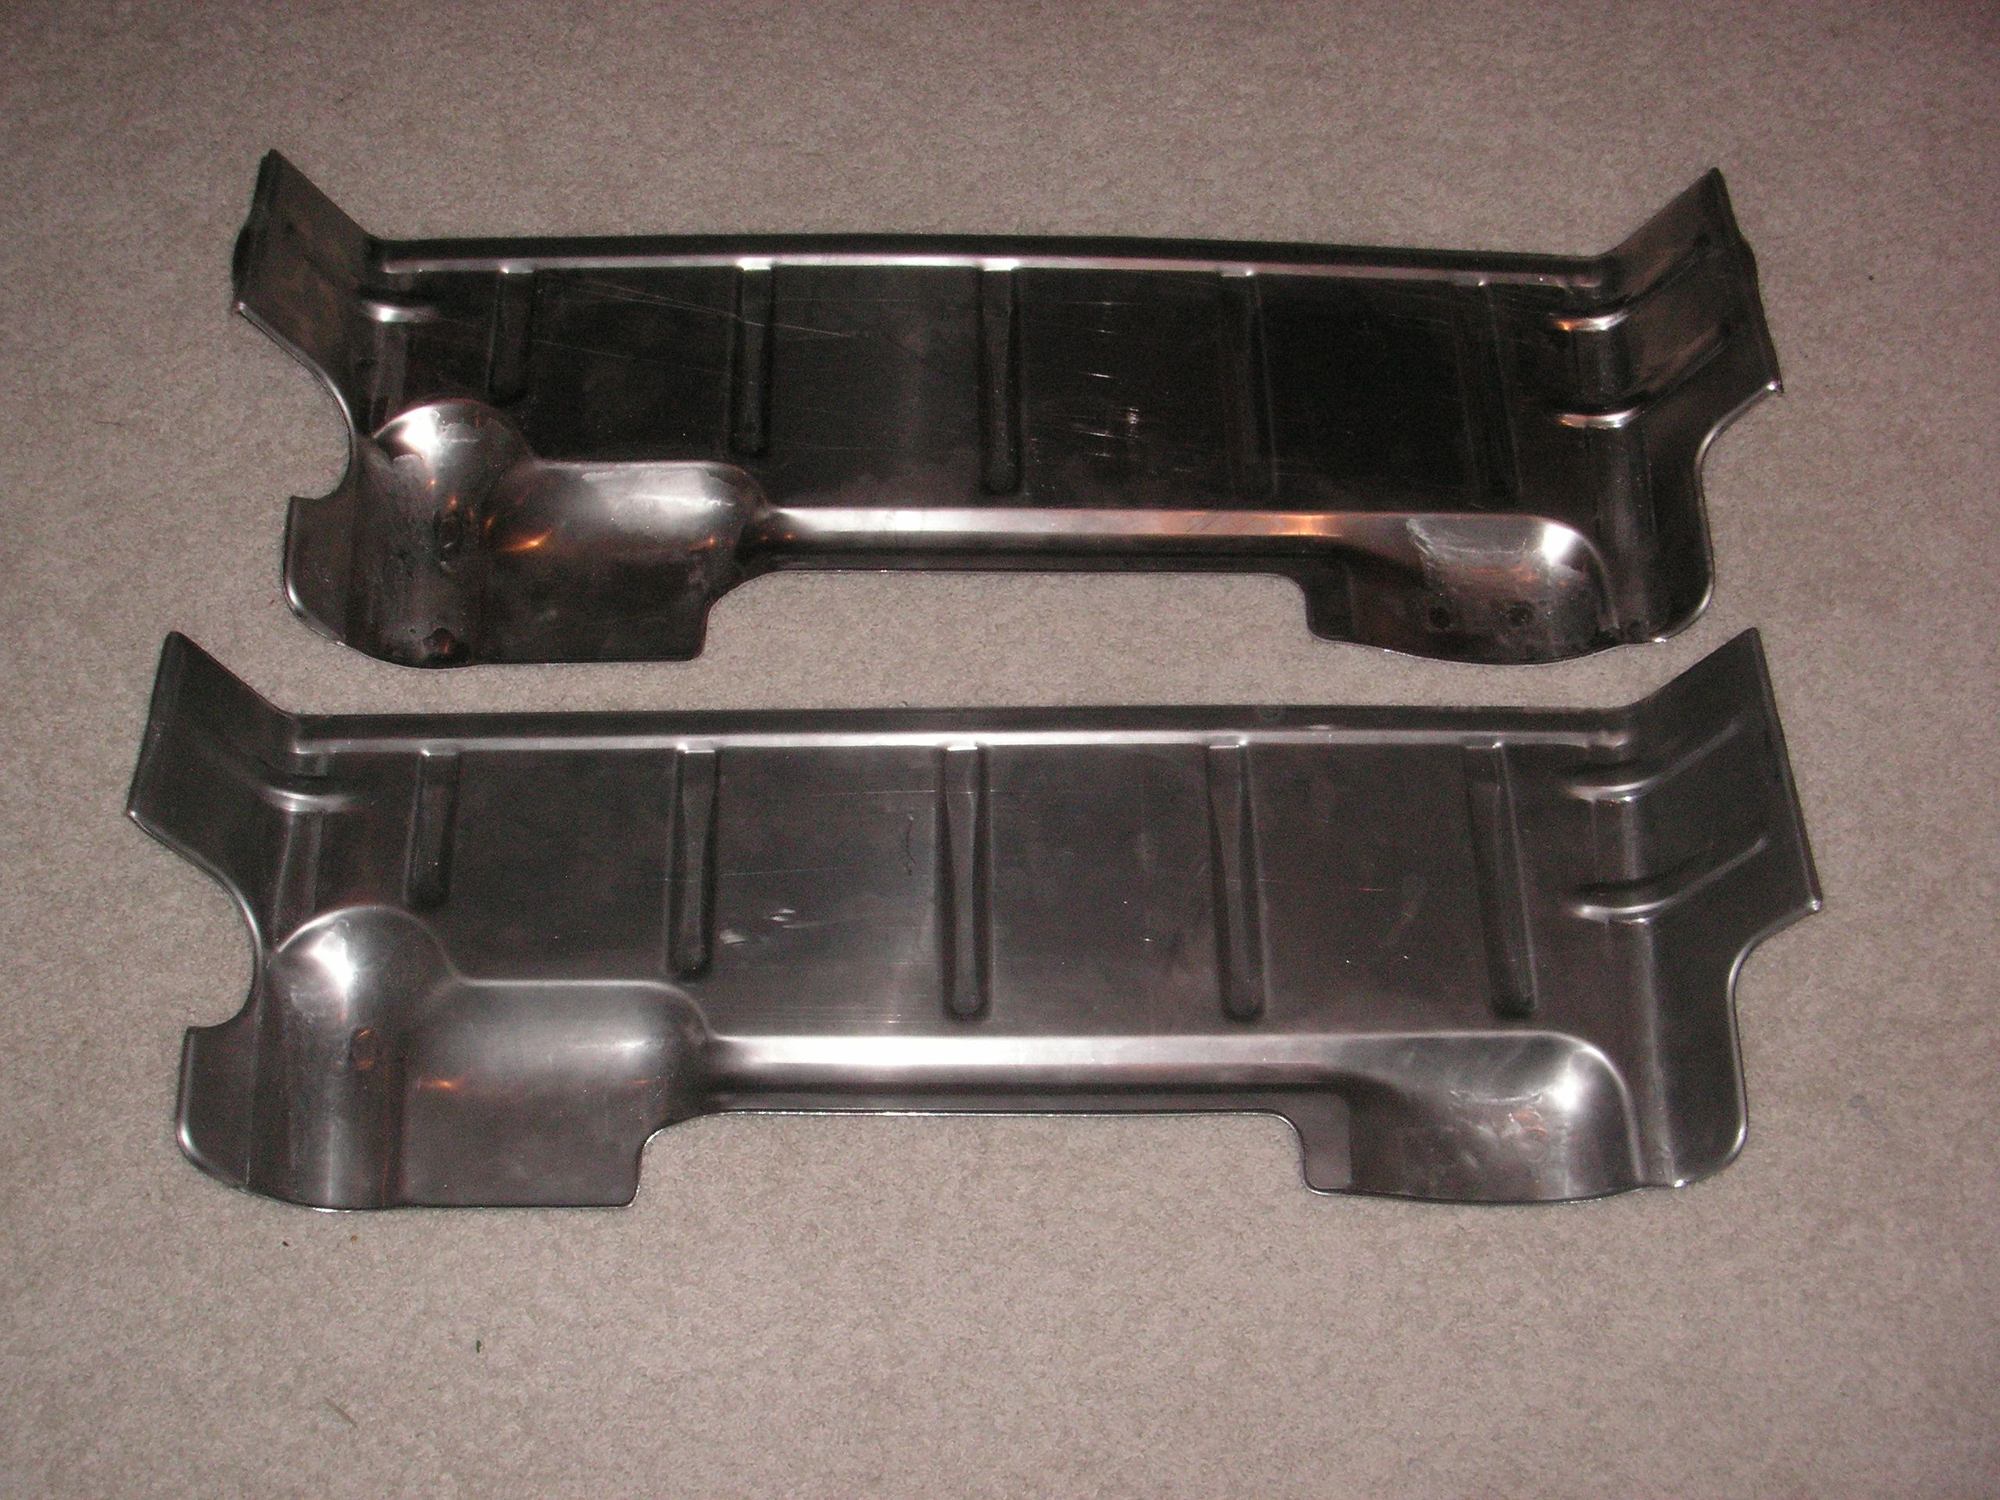
Now they are starting to stack up.
This week I have to go to San Diego to pick up some 928 parts my nephew is holding for me, but I'll be back Friday. Before I leave on Wednesday I'm going to order a couple of sheets of Aluminum in the .063 thickness and have them cut to work piece size so I'll have several pieces to finish up the development and start some production.


 11-18-2020, 12:54 PM