When you click on links to various merchants on this site and make a purchase, this can result in this site earning a commission. Affiliate programs and affiliations include, but are not limited to, the eBay Partner Network.
How to ReDesign and Fabricate Early 928 Protection Plate / Belly Pan
I had posted some ideas and a little progress about this subject in a different Thread about NLA Parts, but decided to do this Thread about how one might go about making a replacement Protection Plate / Belly Pan for the early 928s. My reputation here has largely been about my fabrications for the 928 in ABS Plastic, but this project will end up with at least one item in metal, most likely Aluminum, if any item at all.
As with most or all of my previous ReDesign and Fabricaton projects I will attempt to make some improvements from the original Facory items and will include some simplification where warranted, and probably some correctlion of what I perceive as errors in the original design(s).
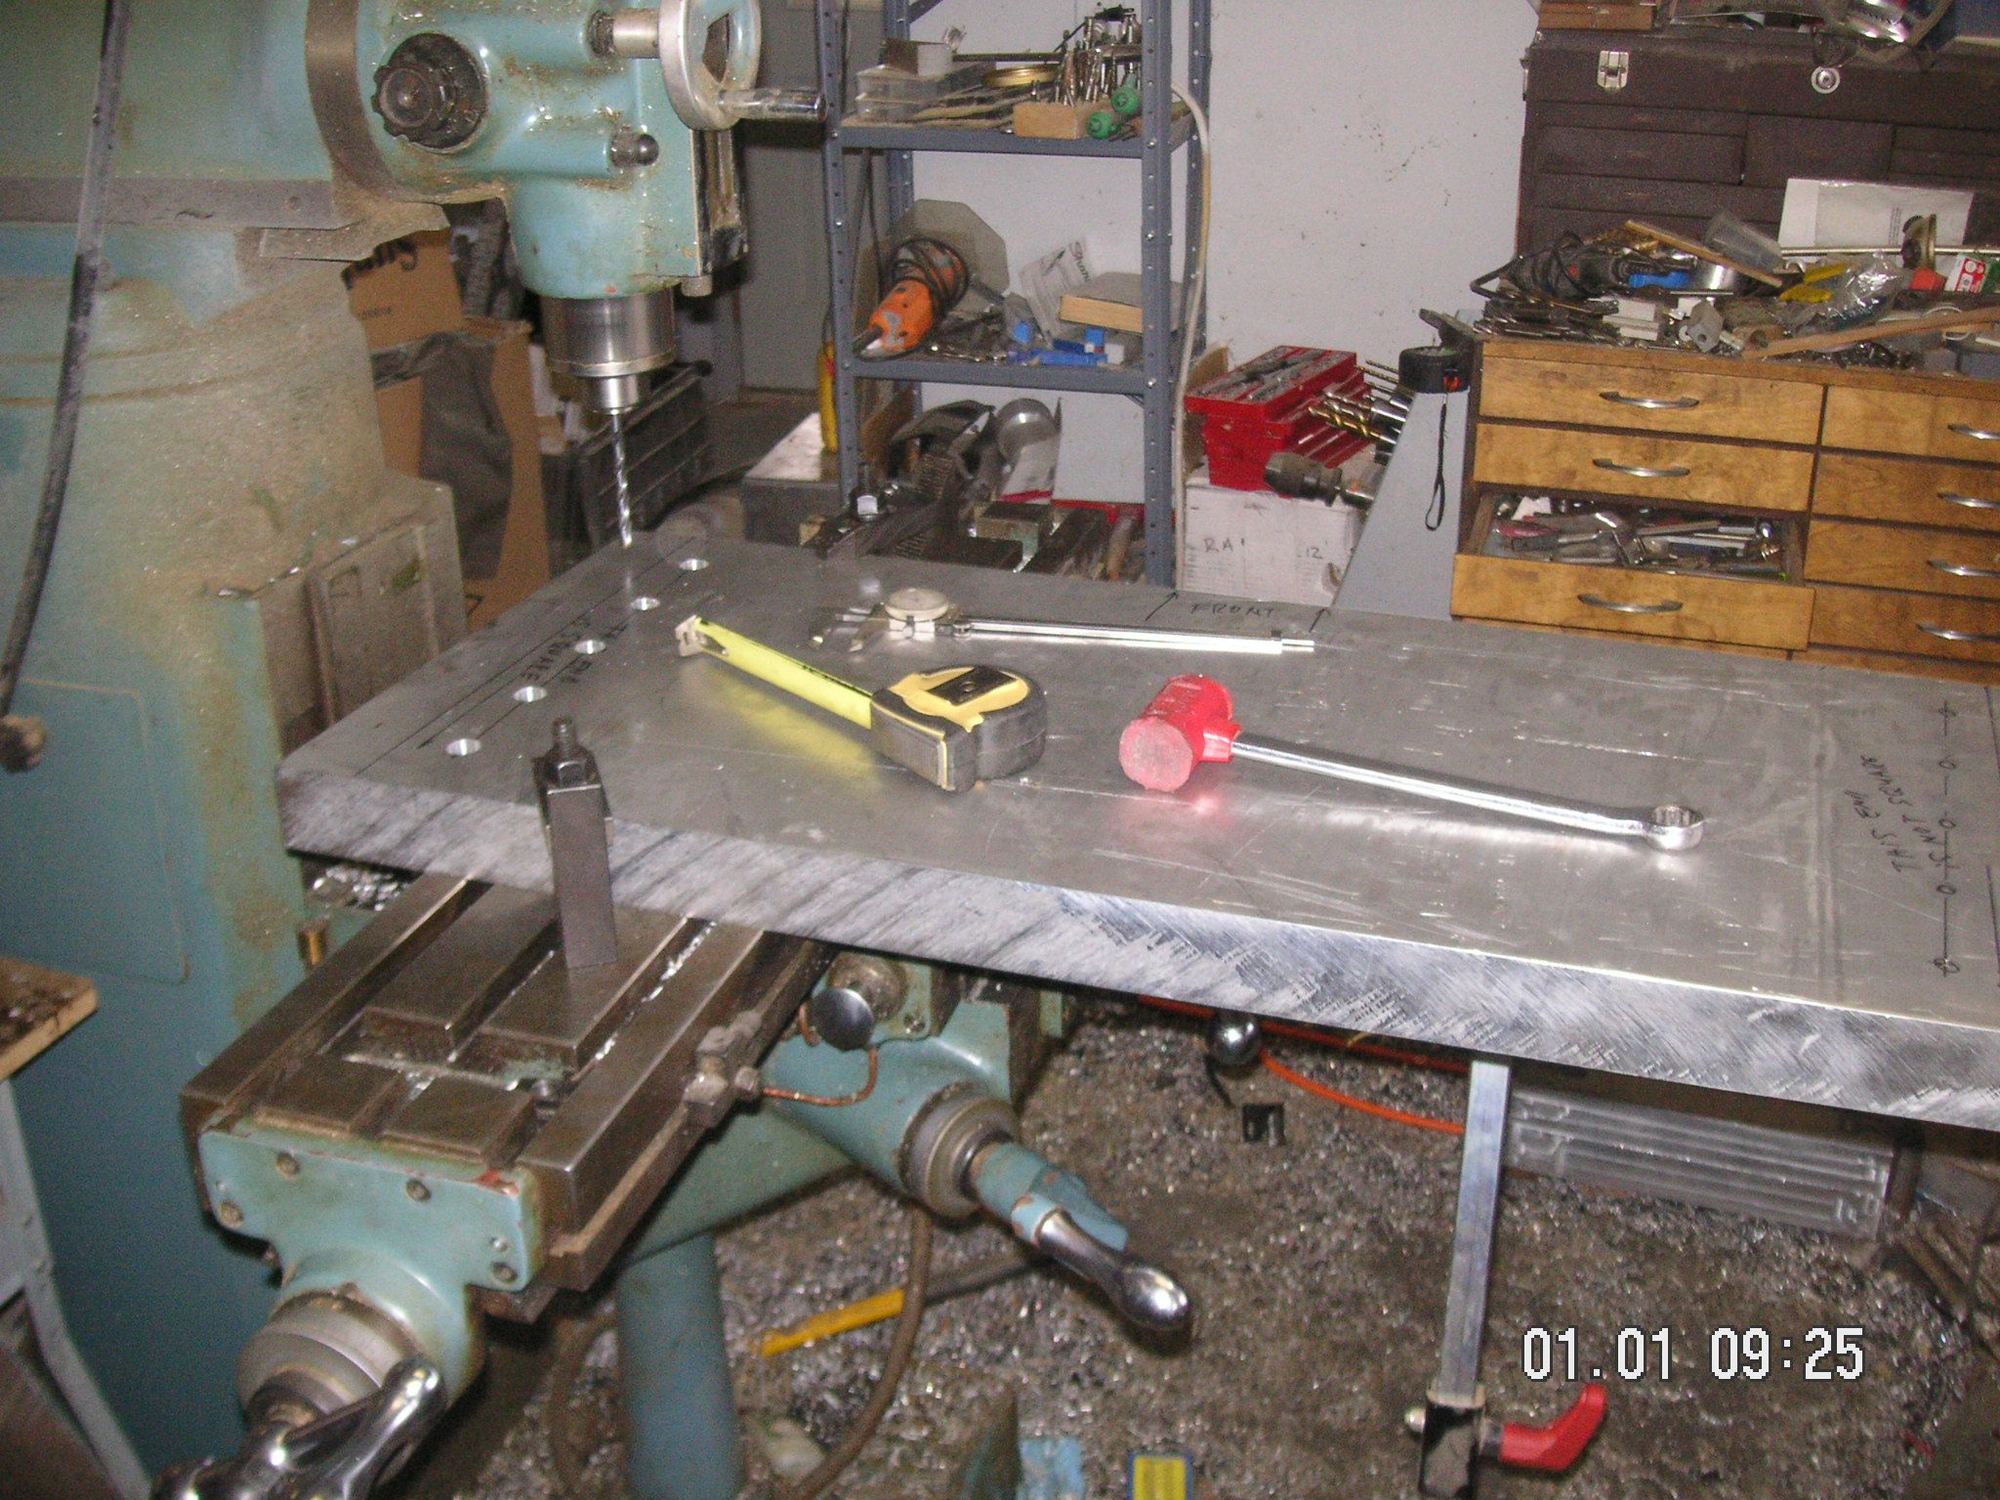
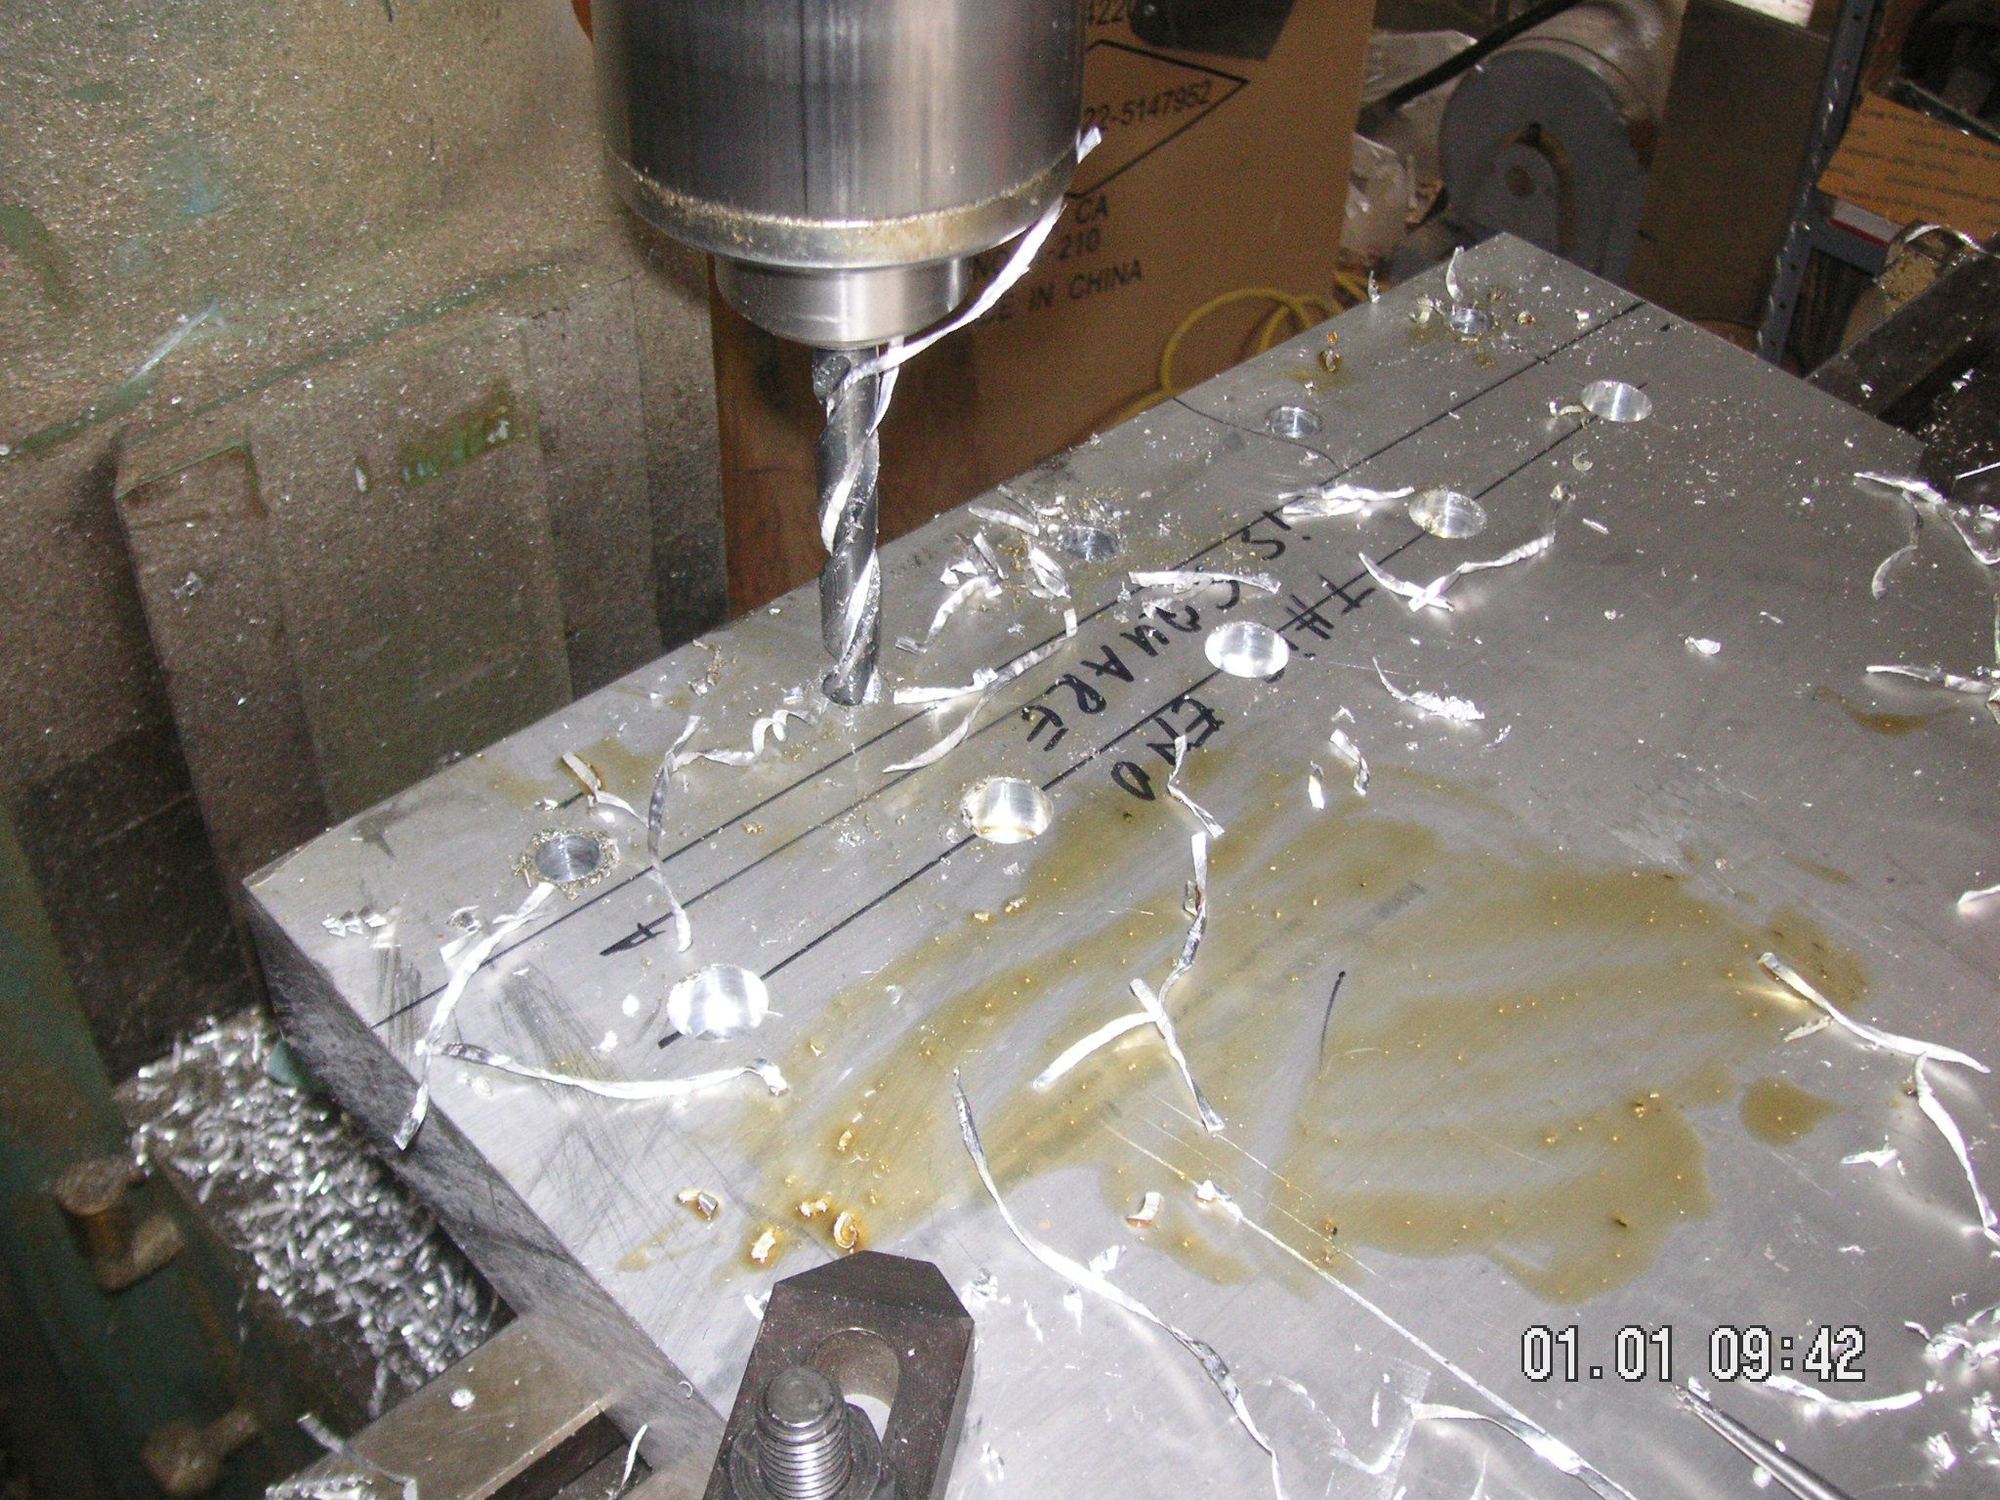
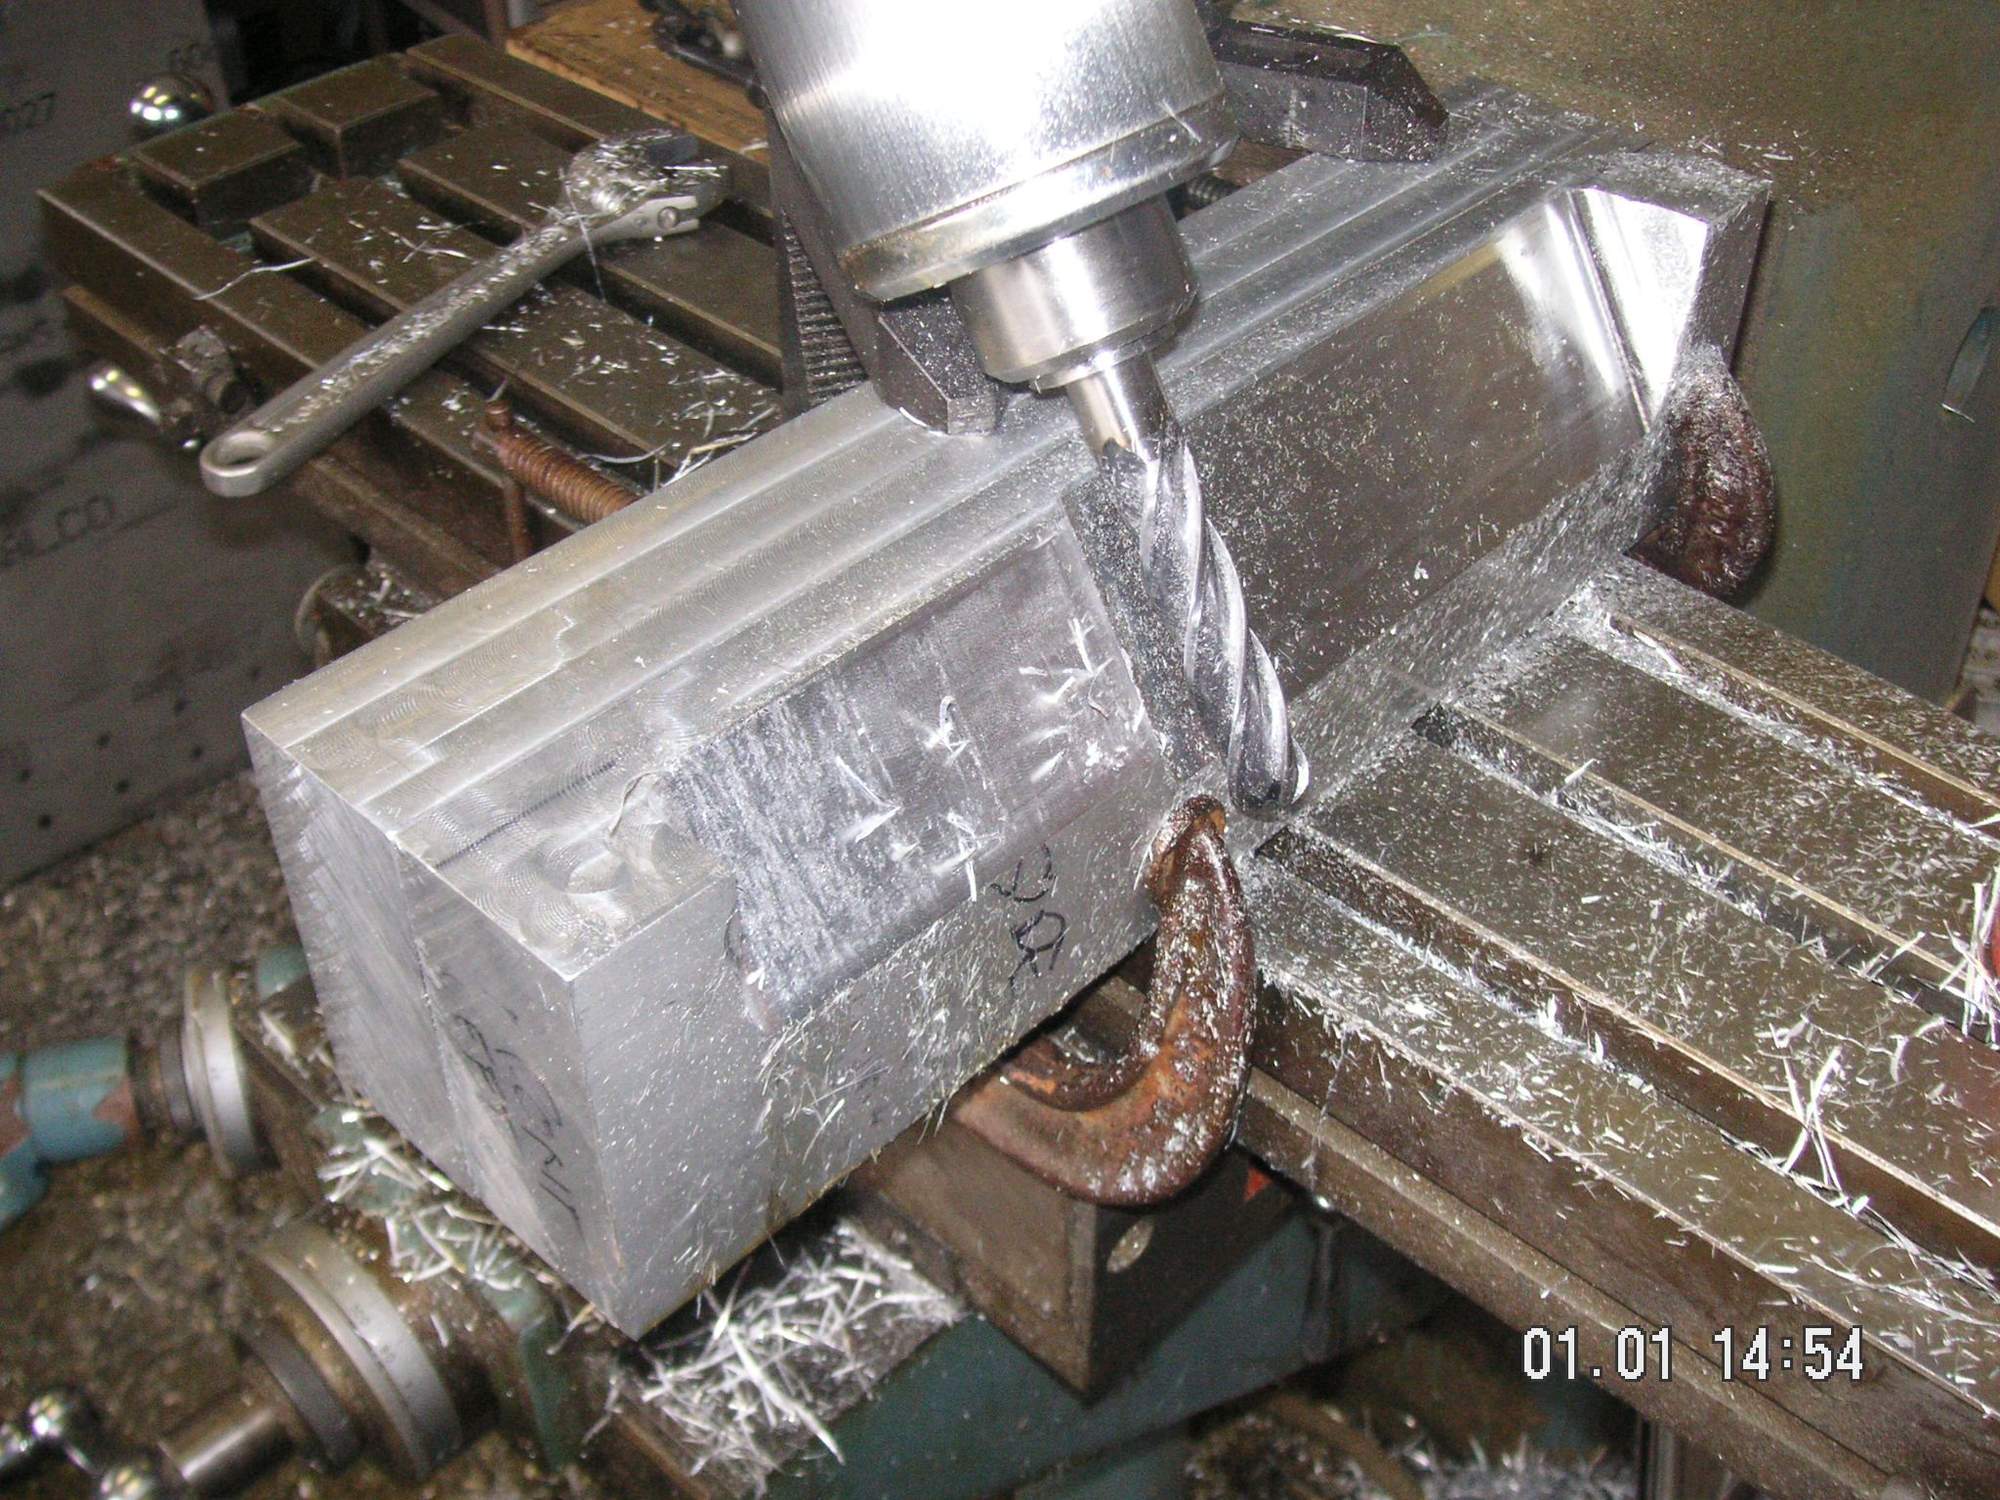
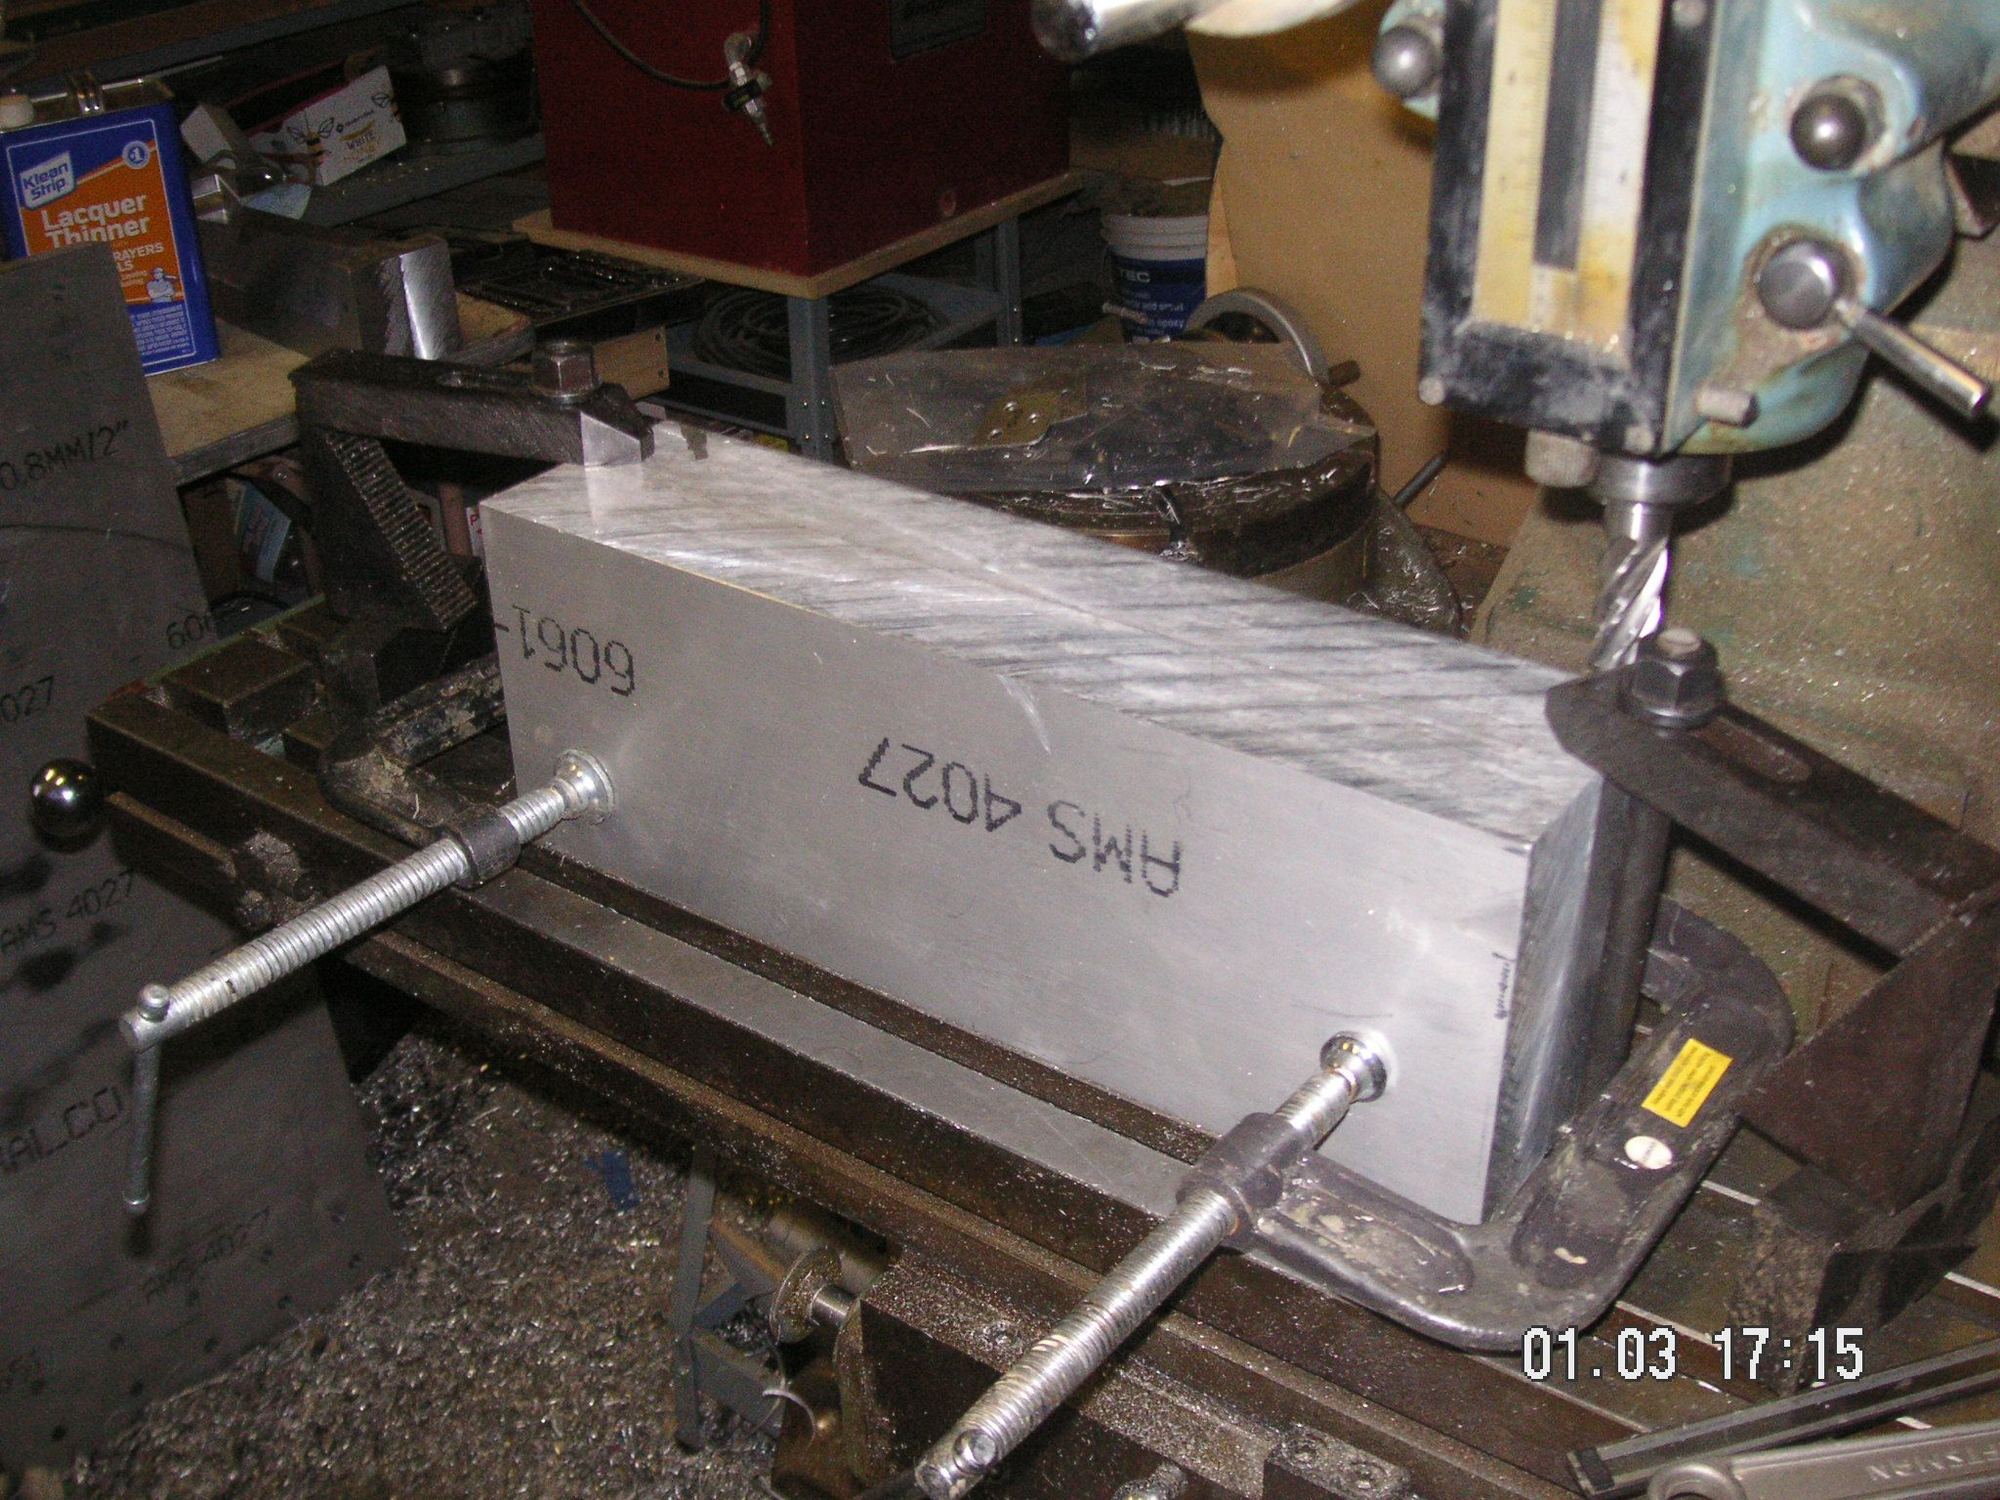
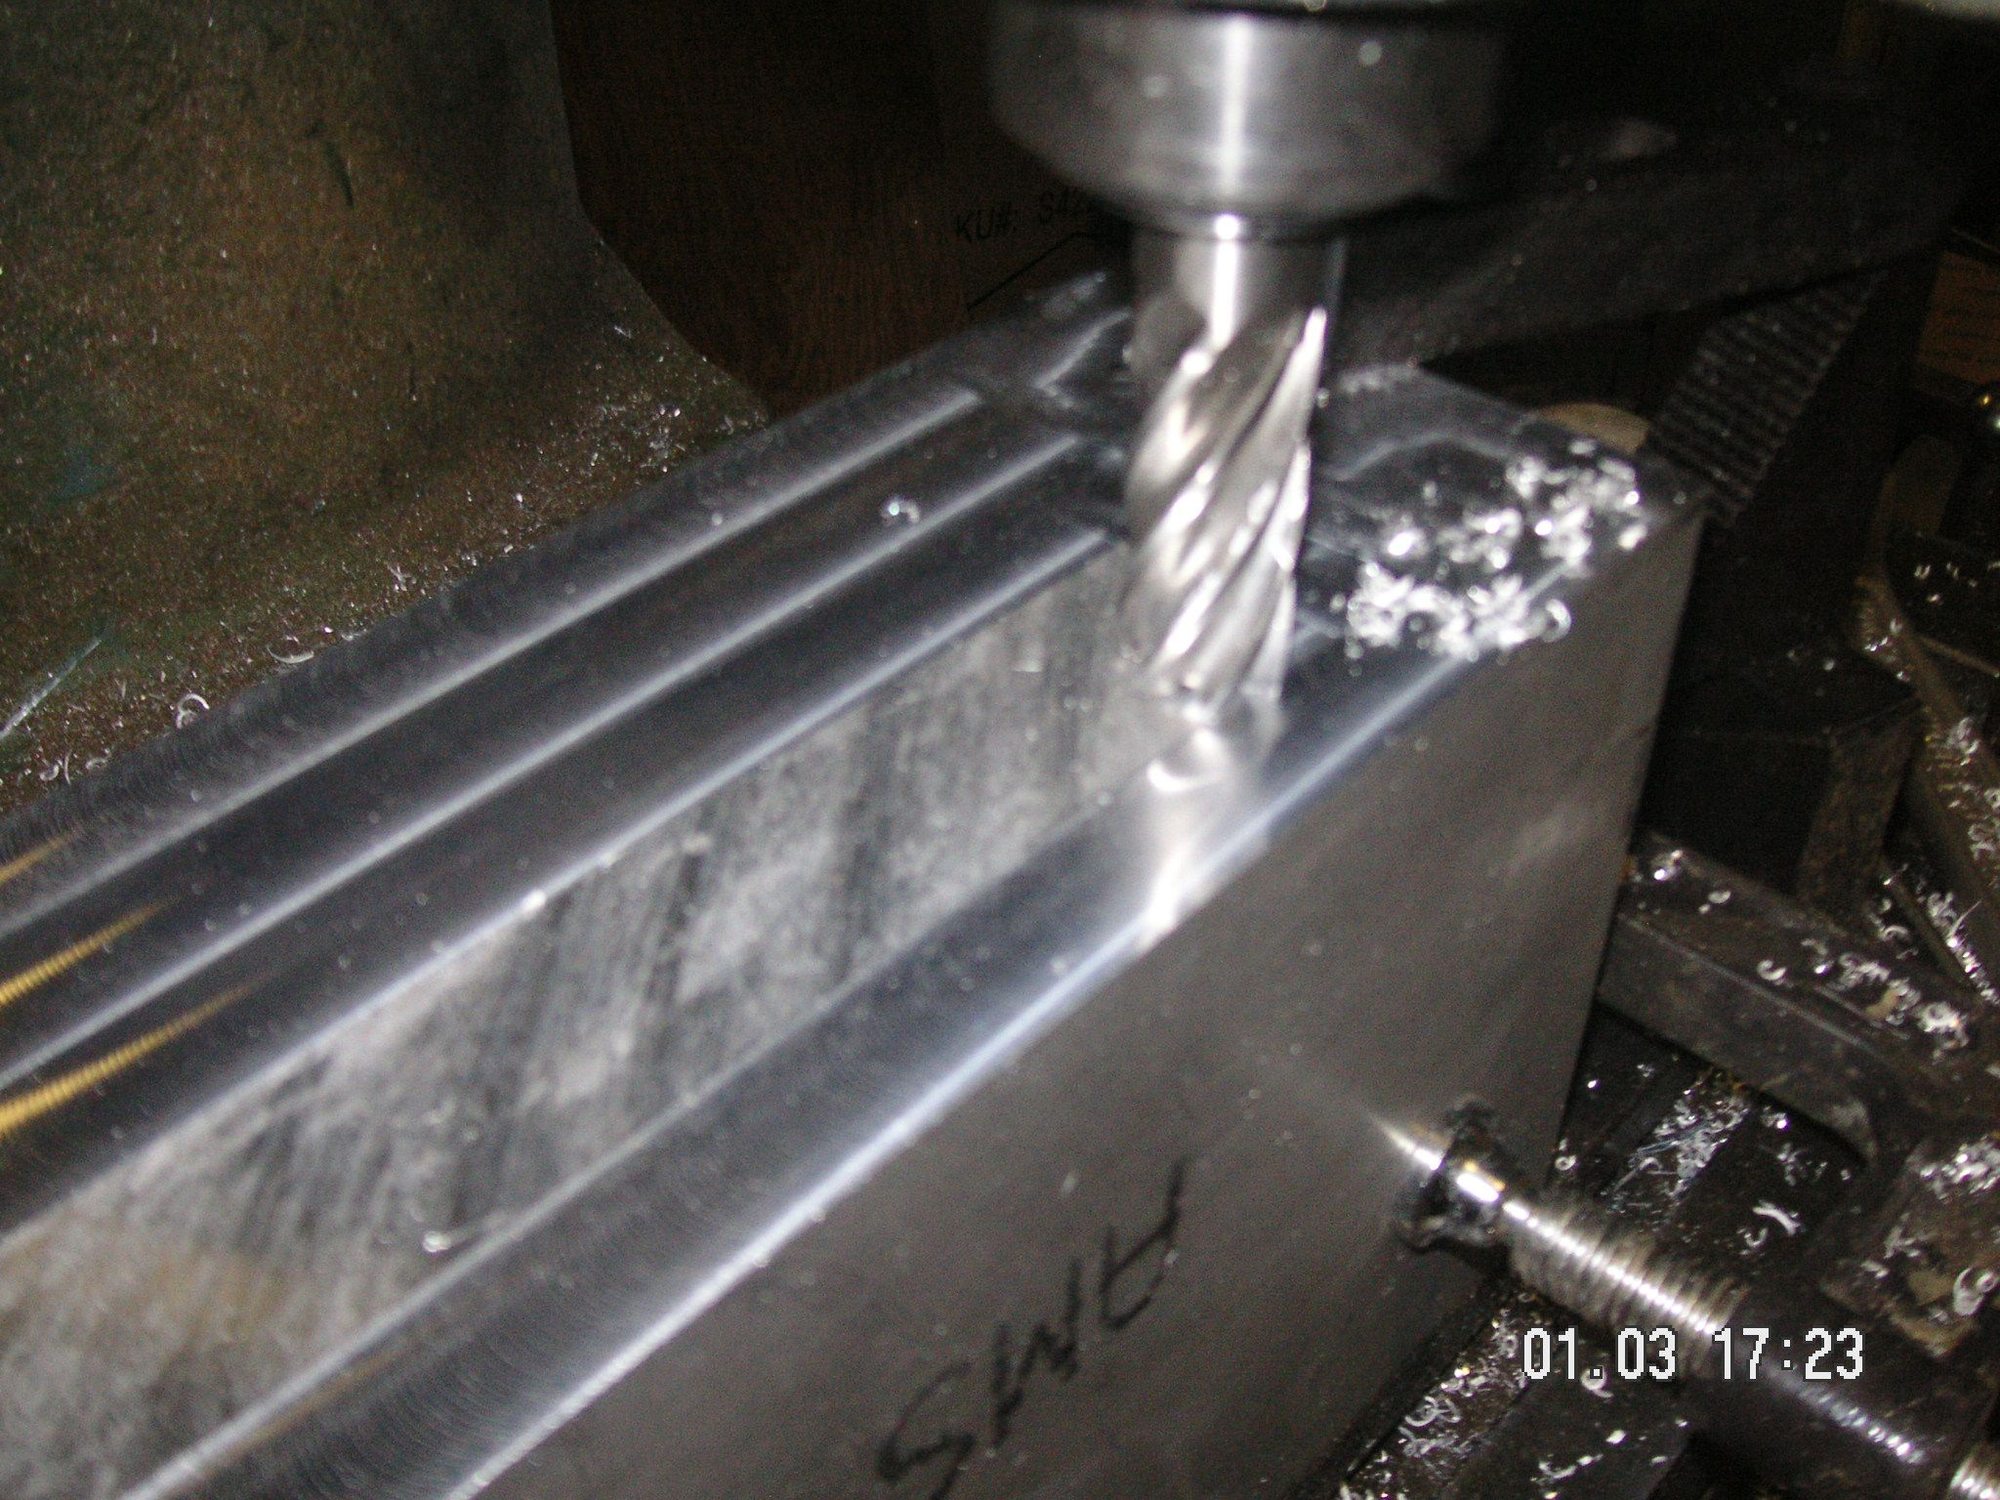
I have obtained some heavy Aluminum plates to make my forming dies out of and have started some machine work on some of them. I have the base plate drilled and the two end plates drilled and tapped to attach. You can see that I made a row of holes in the base plate that is in the wrong place, but I am going to simply refer to them as "practice holes." They will be of no consequence in the final dies.
Last edited by Jerry Feather; 01-13-2020 at 09:32 AM.
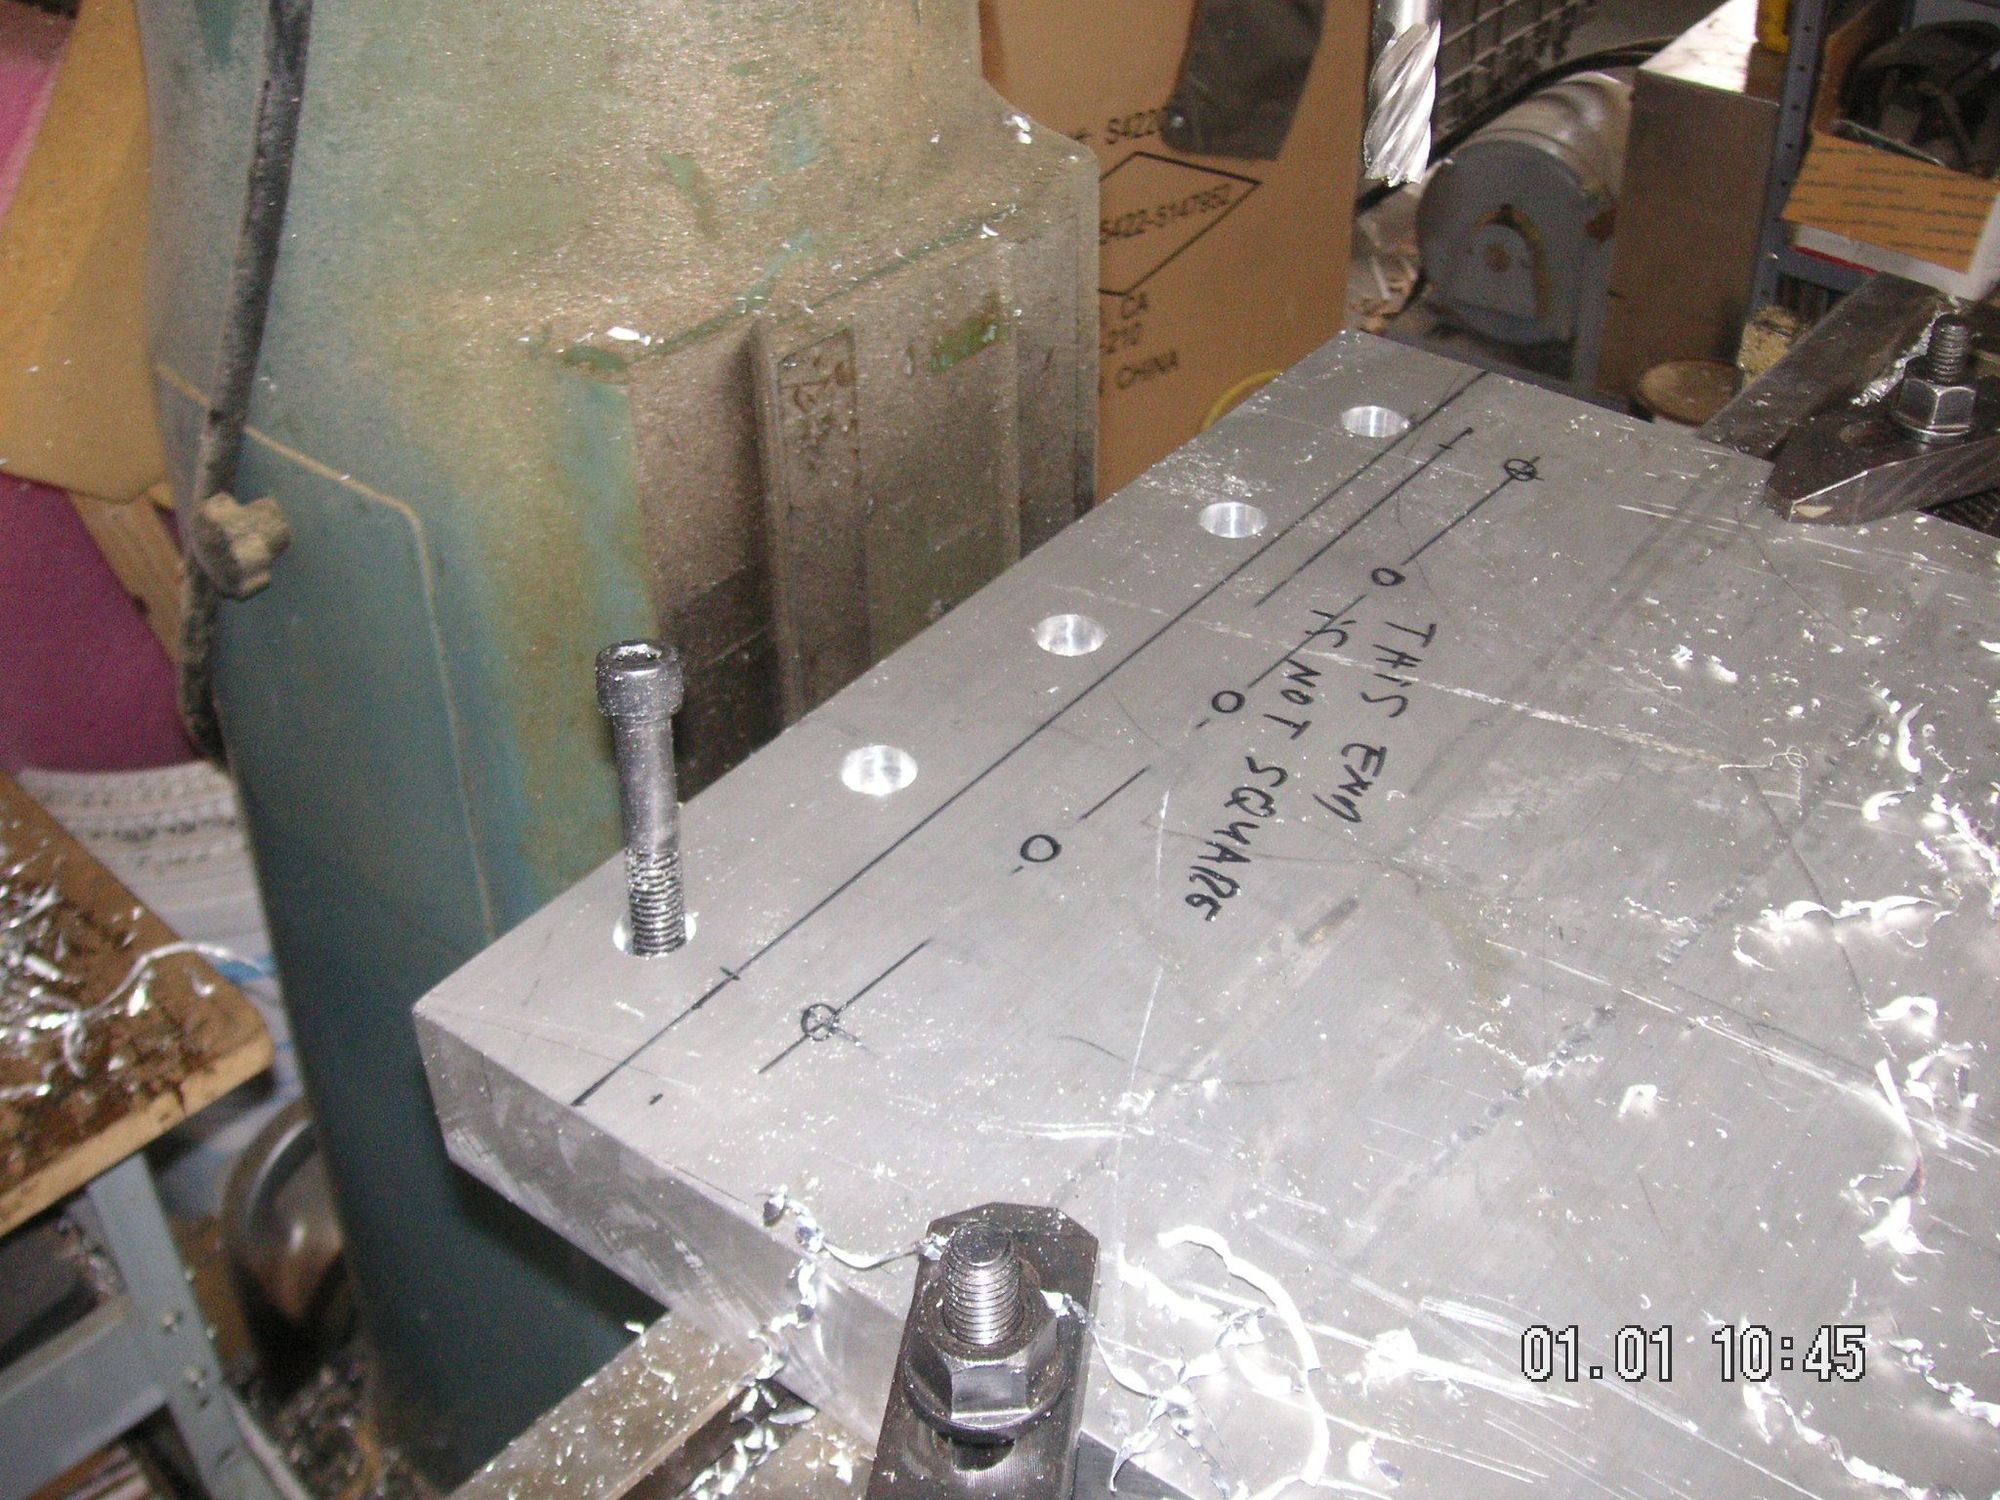
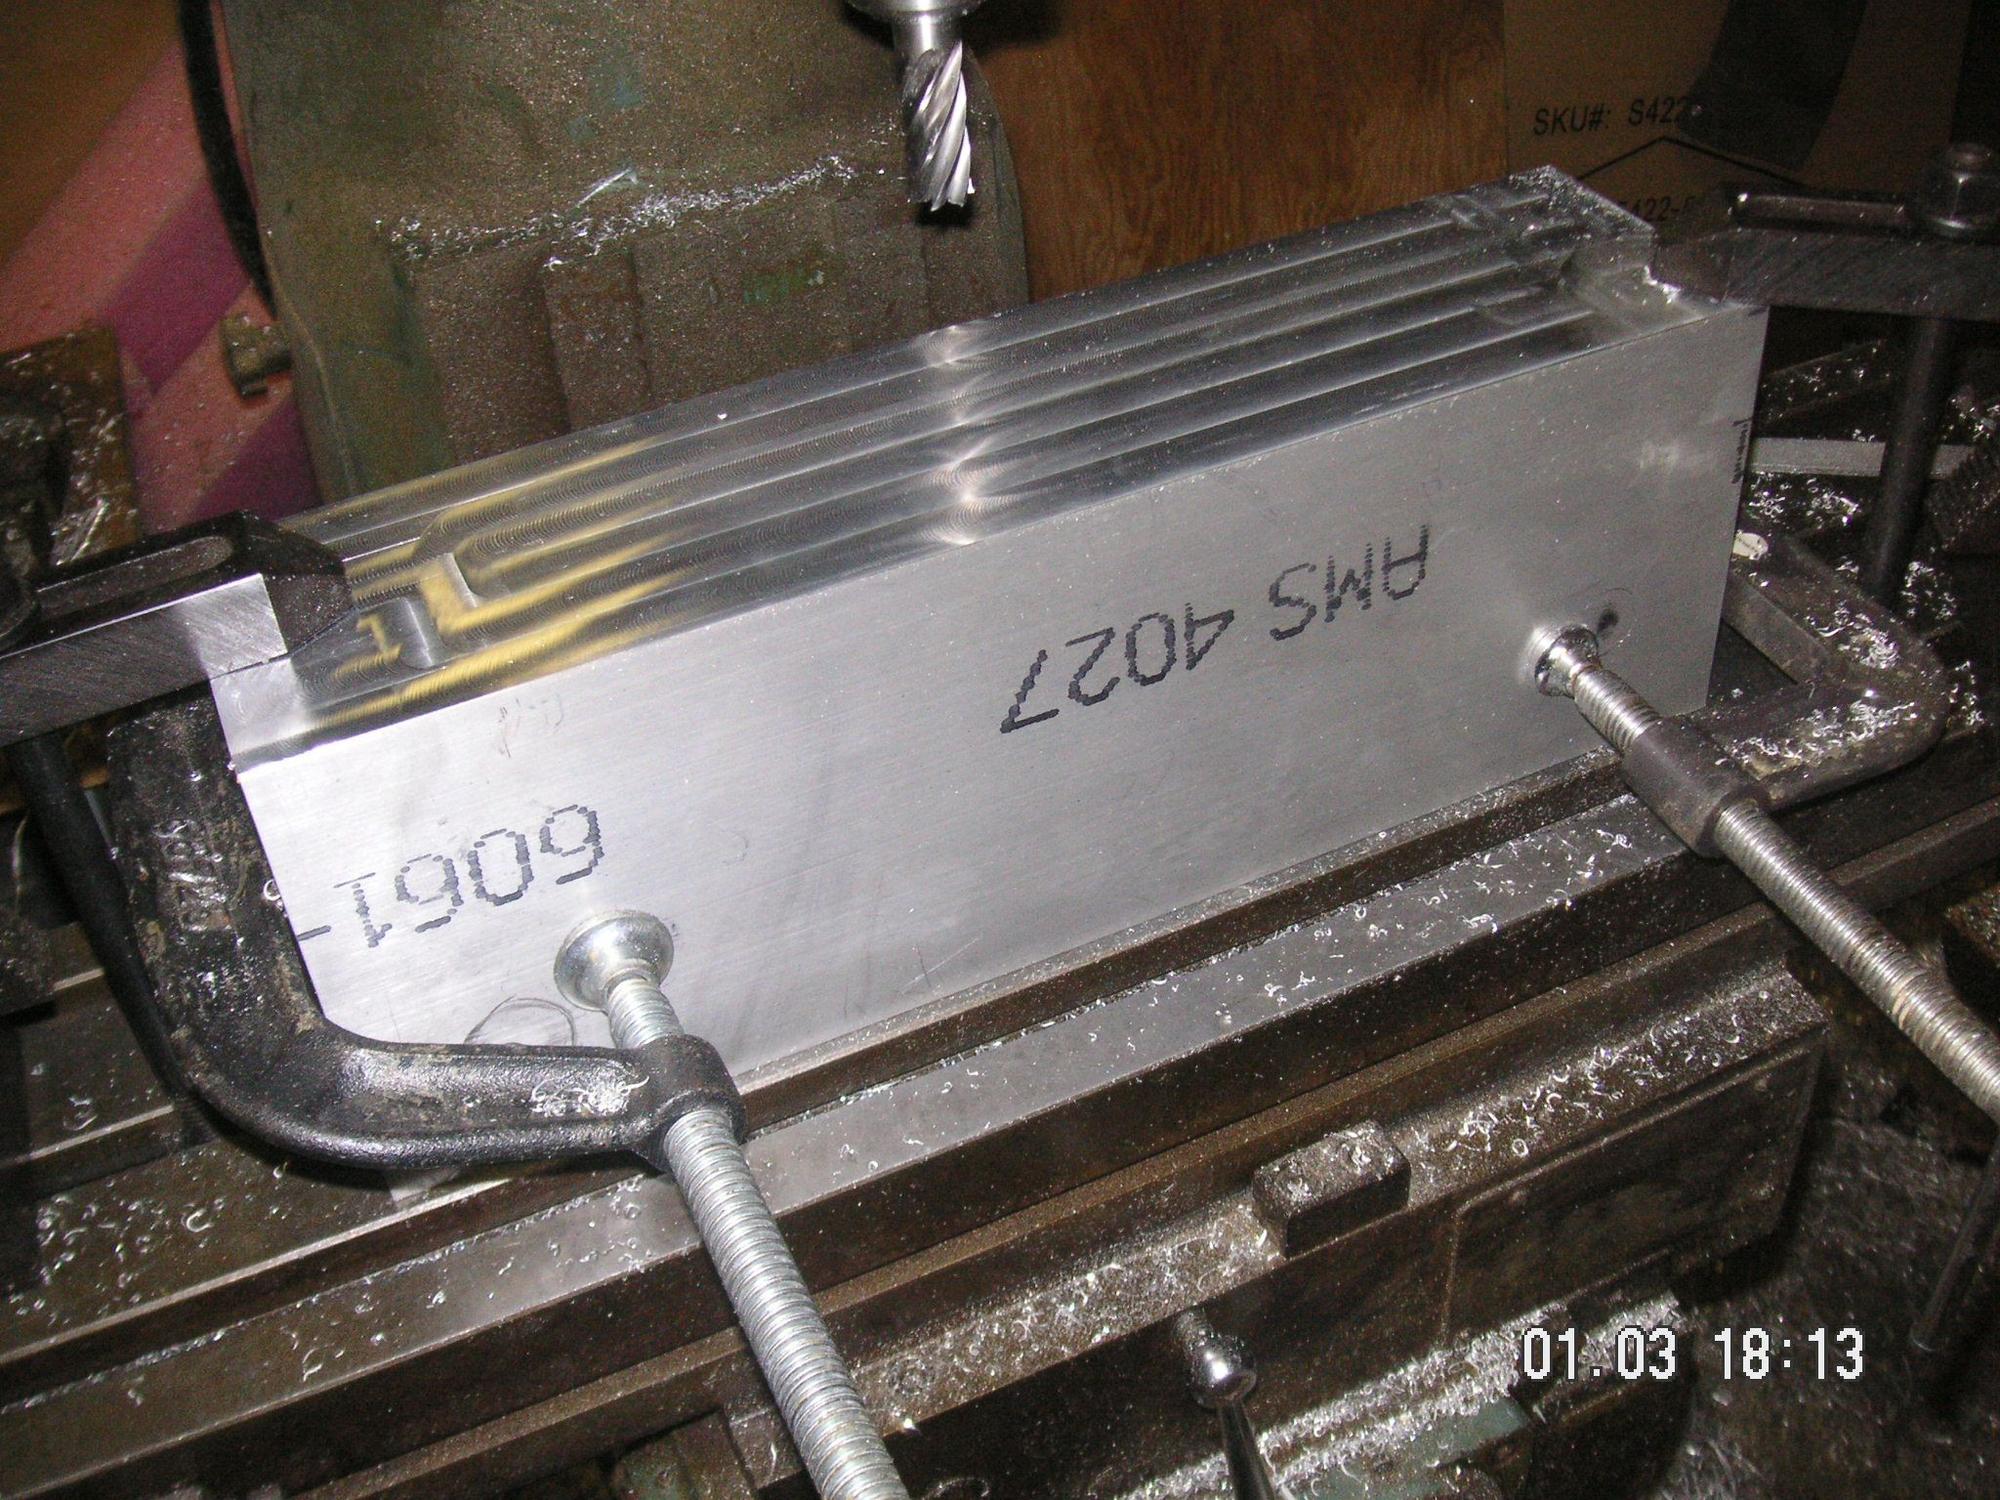
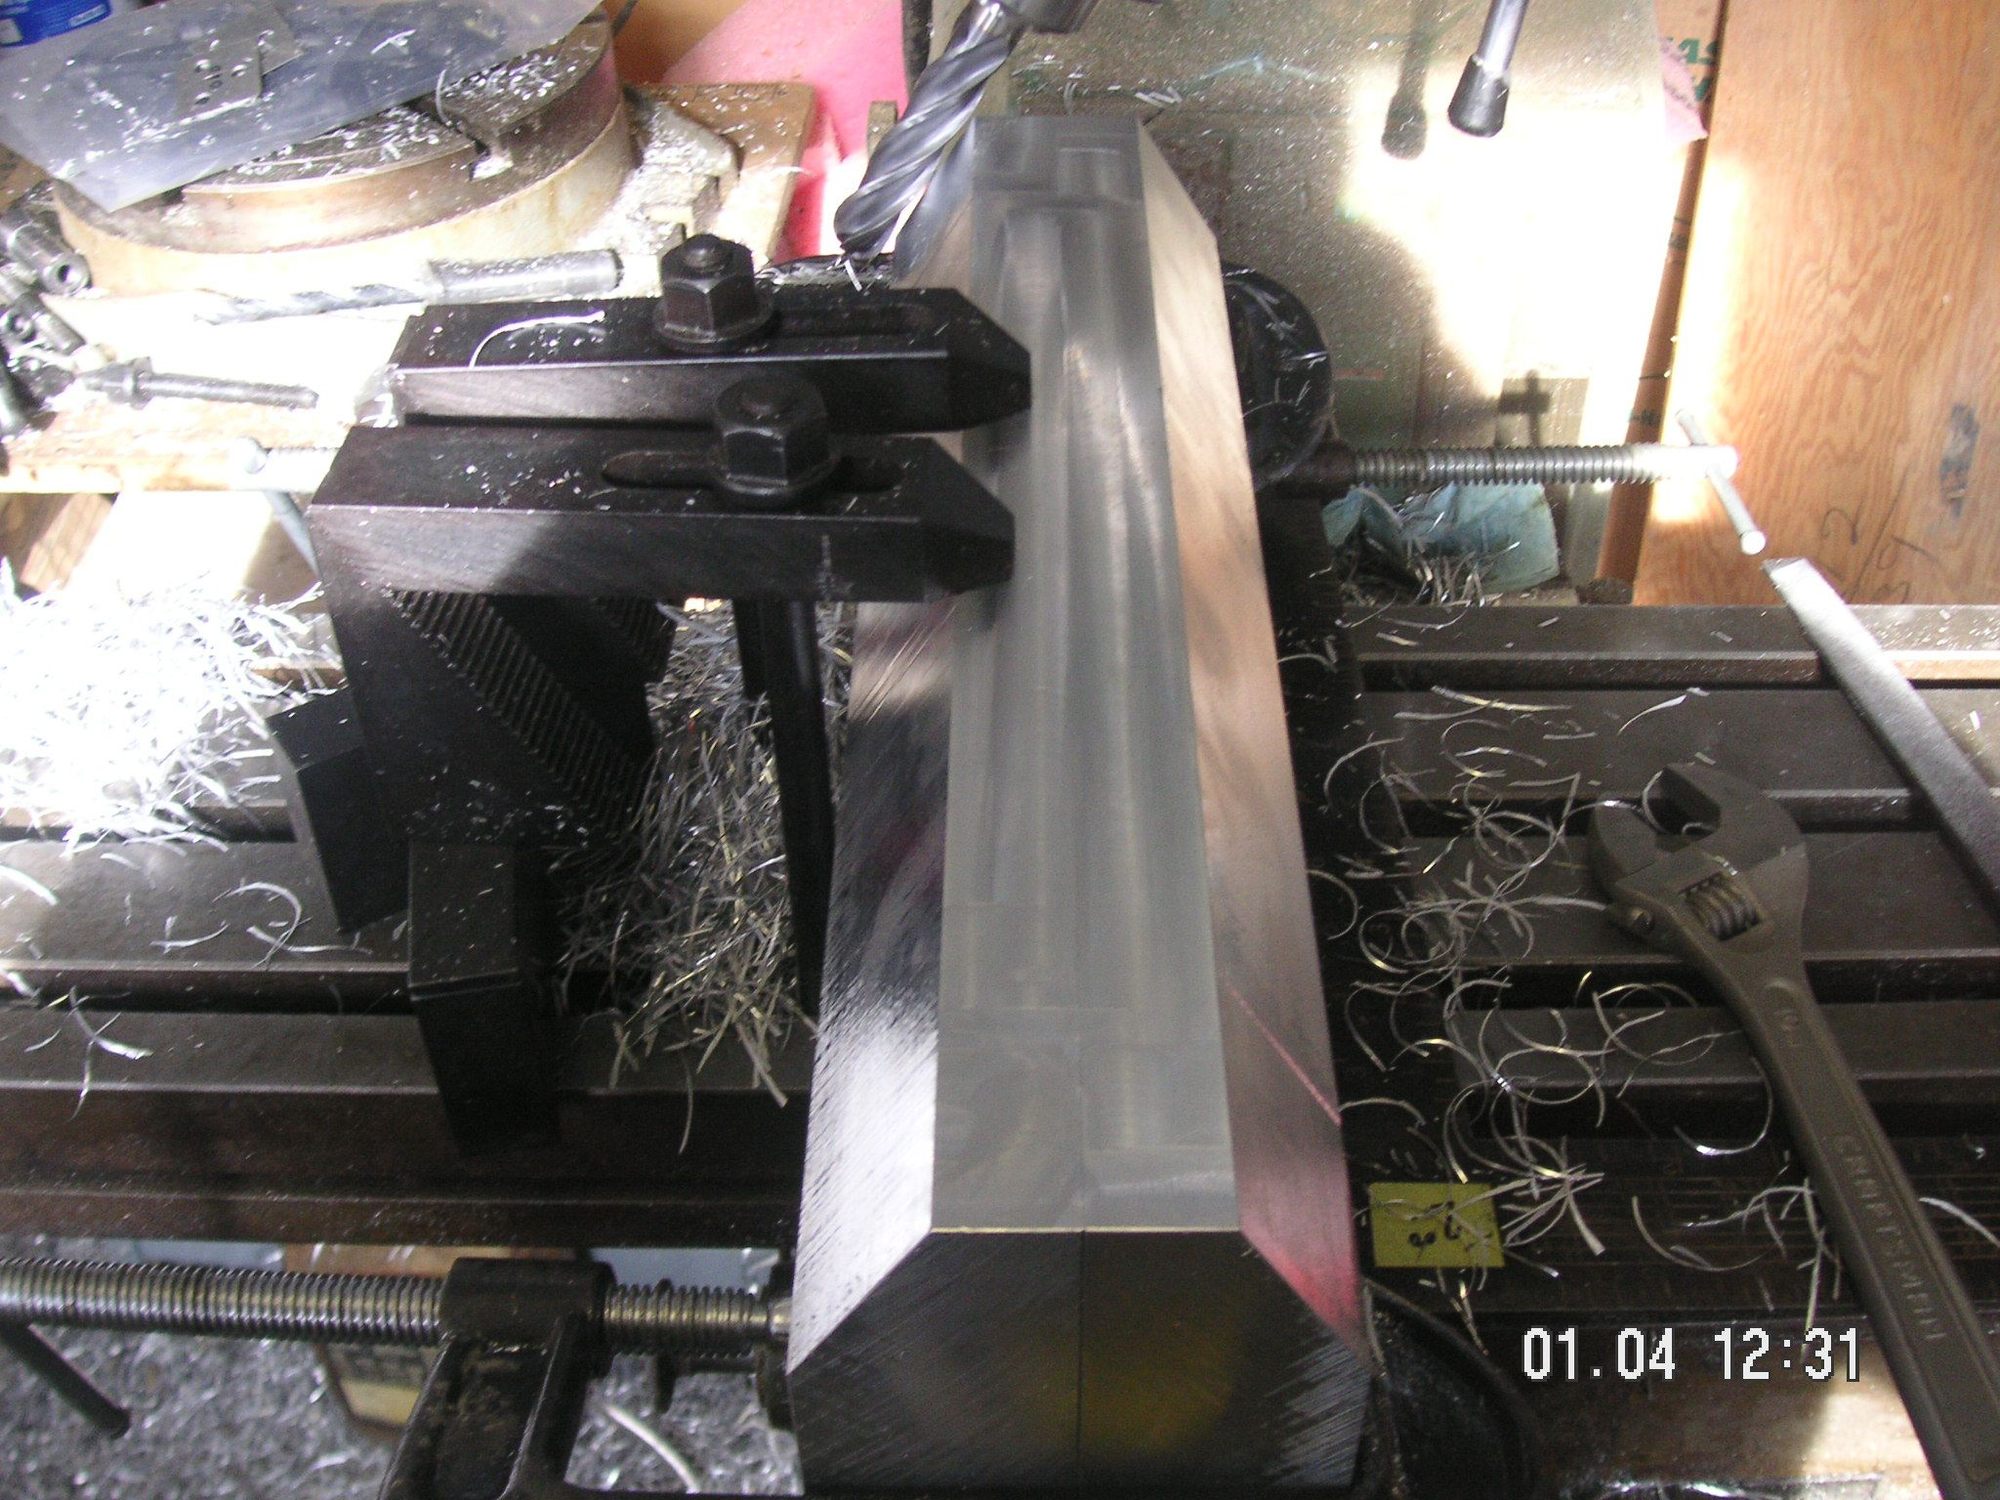
I clamped the two end pieces together and then clamped them in the mill so I could mill the inner side of one of them to the correct angle for the ends of the Plate/Pan. I had to mill the slope in two moves since my mill head only articulates in one plane. Then the Y-feed on my mill table only has 9 inches of travel and the slope needs to be about 13 inches long. Maybe tomorrow I'll be able to mill the other end piece then cut their tops since they also have to be sloped. With those done to that point I'll be able to fit the end forms of the male part of the set and then mill the ends of the longer center piece of the form set.
Jerry,
That's some pretty impressive metal there! Very jealous of your skills here. Having had my front pan off a few times lately I notice that the ends dont naturally go into their mounted position - they always need to be pushed inwards then up to meet the screw holes. Not sure if this a common thing - mine is in pretty good shape, but has needed some work on dents under the alternator.
jp 83 Euro S AT 57k
What I find with the late version of this early pan that I took out of one of my 85s, is that when it is pretty much straightened out it measures 35 inches wide between the front two upper corners. I measure that the front is 3 inches tall and the rear is 4 inches tall. The upper mounting points are 1/4 inch above the line along the top edges. Overall the pan is 12 inches from front to back although at any given point it only measures about 11 1/2 inches.
Oddly, the used late pan that John shows a picture of with the yard stick next to it, in the other thread, scales out over 40 inches wide. I haven't figured that out yet; but I think I will try to measure the distance between the two mounting points on my later car that is up on jack stands (I think they are the same width) to verify the width of the pan. It should be 35 1/2 inches between those mounting points.
JP, I think there is enough flexibility in any of these pans to simply straighten them out and they should match the upper holes in the car. Try that next time before you put the pan back in. Set the front upper corners at 35 inches and see it that does not make the holes match.
Last edited by Jerry Feather; 01-06-2020 at 09:09 AM.
Some of the design criteria I am working with in this project are the following:
One, The original bulge on the alternator side was intended for clearance for the flex ducting for fresh air to the Alternator. In many cases I can observe the dent or bulge is probably deep enough, but the cut-out in the side of the pan for it does not go far enough down. That is probably why that part on my pan has been cut off. I'm going to fix that. The extra space added to this bulge in the last version of this pan is not for belt clearance for the ribbed alternator belt, since that belt is very far away from this pan, but rather for space for a larger alternator. Probably also space for the alternator adjustment bracket, but that more likely falls in the opening between the pan and the oil pan. I'm going to close that gap up and bulge it down for clearance for both a larger alternator and the bracket.
Two, the bulge on the other side for the AC compressor is way too complex for what is needed. Why the longways dent along the rear of the later version(s) of this pan extends down through that area is beyond me. I think I am going to simply make the bulge the correct size and shape to clear the AC clutch and belt.
Three, I am going to eliminate most of the slopes at the front of the bulges on both sides. I think they are there for some thought about aerodynamics, but I think that is superfluous.
Four, I am going to change the way most of the outer edges of the pan are finished.
Five, I have a few other minor design changes in mind, but you will be able to see those as we progress.
Last edited by Jerry Feather; 01-13-2020 at 09:35 AM.
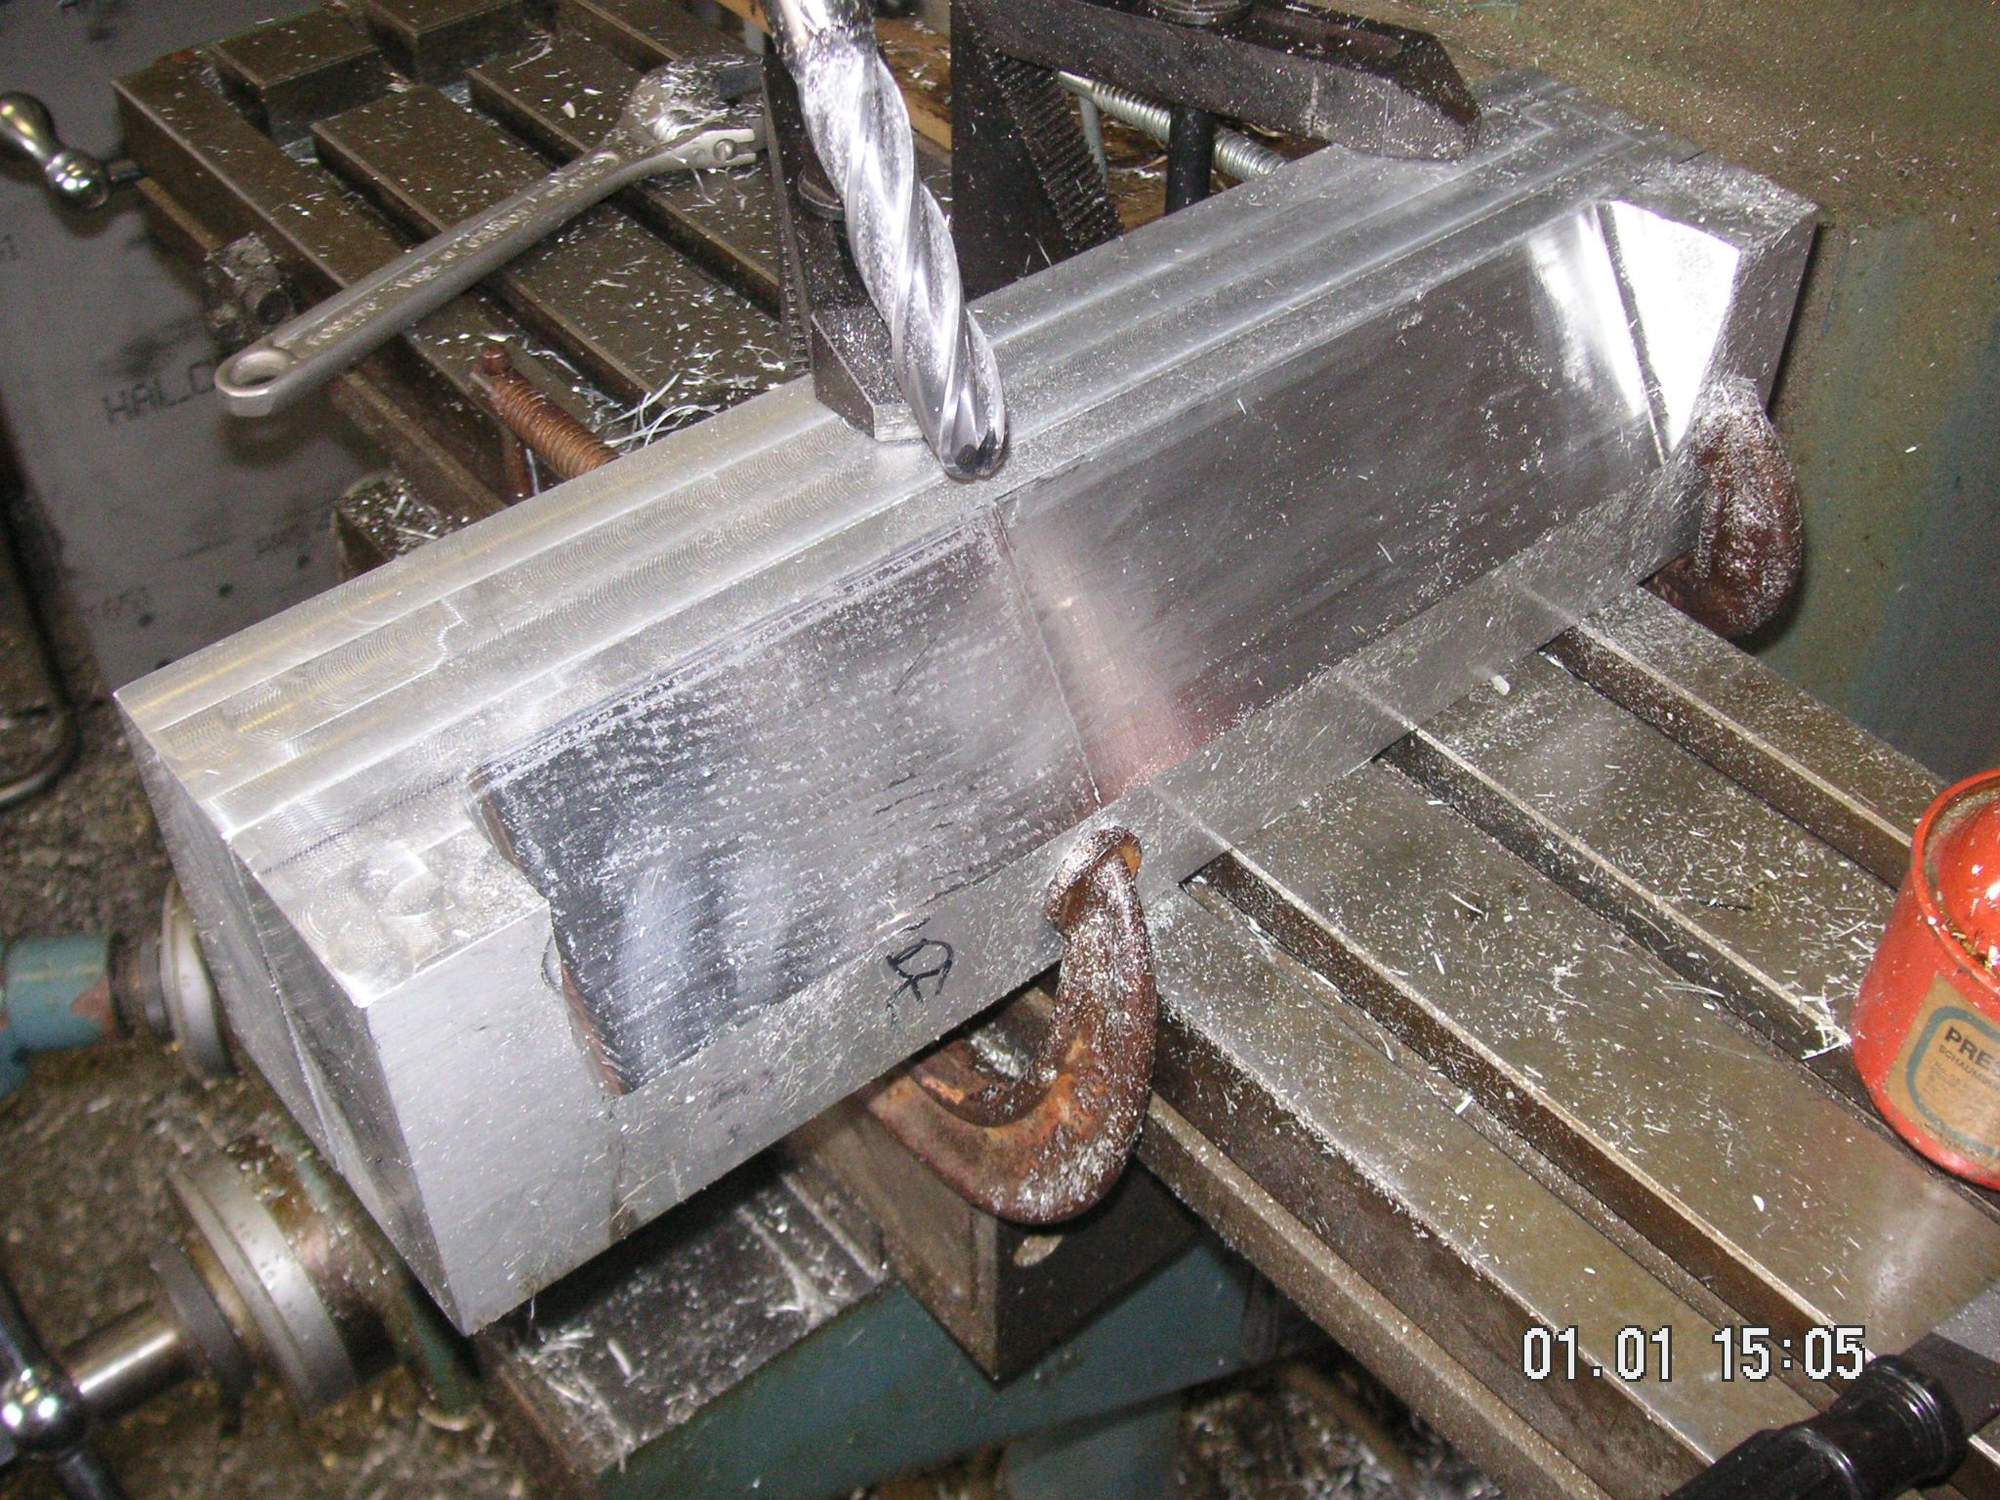
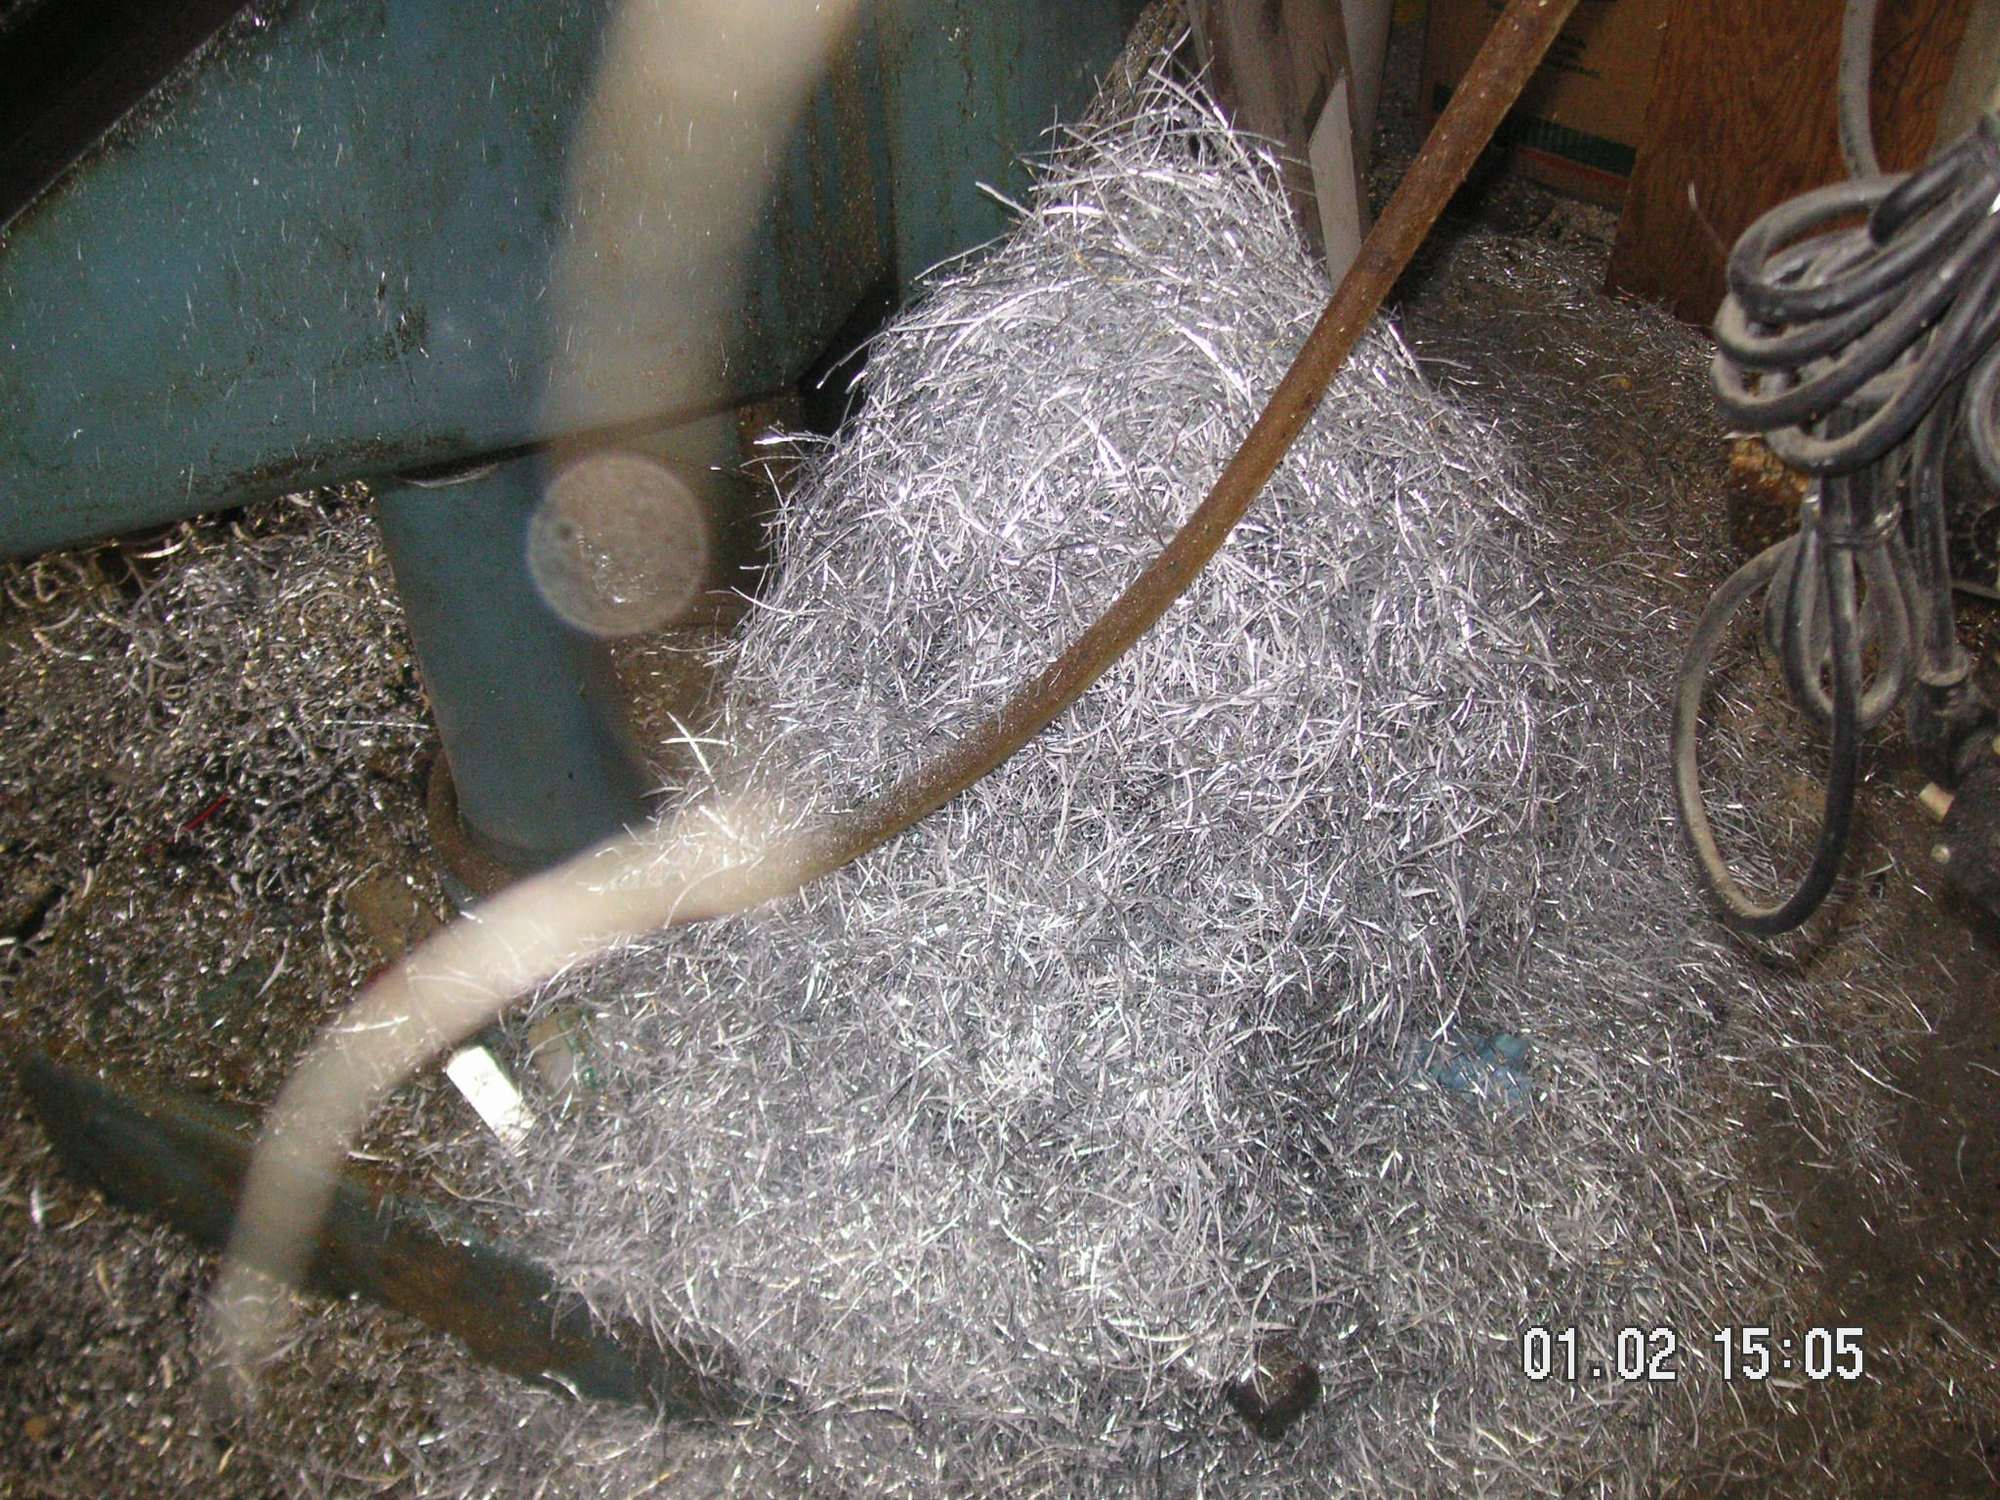
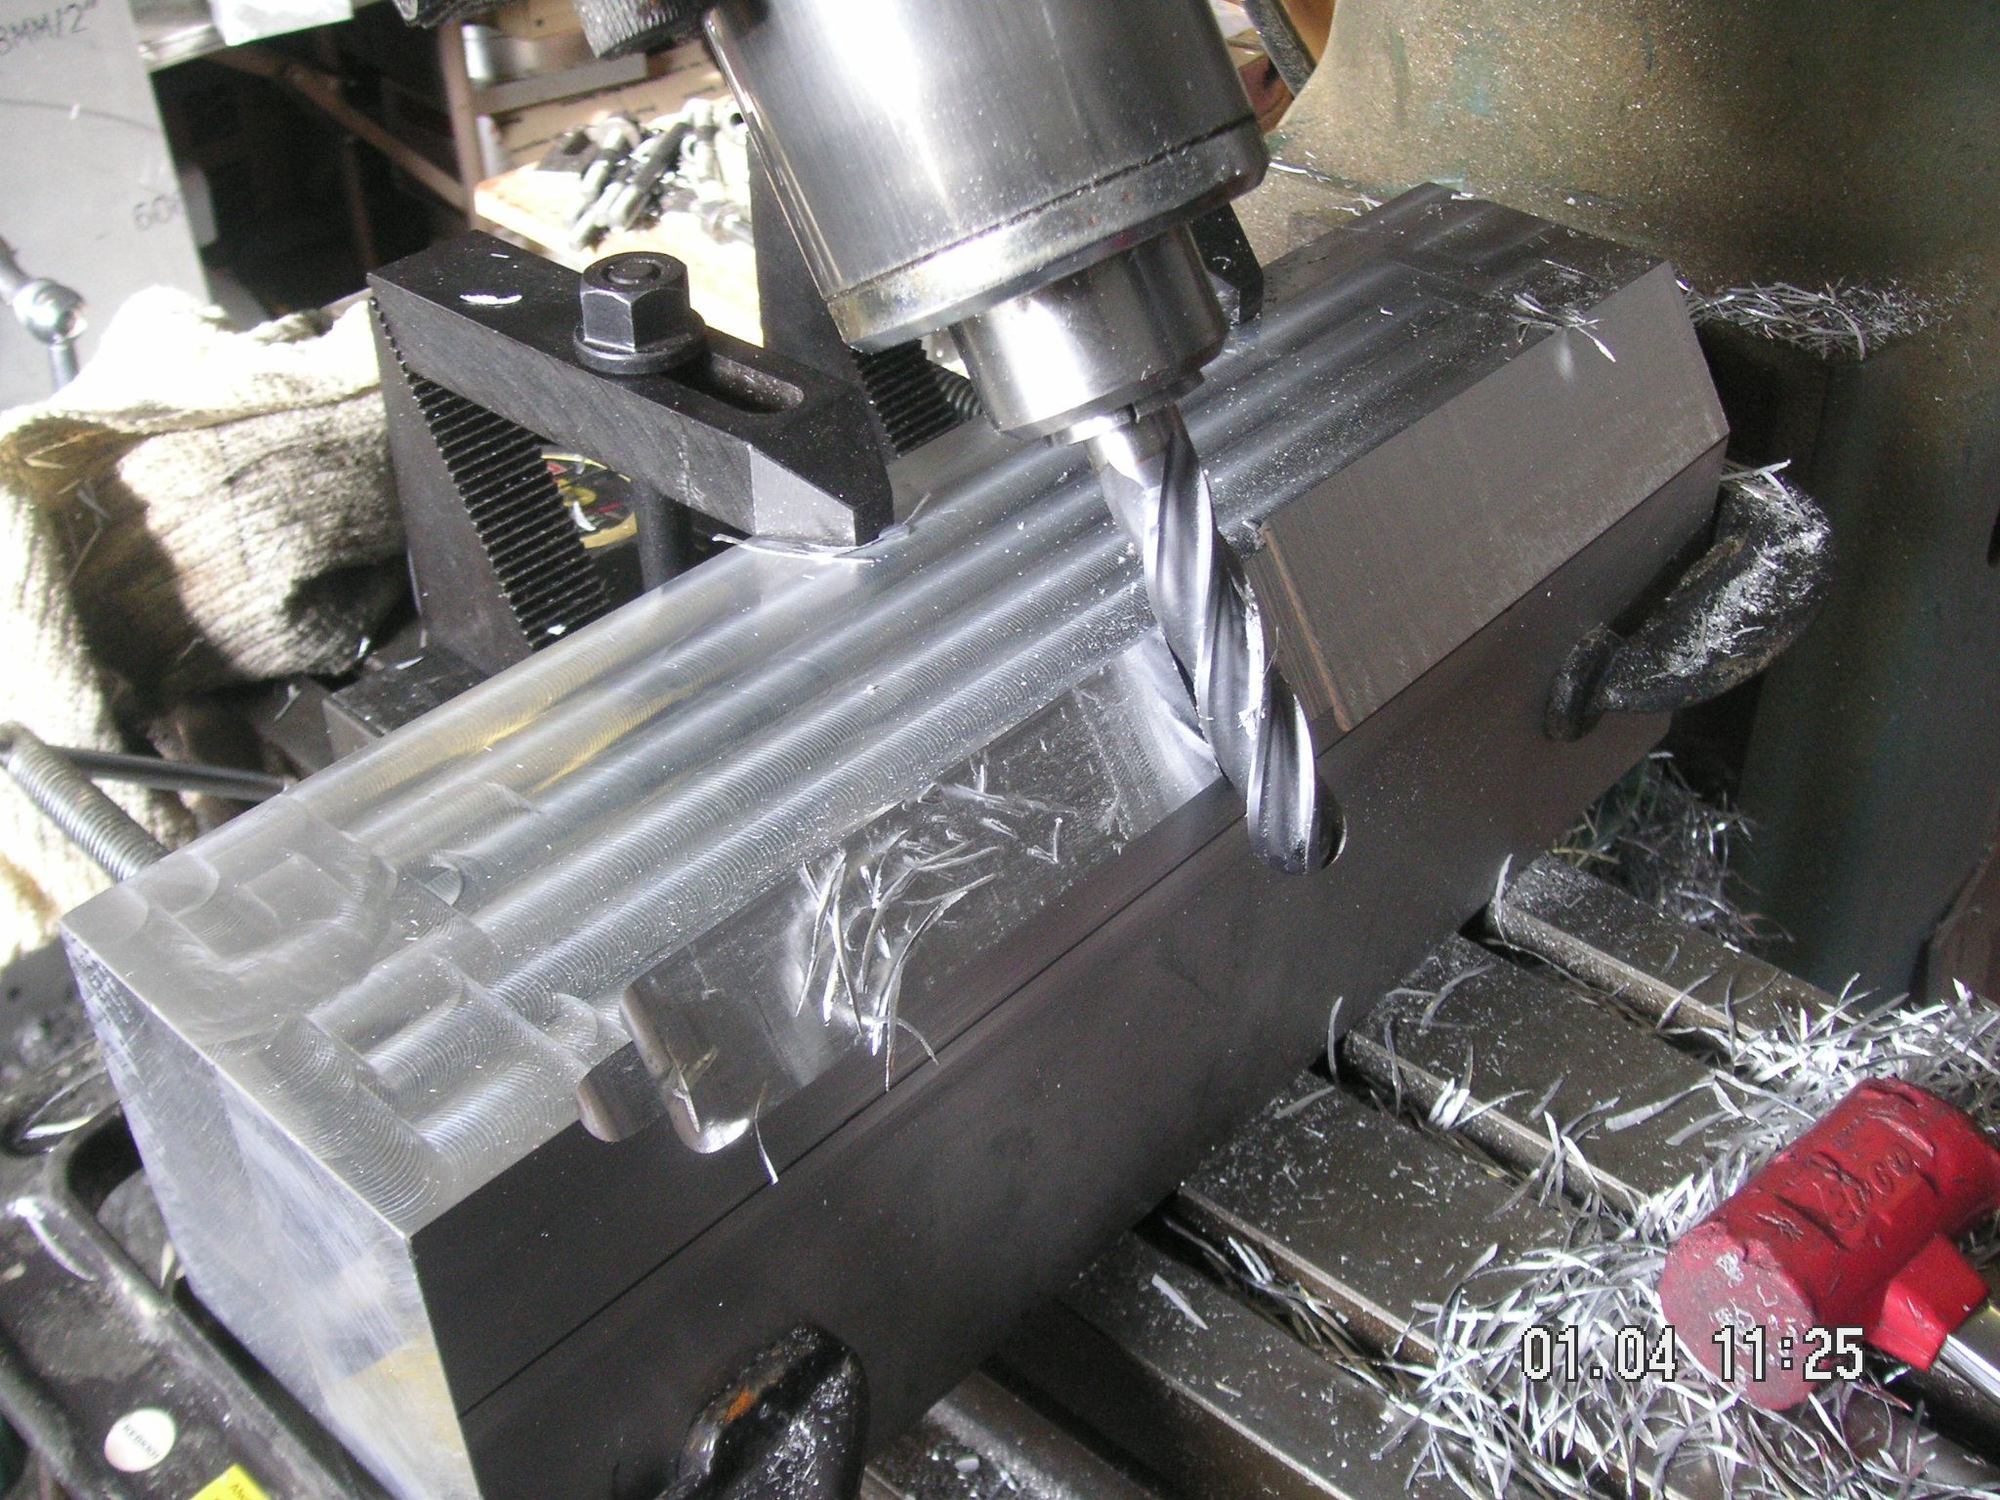
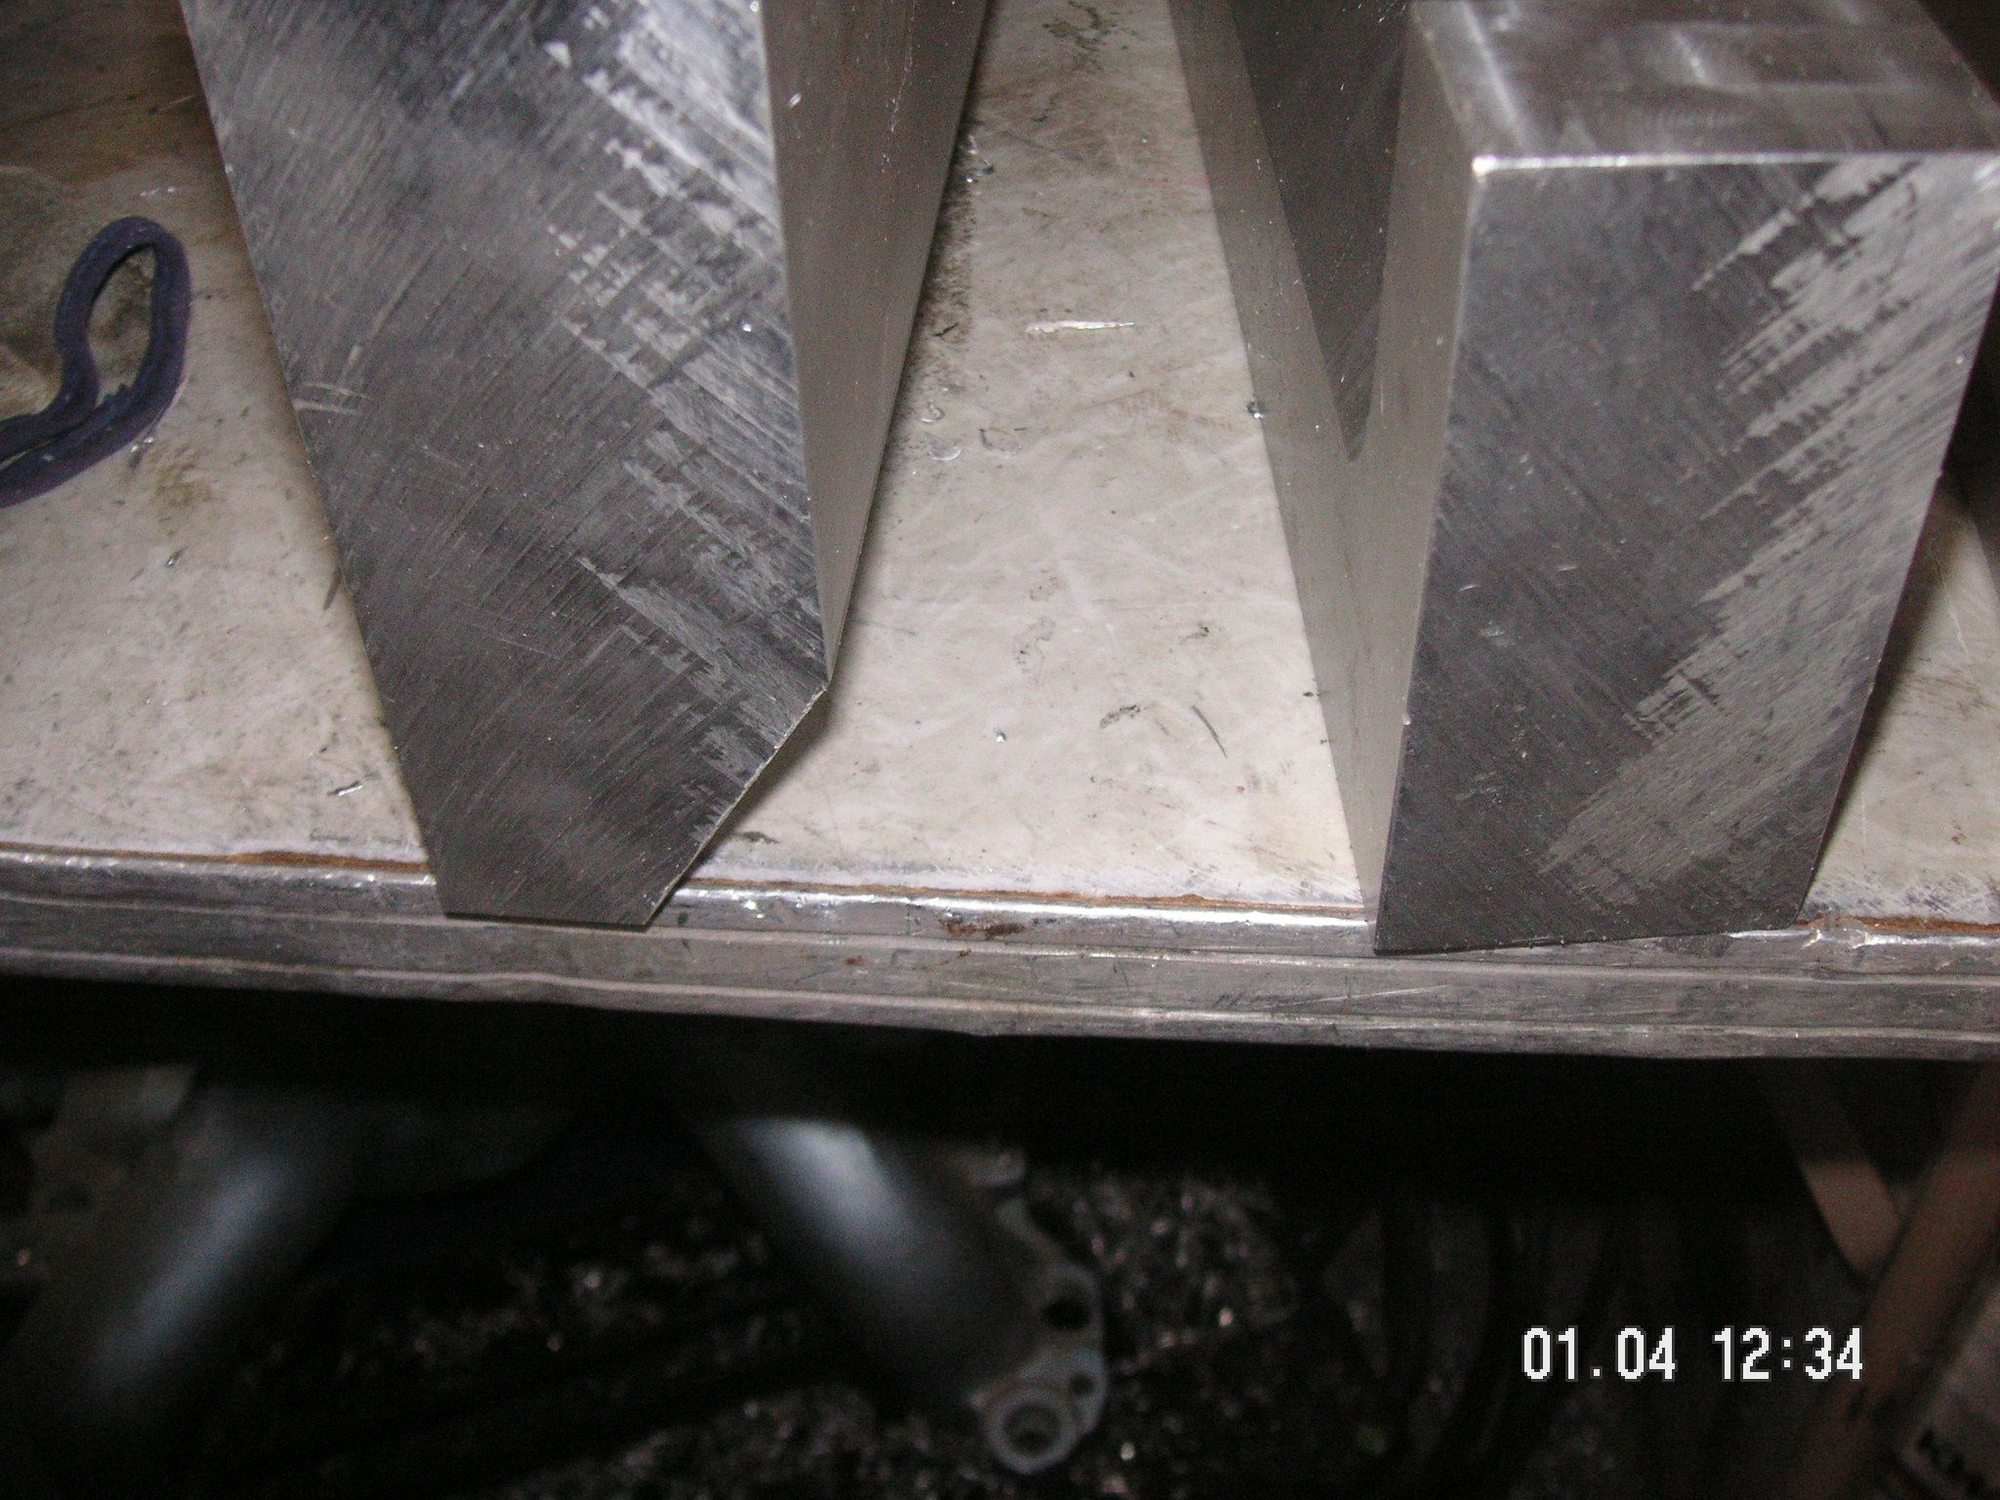
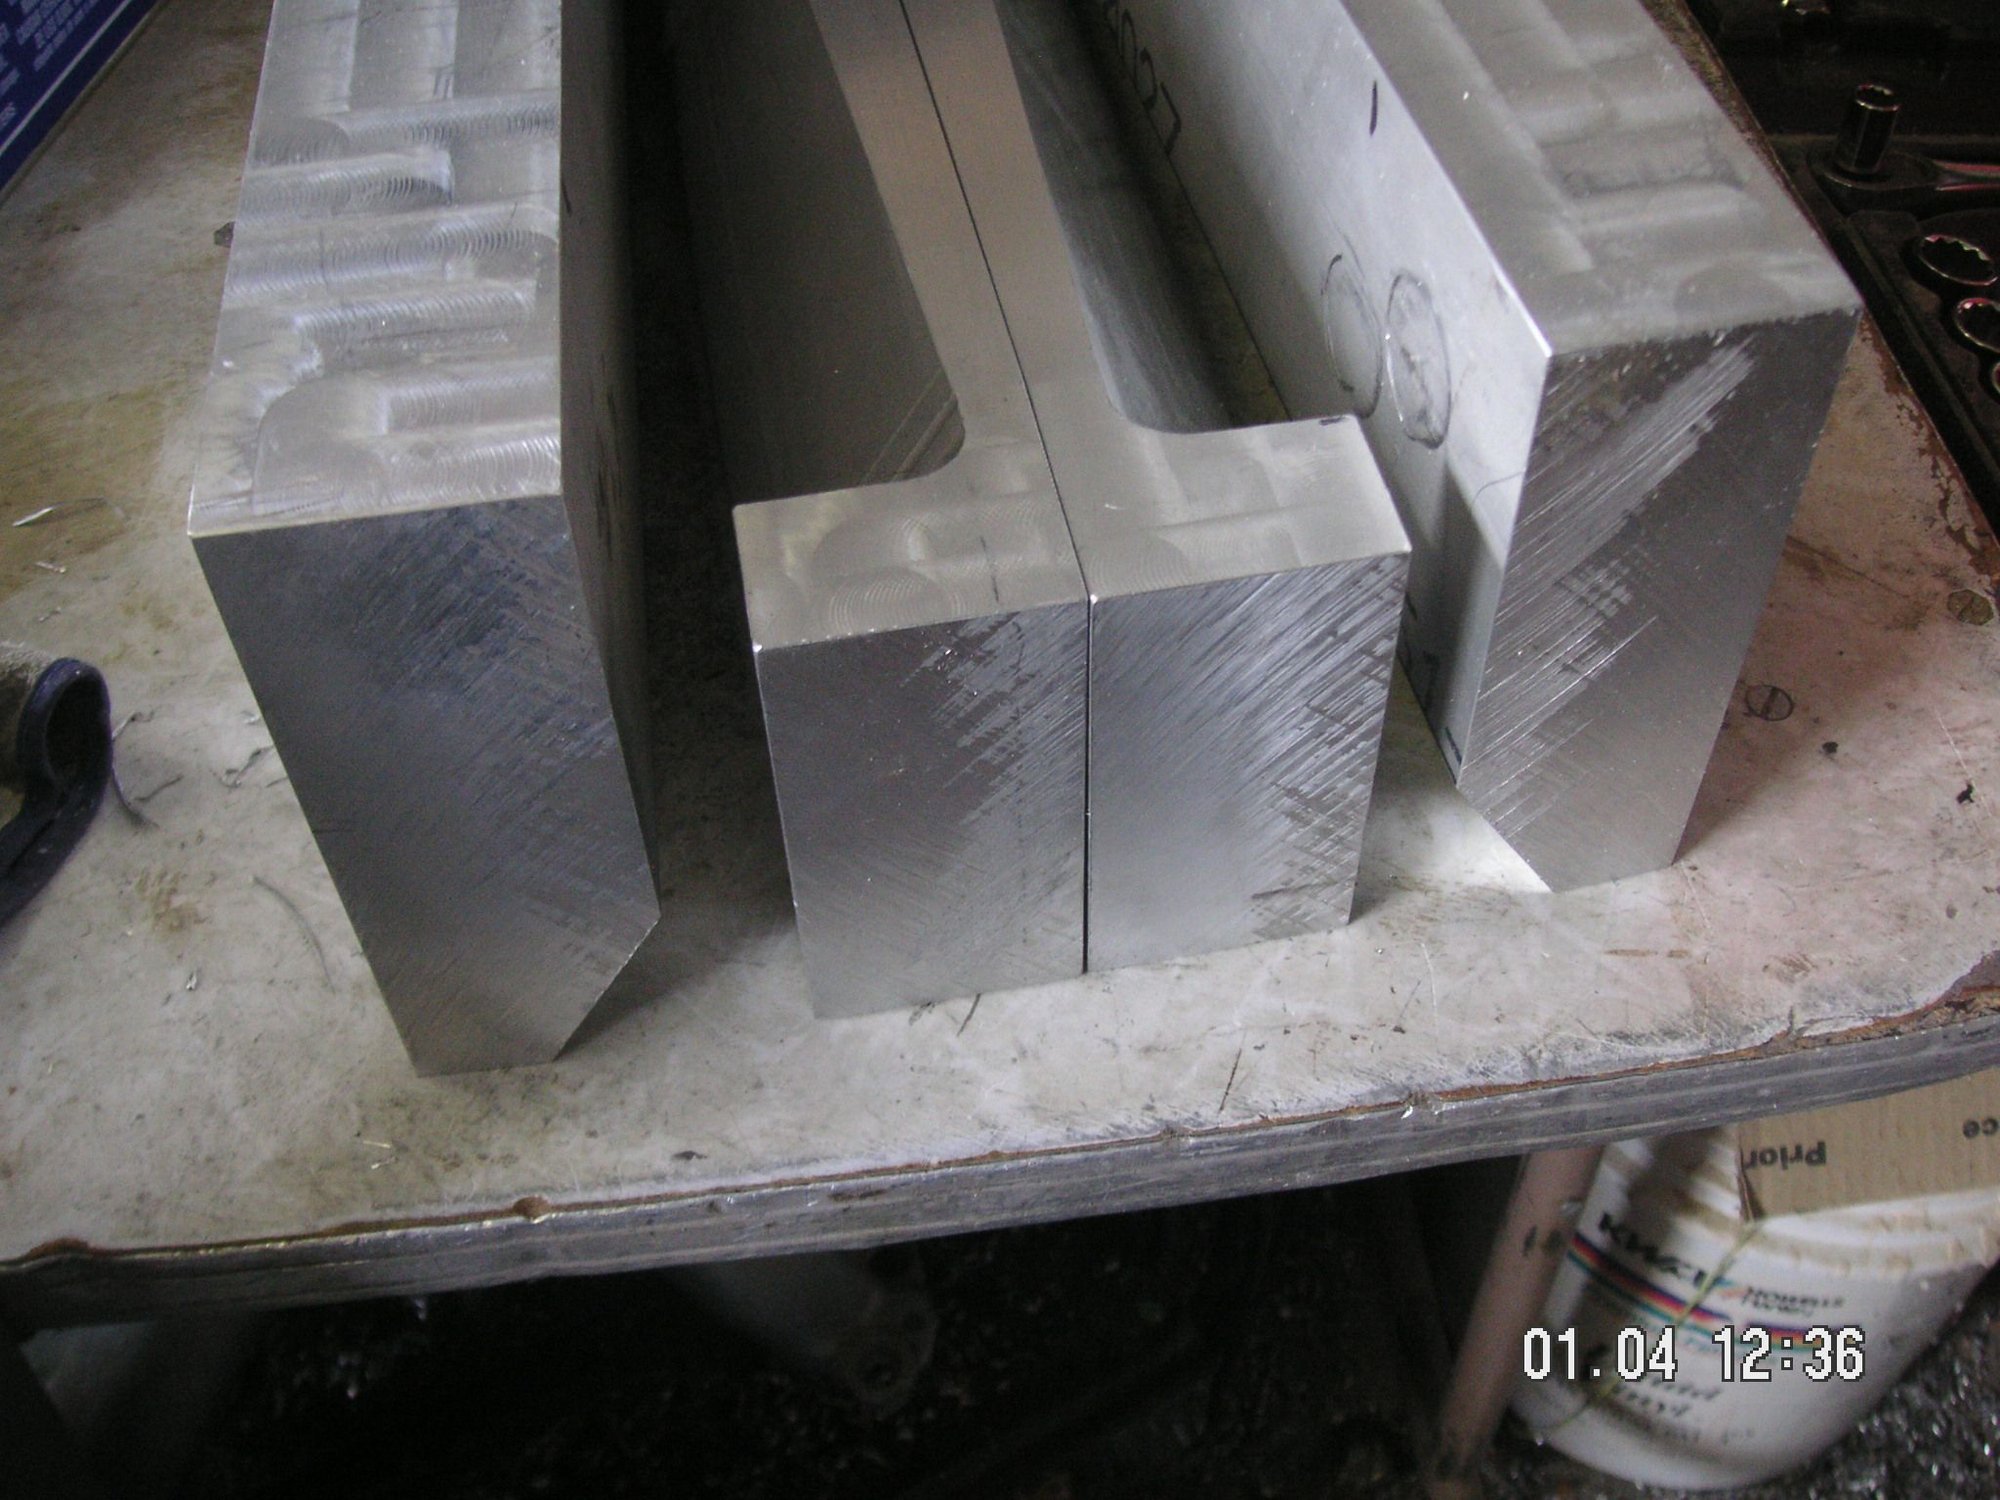
I had a two-day trial that was supposed to start today, but it got continued. That means it was postponed. I got to leave the office early so I came home and did some more machining on these metal pieces. I put the main bevel on the other base side piece and then sloped the top of both of them to match. That makes up the largest amount of metal to be removed from them but the remainder is much more detailed and will likely take a lot more time. Here are some pictures of where these pieces are now, including a large pile of shavings on the floor under the mill.
Last edited by Jerry Feather; 01-21-2020 at 08:04 PM.
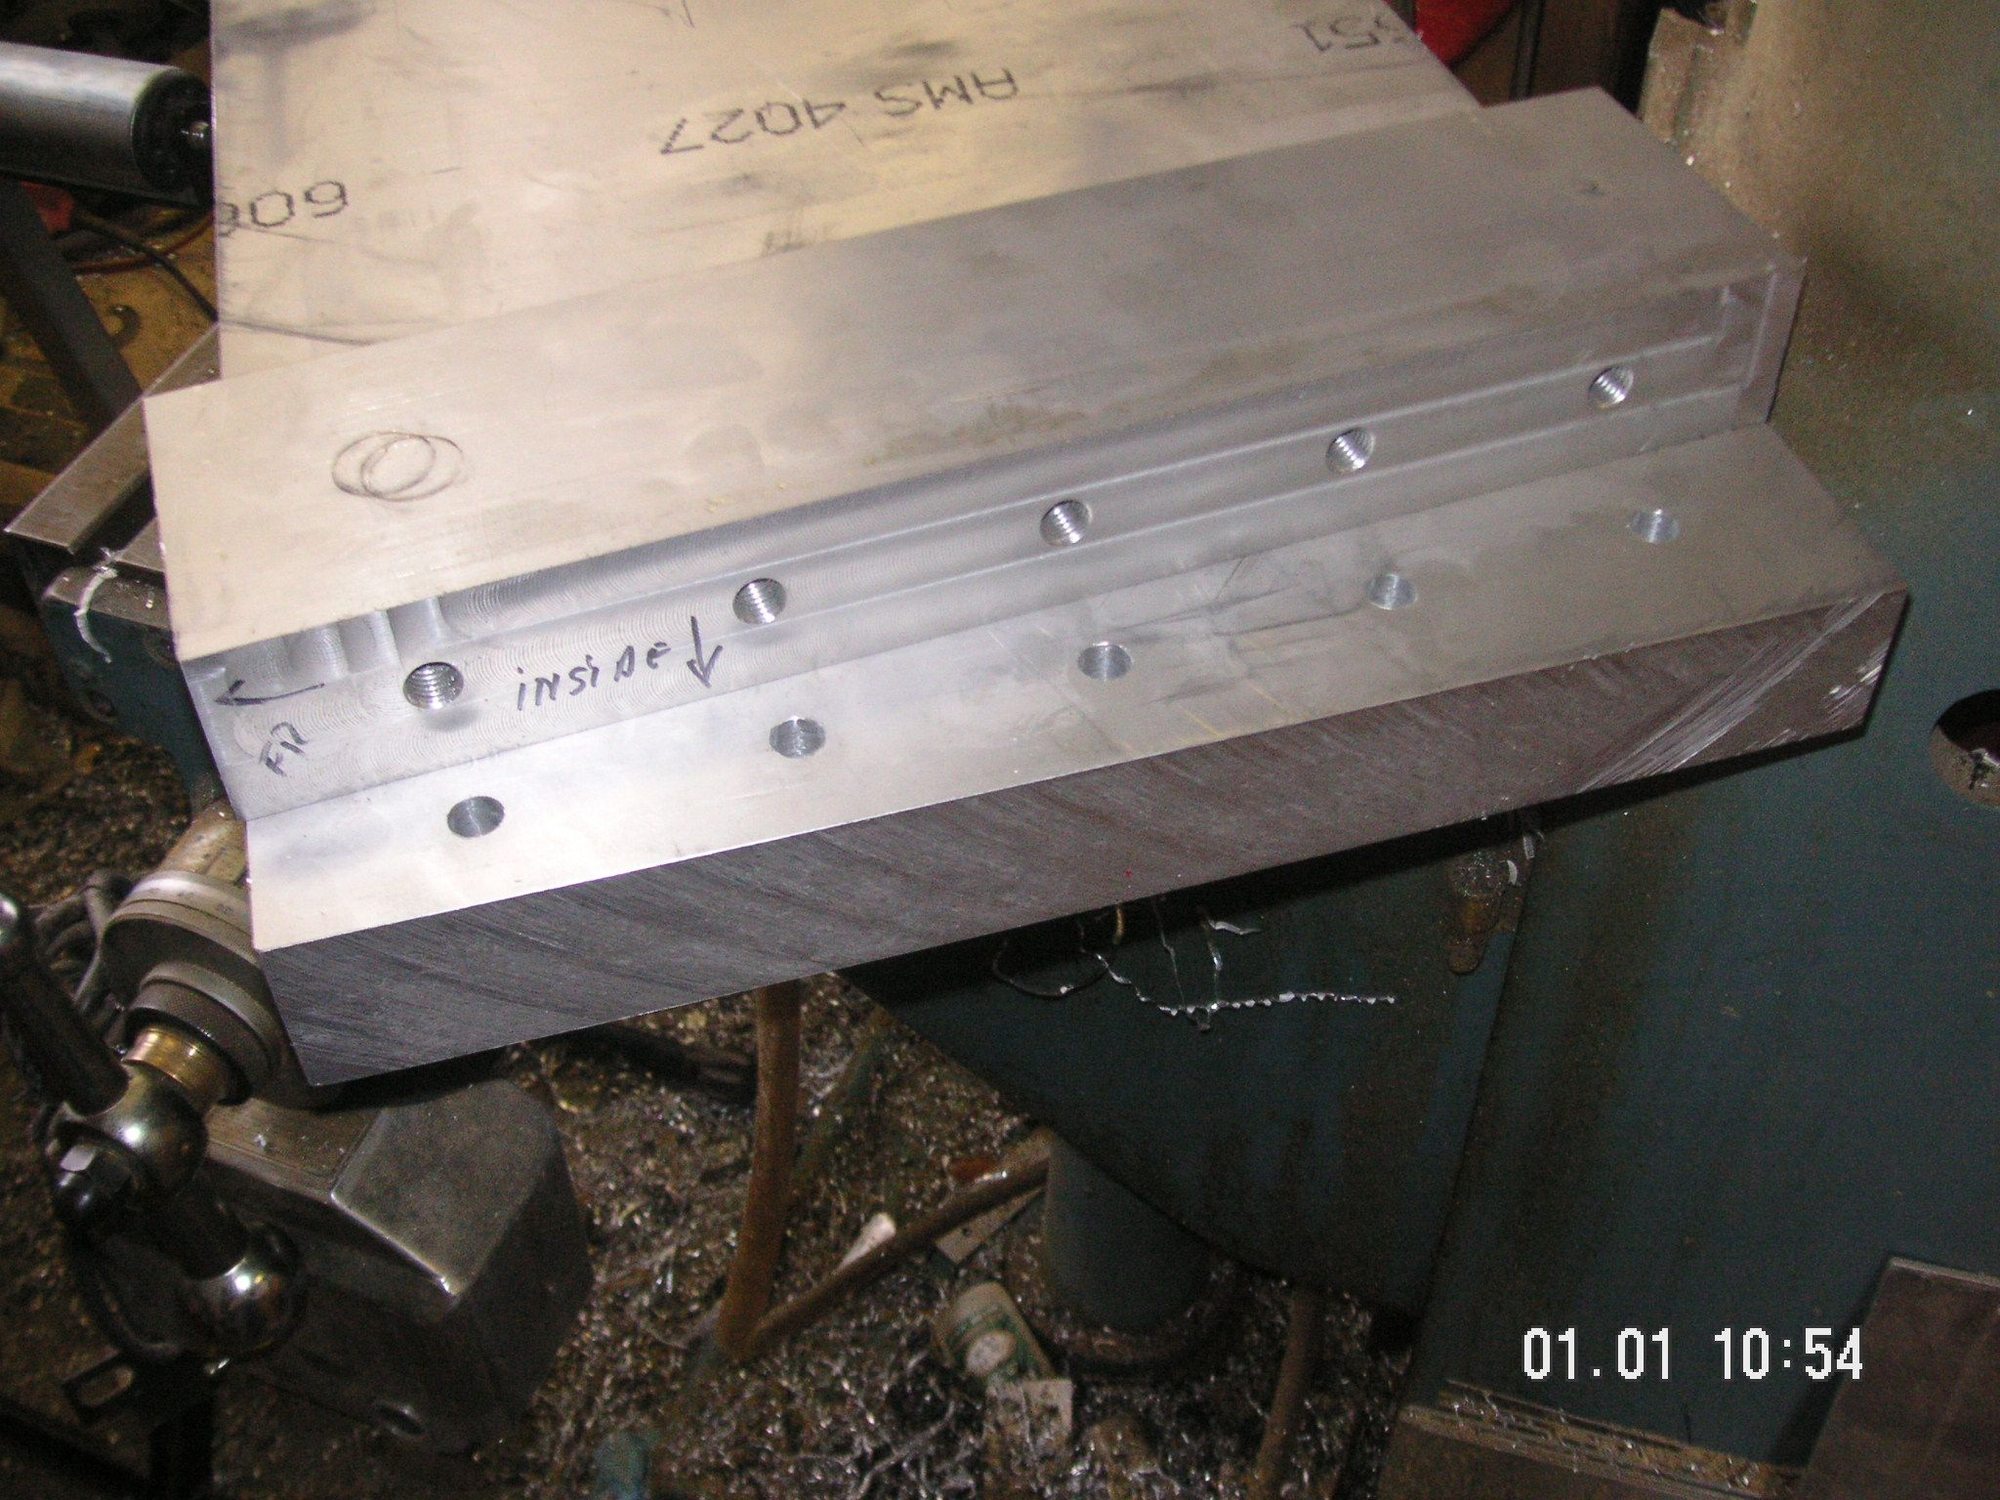
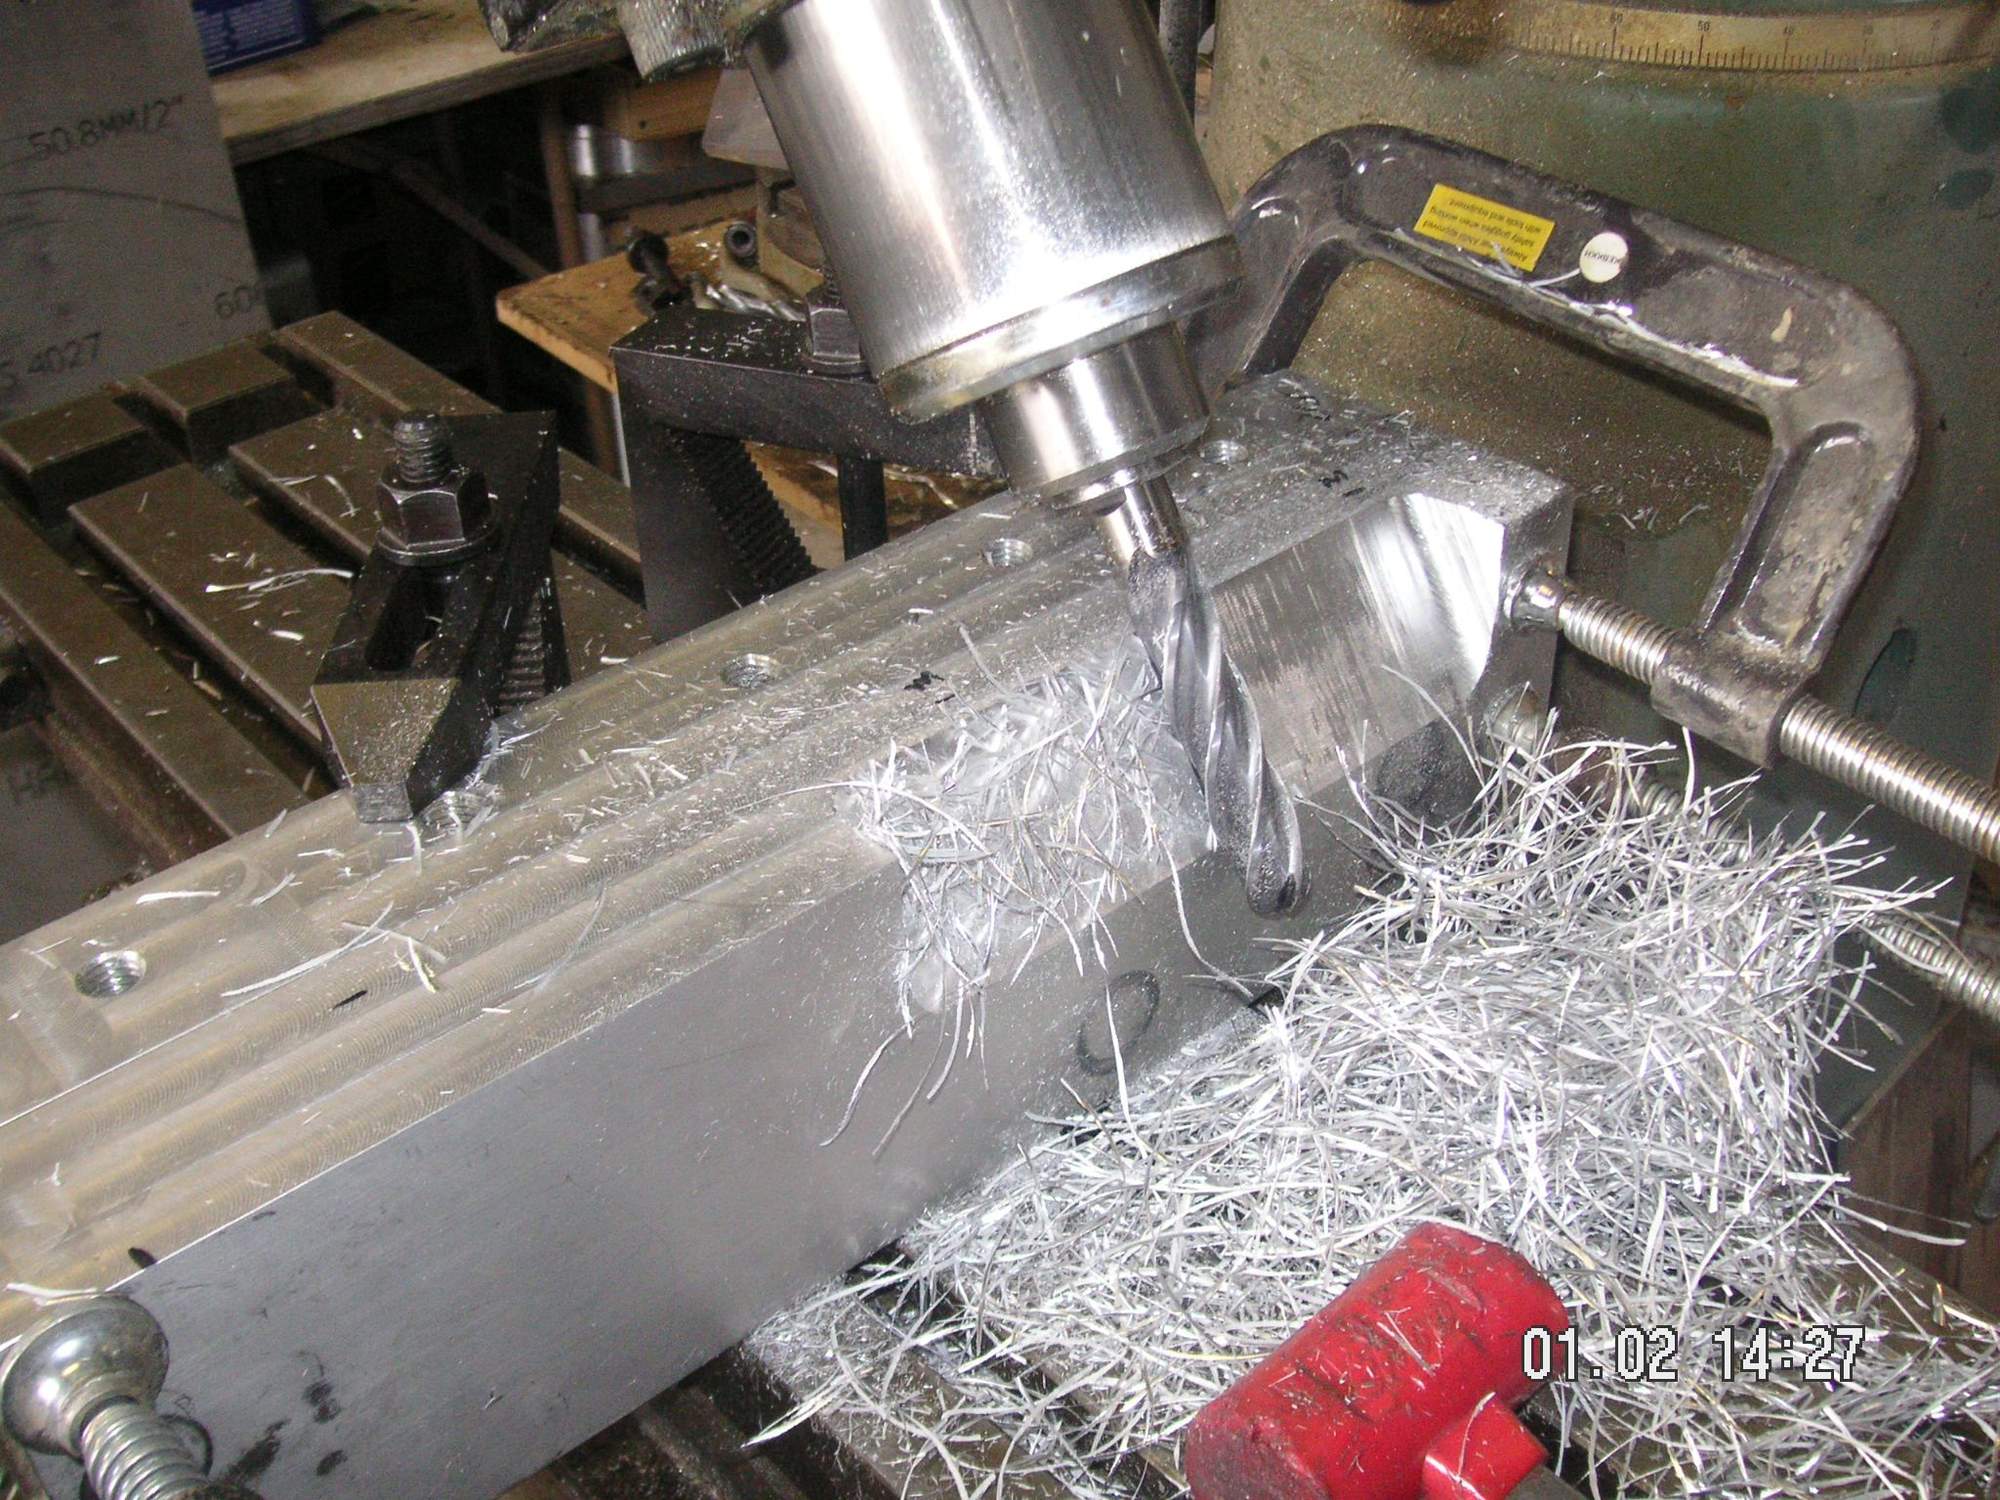
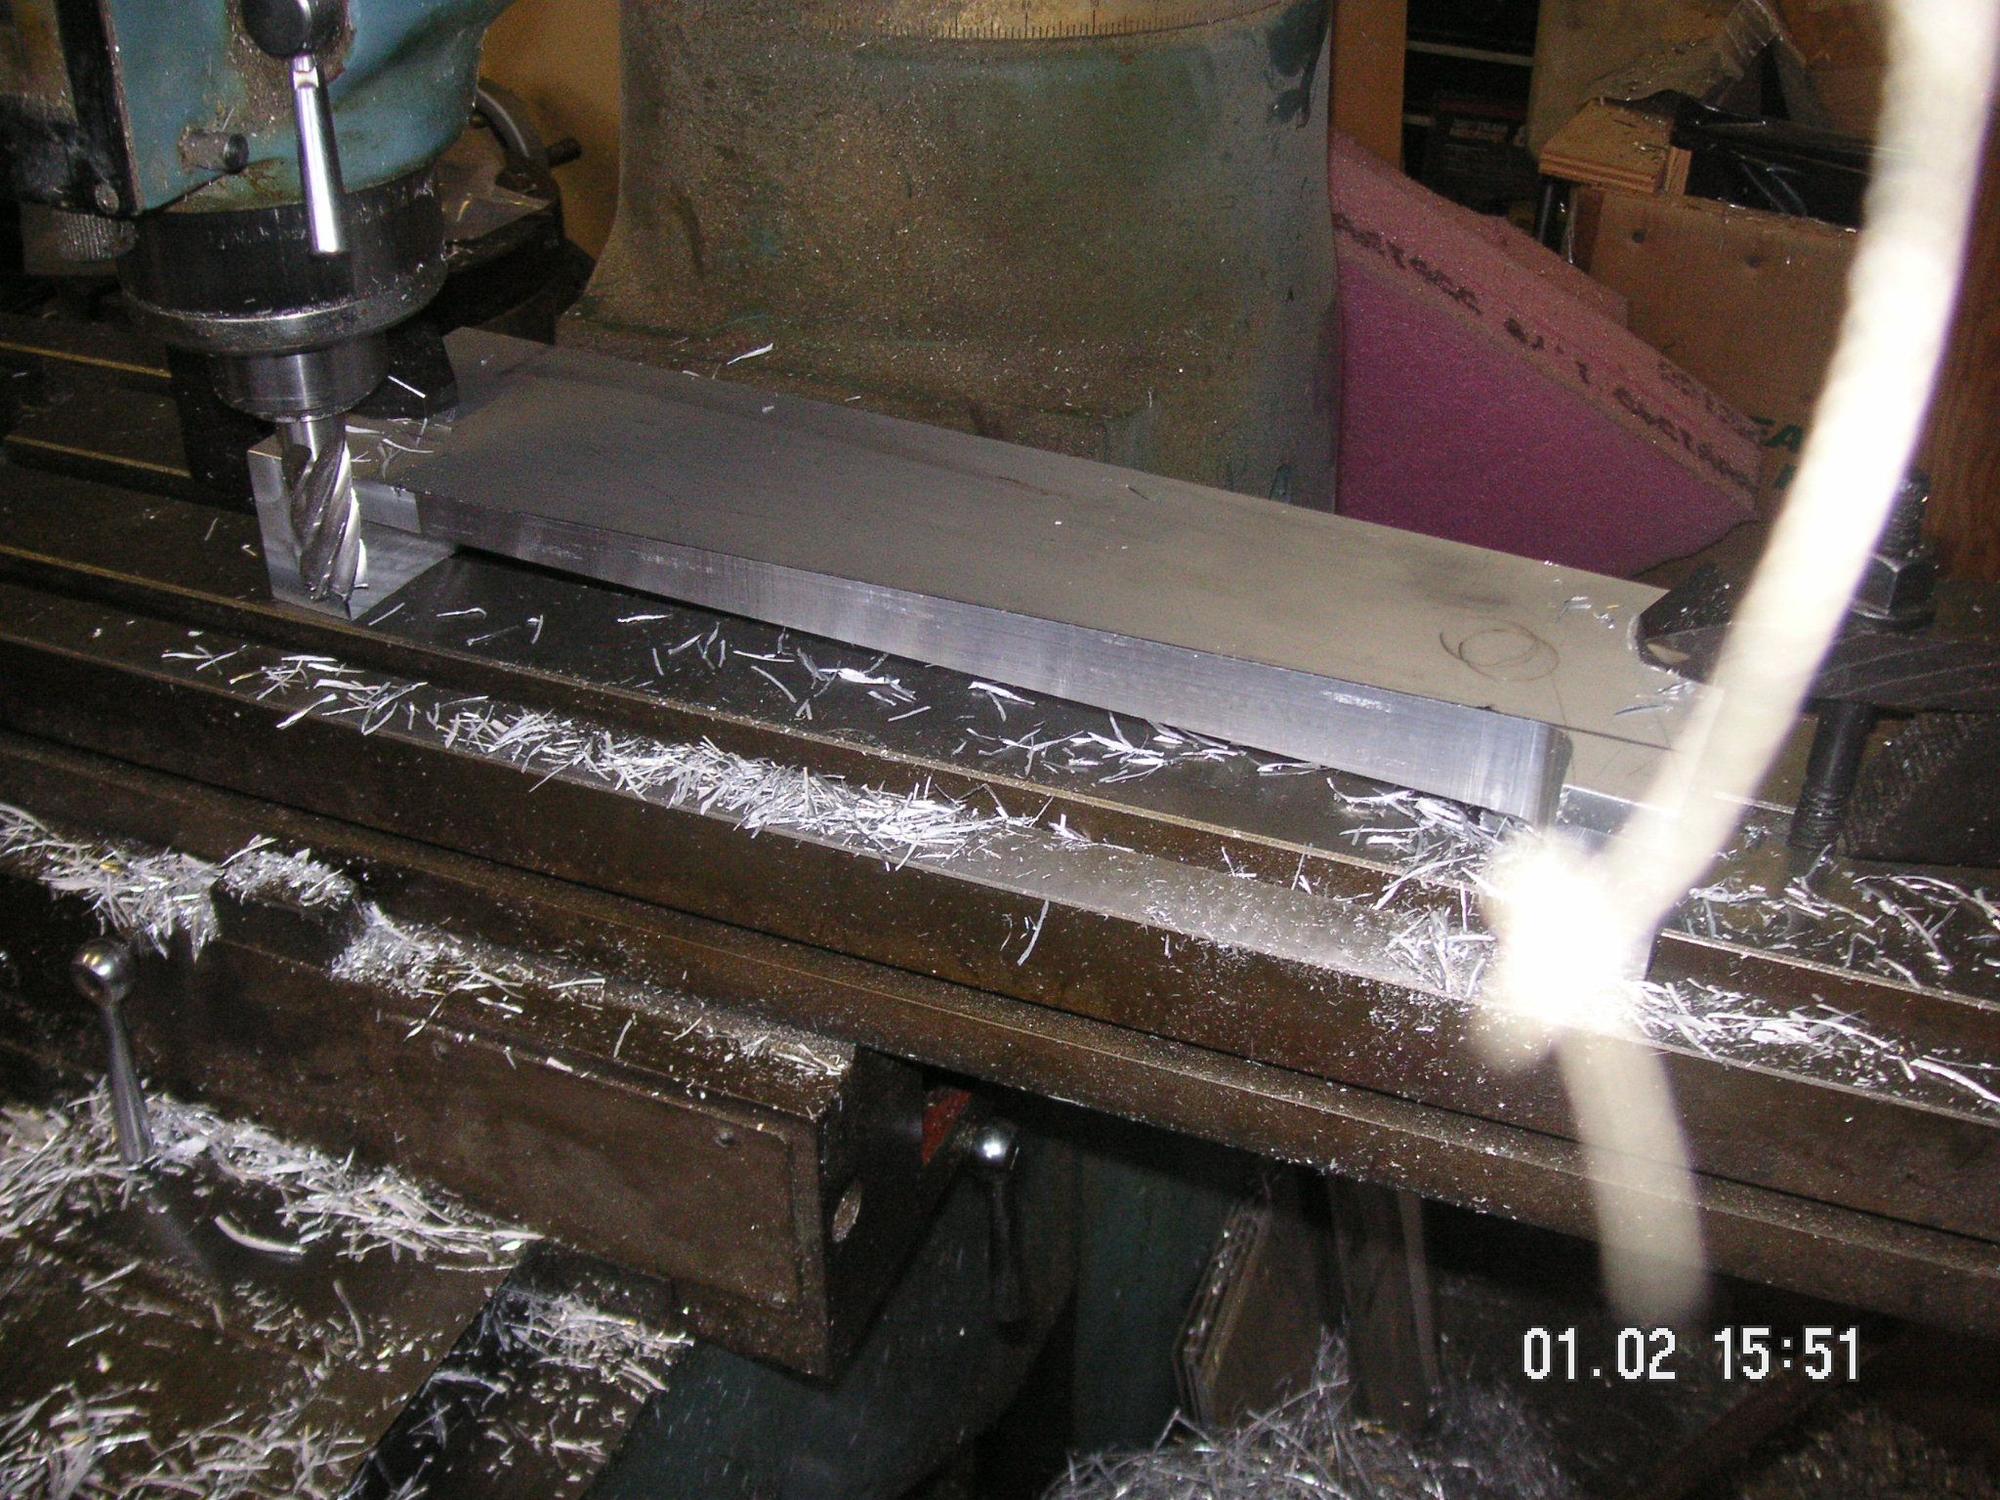
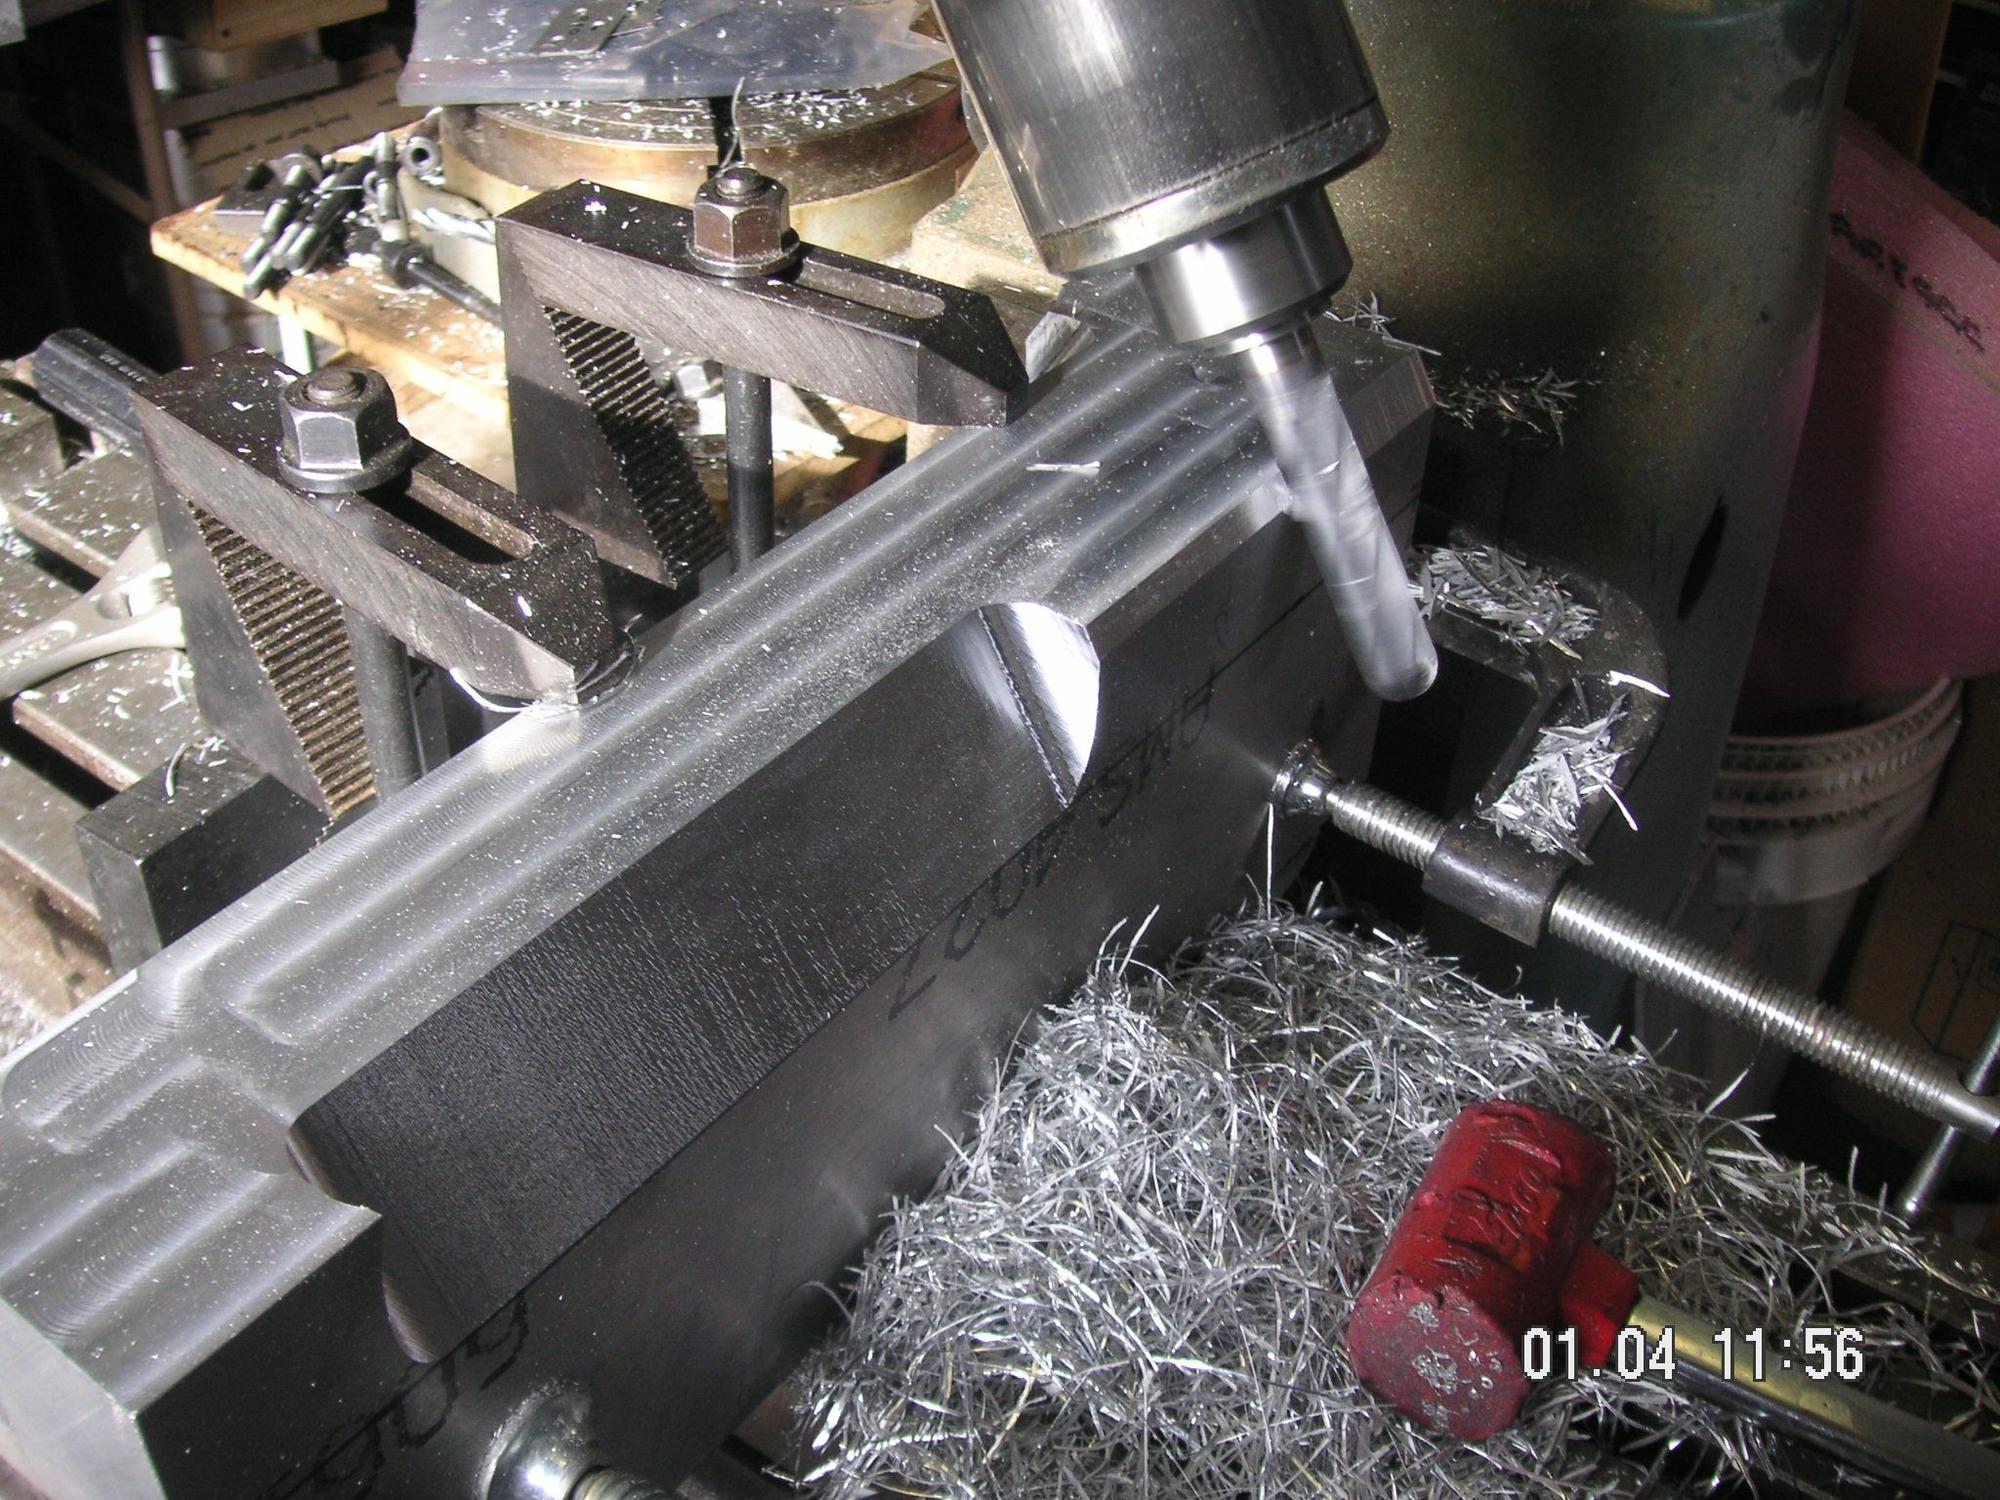
I spent a couple of hours later today working on the next two blocks of aluminum. These are the ones 16 by 5 1/2 inches that will be the outer male dies. As I mentioned before, the material was provided cut a little fat, so I spend the time truing them up and getting them to my final design measurement. To do so I first had to find the long cut sides that were the most nearly square, then clamp the blocks together with those sides down. Then I milled the top sides to as near to true as I could get them. Then I turned them over and milled the other sides. Then I turned them over again and milled the first sides. Now they are very nearly true and square. Tomorrow I'll try to put the 32 degree bevel on the bottom of both of them.
This post is actually Friday's work since I put it into the duplicate post for Thursday as an edit.
Last edited by Jerry Feather; 01-21-2020 at 08:05 PM.
Jerry, Watch out for sparks falling in that swarf! My pan, off the car and relaxed measures just under 900mm (35.4") between the two top mounting holes....If I beat you to it (unlikely) I was going to drop a weighted line from the holes on the car to the floor so I could measure the horizontal distance accurately.....
jp 83 Euro S AT 57k
JP, thanks for the warning, but aluminum does not spark and I don't think the shavings will ignite even with open flames. I haven't gotten to the mounting point verification yet, but might later today. I'll be interested in what you find if you get ahead of me with that.
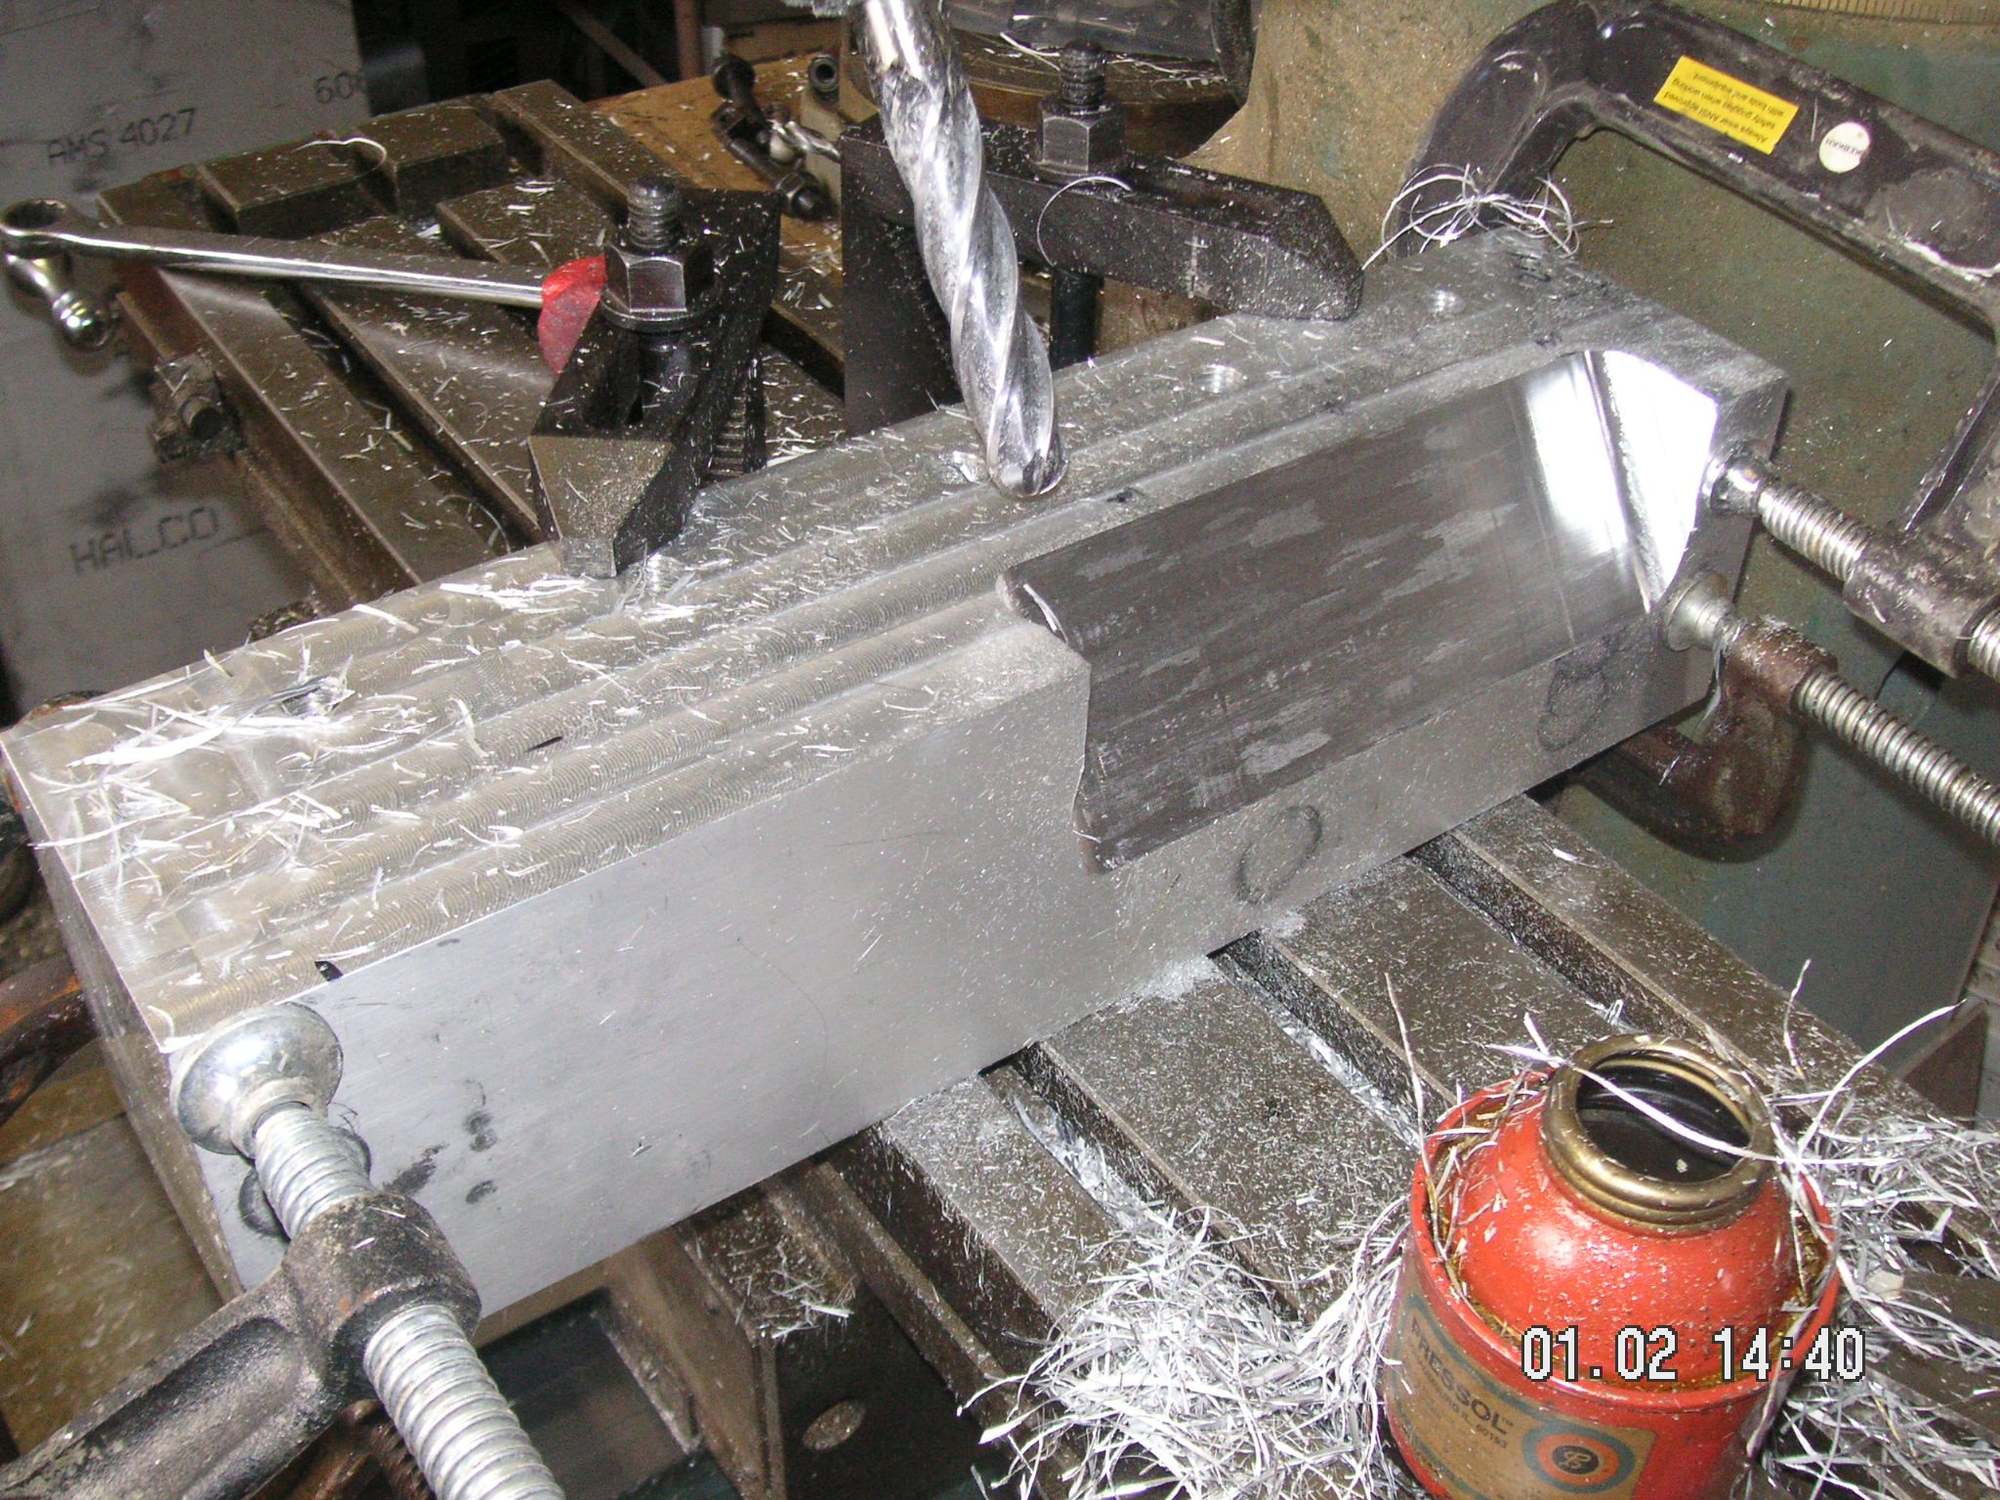
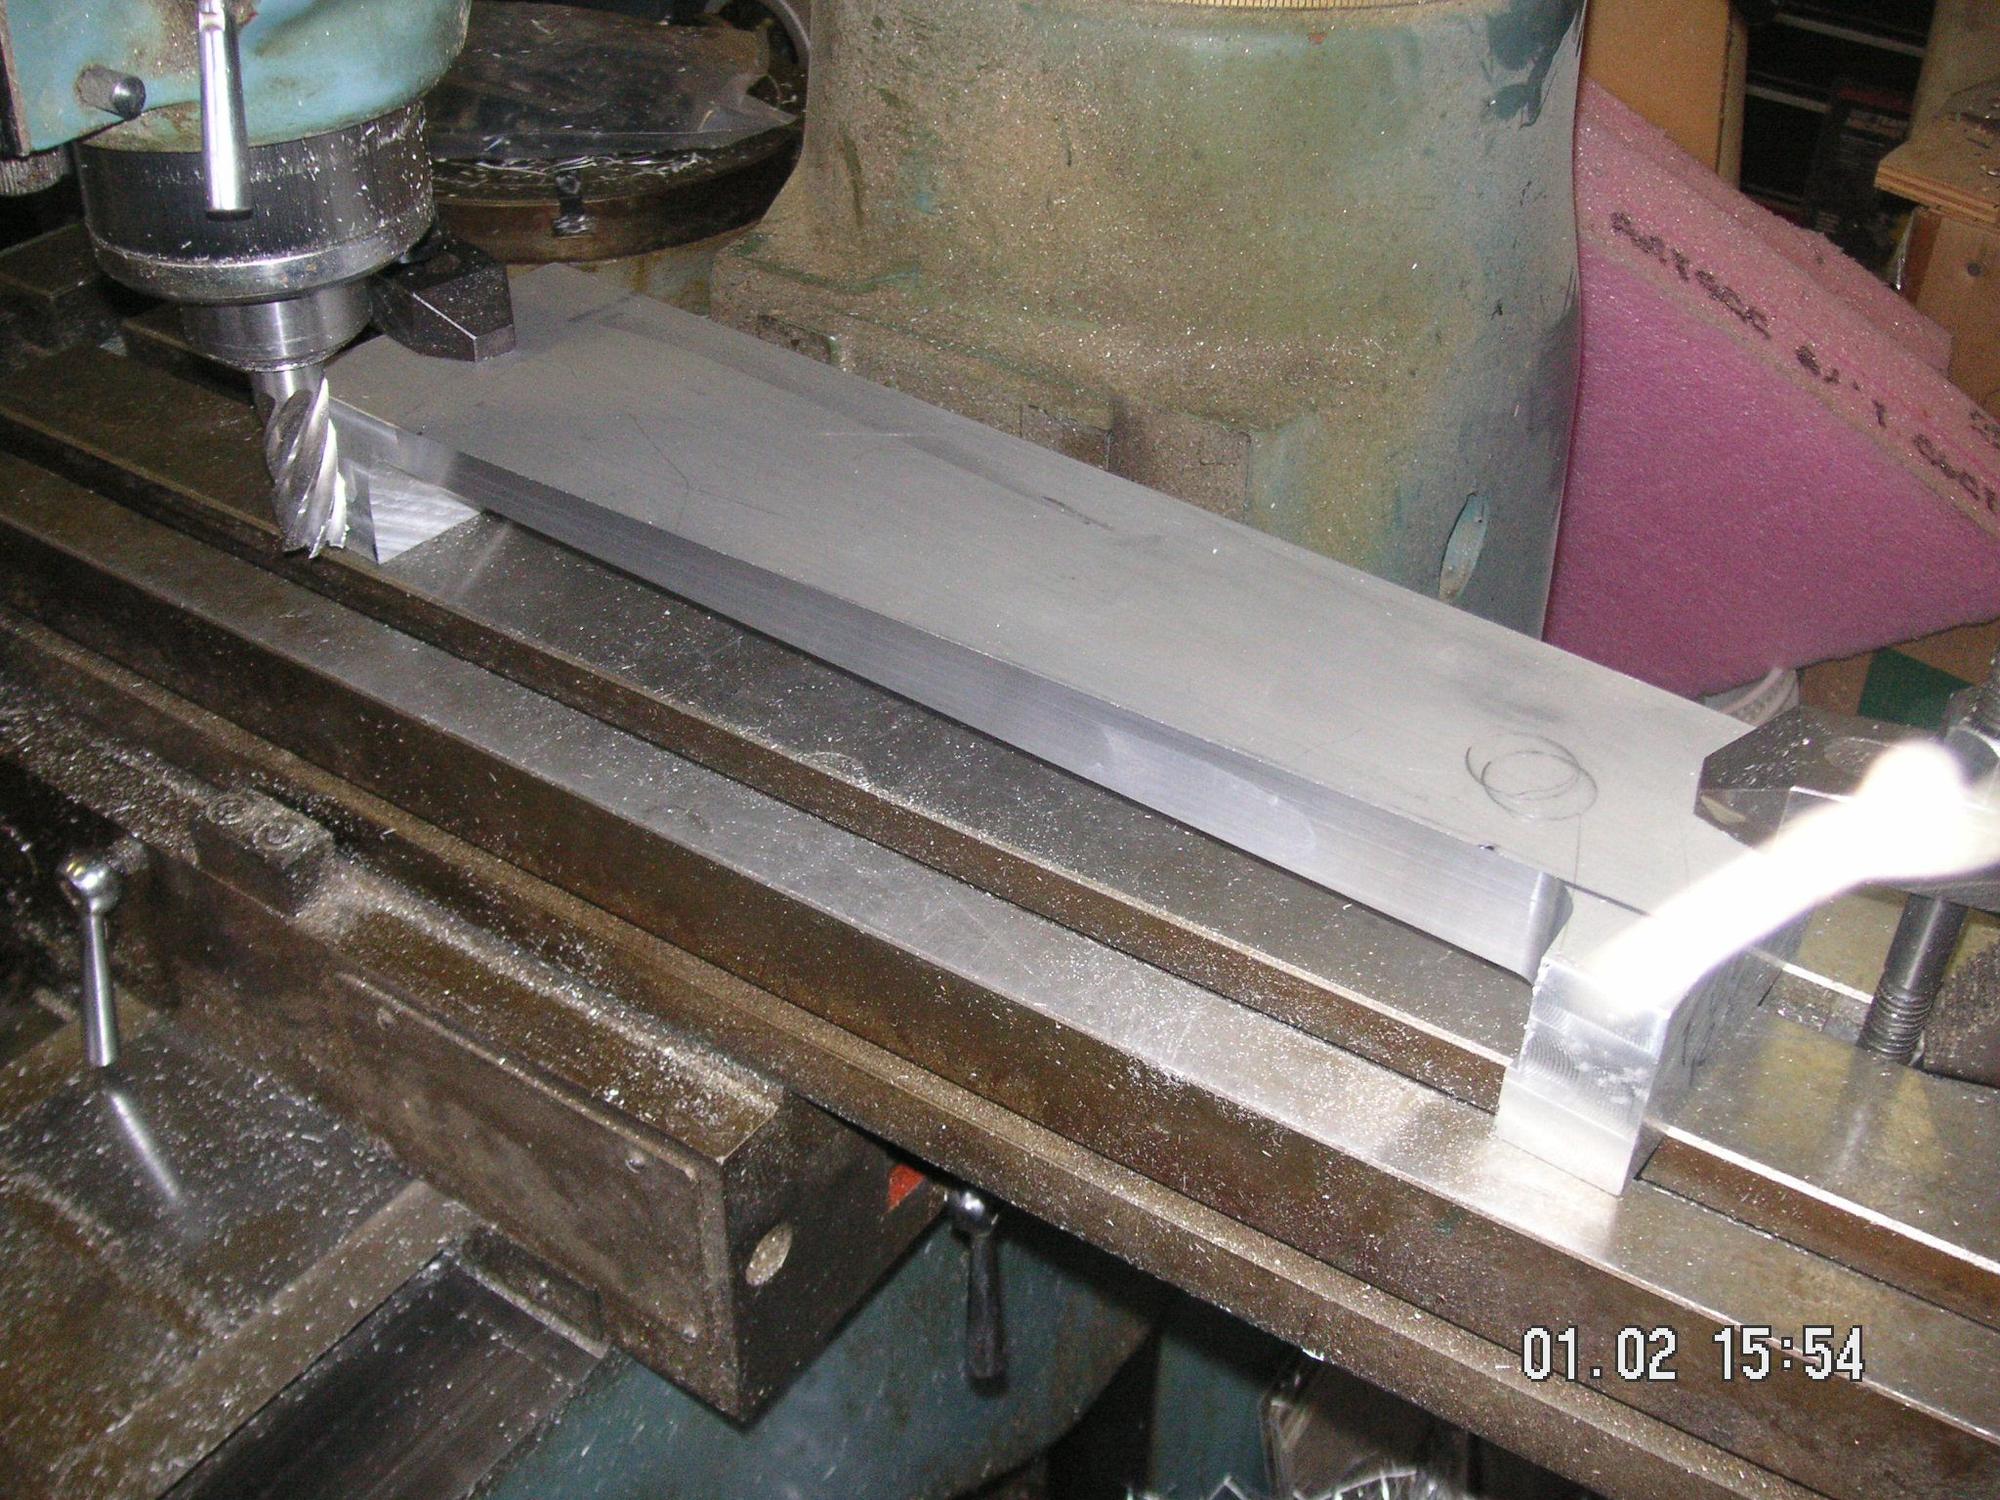
First my daughter and I put together a large crock pot of chili for supper, then I spent some more time with the aluminum. I Put the two male end pieces in the mill and put the 32 degrtee bevel on the bottoms of them. I know this is not very exiting to watch at this point, but in order to get the basic material pieces in their general shape for these forming dies there is quite a bit of material needing to be removed. The next major material to remove will be to the ends of the center form piece. Since the end pieces mount at an angle to the squarness of the base, the center piece also needs to be made to match. After that I'll start working on the details, but the main part of that will be quite a bit of material taken out of the base form and then quite a bit for the two or three forms to make the major bulges or dents downward.
I also found a used 50 ton press that is just about the right size for this project, so I have made them an offer for it. If that works out I'll have to go to SLC to pick it up and then try to figure out where to put it.
Last edited by Jerry Feather; 01-06-2020 at 09:18 AM.

 01-01-2020, 04:43 PM